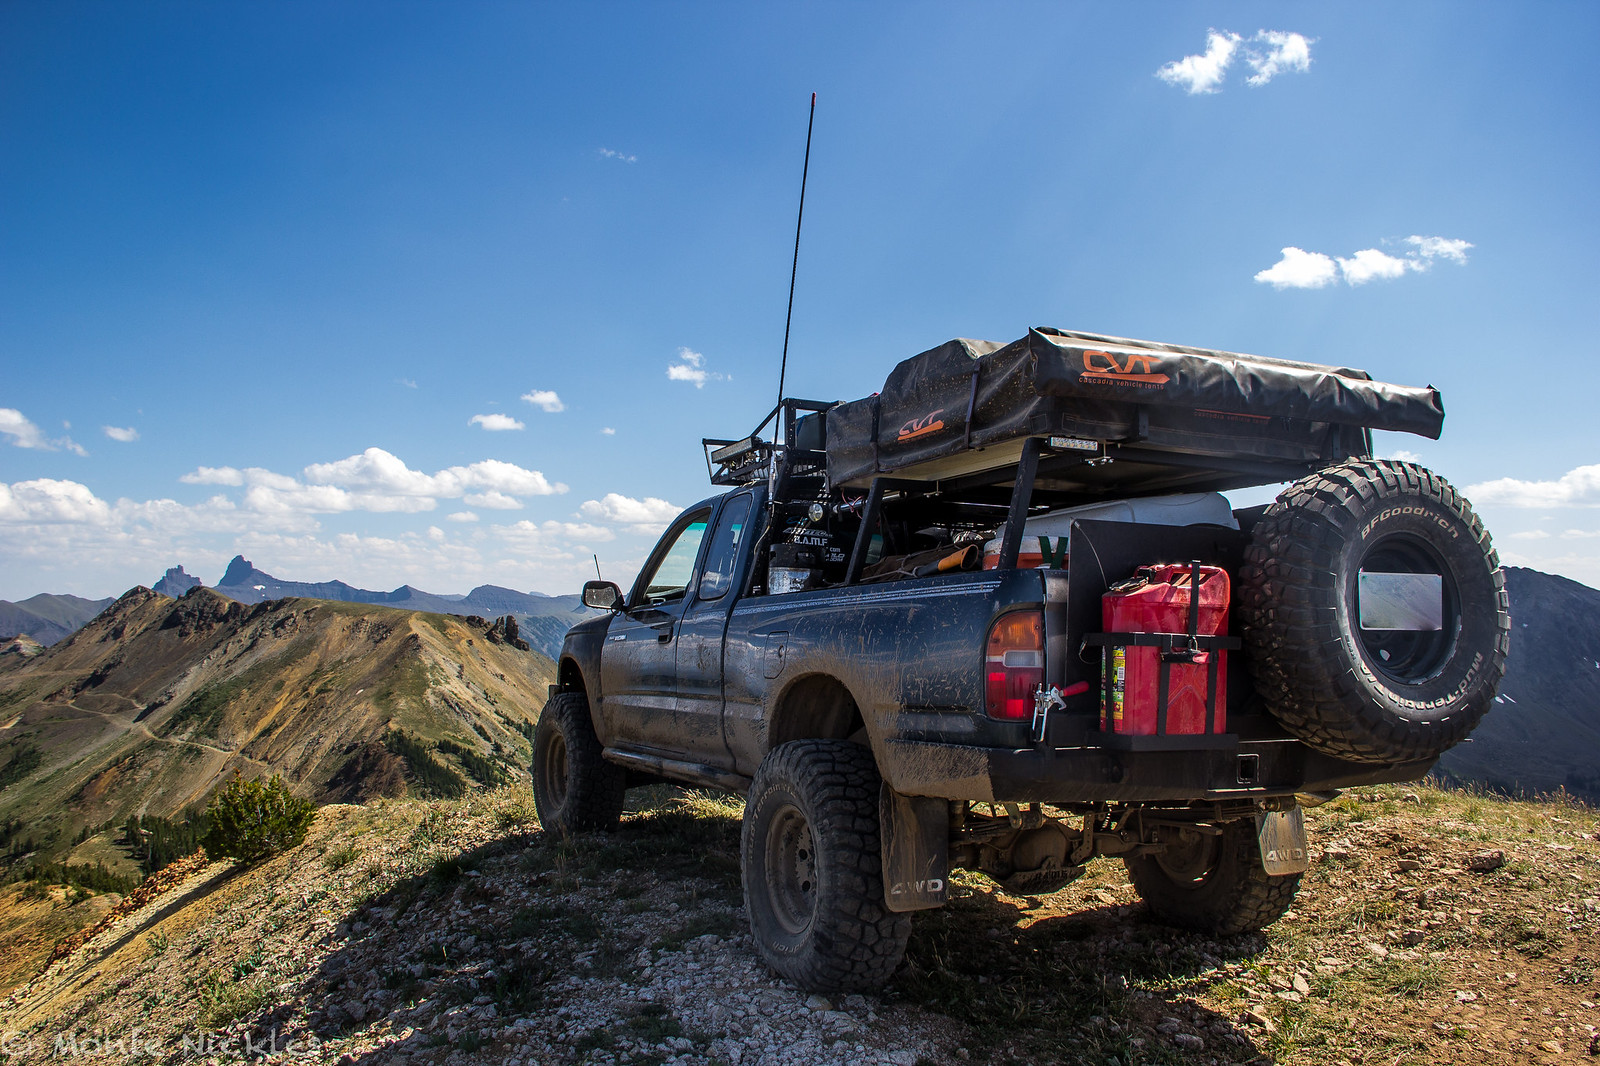
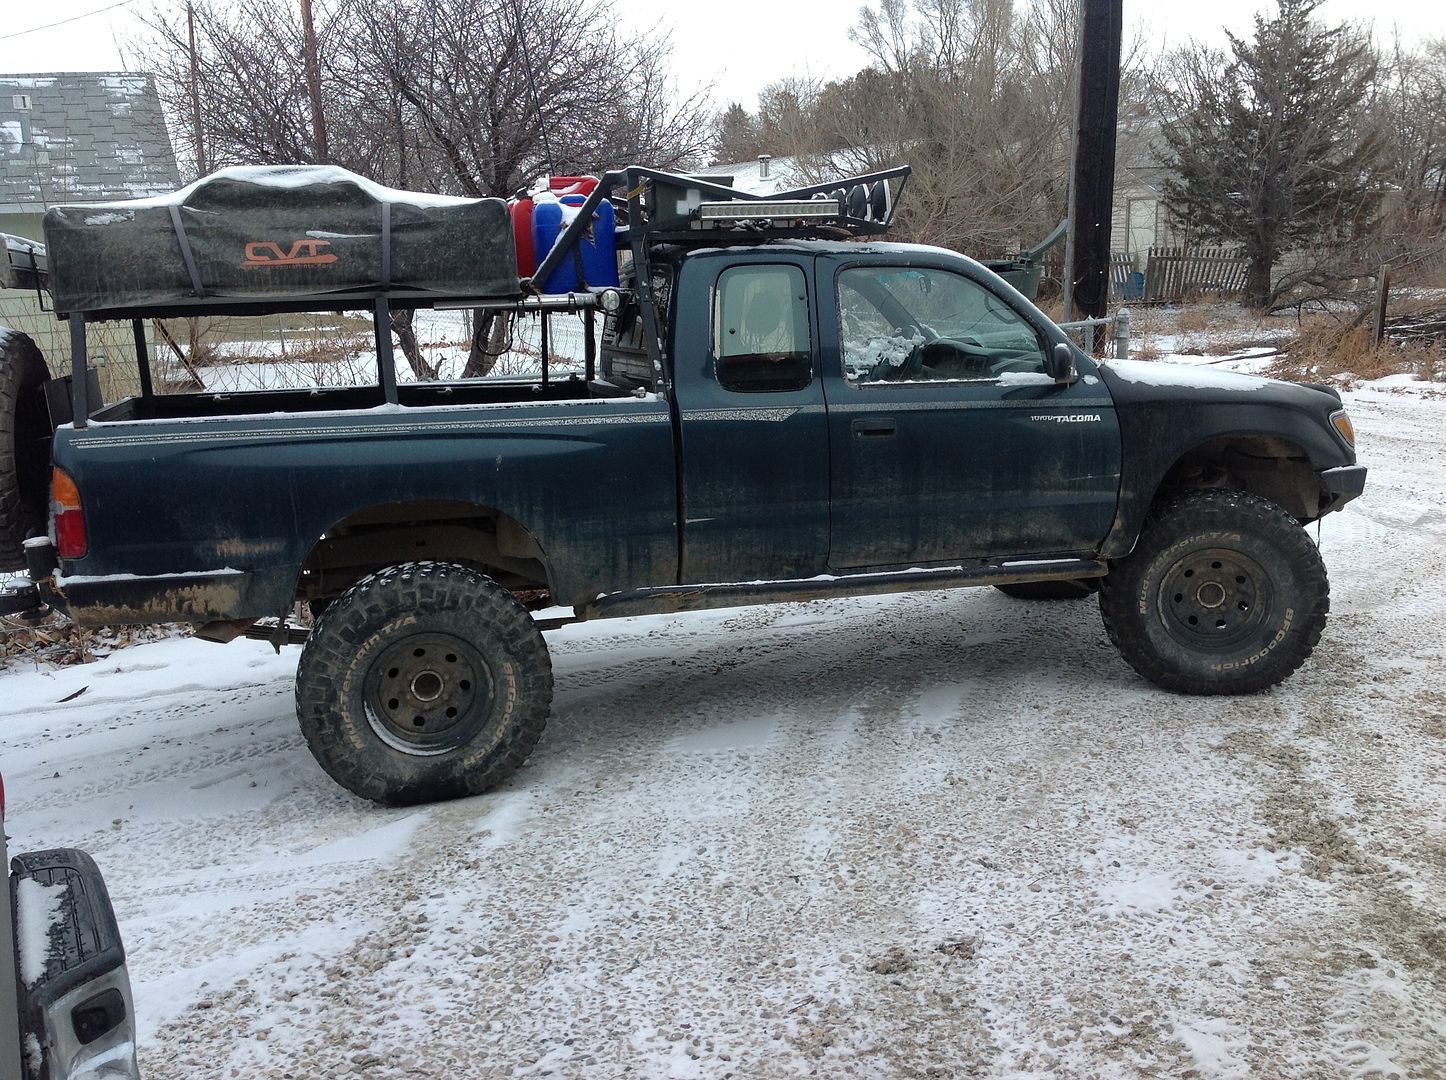
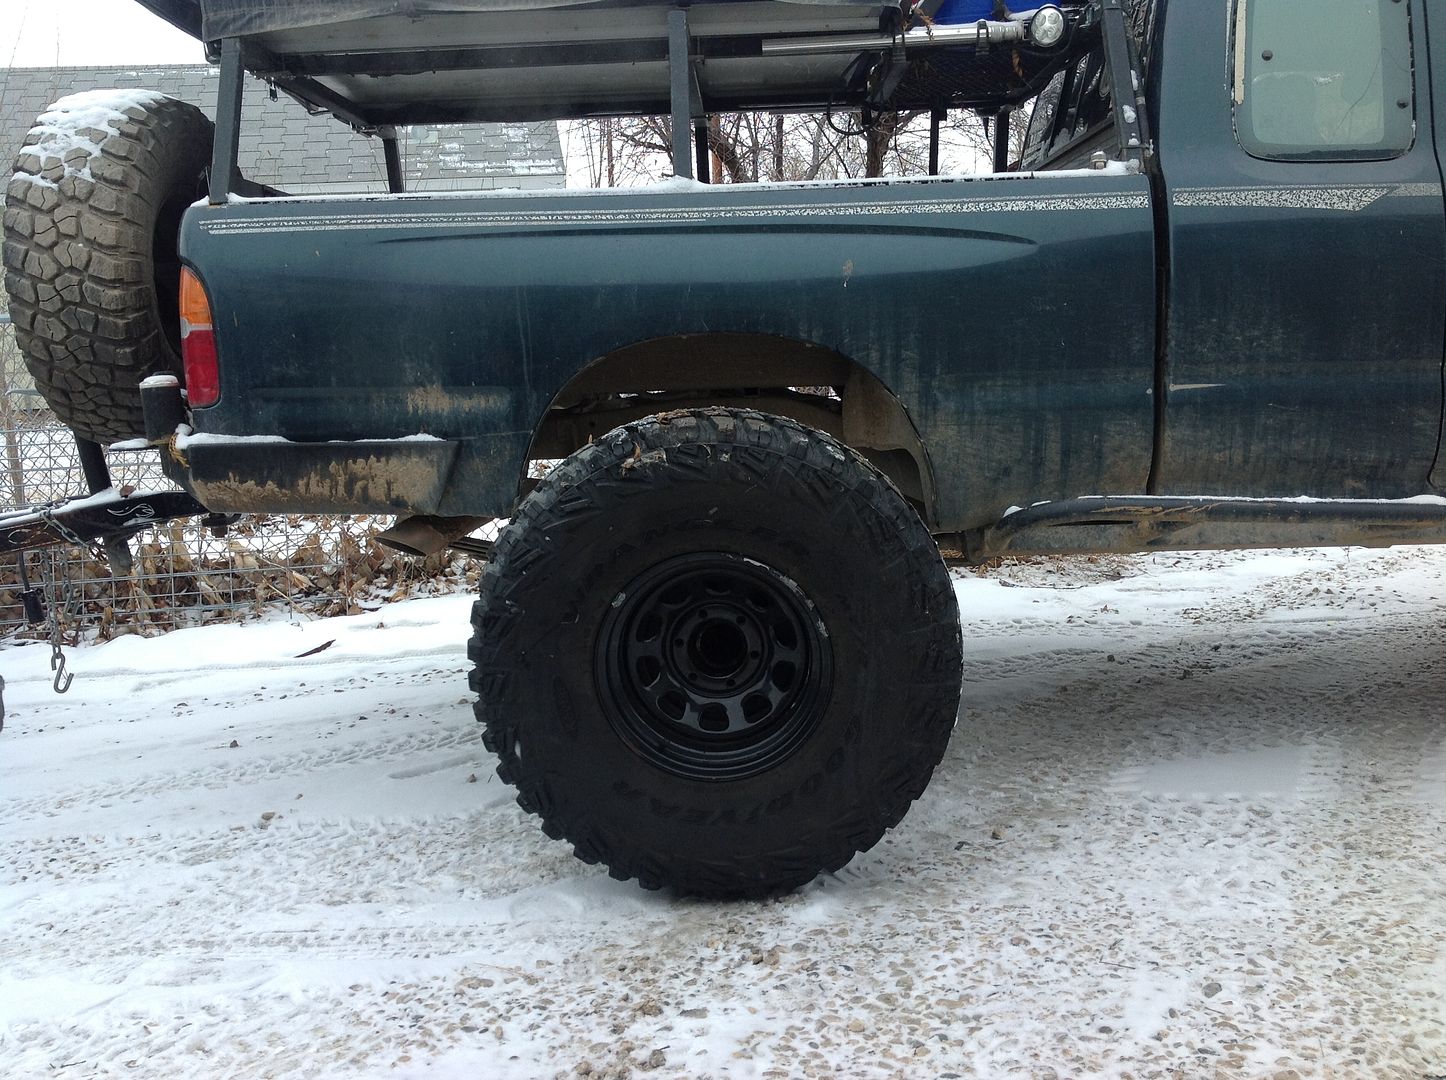
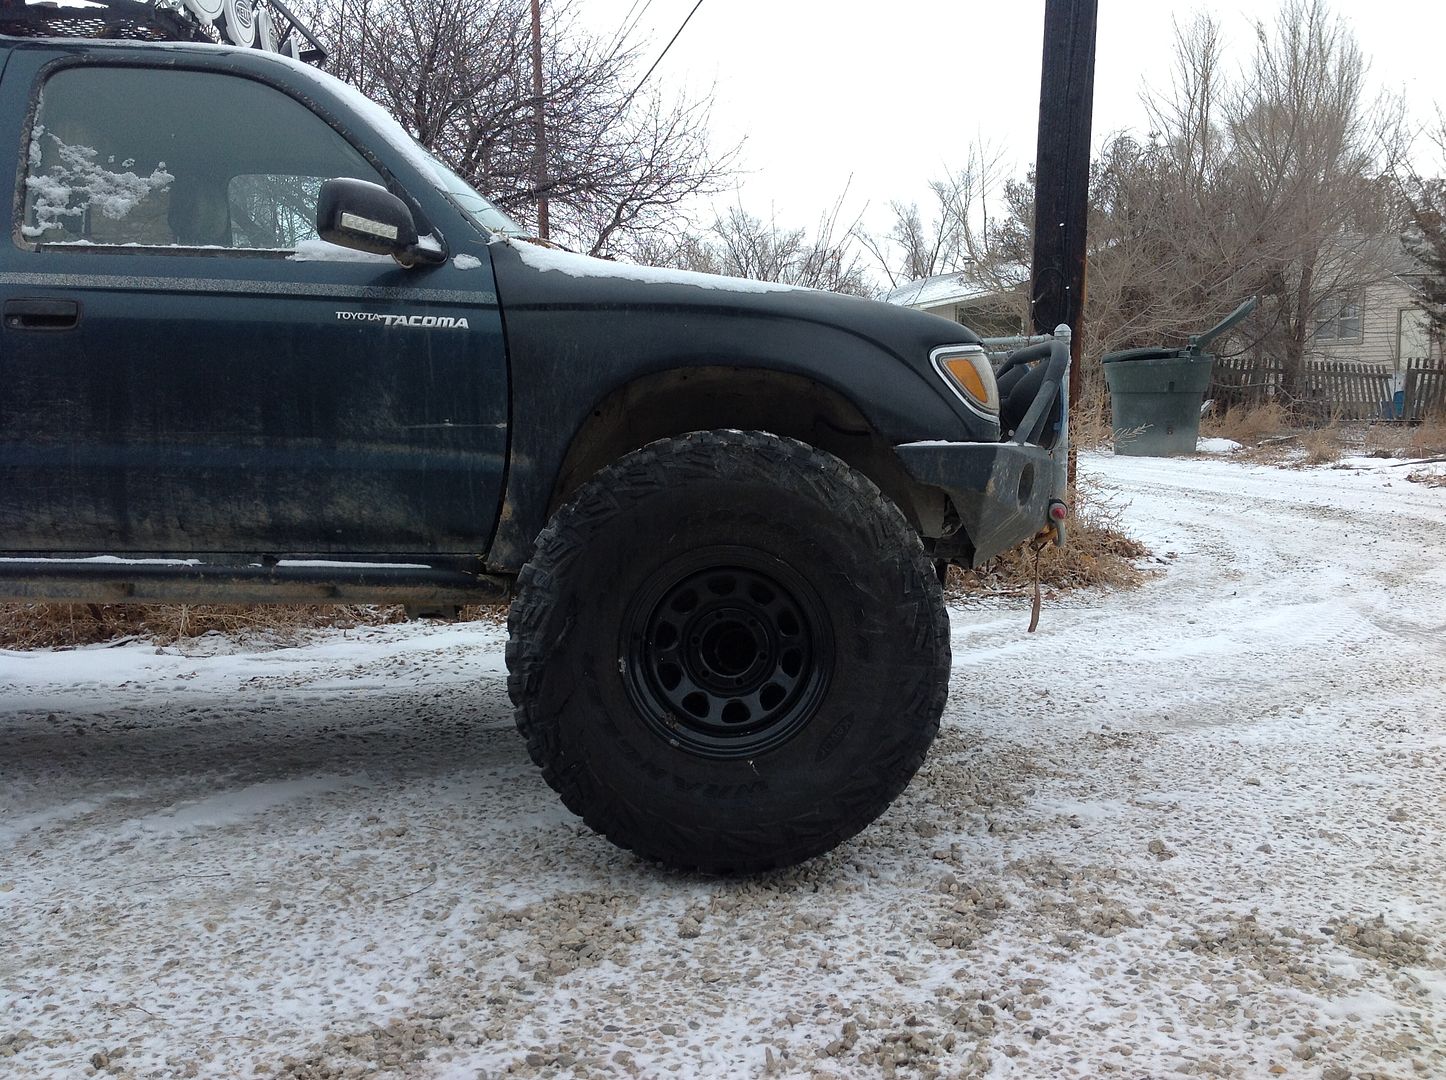
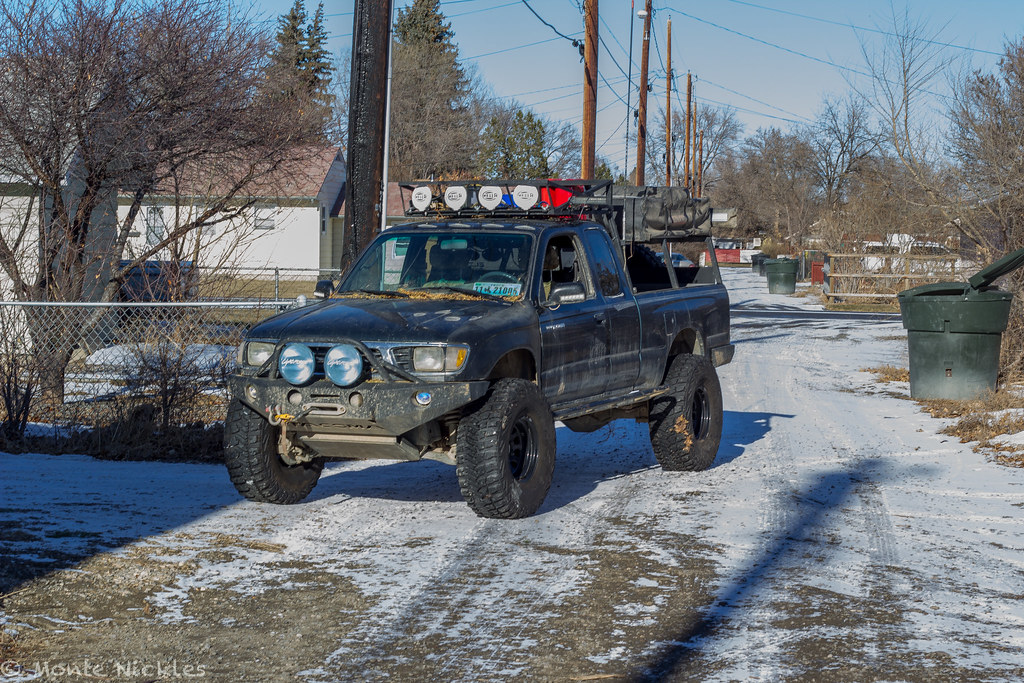
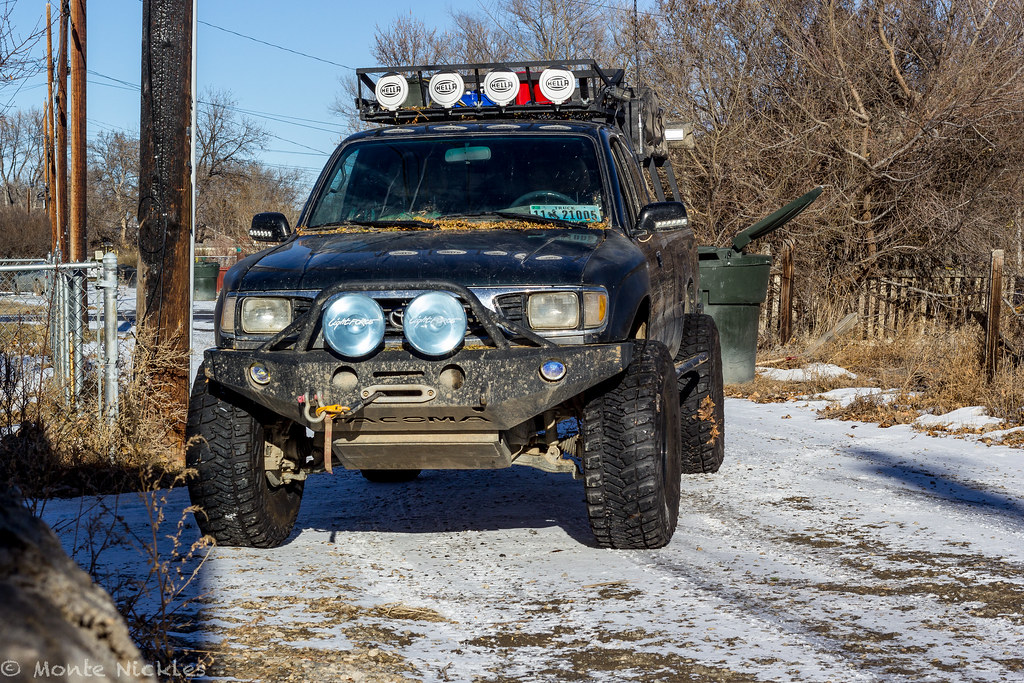
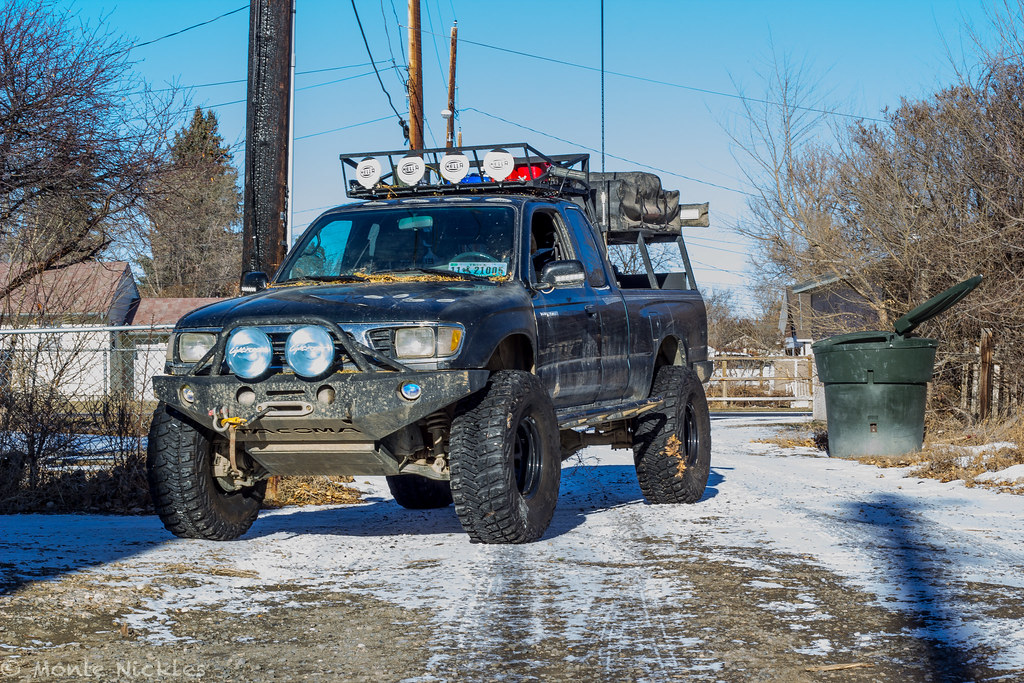
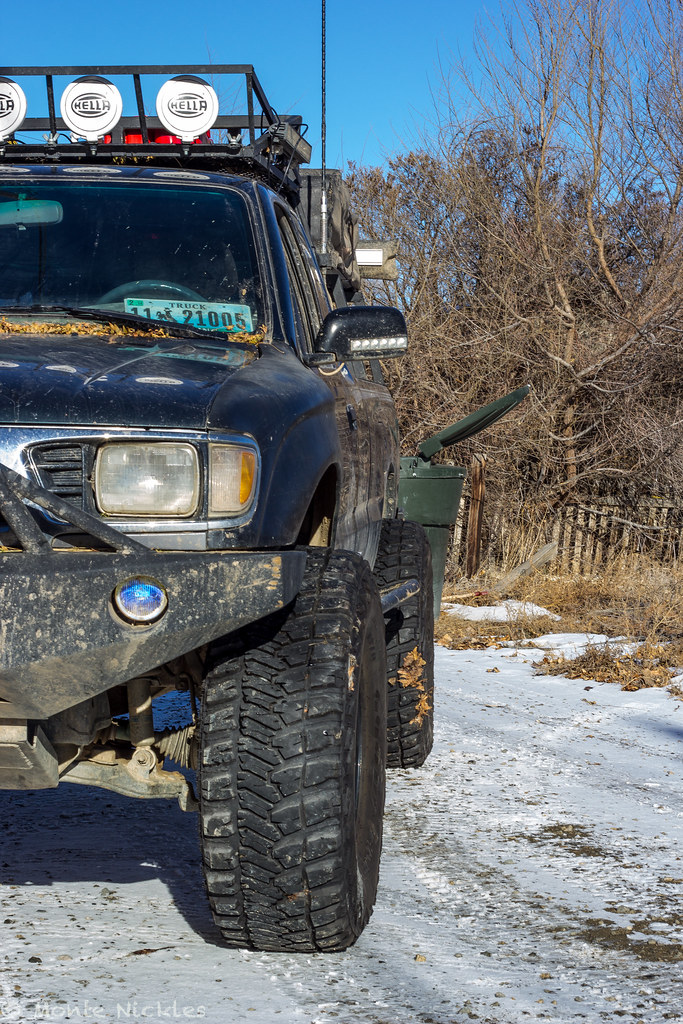
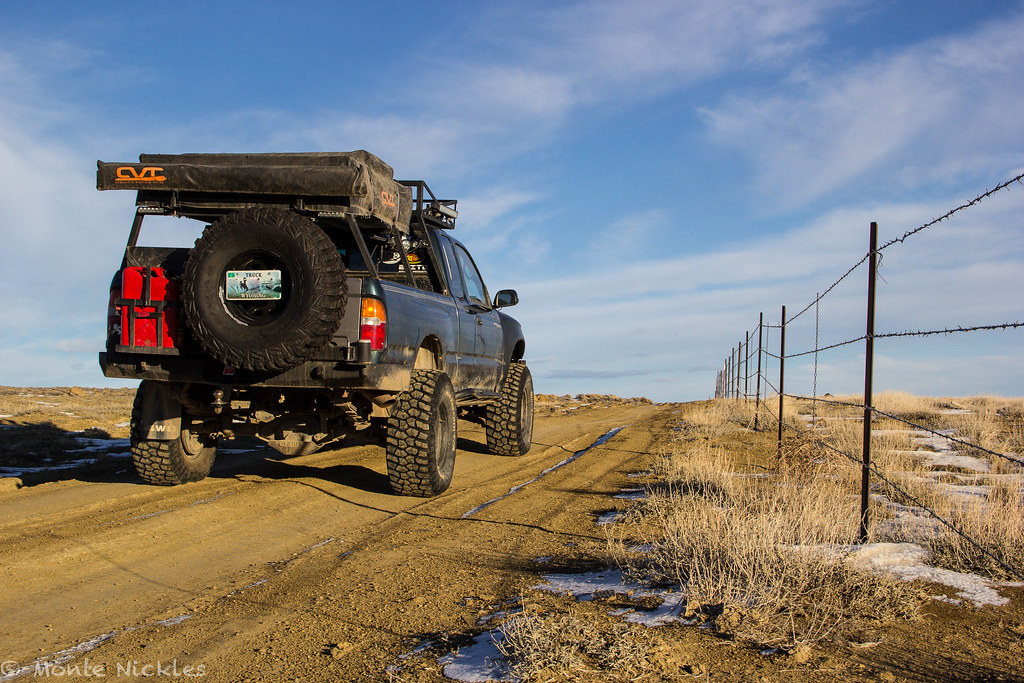
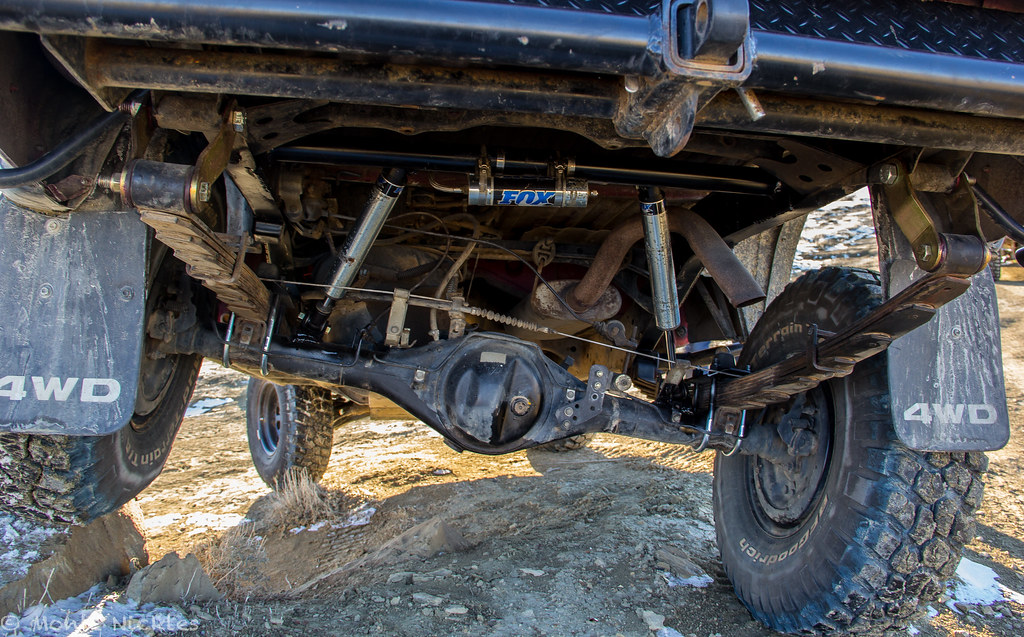
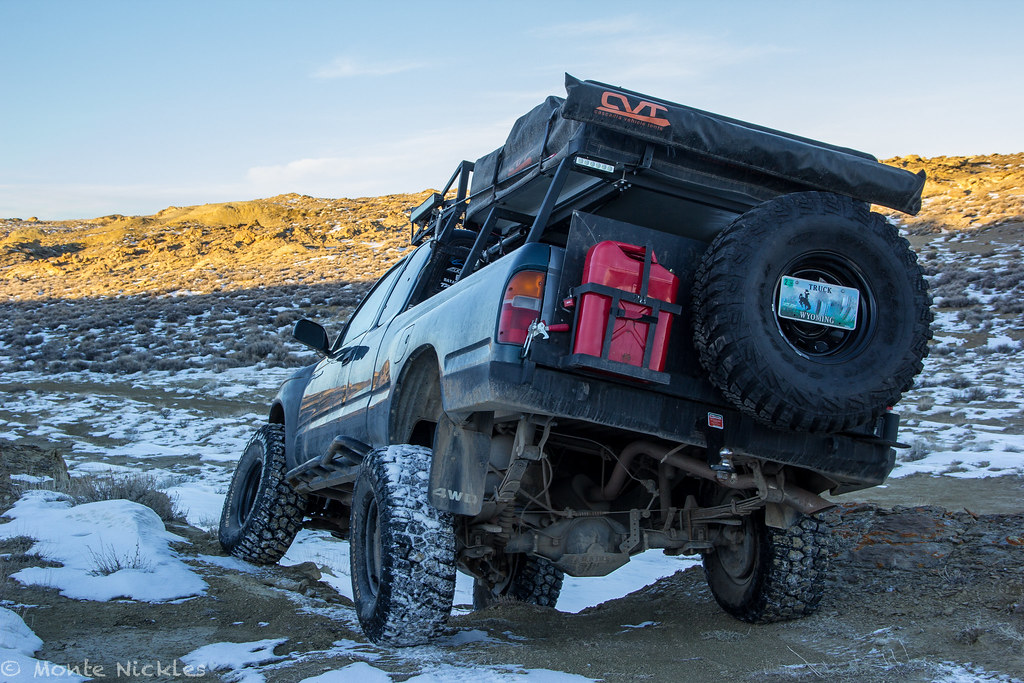
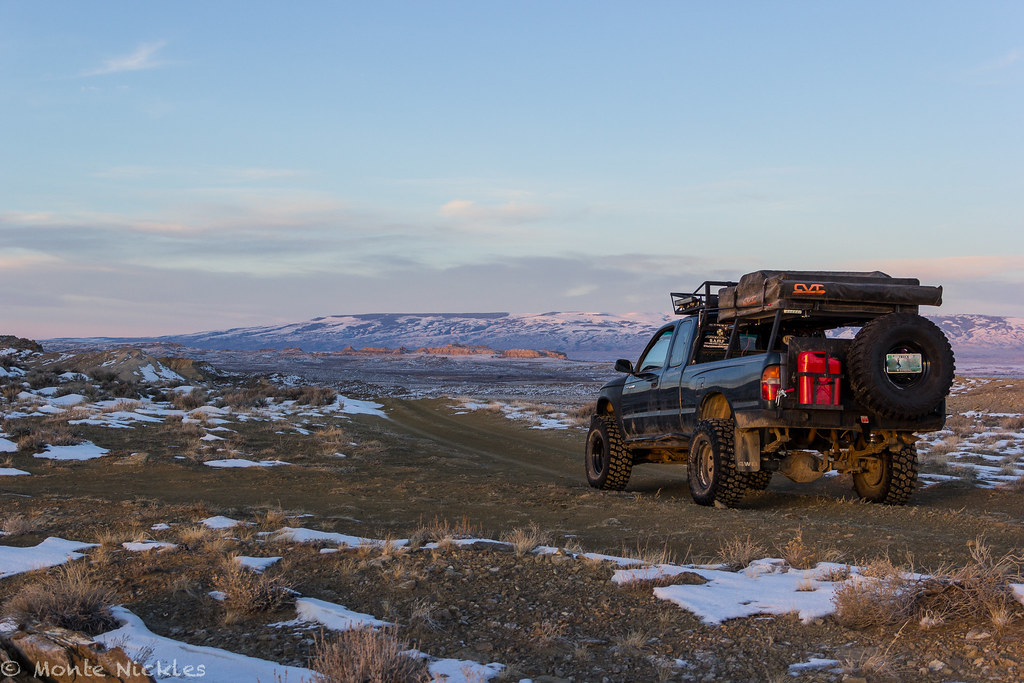
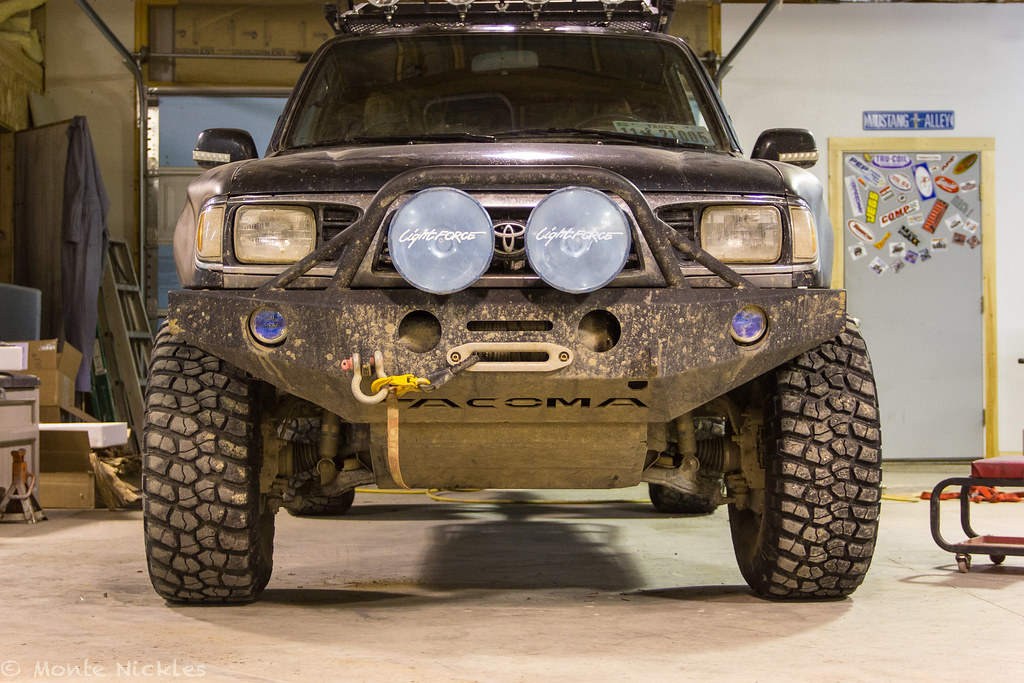
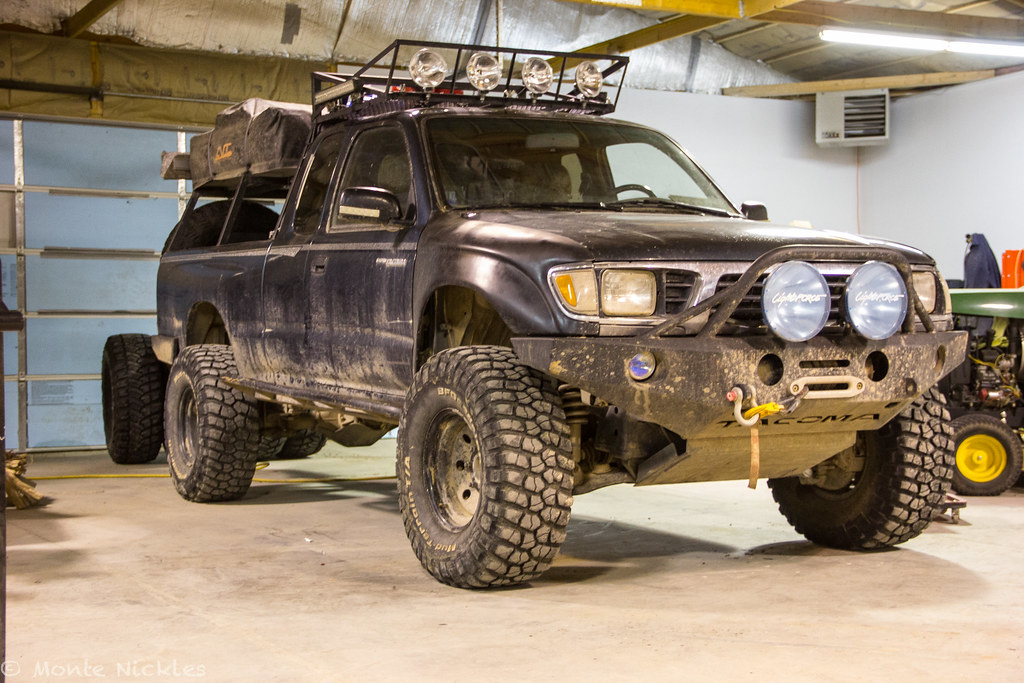
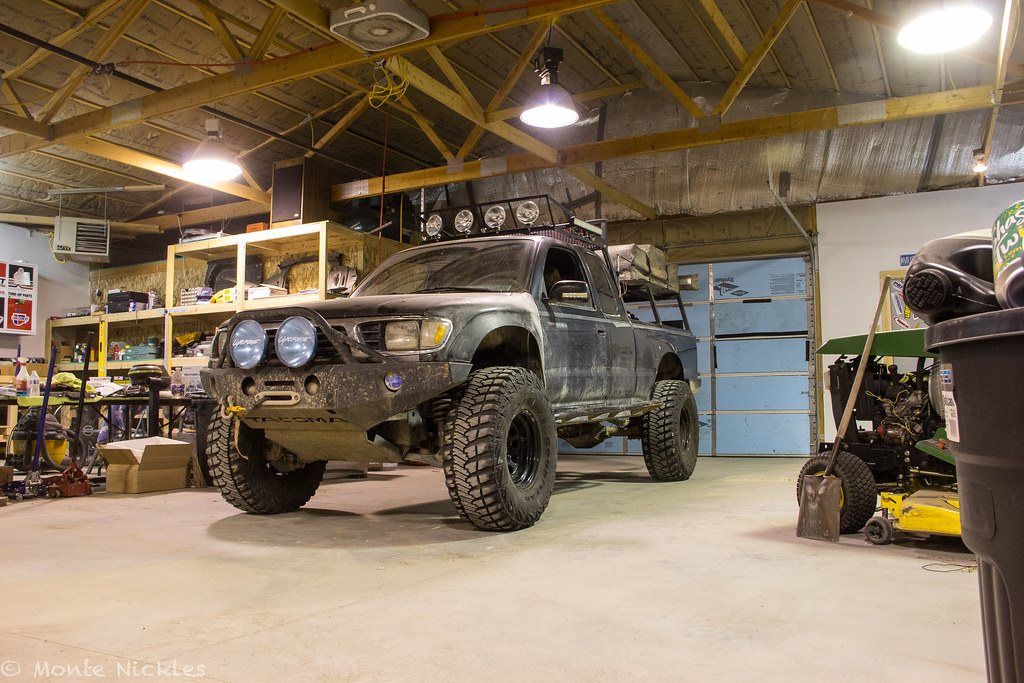
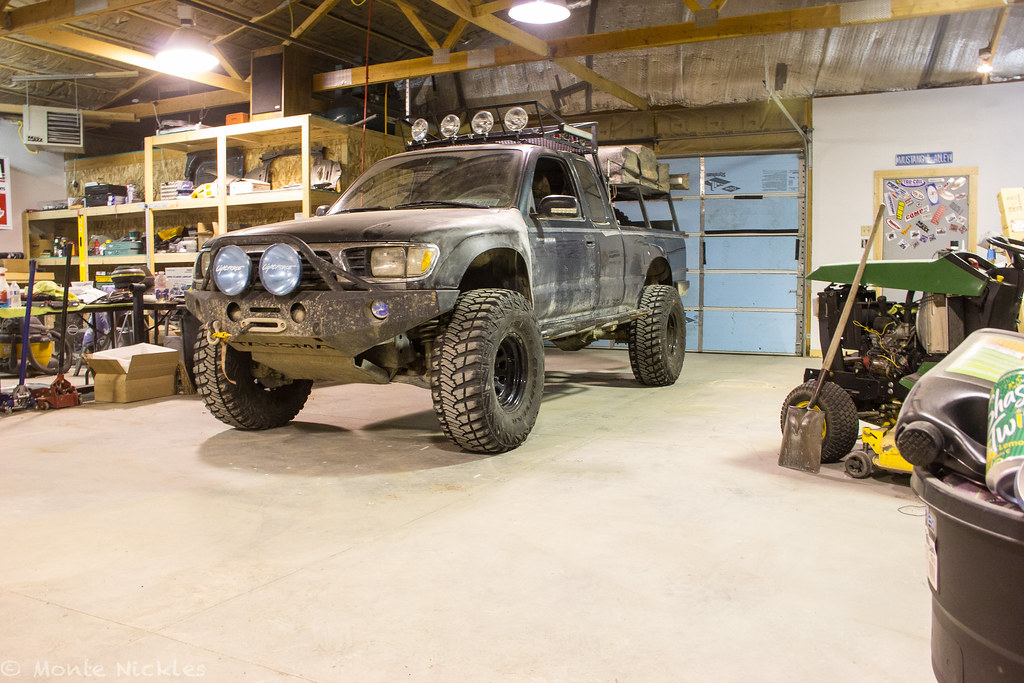
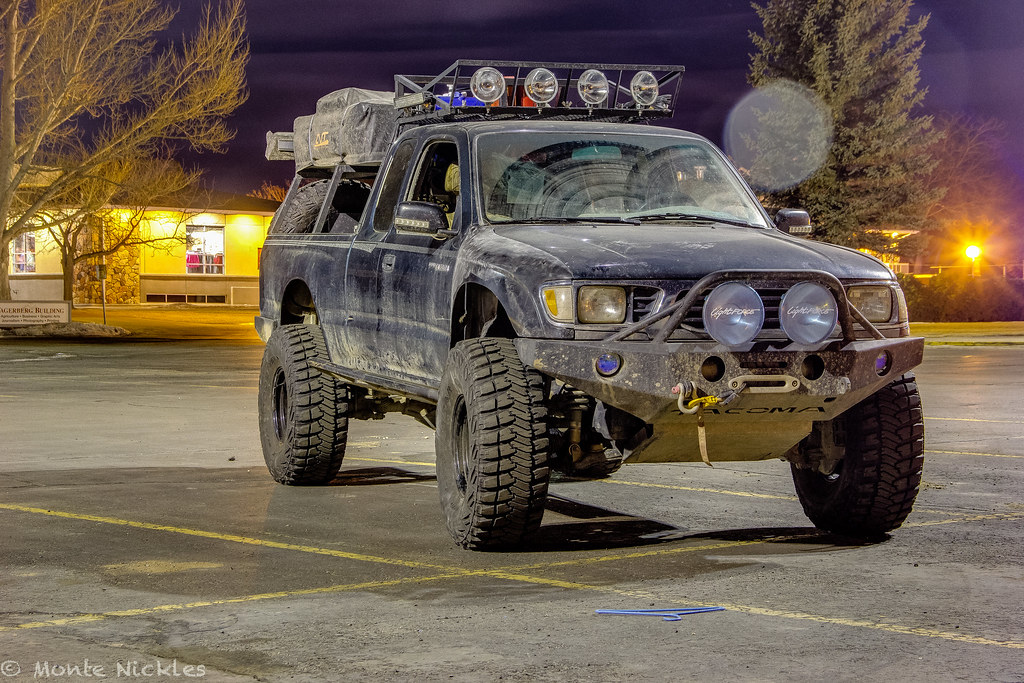
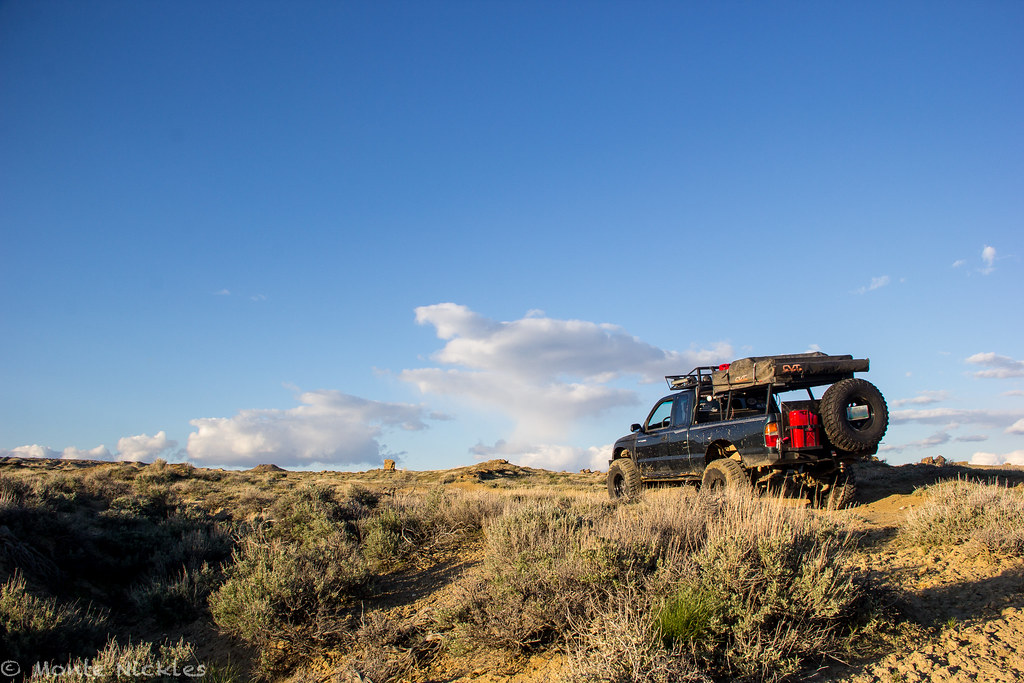
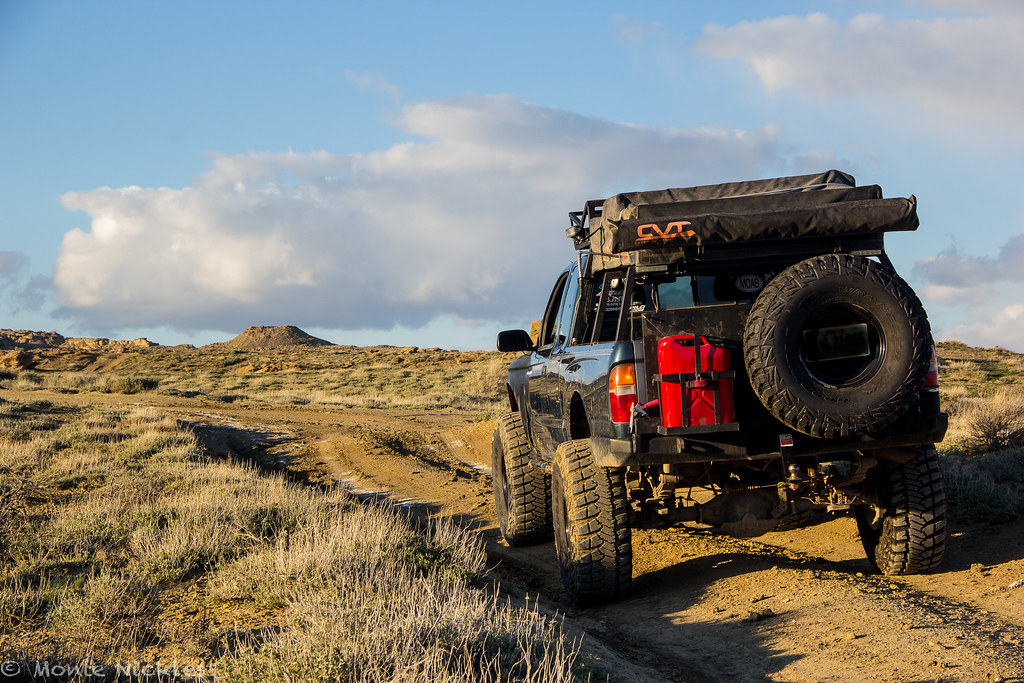
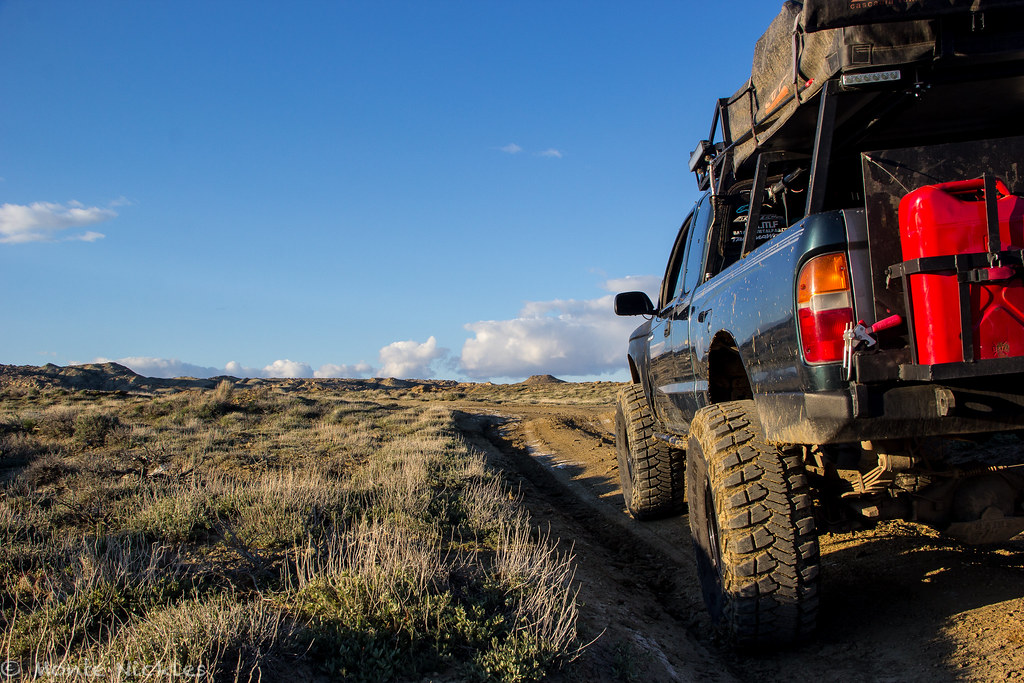
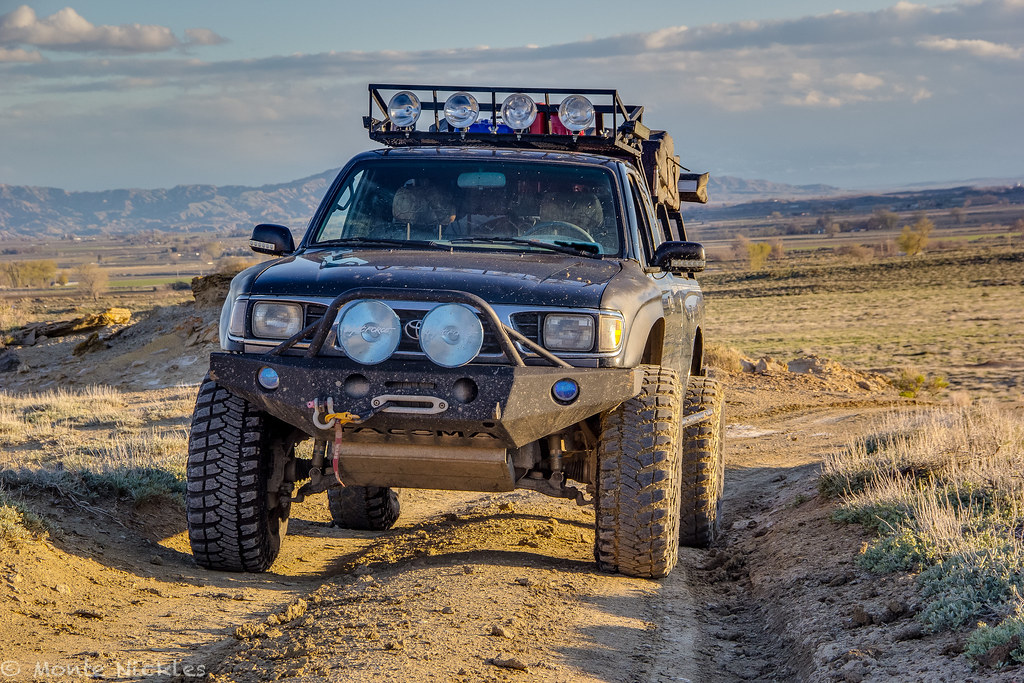
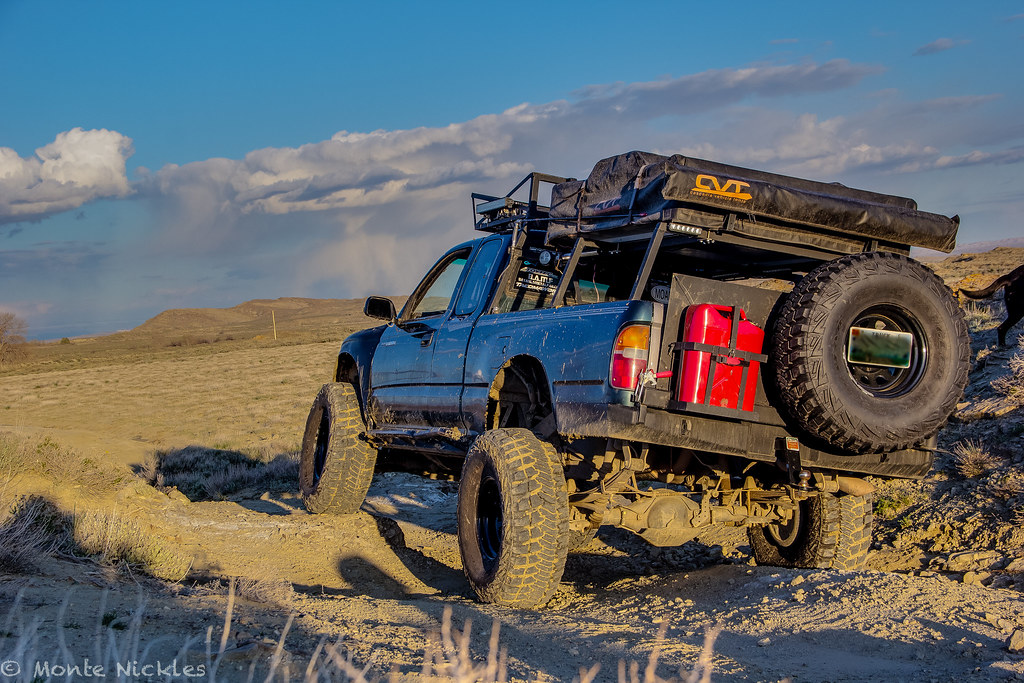
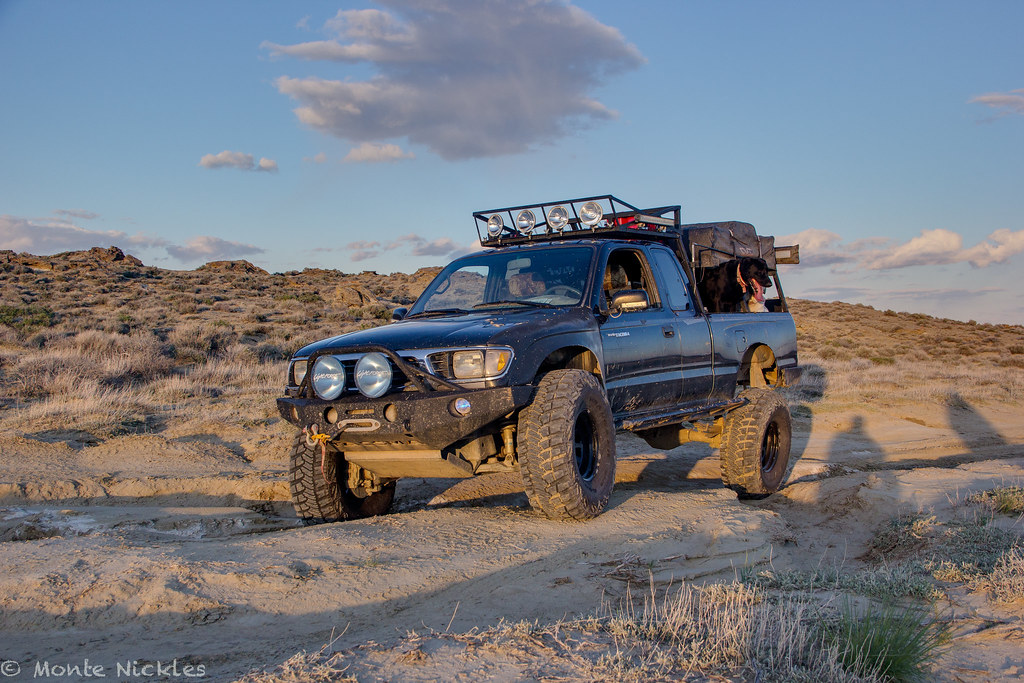
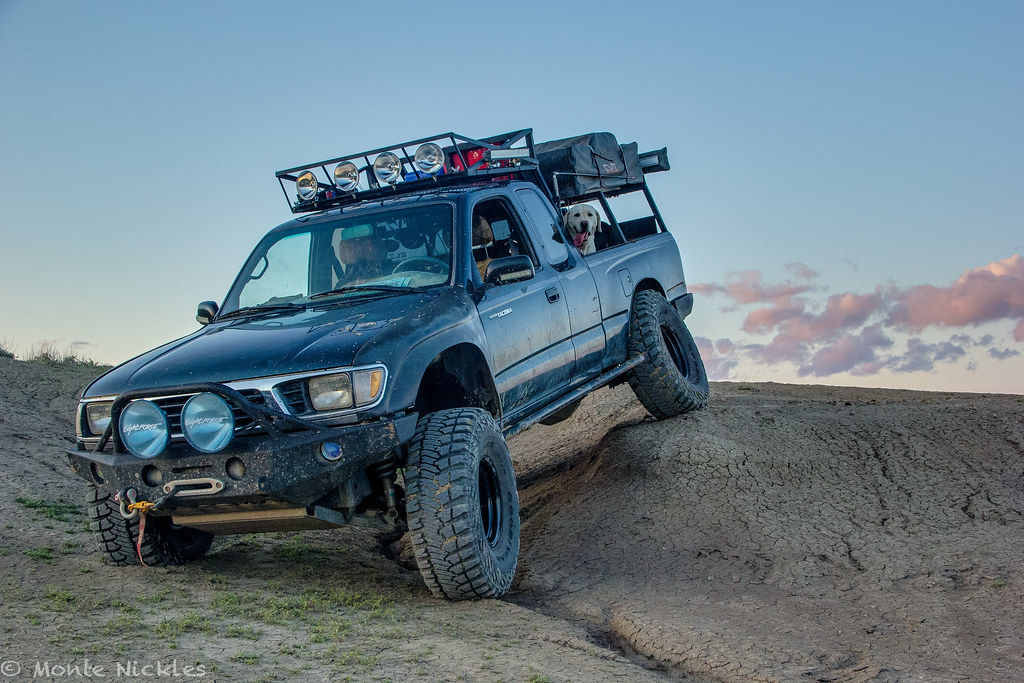
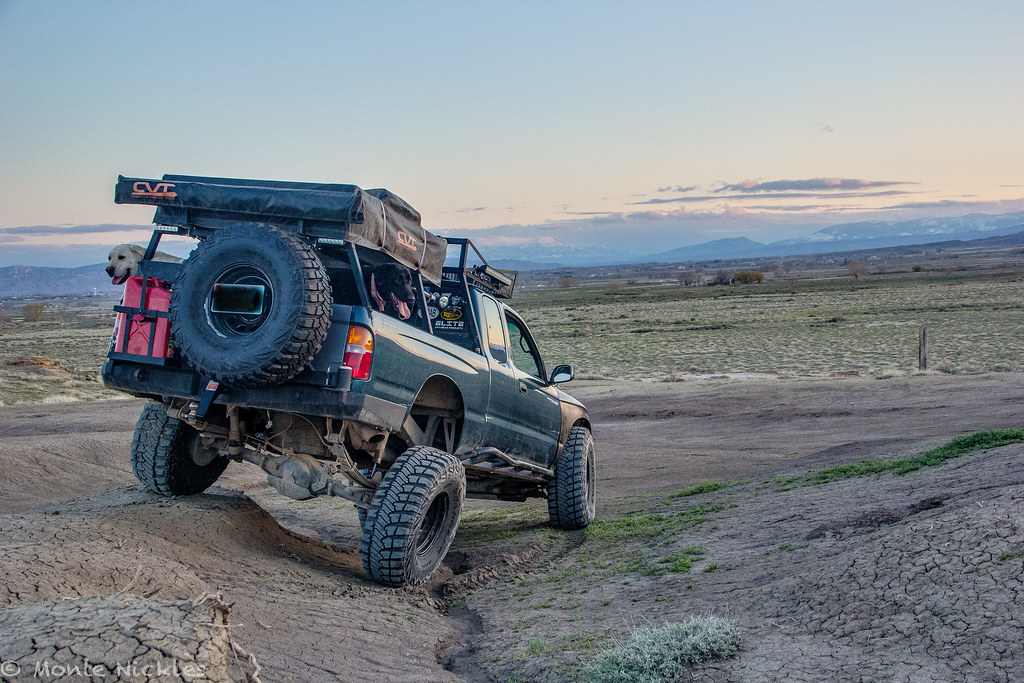
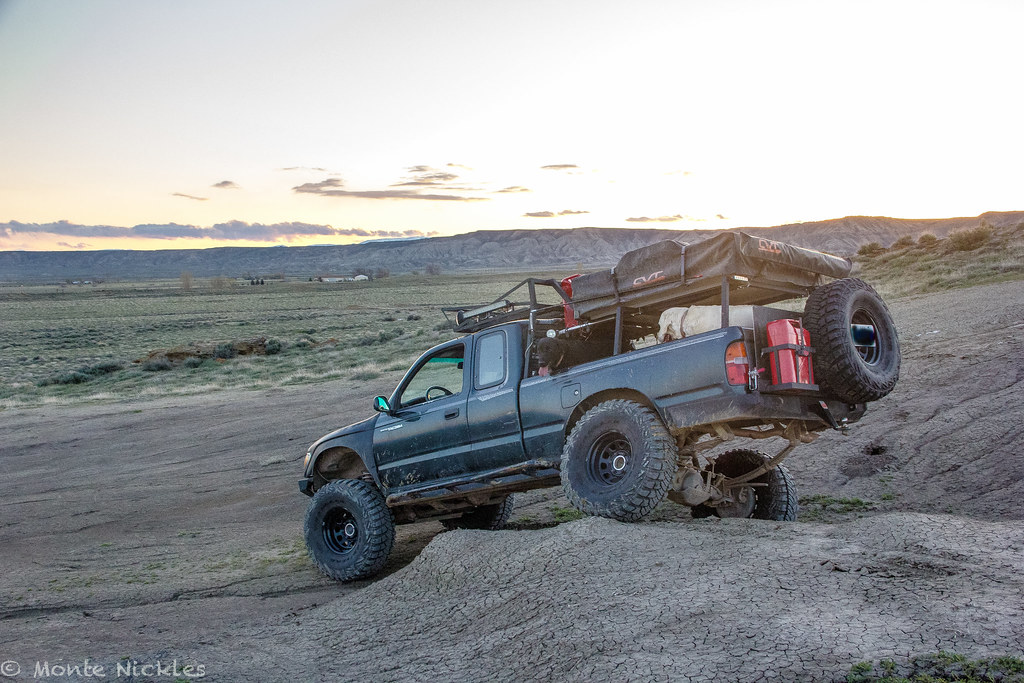
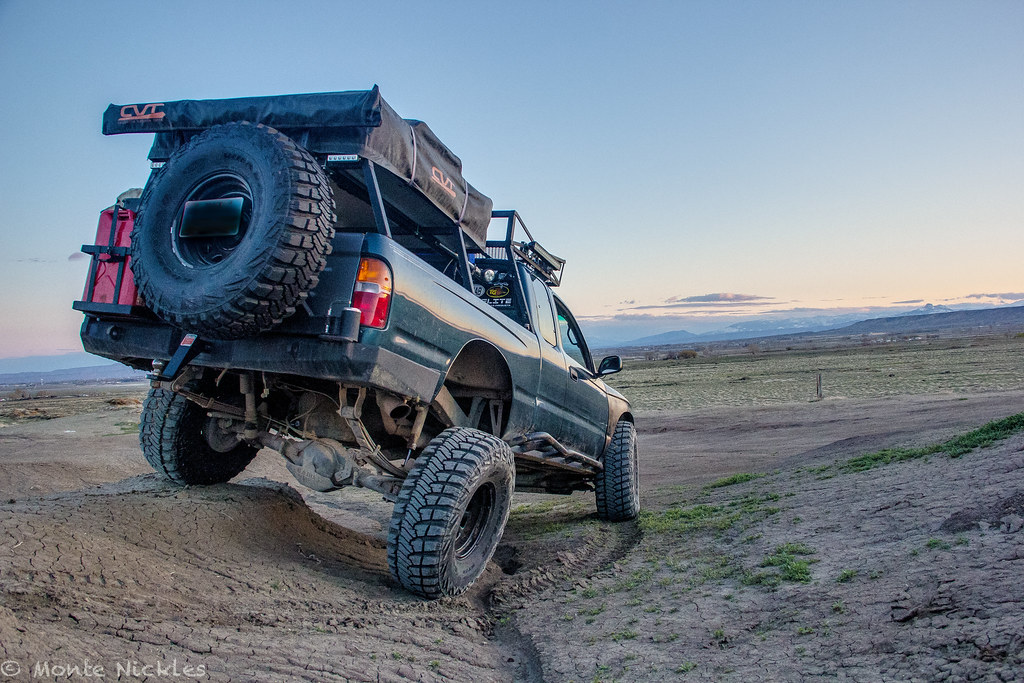
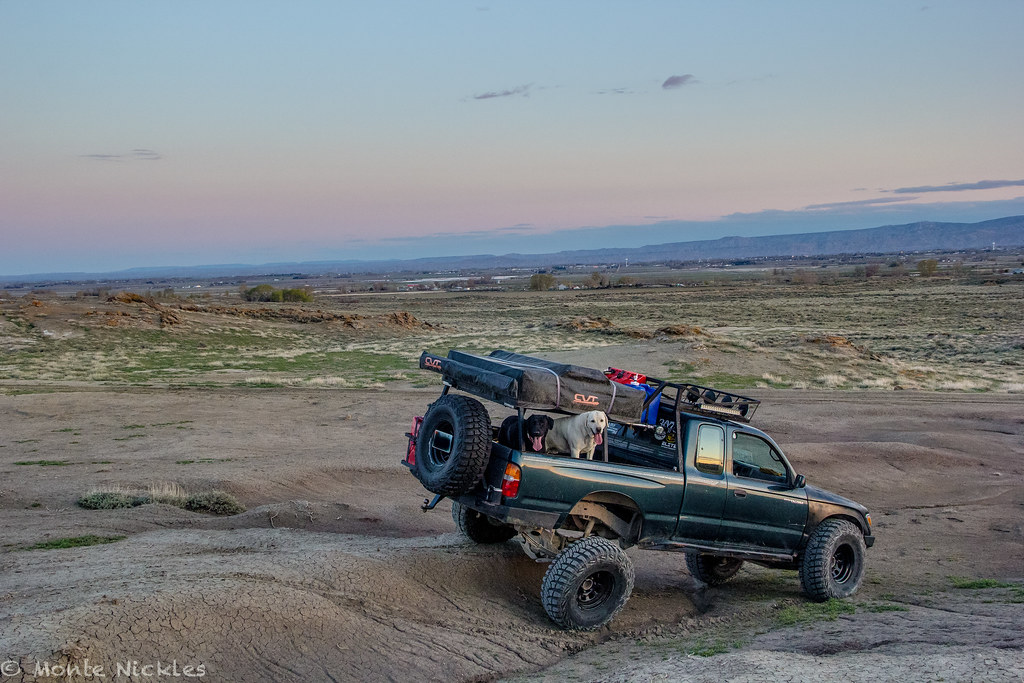
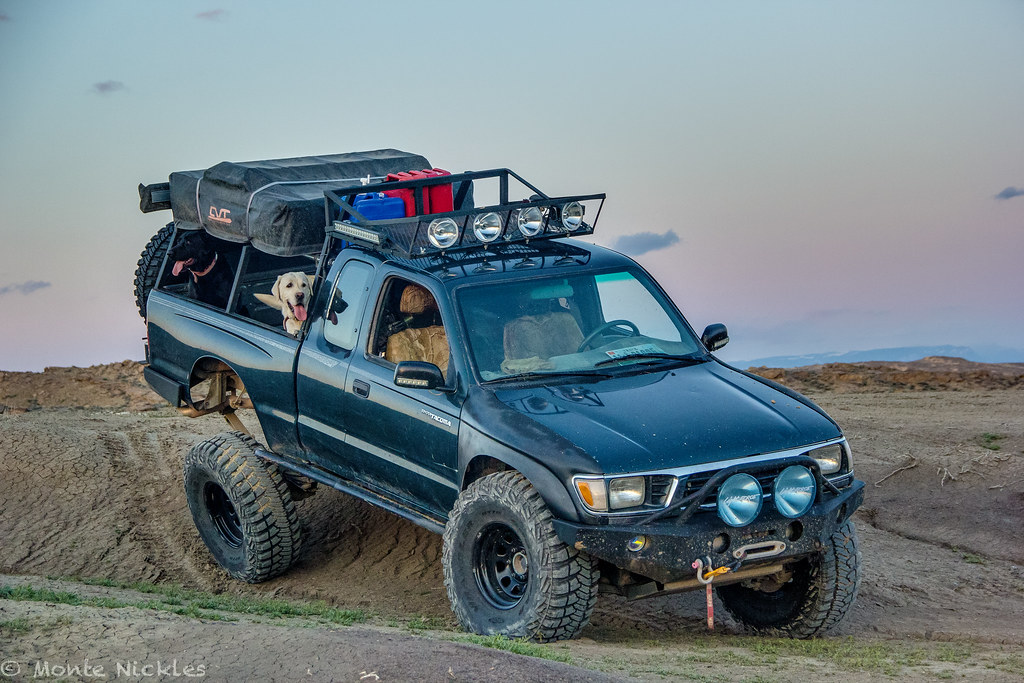
The Frankenstein Build: 1996 Tacoma Long Travel/Expo/Trail Rig

Blackdawg

Dr. Frankenstein
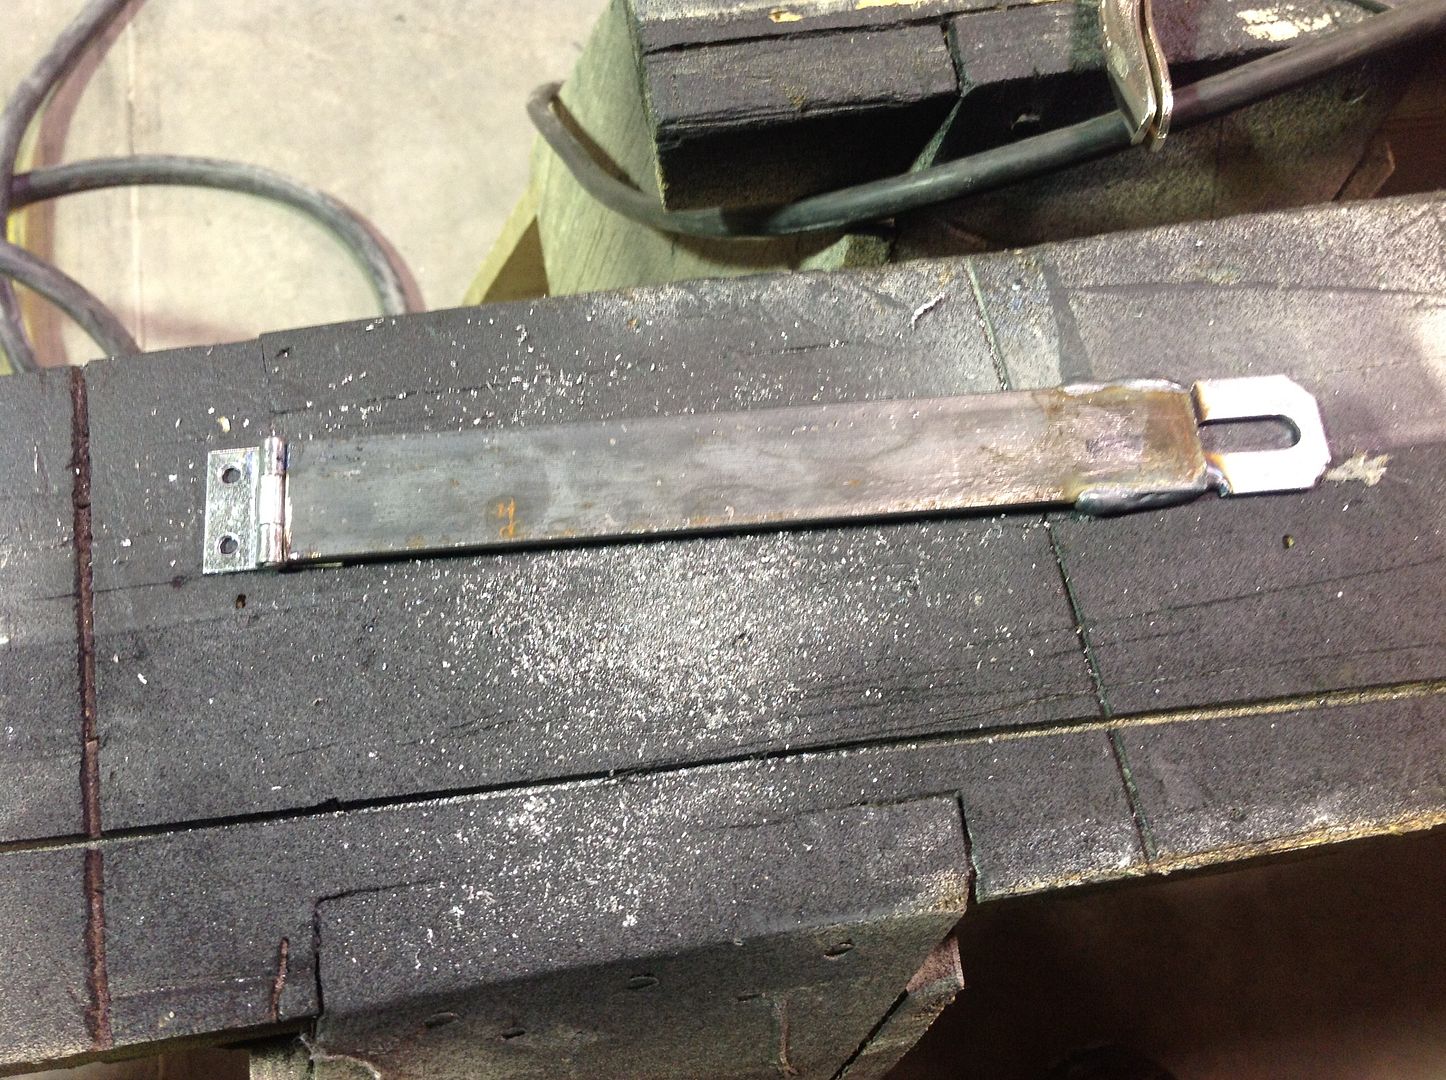
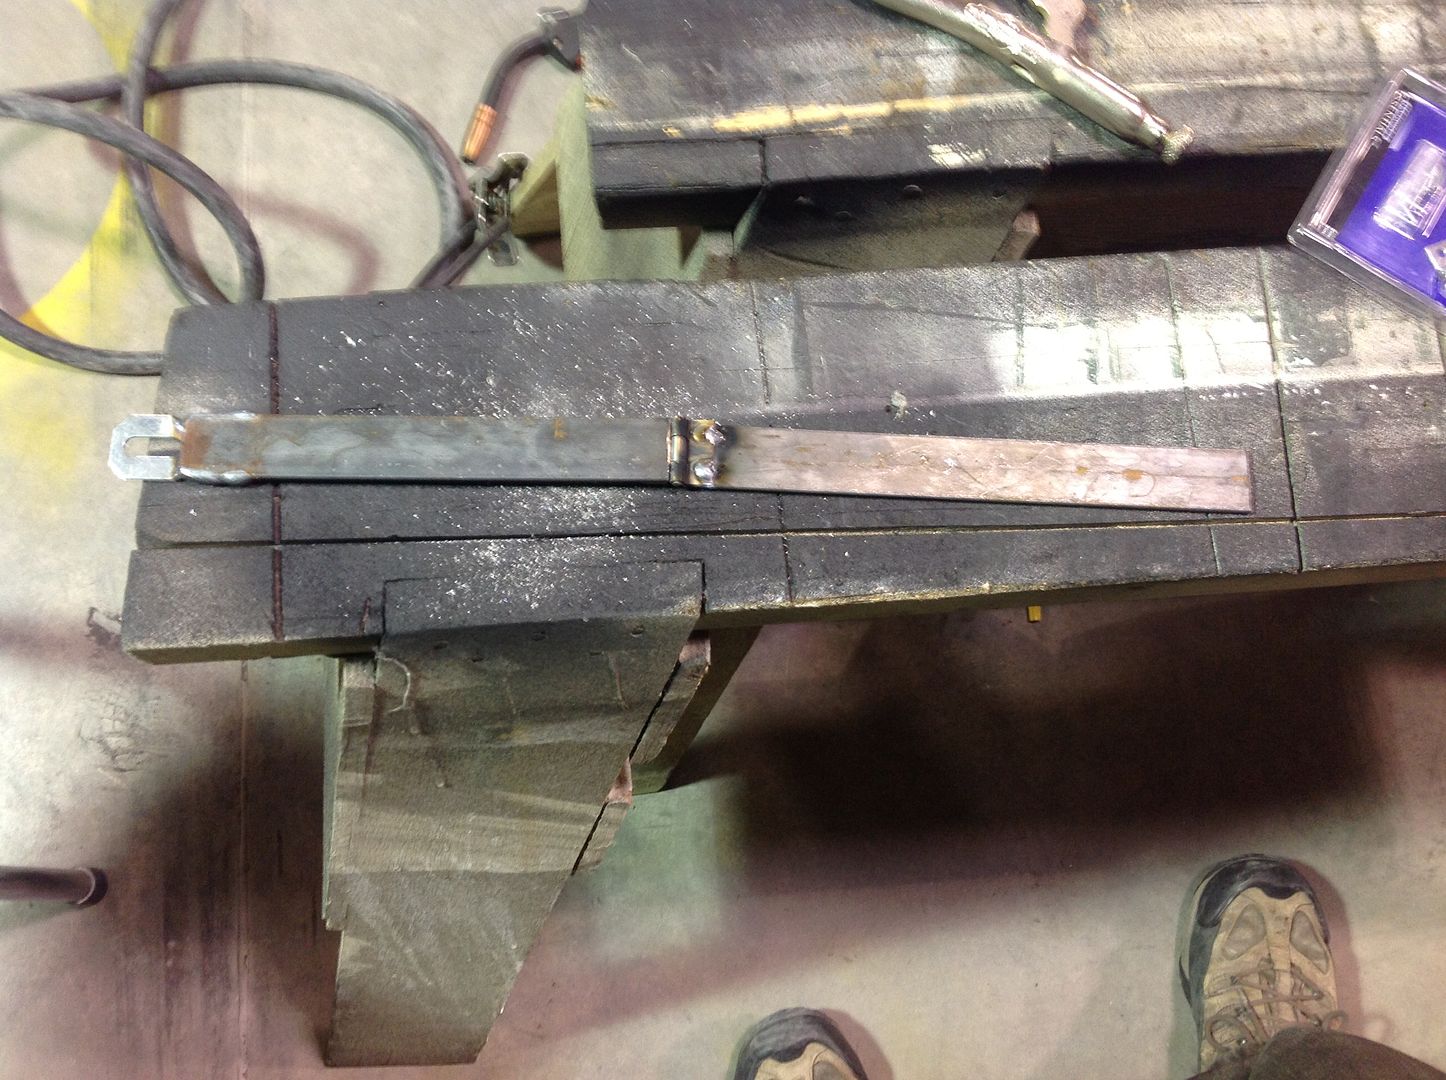
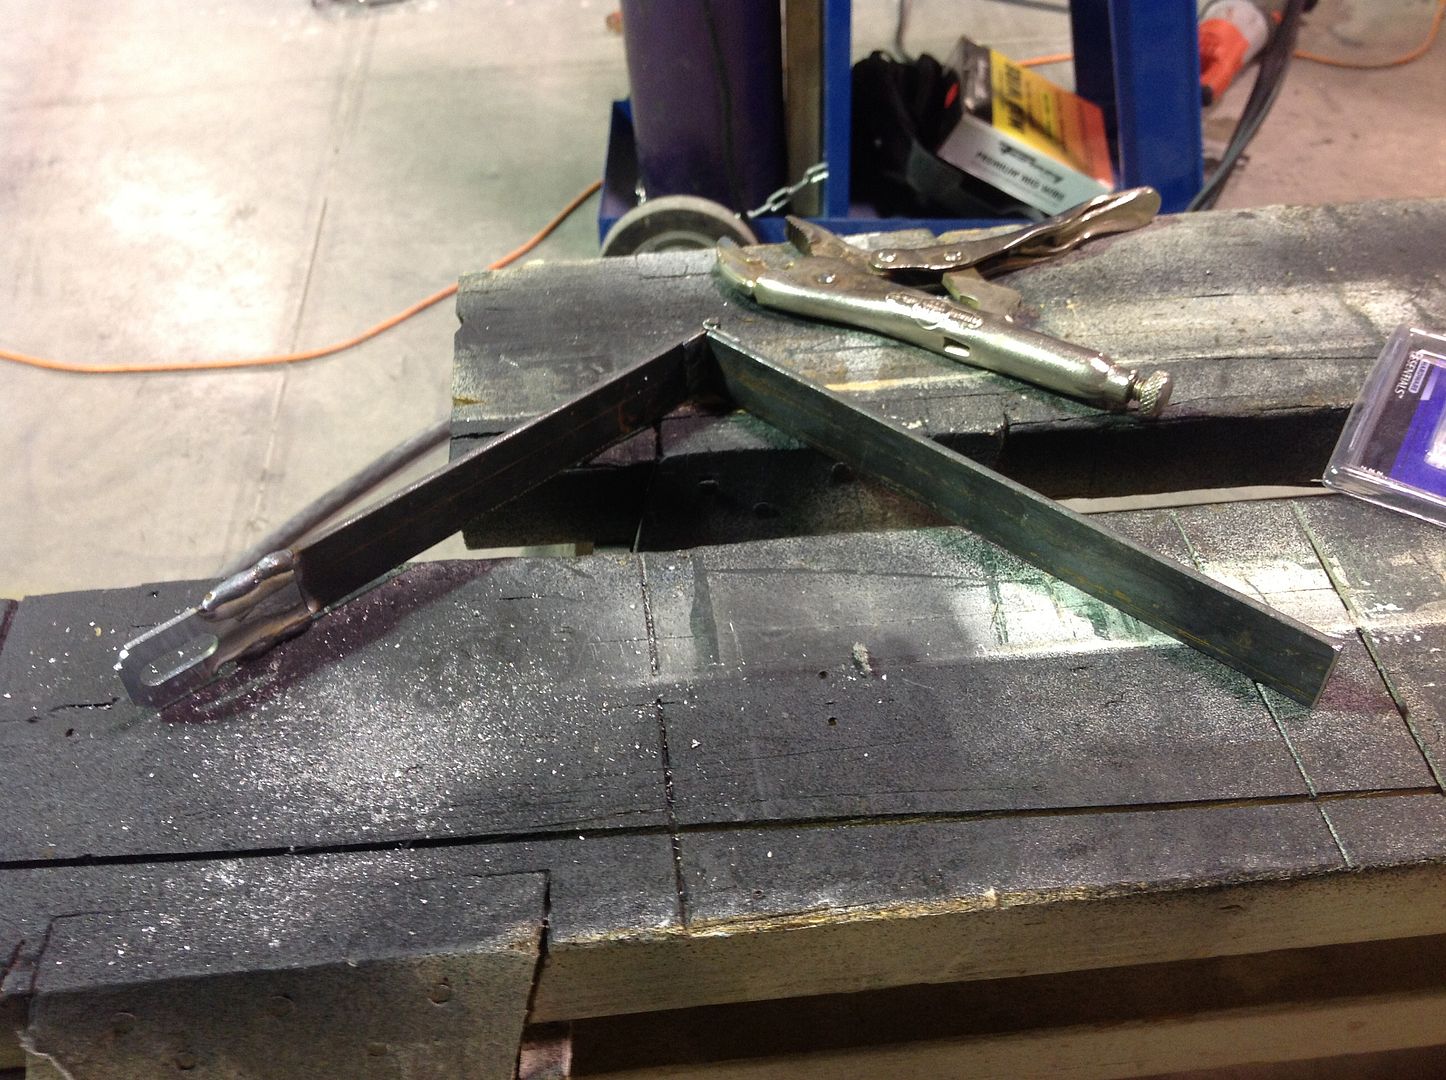
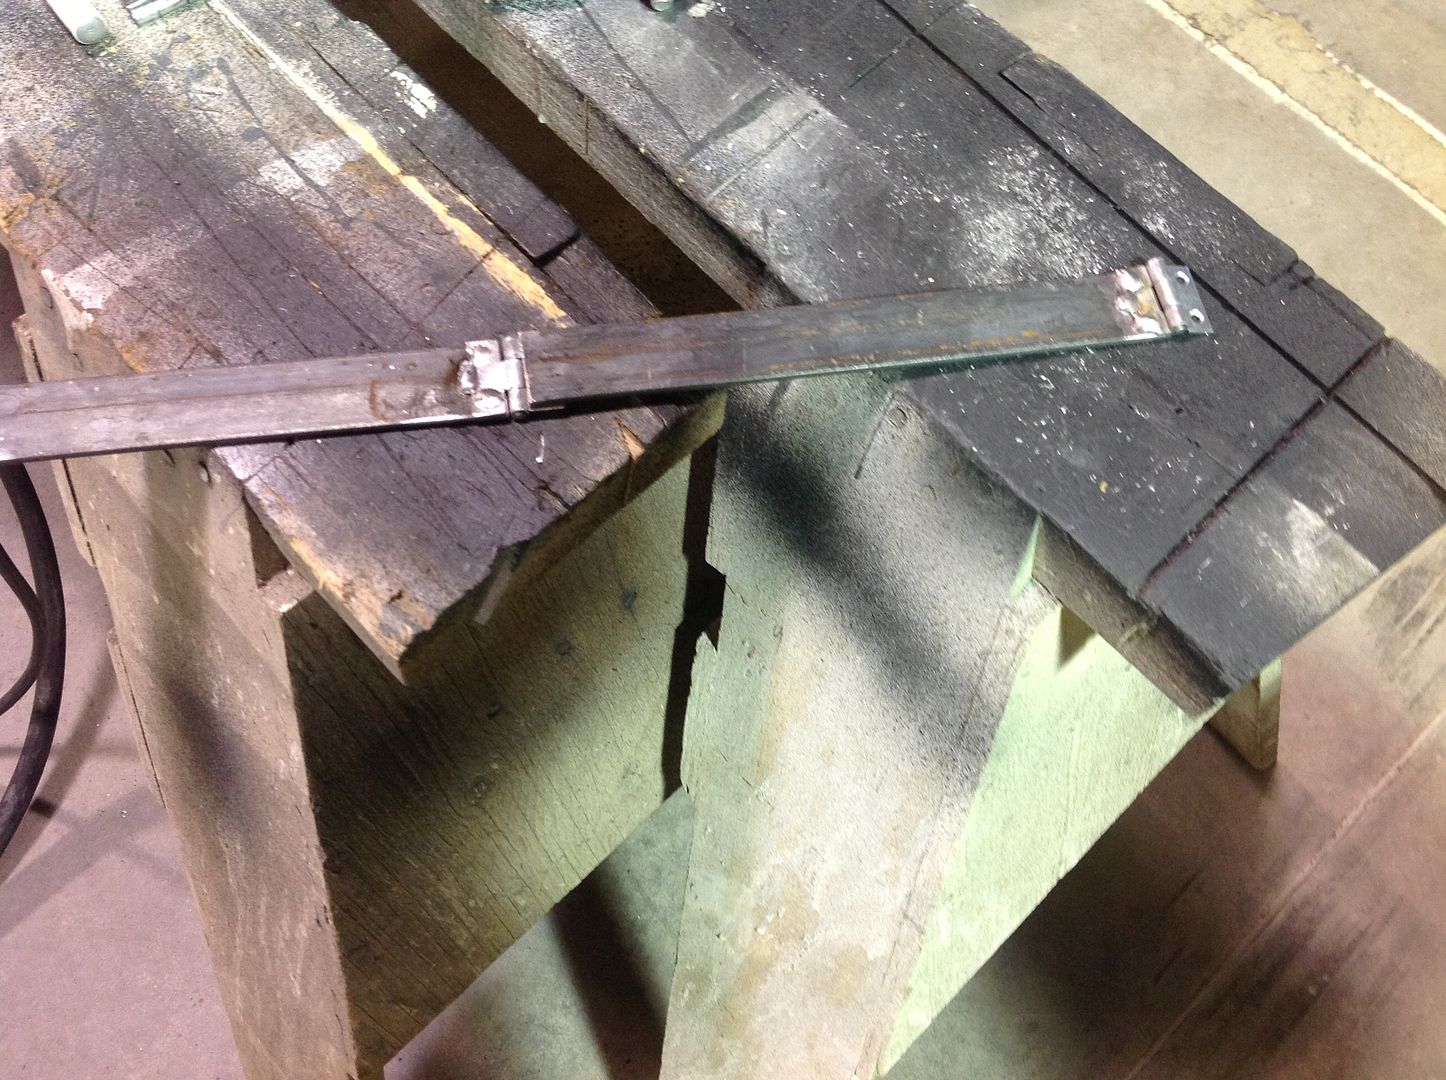
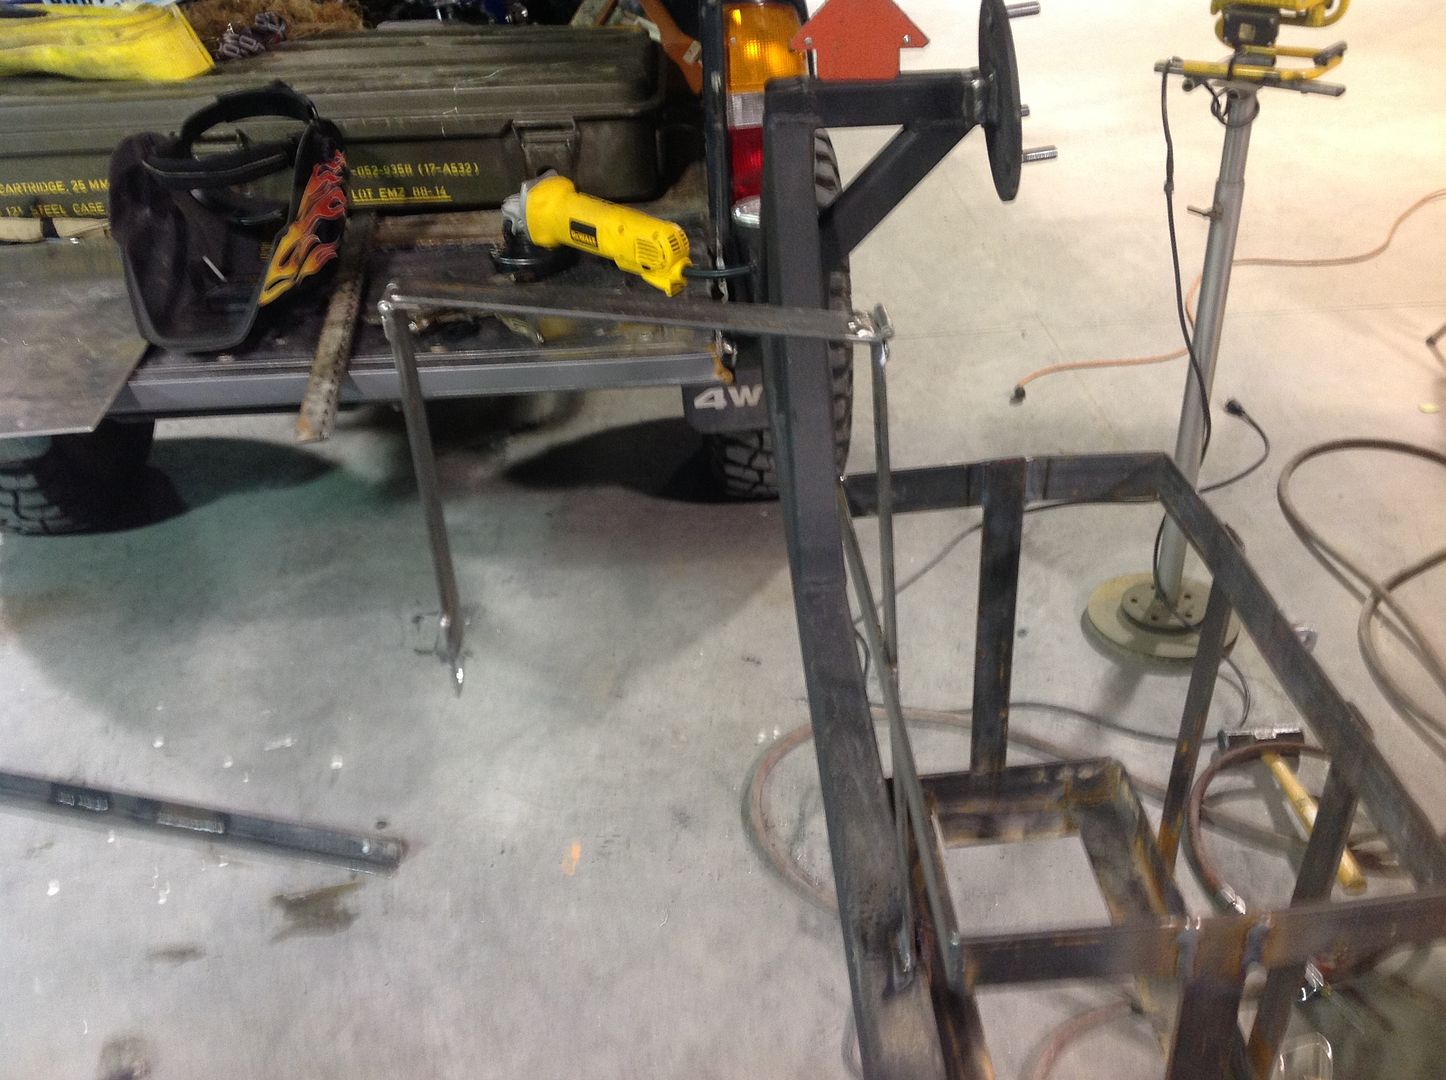
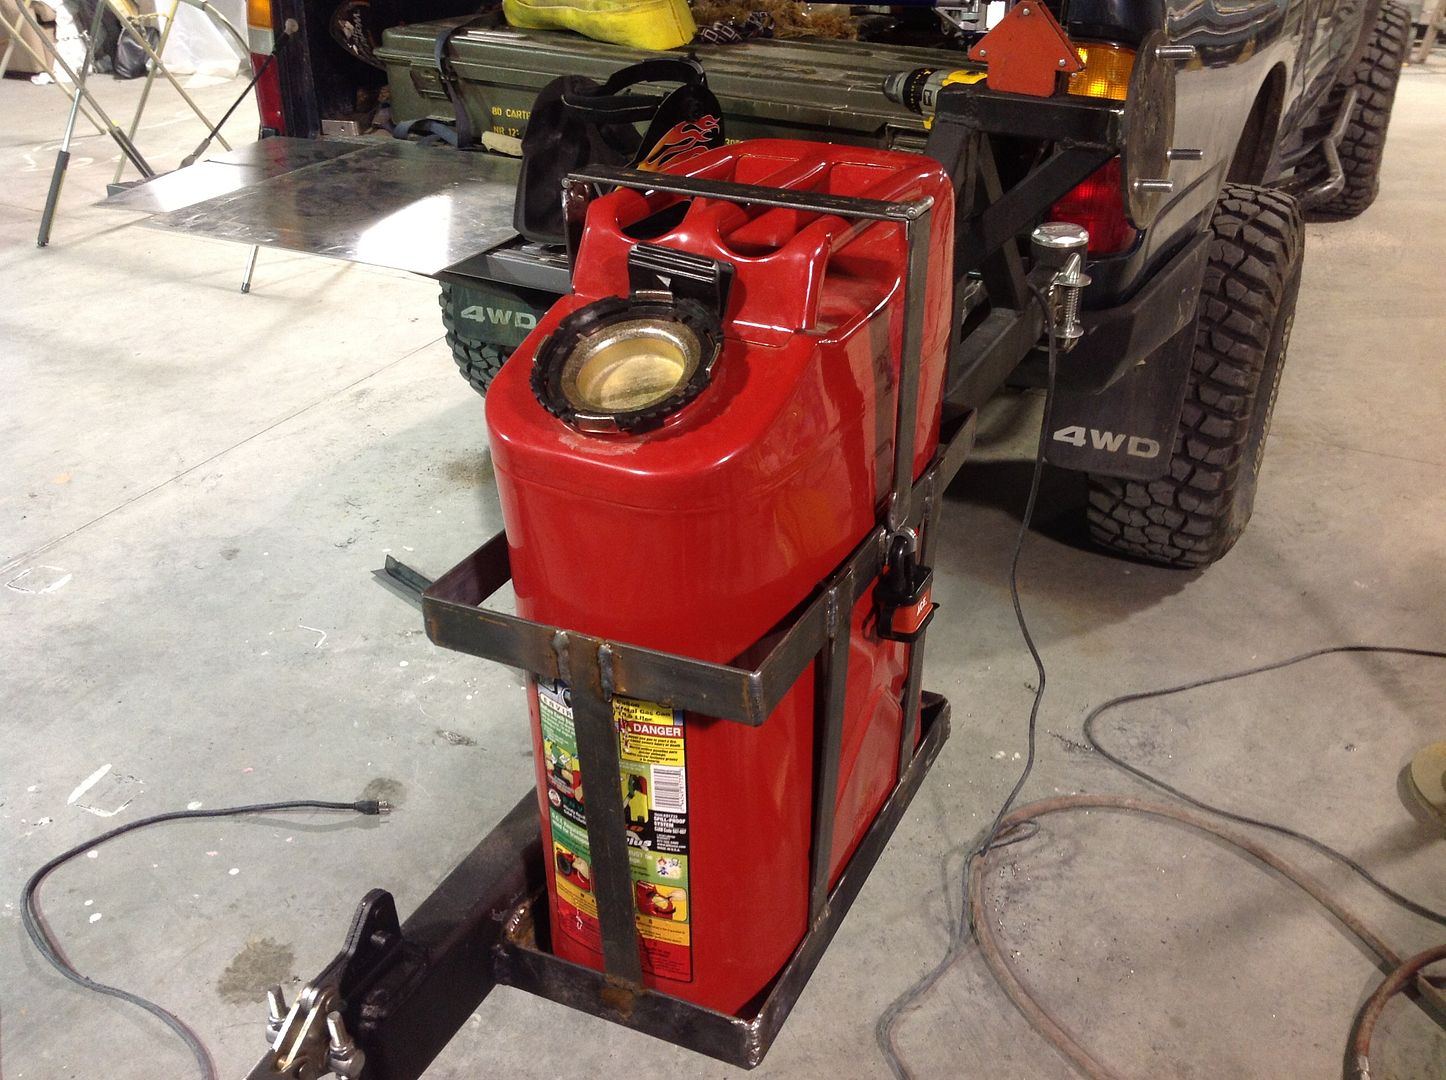
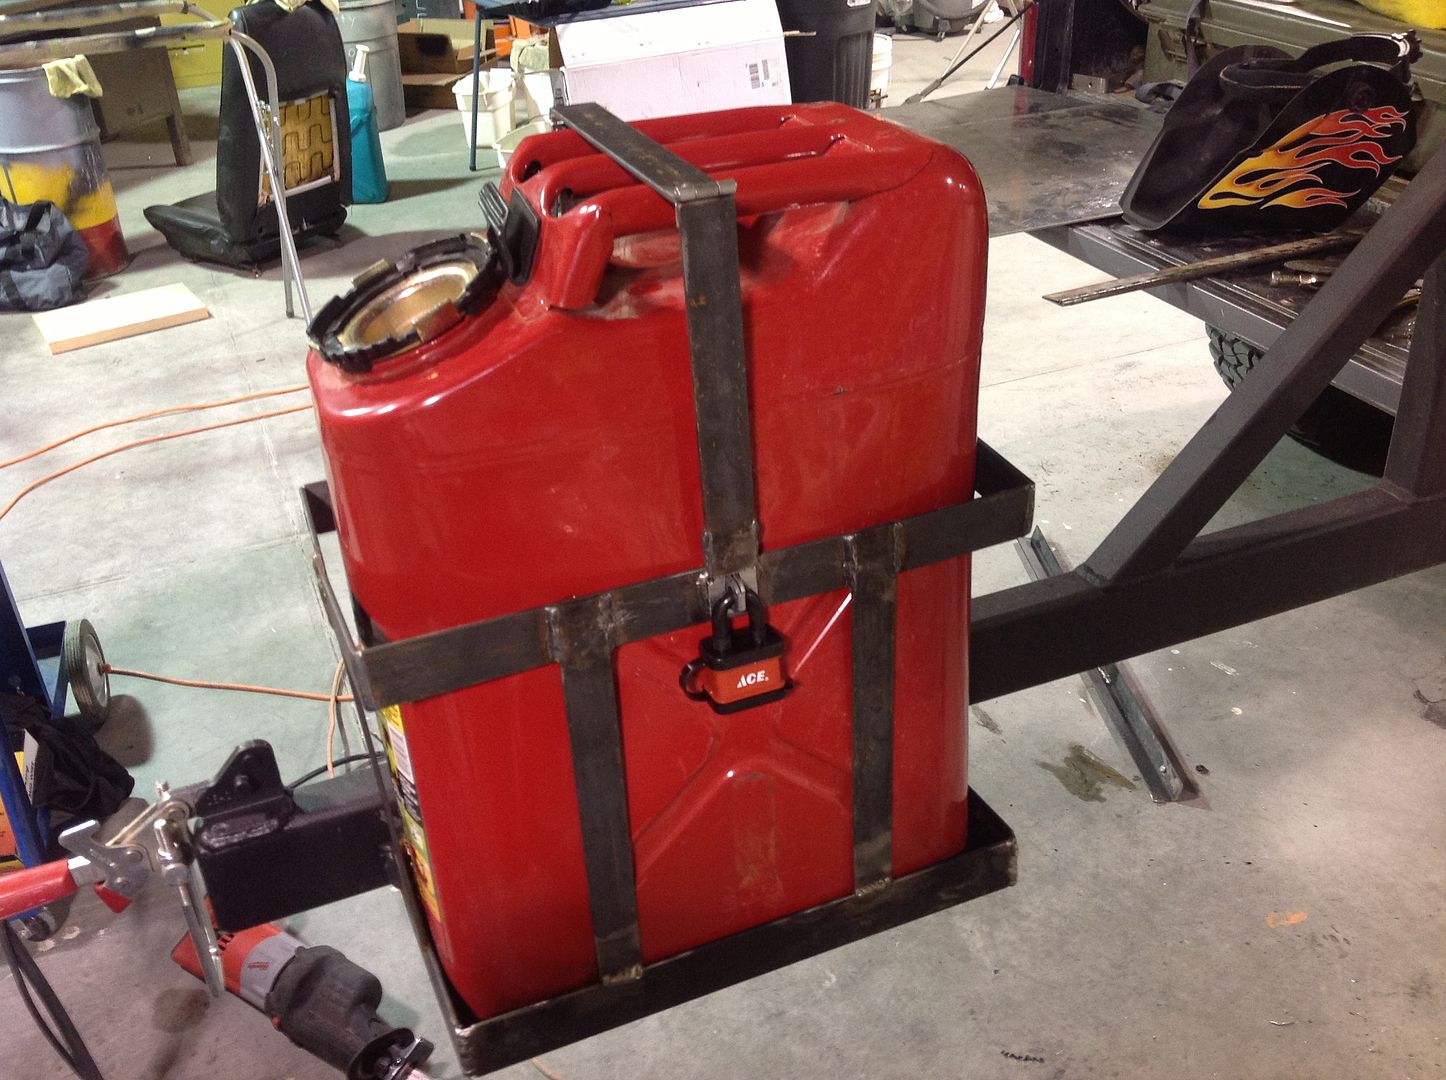
Now the over the top locking strap.

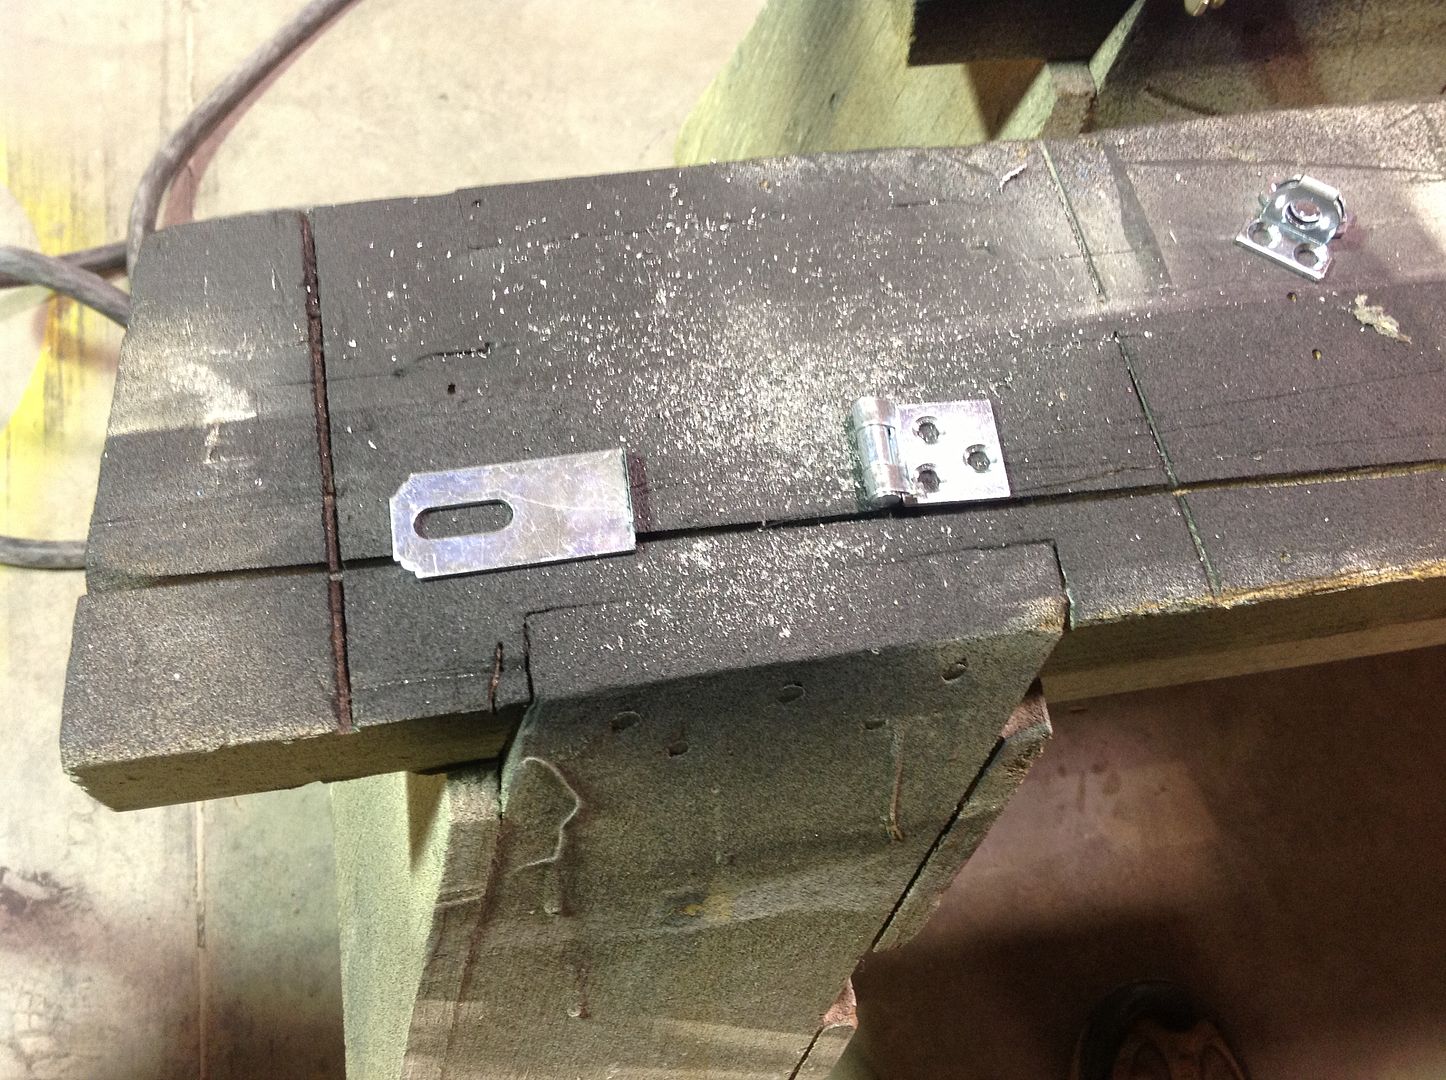
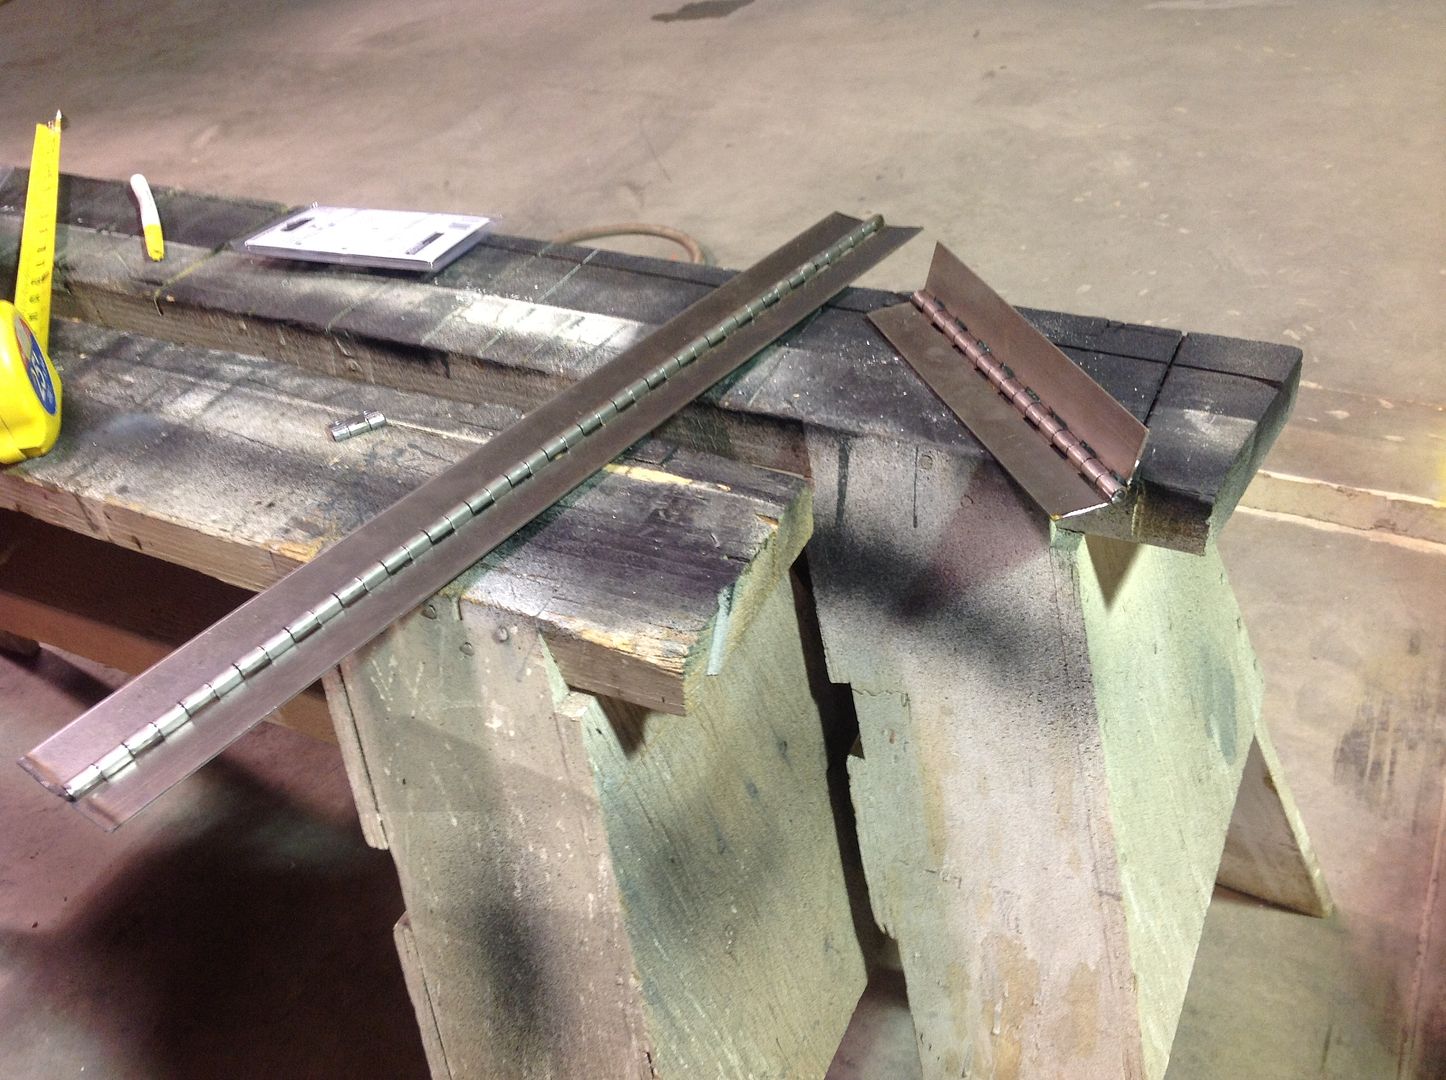
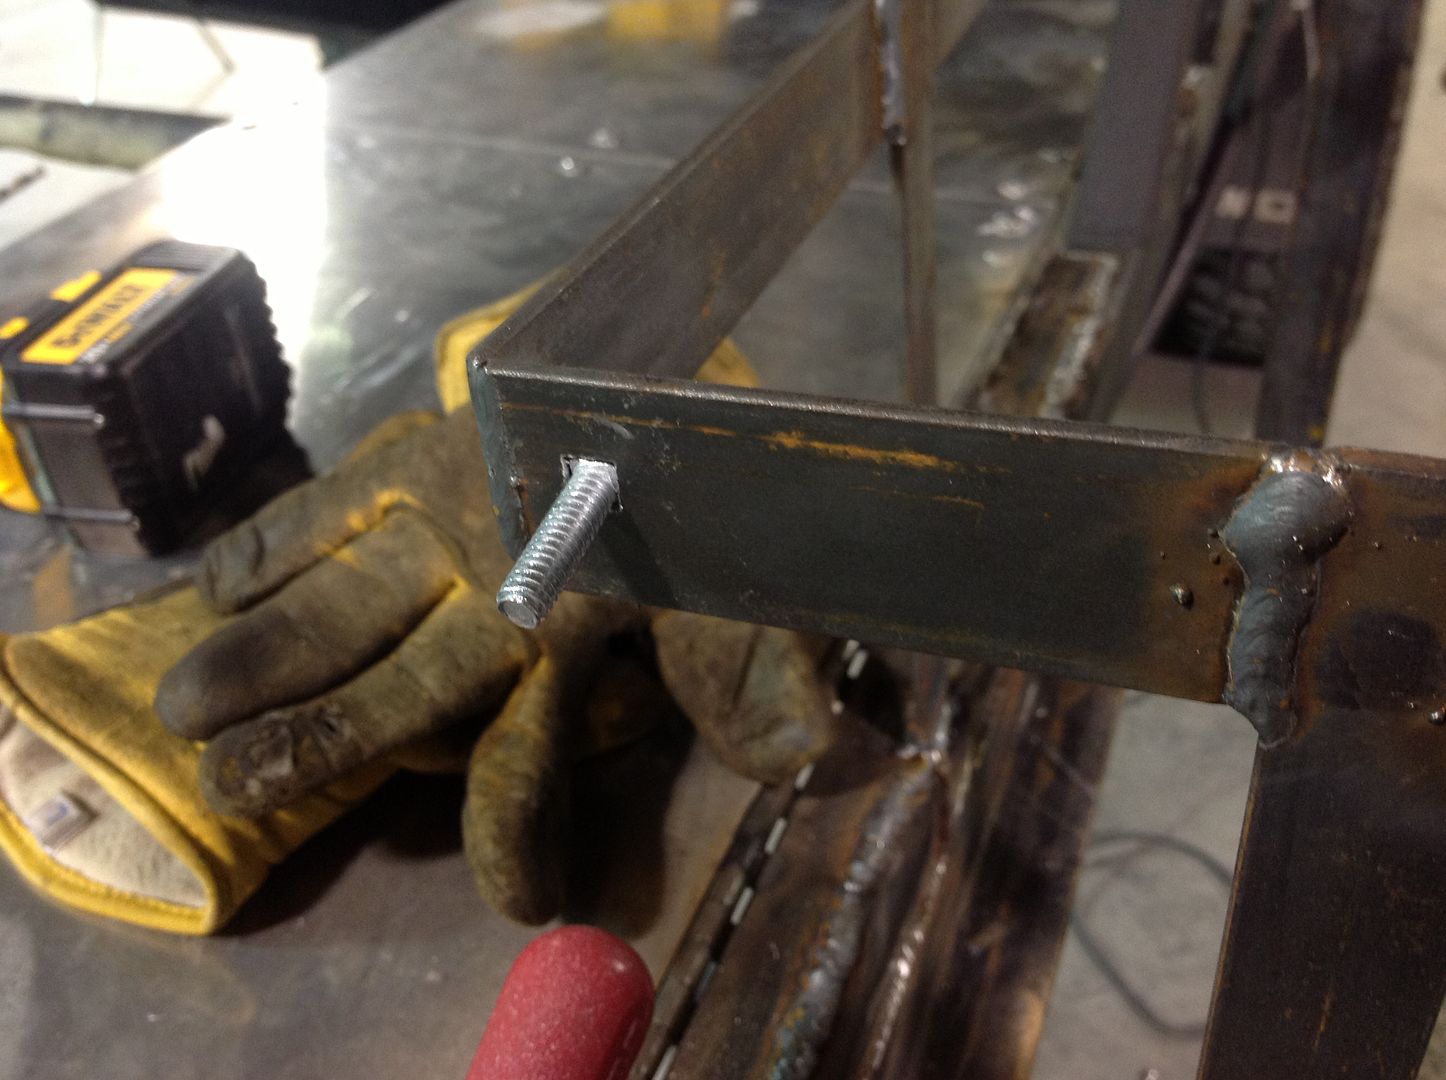
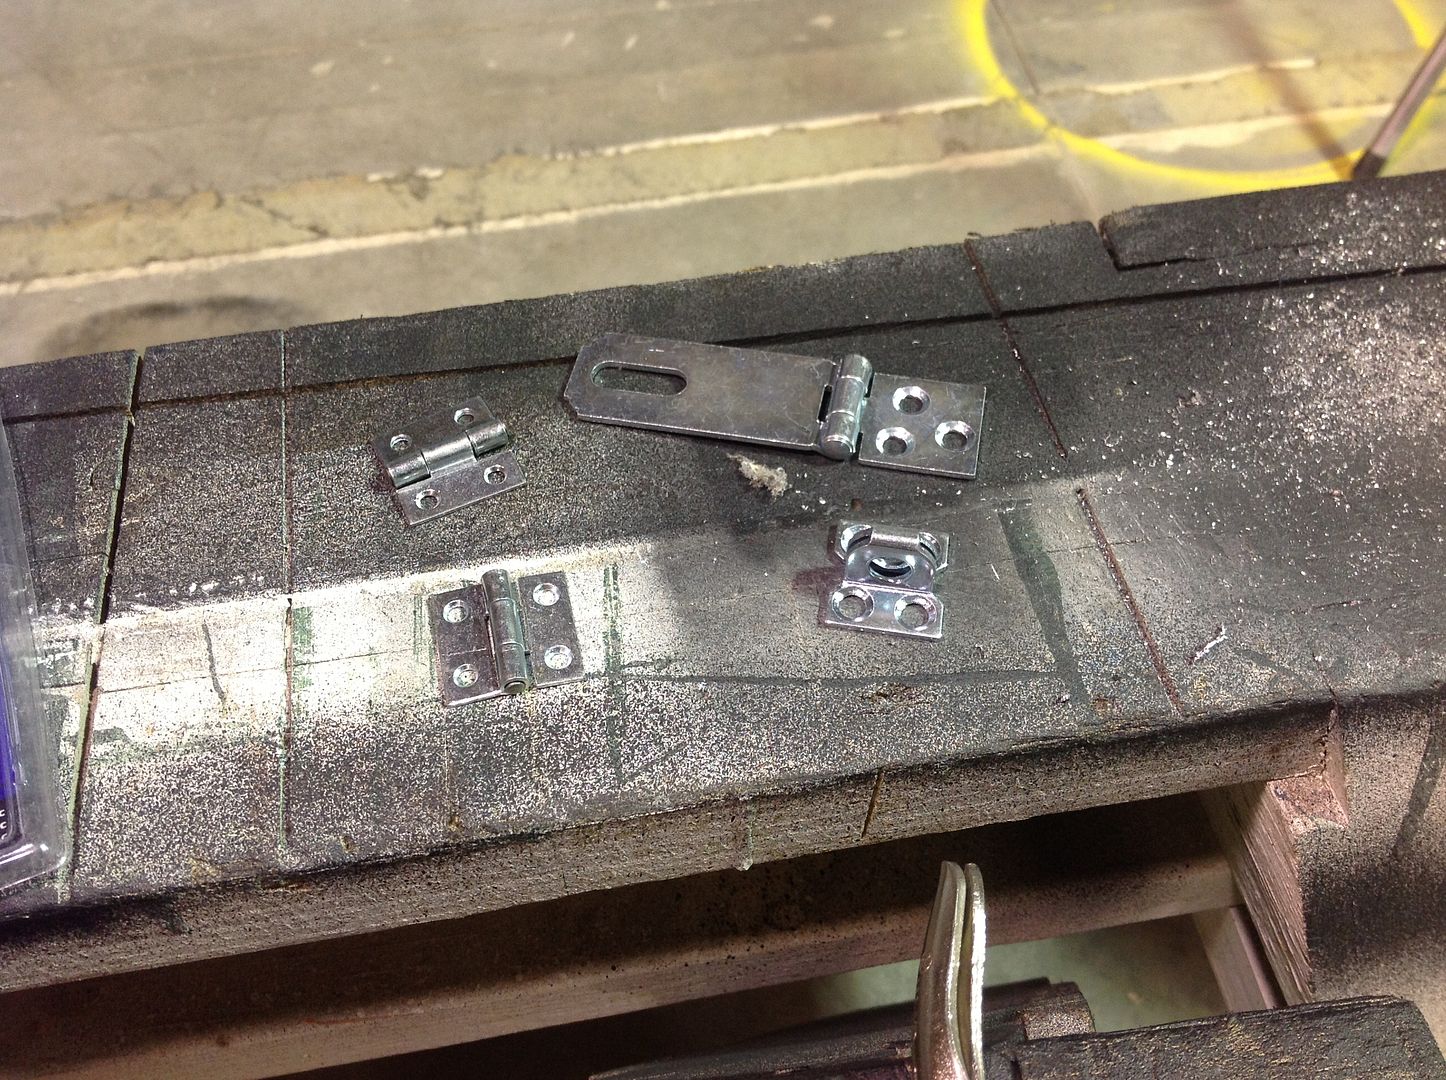
I purchased some 1" hinges and a 1" flip lock part. Bought them last year :anonymous:

d52ba250b913fd29c73c2dfd66efd397_zps215c0e5b.jpg


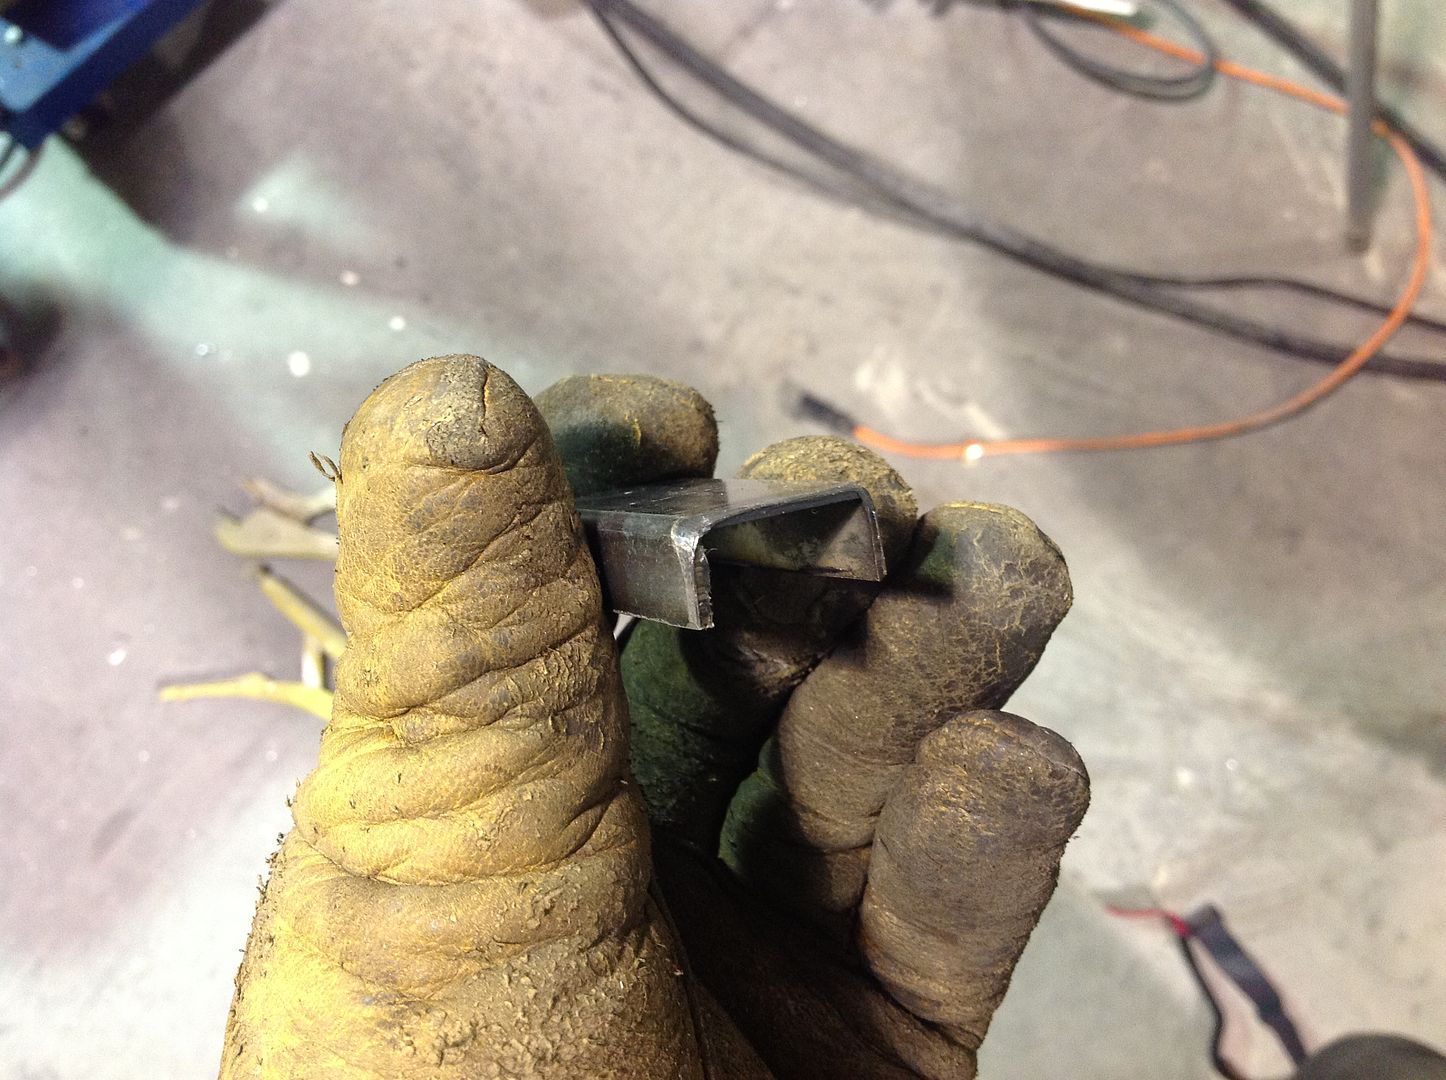
Cut the hinge off the hole

11238f00165b595a079712d5aa212045_zps1f4e2265.jpg


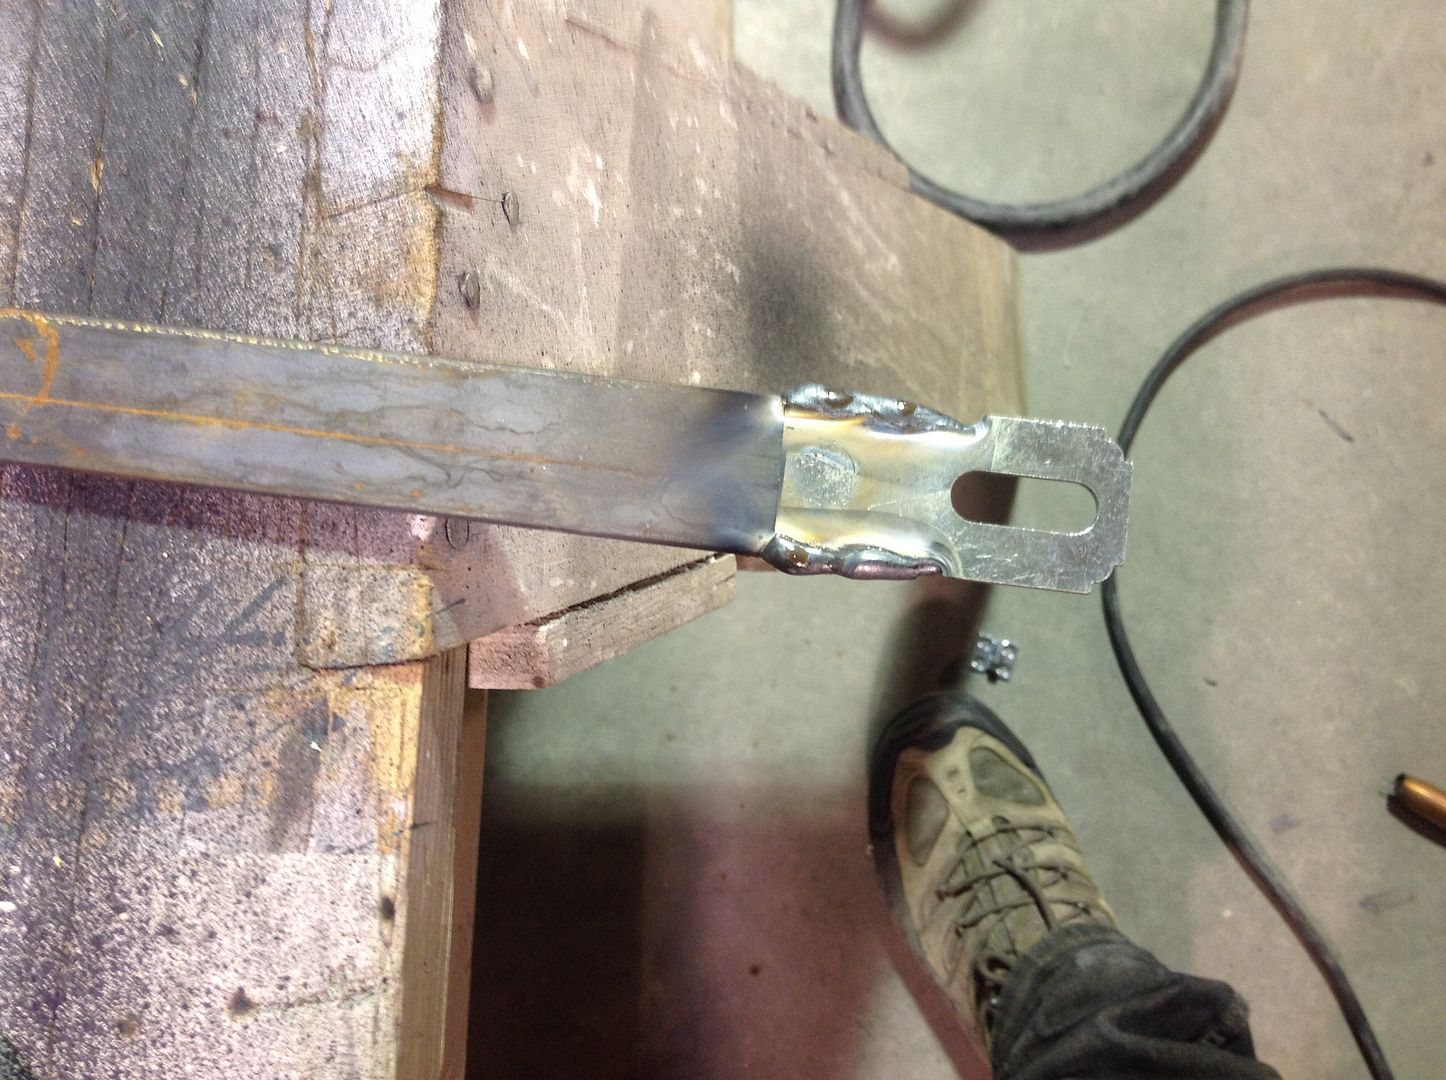
Welded it to the 1" strap

ae28b87ab89ec67e4598a1d67fd108fb_zps08bce725.jpg


Added a hinge

522b1feae905847d1a26d9b8f1f2b237_zps92f4aa3f.jpg


Another piece of strap

16a6ad56b3ffc9e7631f994d1e4d8d69_zps6ae57a84.jpg


99534ee1986112d9536ef34c8d8cf745_zps0c503fd9.jpg


And another hinge

e5d176282103a1cc89d504b28fbf870b_zps10afcfc2.jpg


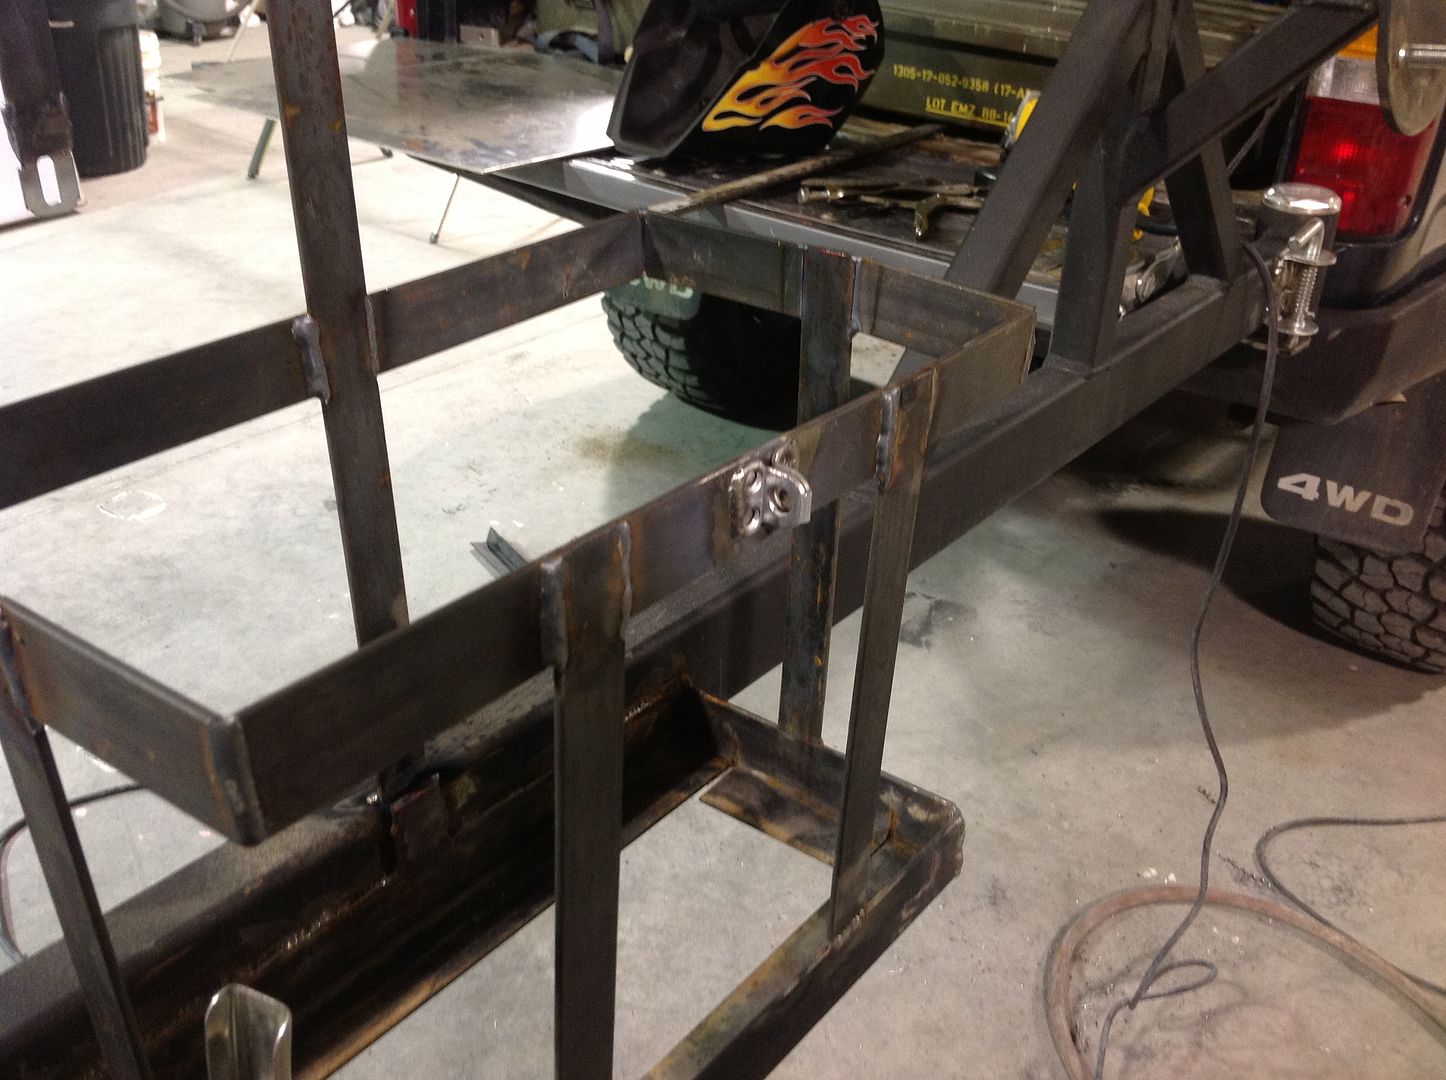
Welded it to the back post

b27fa3cc8b4fd172c83a58a248105b95_zpse271a7e8.jpg


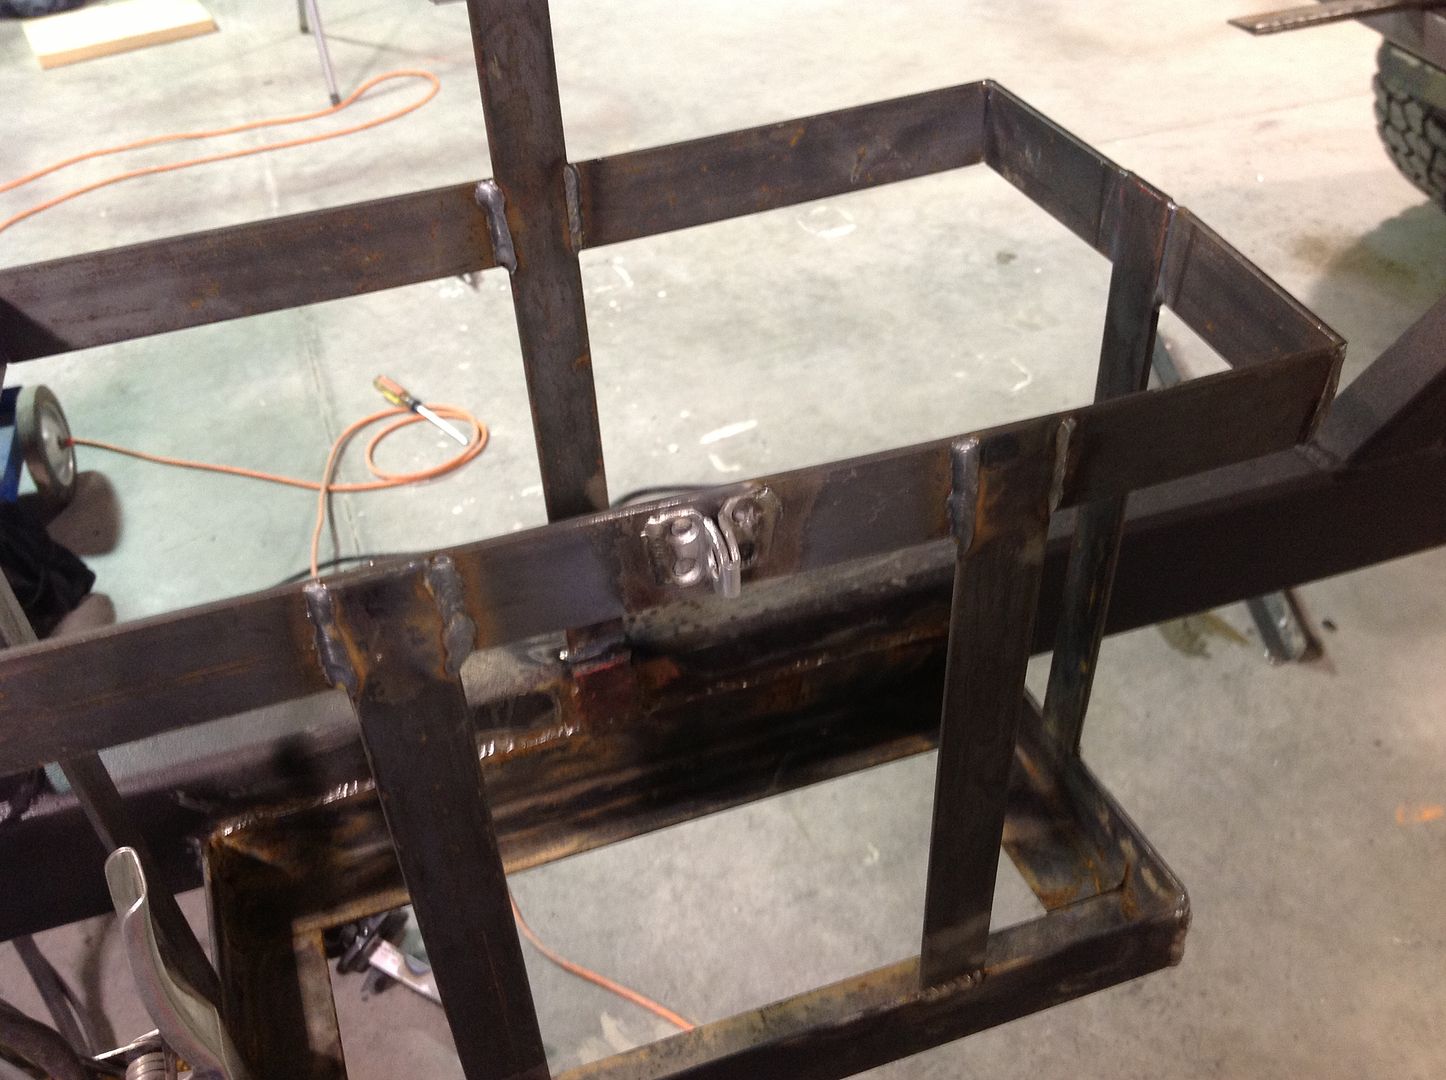
Put on the lock hole on the front.

fe9e90beb75c83953591971593d0a650_zps2fc5cbee.jpg

f2a278f4b429db1ef25604bb59c7538b_zps4451fb28.jpg


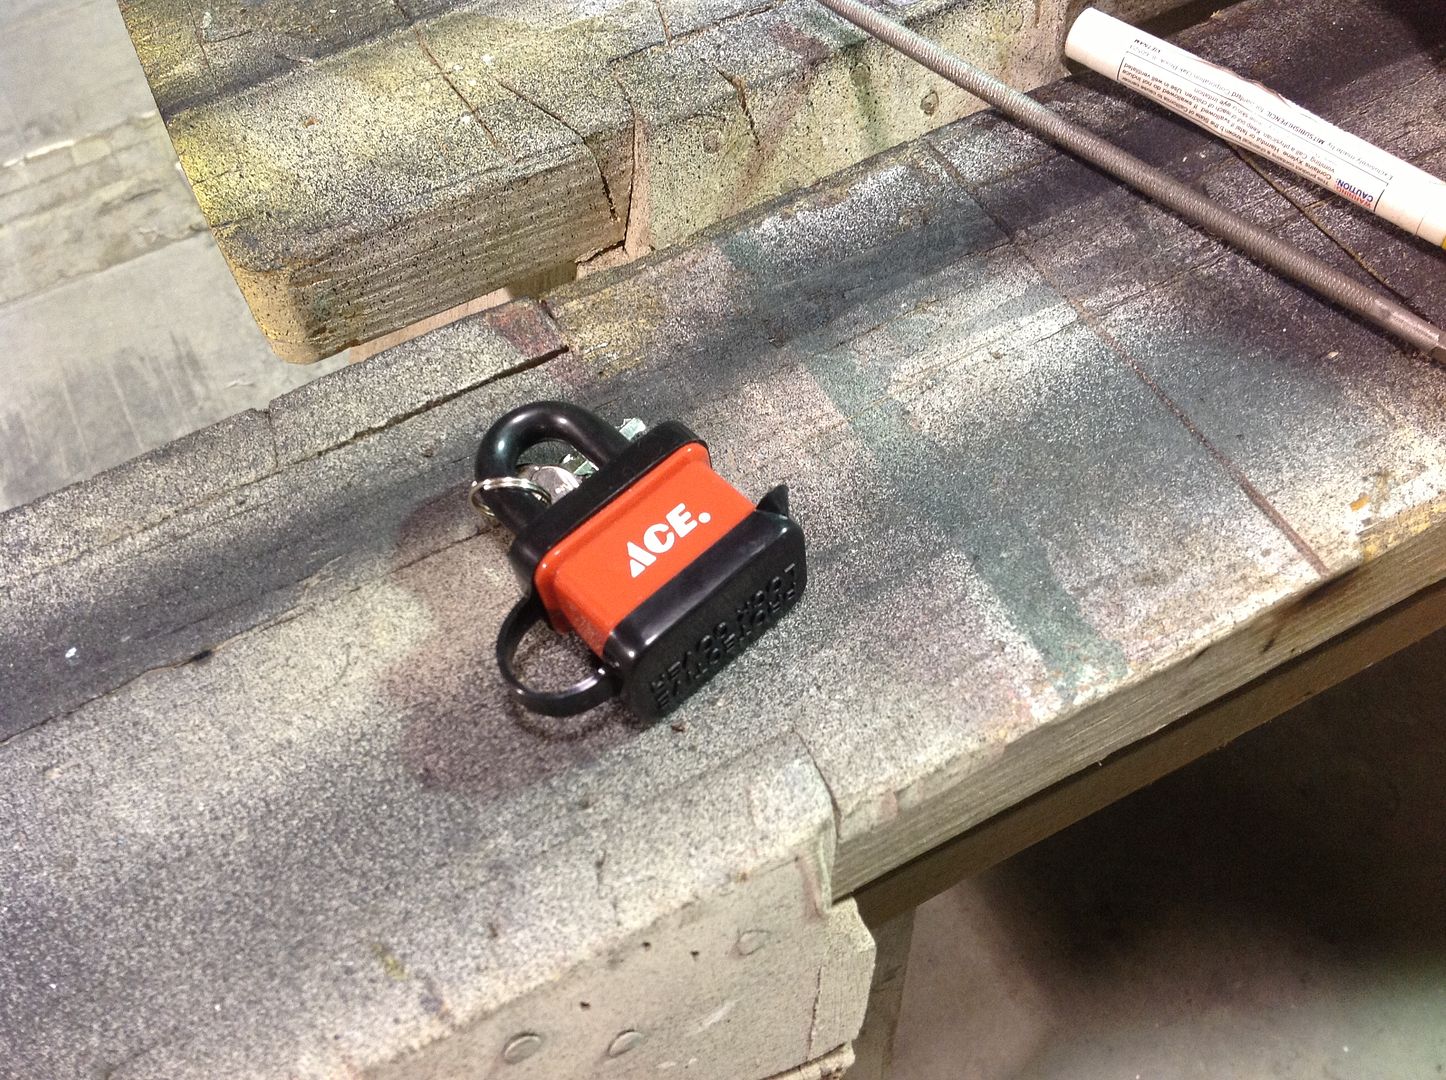
Added a weather tight locked..

3b7208f852eb711e9e4242419b5ea64b_zps4e2a8bc1.jpg


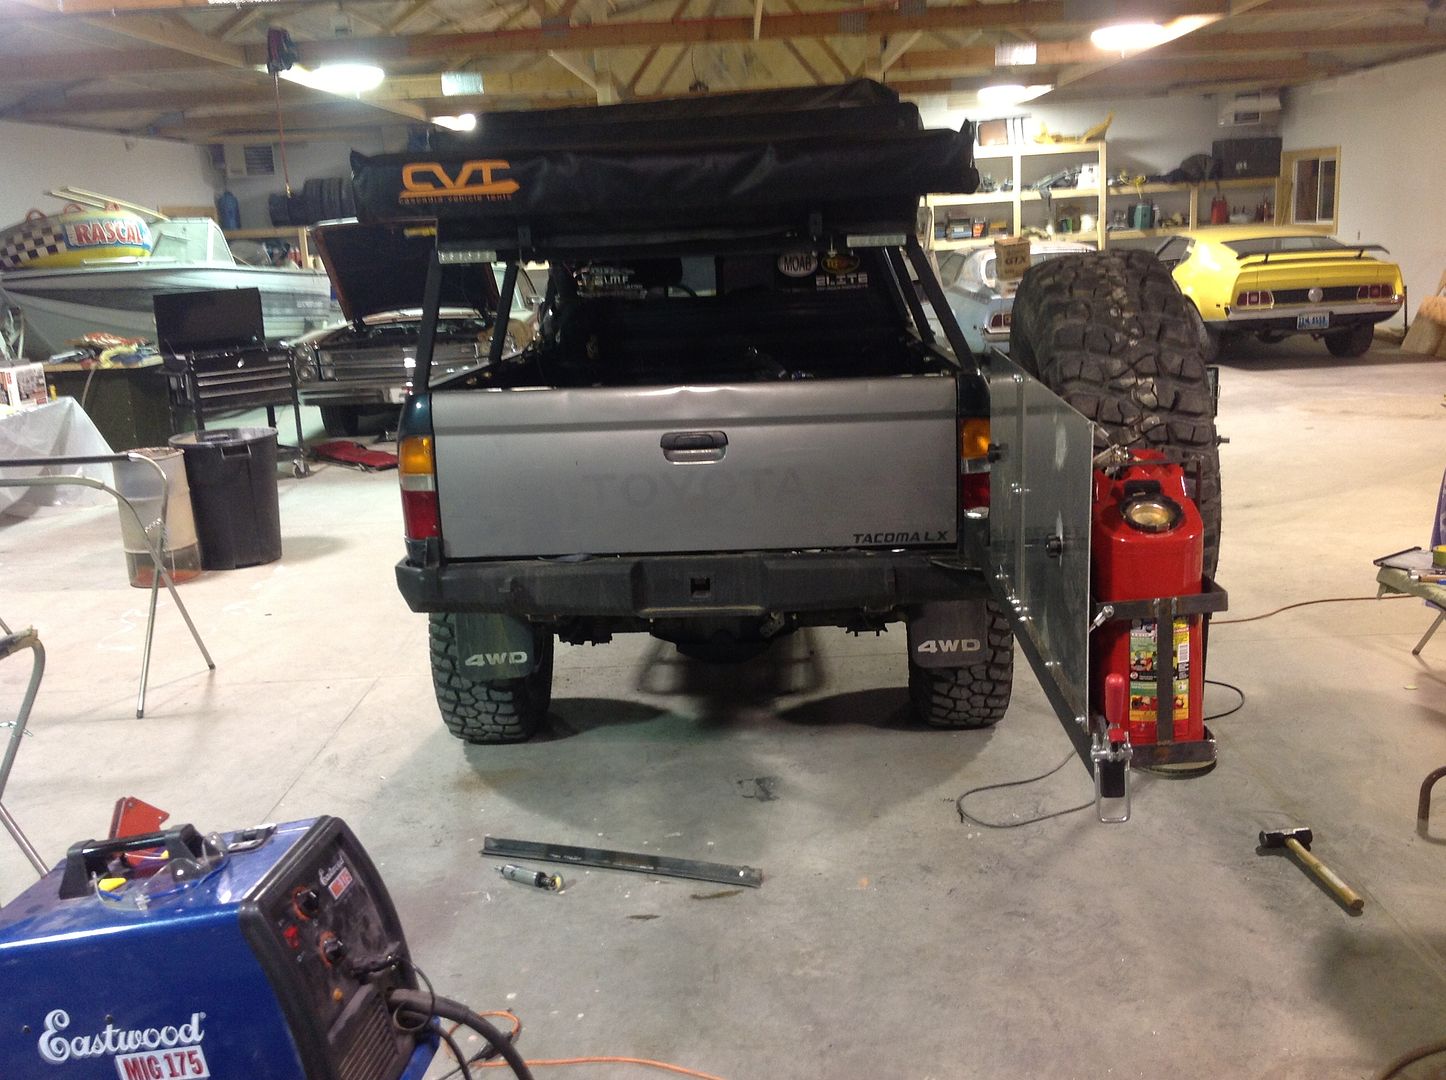
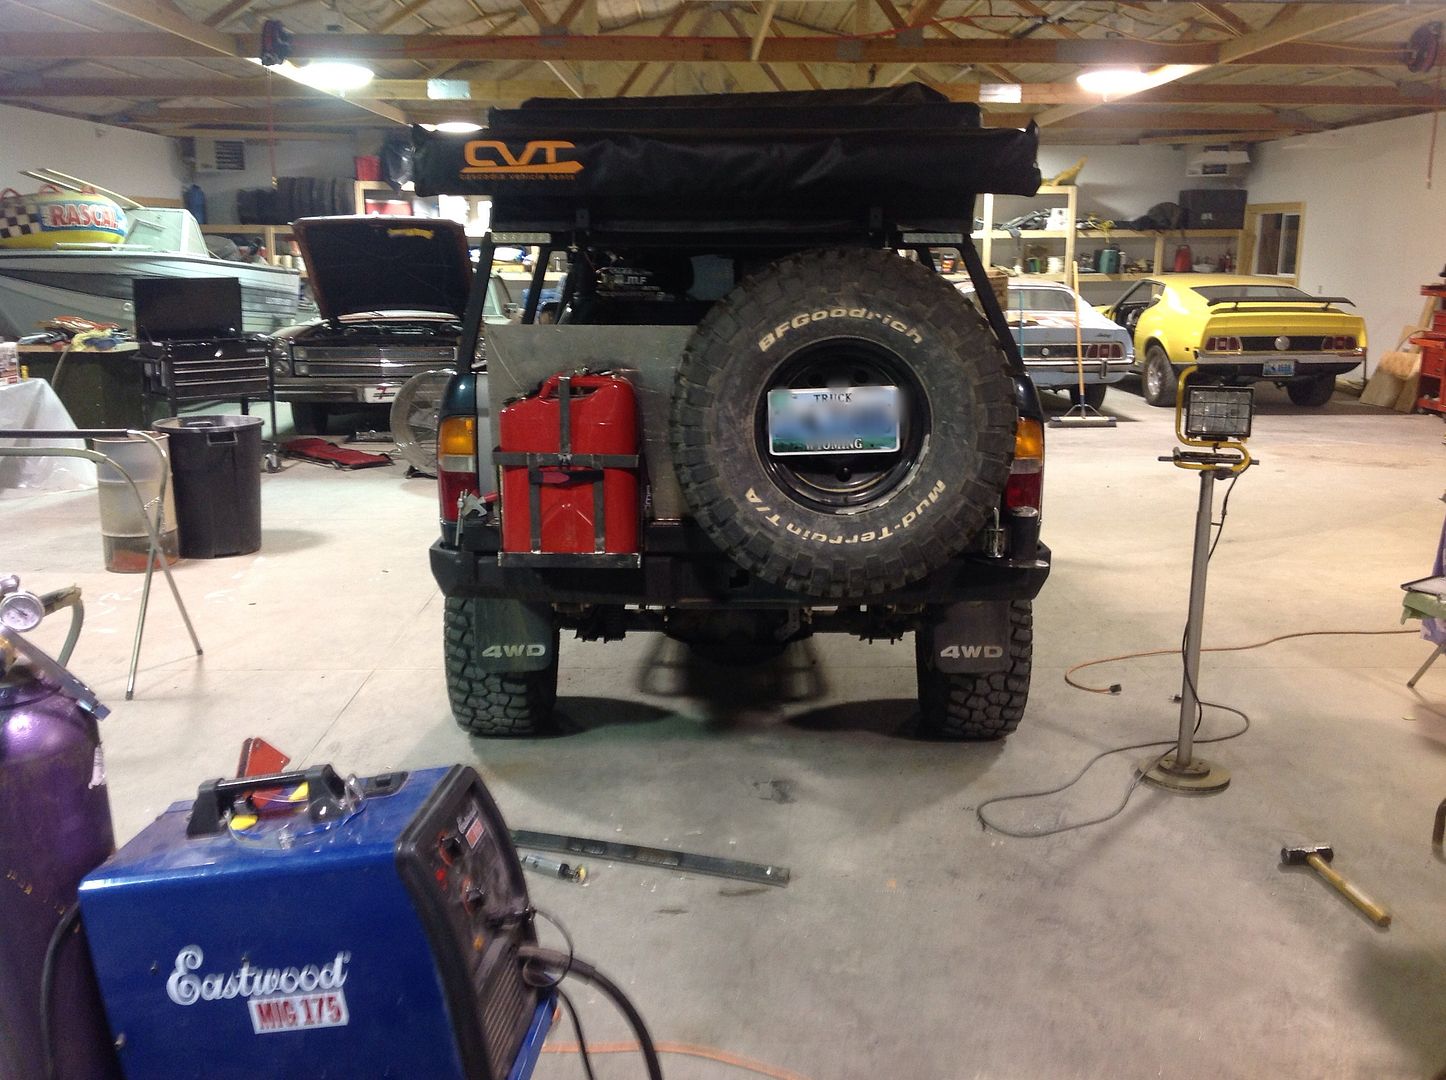
And bam! Locked in Jerry can.

6e7b2ac2d754ecdf57ccfd0b2d29a386_zpsc1c42bb3.jpg

92facd0c0f215250542f1d6b7ea9f92c_zpsa5e5cf51.jpg


Gonna try and get the table done today.
 

Blackdawg

Dr. Frankenstein
Haha its funny how i built that jerry mount. Wow. Like the newer one some much better..

You'll have to wait to see that one!

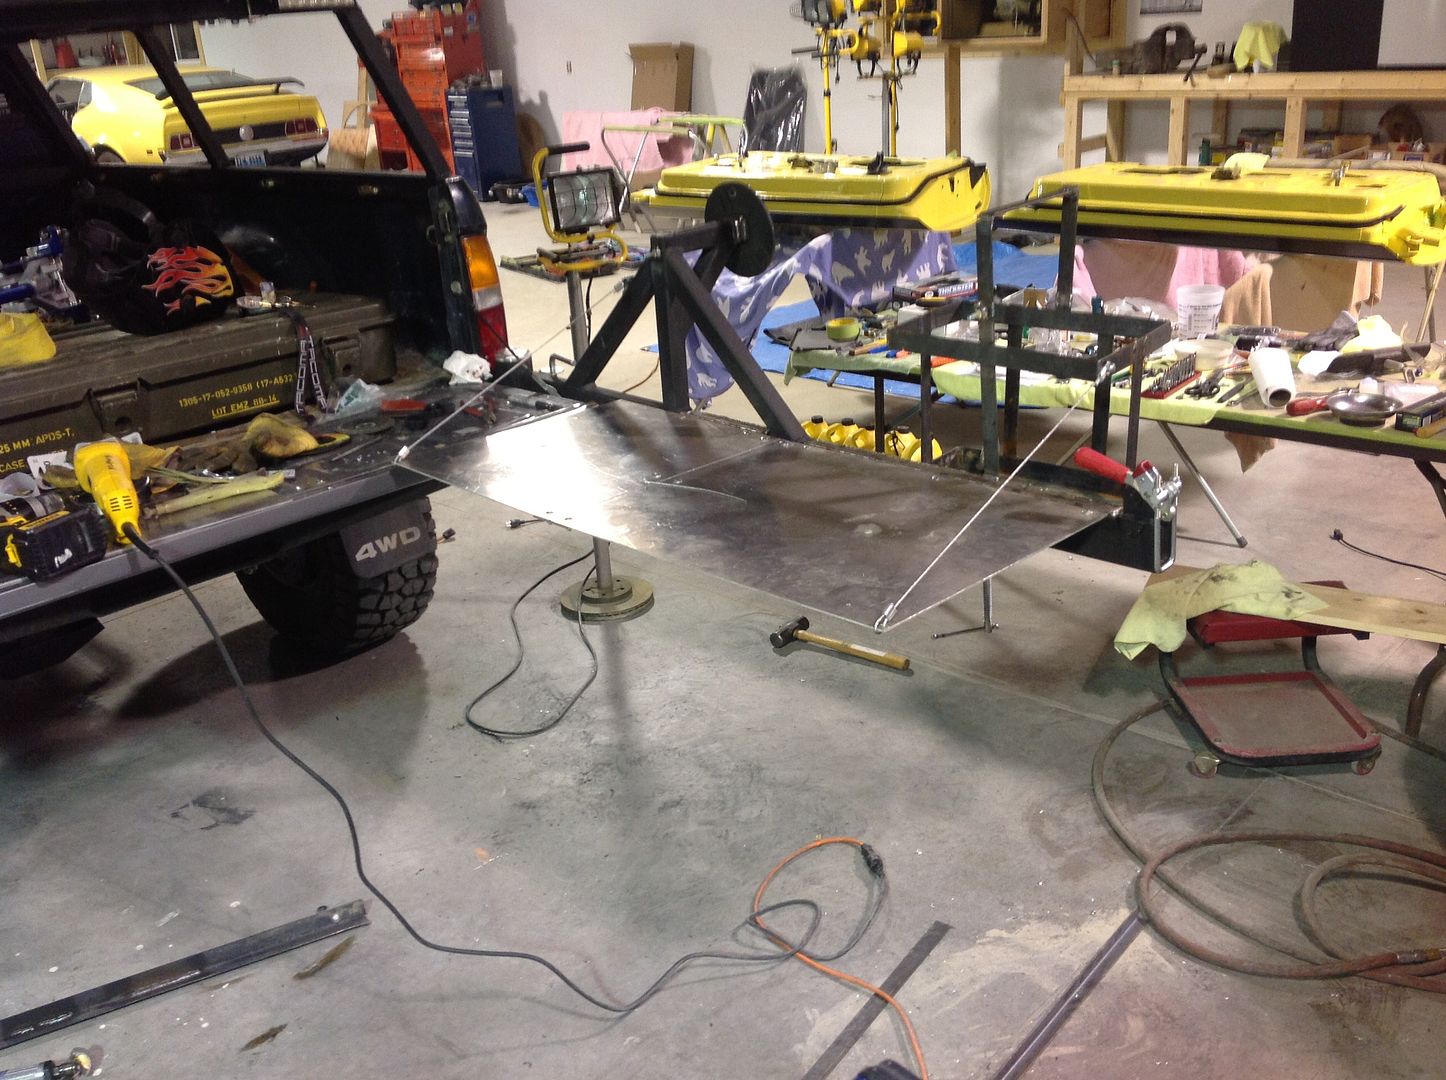
Anyways, here is the table.

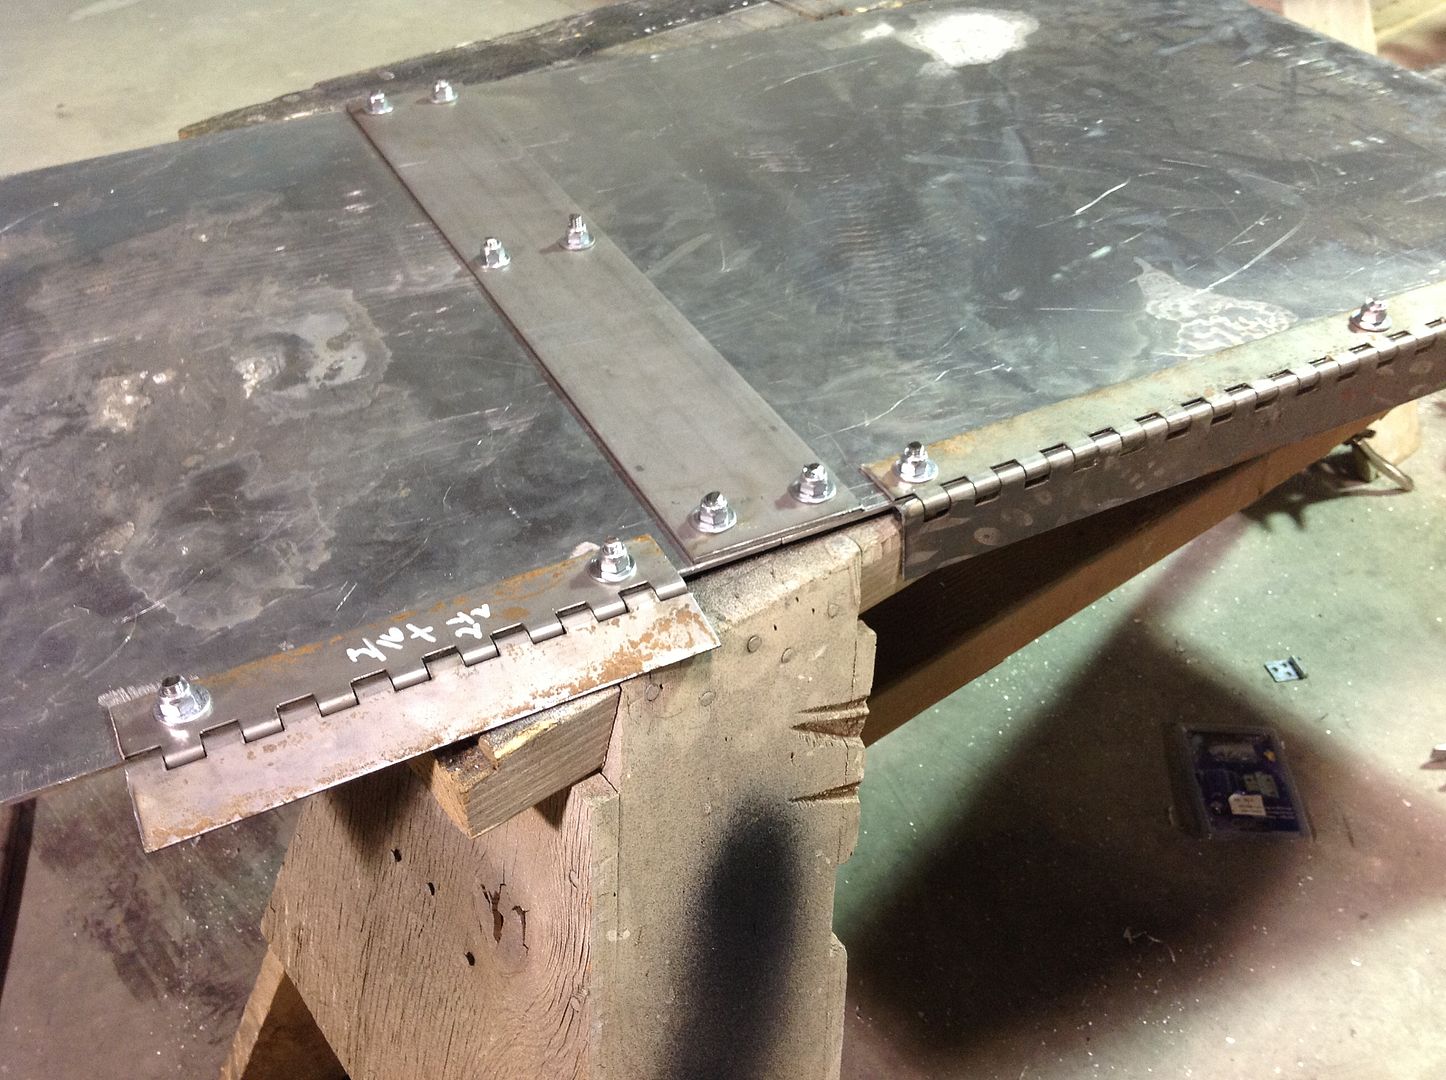
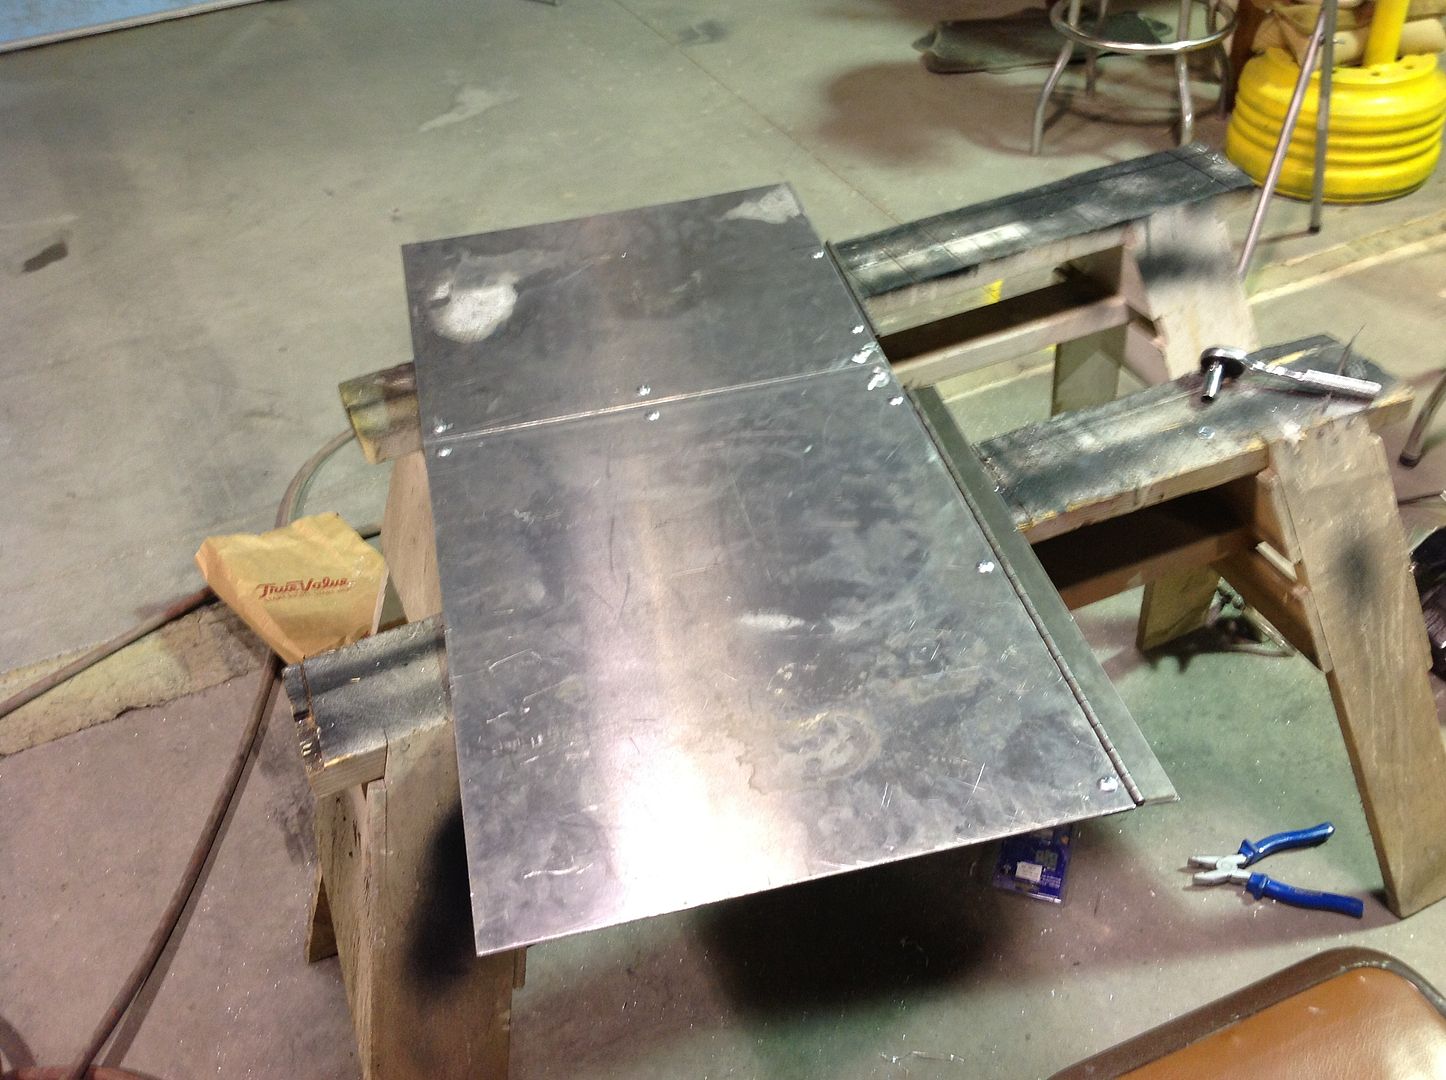
Built a fold down table..not sure how much I like it yet..

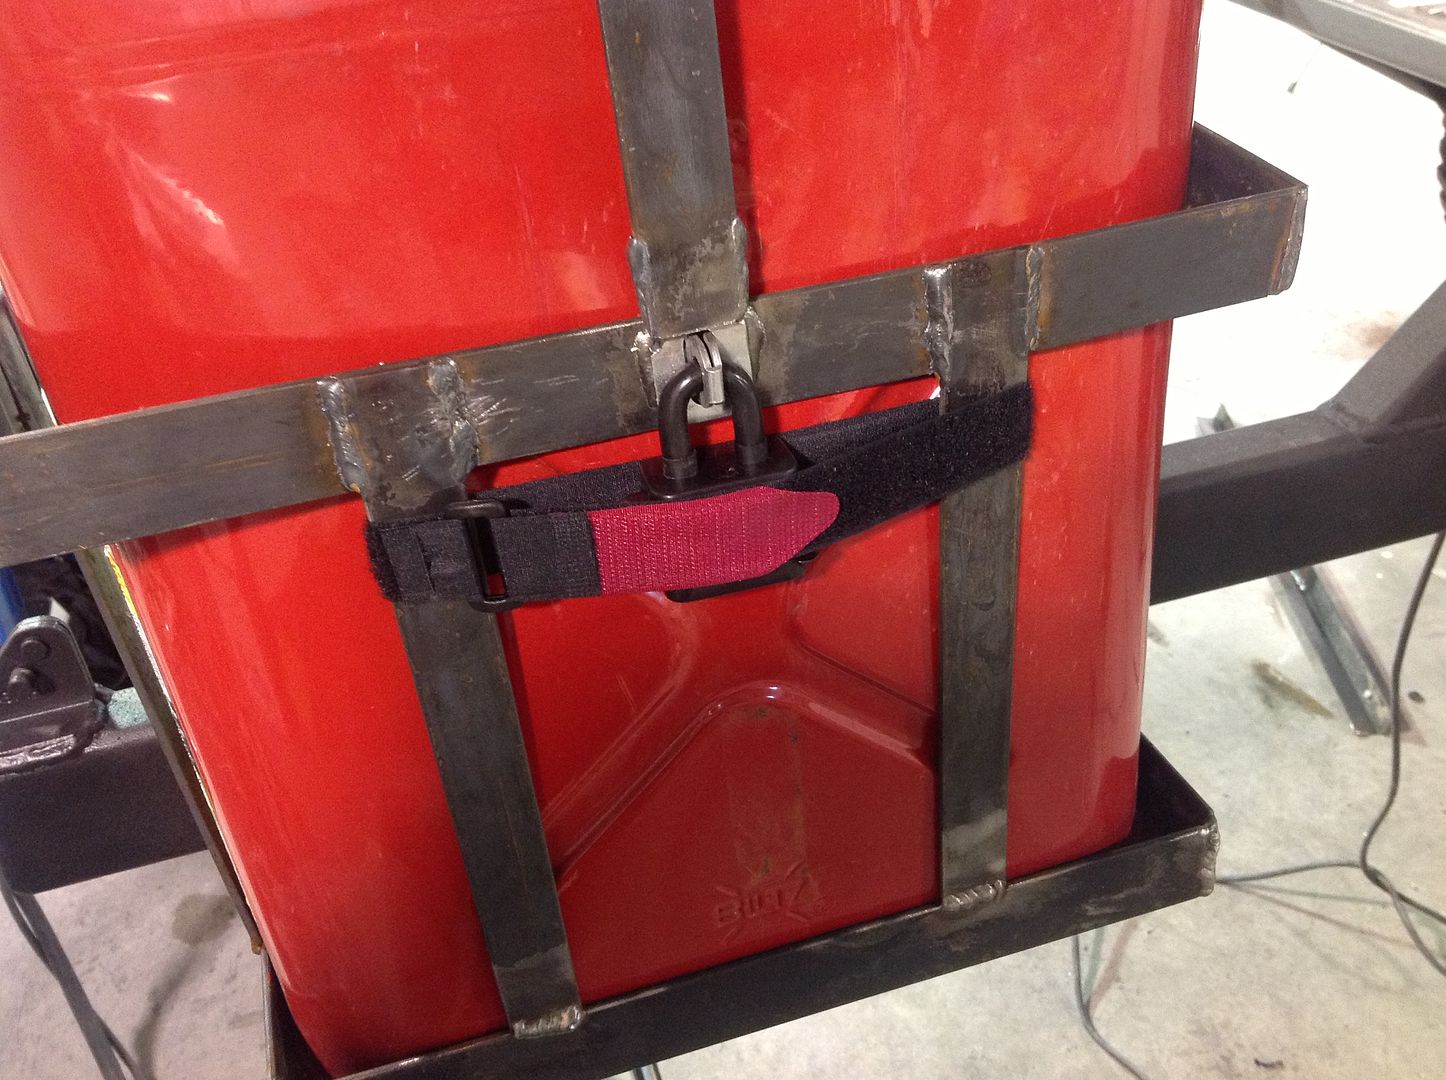
First I got a Velcro strap to hold the lock down

3788a4ab06192fd0a7b3b710c2155767_zpsd42752ae.jpg


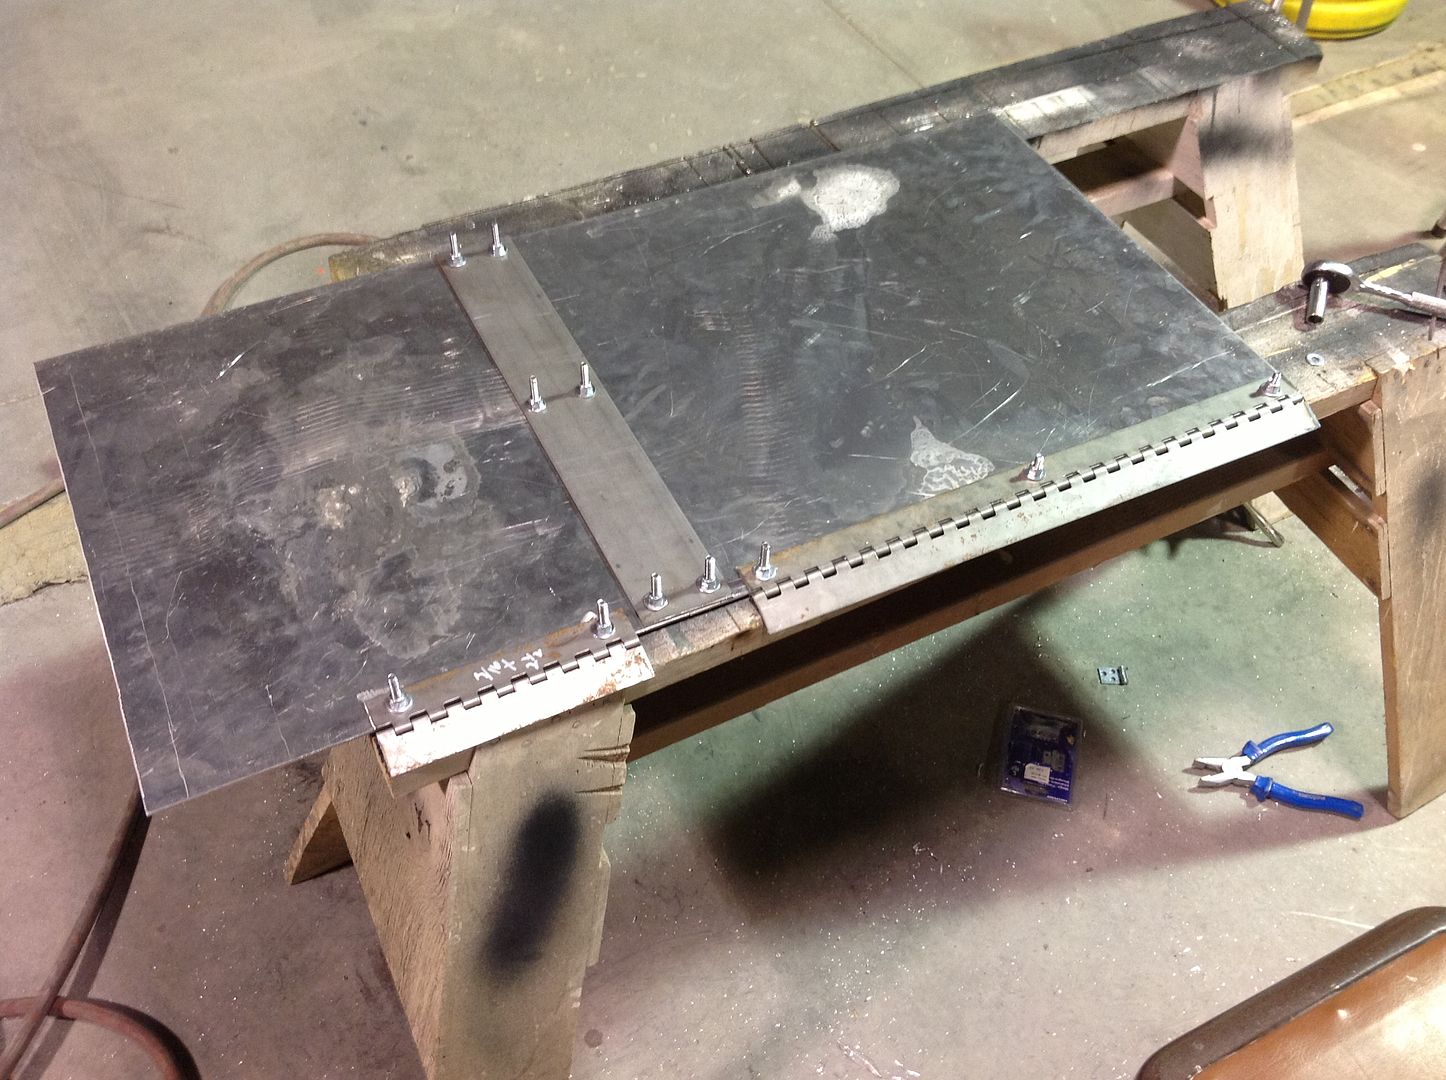
Then I grabbed the last bit of hinge I had left from my lights and cut it

a899c7366b5fcce1a2f1e415322cfb8f_zps10680f32.jpg


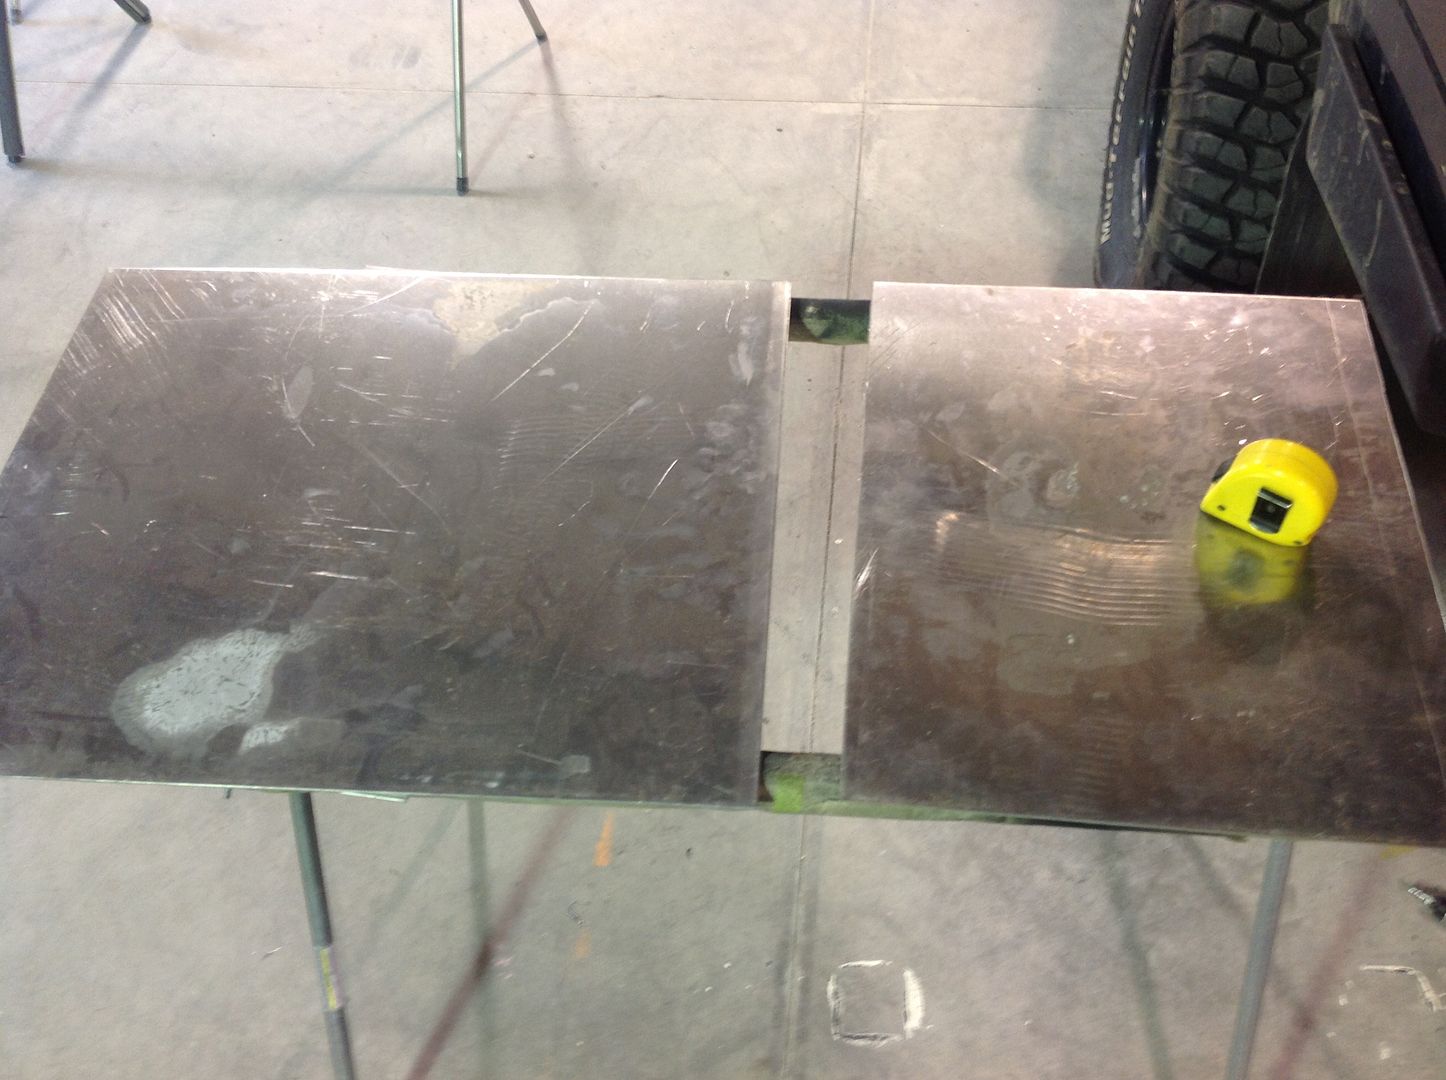
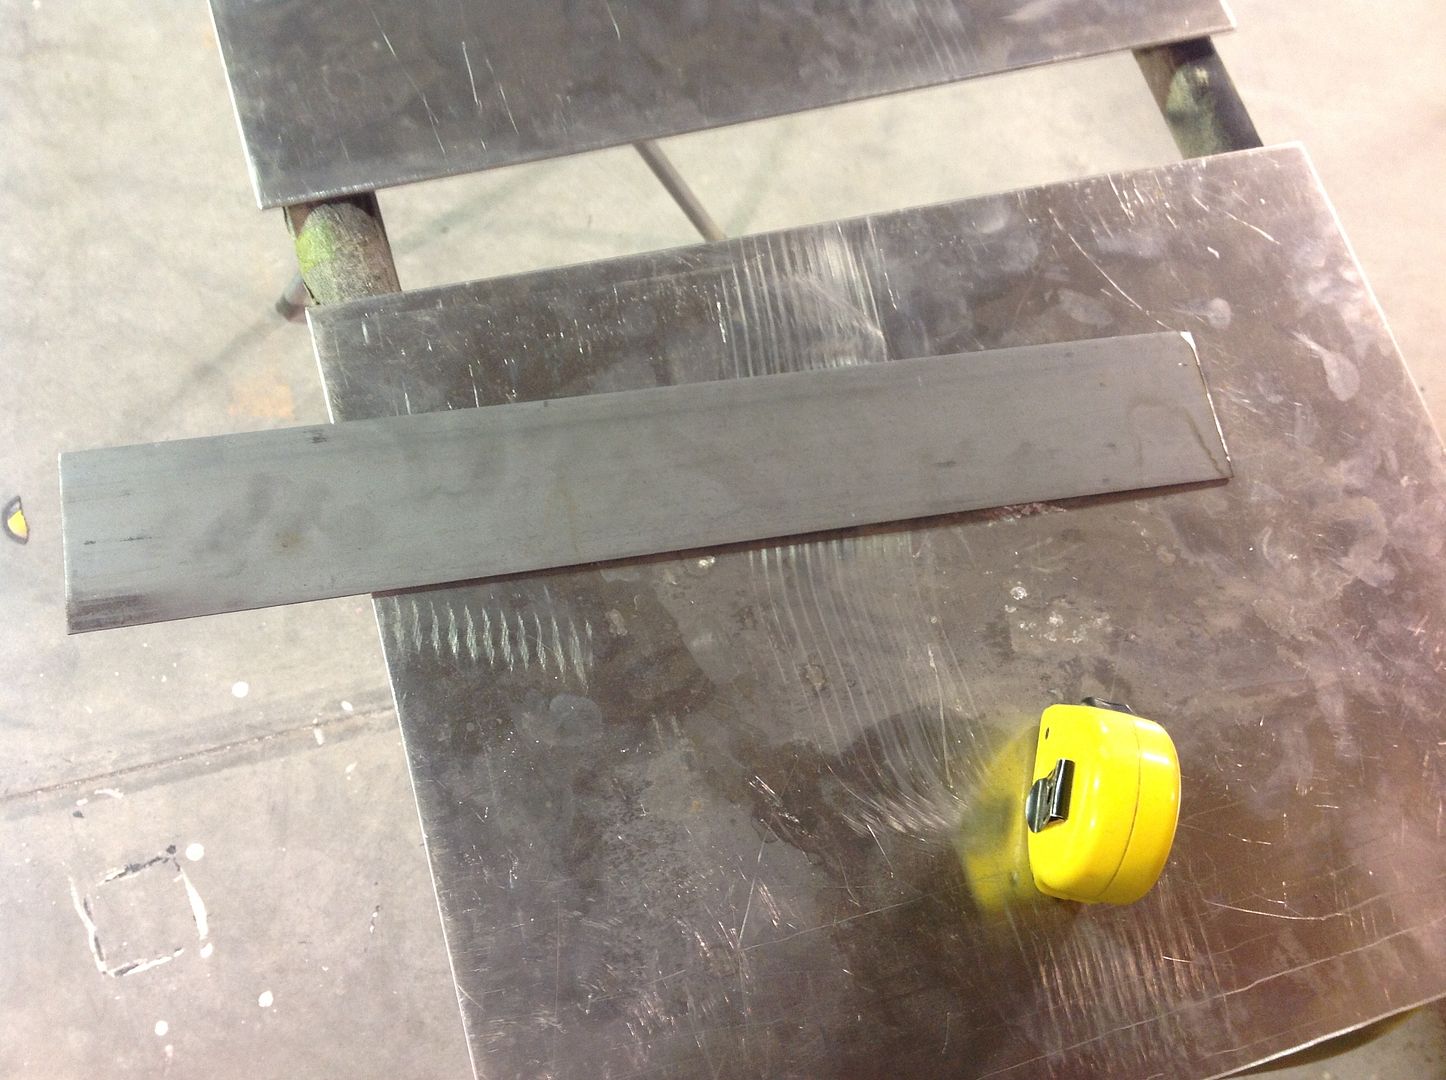
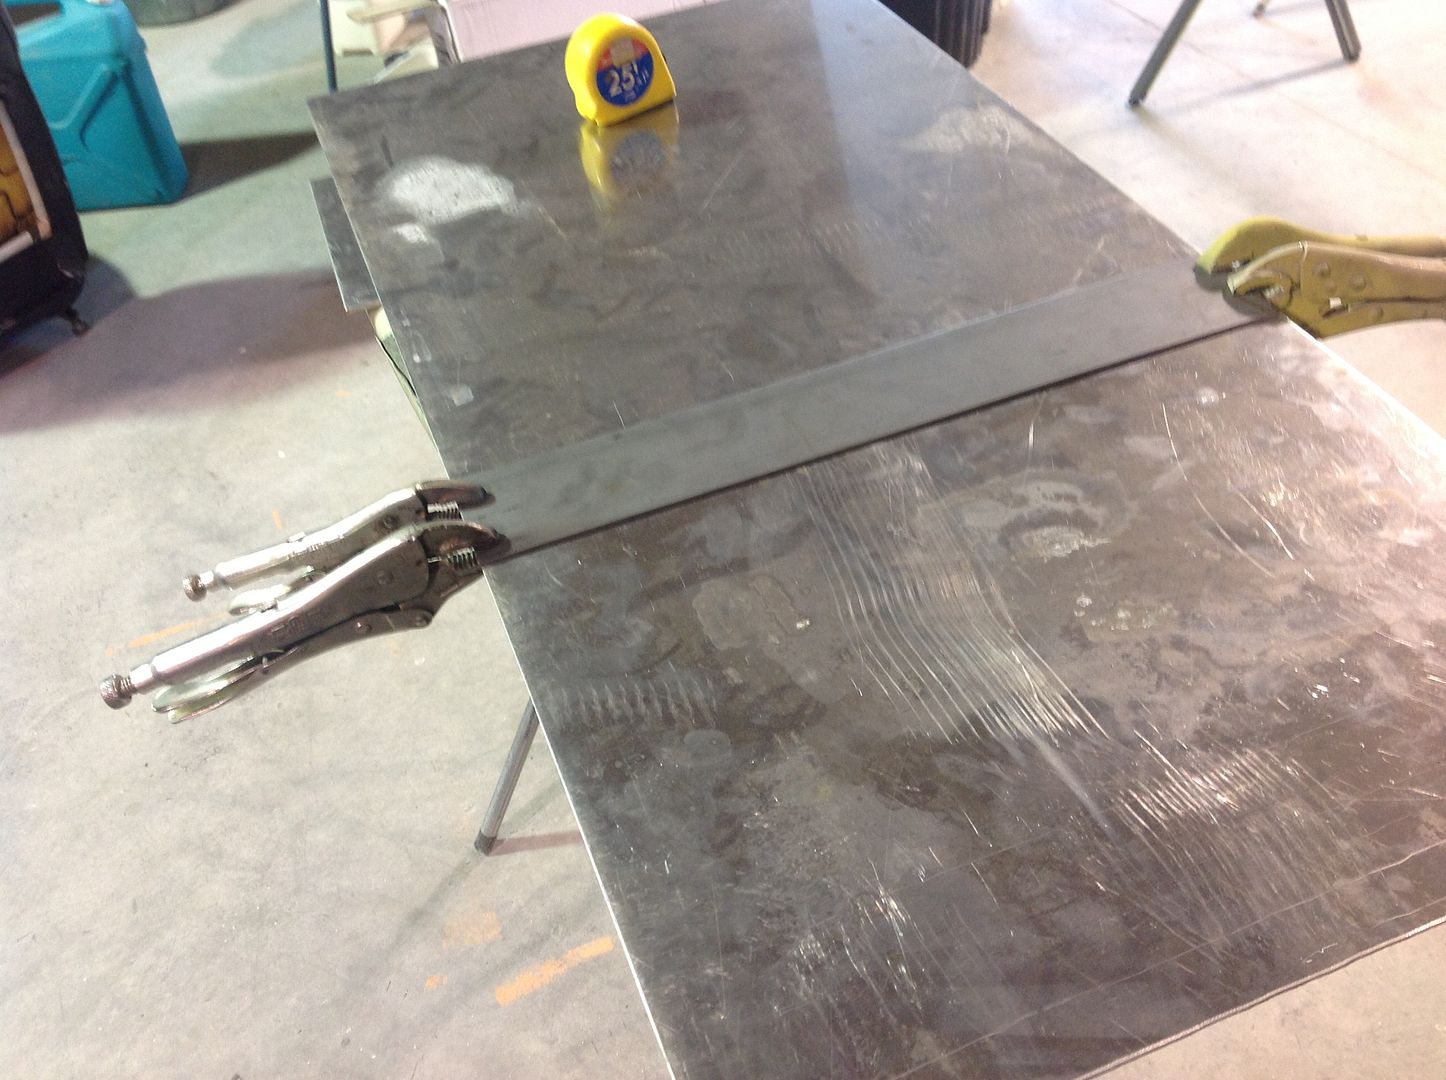
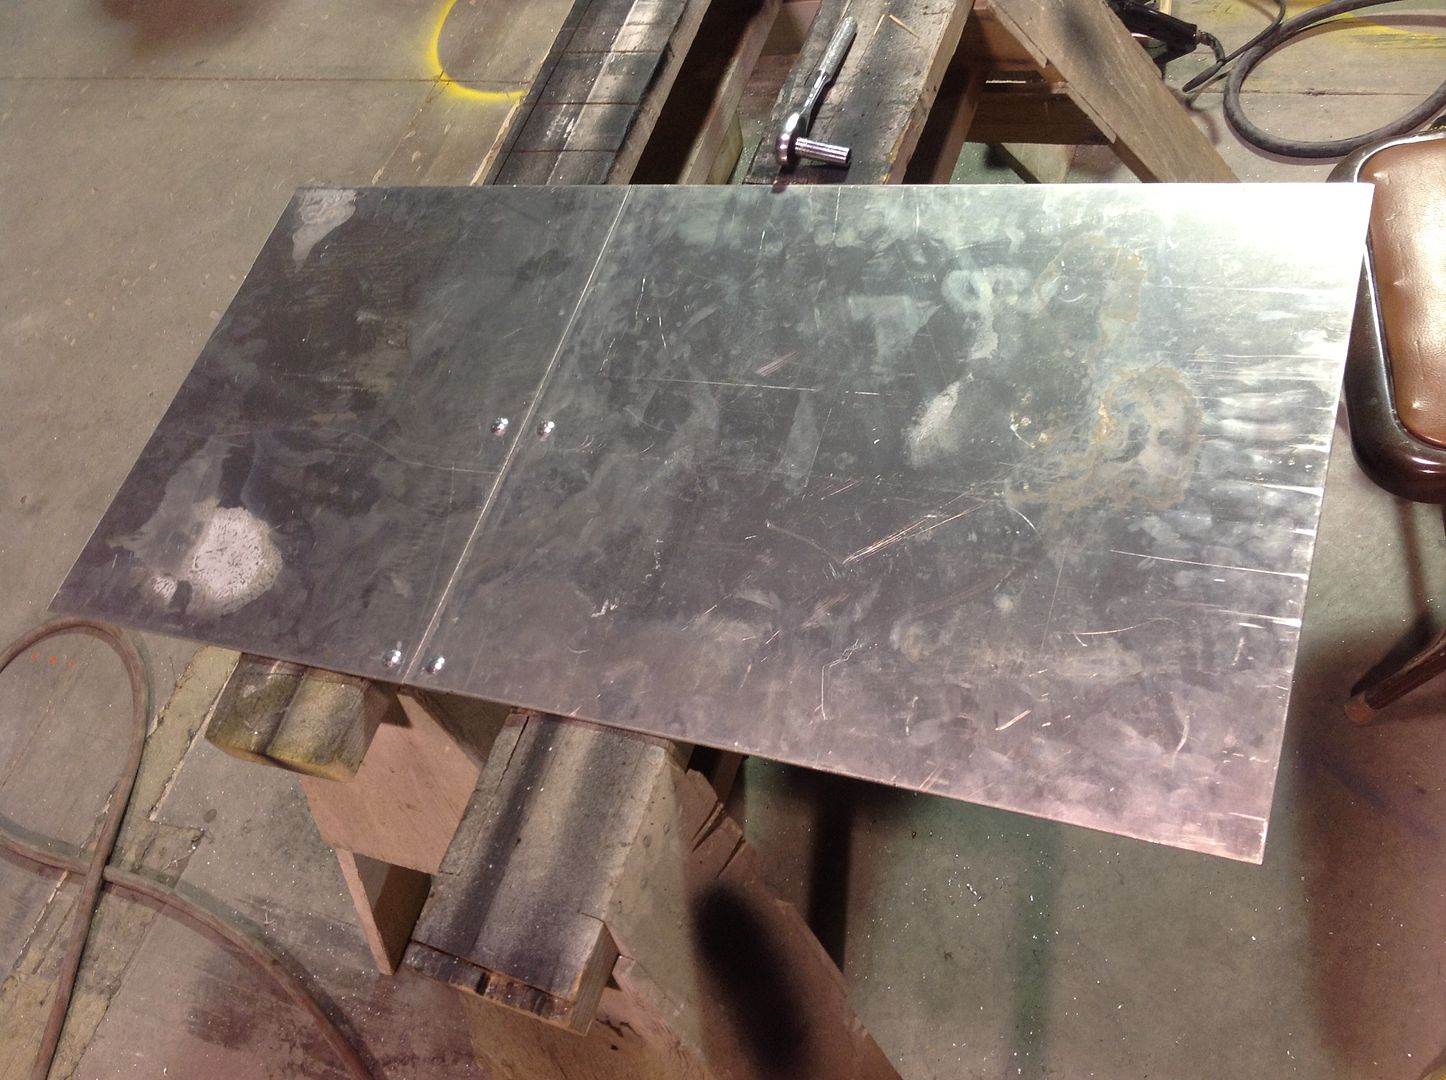
I had my two pieces of aluminum and cut one down so the full table is 40" long

d6cbc0a3536c1e41f0d8b83f19fd60e6_zps379b2ea7.jpg


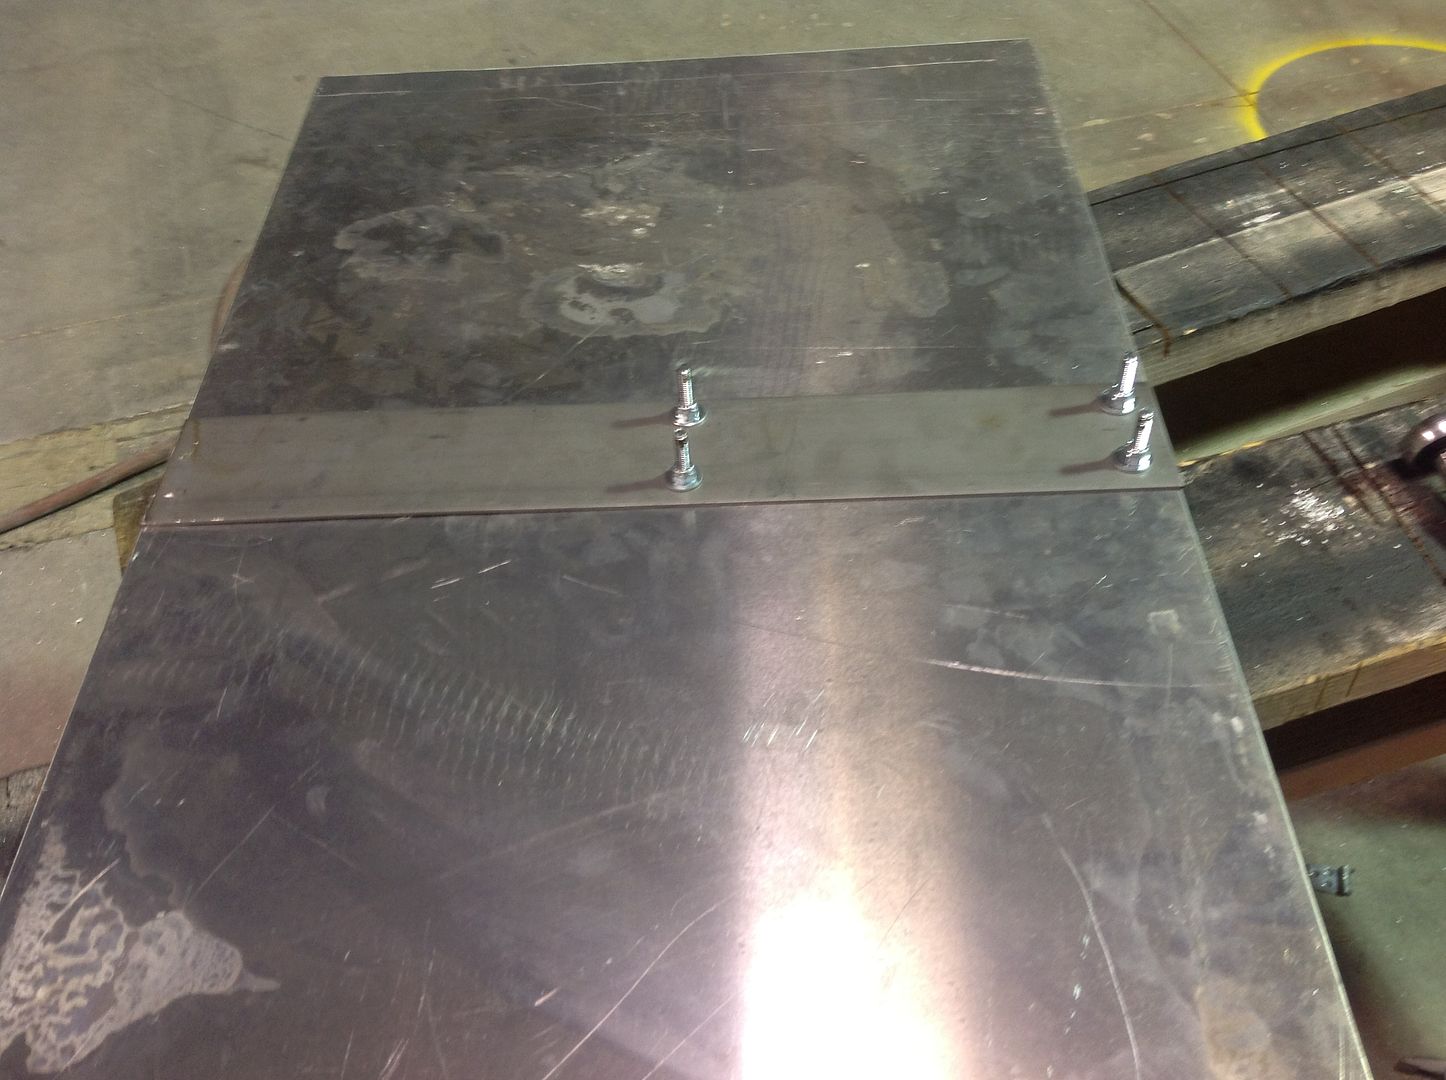
Used 3" steel to bolt them together.

66febed95682c3f4c4763176380d9e80_zps6f44a8c1.jpg

12f0f842610c80b2bfeeb6bf3c7a6340_zps6f9fe62e.jpg


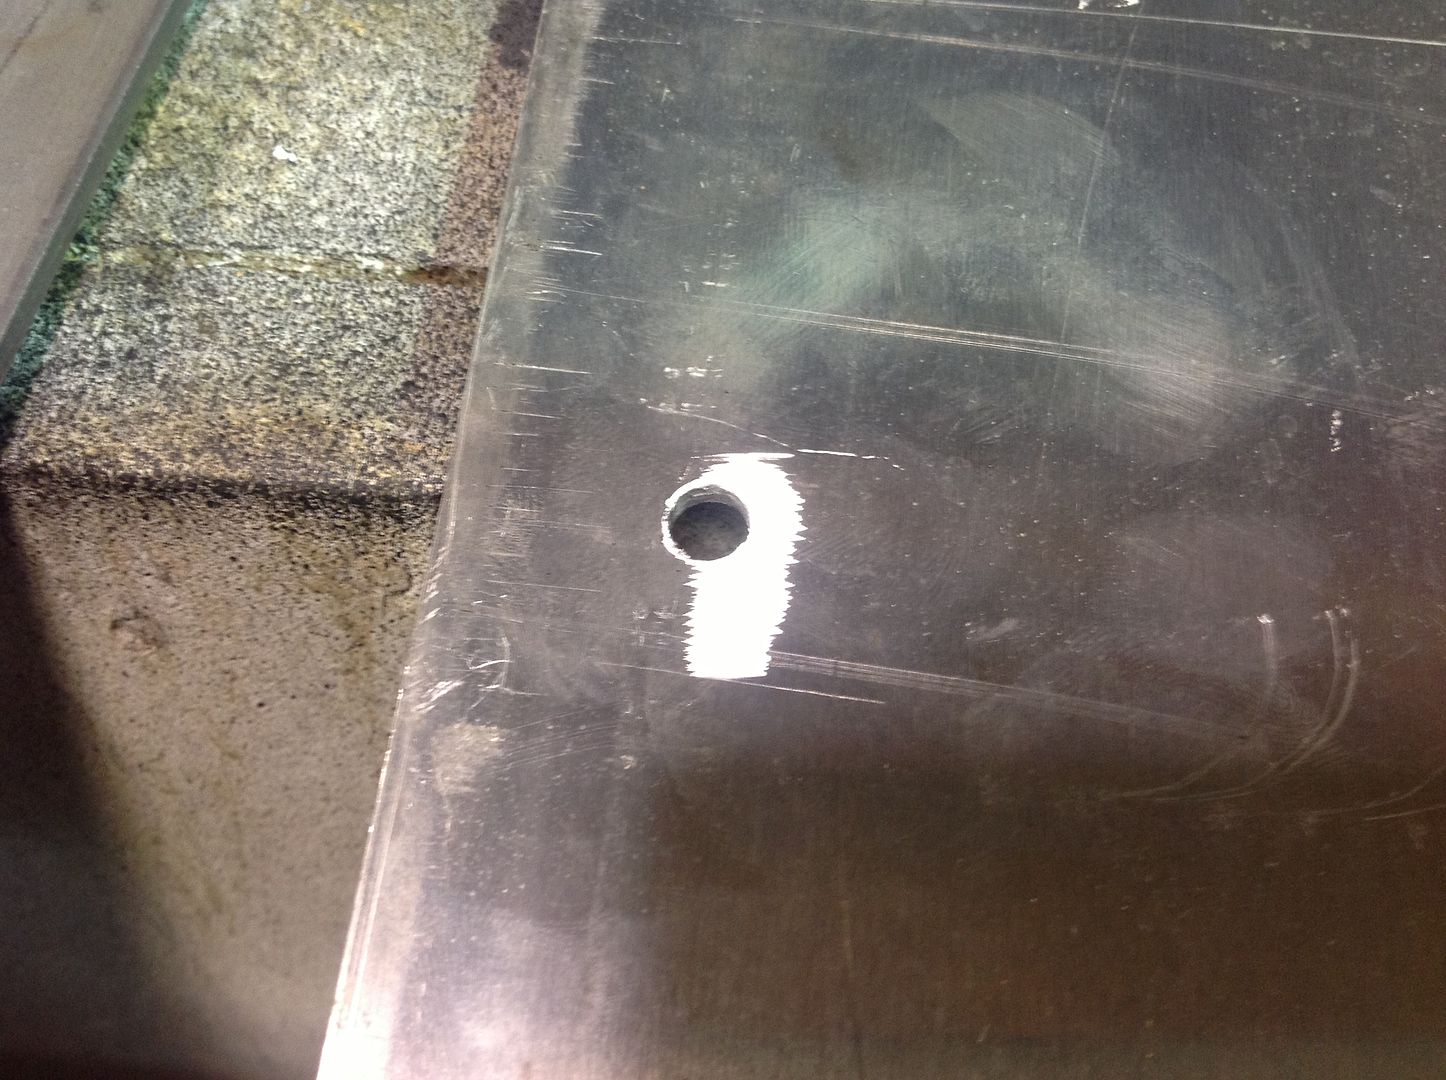
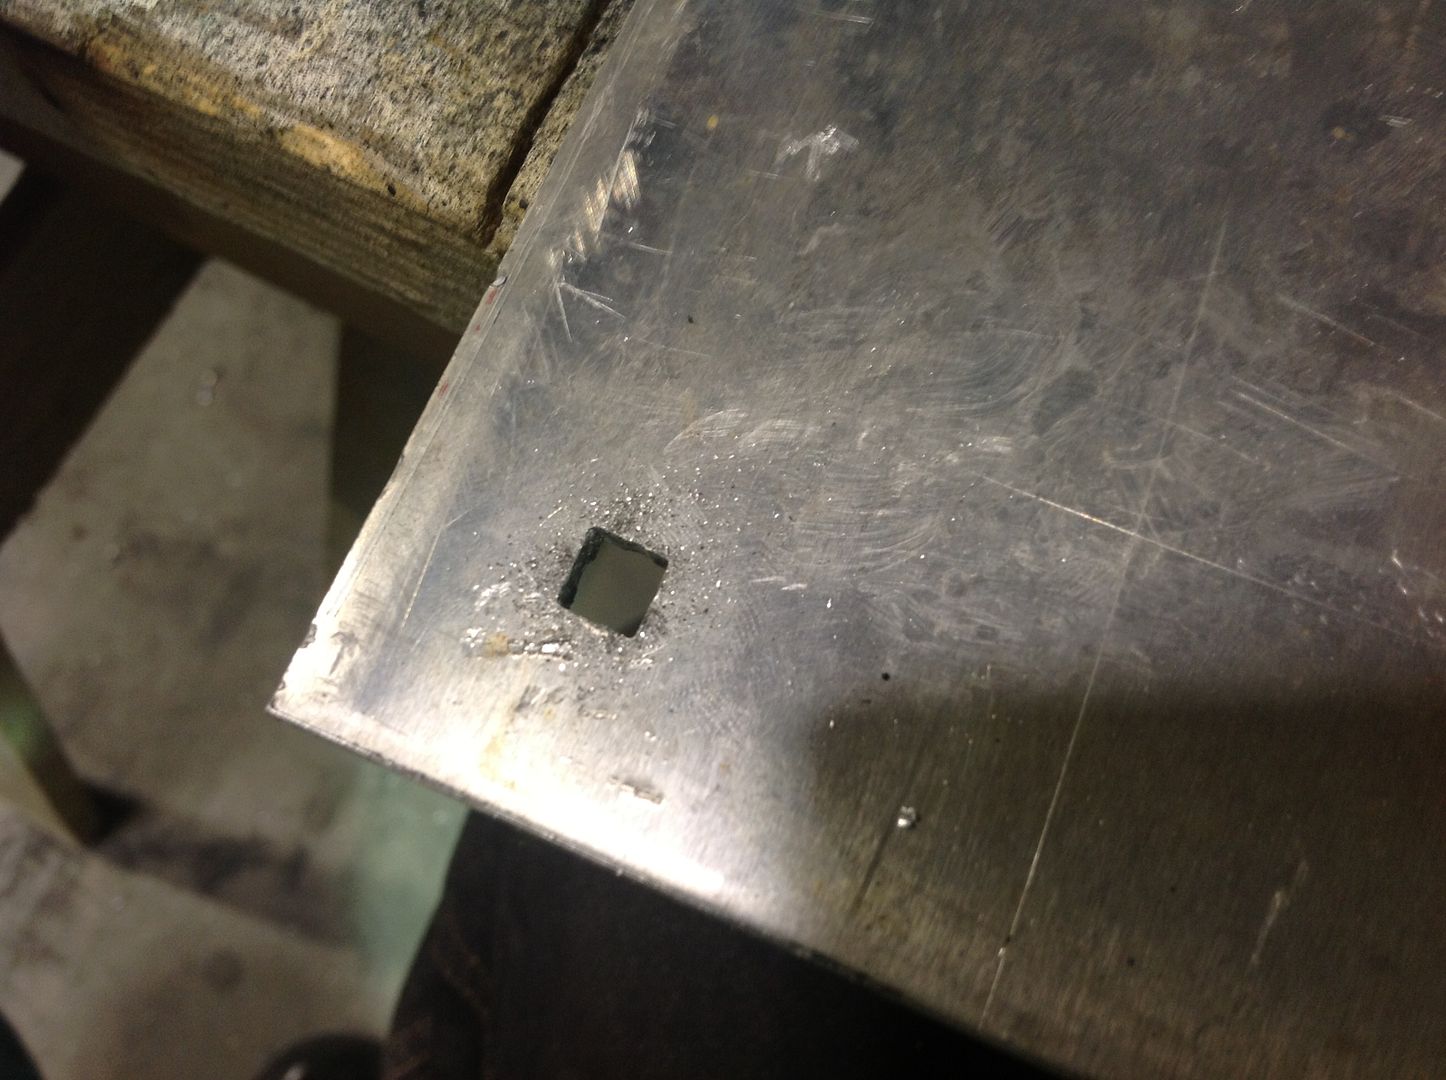
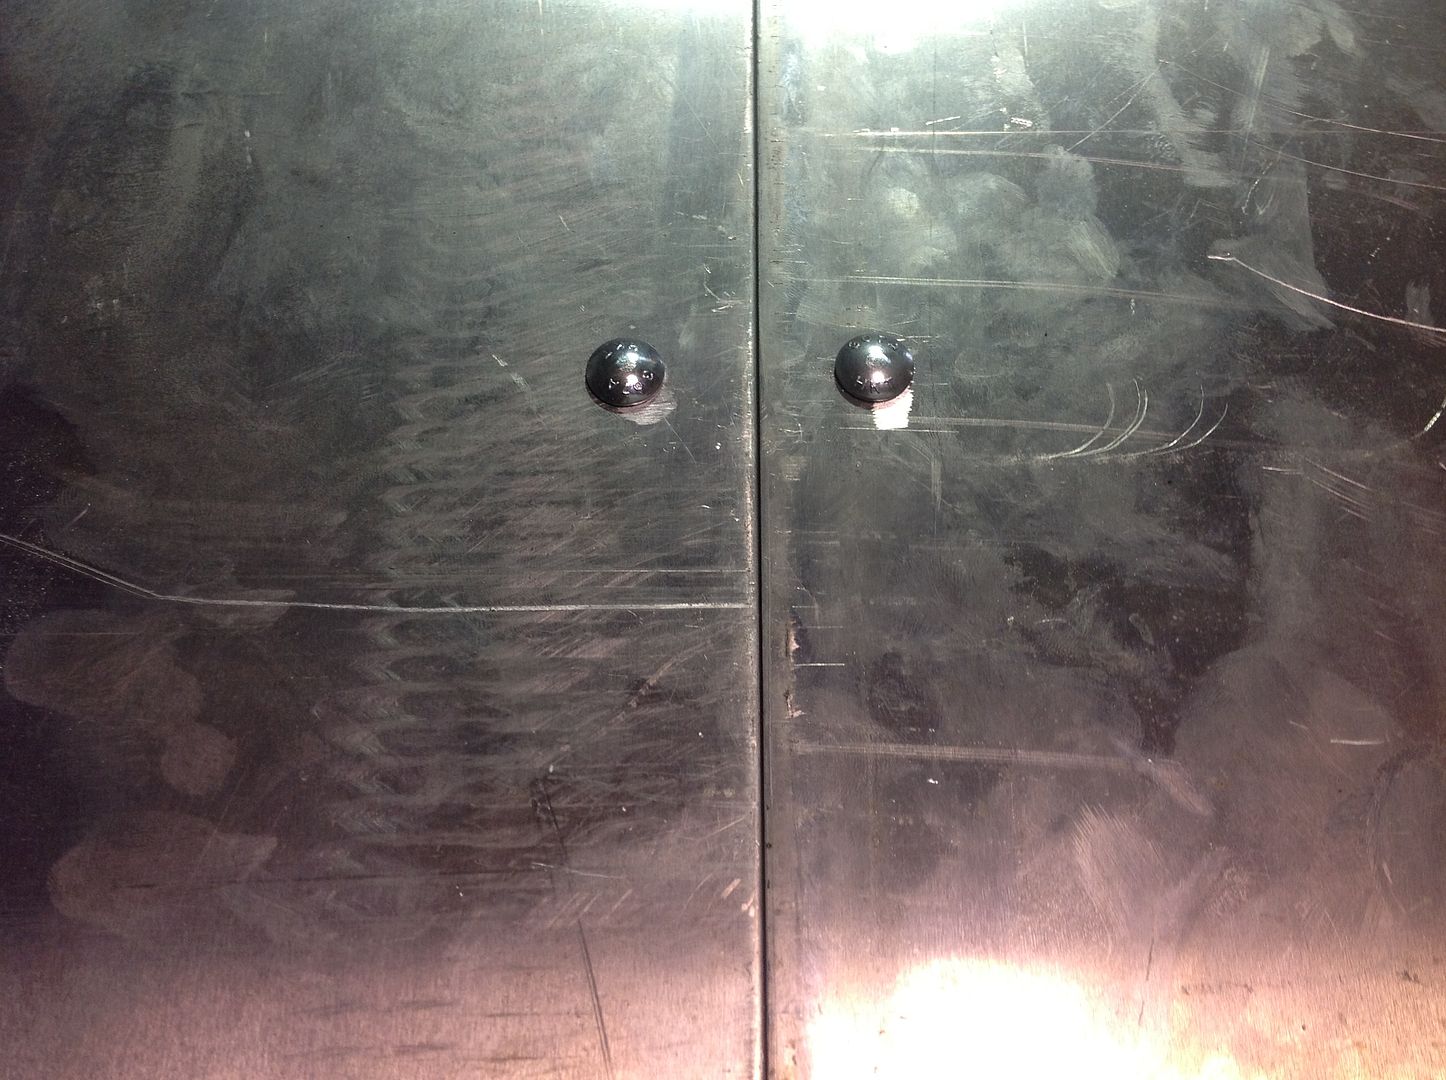
Drilled holes and then filed them to square by hand for carriage bolts...was a ton of filing..

ca1ca7e2188c1cdfb078a46ee2abc483_zps0750af16.jpg

a27b3ac4b2dd4f57bad4ac3e71ba6524_zps2c99cc78.jpg

cf709803cabb89d4d3e2a7dbd66a30ee_zpsf013e8d5.jpg

084aede1605fb603970f736a7ee3c4a1_zps08d832ff.jpg


Sits very flush. Can't even feel the crack

57d77388caef8acb80a74d9f7a2ea1b7_zps3a081213.jpg


Did the same to the hinge

5fb5df8815e727c8d08d036053d8be8b_zpsd5fa5683.jpg

cc3a7b6d3d4124c9dcbeafc1c5e78655_zpsc6e31643.jpg


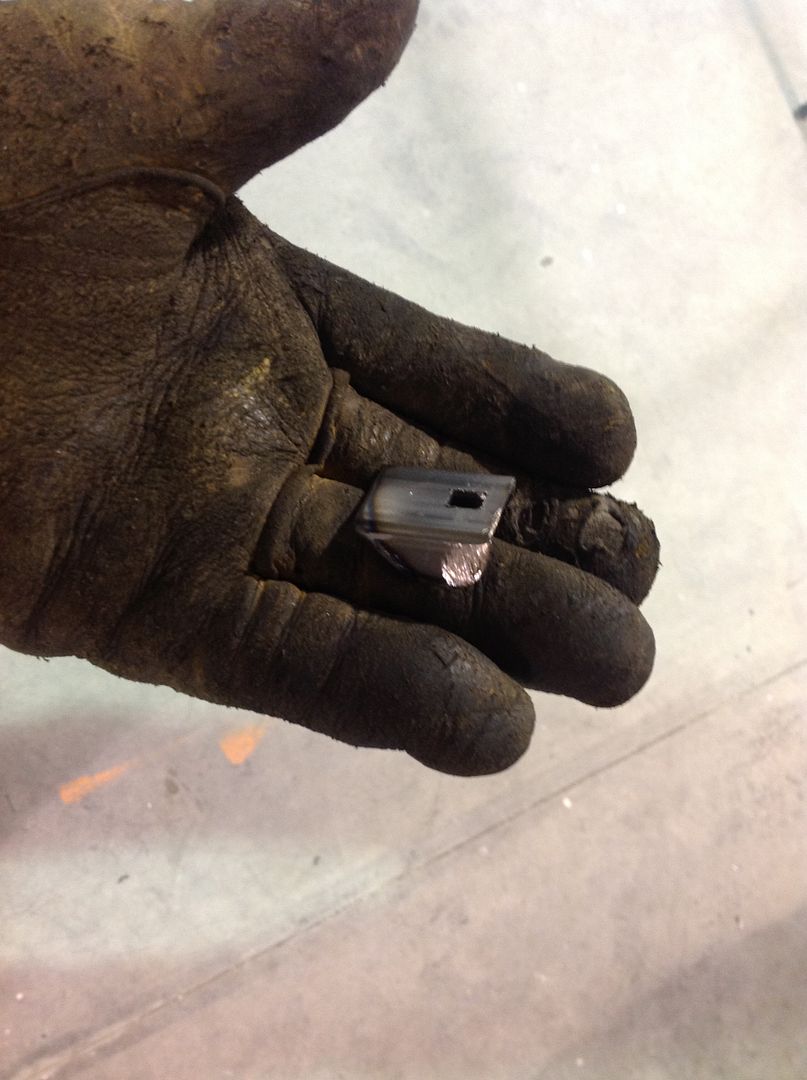
Cut the bolts

2473804ba576892a9dbe9a0b512891c7_zpsbeae1ff9.jpg


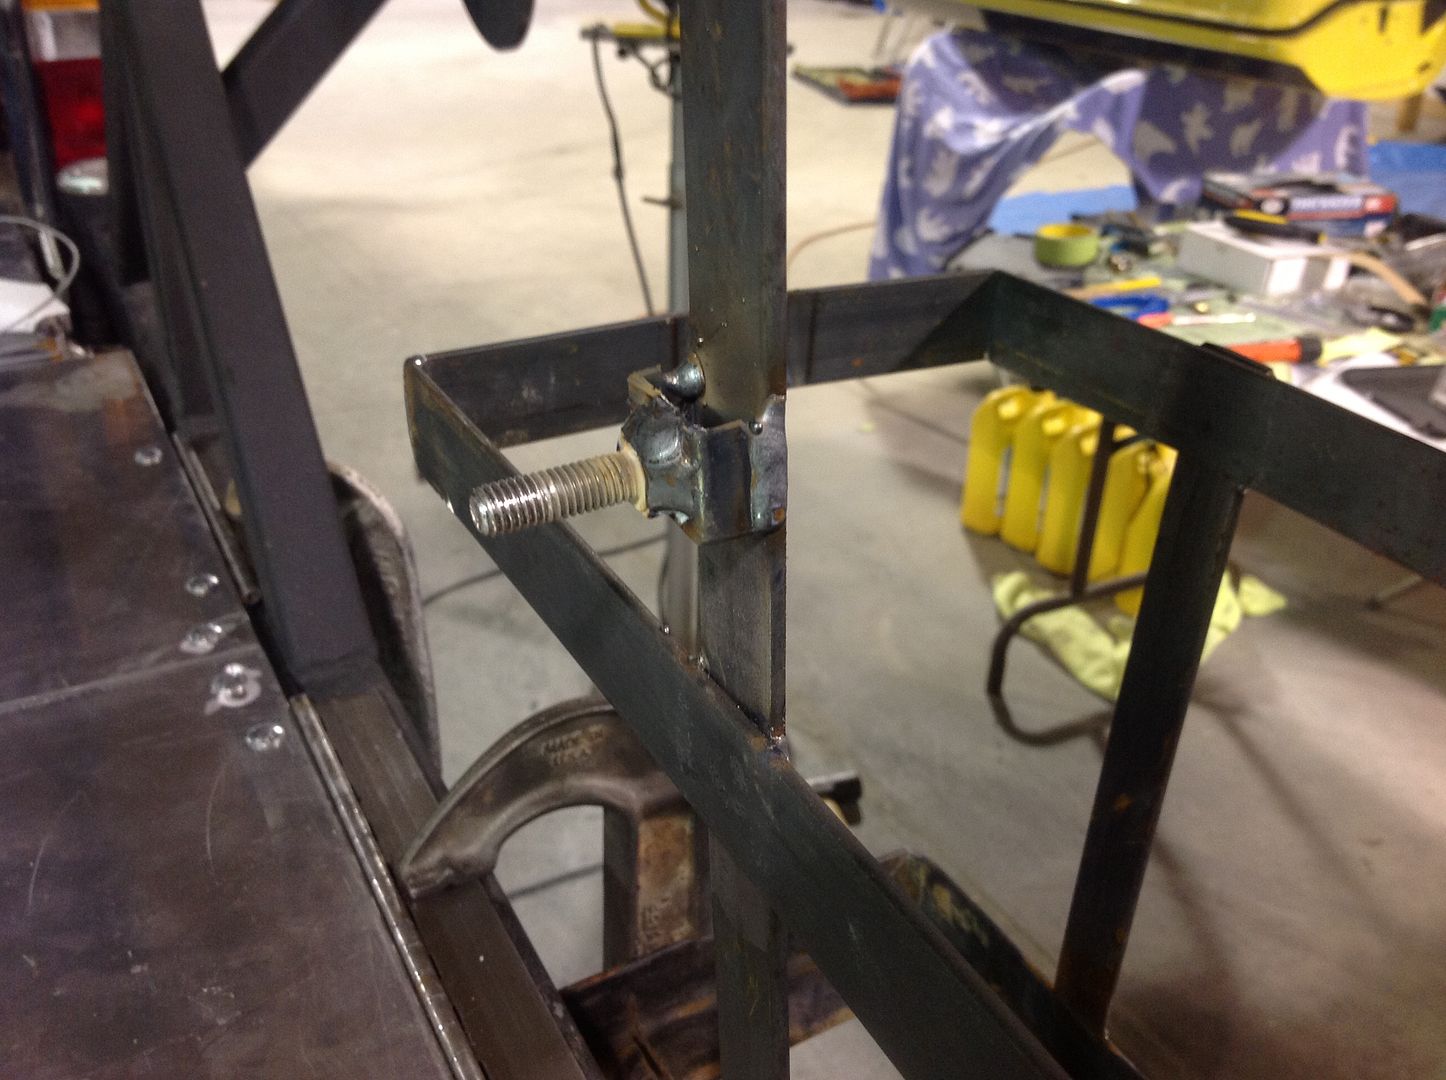
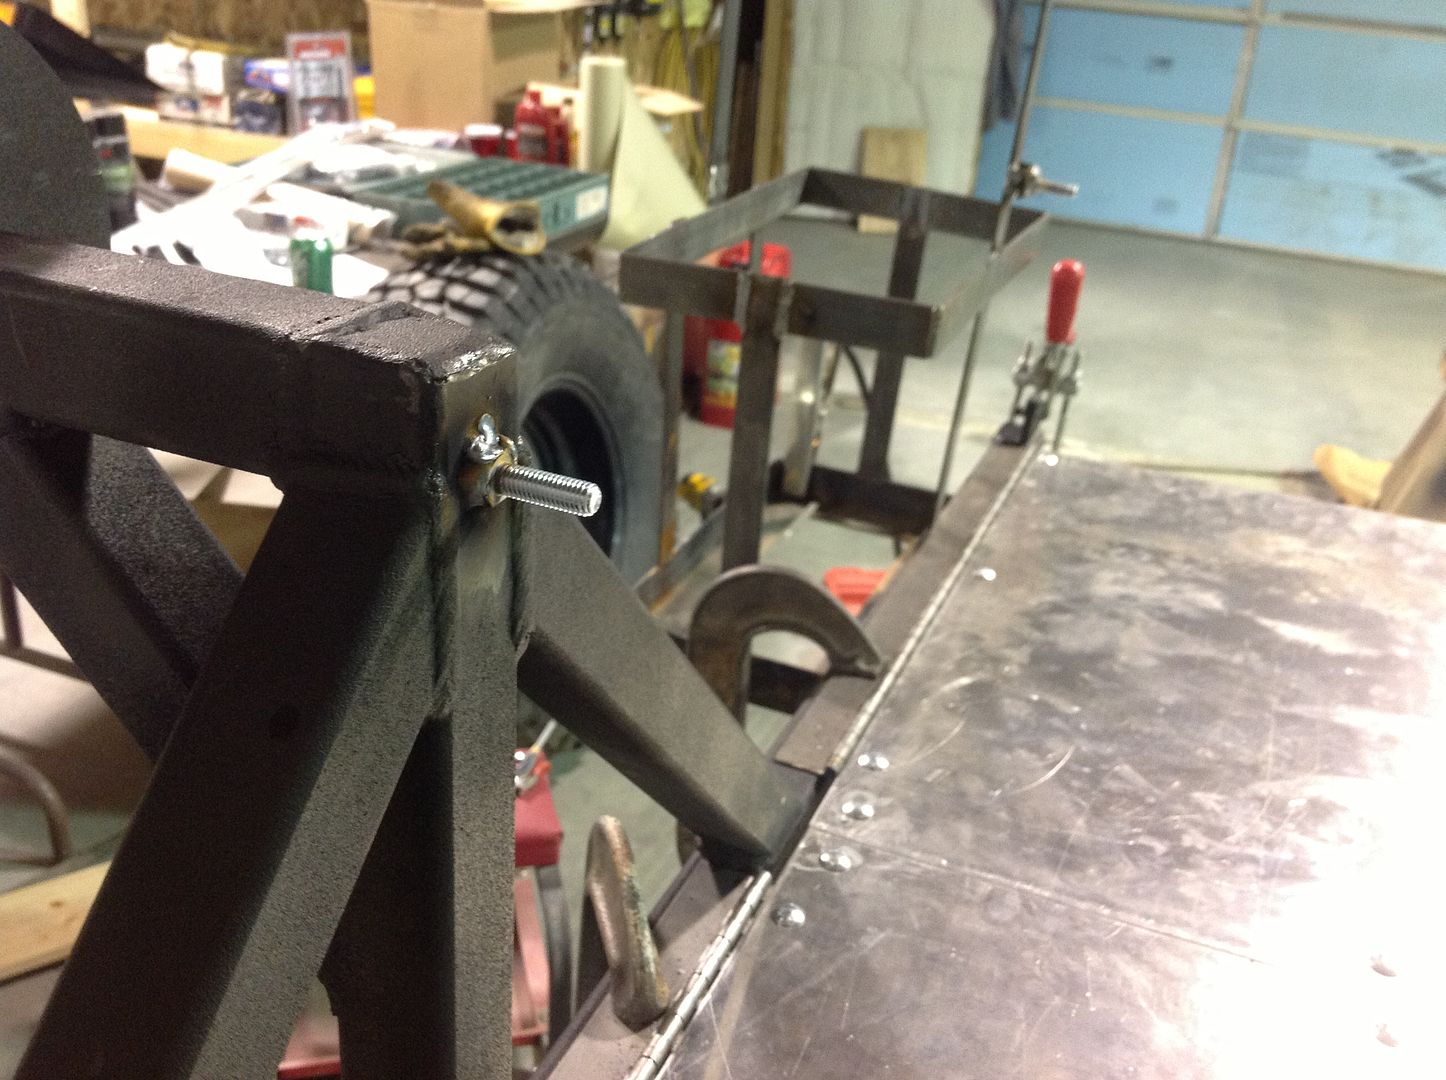
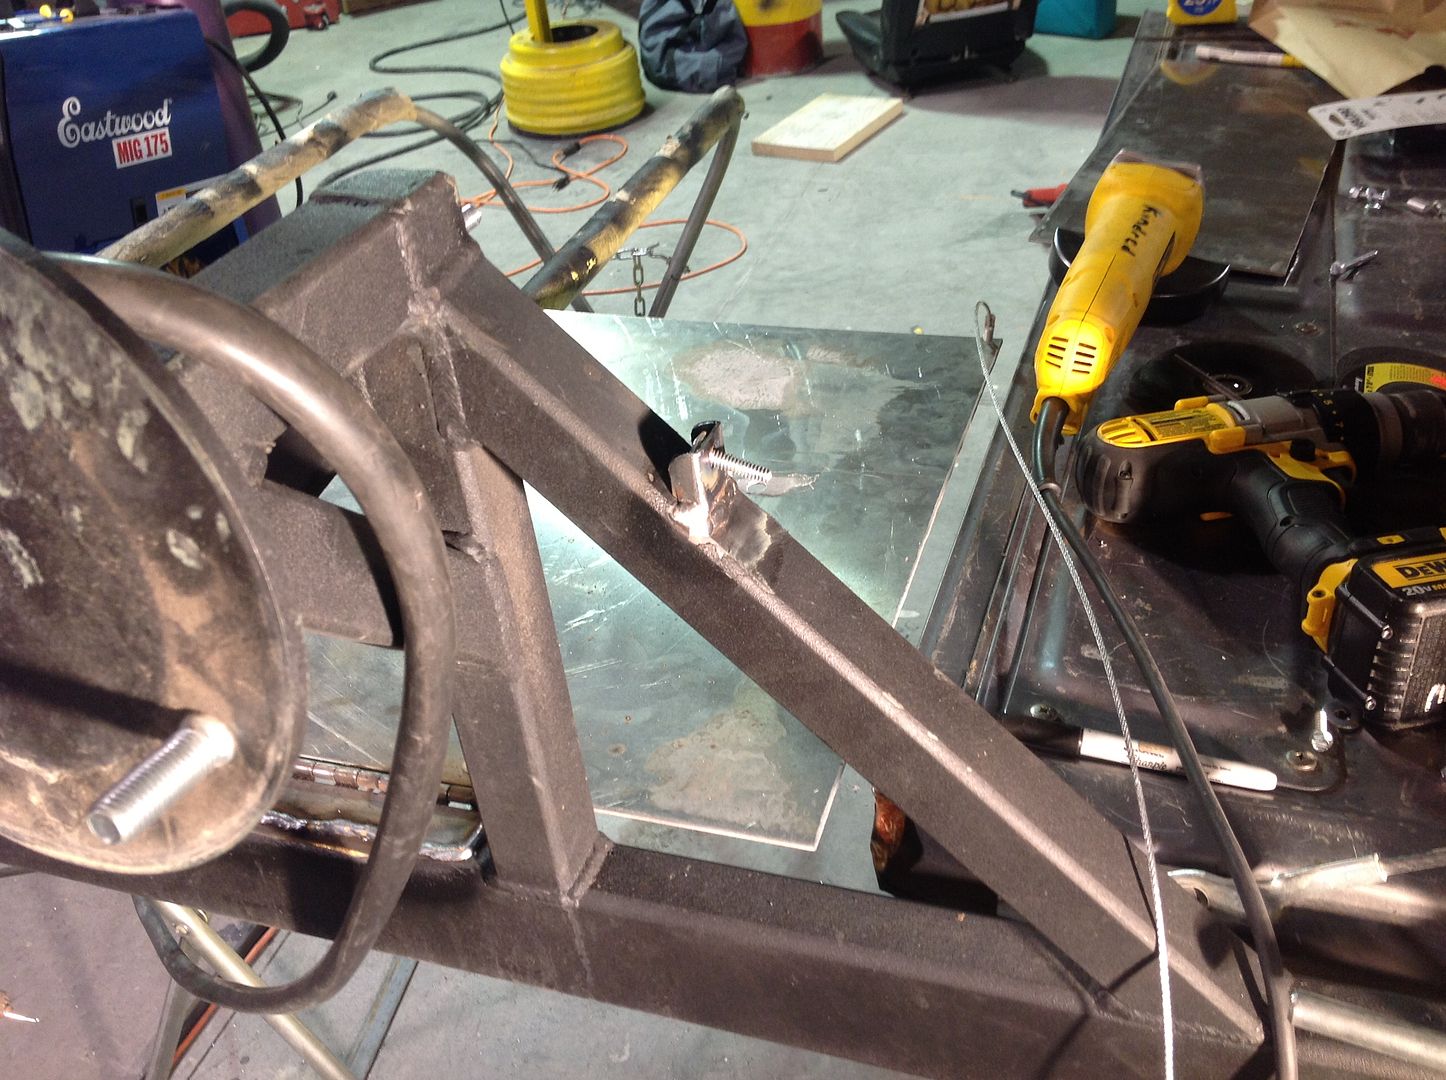
Then I made mount to hold the table up

5fcf6fc36517b2b881dce5861ce34bfa_zps2c561ffe.jpg

a5cf293fe2f385b6f92e2fd733381ac1_zpse47a9a0a.jpg

fbe7613bb2483651ce42829b8f8d6534_zpsa64661c0.jpg


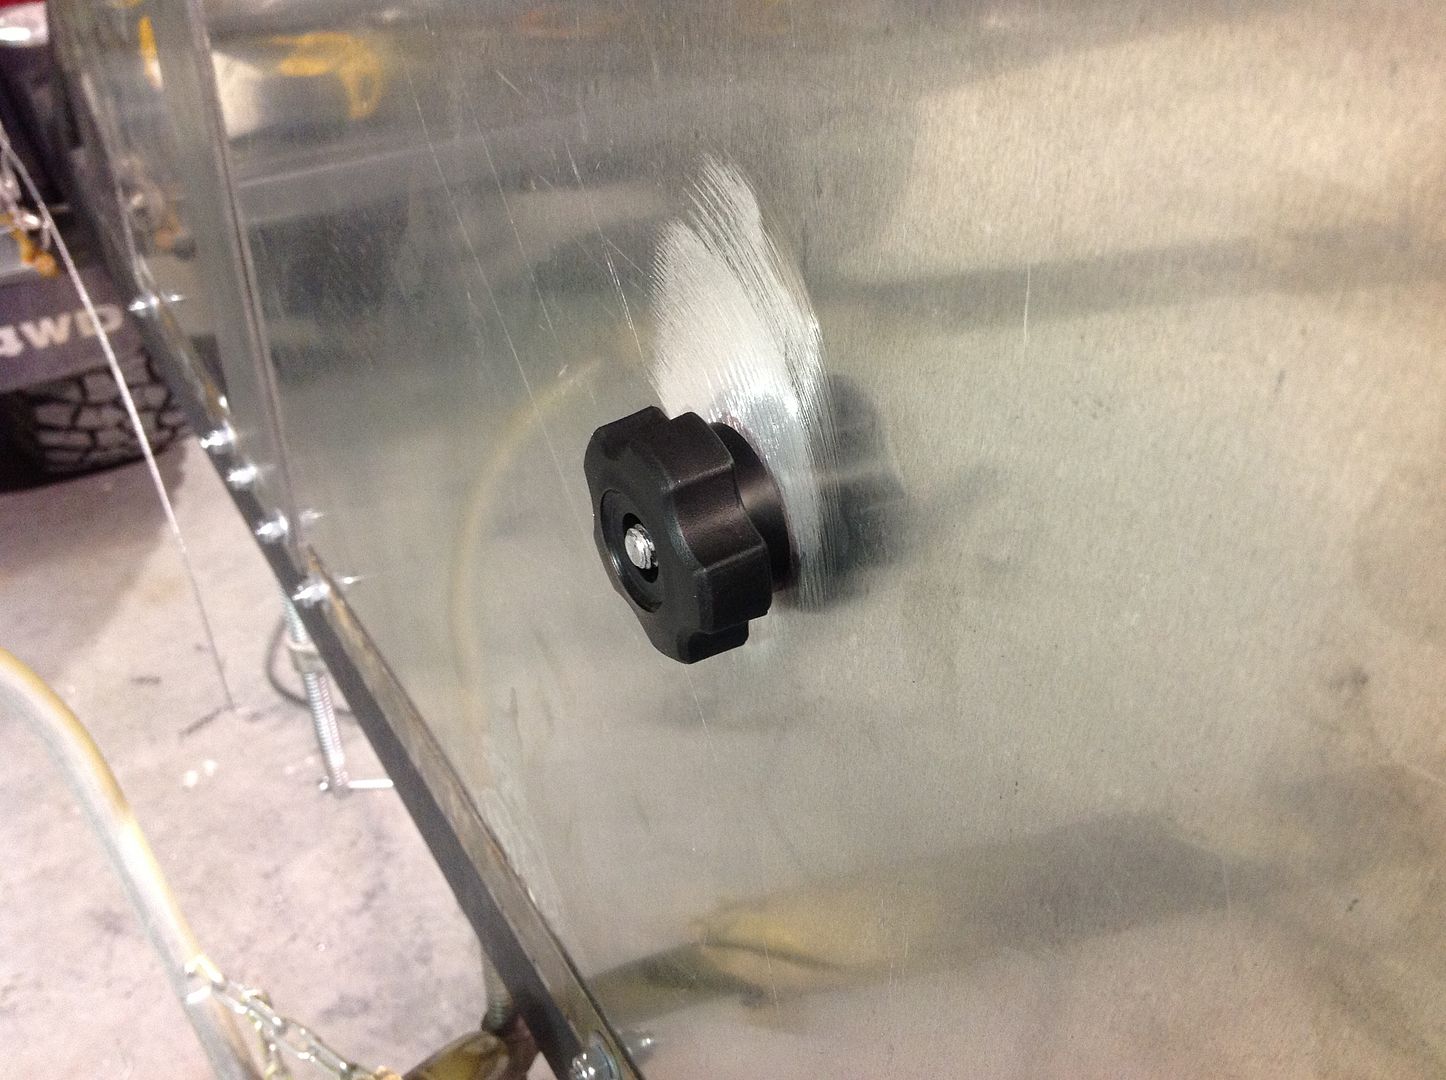
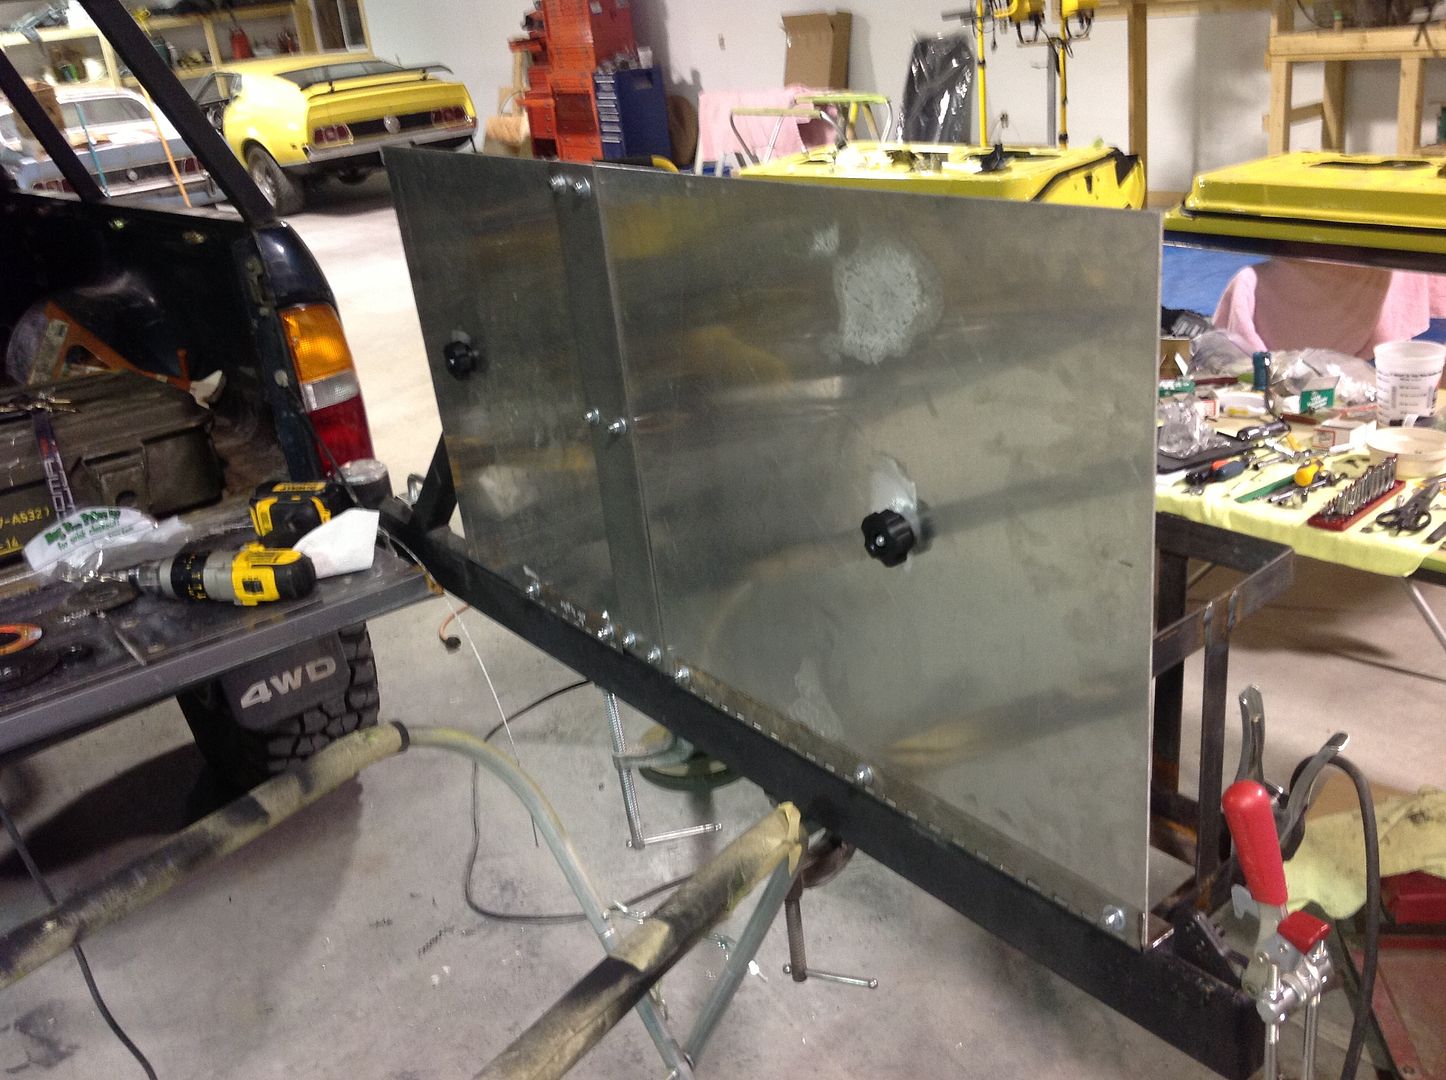
Used these plastic handle nuts to go over the bolts. Works awesome.


9579cc3aca0d7f6b81ce7fb02d32e3f2_zpsb1e6730a.jpg

db490e08c4c2efaeccec4744643f44b7_zps8b650023.jpg


Another bracket for the cables

0ffd4620c398d8c562146ff9a3d0bf49_zps4ebd43a9.jpg

360d4f8edf31a37becd58b40687e0e2c_zps35e7aade.jpg


Other side
766059bdb69ac33e79183cc8752ddb49_zps04a64692.jpg


Cables in

fa11377dfdd25ee4f89286cbff54cde7_zpsa2b110ca.jpg


995cbb563dd9c95dfd462197044f6e03_zps9867665d.jpg

626d5322d59a88d991b892900925be6a_zps56e38fe9.jpg


Turned out ok. I think it's too big and I ****ed up so the latch handle for the entire swing out hits the damn table. Probably make the table smaller later. But it'll have to do for now. Paint it all up and call it good for now.
 

Blackdawg

Dr. Frankenstein
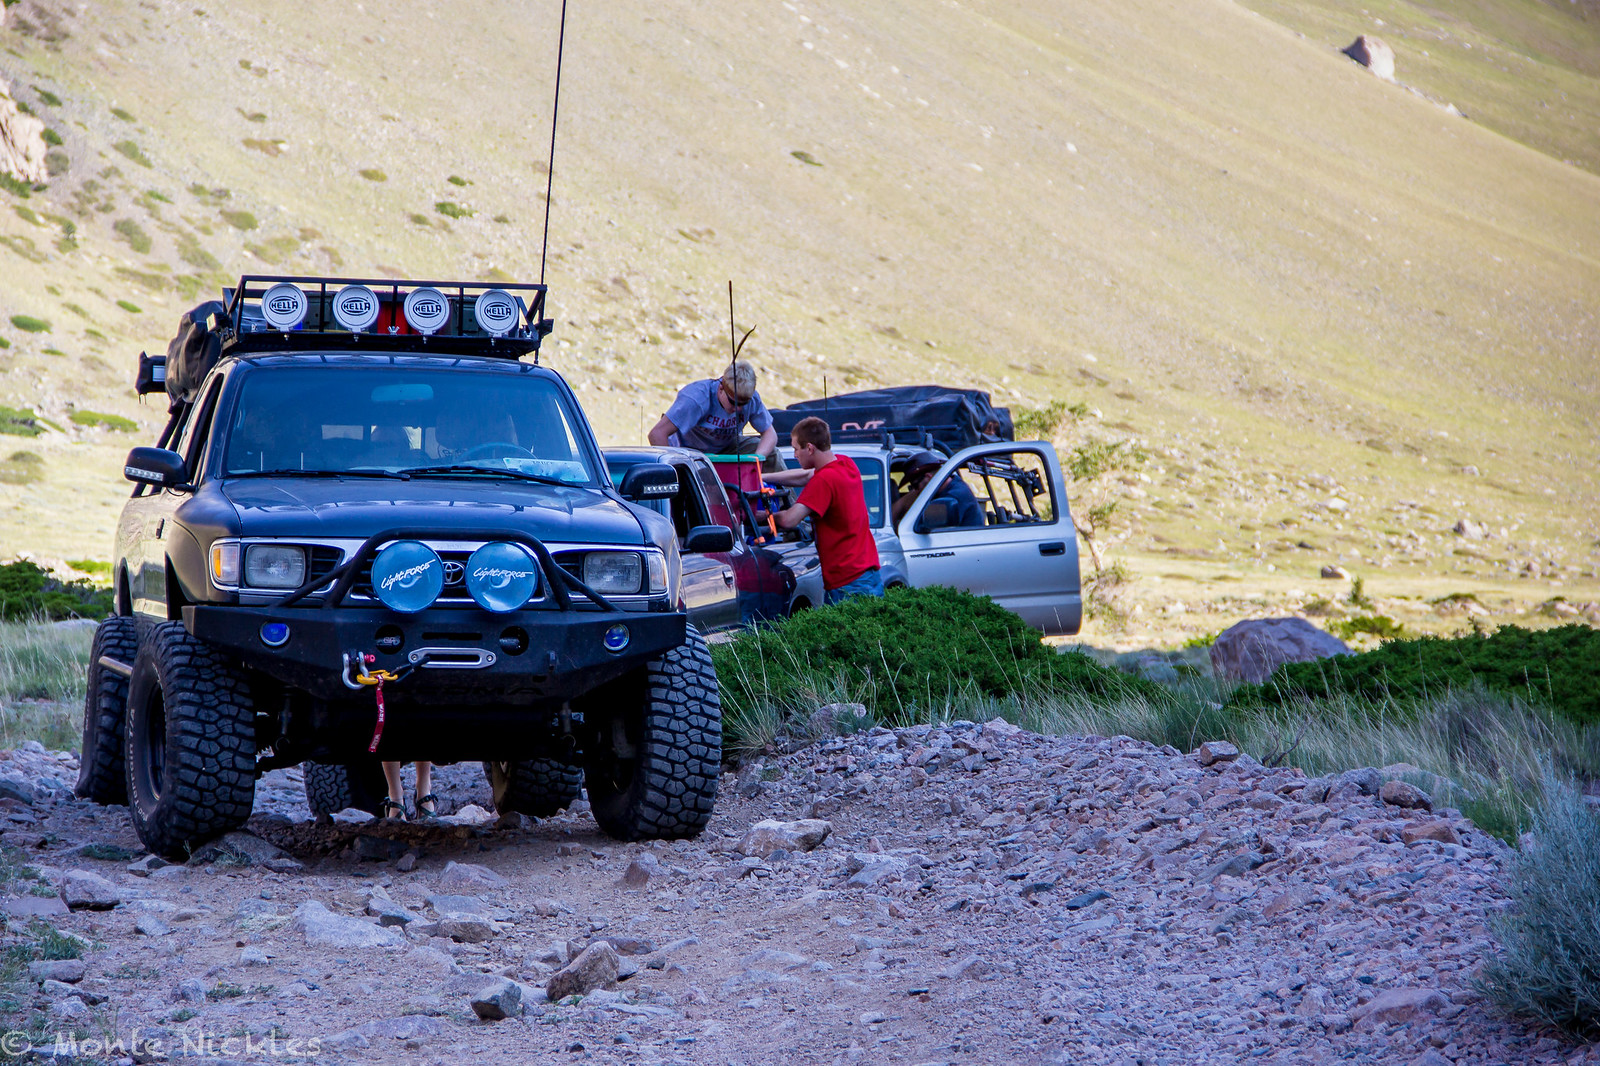
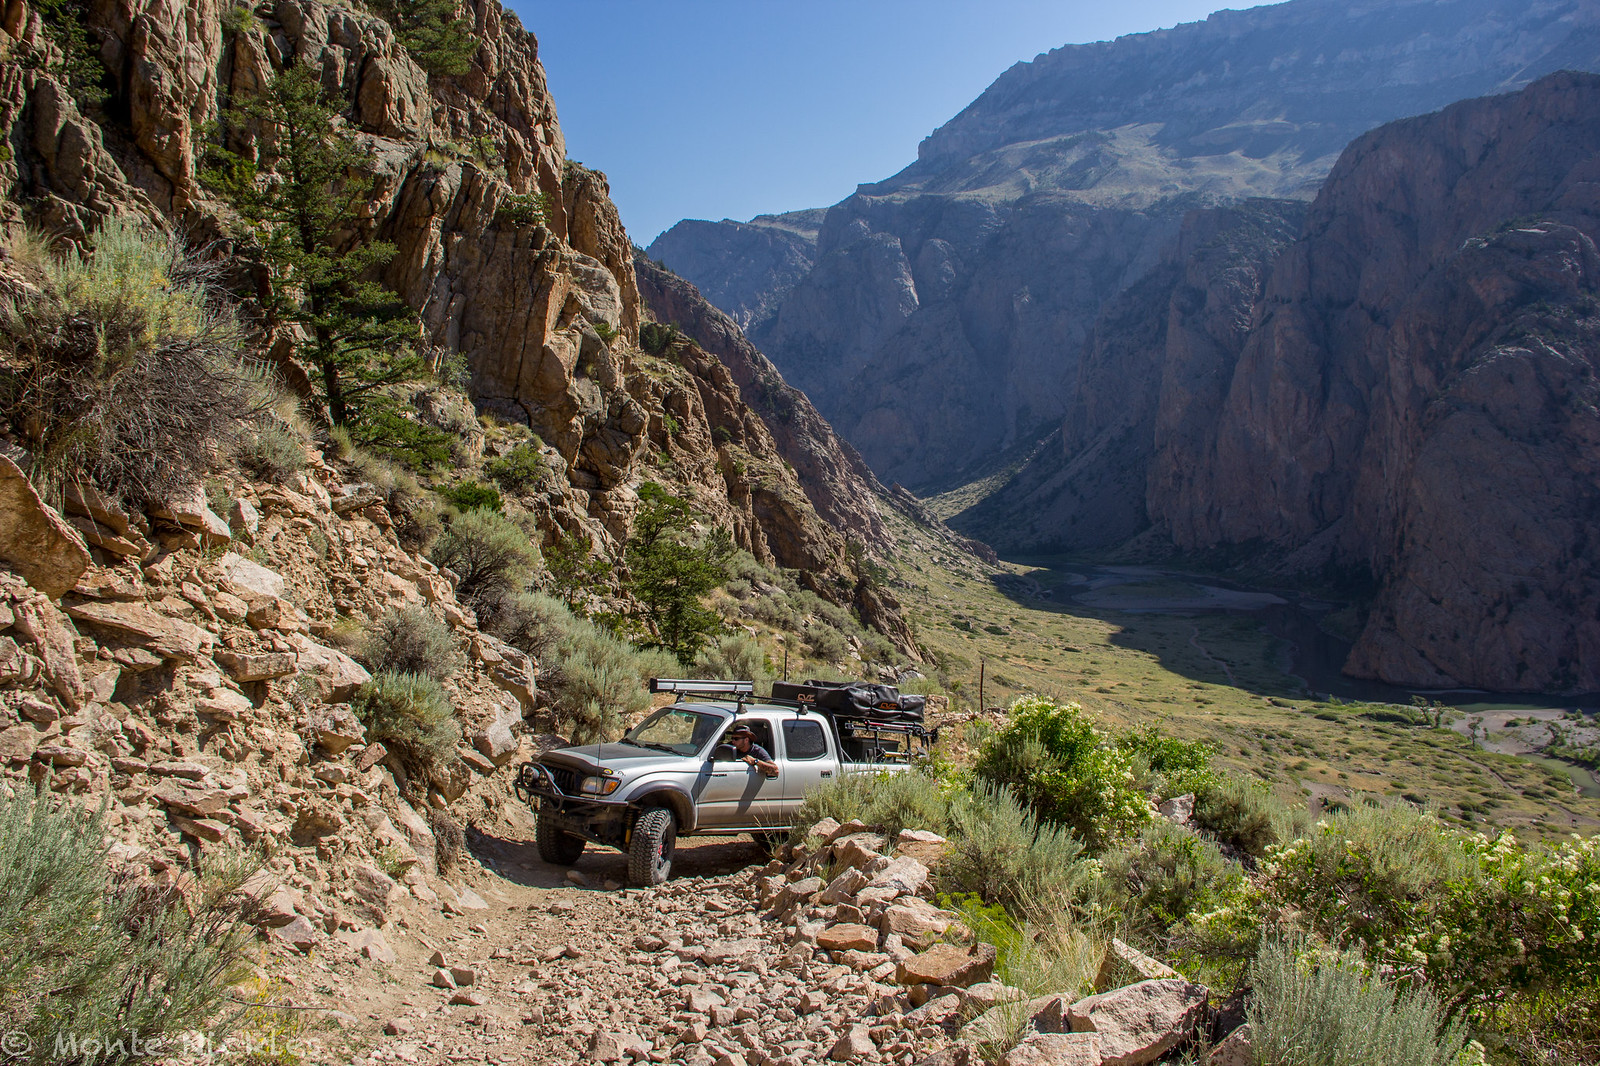
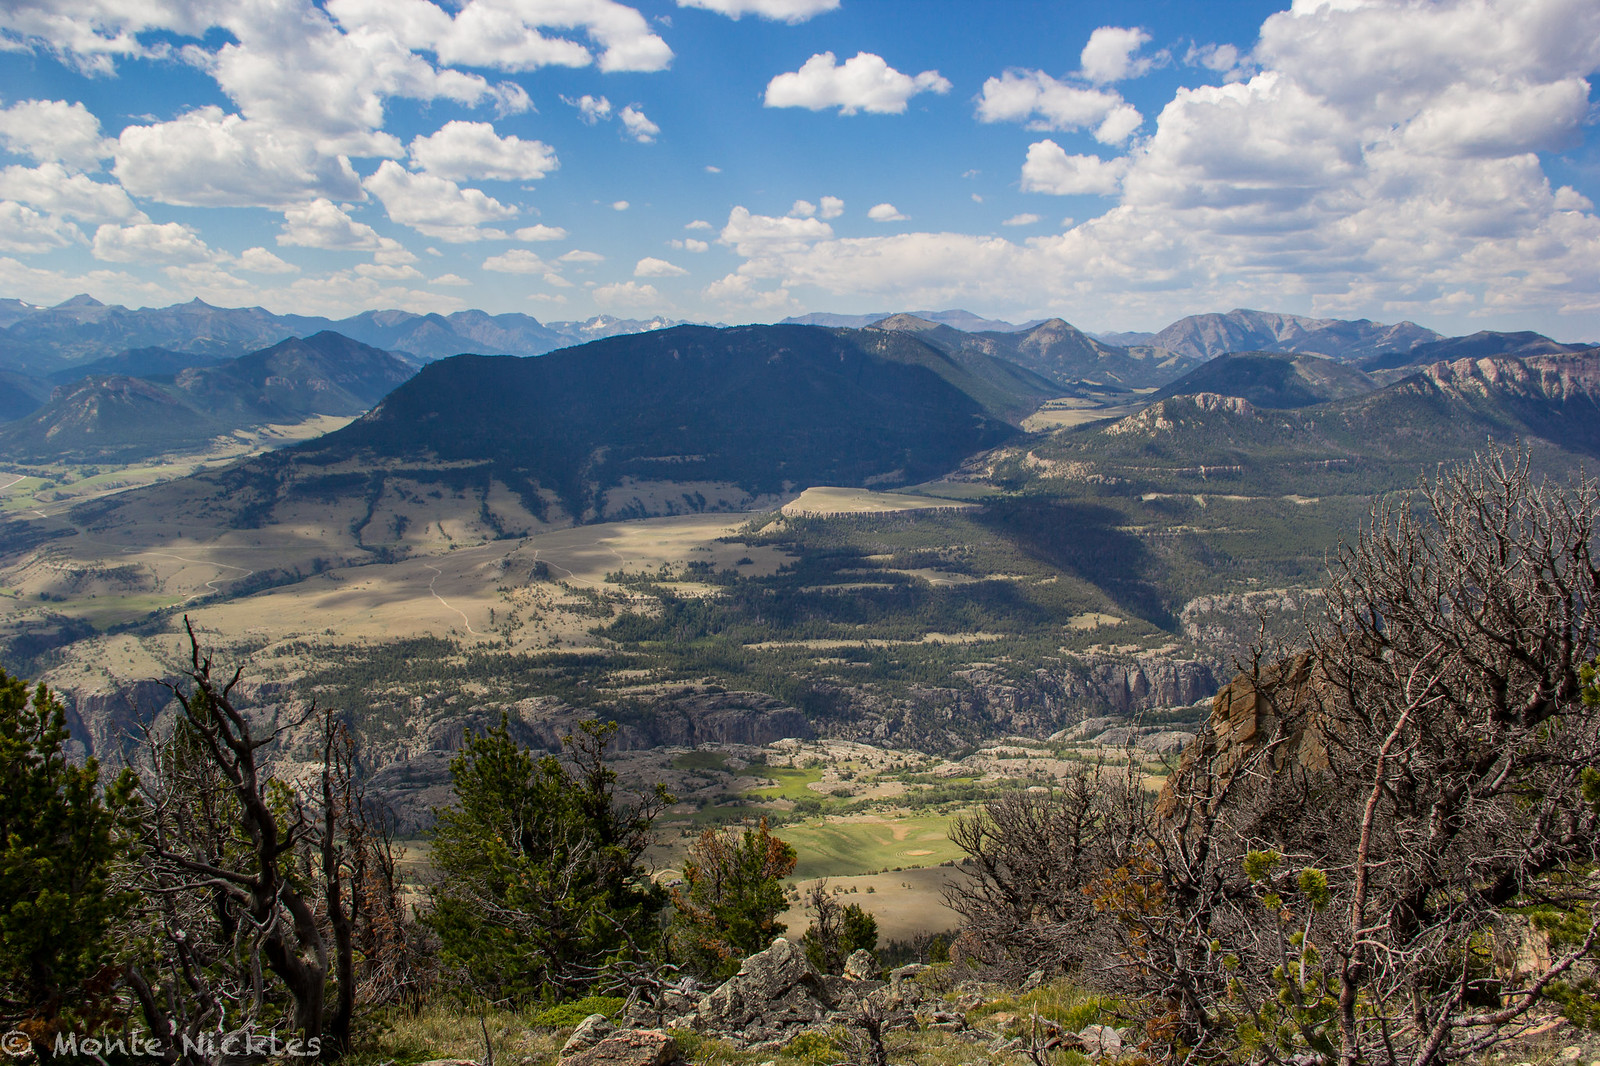
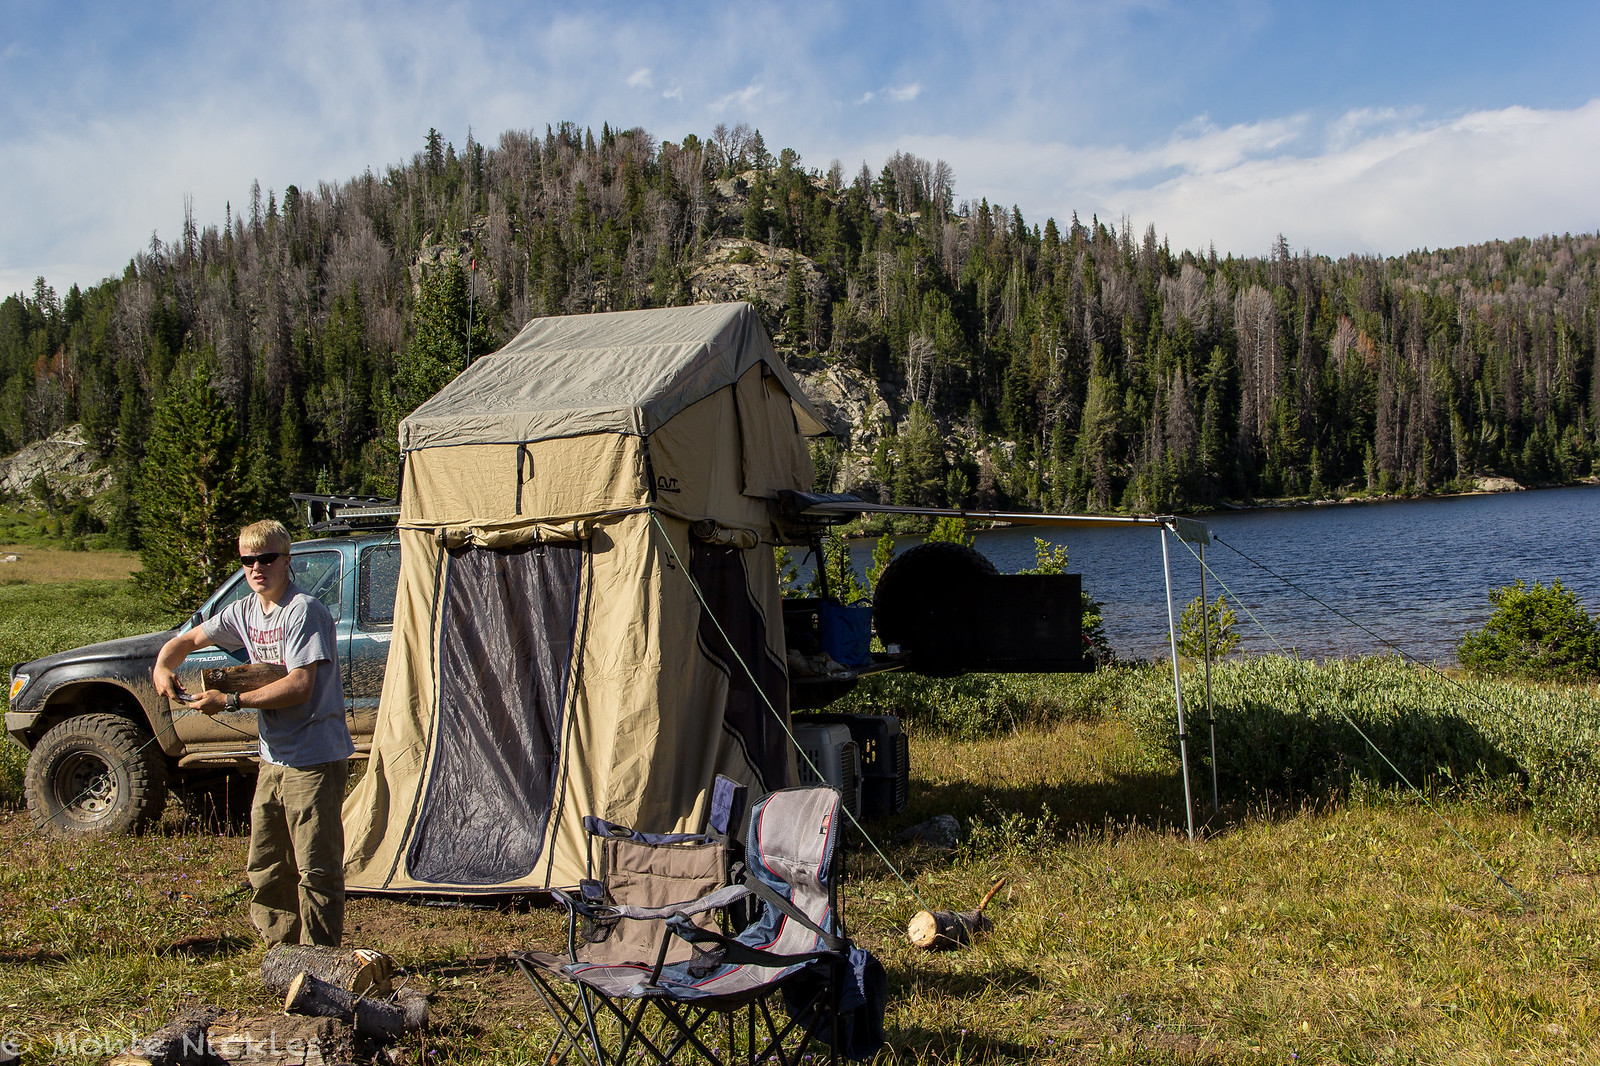
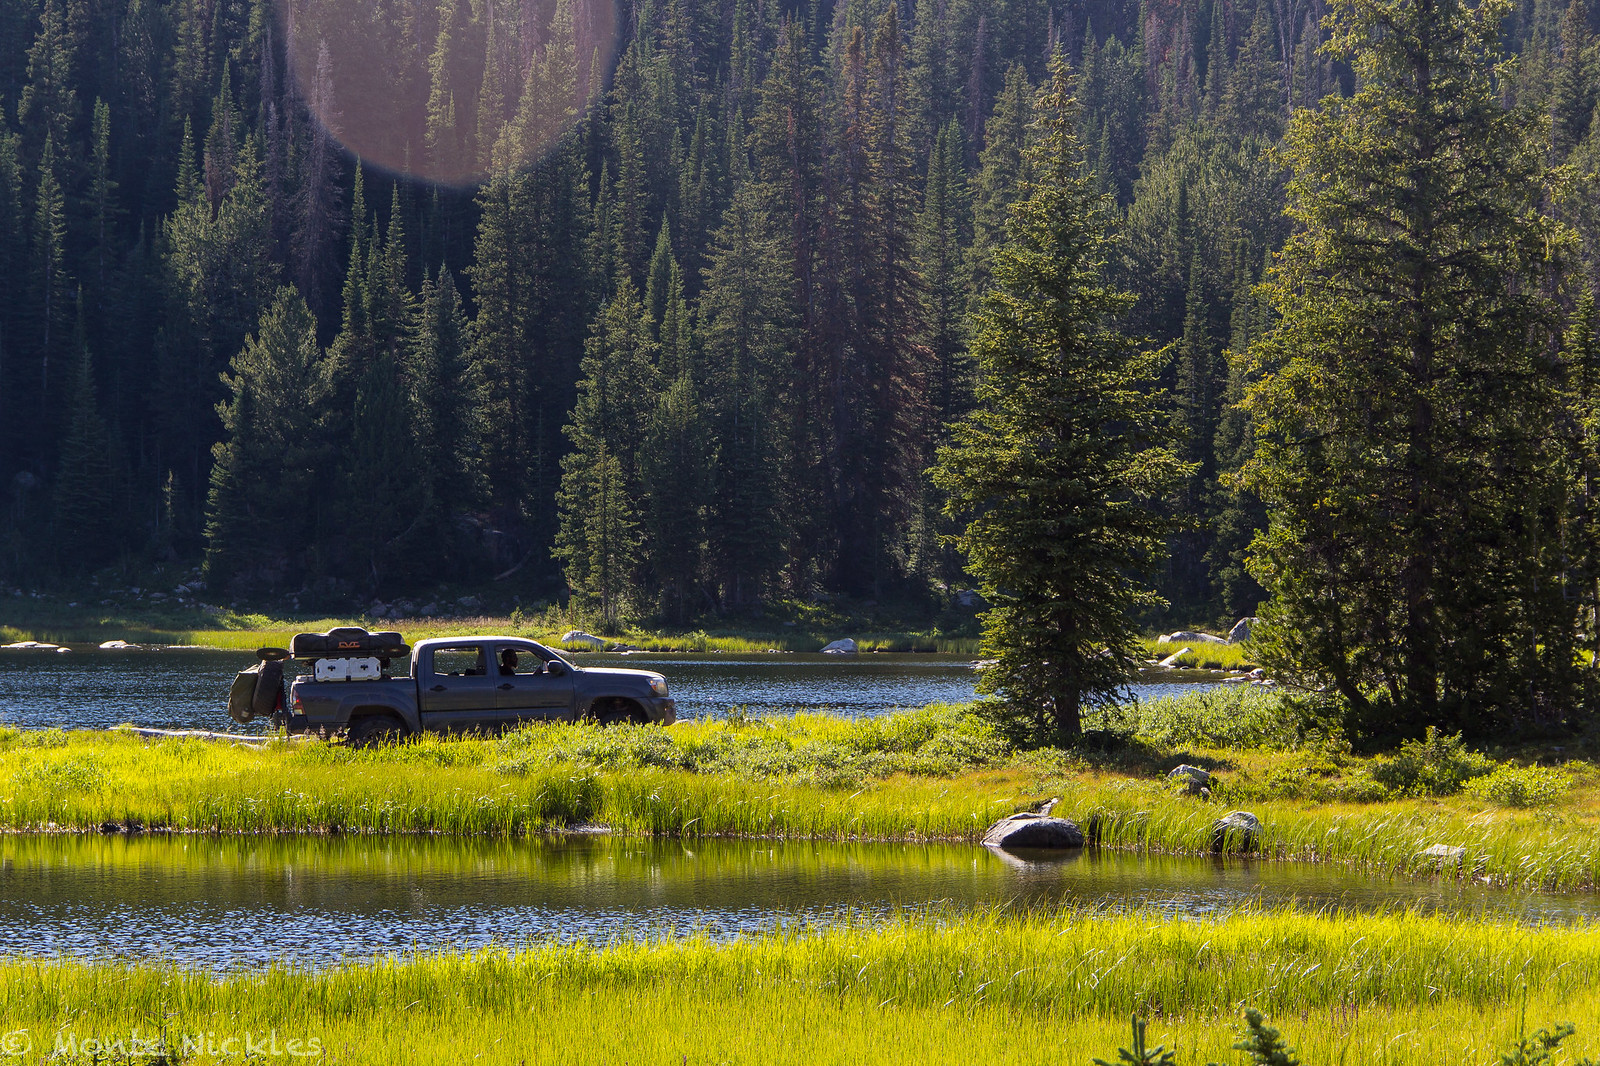
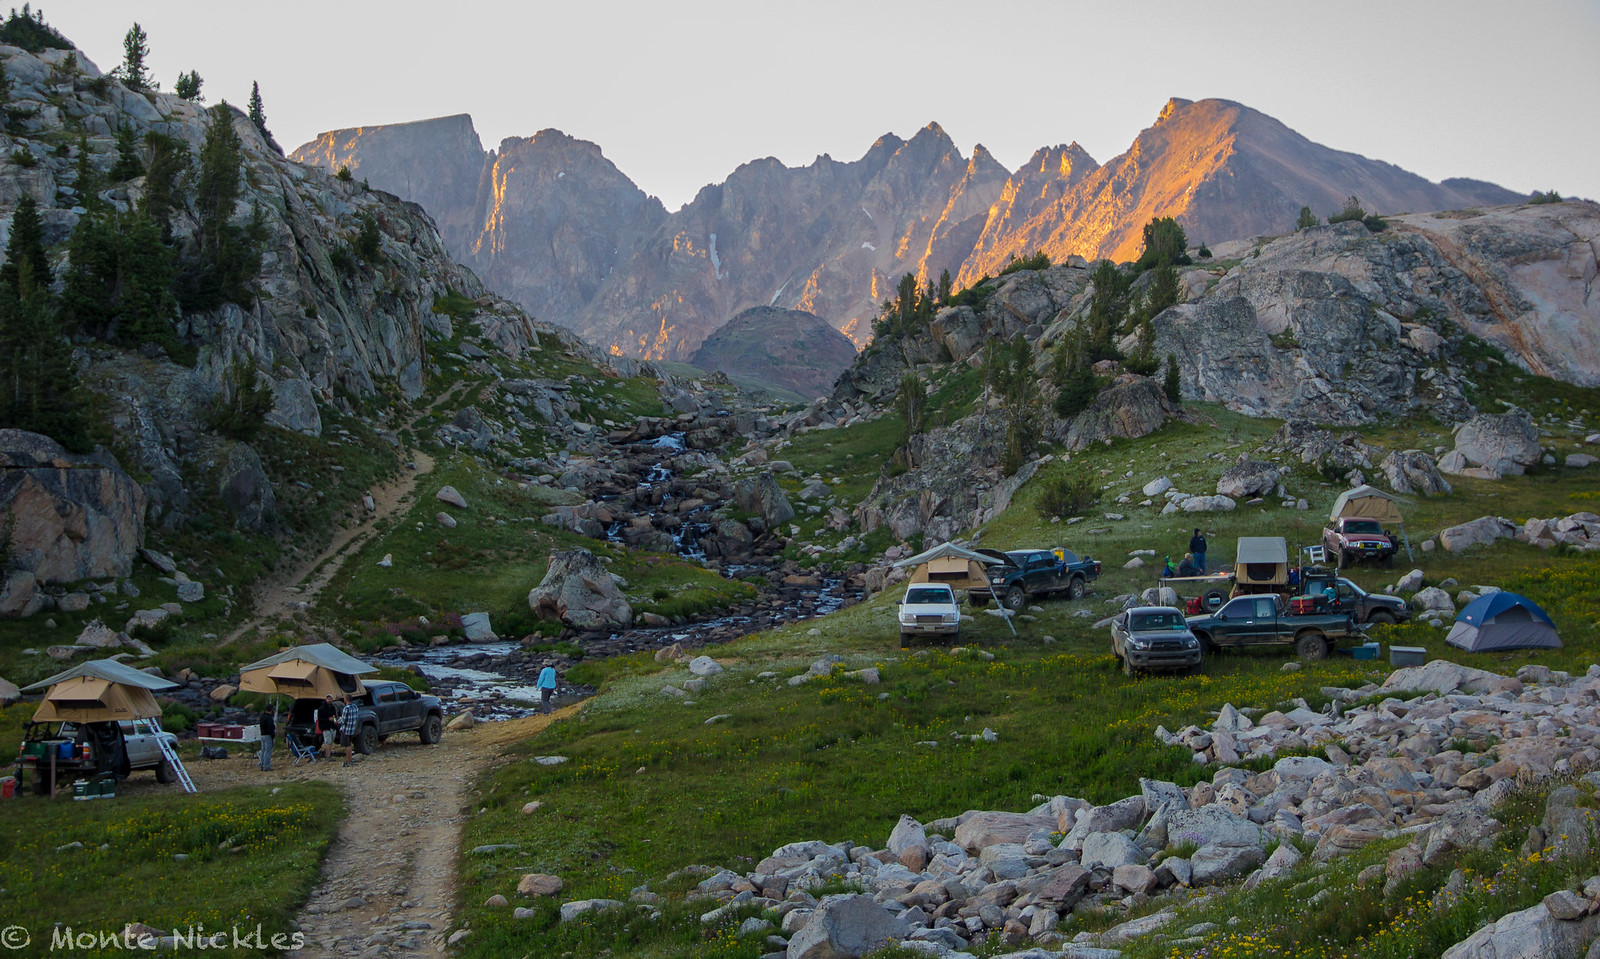
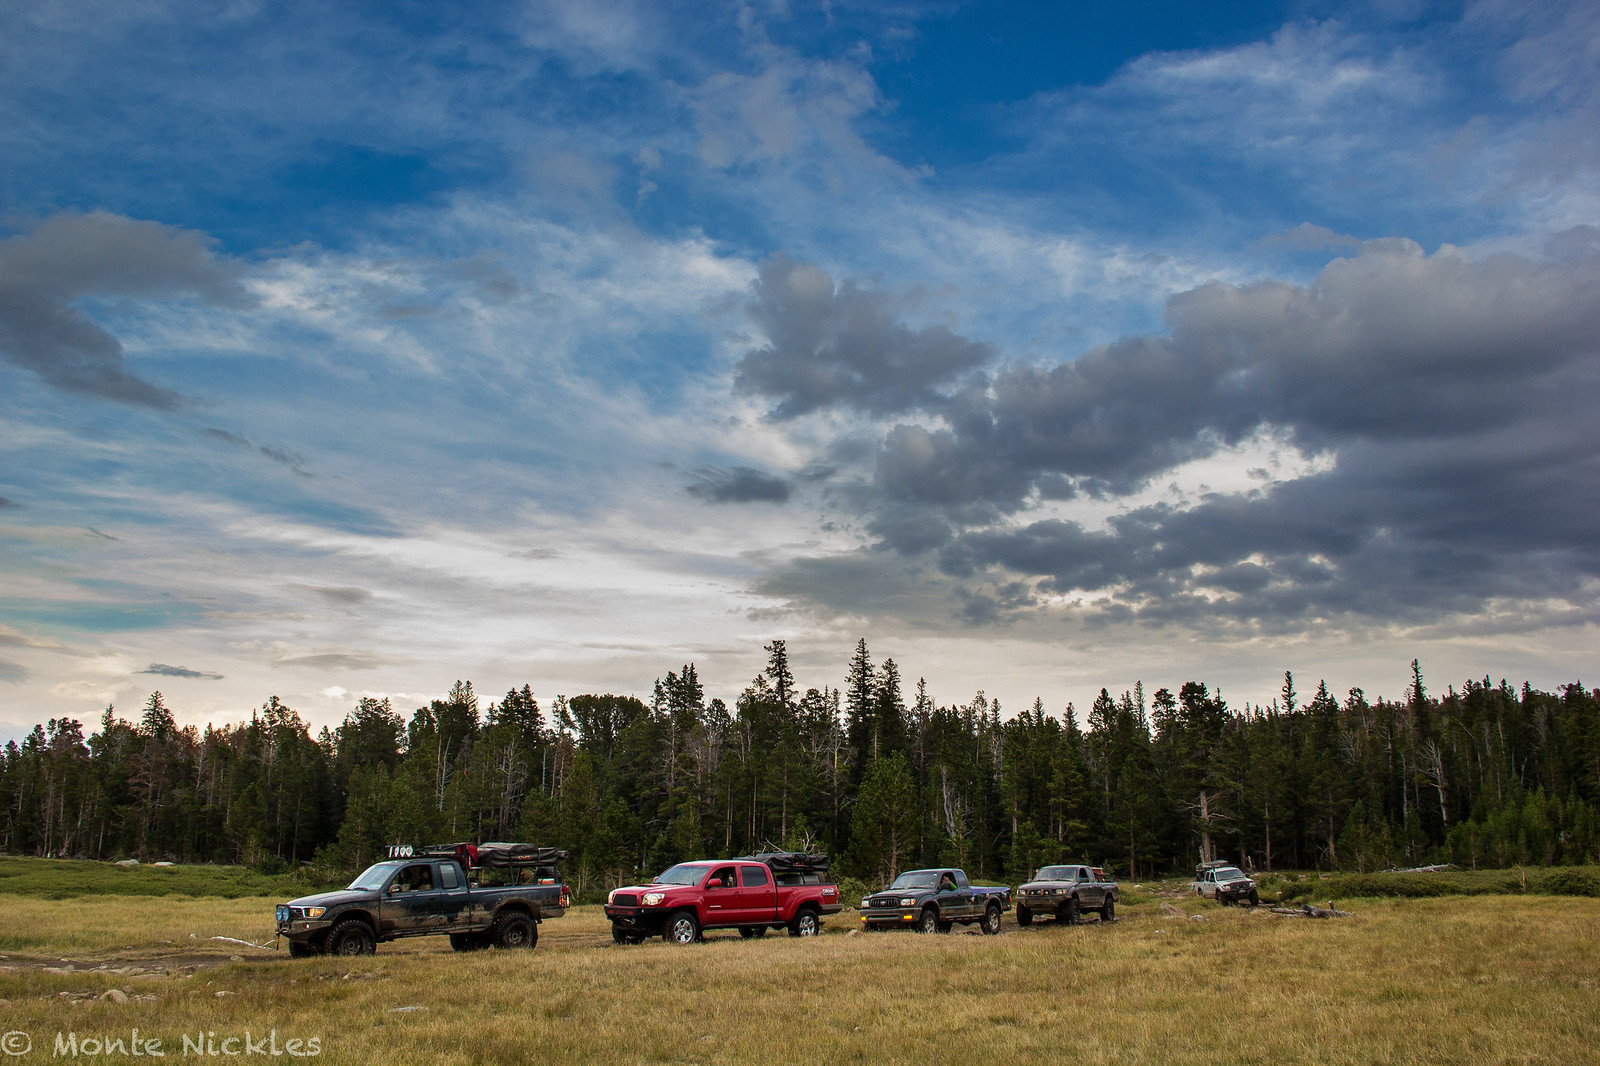
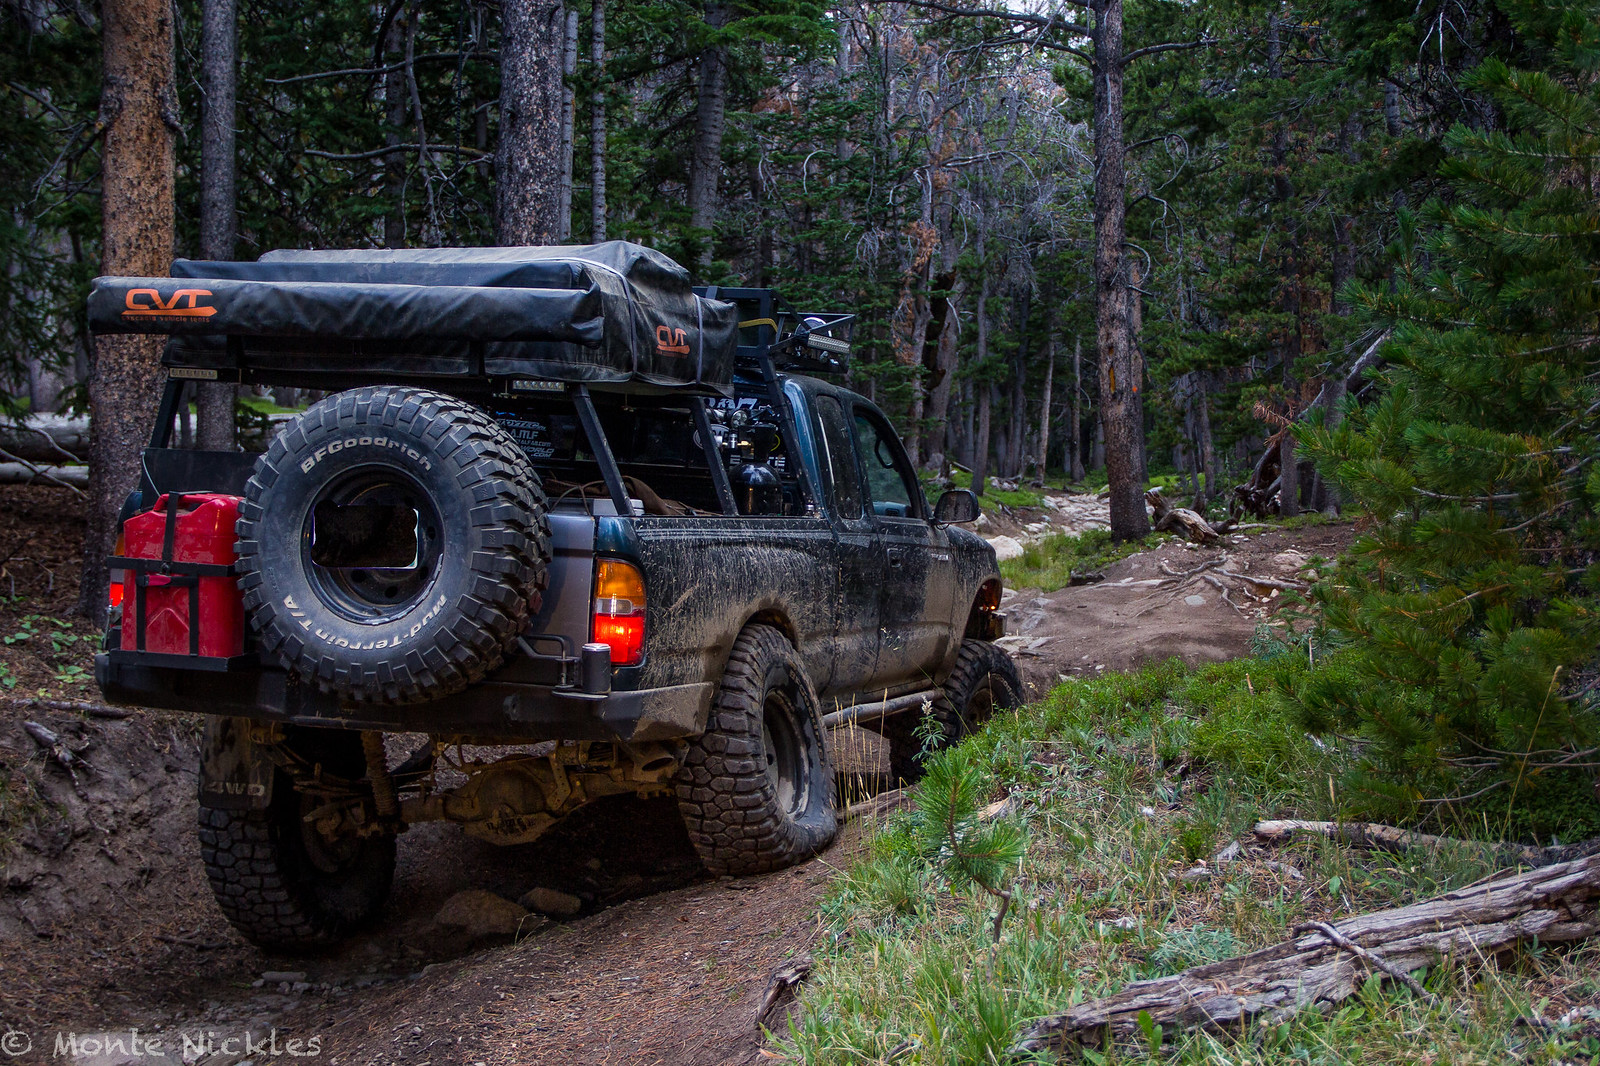
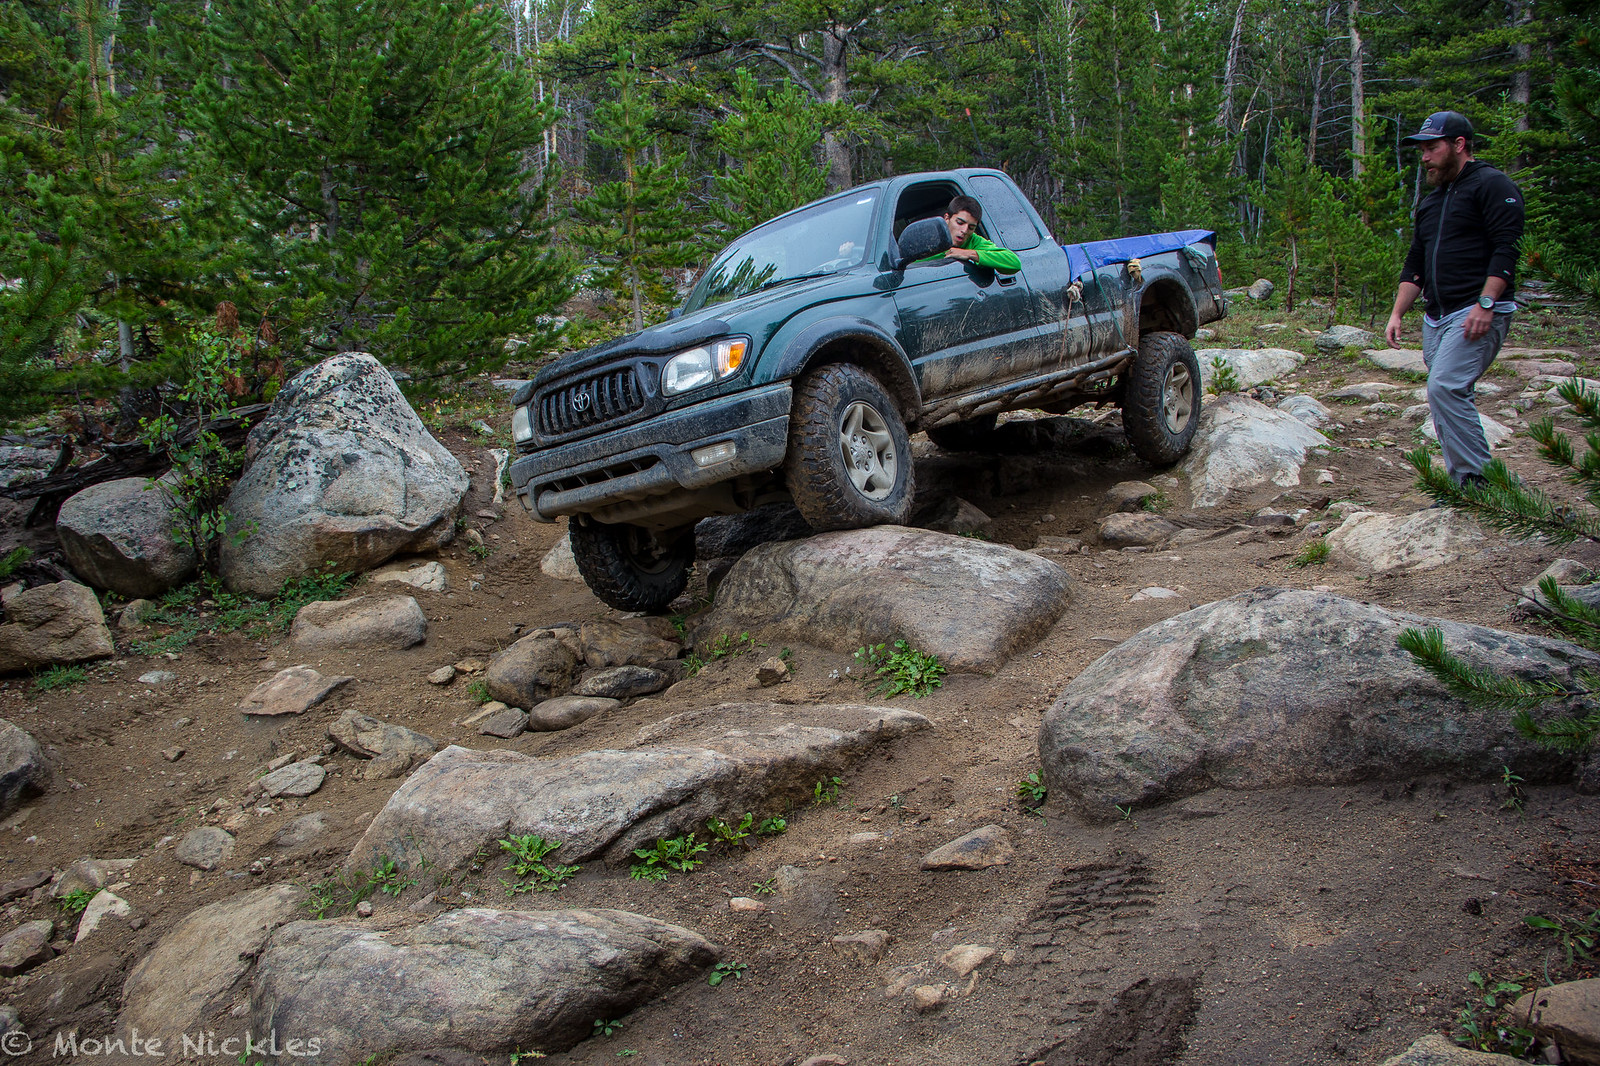
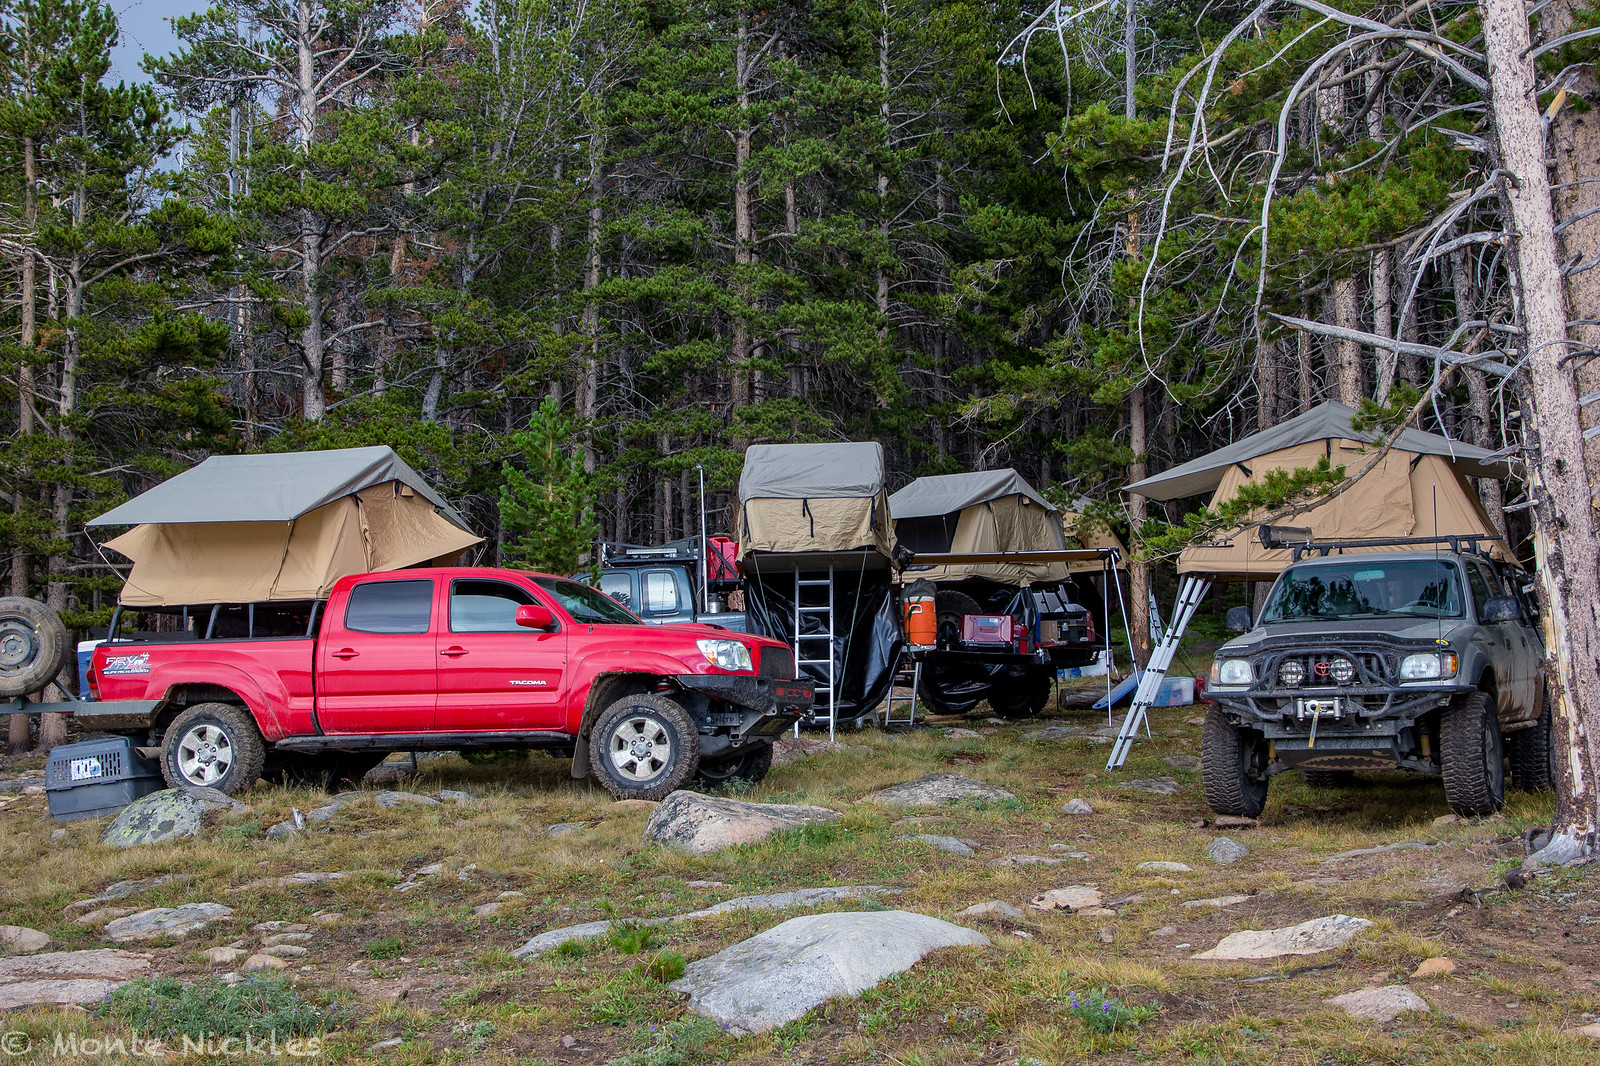
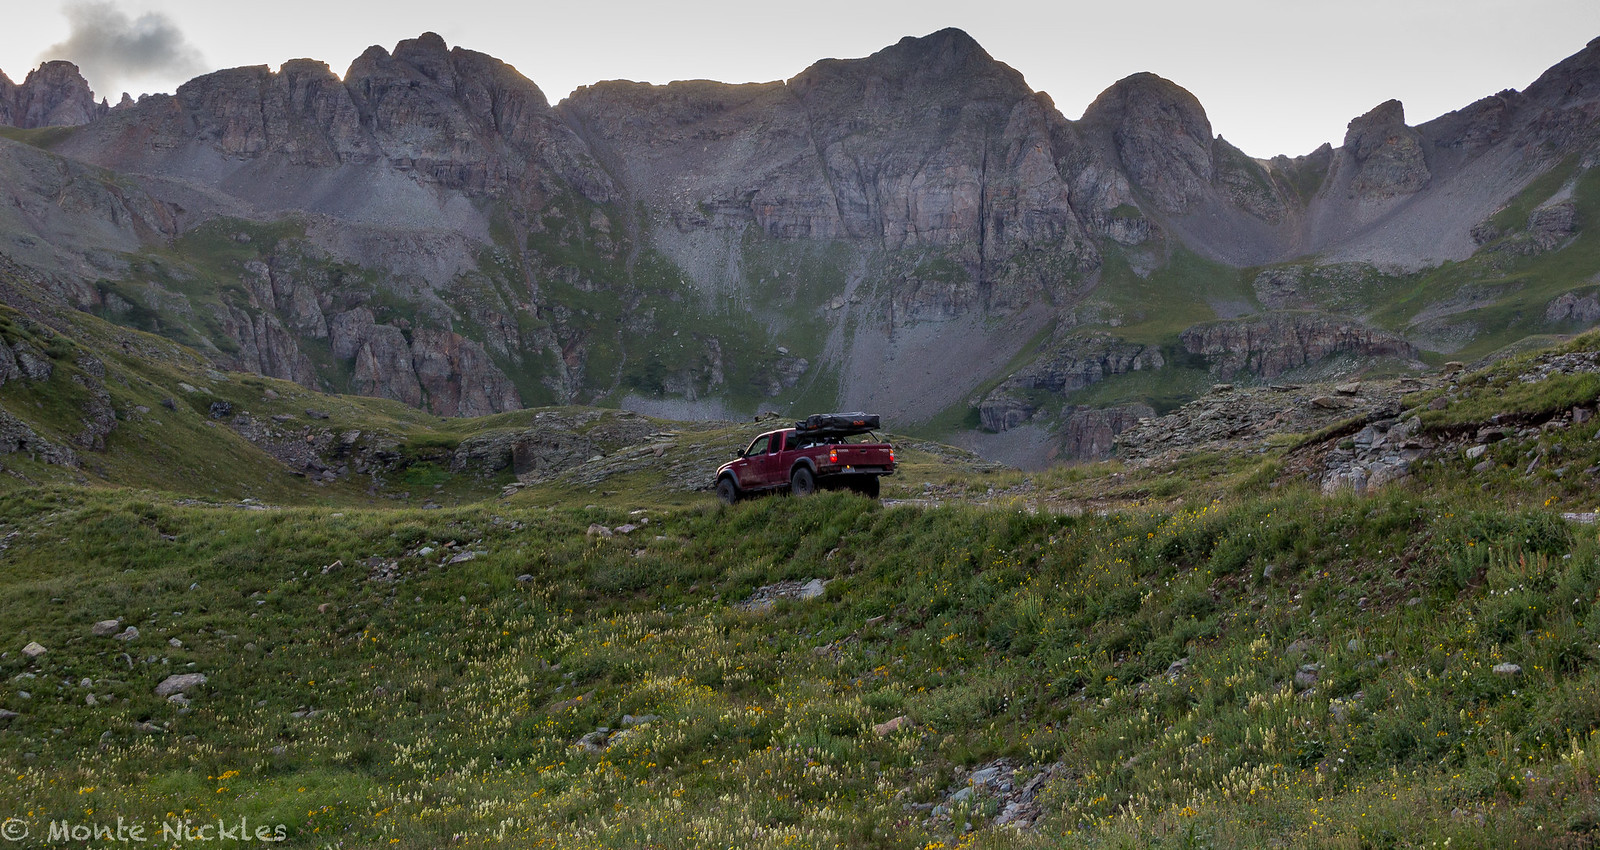
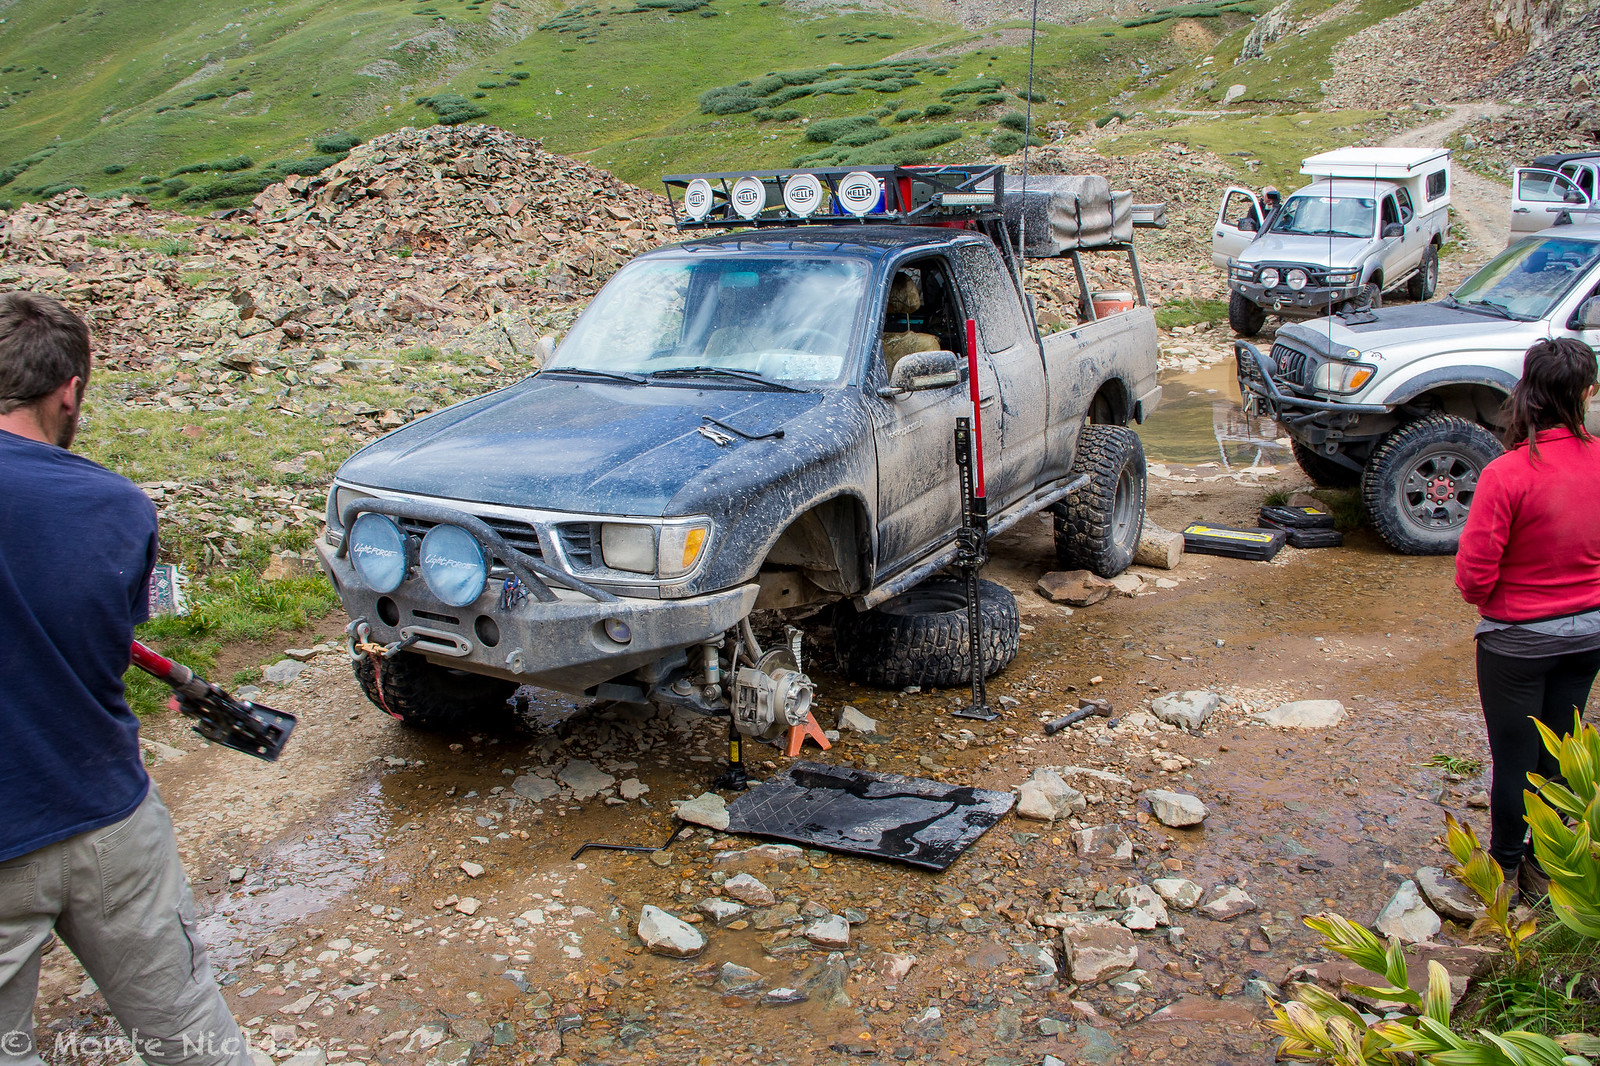
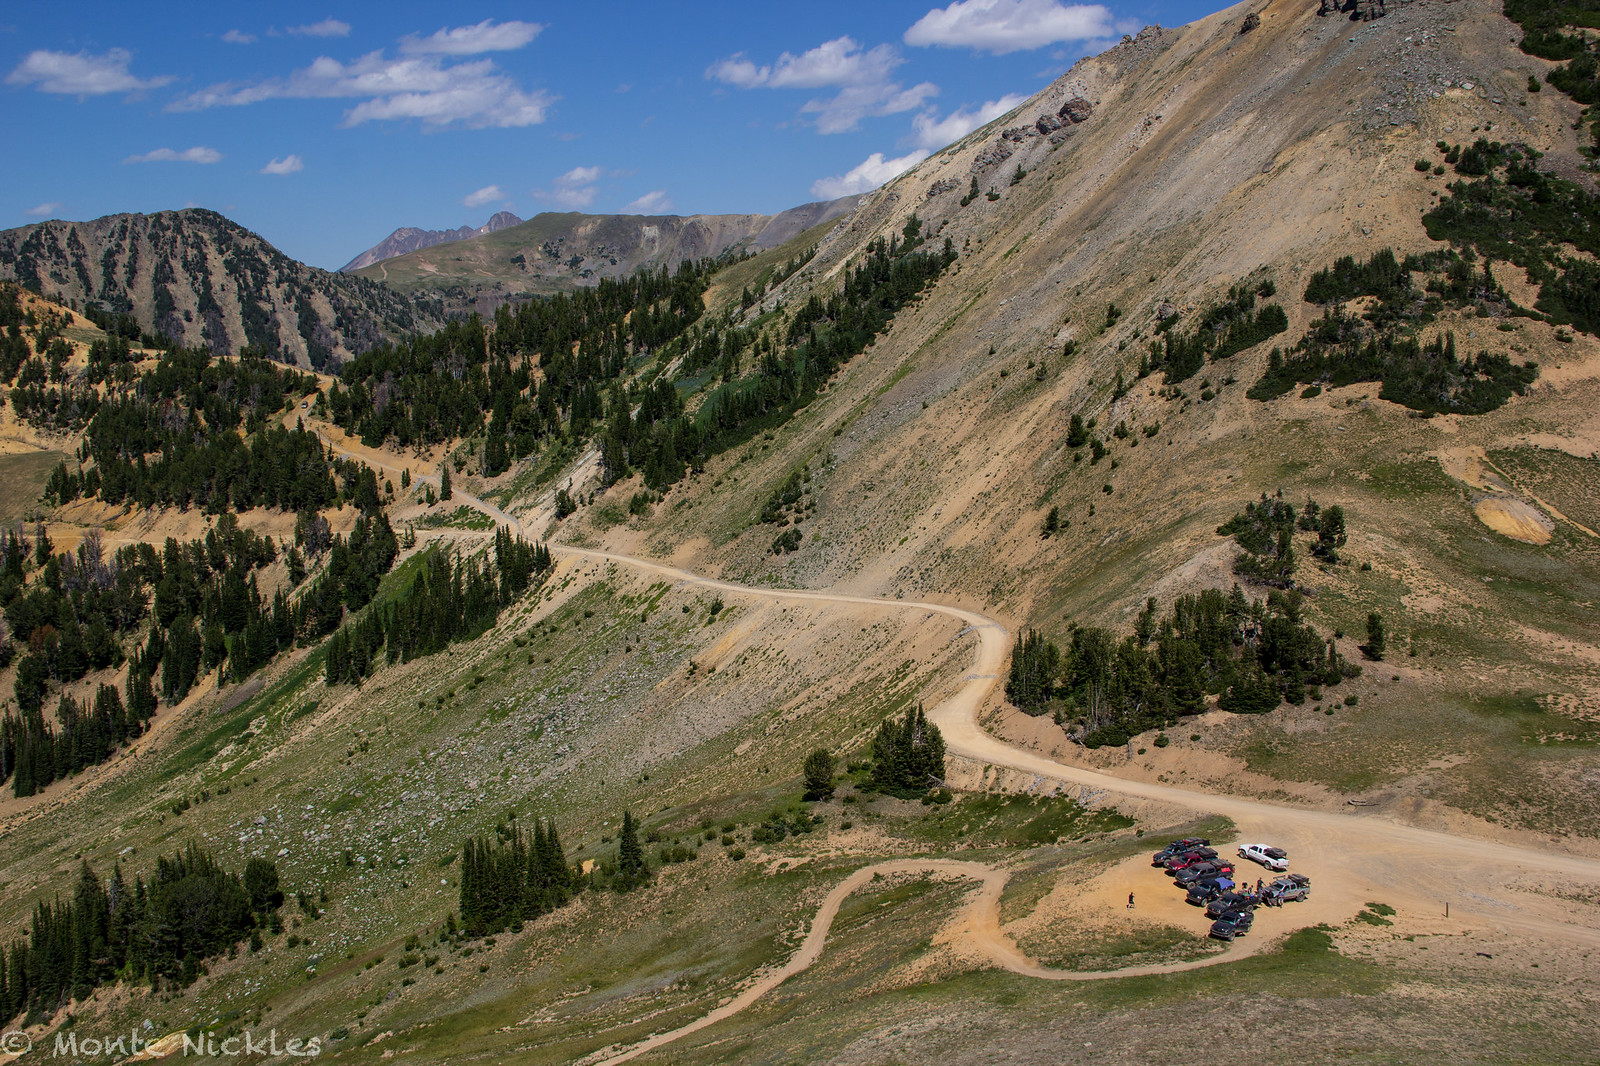
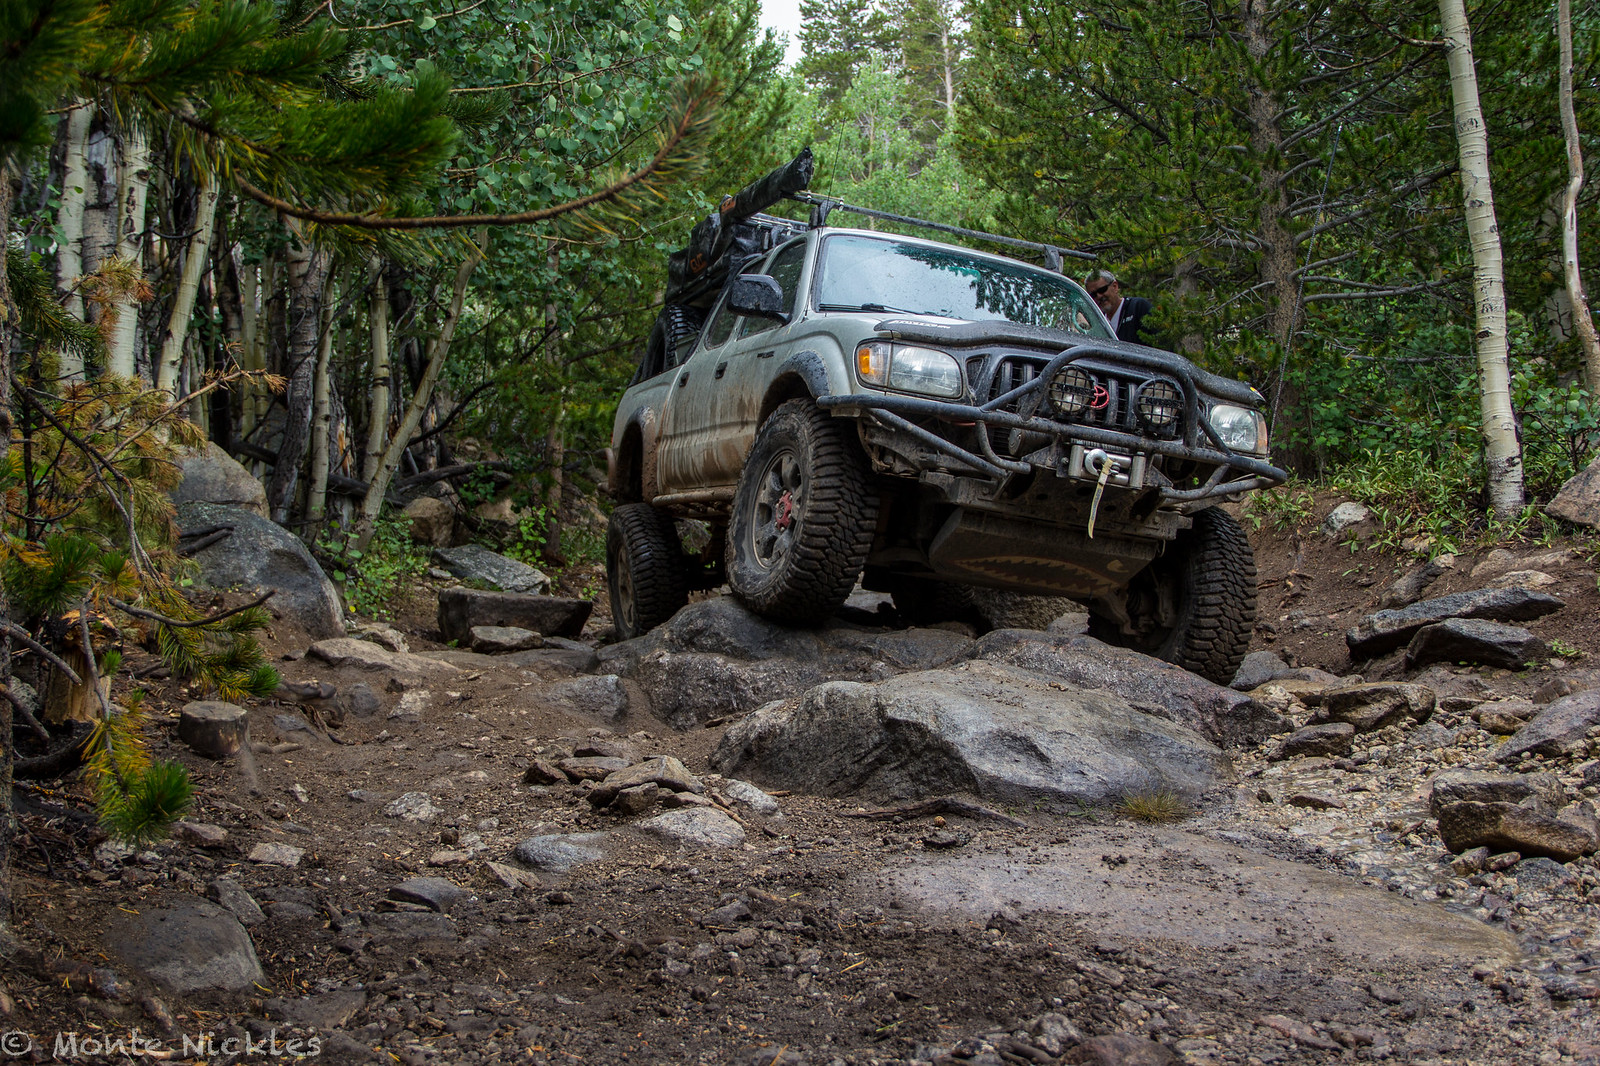
And with that. Im up to The Epic trip. My first two week trip and first trip i organized, though not extremely isolated. Was killer fun though.

I literally have 1200 photos of this and with my buddies on it there is upwards of 3k photos.

Thought about doing a trip report on it...I wrote one a while ago for TCT magazine but didn't like the constraints. They wanted me to do it in under 1500 words. Well, wasn't even 3 days in and had 3000 words down. haha

Thoughts? Would you all want a full report? Or just photos? For now, here are some teasers. This is also the monumental point where i got my DSLR :) a Canon 60D. so photo quality from this point on only gets better and better. I didn't totally know ****** i was doing with it and editing so the first go around was interesting haha

Epic Day One-17.jpg by Monte Nickles Photos, on Flickr
Epic Day One-30.jpg by Monte Nickles Photos, on Flickr
IMG_0661.jpg by Monte Nickles Photos, on Flickr
Epic Day One-114.jpg by Monte Nickles Photos, on Flickr
Epic Day Two-46.jpg by Monte Nickles Photos, on Flickr
Epic Day Two-54.jpg by Monte Nickles Photos, on Flickr
Epic Day Two-80.jpg by Monte Nickles Photos, on Flickr
Epic Day Three-23.jpg by Monte Nickles Photos, on Flickr
Epic Day Three-25.jpg by Monte Nickles Photos, on Flickr
Epic Day 4-34.jpg by Monte Nickles Photos, on Flickr
Epic Day 4-56.jpg by Monte Nickles Photos, on Flickr
Epic Day 5-34.jpg by Monte Nickles Photos, on Flickr
Epic Day 5.jpg by Monte Nickles Photos, on Flickr
Epic Day 5-23.jpg by Monte Nickles Photos, on Flickr
IMG_1197.jpg by Monte Nickles Photos, on Flickr
IMG_2699.jpg by Monte Nickles Photos, on Flickr
IMG_2163.jpg by Monte Nickles Photos, on Flickr

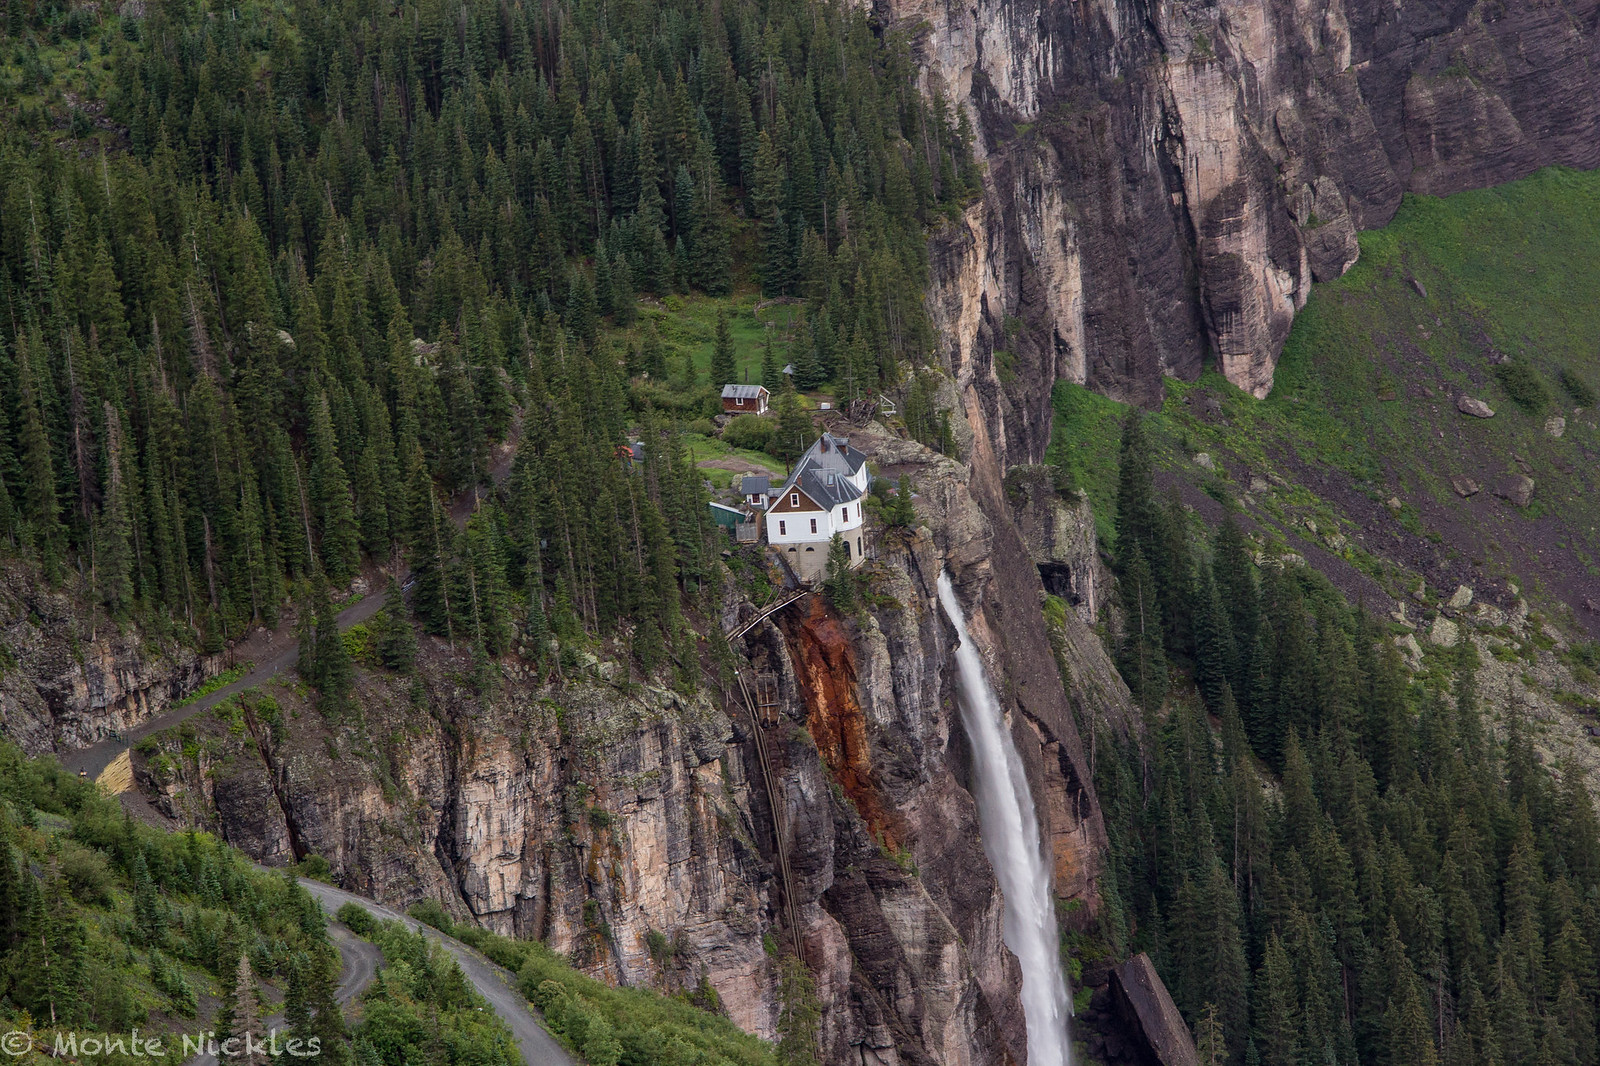
Basically it was a trip that started in Northern Wy, went to central Wy, then to the San Juan Mountains in CO. I blew a tire and my LBJ bolts fell out and i had a leaking front diff seal i repaired mid trip too. Was an interesting trip for sure as i ran it a bit different then most meets. We had people join us and leave us half way through. So the people where in constant flux. Was a fun trip!
 

Cletus26

Adventurer
Sweet build. Quite a roller coaster so far as most builds are. I know mine has been so far to. Just read the whole thing after Sean mentioned you had built a tent rack that lifts. Can't wait till you update it all. I know there's all of it on TW but this is way better being its compressed into basically only your posts
 

Blackdawg

Dr. Frankenstein
Sweet build. Quite a roller coaster so far as most builds are. I know mine has been so far to. Just read the whole thing after Sean mentioned you had built a tent rack that lifts. Can't wait till you update it all. I know there's all of it on TW but this is way better being its compressed into basically only your posts

Yea the build on TW is...insane haha hard to find stuff even when i hyperlink everything they never last because so many people have posted in there. If they get deleted or posts wiped or something it screws with the whole thread.

I do indeed have a new rack. Thats a ways out! but shouldn't take long with me being able to copy and past stuff now.

Now if only there wasn't a 25 photo limit..kills me..
 

Blackdawg

Dr. Frankenstein
So after the Epic, I left for school in St Louis with Igor. Was a bit of a culture shock and I really missed Frank and the mountains. Was odd not to be able to go on short weekend trips to the hills..

But I progressed anyways and bought Jons old 35s and picked them up in CO on my way home for christmas.


IMG_7503.jpg
by Phull Mon-T Photos, on Flickr

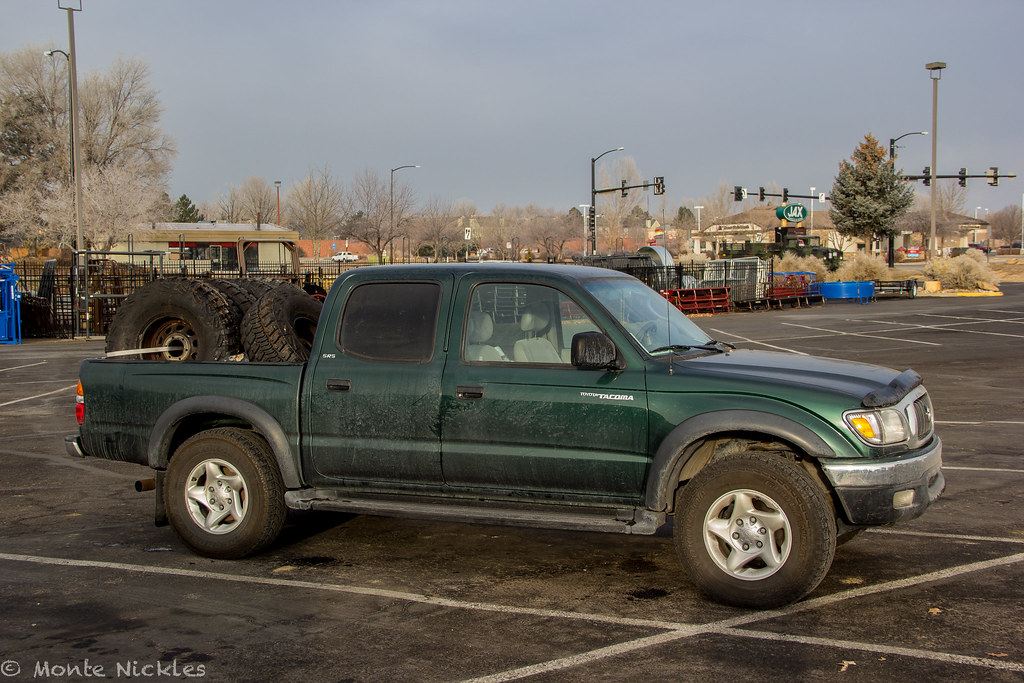
Double cab did work. Back seat is full of stuff to come home. And the bed is full of..tires haha and new spindles and LBJs.

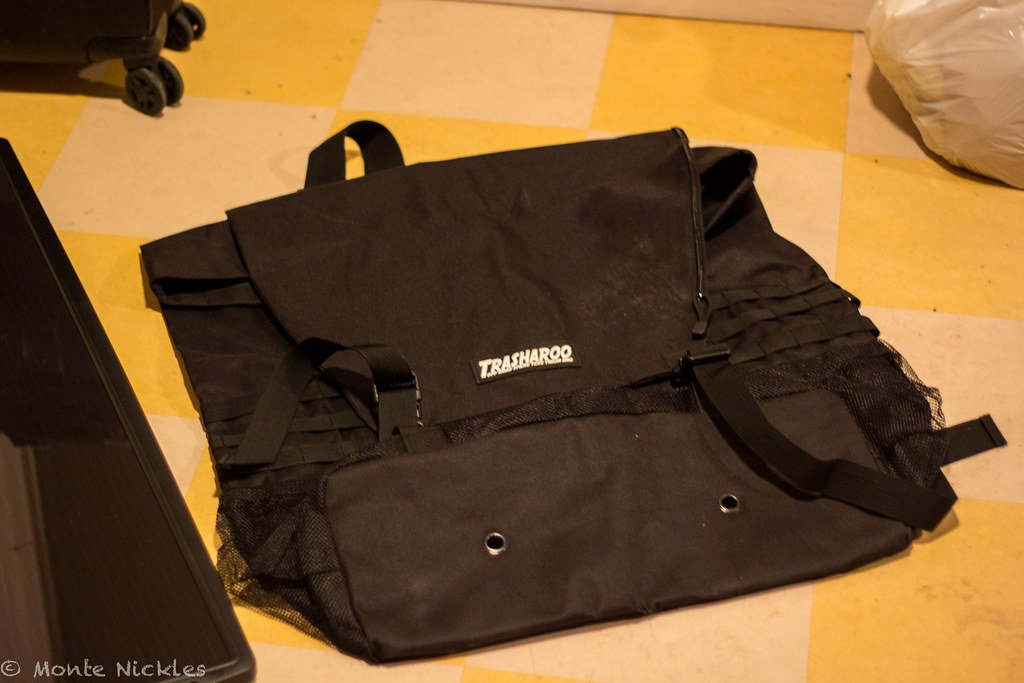
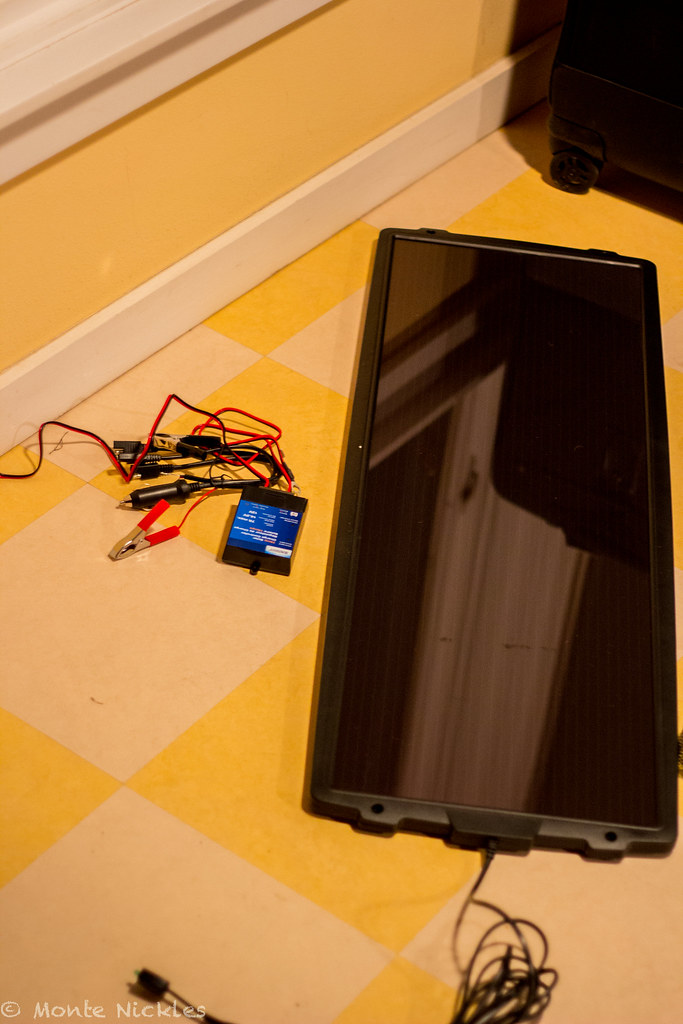
Trasharoo and a 15w solar panel thats going on the roof rack! Got these for early christmas as my dad would not be home for christmas.


IMG_7605.jpg
by Phull Mon-T Photos, on Flickr

IMG_7607.jpg
by Phull Mon-T Photos, on Flickr

Had to reboot my batteries that where totally dead but they came back.

He lives!! :yay:

8d3bf82c28a314687275c04c5b5e18c5_zps0613059c.jpg


I like where this is going..

8c886e88c88ea3ae6677072fa7c7f40b_zpsf959a973.jpg

2bb314363c6691d5546afc48ffab104c_zps32ec45ed.jpg
 

Blackdawg

Dr. Frankenstein
Which lead to a premature test fit..

oh yea this..is gonna be sick.


IMG_7608.jpg
by Phull Mon-T Photos, on Flickr

IMG_7609.jpg
by Phull Mon-T Photos, on Flickr

IMG_7610.jpg
by Phull Mon-T Photos, on Flickr

IMG_7611.jpg
by Phull Mon-T Photos, on Flickr

IMG_7613.jpg
by Phull Mon-T Photos, on Flickr

IMG_7616.jpg
by Phull Mon-T Photos, on Flickr

IMG_7620.jpg
by Phull Mon-T Photos, on Flickr

IMG_7630.jpg
by Phull Mon-T Photos, on Flickr

Rubbed like a mother ****er though. Took it to the big shop to do surgery.
 

Blackdawg

Dr. Frankenstein
But before I did that, went on a little...adventure..

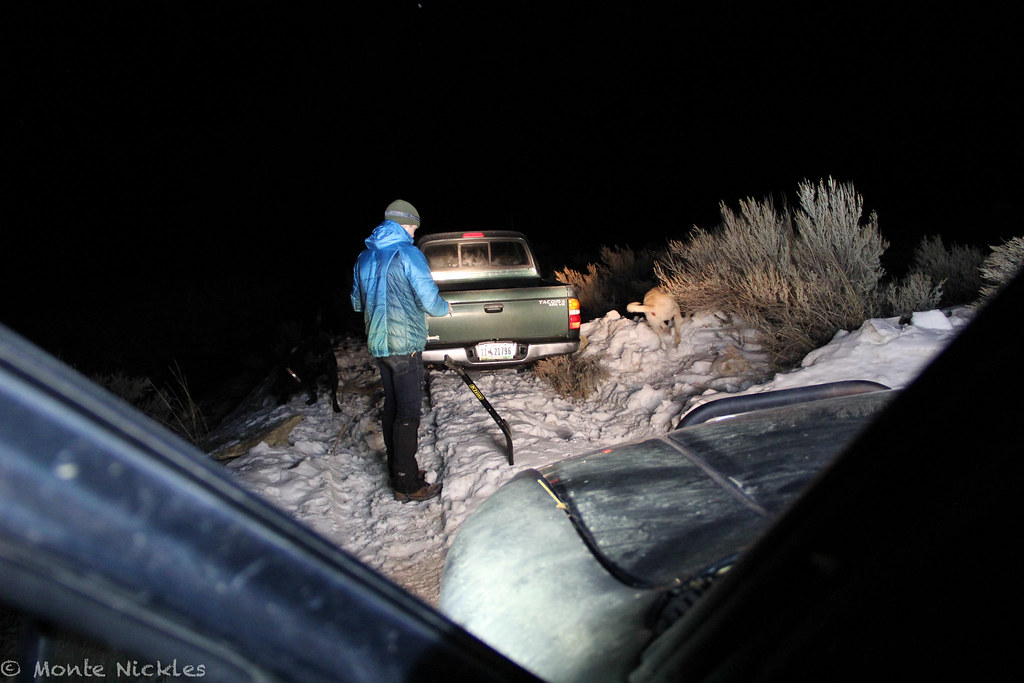
So christmas eve night went out with my little brother in my double cab to the bench north of town. Those of you that don't know, The Bench is a big plateau with fun foot hills and such. We went there to play with some night photography and went a route we were very familiar with, but ended up not being able to make it back up the hill as my double cab has..well..not great offroad tires..at all.

So we turned around and went out the long way. Only we came across a snow drift and since my truck has saggy suspension and NO ground clearance what so ever..got it stuck.

We had NOTHING with us for recovery gear. It was all in Frankenstein and we though we would be fine on this little jaunt. Got cocky obviously.

So

After trying to dig out the truck with our hands and rocks and sage brush. We gave up. Called a friend to meet us at the highway, we grabbed the little amount of stuff we did have. Locked the truck. And started running.

15-20 minutes later of running and we were there and picked up.

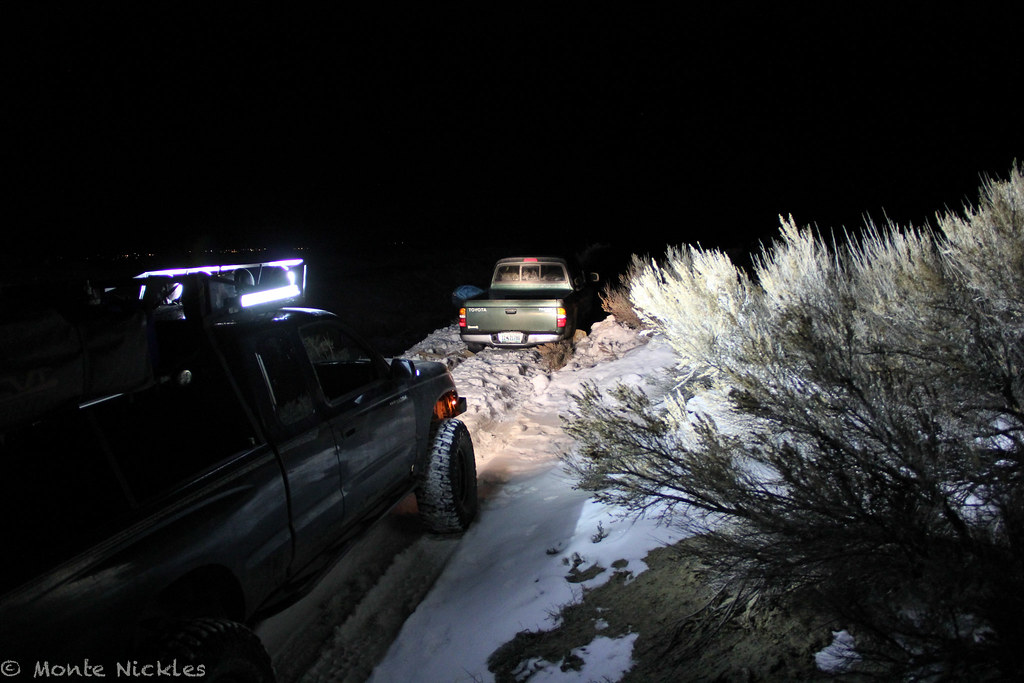
After Christmas celebrations. We got Frankenstein ready and headed out to save the other truck. Only took a tug and we were home free..had to back out like 1/2 a mile or so to a Y in the road to take a different route. But all was well from there. only took a few photos.


IMG_7728.jpg
by Phull Mon-T Photos, on Flickr

IMG_7734.jpg
by Phull Mon-T Photos, on Flickr

IMG_7735.jpg
by Phull Mon-T Photos, on Flickr

once again..having a **** load of light was very useful..haha

and moral to the story..always always bring recovery gear..every time.

Lucky we were never in any real danger as we new the area VERY well and weren't that isolated to begin with. But was a good reminder.
 

Blackdawg

Dr. Frankenstein
So im sure some of you have been wonder where the hell are the pics of 35s already? well. This is why :D i had a good buddy come down from WA and i did some work on his truck. Installed a CS144 alternator, Frame plate reinforcements, relocated the rear shocks and reinforced his Elite front bumper like mine.

Sadly I don't have photos of this anymore and it looks like he removed them from his PB account..so use your imagination!


and of course we went out and tested it and i took Frankenstein. Last drive on 33s :p Was beautiful out and the light was awesome.


IMG_7755.jpg
by Monte Nickles Photos, on Flickr

IMG_7764.jpg
by Monte Nickles Photos, on Flickr

IMG_7772.jpg
by Monte Nickles Photos, on Flickr

IMG_7798.jpg
by Monte Nickles Photos, on Flickr

IMG_7801.jpg
by Monte Nickles Photos, on Flickr

IMG_7804.jpg
by Monte Nickles Photos, on Flickr

IMG_7787 Panorama.jpg
by Monte Nickles Photos, on Flickr

IMG_7808.jpg
by Monte Nickles Photos, on Flickr


On to the cutting for 35s.
 

Blackdawg

Dr. Frankenstein
And here is my first detailed high quality write up as well.

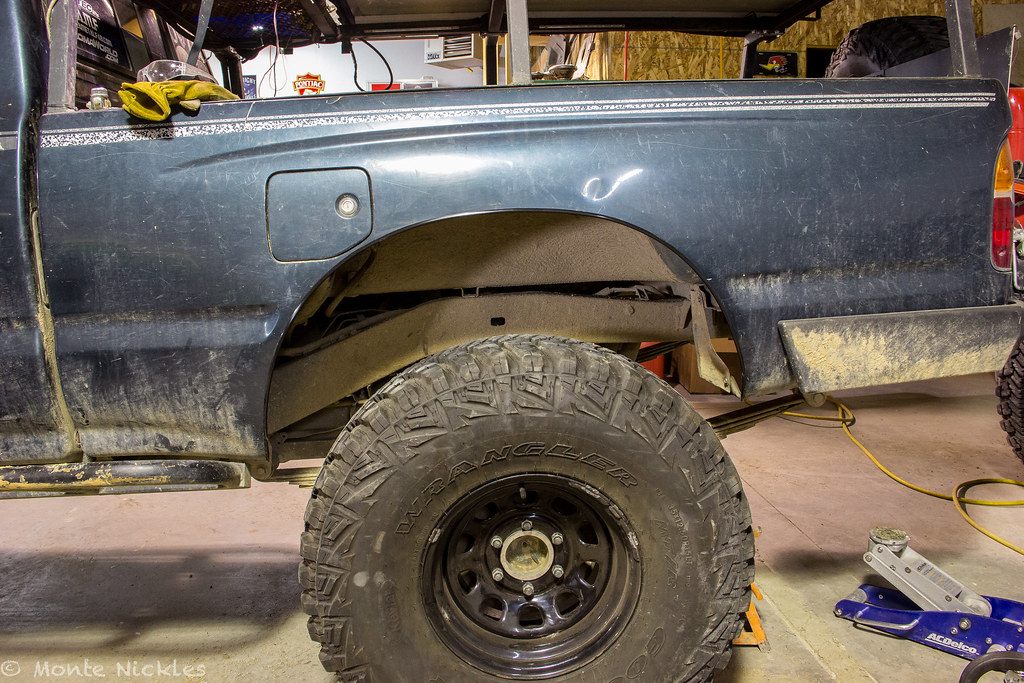
Cutting for a rear 35'' tire on a 1st gen tacoma

Alright. So here is more on the process i did for cutting for a 35'' tire.

First..jack up the the axle and use a jackstand. Remember, jacks are not safe to keep something up on for extended periods of time.


IMG_7915.jpg
by Monte Nickles Photos, on Flickr

Next, take the tire off!


IMG_7916.jpg
by Monte Nickles Photos, on Flickr

IMG_7917.jpg
by Monte Nickles Photos, on Flickrv

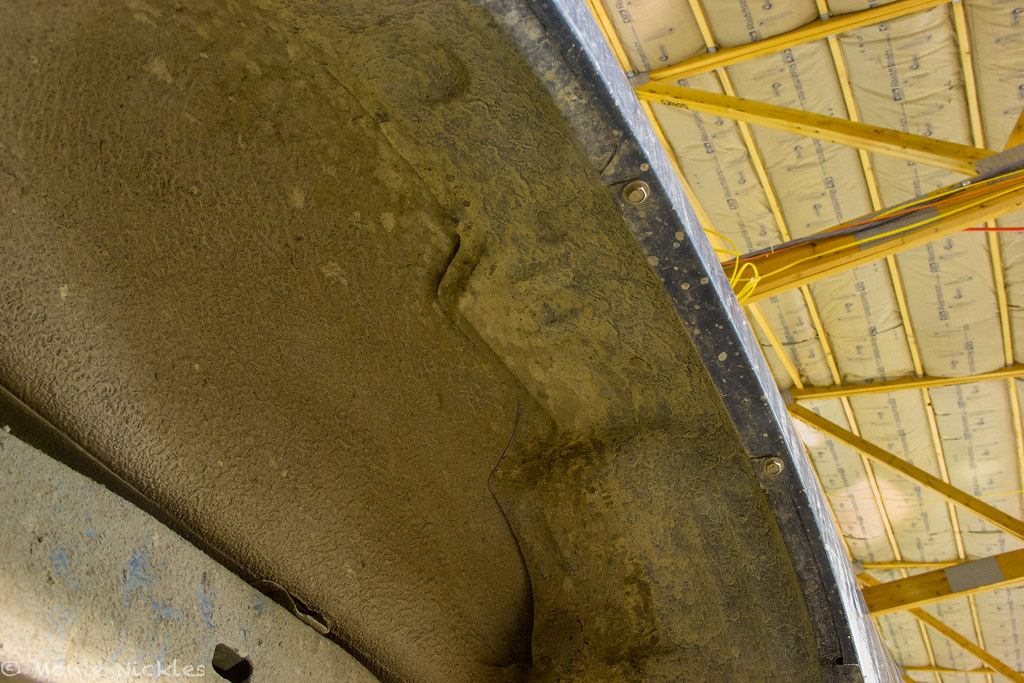
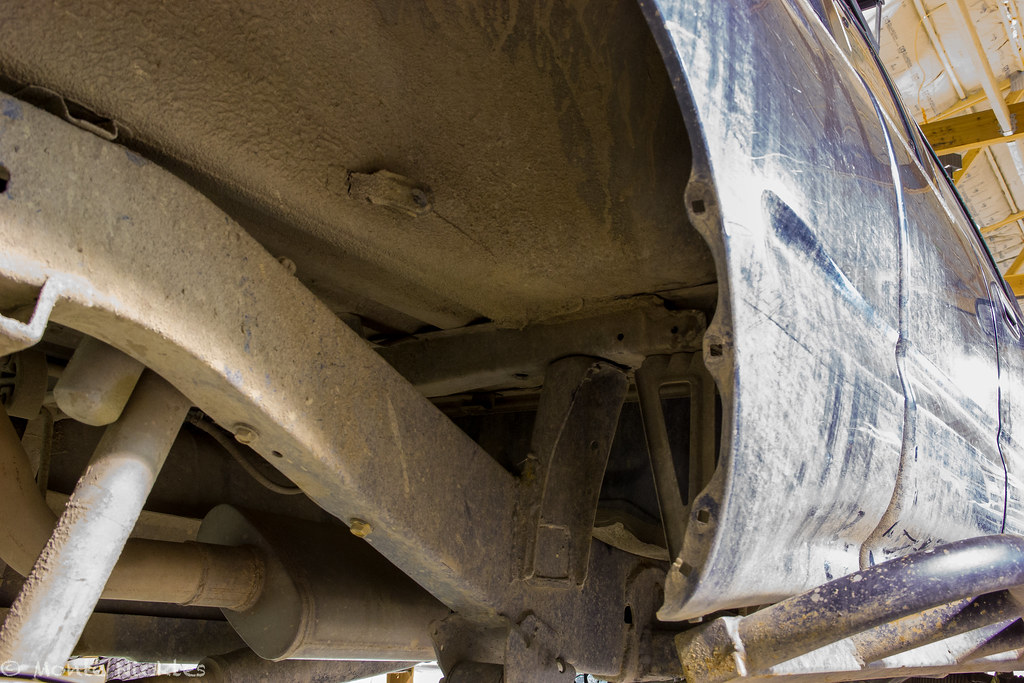
Now you need to remove the inner plastic liner. If its anything like mine..be covering in dirt. I needed a screw driver and a 10mm socket to do so for the plastic connectors that once held my fender "flares" on.


IMG_7918.jpg
by Monte Nickles Photos, on Flickr

IMG_7919.jpg
by Monte Nickles Photos, on Flickr


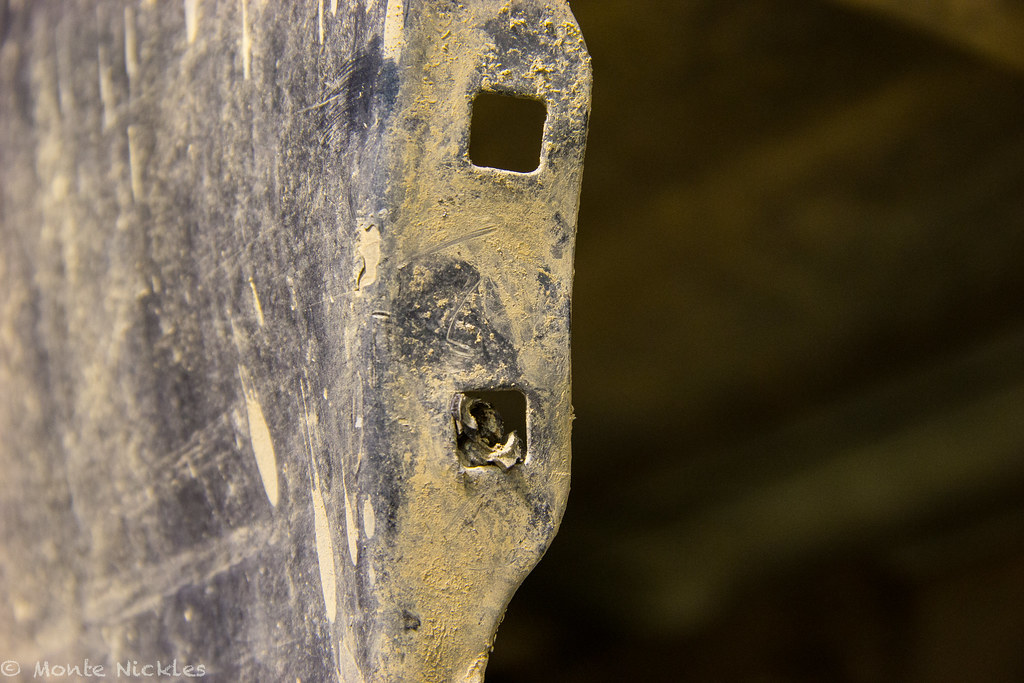
You will also have to pull off the mud flap, keep the bracket, ill explain why later.


IMG_7920.jpg
by Monte Nickles Photos, on Flickr

Once the bolts and screw are off. Don't worry about being tender. Get a screw driver and bust em off. Who cares if they break, your not gonna be needing them again haha


IMG_7921.jpg
by Monte Nickles Photos, on Flickr

There are also too pop off one up above, just rip the liner down and they will bust off.


IMG_7922.jpg
by Monte Nickles Photos, on Flickr

Done!


IMG_7923.jpg
by Monte Nickles Photos, on Flickr

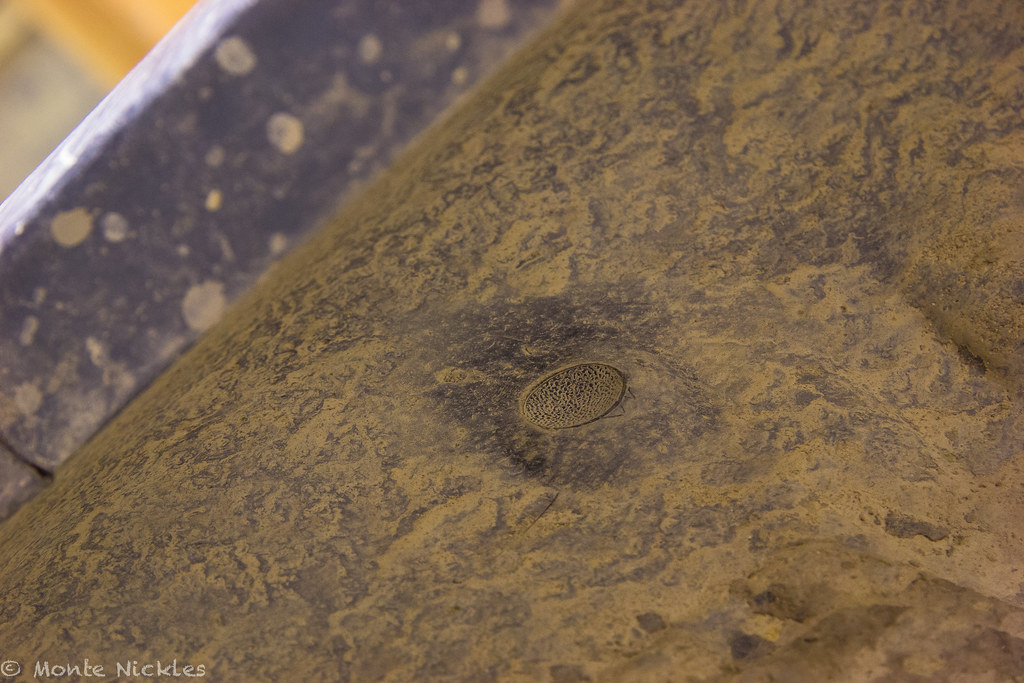
Now go over every hole there was a plastic clip and make sure nothing is left. You'll want a smooth surface for tracing your cut line.


IMG_7924.jpg
by Monte Nickles Photos, on Flickr

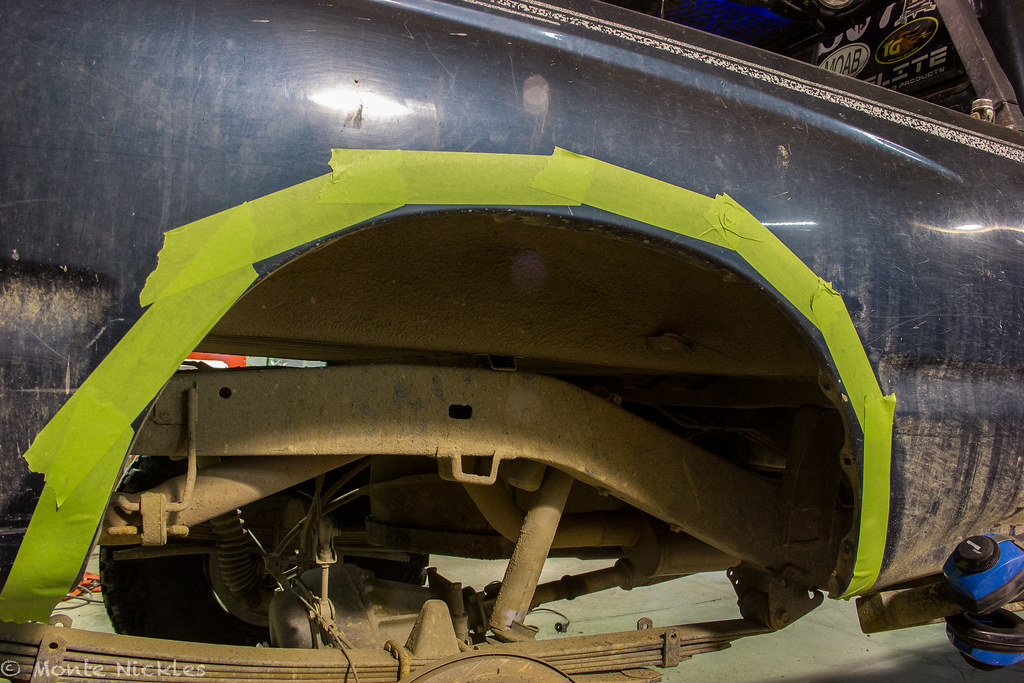
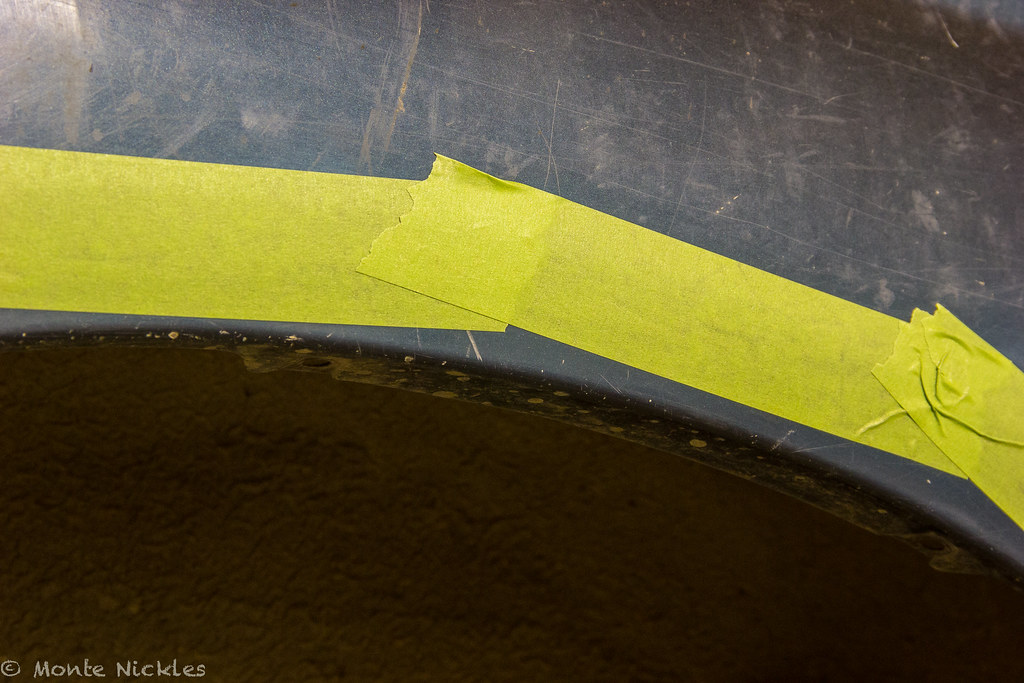
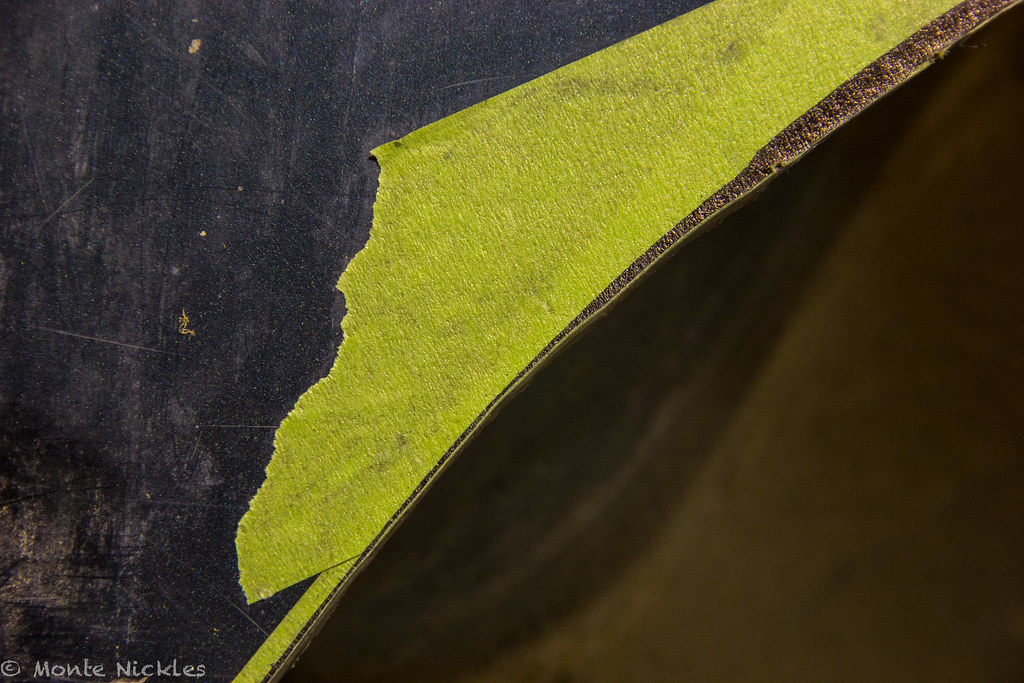
Now apply your tape to draw on. Or you can skip this if you have a light colored truck or bright colored marker. I found this worked well. Make sure you have tape covering the area your gonna mark. So if your taking 1.5'' out or 1'' or 1.75 like me. it doesn't have to pretty and line up with the edge of the fender. You just want tape covering where the line goes.


IMG_7925.jpg
by Monte Nickles Photos, on Flickr

You can see here, there is gap. doesn't matter though as im only drawing 1.75'' out.


IMG_7927.jpg
by Monte Nickles Photos, on Flickr

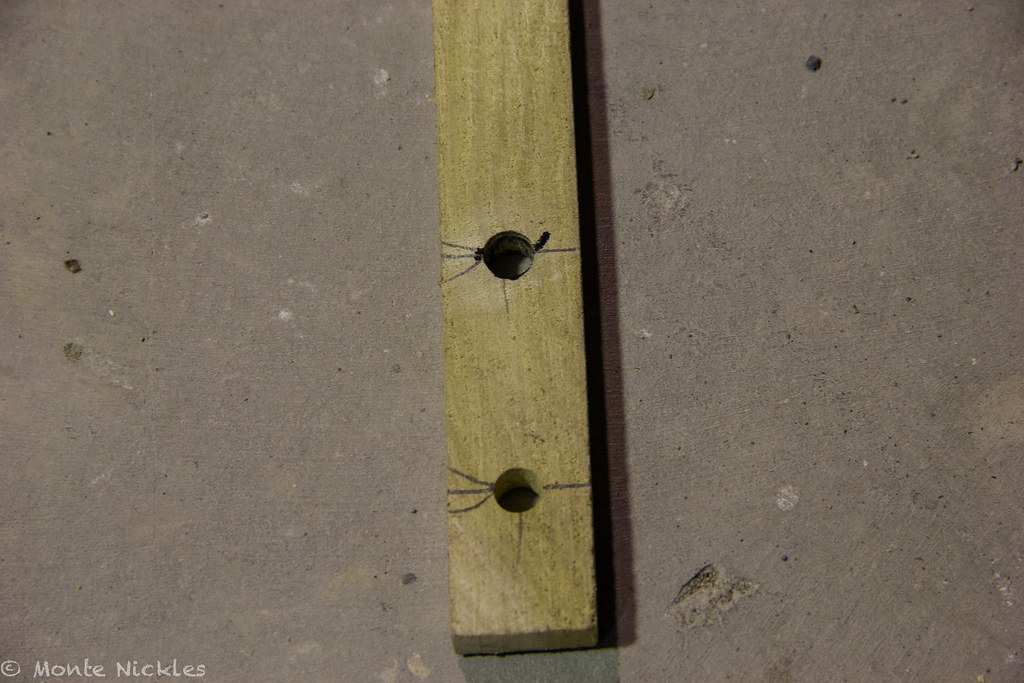
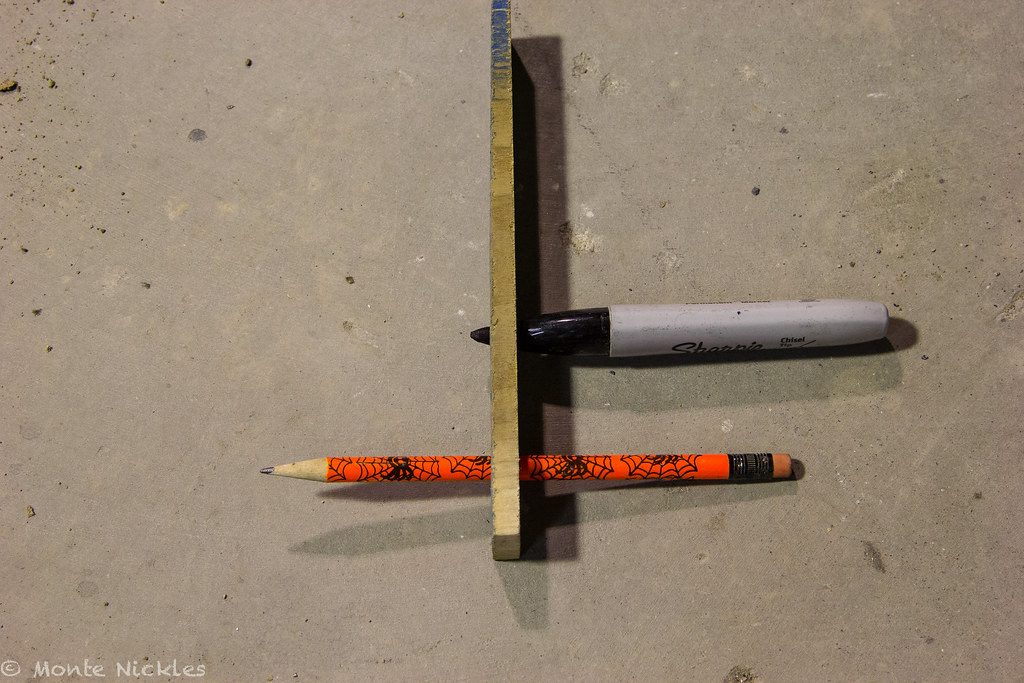
Now for how you mark the cut line. MUCH simpler then most think. All you need is piece of wood, or cardboard, even and old ruller or something. I choose wood as i have lots of little scrap pieces to choose from(thanks to my dad lol). I then marked a line and then measured 1.75'' from there. Used a square to draw the lines straight across the wood. Then measured .5'' in on the lines i drew and marked it for my center point for the drill bits.

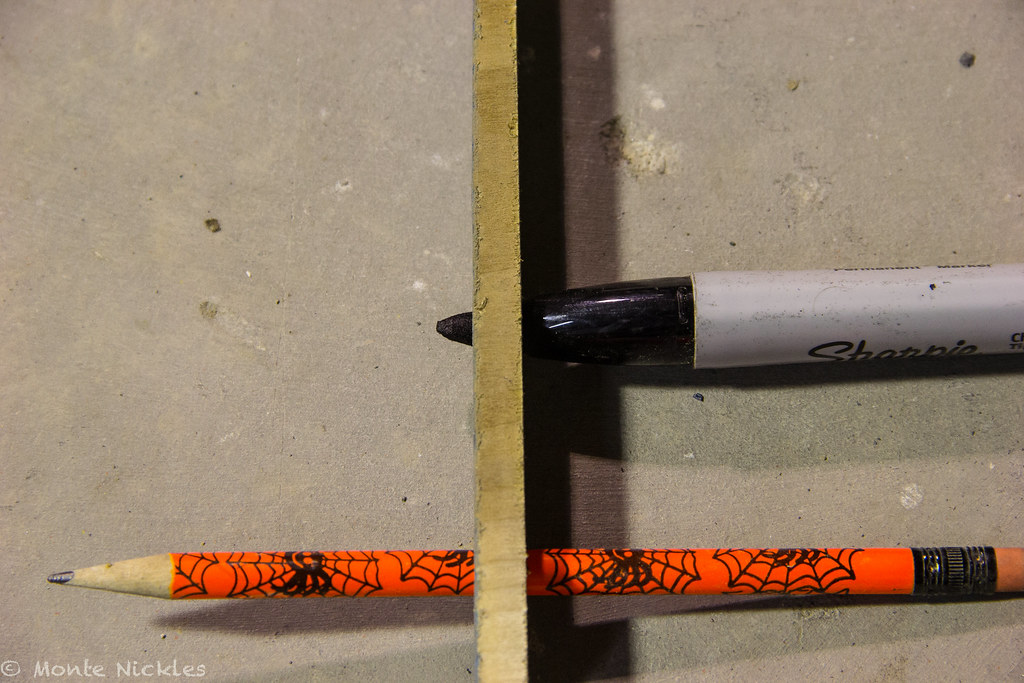
I used a pencil and a sharpie for my marking tools. Each had a different bit size. The pencil was slightly smaller. You can't just drill a bigger hole though. Needs to fit snug so whatever your using make sure the holes are a tight fit.


IMG_7908.jpg
by Monte Nickles Photos, on Flickr

once drilled, my marker and pencil go like this.


IMG_7909.jpg
by Monte Nickles Photos, on Flickr

IMG_7910.jpg
by Monte Nickles Photos, on Flickr

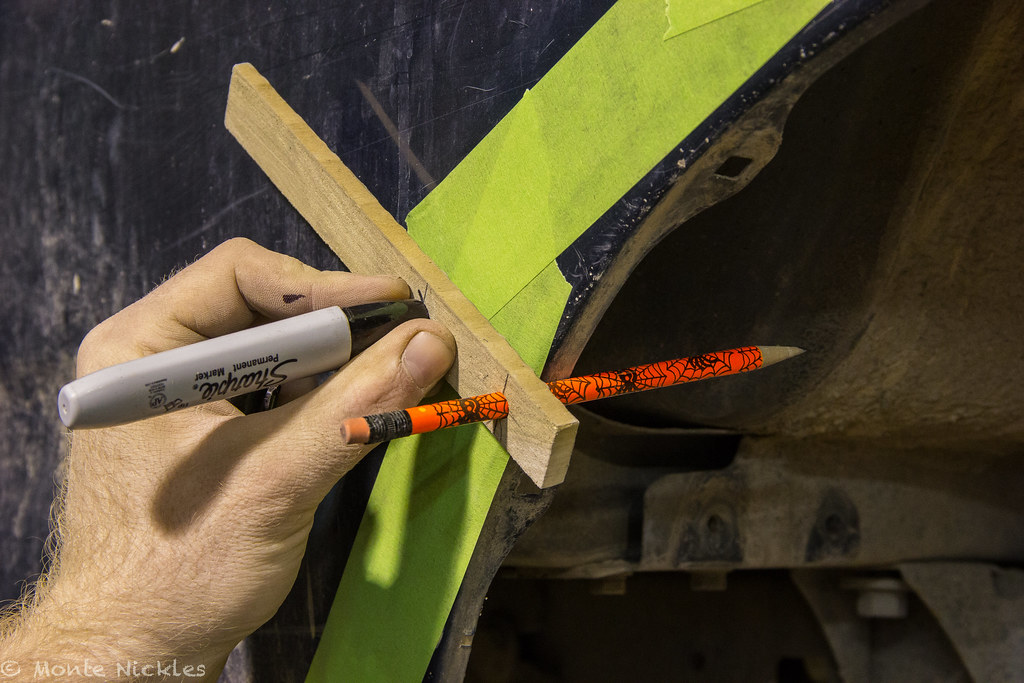
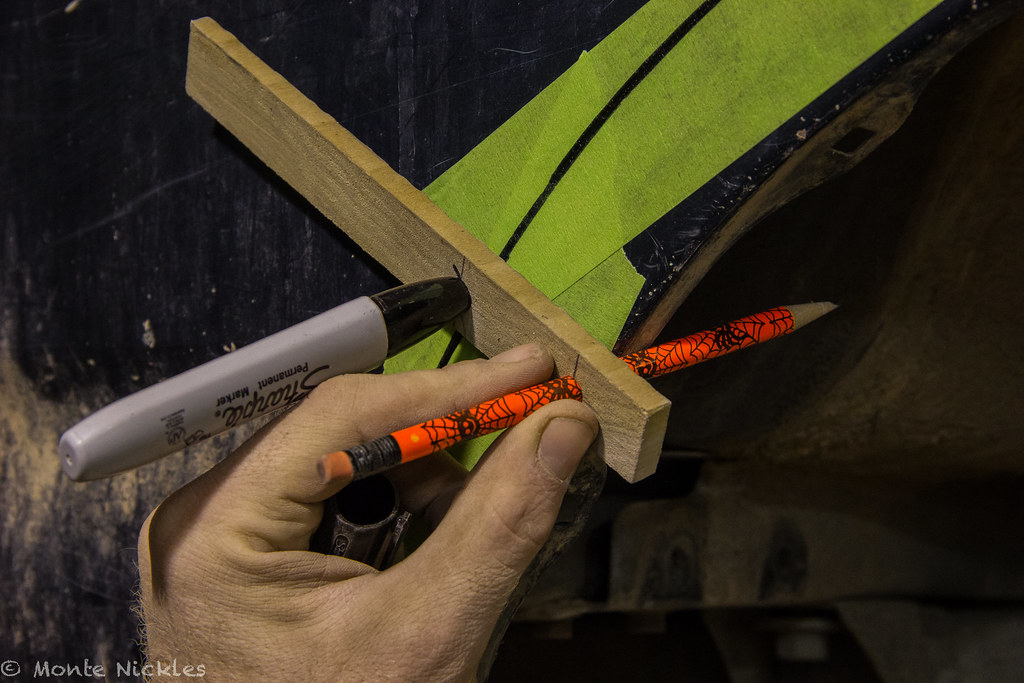
To use. You just put the pencil on the inside of the fender and draw with the sharpie!


IMG_7928.jpg
by Monte Nickles Photos, on Flickr

i used two hands, one on each..but had a camera so..yea..


IMG_7929.jpg
by Monte Nickles Photos, on Flickr


Boom! perfect trace of the exact same arcs as the stock fender. You guys with stock front fenders can use this for a base cut as well but you'll end up cutting more off on the cab side.


IMG_7930.jpg
by Monte Nickles Photos, on Flickr

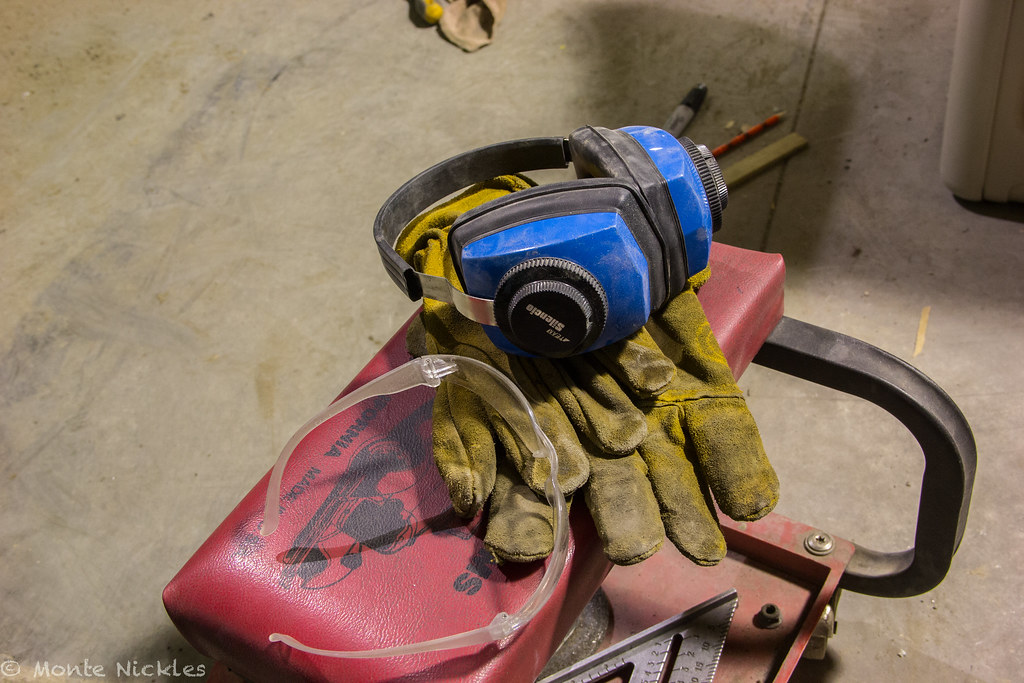
Now on to the cutting! Don't forget your ear protection, eye protection and gloves. Long sleeve shirt can't hurt and even a dust mask if ya want.


IMG_7931.jpg
by Monte Nickles Photos, on Flickr

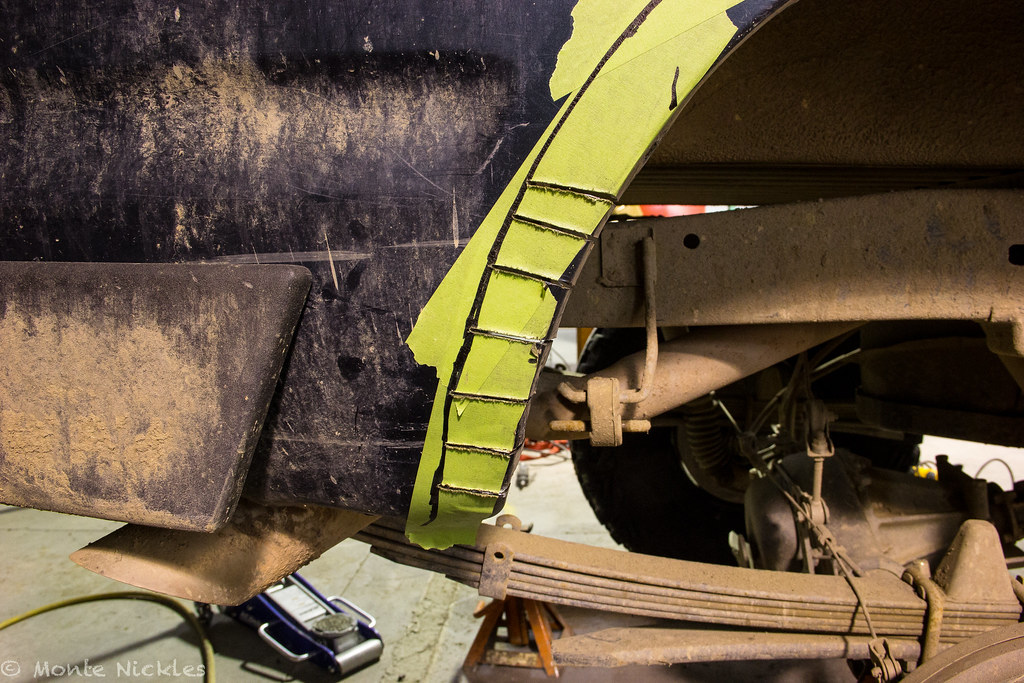
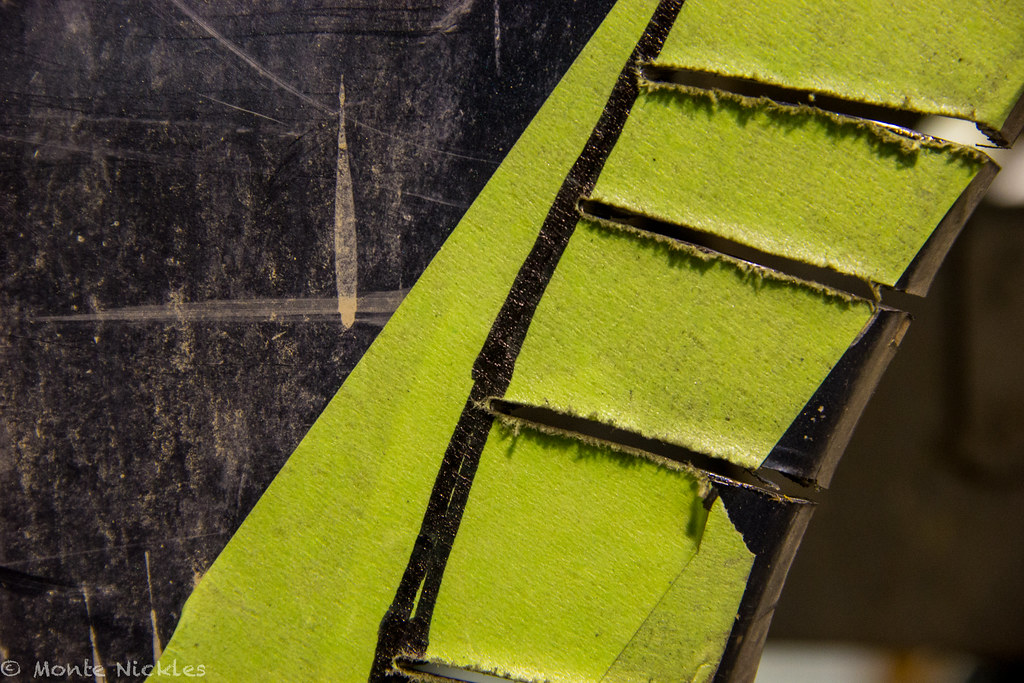
Now start doing your relief cuts. Do them about ever inch or less. the more you have the easier it is to keep an arc.


IMG_7932.jpg
by Monte Nickles Photos, on Flickr

BUT! and this is just my advice..do NOT cut all the way through the line your drew! cut just too it or half way through it. You'll see why in a bit. This is what i did..


IMG_7933.jpg
by Monte Nickles Photos, on Flickr

Now when you get here you'll notice its a bit harder.


IMG_7935.jpg
by Monte Nickles Photos, on Flickr

well thats due to this guy.


IMG_7936.jpg
by Monte Nickles Photos, on Flickr

don't worry about it too much. Cut like you have been and it'll be fine.
 

Blackdawg

Dr. Frankenstein
Now you can start cutting off the pieces you just did. Again, don't cut right on the line. If you did your cuts like i explained up above, just cut for the pieces to fall off. One of the reasons for this is your grinding disk is straight, not arced, so when you try and cut arced it always ends up cutting more on the back side. Leaving the wingle room helps assure a straight cut.


IMG_7938.jpg
by Monte Nickles Photos, on Flickr

these is how mine looked.


IMG_7939.jpg
by Monte Nickles Photos, on Flickr

IMG_7940.jpg
by Monte Nickles Photos, on Flickr

Once you are done cutting, remember that bracket? just grab it and bend it back and forth and twist it a bit and eventually the spot welds will bust right off.


IMG_7944.jpg
by Monte Nickles Photos, on Flickr

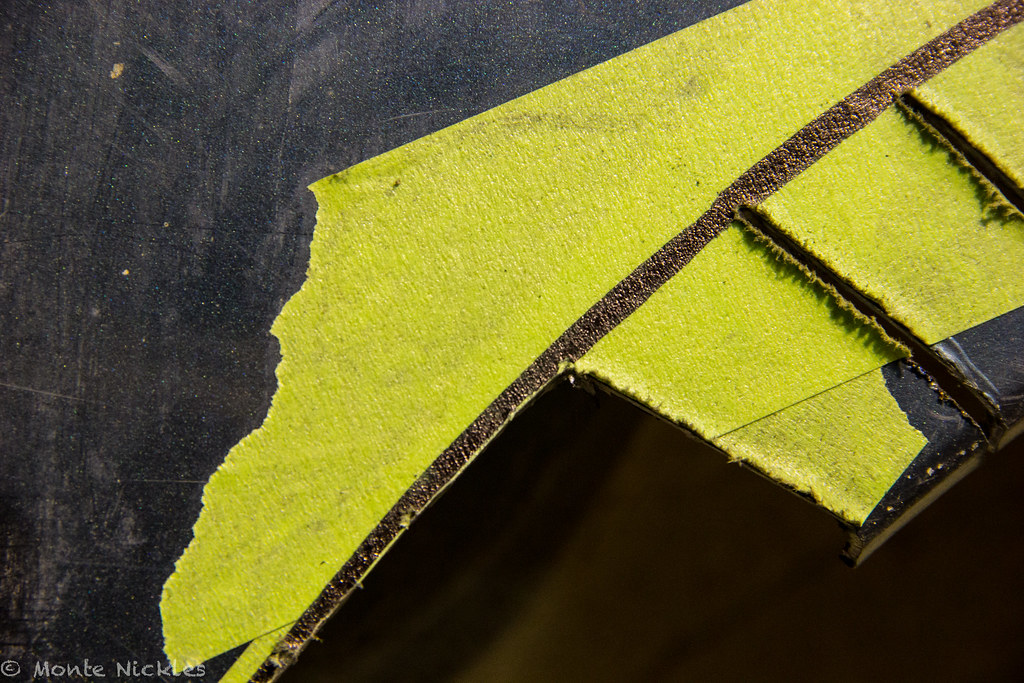
You've probably noticed the cut is not very straight looking at this point and very rough. Well thats easy to fix and now you'll see why i didn't cut all the way to the line.

I used an air powered tool with sand paper disks, but just a grinder with flapper wheel will work too. Im a bit spoiled so i can vary the speed of this tool which is why i chose it. your going to hold it perpendicular to your cut and slowly grind down the metal to your line.


IMG_7941.jpg
by Monte Nickles Photos, on Flickr

So you can see in these photos, the top part is unsanded and the bottom is sanded. go slow and do a little section at a time and you will end up with a smooth much cleaner cut.


IMG_7942.jpg
by Monte Nickles Photos, on Flickr

IMG_7945.jpg
by Monte Nickles Photos, on Flickr

TIP! make sure the disk is rotating in a way that it pulls the tap into the fender. Or in other words throws the shards of metal way from you. You don't want the grinder ripping of the tape.

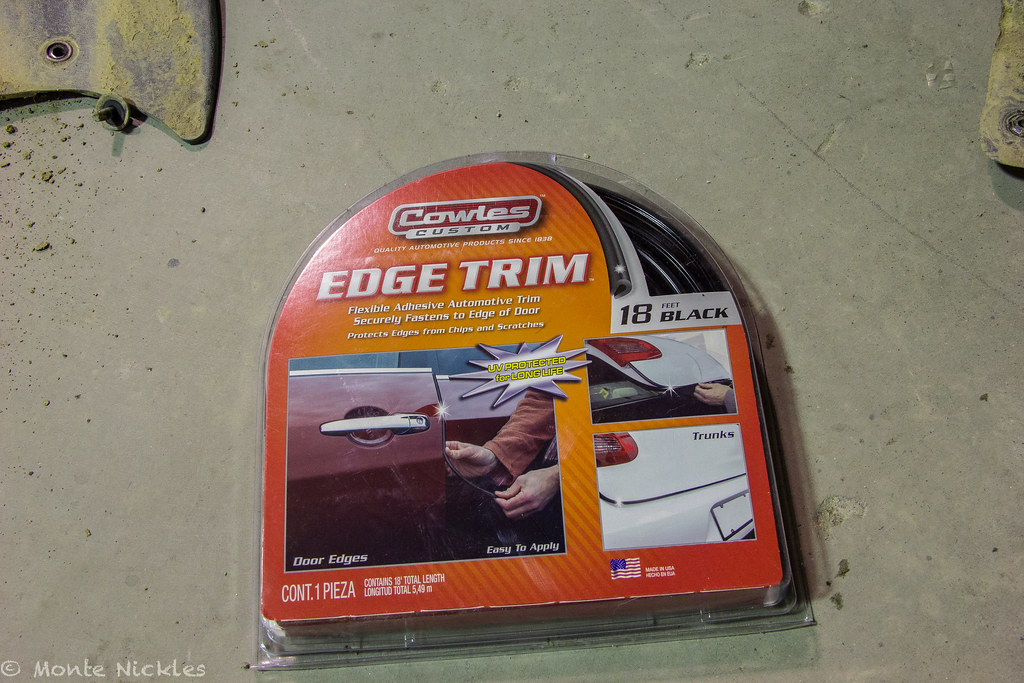
for the next part you'll need some of this:


IMG_7907.jpg
by Monte Nickles Photos, on Flickr

You can get it at any car parts store for about 12 bucks or so.

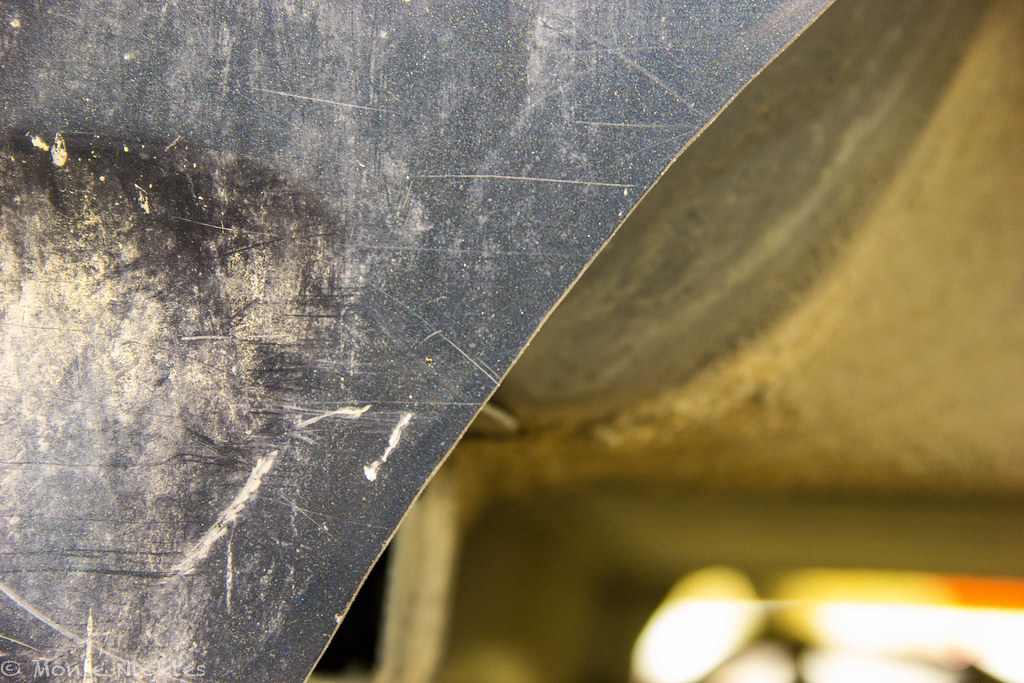
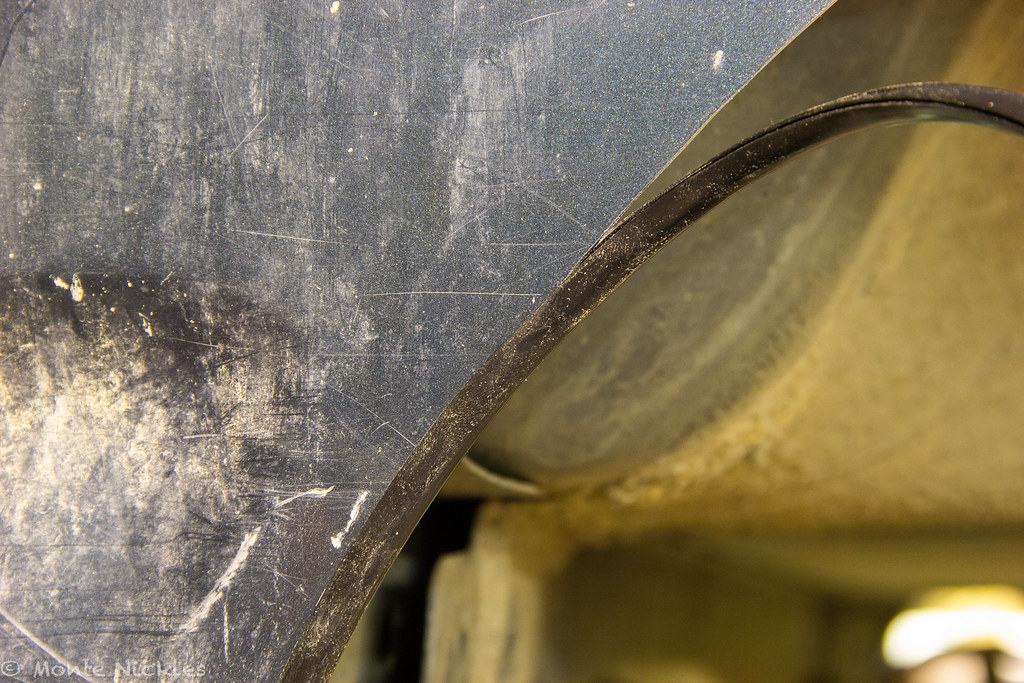
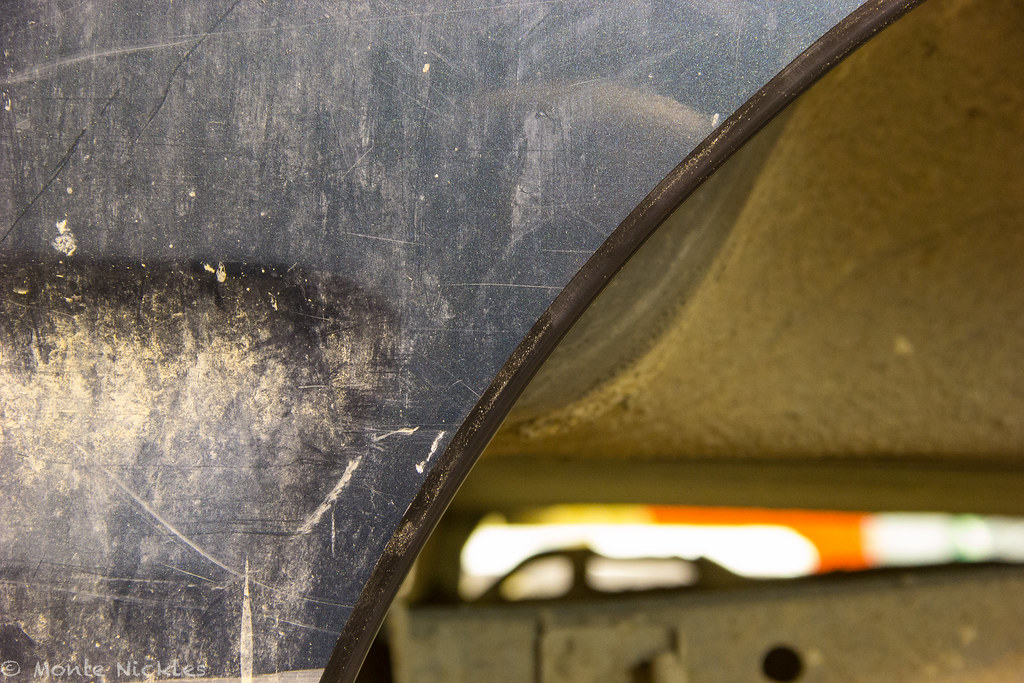
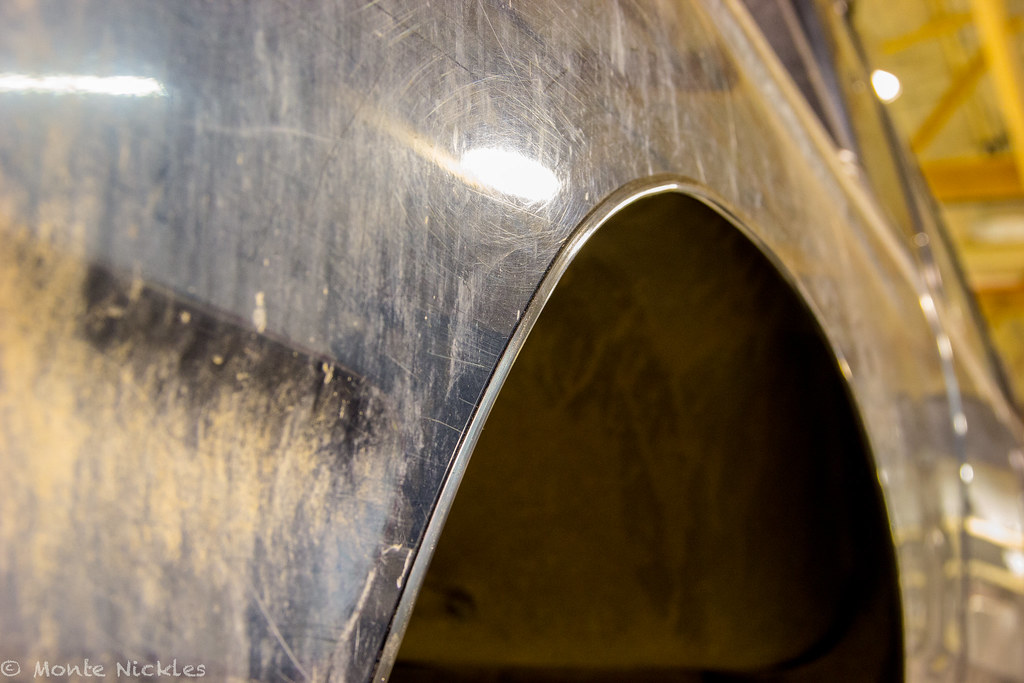
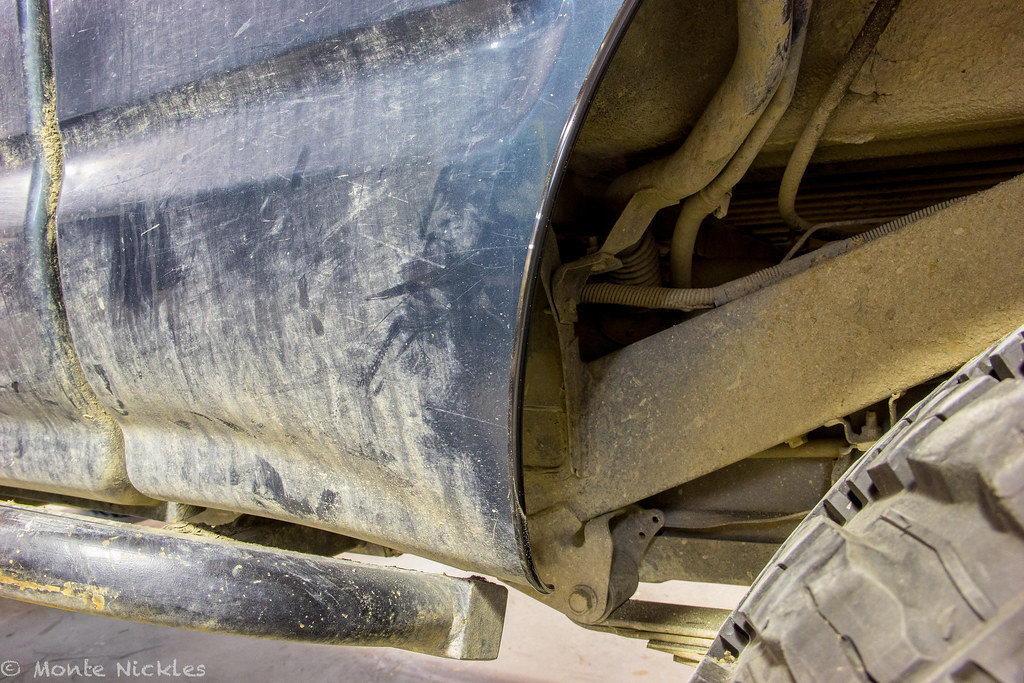
This stuff is going to help save your tires from getting shredded if by some chance they do hit your fender. It'll helps look good and helps hide the very small inconsistencies from your grinding. But if your really screwed up, it'll still show up.

Just press its on the the fender and cut to the right length.


IMG_7946.jpg
by Monte Nickles Photos, on Flickr

IMG_7947.jpg
by Monte Nickles Photos, on Flickr

IMG_7948.jpg
by Monte Nickles Photos, on Flickr

IMG_7949.jpg
by Monte Nickles Photos, on Flickr

ahhh..now it looks freaking gooooooddd :cool:

but we aren't done.

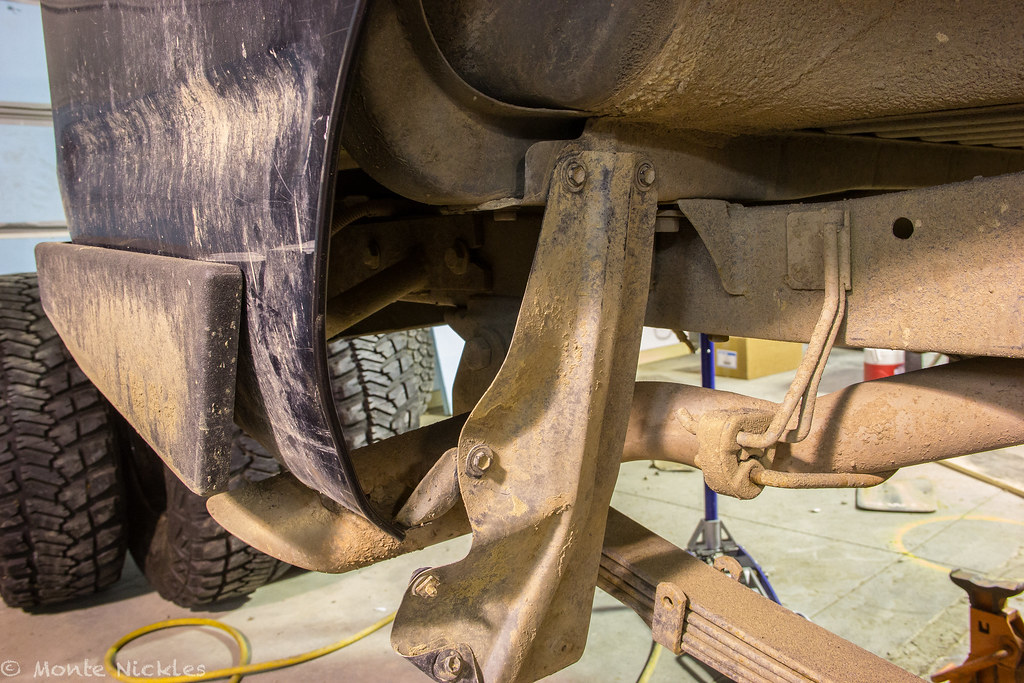
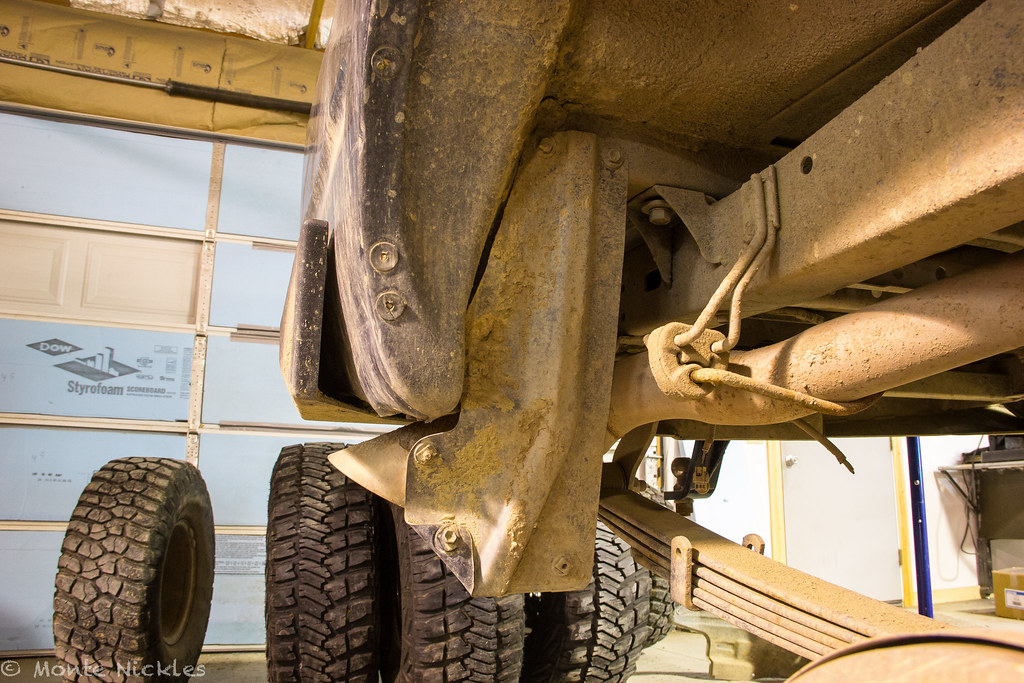
remember the mud flap bracket? reinstall it without the mud flap.


IMG_7950.jpg
by Monte Nickles Photos, on Flickr


Why? the brack helps hold the bed side in place. I choose to keep it seeing as we already eliminated one up above. You don't HAVE to do this. But id consider it. You'll notice it moves a lot with out this there.

but looks like crap with no mud flap..so i cut it too :cool:


IMG_7951.jpg
by Monte Nickles Photos, on Flickr

NOTE! CHECK YOUR STATE LAWS! Wyoming doesn't require mudflaps on vehicles so i can get away with is and the super wide tires sticking out. Some states do NOT allow tires to stick out and mud flaps are required. So make sure you know whats what where you live before cutting these ;)


Now..reinstall your need tire :cool:


IMG_7953.jpg
by Monte Nickles Photos, on Flickr

BOOM!! :D


Hope that helps guys!

Its late now though so i won't start the fronts till tomorrow. But i bough the sheet metal for it :D can't wait.


on a side note..this..is not what i wanted to find :frusty: my wheelers AAL is bent to **** haha guess i need new ones..damn it..

oh well. Make a nice refresher for lift when i do it.


IMG_7952.jpg
by Monte Nickles Photos, on Flickr


more shots of the other side with trim on it.


IMG_7912.jpg
by Monte Nickles Photos, on Flickr

IMG_7913.jpg
by Monte Nickles Photos, on Flickr

And a fun video i did of some cutting :D

 
Last edited:

Blackdawg

Dr. Frankenstein
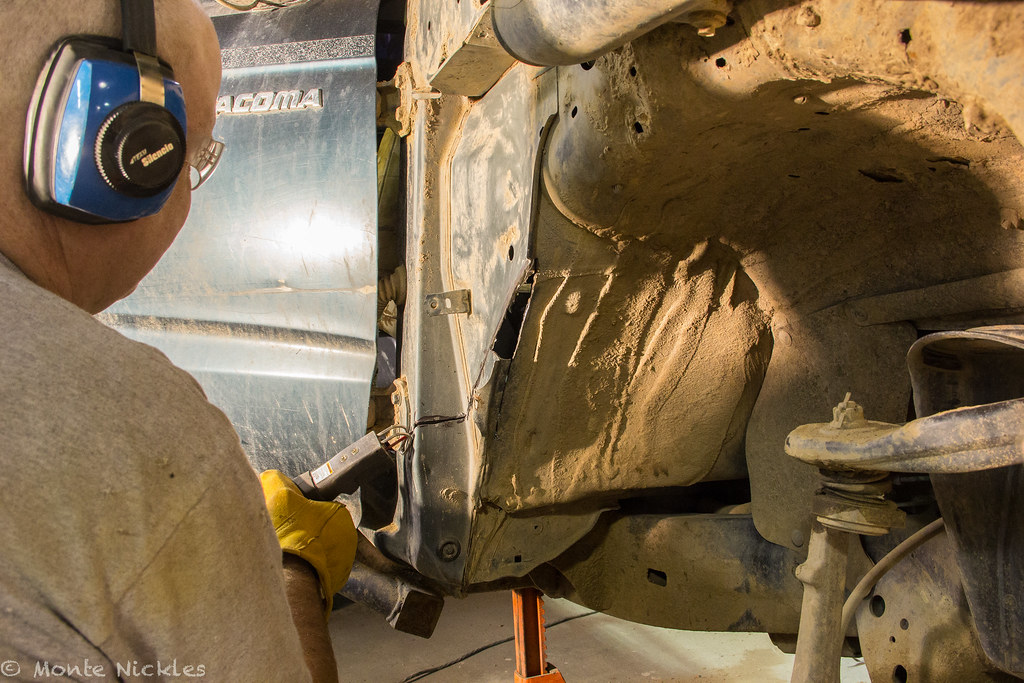
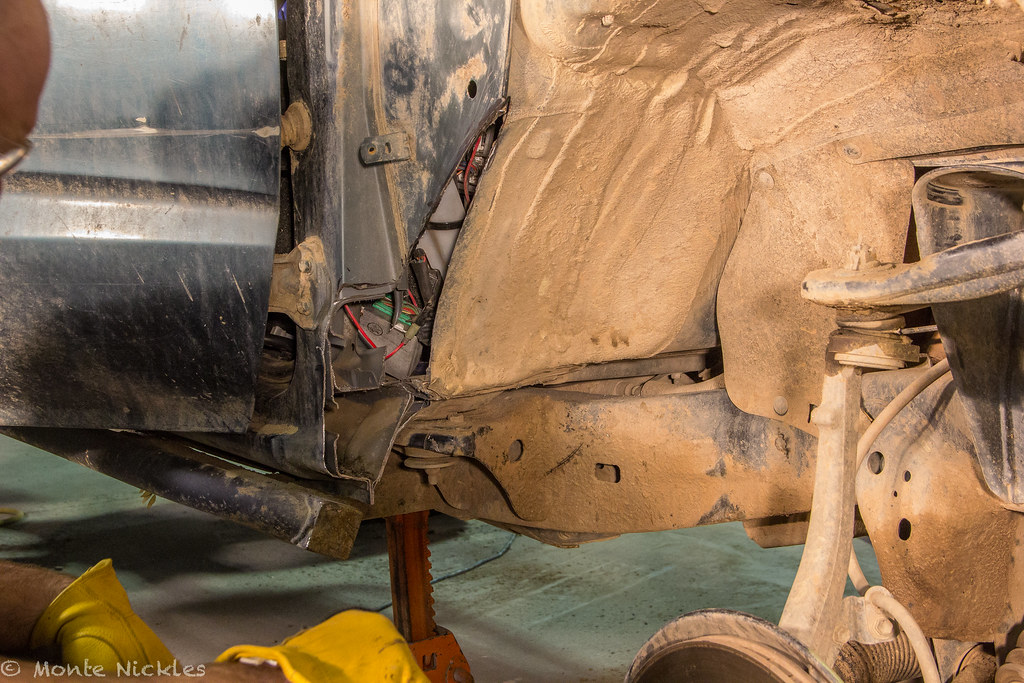
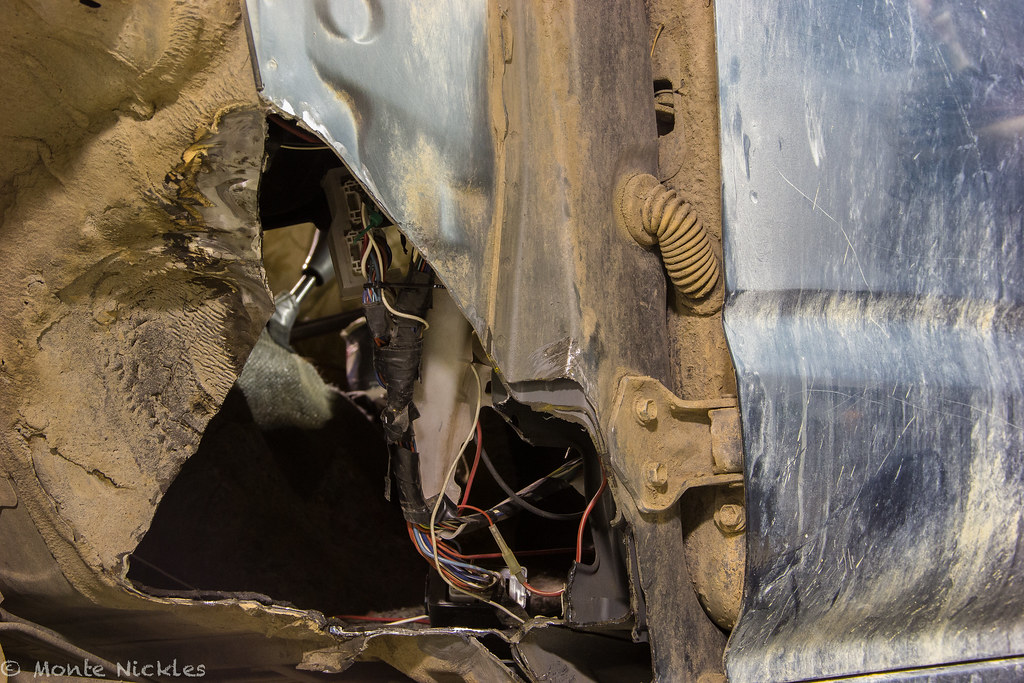
And now for the front. This one isn't as extensive as i had wanted it to be. But i was short pressed for time. I had to go back to St louis for school so i finished this literally the night before. Im missing some photos i wish i had. But im sure you'll all survive haha

Okay. So i really wanted to do a decent write up on cutting the front up..but i ran short on time so my photos aren't exactly what i wanted for this..but i have enough to give you all an idea.

There will be holes in it though unfortunately due to just getting the job done.

Its much more difficult then i thought it would be and i have come to the concussion its due to the 35x12.5r15 size. If your getting 315/75r16s, you won't have near as bad a time from what i can see of others jobs and such.


Things you'll NEED:


-35s..duh :p haha
-Nice comfortable place to work thats roomy
-Grinder
-Cut off wheel for grinder or a seperate angle grinder
-Sawzall
-Flap disks or some sort of power tool that can clean the metal off. Yes, power tool. Your good ole elbow grease aint gonna do **** to the toyota undercoating :p haha
-regular tools, ie. Sockets, wrenches, screw drivers
-pry bar
-Tape
-Same cool tool you used for the rear fenders
-lots of extra blades and disks for cut off tools
-20 ga steel sheet. I bought a sheet that was like 4'x2' for 10 bucks. More then enough
-welder and all welder gear( better be pretty good a welding..welding on the body SUCKS. Not a first time project thing..)
-Jack
-Jackstands
-Your old mud flaps from the rear..or some sort of rubber mat or wet towl for the inside.
-Hammers. Big, little, flat heads and round heads.
-hand anvil helps
-Shears
-Seam sealer
-Undercoating spray/or paint..


-Plasma cutter can't hurt if you want it to be one big piece like mine..or be REALLY good with saws and grinders haha


and above all..


a lot of time..more then you think.

But here we go.


Of course, take the tire off and get a jackstand on the frame of the truck.


IMG_7986.jpg
by Monte Nickles Photos, on Flickr
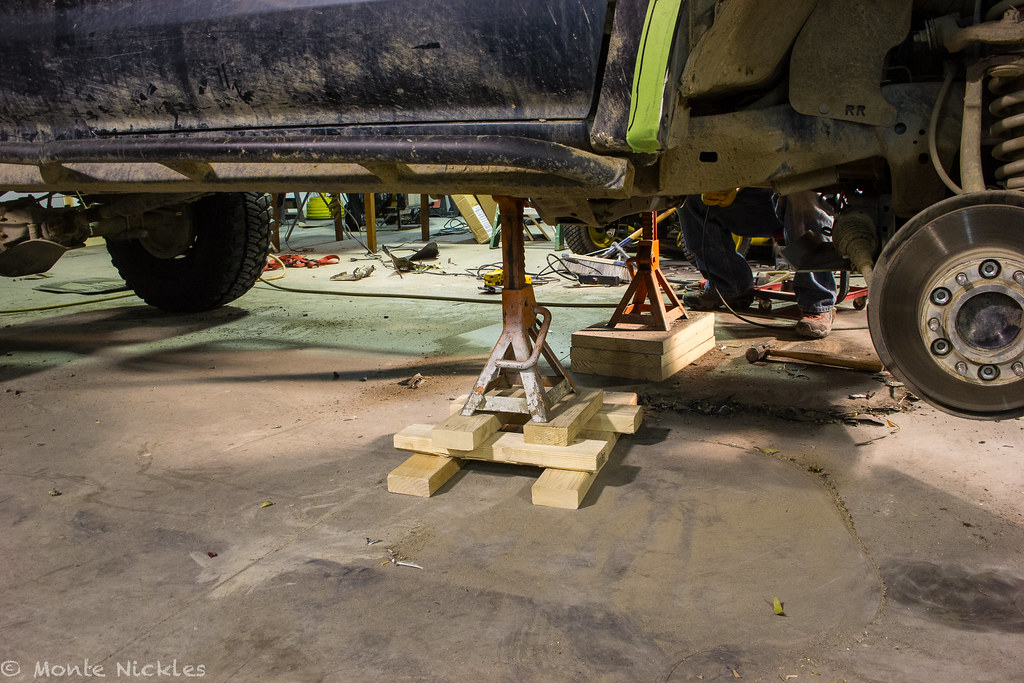
IMG_7999.jpg
by Monte Nickles Photos, on Flickr


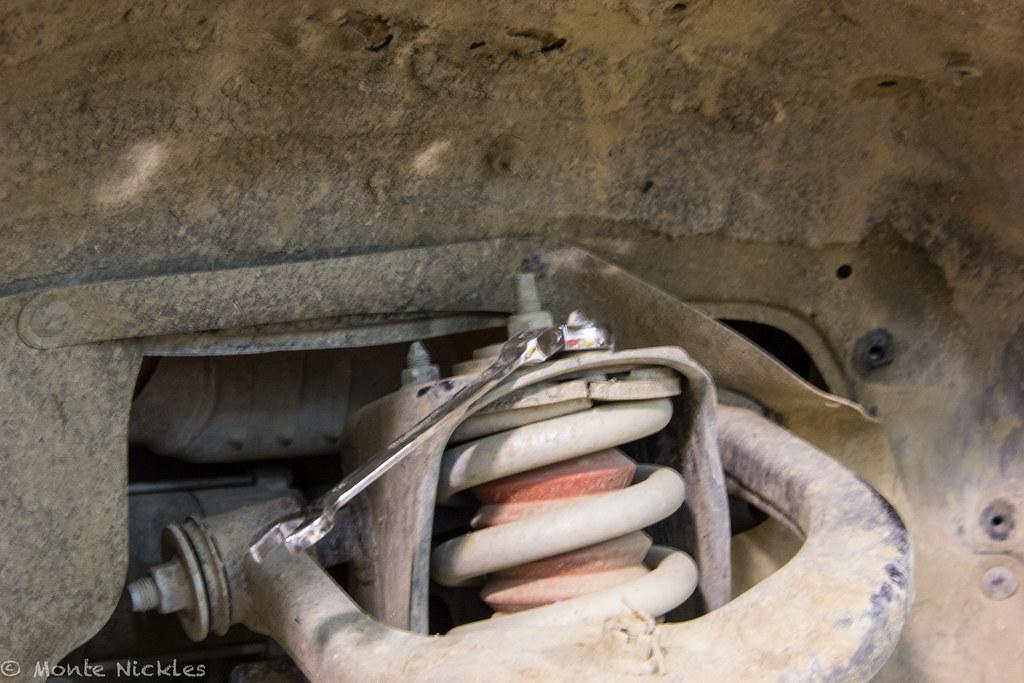
Now you will want to take out your front Coil over. This is important as you will need to cycle the suspention a LOT to check for clearances. Its pretty simple. You should know how to do this as you probably installed your own lift..but here is a quick how too..


three bolts on top. Think they were 14s..either that or 12s..duh :p haha


IMG_8006.jpg
by Monte Nickles Photos, on Flickr


then undo the lower nut. Its a 19 I believe..or 17mm..
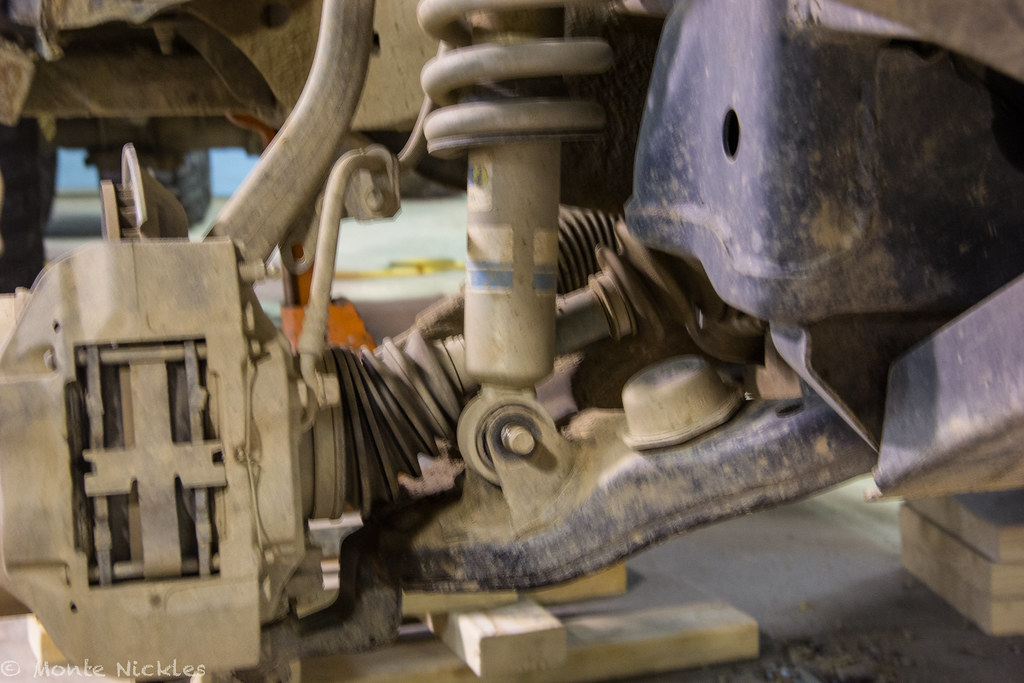


IMG_8008.jpg
by Monte Nickles Photos, on Flickr


Now here is a cool trick. Get your pry bar and slip it under where the UCA bolt runs and pry down on the UCA. This will allow you to take the weight off the CO for easier removal and installation.
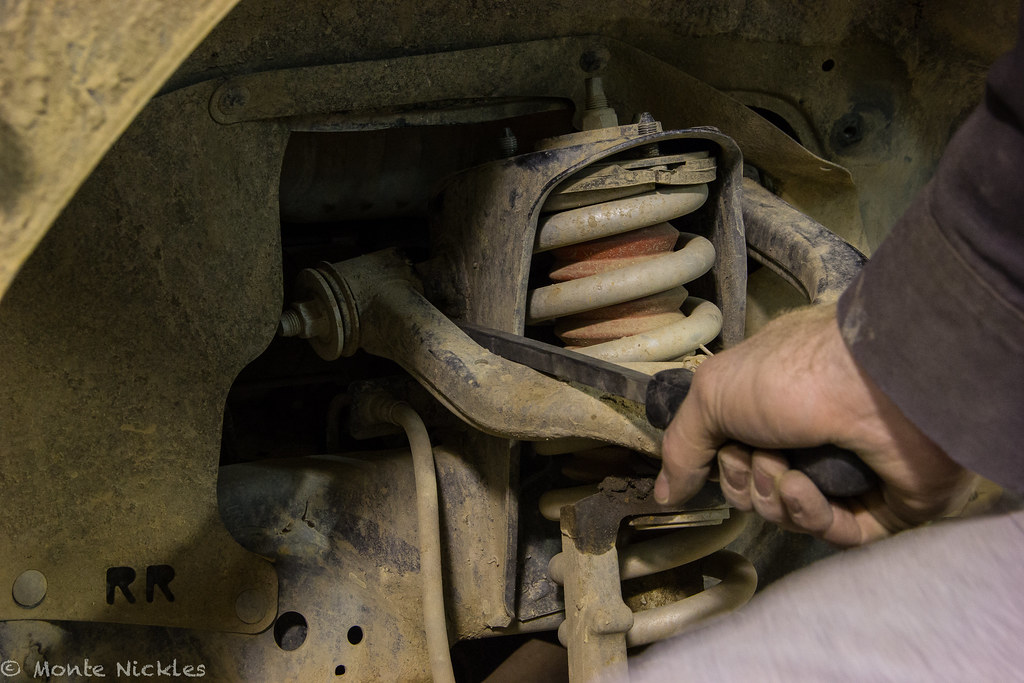


IMG_8009.jpg
by Monte Nickles Photos, on Flickr


Now test fit a 35 with the fender on! You do this by putting the jack under the LCA or LBJ and jacking it up with the tire on it. Do it ALL the way to the bump stops and even a bit higher so its off the jack stand a tad. Why? Bump stops compress so you'll want to cut enough to clear the tire if you even hit the bumps while offroading and that'll mean the full weight of the rig will be on it.


BEAST!


IMG_7955.jpg
by Monte Nickles Photos, on Flickr


You'll find you cant turn..even a little bit due to the fender and maybe bumper like me. So lets start cutting :cool:


Now you'll recall how we did the tape and drew a line with the rear fenders from a few pages back? Do that here too!
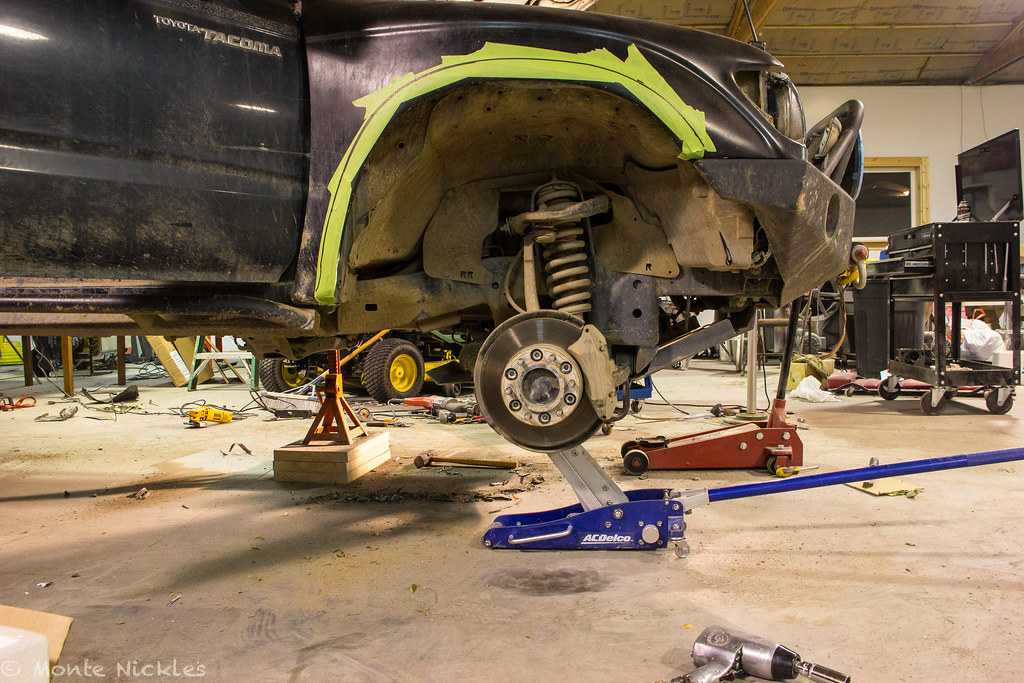


IMG_7998.jpg
by Monte Nickles Photos, on Flickr


You'll see my Elite bumper is too long and I also had to cut 1.75'' out of it. This will vary with trucks/bumper makes/tire makes..so make sure you test fit the 35 you have first. Make sure that you take into account what a new tire would be like if you bought used ones.


Anyways. Cut like you did the rear. You'll have to cut more of the rear portion of the fenders later..but we will get to that.


Now slap the tire on again and make sure it fits!
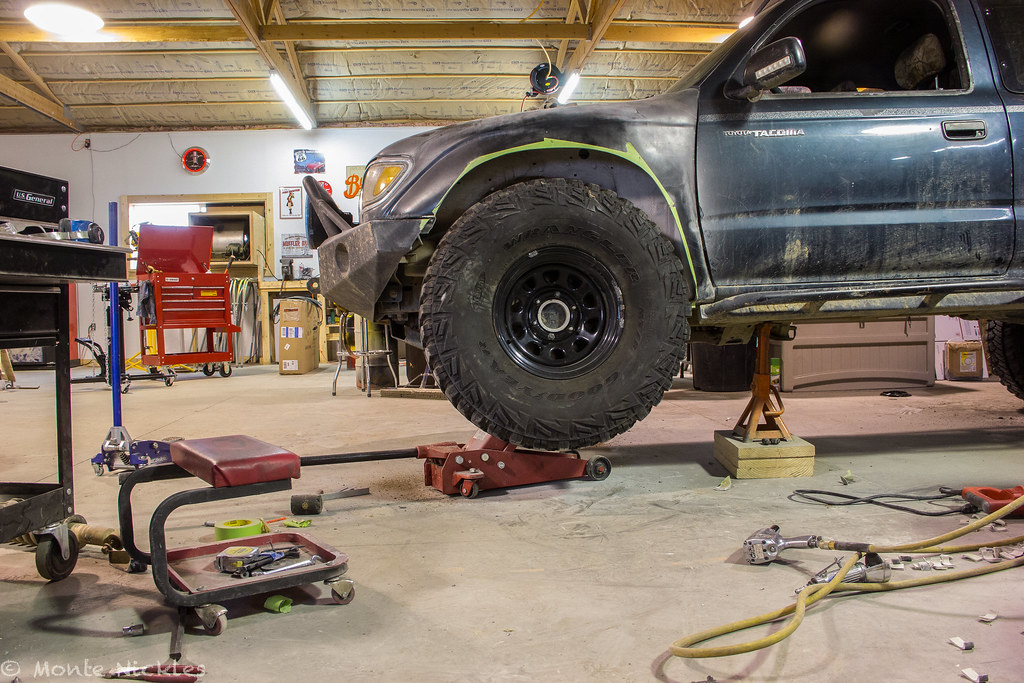


IMG_7957.jpg
by Monte Nickles Photos, on Flickr


now take the fender off. All bolts are 10mm. Be three bolts up here
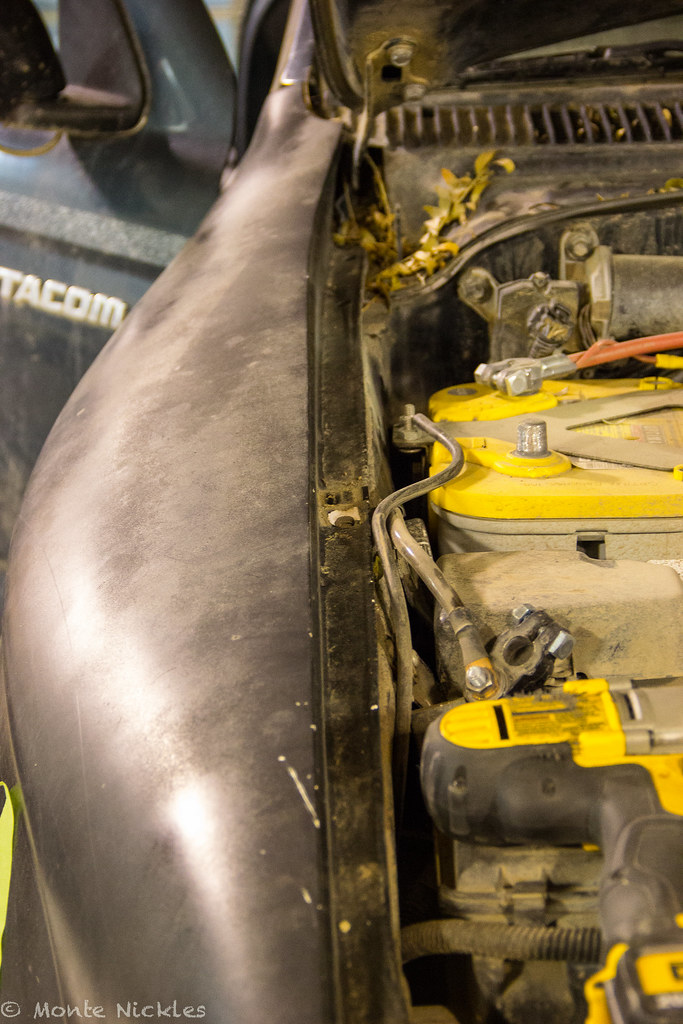
IMG_7988.jpg
by Monte Nickles Photos, on Flickr


One here behind the grill filler plate


IMG_7989.jpg
by Monte Nickles Photos, on Flickr


and two down here if your on stock fenders unlike me
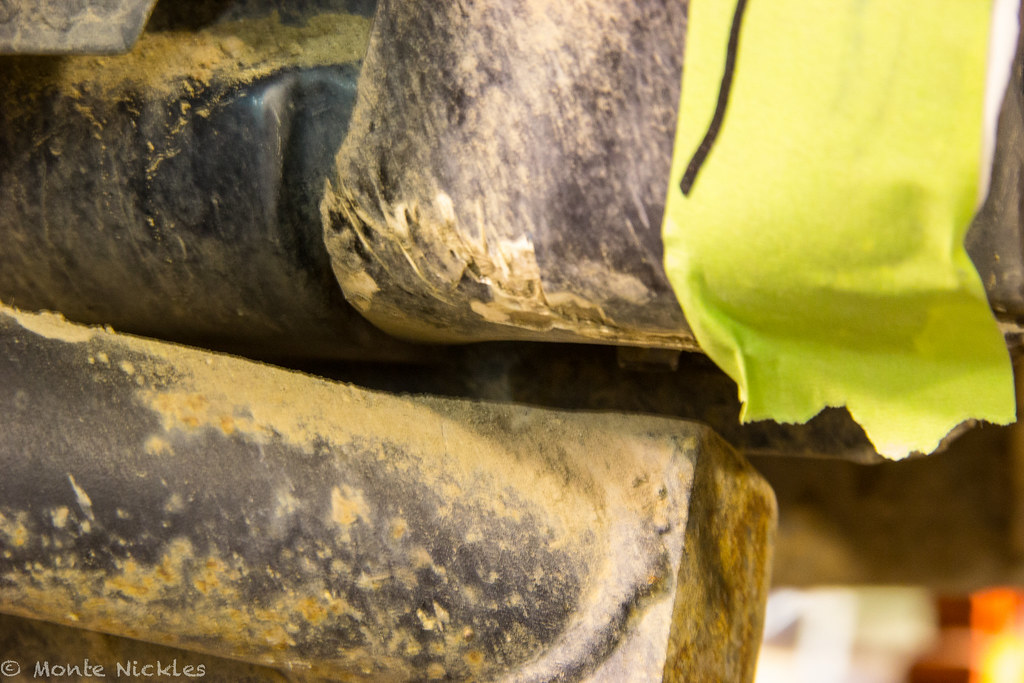


IMG_7997.jpg
by Monte Nickles Photos, on Flickr


and one up here behind the door
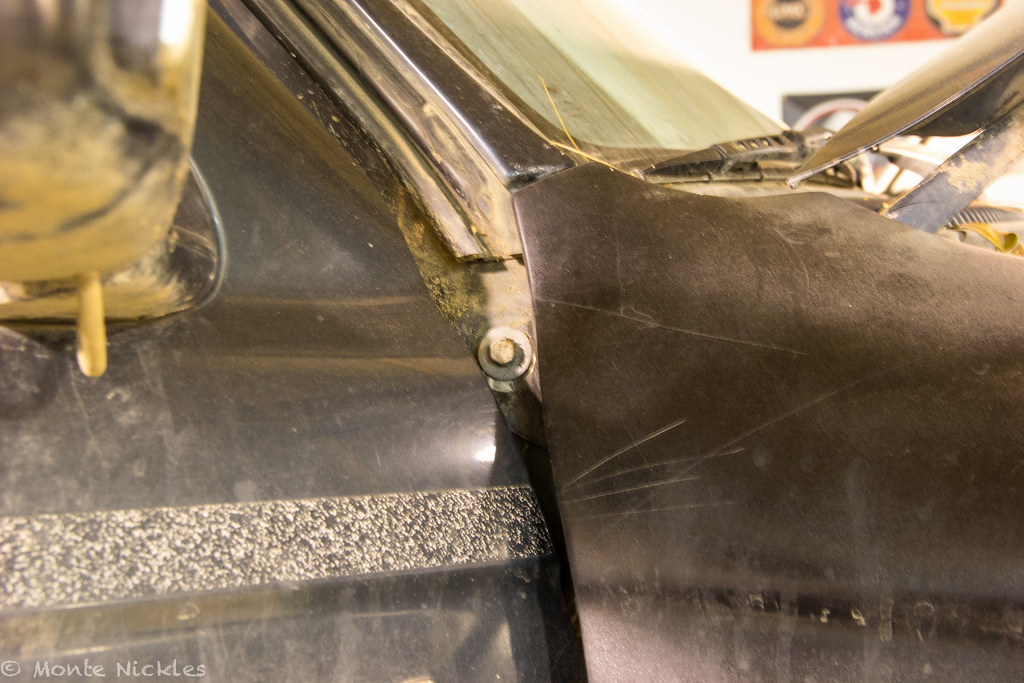


IMG_8000.jpg
by Monte Nickles Photos, on Flickr


You will also have to take off the corner lights..which..you should know how to do if your doing this anyways.


On the driver side, you'll be able to turn it passenger usually fine. But you'll hit the fire wall quickly when turning passenger. On the passenger side though, at least with my tires, you'll see you still can't turn very far either way due to the wind shield washer bottle. You can even see my 33s have rub a hole straight through the plastic guard...it has to go!
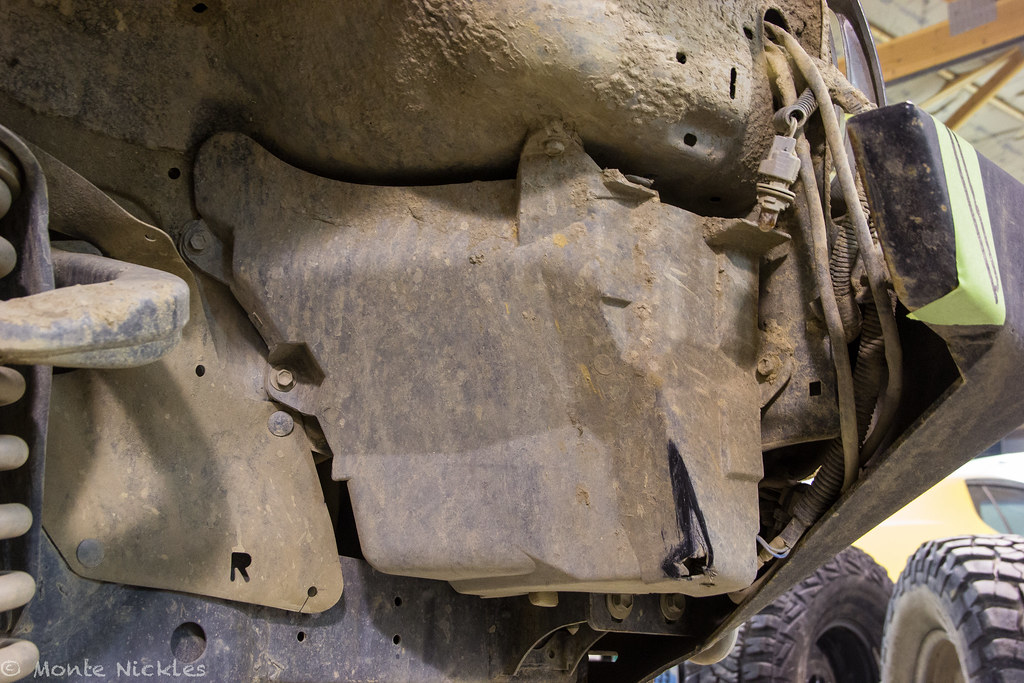
IMG_8001.jpg
by Monte Nickles Photos, on Flickr


It's pretty simple to remove. First, disconnect this plug.


IMG_8002.jpg
by Monte Nickles Photos, on Flickr


There are 4 10mm bolts down here to remove. This shows you what i'll look like AFTER I have removed them. Obviously..just easier to see the holes. The plastic guard will pull right off after you have removed them.
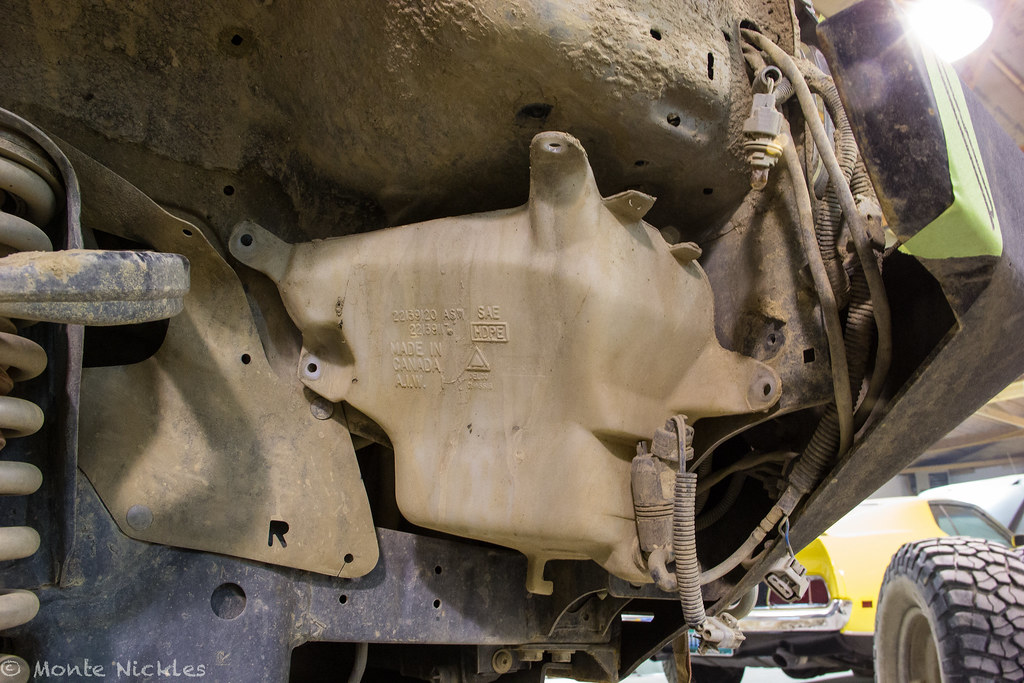


IMG_8003.jpg
by Monte Nickles Photos, on Flickr


Now this baby is ready to come out. All thats holding it in is two big plastic tabs on the neck up in here..sorry for the **** photo :eek:


IMG_8004.jpg
by Monte Nickles Photos, on Flickr


HOWEVER!


You now have a choice to make..either pull the pump out of the resivour..or pull some of the tubing off the pump..


if your resivour is fullish..pull some tubing. If its not..just pull the pump.


KEEP THE PUMP! You'll want it later for a simple tank that I will show you all how to make when I get back to Wy after school. I pulled the pump and the rubber gasket in the bottle. I then pulled the wire harness and tubes back through the hole they were coming out of and just left them sitting in front of the air box.


Either way..make a decision and then just push the tabs in and let the bottle out. Much more roomy!
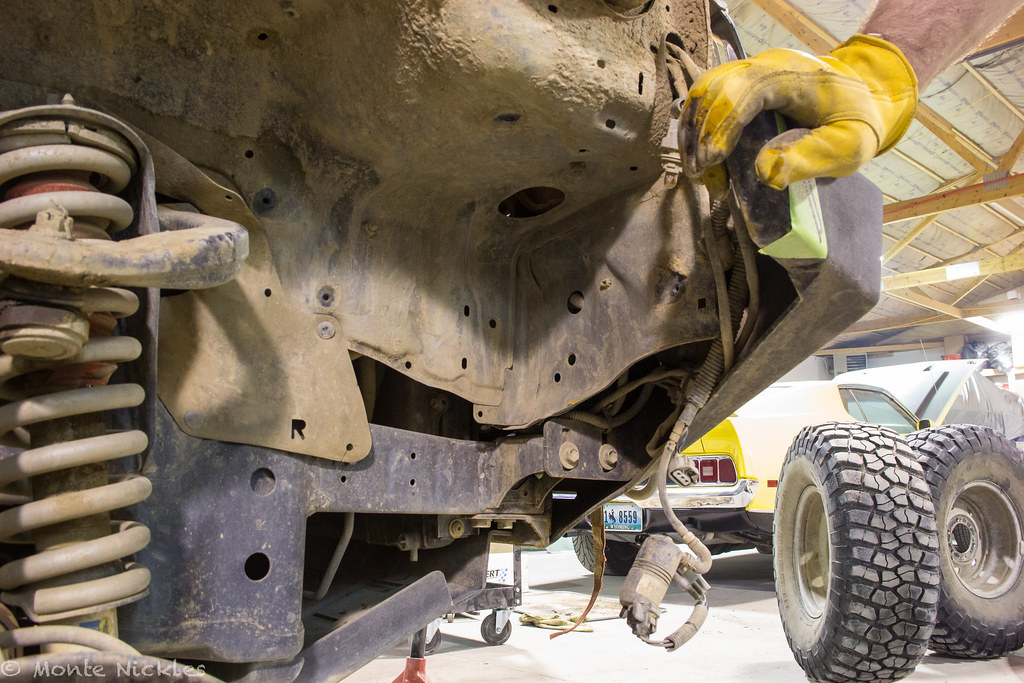


IMG_8005.jpg
by Monte Nickles Photos, on Flickr


Put the 35 back on(get used to taking it on and off..on and off..on and off :p ) and turn it so its cutting into the fire wall..im sure you have noticed by now im using photos from both sides..i was NOT doing both sides at the same time..nor would I recommend doing that. Remember to jack the tire all the way up on the bump stops.


Draw your line where you think you'll have to cut. Every truck is a bit different..but a line like this is a good place to start.
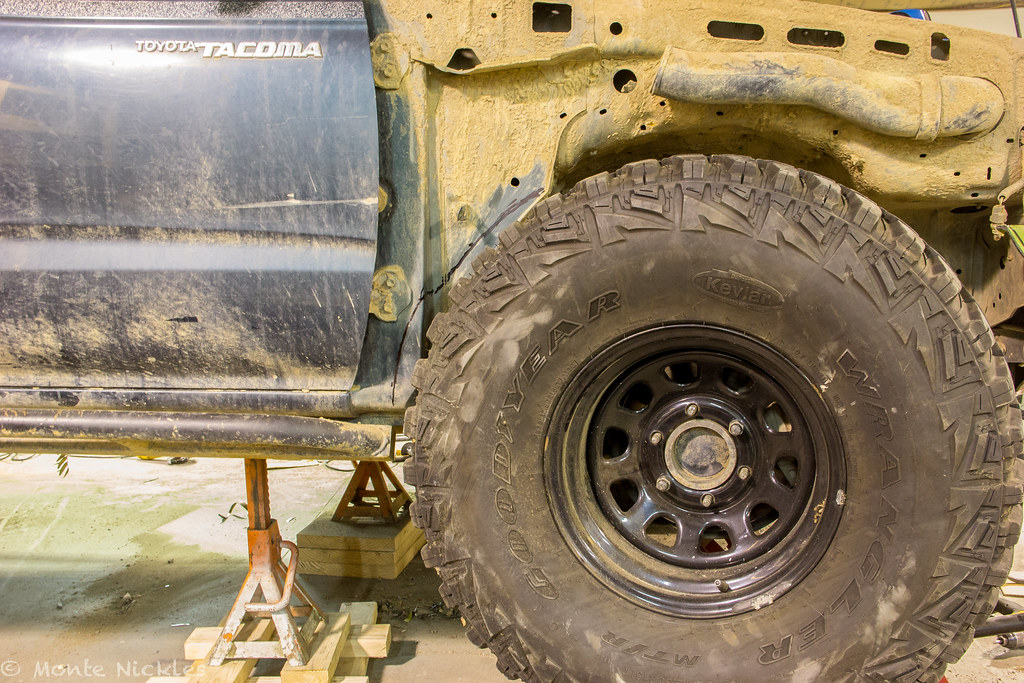


IMG_8016.jpg
by Monte Nickles Photos, on Flickr


Take the tire off and now prep the cab for cutting.
 

Blackdawg

Dr. Frankenstein
Sadly..i did not take any photos of this part :frusty: my interior is already not 100% there so wouldn't have done much good.. But I can talk you through it.


You'll need to remove the kick panels and the carpet. To do that. Remove the inner plastic part along the kick panel. It'll be held in with 4 philips screws I believe. The kick panel should just pop out after that. Now pull up the carpet. On the rocker panels there are white clips holding it down. Get a screw driver to help you or even needle nose pliers and pull about 3 of them. The carpet should just pull away form the upper corners of the cab. Pull it as far as possible!


Now you 'll notice all the wires and such running along the outer wall. I will get photos of them when I get home as my interior is NOT put back together yet..ha but they are the wire harnesses for the doors mainly and other in cab features. You will have to pop off the retainer clips and pull those wire out of the way the whole time your doing this. This is where a 2nd set of hands is handy. Plus they are good for fire watch.


I used my old rear mud flap to help block the sparks that shot into the cab from cutting. Worked great really! You can also use a damp rag or welding blanket or something.

Now you should be ready to start cutting. But where to start??

Here is the best place to start. Up high. There is only one/two layers of sheet metal here and its fairly easy to cut.


IMG_8017.jpg
by Monte Nickles Photos, on Flickr


we did little notches like that so we could start to see inside as well.


Now continue down.


IMG_8020.jpg
by Monte Nickles Photos, on Flickr


I wish I could say it was easy but if you look you'll see there are lots of lays going on there..its not easy. And it'll take a long time to get to that point. My dad found the sawzall worked great for that part..but he ended up cutting a long line through my floor board we had to re weld :laugh: so watch your cutting!! blade length on the sawzall is big. Id keep it under 6''. 4'' was best I though.


Now you can start cutting out further and further towards the frame. This again will vary by truck due to tire size/rim backspacing/make/even alignment.


IMG_7961.jpg
by Monte Nickles Photos, on Flickr


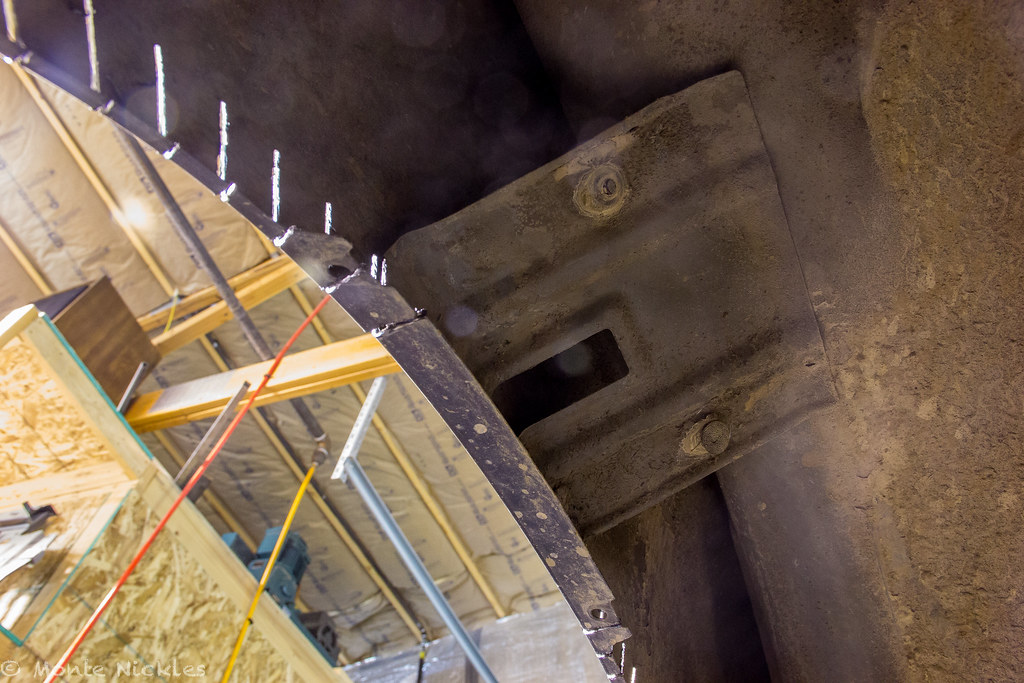
it'll take a LOT of trial and error of removing the tire over and over and checking if it clears. You'll most likely have to cut out wider and further into the cab then your originally though. Even the body mounts a bit may be necessary as it was on one side for me.


Eventually tough you will triumph and get it so it all clears all good. The first hole takes MUCH longer then the second one as you'll kinda know where to cut the first time on the second hole.


But now its time to fill it!


There are several ways to do this..some guys use several different small pieces of metal. And a few use one big piece. I like the used the single piece myself. Looks cleaner! But much harder to make work with a hole my size and shape I ended up with.


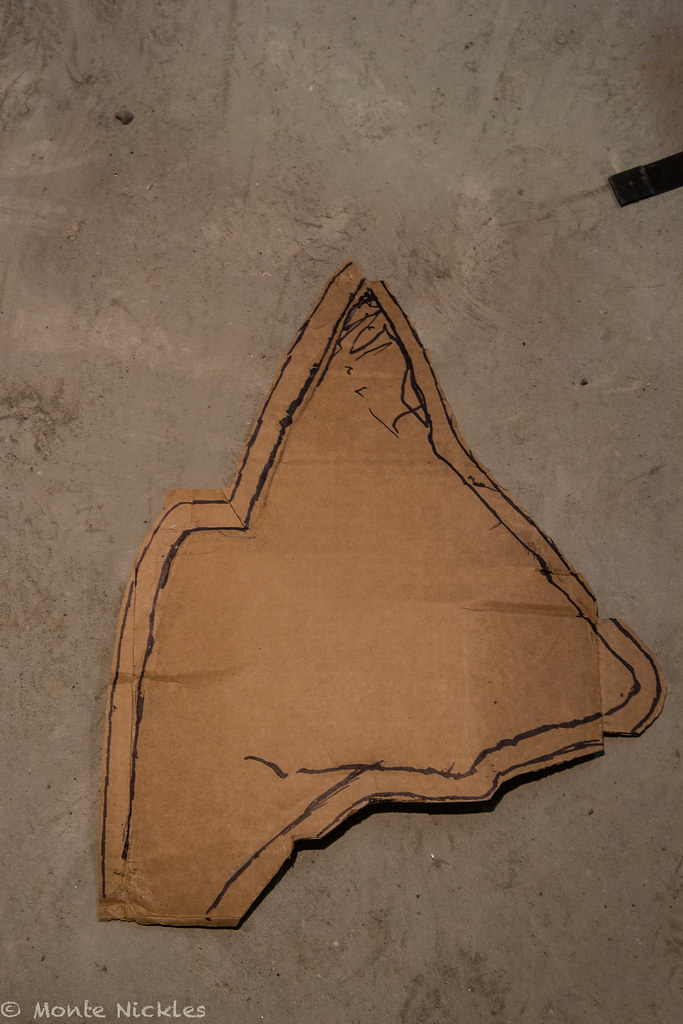
so. I got some cardboard and made a trace on it. MAKE SURE TO NOT LEAVE IT FLAT! Remember..your tires are round..it need to be in an arc. Your new sheet metal needs to arc. Not be straight. So you need to push in the cardboard and make it arc to make your trace. Otherwise it'll be too small.


After I traced it. I kinda just eye balled it and put an 1'' or so extra on each side.


IMG_7964.jpg
by Monte Nickles Photos, on Flickr


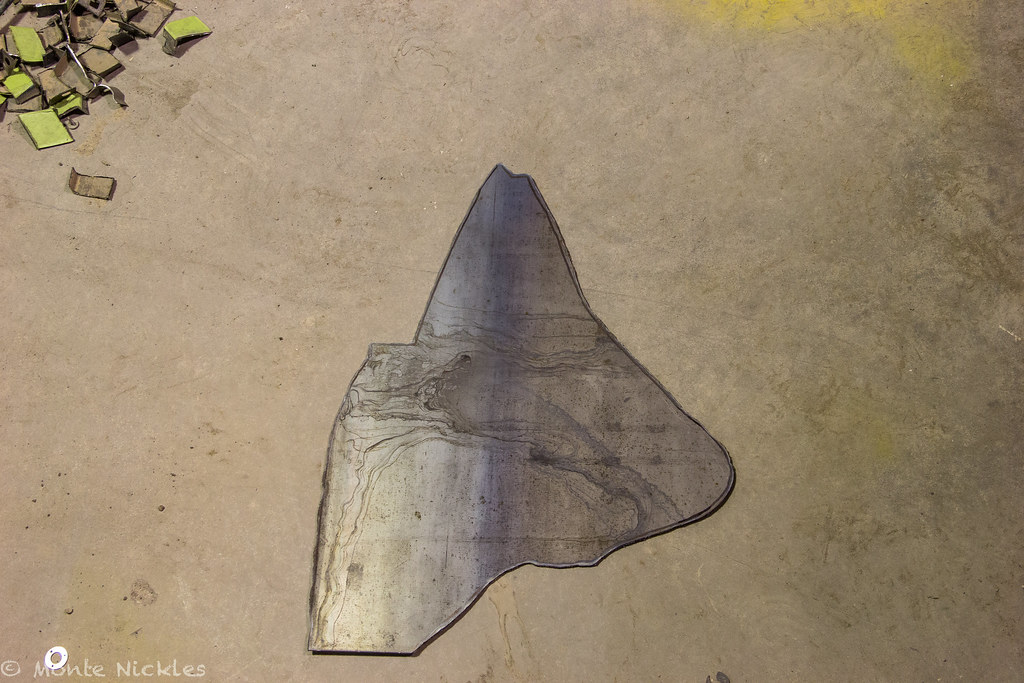
traced that out on the sheet metal and used a plasma cutter to cut it. As you can see..that would not exactly be the easiest shape to cut out with a grinder and cut off wheel..impossible? no. But not very quick. So it make be easier to do it in different sections for you.


IMG_7965.jpg
by Monte Nickles Photos, on Flickr


Once again, I don't have a ton of pic of this next part. It does take a long time and my dad and I just ground through it as I had to get it done.


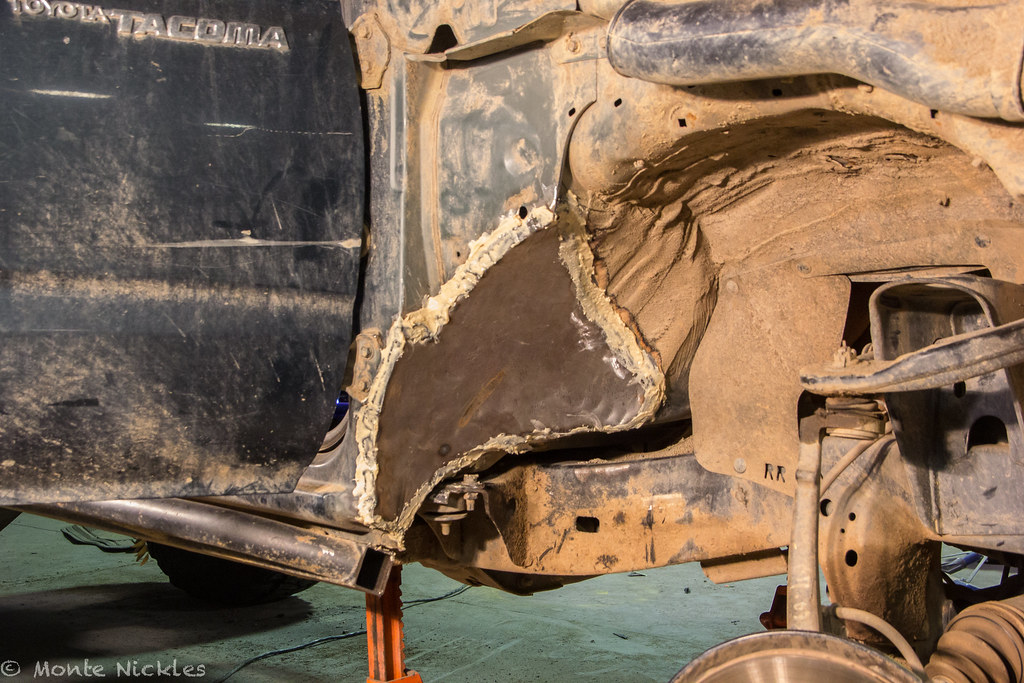
Make sure you use your flap disk or sander or whatever to get all the undercoating off the body and get good metal exposed to weld on. I mean it. Clean as a whistle. The cleaner it is the beter you life is gonna be when you weld. I want you to want to eat off it!...okay maybe not..but clean of all paint and undercoating. Don't afraid to grind off more then you'll need. You'll be re painting it..it'll be okay! Haha

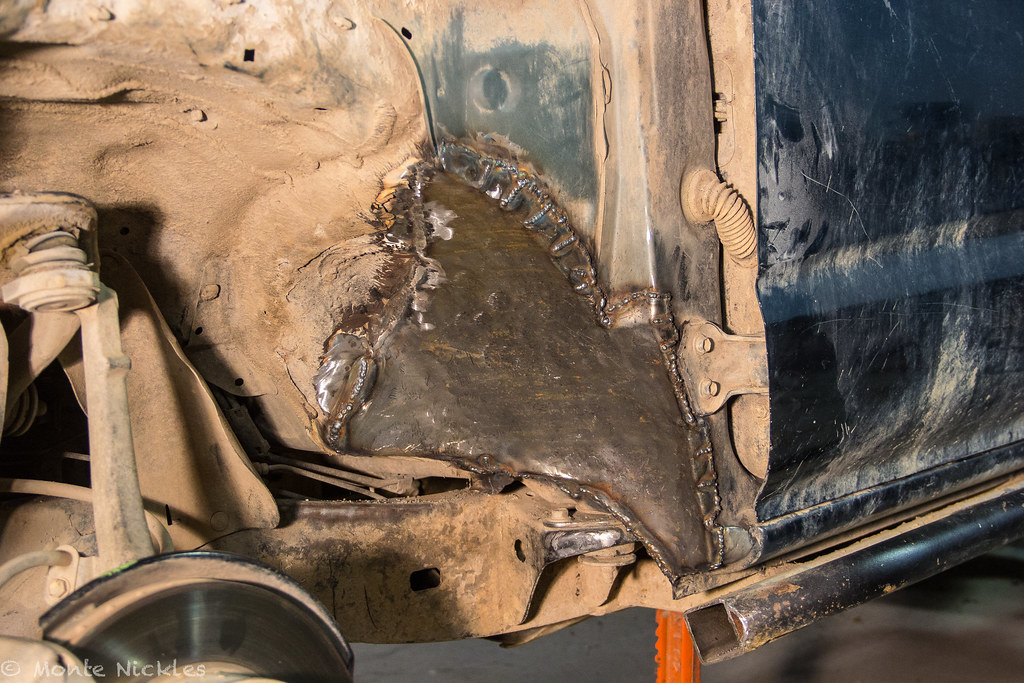
this was the basic process for welding it though. HIGHLY recommend a second person for this part. Hand bend it so its kinda close and there is enough over lap all around. Work from the inside out and make sure there is lots extra on the outside cause remember..you will be shaping it into an arc so the metal will get “pulled” in more so to speak.


Started by finding a spot the metal sat flush without to much hammering and taced it in.


Now. Let me talk about welding this stuff. Its super thin! So you can't just sit there and burn it in like you would 1/8'' or thicker stuff. You have to do continuous spot welding. So you just pull the trigger for a second or so to let it get hot enough to fuse the new sheet with the body and let it off! BUT before it stops glowing red, move your gun so the wire is just touching the bottom of the puddle that is cooling off and hit it again. Just do that over and over again as fast as you can. You'll get better as you go and eventually should beable to get the stacked dimes look but doing that.

Anyways.


So once the new metal is tacked in a bit. We used a hand anvil and held it on the inside of the cab against the body metal. Then ********** the living **** out of it with a flat head body hammer so then new metal would form up like the old metal. Once the edge was close. My dad would use the hammers handle and push then new metal into the body metal and I would tac it on.


We did this over and and over little by little. If there was too much overlap. We just cut it off with shears.


For the big arcs. We cut them into tabs to help shape it a bit more.


Before you do the whoel outer edge make sure you beat on the new metal in the center a bunch while your tacking stuff together. Again, you don't want it straight but arced.


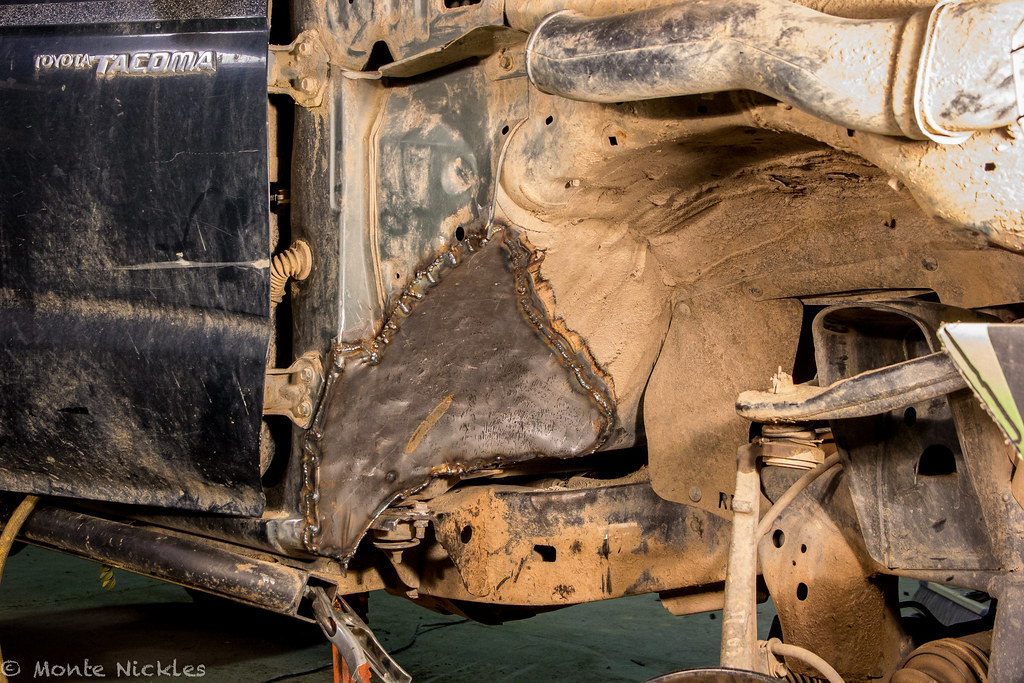
Eventually it should all look like this :


IMG_7974.jpg
by Monte Nickles Photos, on Flickr

IMG_8021.jpg
by Monte Nickles Photos, on Flickr


my passenger side welds were WAY better then the driver side. But it all worked out and should hold fine. Figure with the amount of hammering they took..they aren't going anywhere haha


mount the 35s for one last check for clearances and you should be good to burn in all the edges. Have your buddy watch the cab for fire. Mine did catch fire once or twice. Nothing bad though.


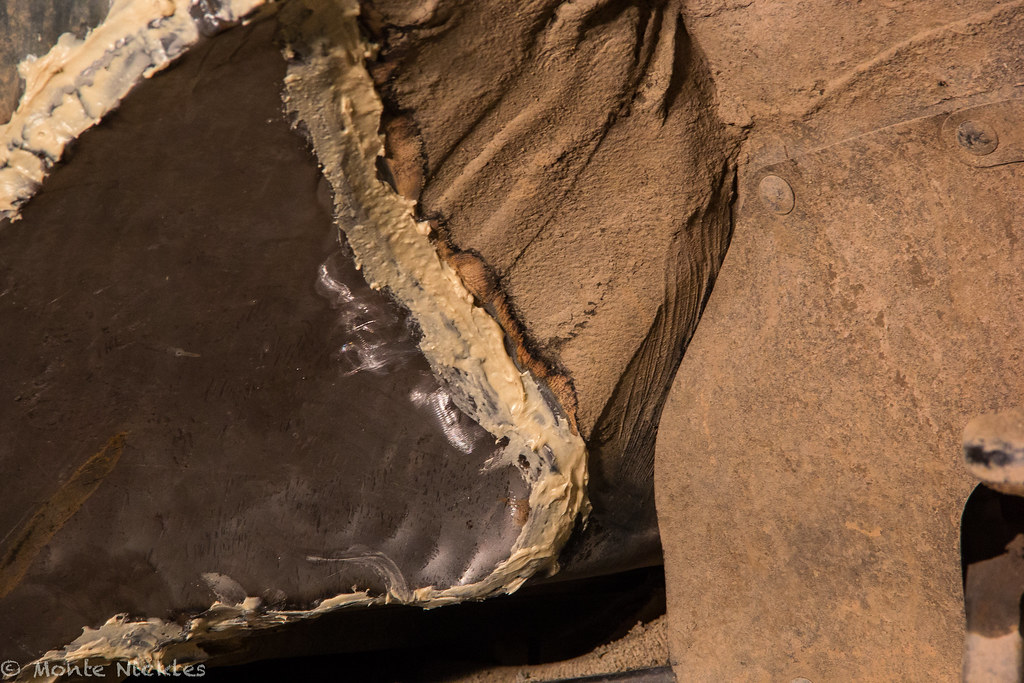
Now get your seam sealer and go to town on the edges inside the cab and outside.


IMG_8022.jpg
by Monte Nickles Photos, on Flickr

IMG_8024.jpg
by Monte Nickles Photos, on Flickr


Let it sit for a bit. The stuff I used said it could be painted after 30mins. Think it sat for an hour while we ate dinner.


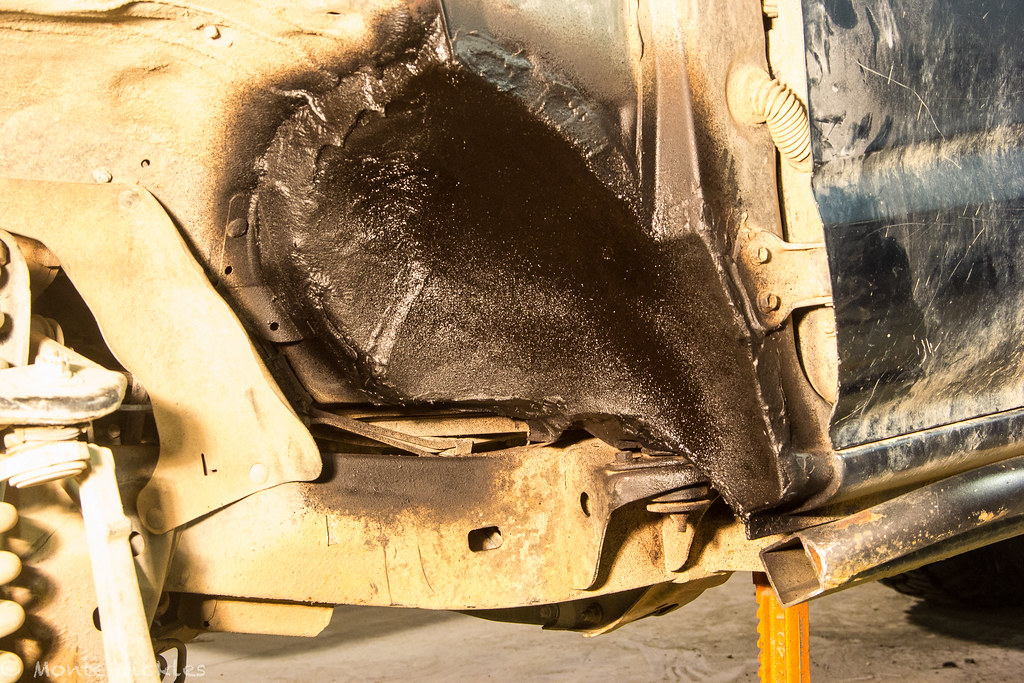
Then paint it up with the undercoating spray. Both inside and out


IMG_7991.jpg
by Monte Nickles Photos, on Flickr

IMG_7992.jpg
by Monte Nickles Photos, on Flickr


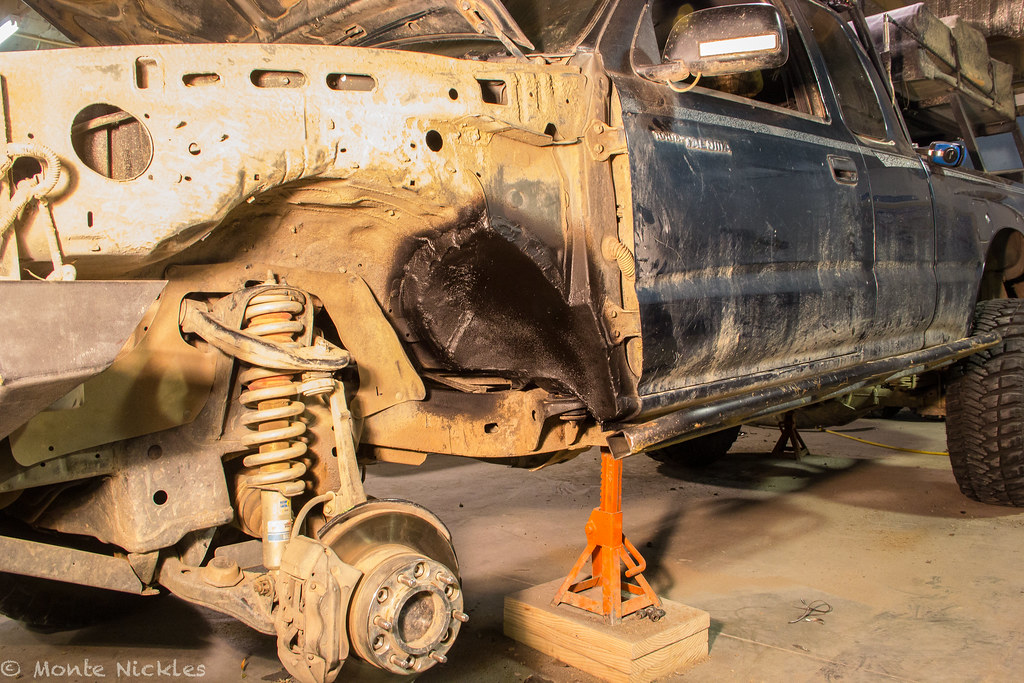
Mount your coil overs again and put the new tires on and your interior together..and your done! :cool:
 

Blackdawg

Dr. Frankenstein
now for some before and after shots!


33s


IMG_7869.jpg
by Monte Nickles Photos, on Flickr

IMG_7875.jpg
by Monte Nickles Photos, on Flickr

IMG_7877.jpg
by Monte Nickles Photos, on Flickr


35s


IMG_8028.jpg
by Monte Nickles Photos, on Flickr

IMG_8029.jpg
by Monte Nickles Photos, on Flickr

IMG_8027.jpg
by Monte Nickles Photos, on Flickr

IMG_8026.jpg
by Monte Nickles Photos, on Flickr


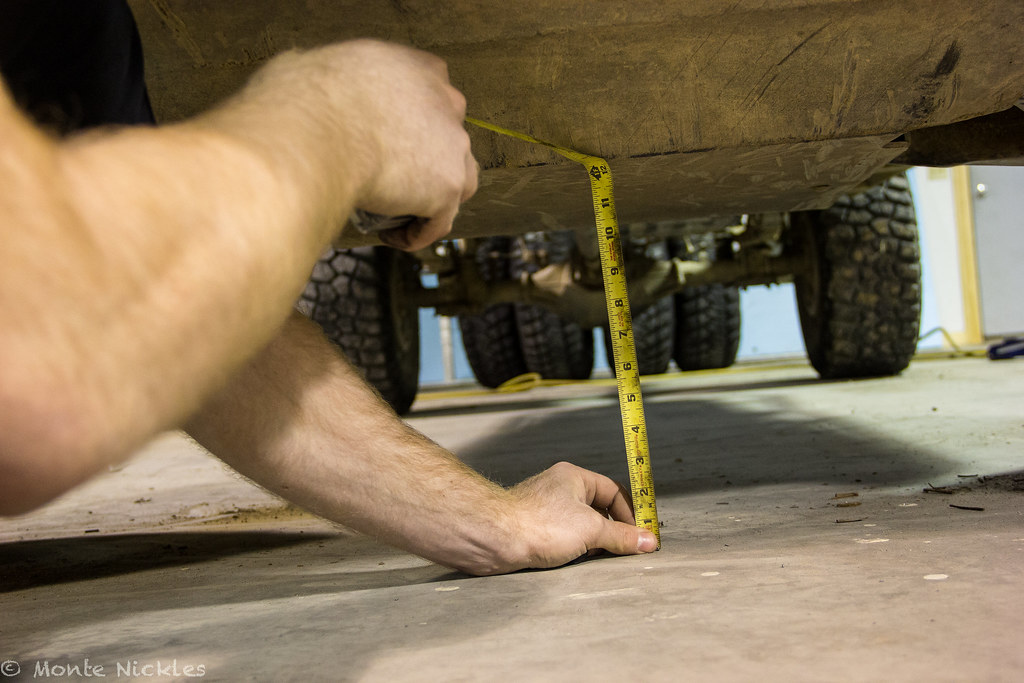
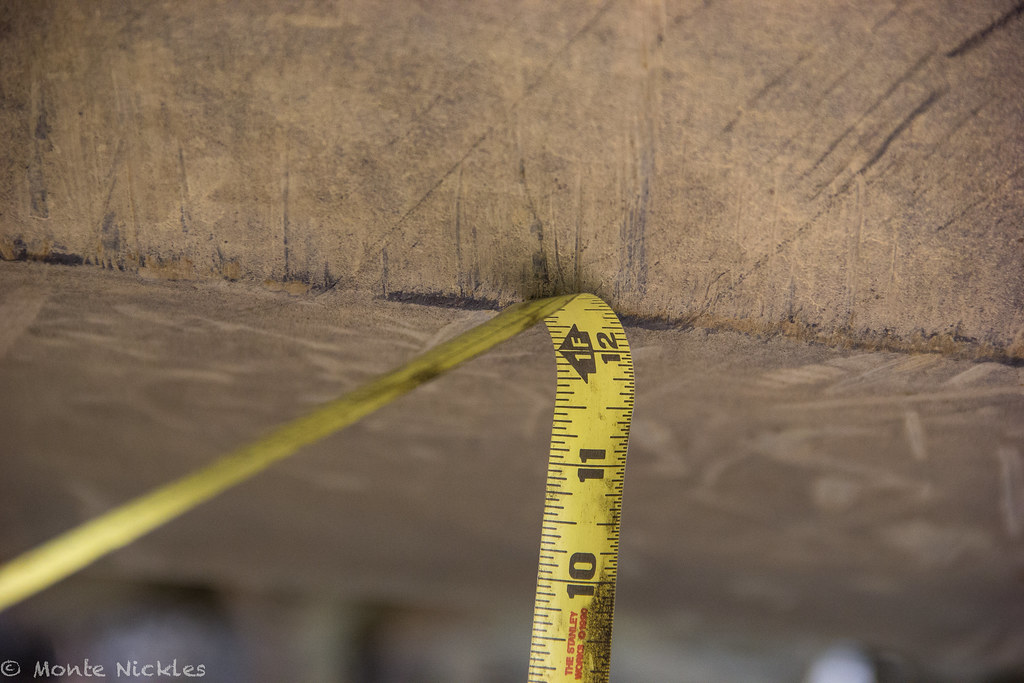
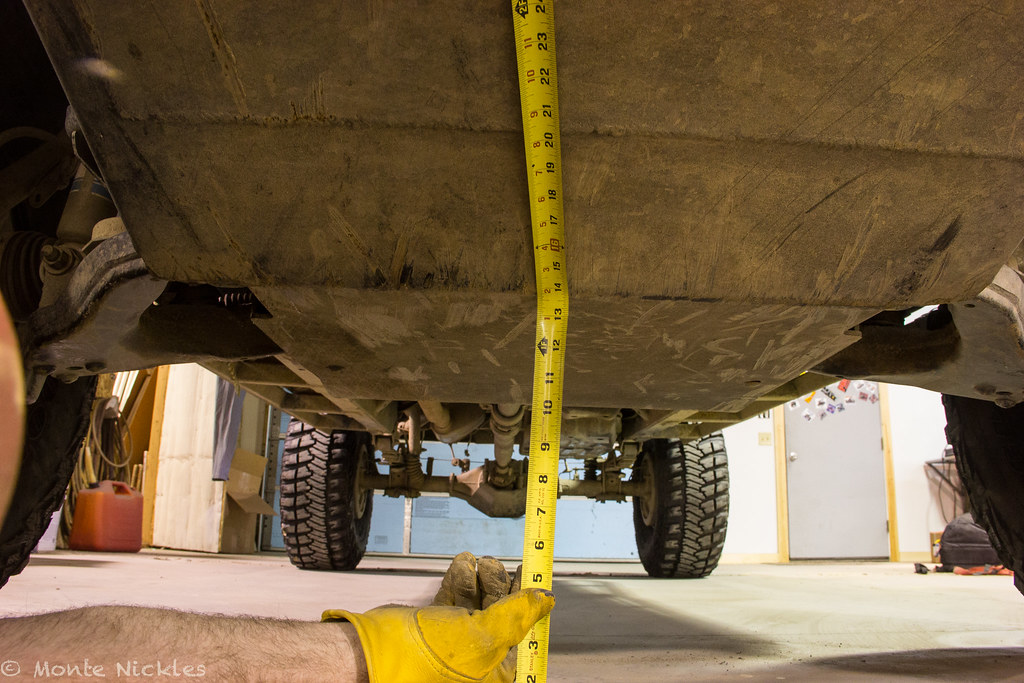
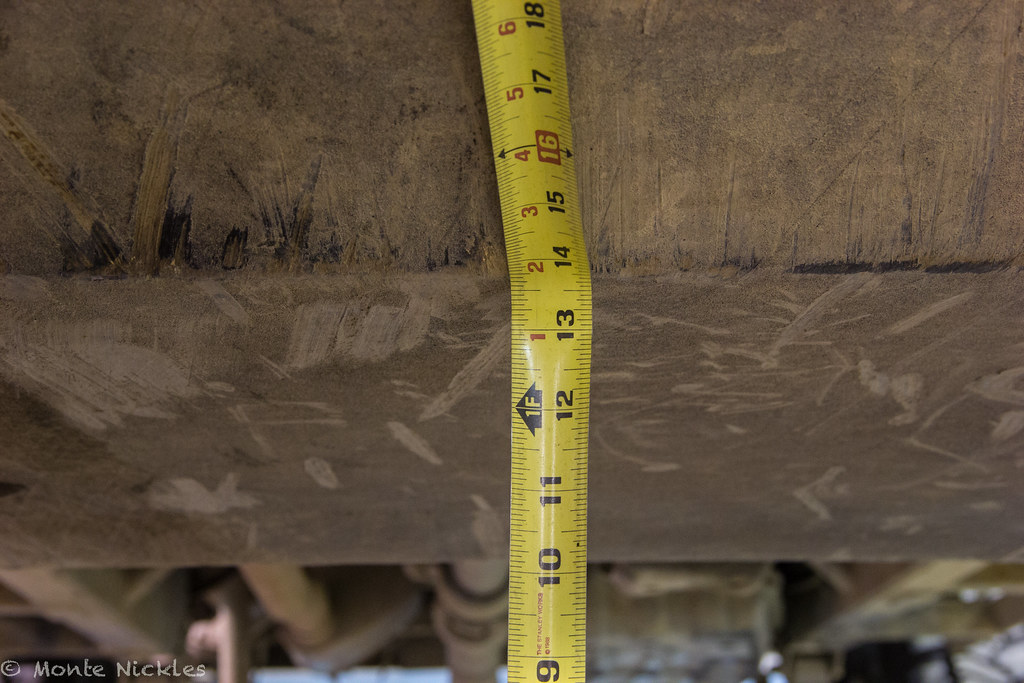
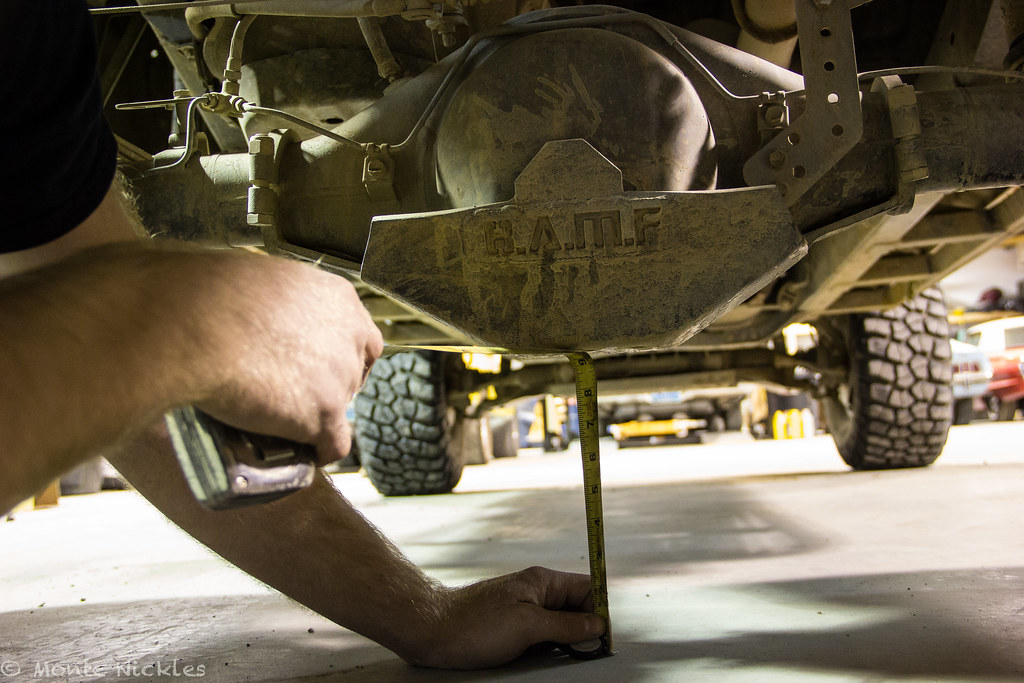
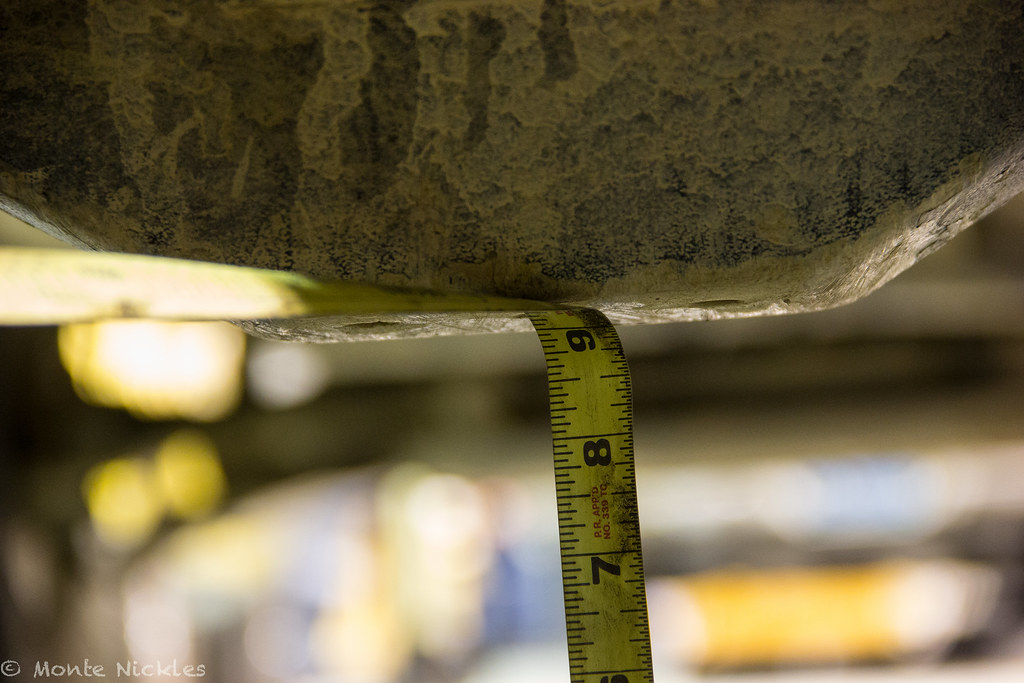
and some clearances!


Front edge of my front skid with my 33s


IMG_7888.jpg
by Monte Nickles Photos, on Flickr

IMG_7892.jpg
by Monte Nickles Photos, on Flickr


with 35s


IMG_8030.jpg
by Monte Nickles Photos, on Flickr

IMG_8031.jpg
by Monte Nickles Photos, on Flickr


rear diff with 33s


IMG_7890.jpg
by Monte Nickles Photos, on Flickr

IMG_7891.jpg
by Monte Nickles Photos, on Flickr


and with 35s


IMG_8032.jpg
by Monte Nickles Photos, on Flickr

IMG_8033.jpg
by Monte Nickles Photos, on Flickr


so there ya go guys! Not as detailed as I would have liked but enough to get yourself in trouble.

This is NOT an easy job. Would NOT recommend to a lot of people. Plus the fact is almost all people don't need a tire bigger then 33'' on these trucks.

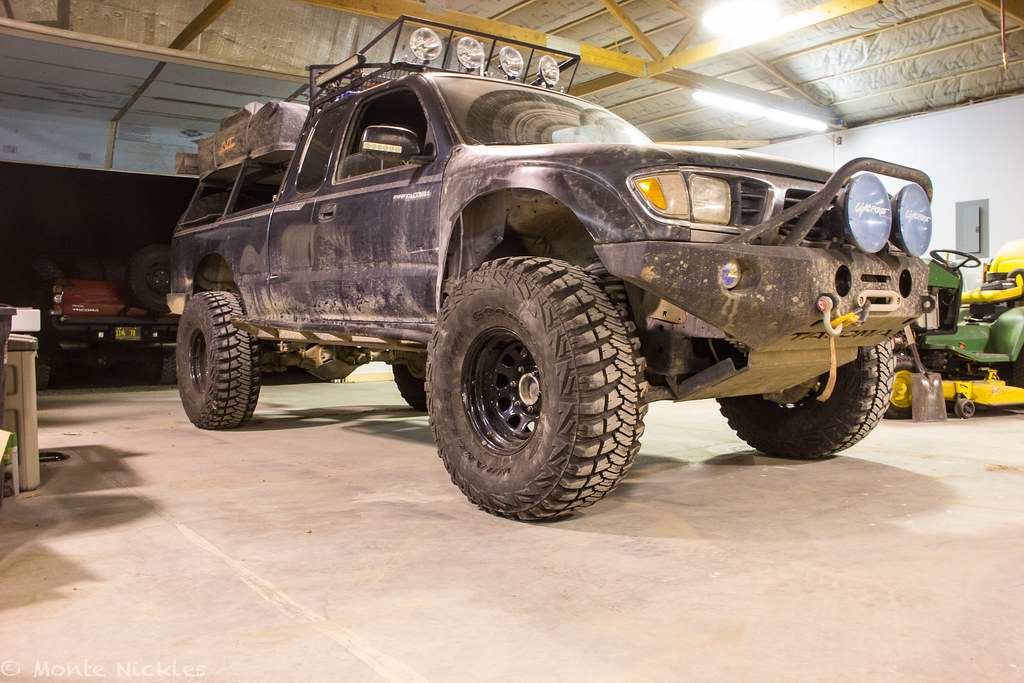
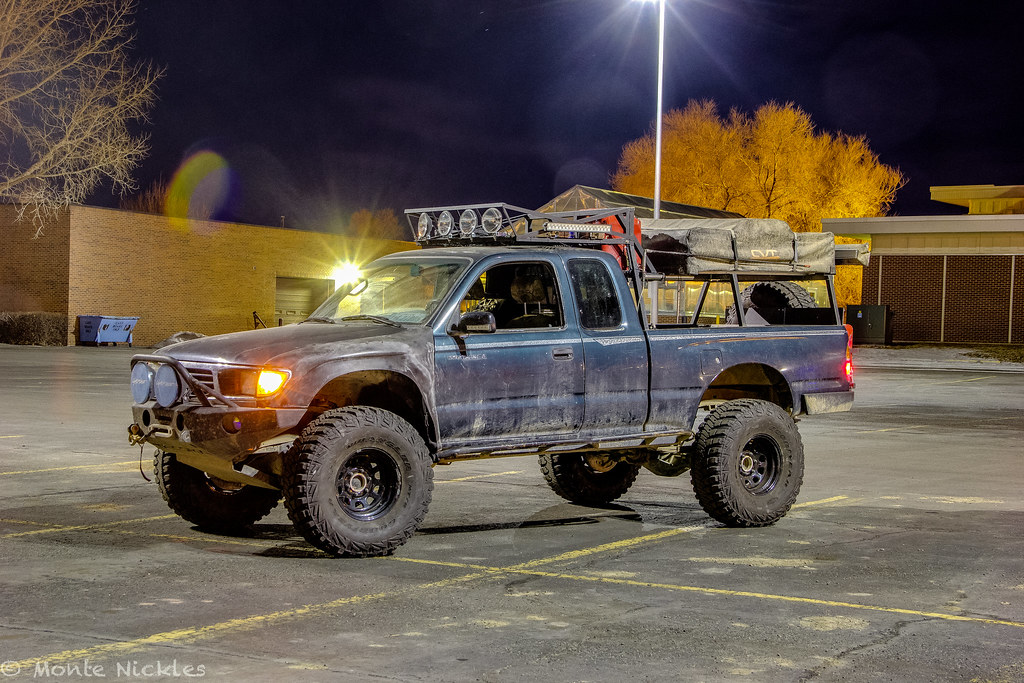
But..does look awesome. I took Frank out and grabbed a few photos before leaving for school.


HDR Frankenstein4.jpg
by Monte Nickles Photos, on Flickr

HDR Frankenstein3.jpg
by Monte Nickles Photos, on Flickr

HDR Frankenstein.jpg
by Monte Nickles Photos, on Flickr

HDR Frankenstein2.jpg
by Monte Nickles Photos, on Flickr
 

Blackdawg

Dr. Frankenstein
Upon my long over due arrival back to Wyoming. I got straight into working on Frank. 35s are awesome...35s with 4.10 gears..not awesome.
Enter some 5.29s

master install kits and solid pinion spacers for both

Gears by Monte Nickles Photos, on Flickr

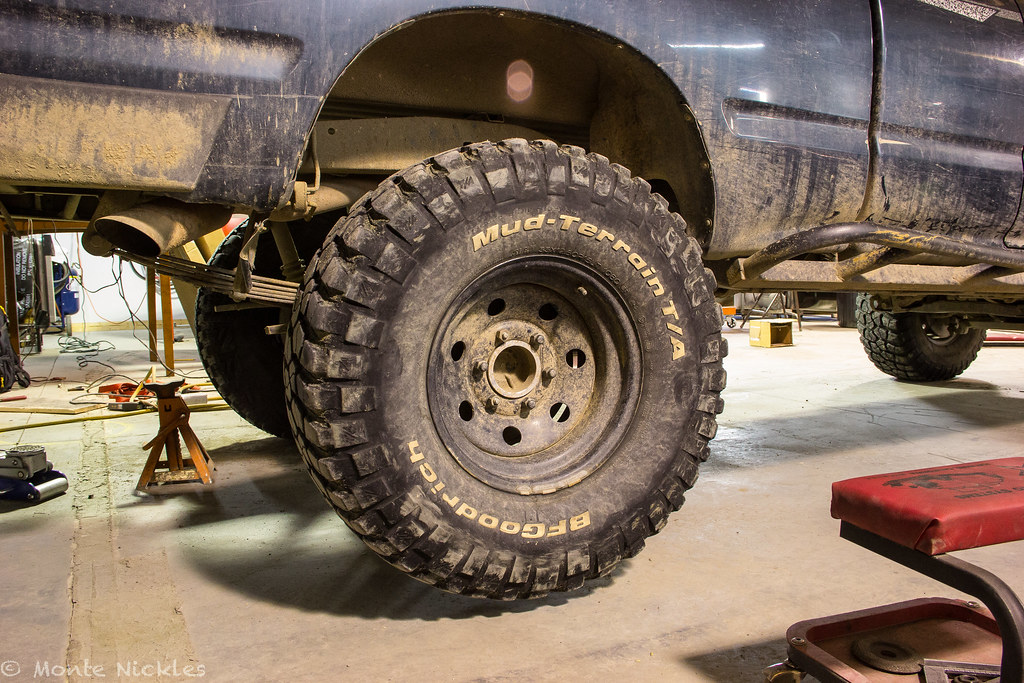
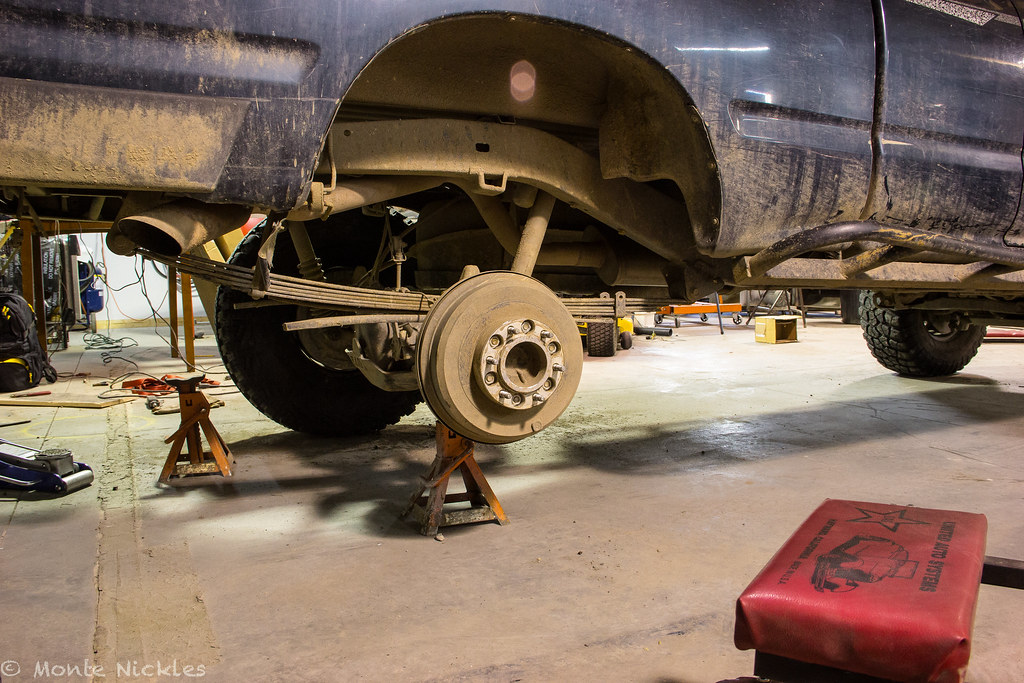
Decided to tackle the rear gear on my own. Would NOT recommend this to anyone ever. Seriously. Unless you know what you're doing and have done it before. Was a major PITA. Took me a month with having to get new tools and more parts.

But before i really tore into that, i took Frank out to the local stomping grounds just to drive him before going under the knife.

Truck porn!! :D :drool:

i <3 Frankenstein! :goingcrazy:

Frankenstein by Monte Nickles Photos, on Flickr
Frankenstein by Monte Nickles Photos, on Flickr Frankenstein by Monte Nickles Photos, on Flickr
Frankenstein by Monte Nickles Photos, on Flickr

We are not amused sir!
Frankenstein.jpg by Monte Nickles Photos, on Flickr

annnnddd...Das FLEX!!!

Frankenstein-2.jpg by Monte Nickles Photos, on Flickr
Frankenstein-3.jpg by Monte Nickles Photos, on Flickr
Frankenstein-4.jpg by Monte Nickles Photos, on Flickr
Frankenstein-5.jpg by Monte Nickles Photos, on Flickr
Frankenstein-6.jpg by Monte Nickles Photos, on Flickr
Frankenstein-7.jpg by Monte Nickles Photos, on Flickr
Frankenstein-8.jpg by Monte Nickles Photos, on Flickr
Frankenstein-9.jpg by Monte Nickles Photos, on Flickr
 

Forum statistics

Threads
185,980
Messages
2,880,471
Members
225,705
Latest member
Smudge12
Top