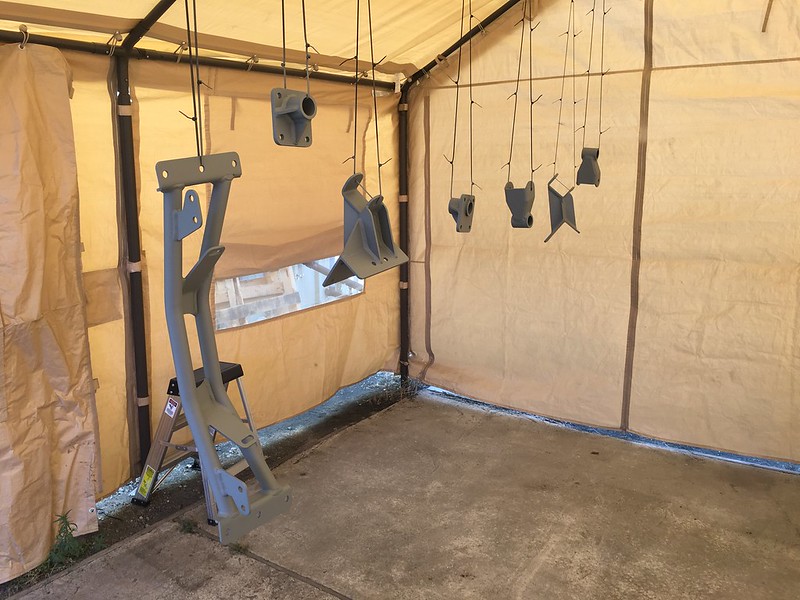
You have a really cool little paint booth set up there. That is handy! Looks like things are progressing quickly. Nice work!
Thanks, yeah it's getting the job done for sure. Once I wrap up these pieces it'll switch to a clean-up booth for the frame and transfer case. Then back to a paint booth for the frame.
")
I got some box fans and HVAC filters to make it all fancy and what not, but I think I'm going to hold off on that. Doesn't seem worth going to that effort for under-body parts.
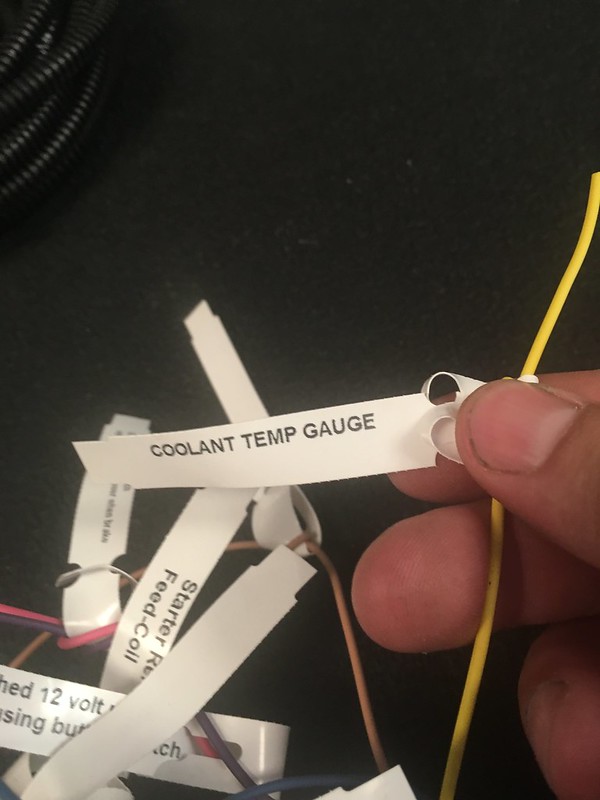
You might be better off calling Troy at Howell and explaining your project changed directions and see if they will trade you out of that harness and ECM.
Yeah, I messaged them last night. If I don't hear from them today I'll give 'em a call and see what can be done. Even if I have to pay another hundred or two for shipping and whatever, it's worth it because actually getting and installing all this smog stuff is going to be $$$$$ and a pain in the ********.
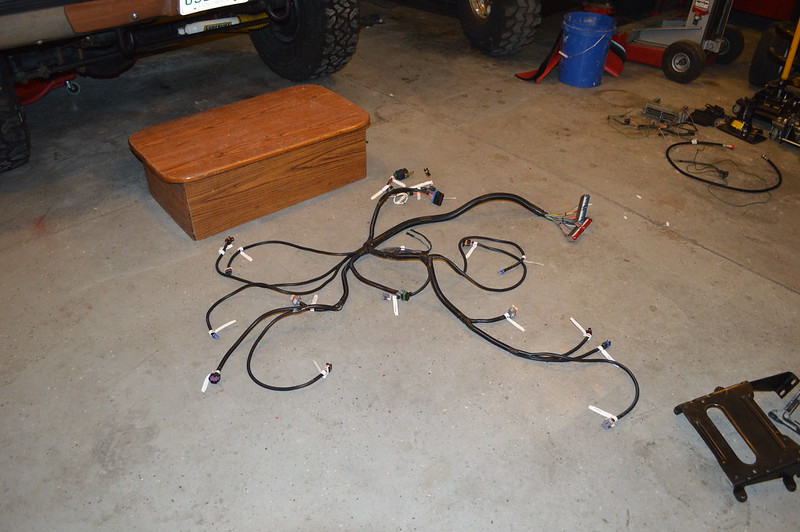
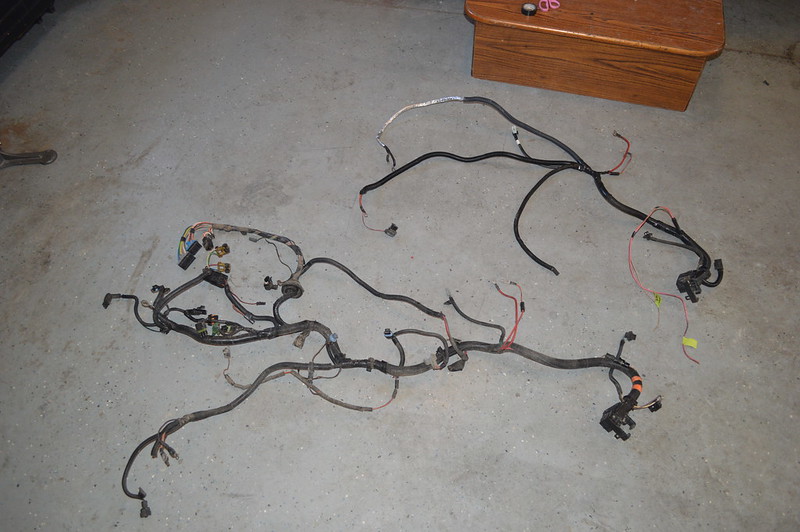
That Bussman fuse box is real nice! I must say the fuse and relay set up on the Howell Harness is less than sterling although I ordered the Suburban’s harness with marine type fuse holders that are weather sealed whereas I didn’t know any better when I did the K10’s 8.1L almost 10 years ago but even their Marine fuse holder is pretty s hitty
The one included with the kit is... yeah, less than stellar. Will have to see if I end up wanting to incorporate it into a single, whole vehicle fuse box or leave it as is in a safe place... Not super excited about doing a full re-wire, but seems like it shouldn't be that hard with such a simple electrical system. Doing that on my '87's TBI would be a much more daunting task.
The K10 was super simple….keep the starter, temp, oil pressure, A/C circuits and just use the 10 gauge wire that used to go to the ignition coil as the power lead to the keyed on ECM circuit. In the case of your 1973 with breaker points, you will need to replace the power wire that goes to the coil with a fresh 10 gauge wire as the breaker point ignition vehicles used resistor wire to the coil. What that means is if you use that wire to power up your ECM it will not receive a full 12 volts. Look up points to HEI in forums to see what I am talking about related to the resistor wire.
Great info, thanks for that! Definitely not included in Howell's generic instruction sheet that came with it.
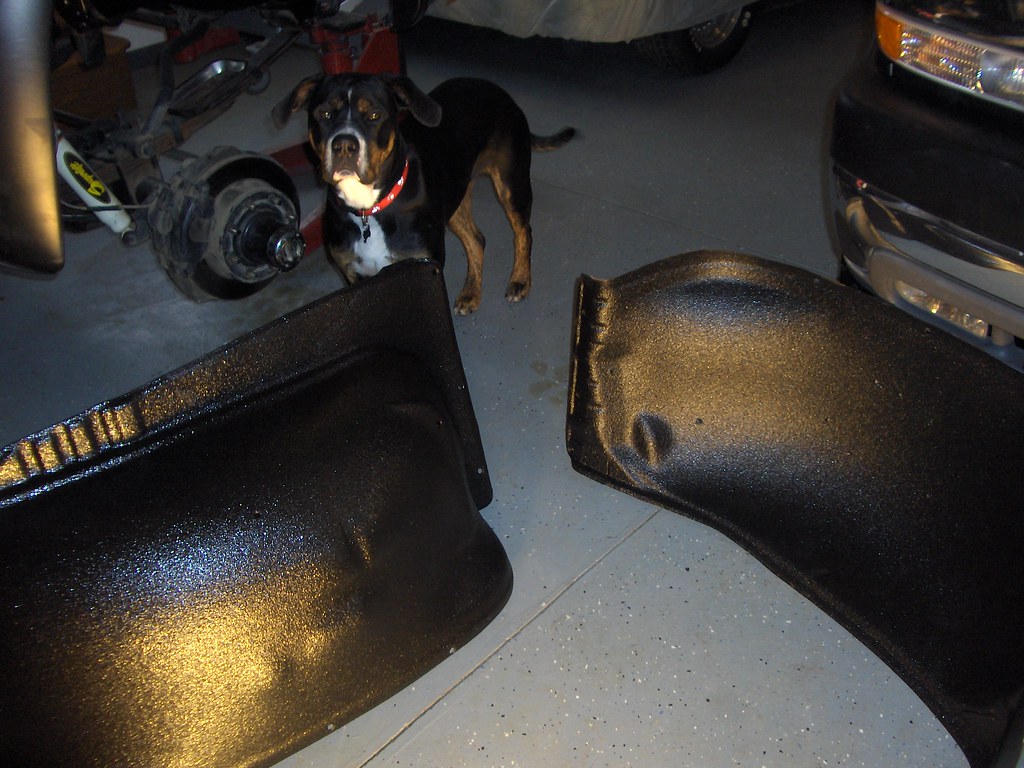
Regarding the inner fenders….ya, they all rust in that spot where the brace is as junk gets stuck back there and rots from the inside out. You might consider spraying a heavy coat of bed liner on the new inner fenders when they arrive to help give them some more structural integrity as the replacement inner fenders are paper thin where you can practically push a dent in them with your fingertips. I had the local Rhino liner shop spray mine before installing which really stiffened them up and also make it easier to clean up after being on the muddy trail. The Rhino shop I used only charged $100 to do both sides as I told him no hurry and to just do them next time he was doing a Rhino job in the both. I really like how they turned out.
That's a great idea... really like how those look, and preventing future damage is definitely the name of the game with this thing. I'll ping a local rhino liner guy and see what he quotes. I see I can get a small Raptor Line kit on Amazon for about $100, so anything over and I'll just go that route.
I was also thinking about doing liner on the under body instead of the tractor paint... help a bit with sound deadening.
I ALSO had previously found Lizard Skin ceramic thermal insulation coating. Not sure if you're familiar with it, but this might be JUST the ticket for under the body. Help with heat and they also make a spray on noise reducer I could use on the inside.
http://www.lizardskin.com/car-ceramic-insulation.html
http://www.lizardskin.com/sound-control-insulation.html
At about $150 for 2 gallons they're on par with bed liner cost-wise but seem to do a fair bit more than just protect.
Lastly, I was looking around on Amazon and stumbled on this rust-converter primer. May start with that, whatever I end up doing under the body, since there's a fair bit of active rust on the backside of the door jams and elsewhere.
https://www.amazon.com/dp/B001CRETZW/ref=psdc_15718511_t1_B014LR5PA2
Speaking of painting, I was thinking the other day about how the heck I was going to spray the under side of the body without having it on a rotisserie. Seeing as turning an HVLP paint cup upside down would result in a bunch of paint on me and the floor and not much under the truck... found this little video doing some searching. Looks pretty good.. will see how it works in practice. I'm still curious about how well the paint will suck out of the cup... I guess this wouldn't be an issue if I went with one of the coating/liners since those use a siphon feed gun.