out with the old in with the new

westyss

Explorer
westyss,

Do you have any updates for the New Year particularly the interior. The build to date is fantastic.

Cheers
David

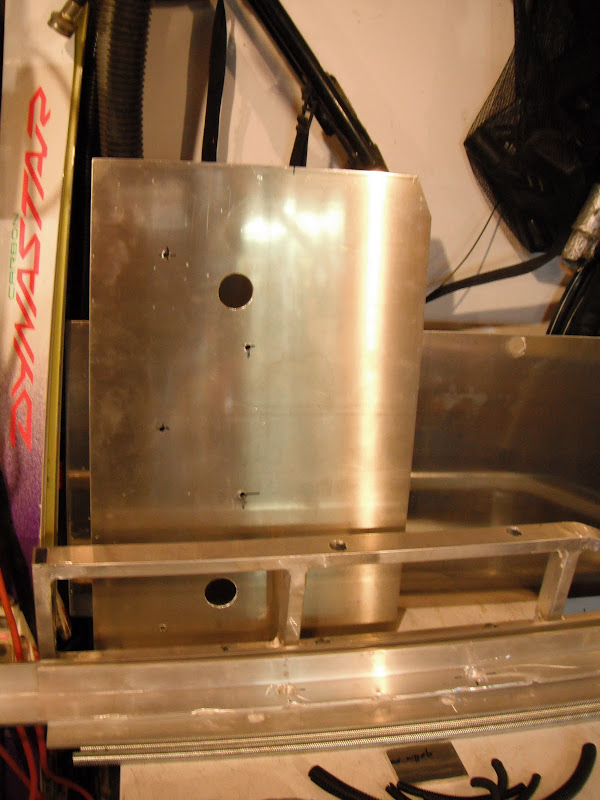
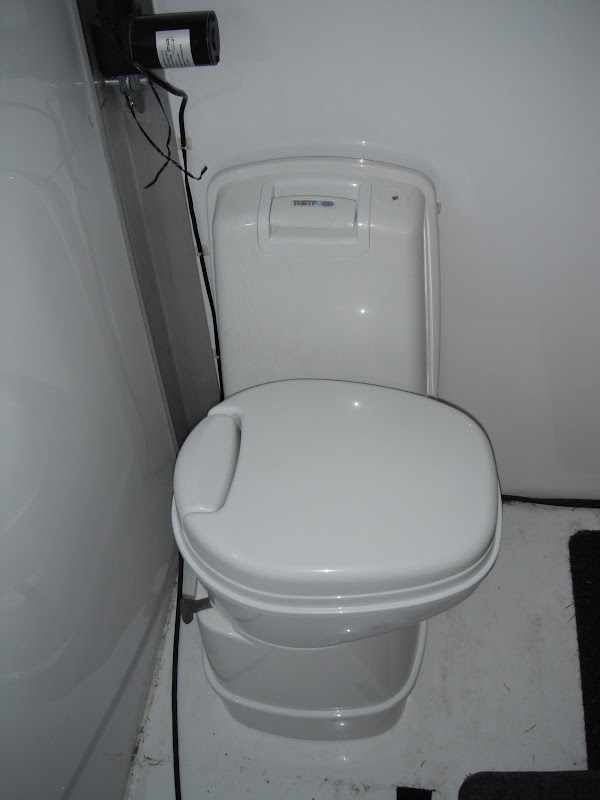
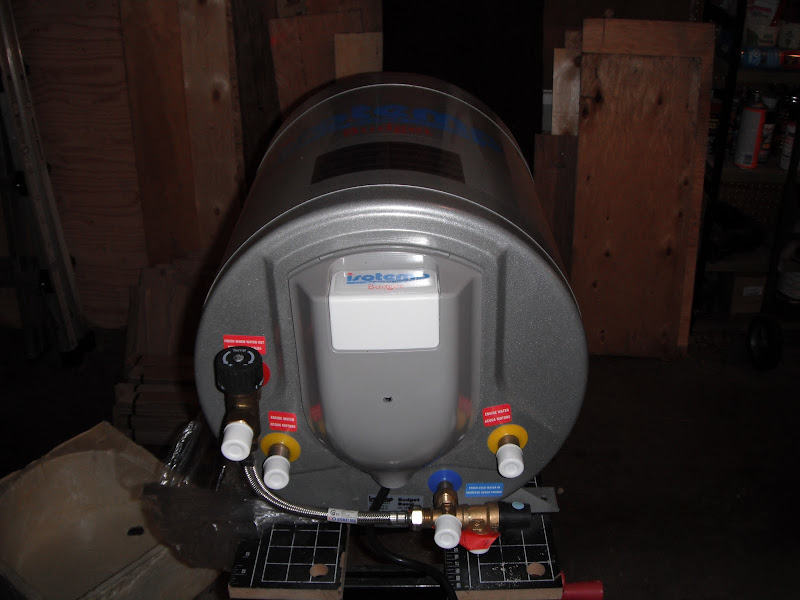
David, not a much has been done since the summer, I have been using it constantly since then, typically for me I get all worked up about getting it done right about this time of year, I do most of my projects at this time, so with that said, I have been amassing stuff to get the interior completed. I have purchased a cassette toilet from Darrin Fink and it looks good, selecting a water tank, have a calorifier coming, measuring exterior storage doors, and trying to locate many other items, like a SMEV cook top, which is turning out to be a bit of a challenge ( anyone have a model# 8123 for sale????). And an Espar diesel water heater, pumps, BBQ's, and material for the cabinets.
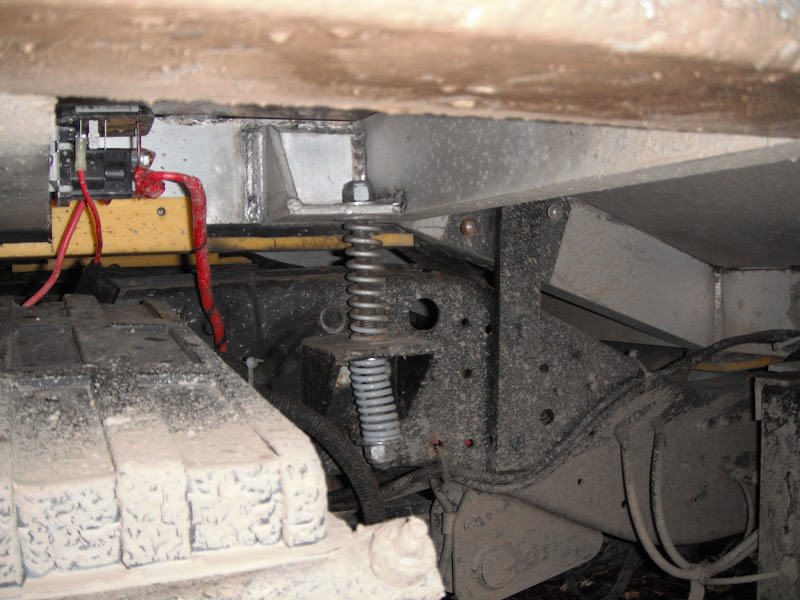
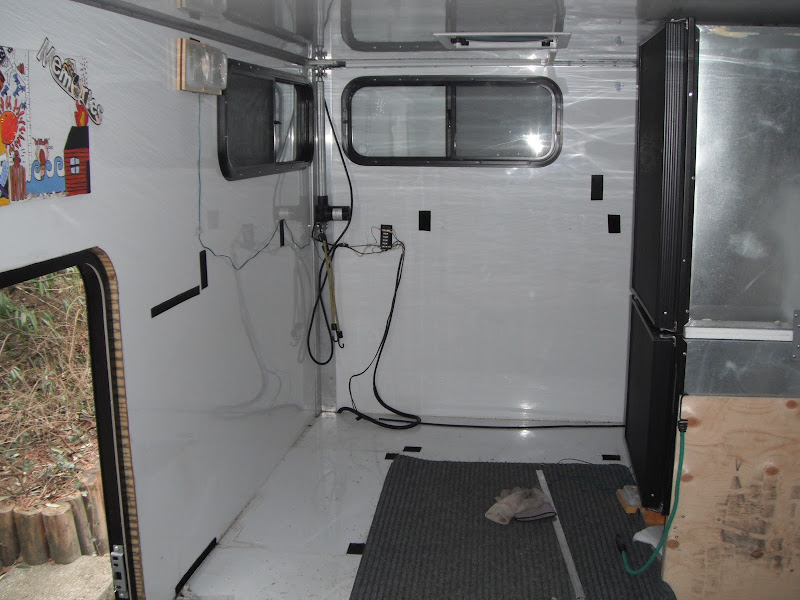
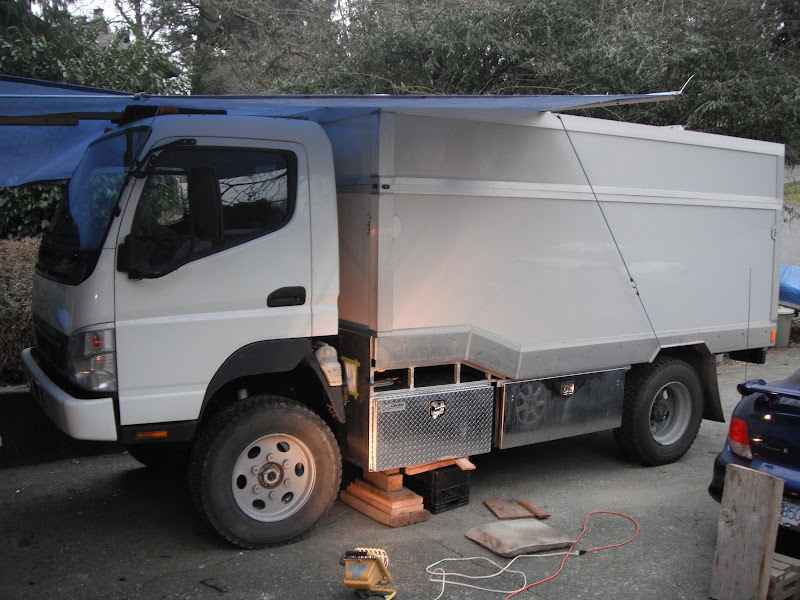
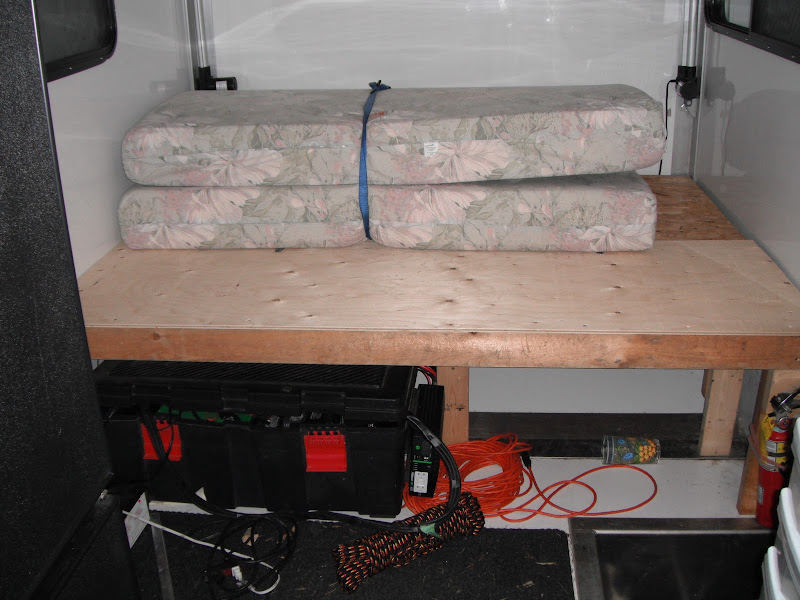
The truck is going to a suspension shop on Wednesday next week for a leaf and shock upgrade that will lift it close to 3". That has been high priority since my x-Canada trip last year. And I have been working on the interior design at the moment, to see where and how it all fits best and will finalize the interior soon, now that I have the toilet I can mock up the space in the truck to see how we fit into it.
I will get some progress pics posted as soon as there is some progress.
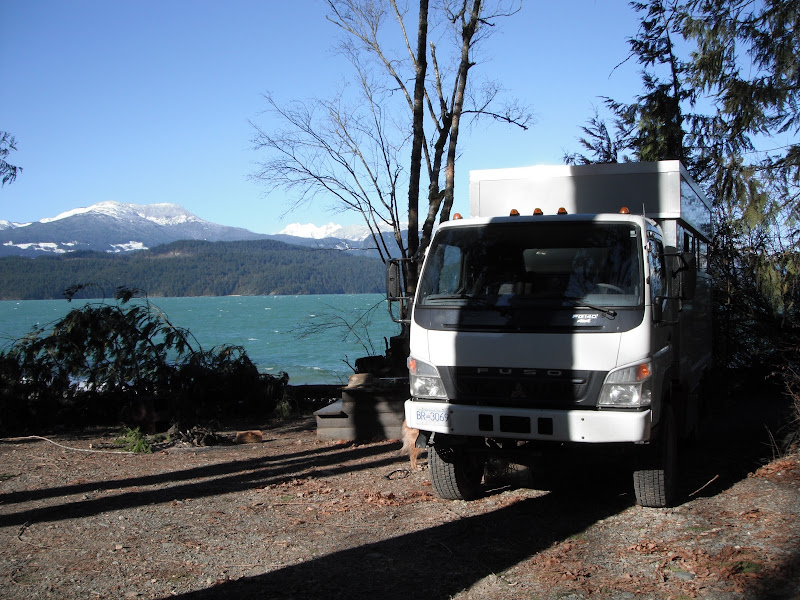
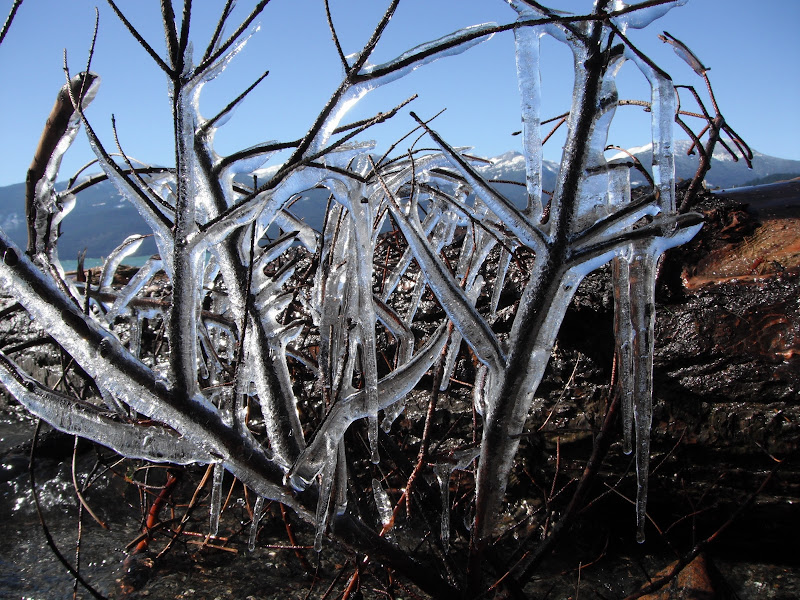
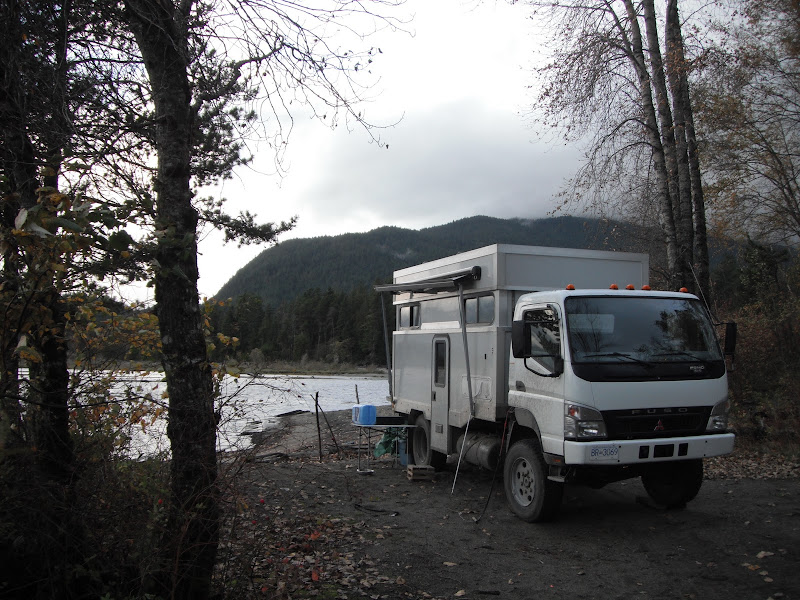
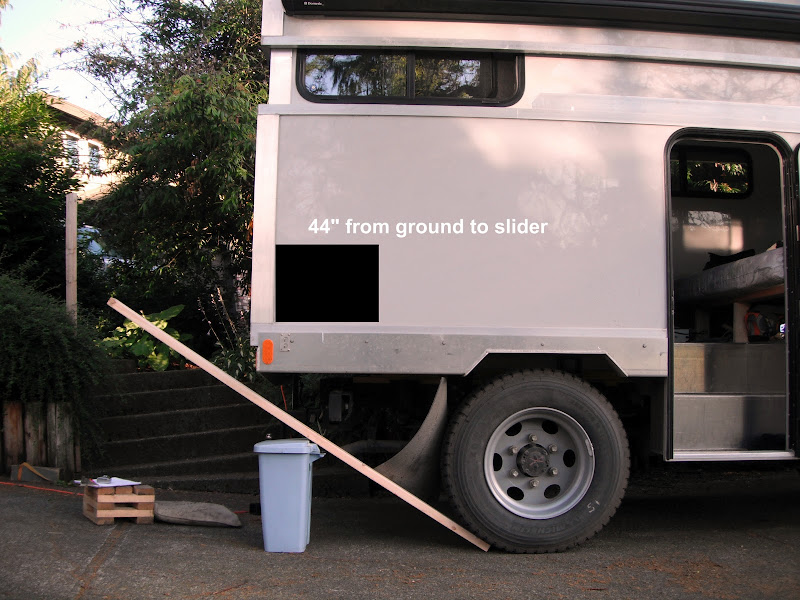
One of our spots last fall.
DSCF1303.JPG


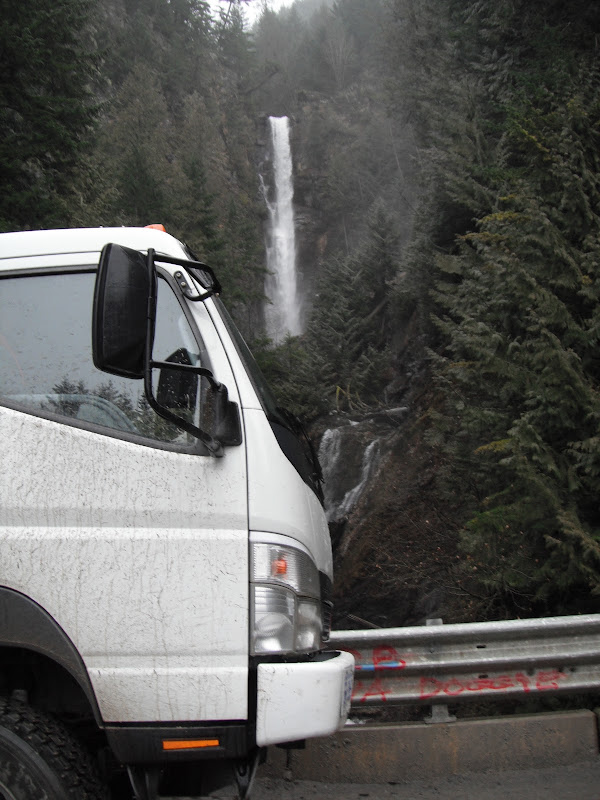
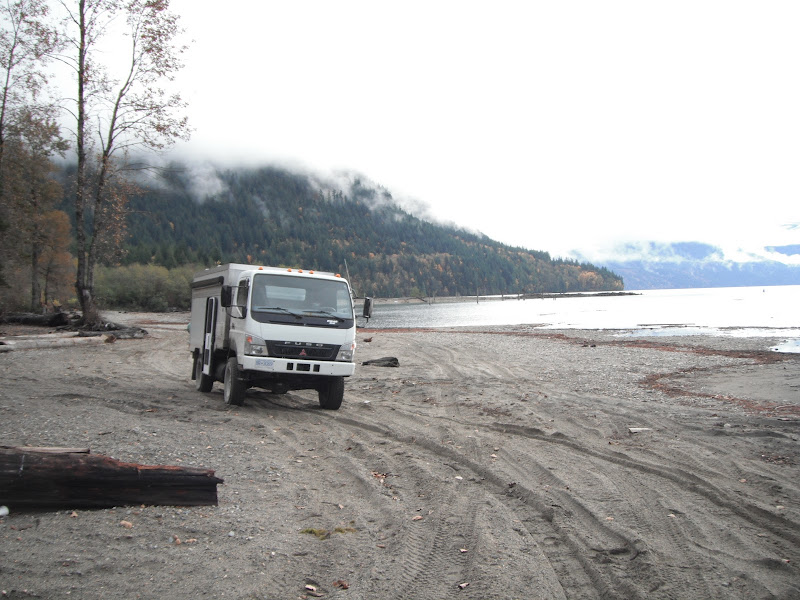
getting to that spot.
DSCF1248.JPG


Nice thing about fall camping is no people!
 

westyss

Explorer
Posted on the FG comfort thread about a suspension mod, and here's a little update on the rig:

First item on the agenda was to re-enforce my carrier rack a bit to make me feel more at ease about its strength, it doesn't show any signs of strain but I welded some more steel onto it any way, which makes my worry scale go down a bit. With the new suspension I feel this was unnecessary now but it's on and I wont feel bad about sticking more onto that rack.

DSCF1323.JPG


The rack is easy to remove when I am traveling on the BC ferries, and this keeps my length under 20 feet, so no over length fees, and they have recently removed over height fees so I travel as a standard car.

IMG_0286.JPG


I have been acquiring items needed to complete the interior slowly, as that seems to be the only way it happens, I am still trying to find a way of getting a SMEV cook top and sink with lids, but am failing miserably as most come up only for sale to a manufacturer. The rest is trickling in,

this thetford cassette toilet came from Darrin at RUF

misc%202010%20071.JPG


And with some ply wood set in a couple of locations to try the toilet/shower space out, to see the best width, length, location and usability of the space will suit us.

misc%202010%20062.JPG


Having the large components on hand makes for real life try outs to see how it will all fit.

This little sink I picked up in Mexico will find a home in the the rig, I have something planned for this.

misc%202010%20065.JPG
 

westyss

Explorer
misc%202010%20066.JPG


Some other bits and pieces,, telescoping table leg, the main berth will convert to a U shaped dinette, the fridge will remain in the same location that its been in for the last 8 months and will have a tall cabinet next to it.


This calorifier will reside in the kitchen cabinets and will be fed by the engine coolant and a D5 espar diesel fired coolant heater (arriving soon)

misc%202010%20068.JPG


I am removing all the temporary stuff I put in for last years travels, the bed,
misc%202010%20072.JPG


the cheapo kitchen. Note the velcro on the walls, this is what held the cabinets in place, took a bit to get those cabinets off.
misc%202010%20063.JPG


and starting with a clean slate.
 

westyss

Explorer
I have reserved a spot on my camper for an exterior pull kitchen, it will be really only a BBQ and small cook top. It is 44" from the ground to the bottom of the door, or to the slider, (in the pic I have a black splotch where the pull out will be) my problem is that it is too high, I am looking at ways geometrically to have the BBQ etc, flip down, or swing down, whatever but am having a hard time wrapping my head around it. My original plan was to have it sit upright when up, then flip down to a lower working hieght, but I just can figure it out. Has any one seen something pull out , then swing down lower? or have any ideas???? I need it to swing down at least 6"-8"


DSCF0383-1.JPG
 

sarconcepts

Adventurer
this one's easy.. ..
the question I have is do you want the drop down kitchen to flip down straight out as the 'drawer' pulls out, or at a 90` angle? like along the side of the camper? (so you pull the 'drawer' out, the flip it over to the right to use the camper wall as a back of the 'kitchen'
in both versions, the stove will be mounted to the countertop, & flip upside down, so is that cool? with gas lines & such
if not, the counter flips over & you set the stove on top
& if you're set on sitting upright, I've got that figured out too
if it's the side version, how wide can the opening be?
might as well tell me the height too
let me know, I can do a drawing showing this simply

p.s. the 'straight out' option would require less width of opening

velcro.. ..hmmmm.... ..brilliant
 
Last edited:

westyss

Explorer
this one's easy.. ..
the question I have is do you want the drop down kitchen to flip down straight out as the 'drawer' pulls out, or at a 90` angle? like along the side of the camper? (so you pull the 'drawer' out, the flip it over to the right to use the camper wall as a back of the 'kitchen'
in both versions, the stove will be mounted to the countertop, & flip upside down, so is that cool? with gas lines & such
if not, the counter flips over & you set the stove on top
& if you're set on sitting upright, I've got that figured out too
if it's the side version, how wide can the opening be?
might as well tell me the height too
let me know, I can do a drawing showing this simply

p.s. the 'straight out' option would require less width of opening

velcro.. ..hmmmm.... ..brilliant


I have a space 42" deep, and 18"x18" size opening the full depth, the picture shows the approximate spot in black, I would like the unit to pull straight out to form an ell with the truck... L ... the BBQ and cooktop can go upside down, or on edge, it doesnt matter, needs to drop 6"-8", I thought I figured it out for a couple of minutes today , but no, I saw some problems with that idea.:confused::confused:
 

westyss

Explorer
Knew I'd seen something around like what you describe - http://forum.ih8mud.com/expedition-builds/305060-drop-down-fridge-slide.html The 'drop down fridge slide'. I figure you could easily convert this to a 'drop down bbq slide'! Another link here - http://www.platinum4x4.com/

Fantastic camper Yves. Have a couple of questions for you, but will leave it for another day.

Bill.

Thanks for that link, I ended up reading the whole thing, neat to see it go from a thread on his slide to a business, took me a while to visualize how it worked and then I saw the video, but I dont think that would work in my application, I need to be able to use the appliances along the sides where the sliders are.
 

westyss

Explorer
Its been a while since any real visual progress has been made, but I have been busy, along with some winter trips, where we had to try out the new suspension on the truck, much nicer now, but to start things off a couple of a "rig in use" shots.

this one at Harrison lake in January, -16 celsius or 3' farenheit.

harrison%20winter%202011%20battery%20box%20094.jpg


And it was cold.
harrison%20winter%202011%20battery%20box%20120.jpg


On the way out I drove onto a stump to see what the suspension would do, this shows the cab to camper movement.
harrison%20winter%202011%20battery%20box%20068.jpg


This is the front mount, vertical movement in this shot was around 1.5" off the frame, looks like the lower spring could be eased off a bit to accomadate a little more movement, that wired up thing is the battery isolator.
harrison%20winter%202011%20battery%20box%20071.jpg


This one's of the most rearward mount, the one used to keep the works from moving backwards or forward, this one I found interesting with the amount of vertical movement that it's using up, looked to be around three quarters of an inch, and just shows how using a mounting system on these FG's is a complex and necessary need, I was happy with how things looked and saw a definate difference in the amount of frame flex with the new suspension.Also the ride was a huge improvement.
harrison%20winter%202011%20battery%20box%20076.jpg


harrison%20winter%202011%20battery%20box%20078.jpg
 

westyss

Explorer
So after some winter trips I grudgingly removed most items inside except the fridge so that I could start work on the finishing of the interior, as you can maybe see velcro was used for the temporary cabinet install, so removing the bits is pretty easy.
harrison%20winter%202011%20battery%20box%20185.jpg


Found lots of sand and some spillt wine when I removed the bed,, Hmm how did that happen?
harrison%20winter%202011%20battery%20box%20186.jpg


The next big project was to do some thing with the batteries, this I struggled with in alot of ways, one being the location of them, building these rigs, you need to make soooo! many compromises and this I would say would be one of them, I decided to install another under body tool box in front of the existing one, really just to keep them out of the elements, not ideal but its going to happen, the task was to take this box-
harrison%20winter%202011%20battery%20box%20081.jpg


and mount it, but to have an exoskeleton around the box for strength and support. Mount it to the deck, where originally I had planned to secure it to the truck frame, And that is what I did, and it took me a while to complete.
This is where its going, old battery set up above, new battery home below.
harrison%20winter%202011%20battery%20box%20088.jpg
 

westyss

Explorer
So after humin and hawin for a long time I finally committed to doing it, I removed the original batteries and the mount ,, poor picture

harrison%20winter%202011%20battery%20box%20202.jpg


and started the install, I counted seven test fits prior to the final one, this is the third test fit,
harrison%20winter%202011%20battery%20box%20193.jpg


and used alot of bits and pieces, brackets, sheets, backing plates, beefed up some parts and did lots of second guessing, but pushed on, here are a few of the pieces that will go around, above , under, and in the box.
harrison%20winter%202011%20battery%20box%20210.jpg
 

hdemetrious

Adventurer
Are those under body tool boxes mounted to the truck frame or the camper body? I mounted mine with L shaped brackets to the truck frame and the top of the boxes are screwed to the camper body. There is no gap between the boxes and the camper. I question whether mine is a proper mount since the camper body rides on rubber allowing movement. I would appreciate your knowledge on the matter.
 
Last edited:

LowTech

Dirt Track Traveler
I would NOT mount them to the camper box, and I would give some space in between.
I've watched our rigs flex all over the place.
When we built the cab-over rack for Elise's M109, it's attached to the box and NOT the cab, we weren't sure if 3" between the roof of the cab and the bottom of the rack was going to be enough for the movement we were expecting. So far it's not touched (at last look) and we've flexed it a lot on this trip. It has come very close.
 

Forum statistics

Threads
186,067
Messages
2,881,642
Members
225,825
Latest member
JCCB1998
Top