Hodakaguy
Adventurer
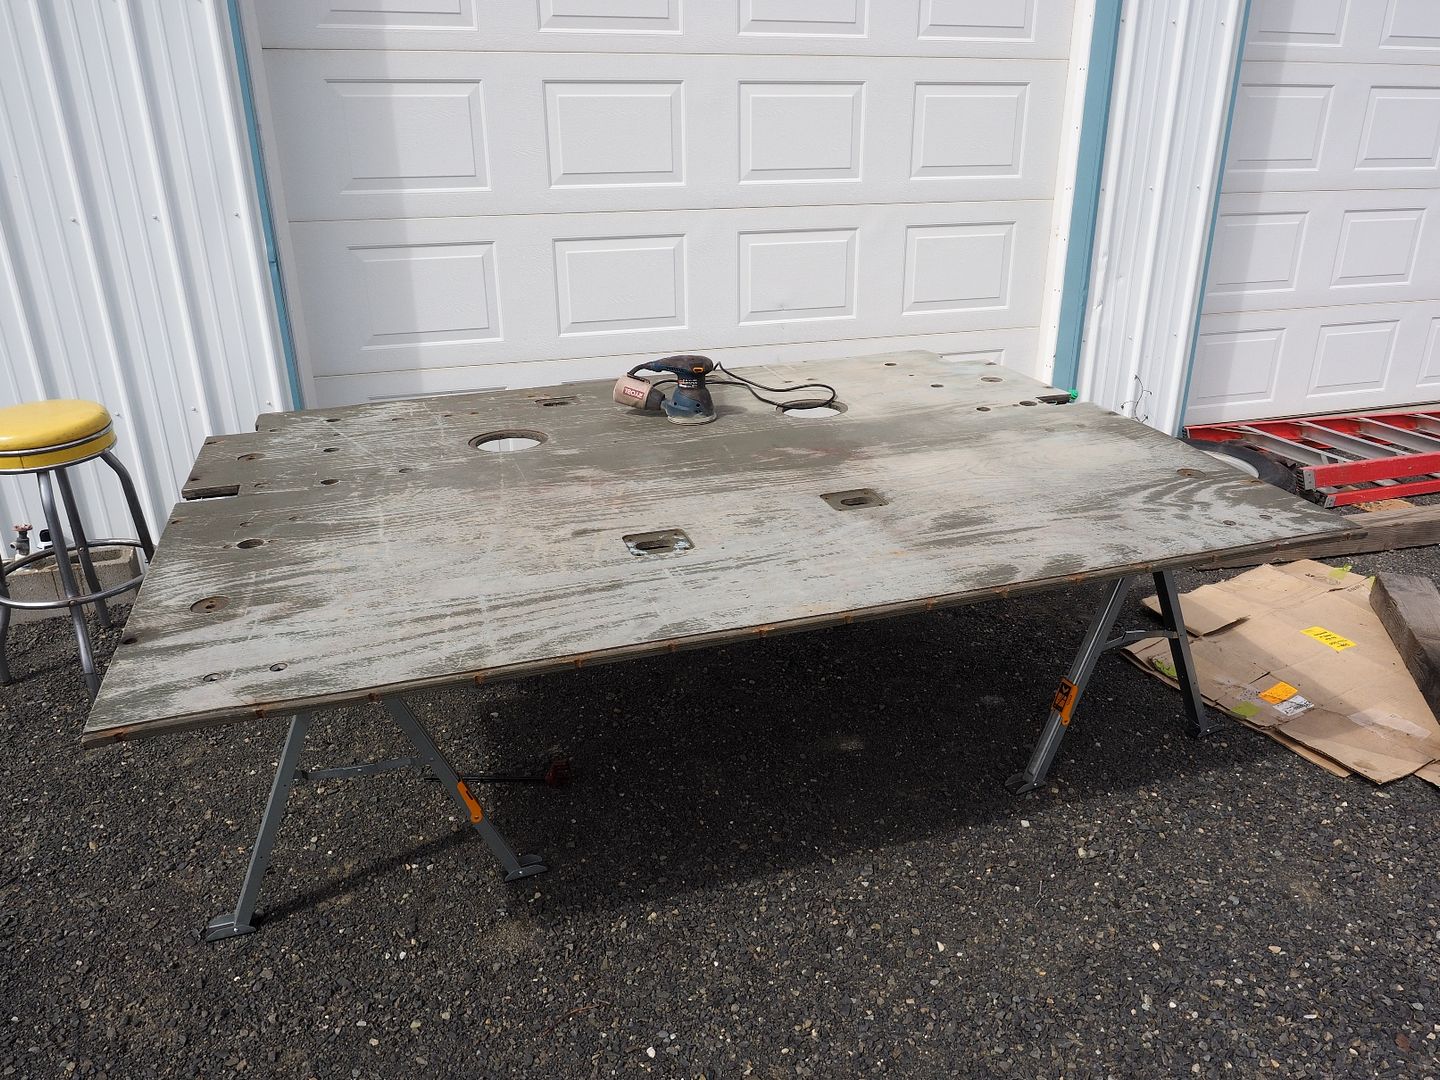
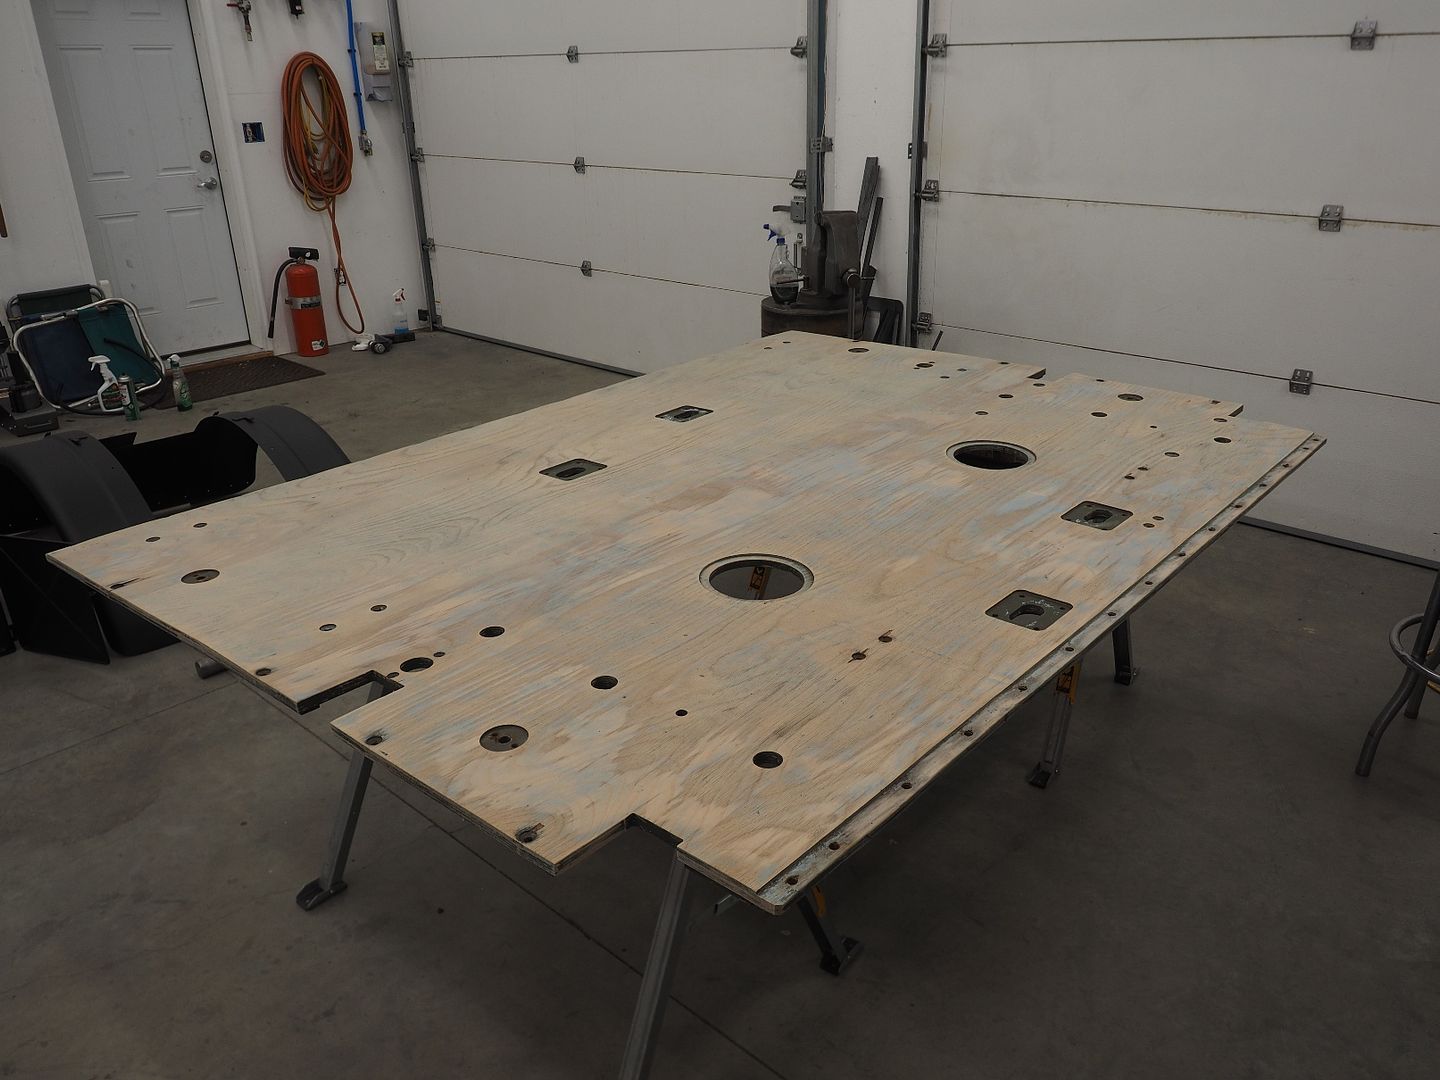
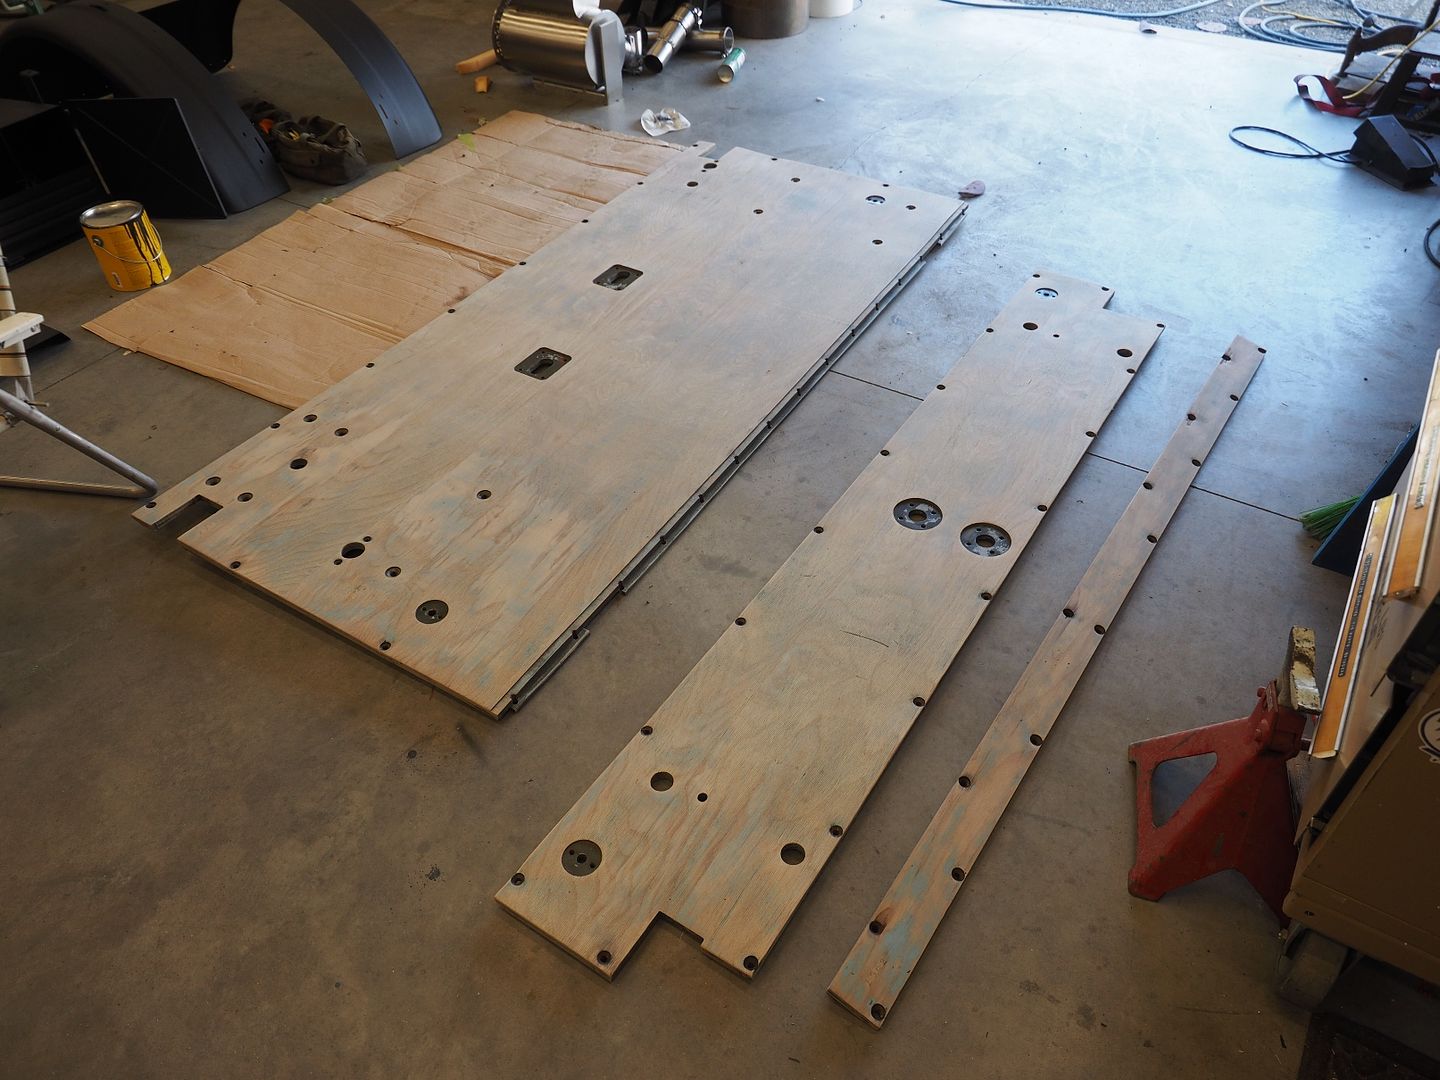
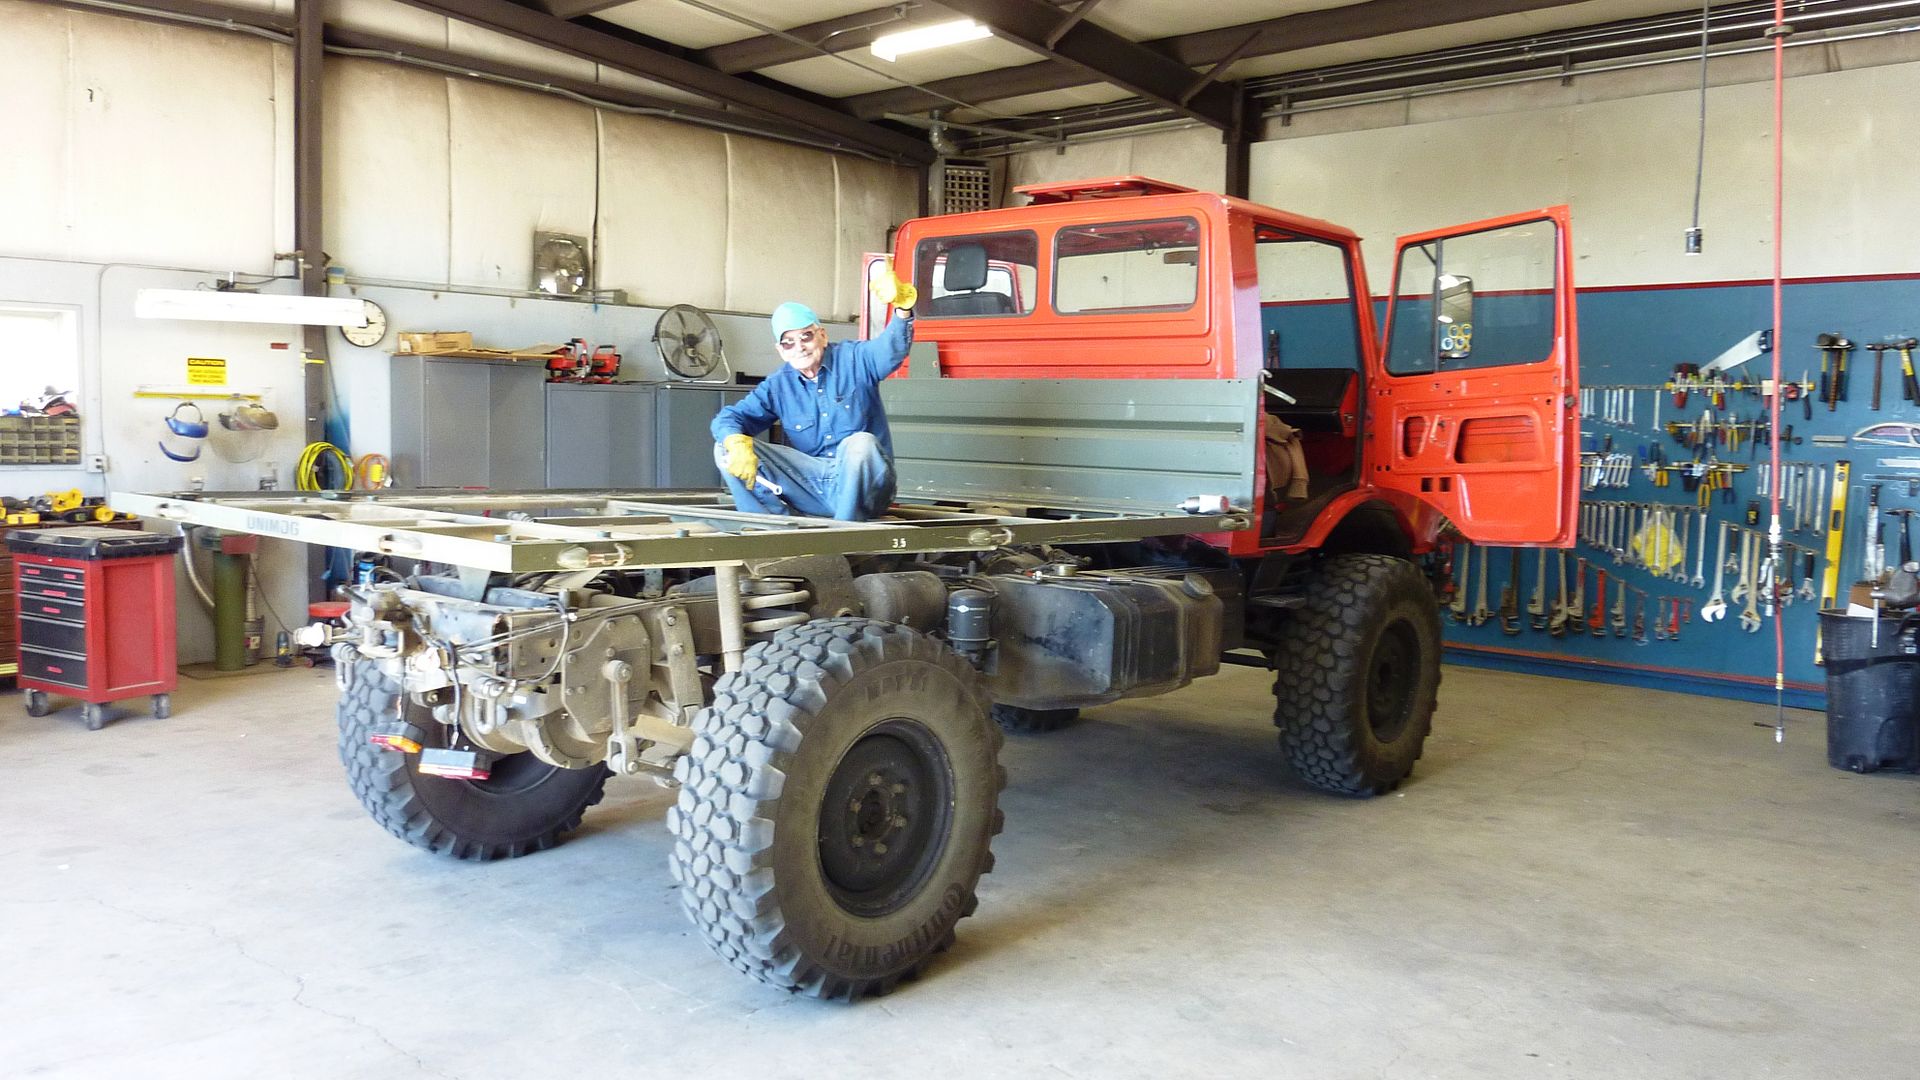
Time to get the bed removed from the truck in preparation for paint.
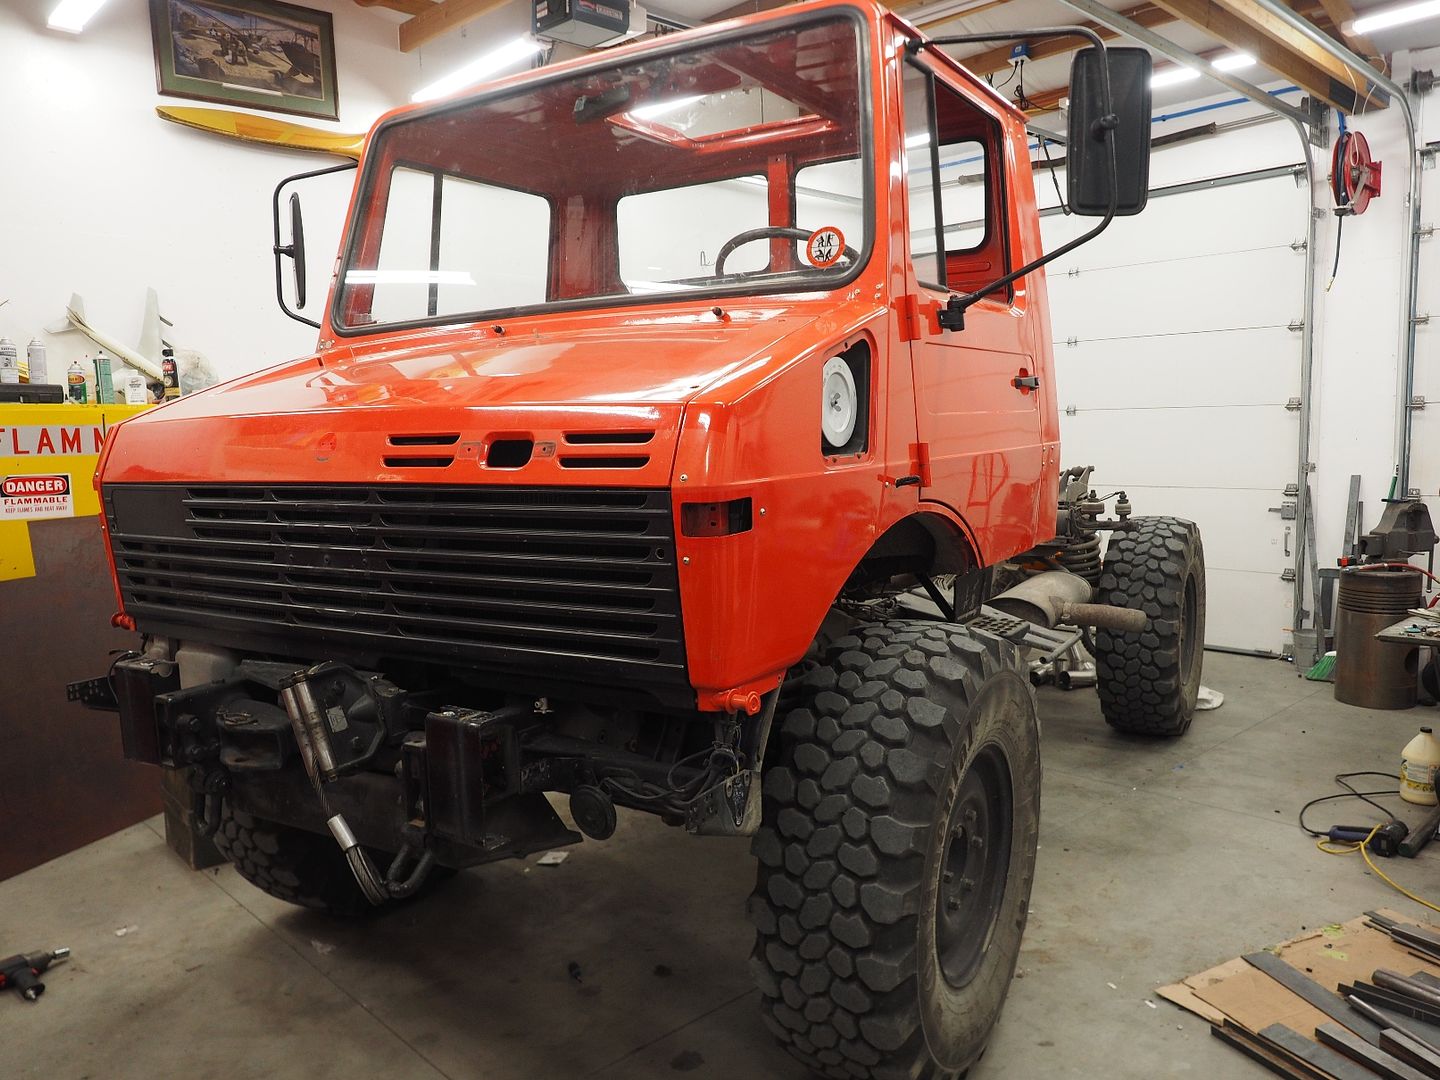
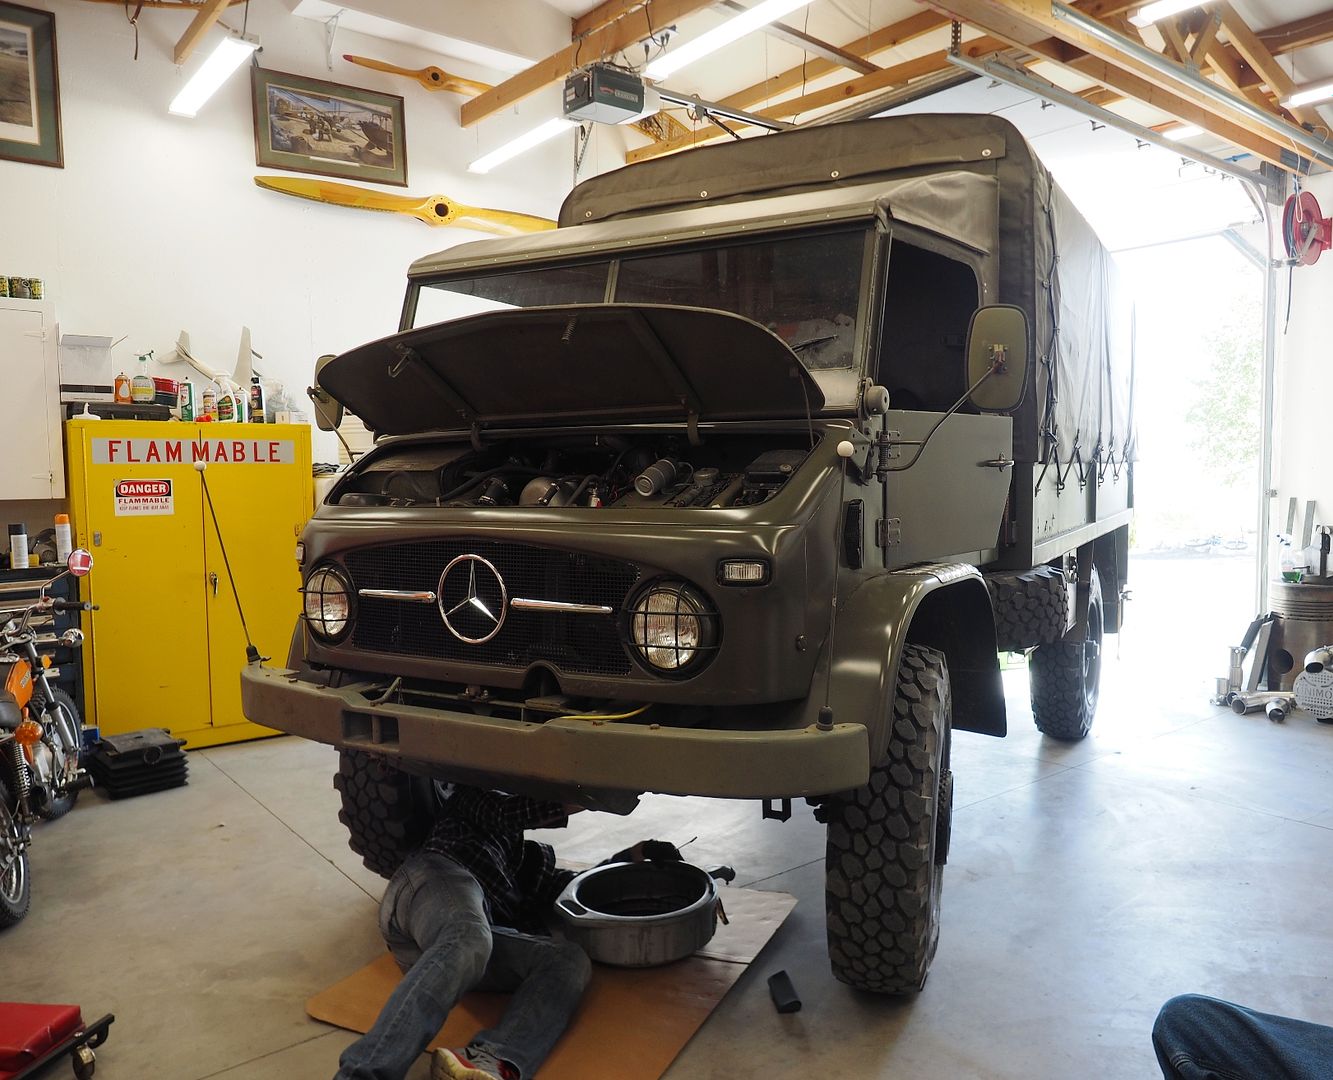
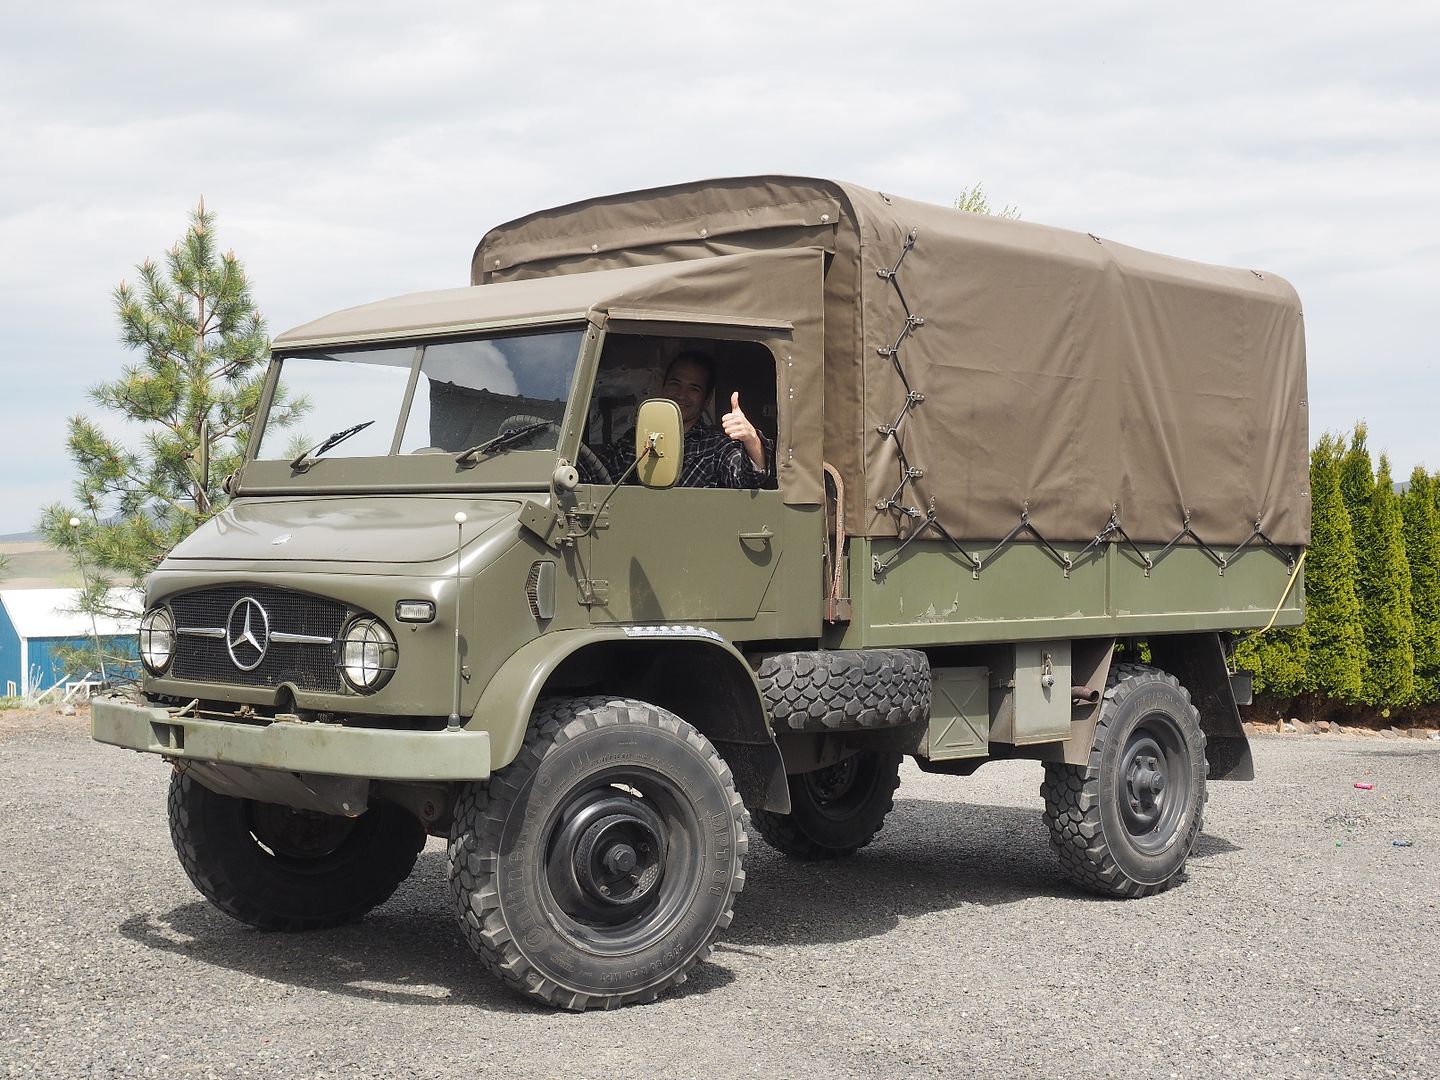
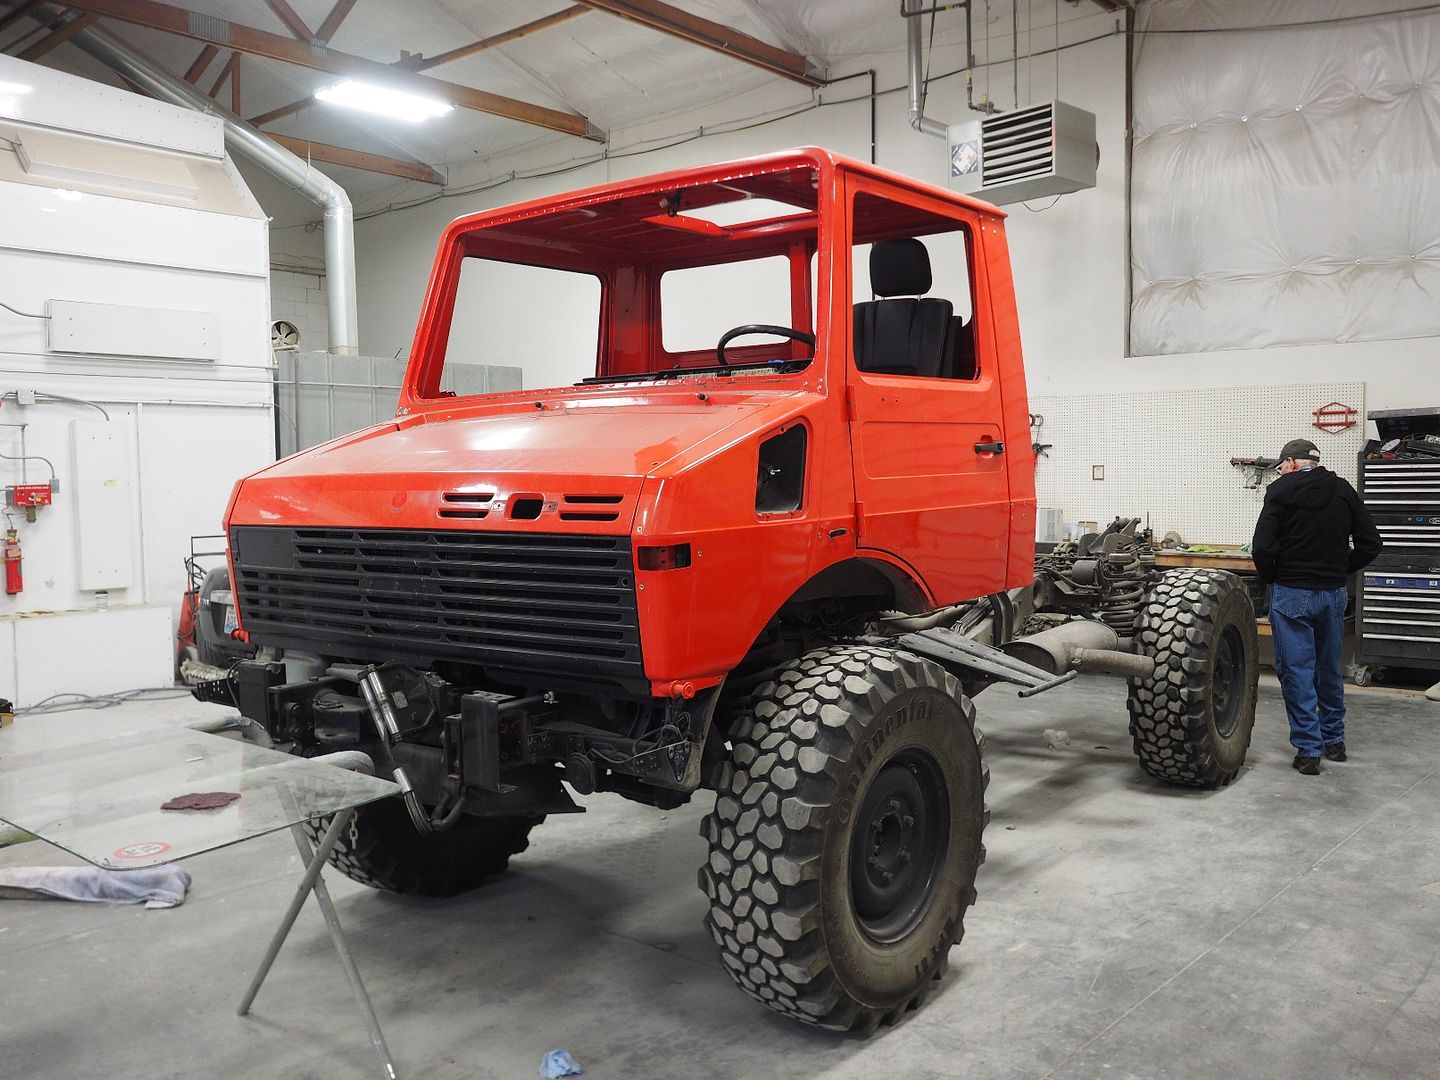
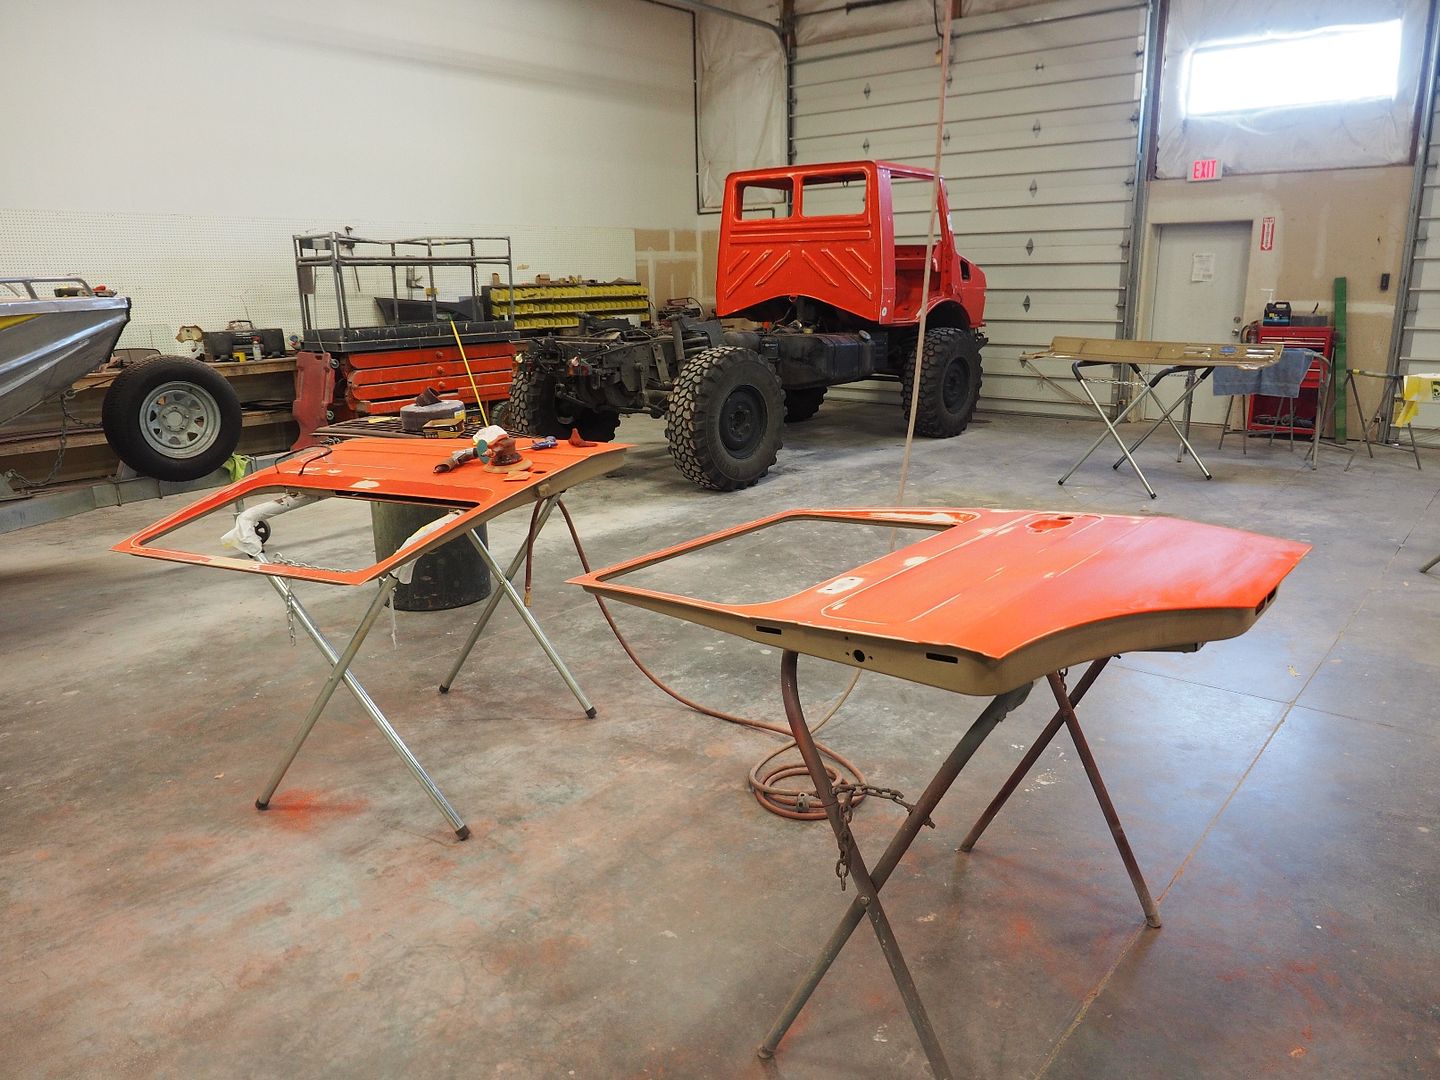
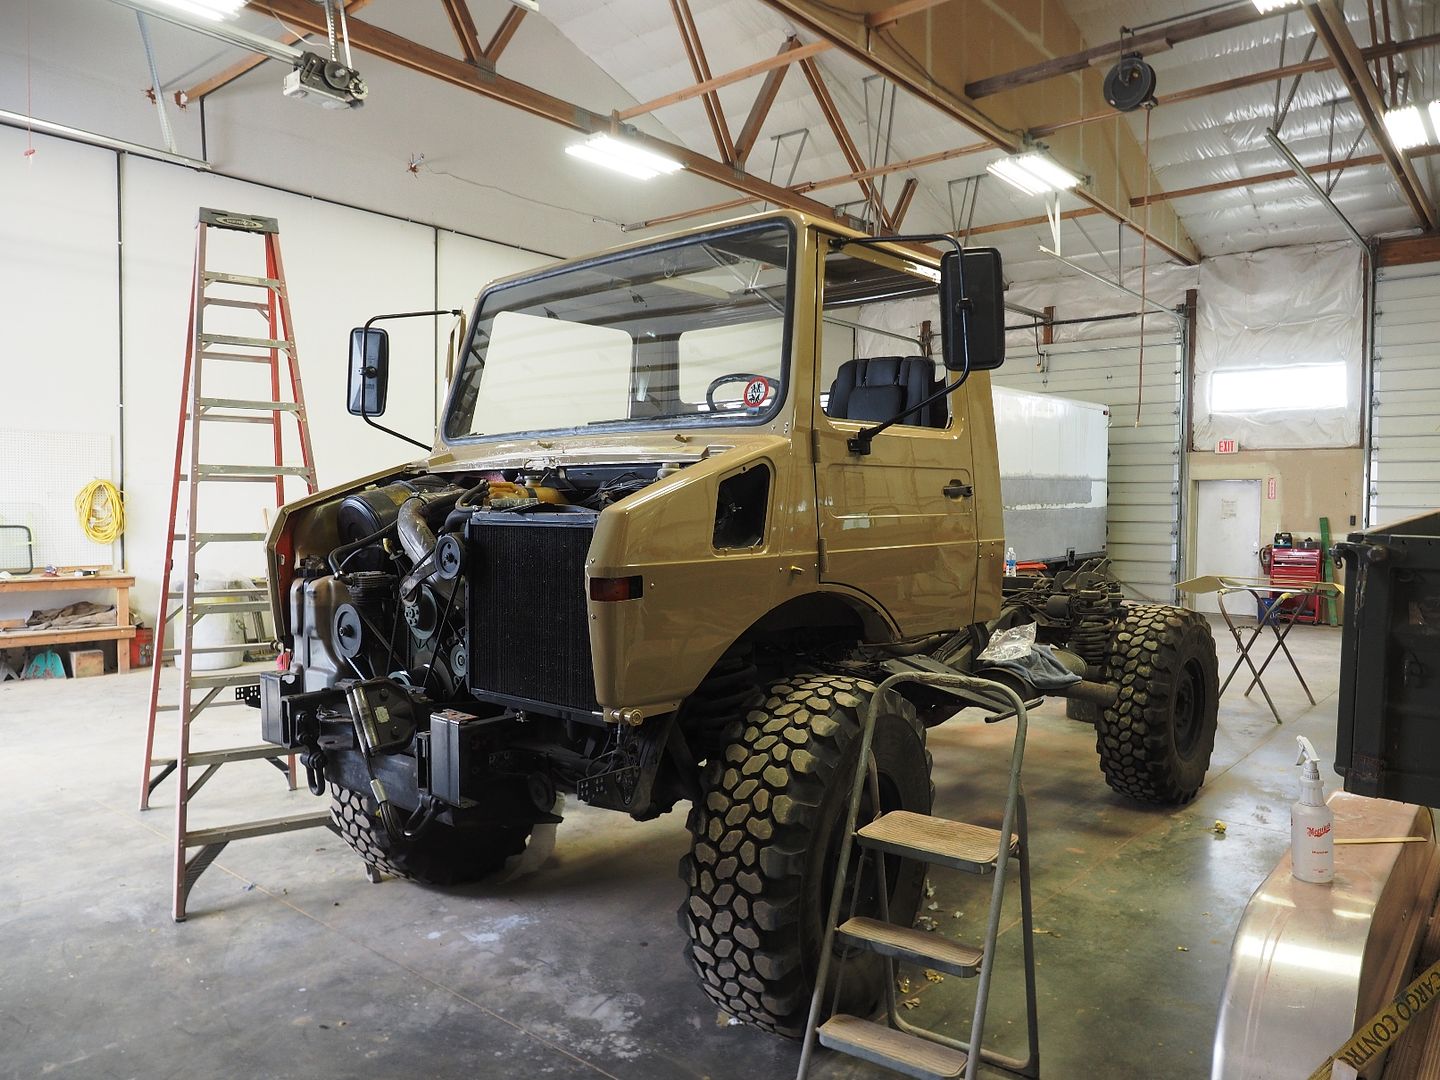
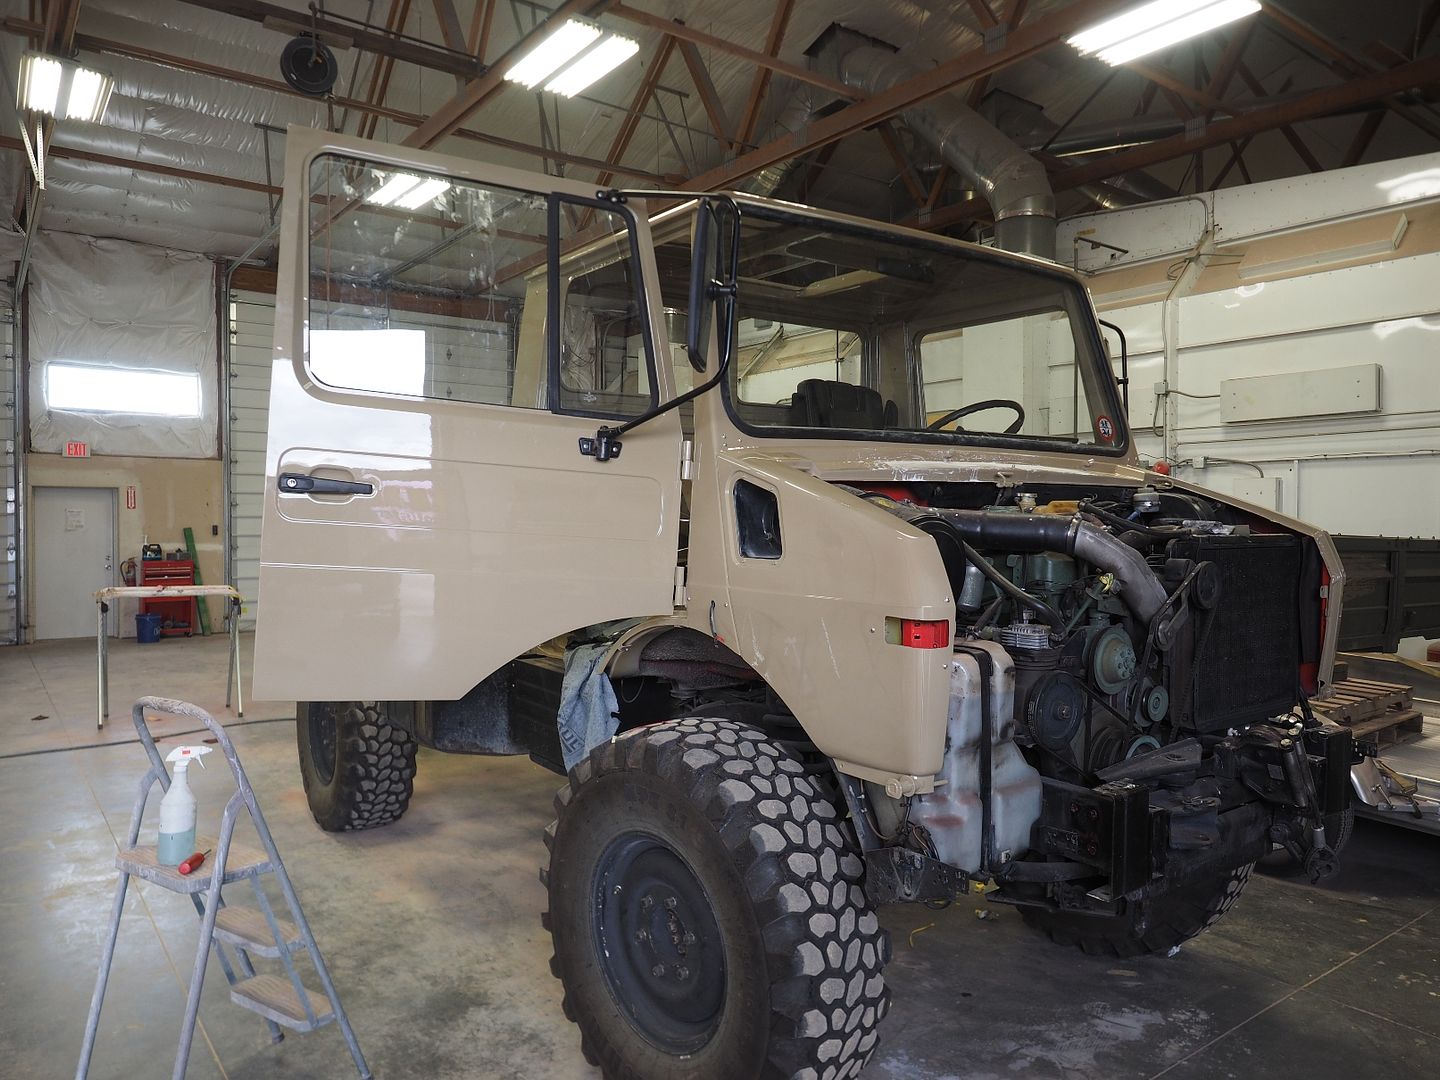
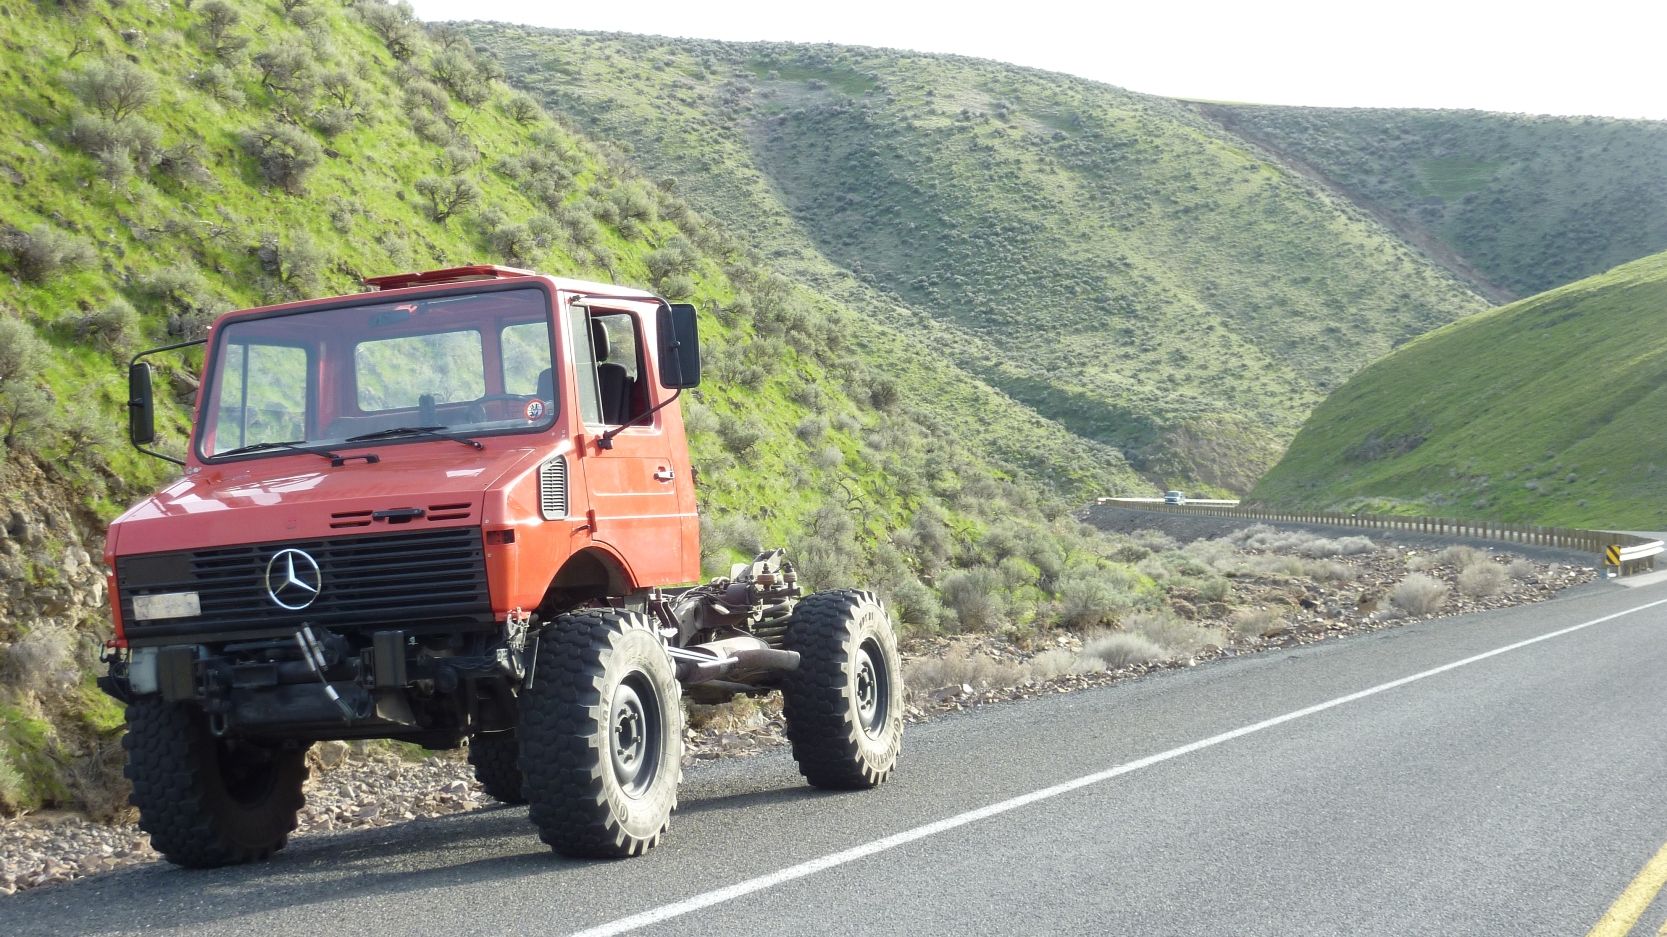
The Turtle emerging from its den. Forgot my good camera today so the pocket camera will have to do.

Removing the tail lights and wiring
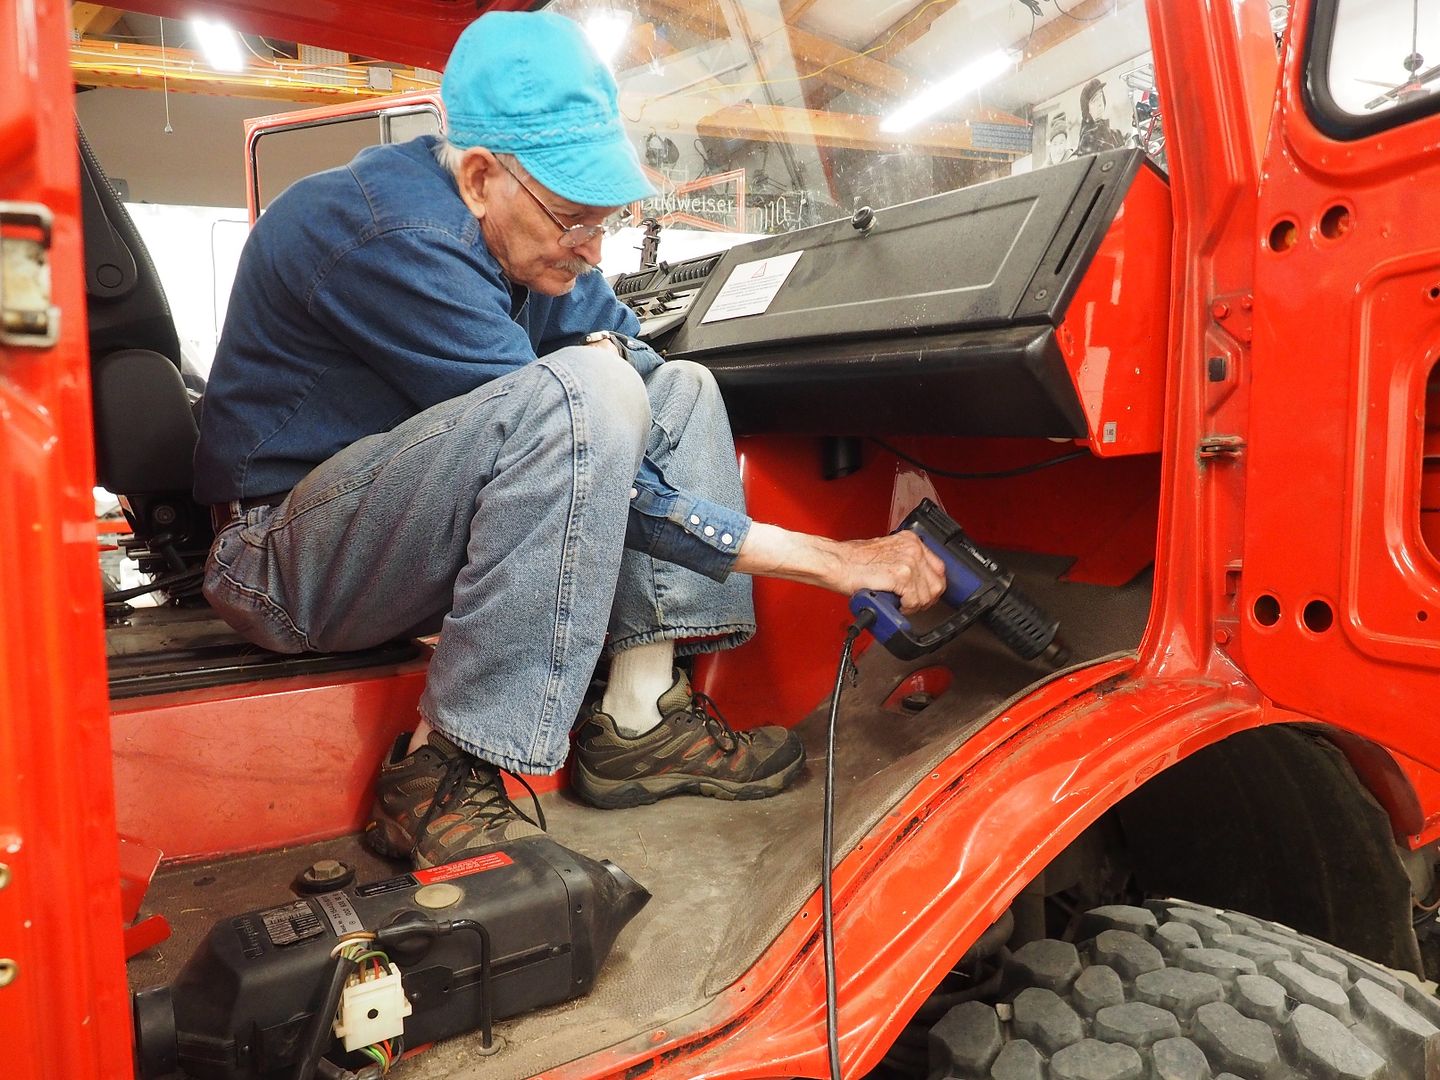
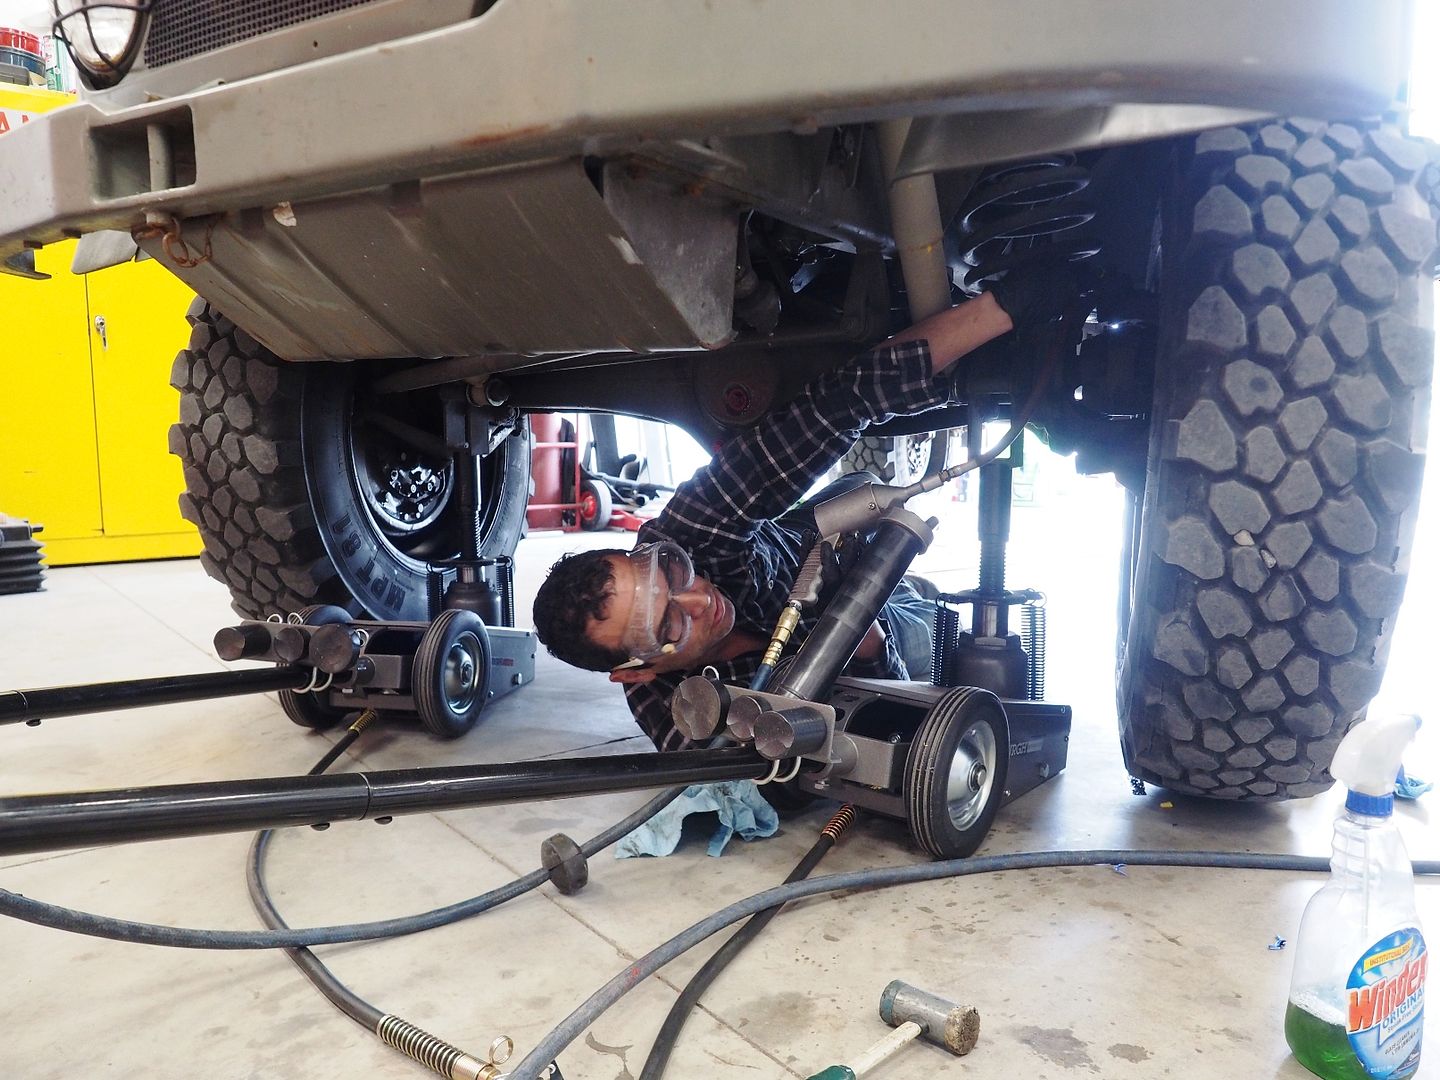
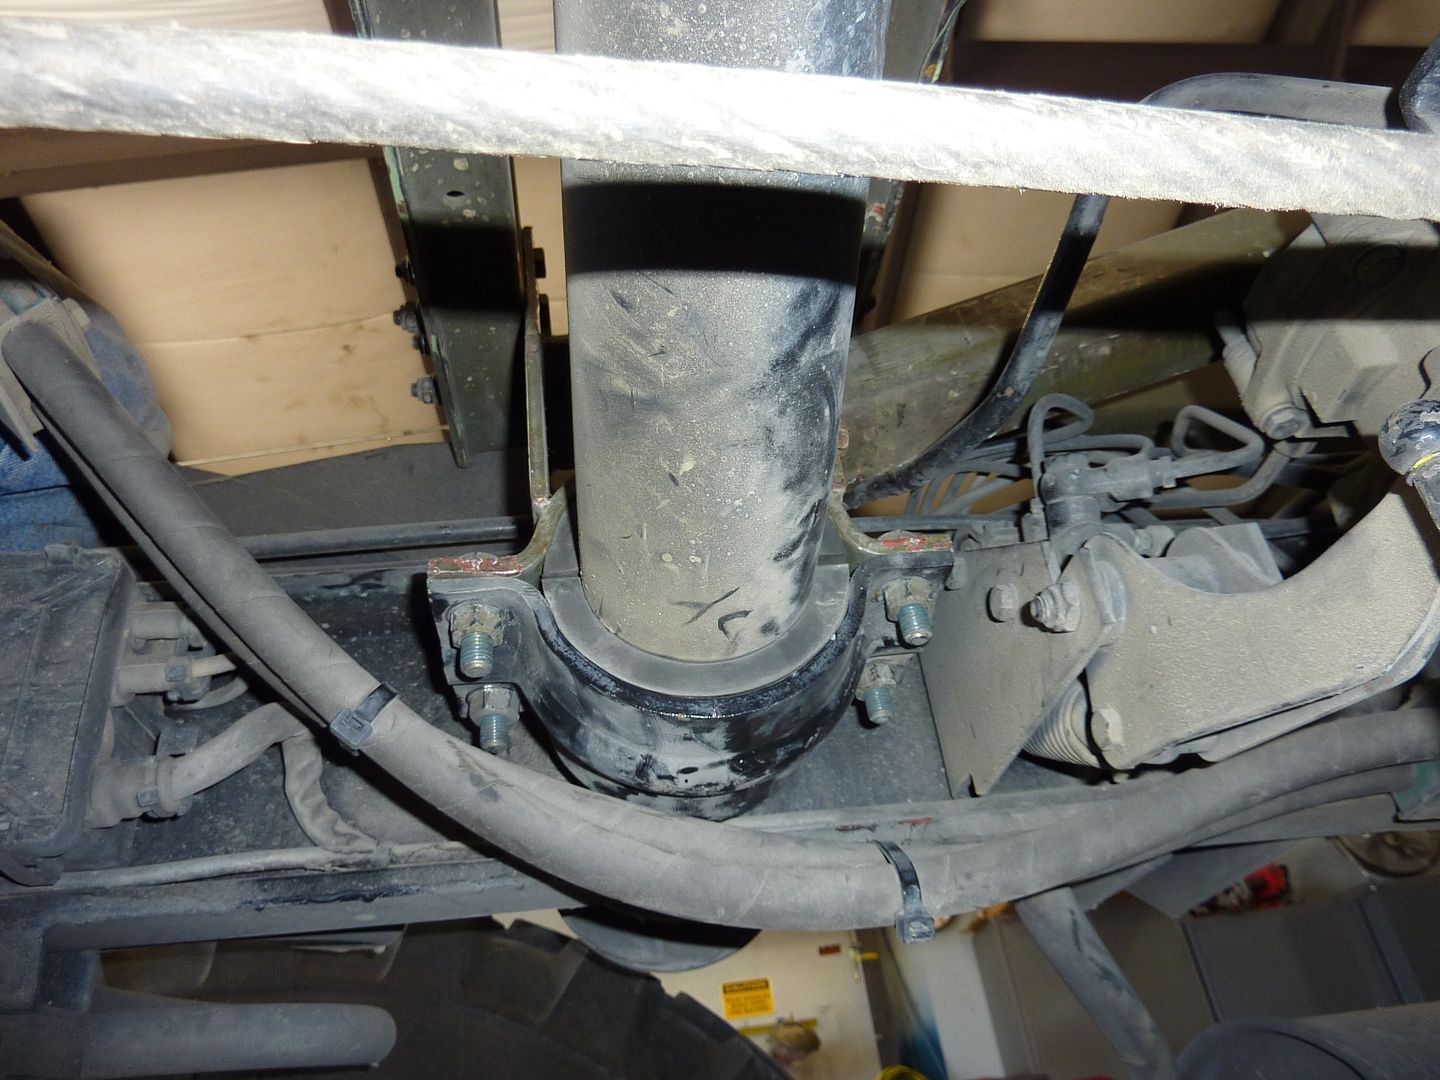
Removing the center mount caps, Dad backing up the bolts from up top.
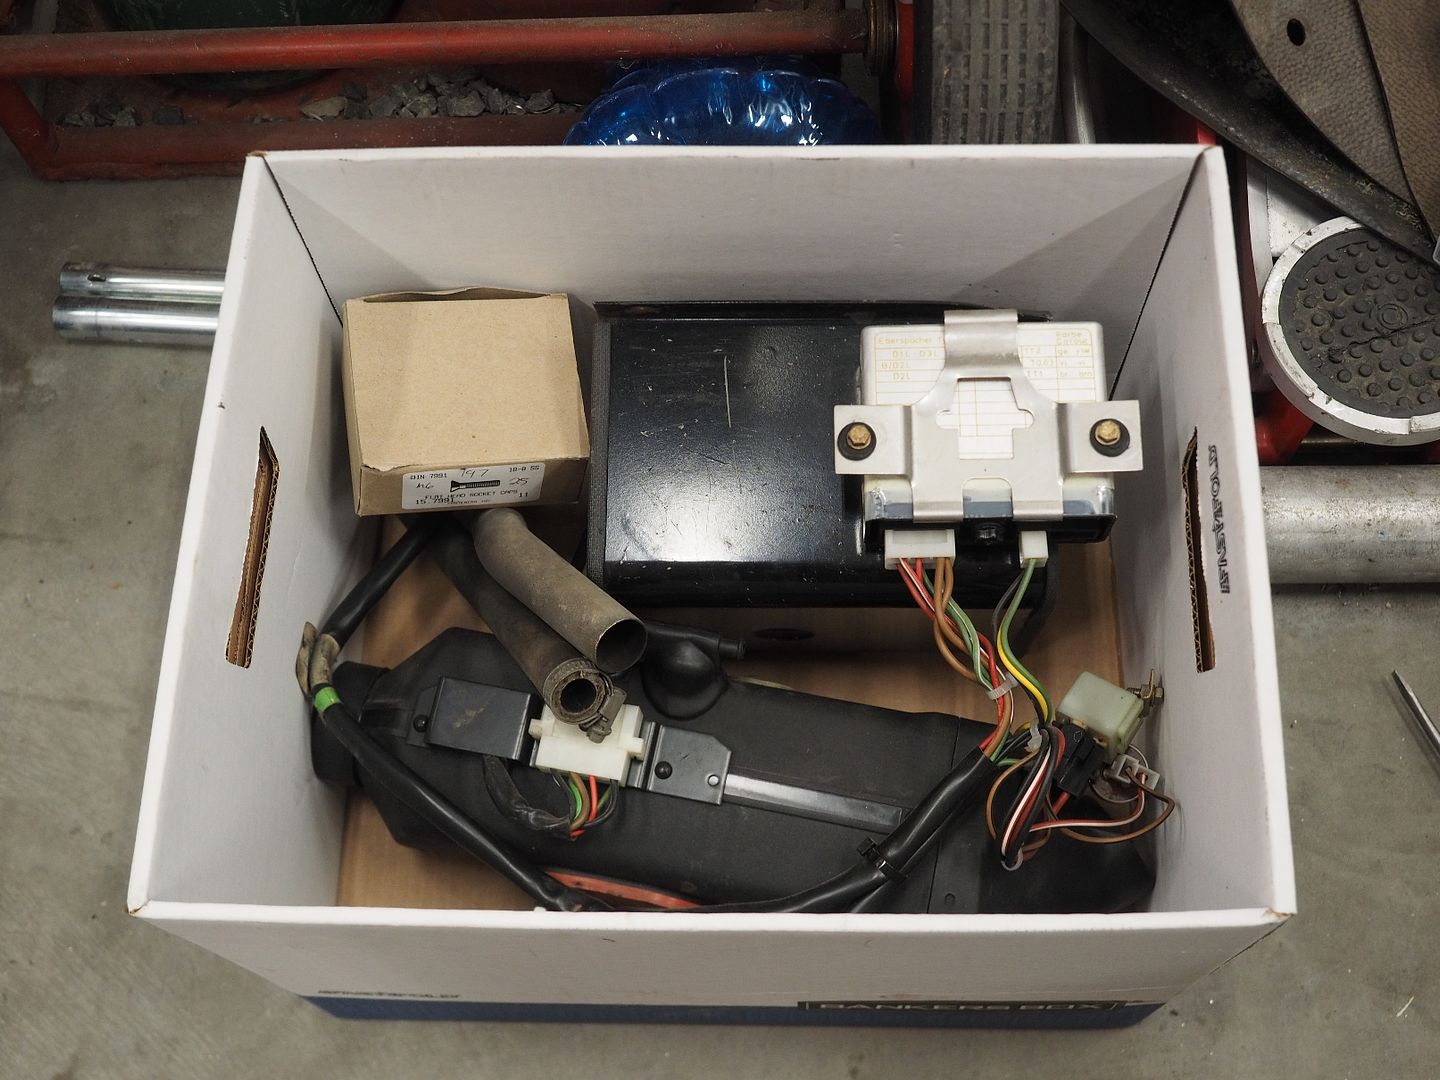
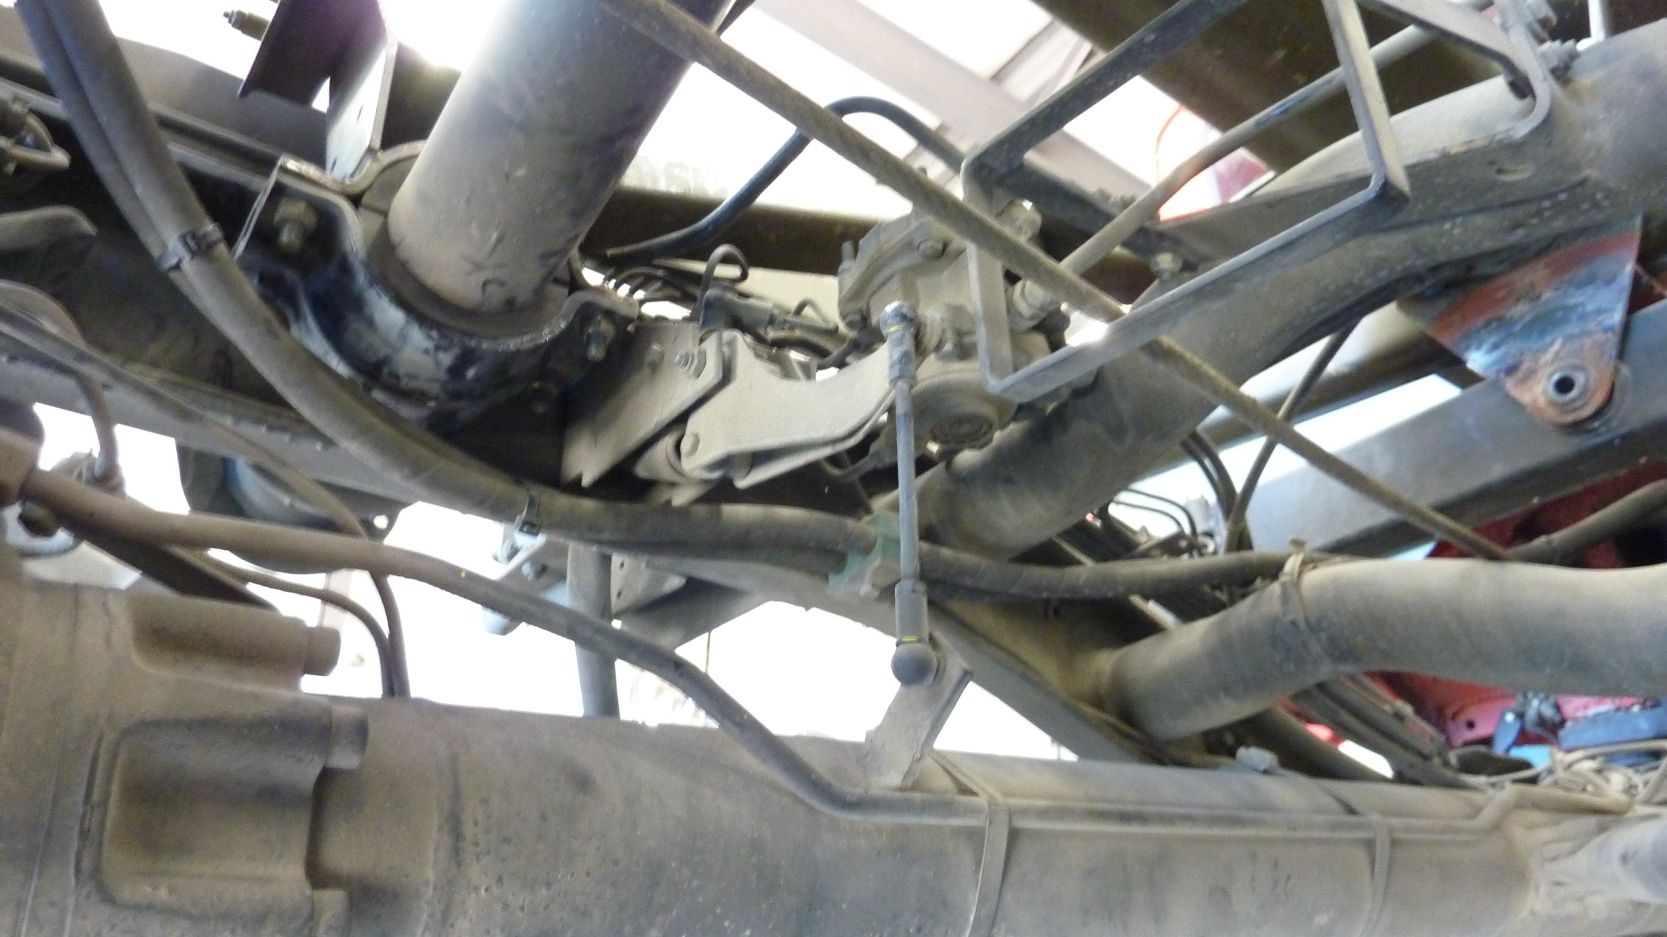
This is the rear brake proportioning valve, this valve automatically adjusts the rear brake bias depending on load.
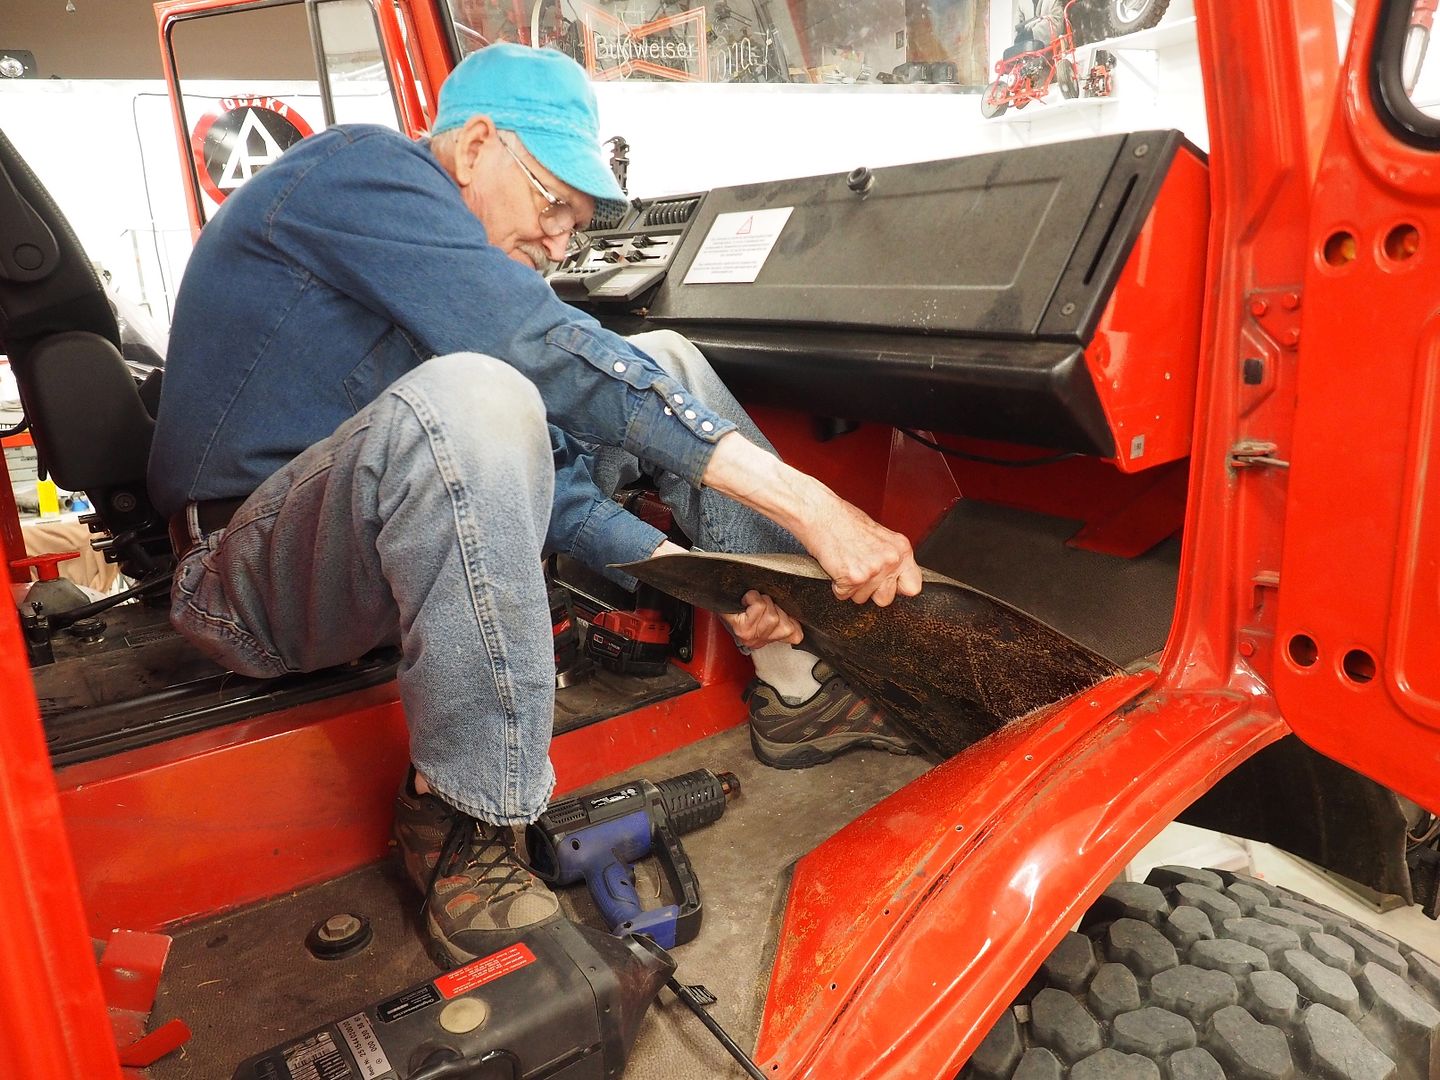
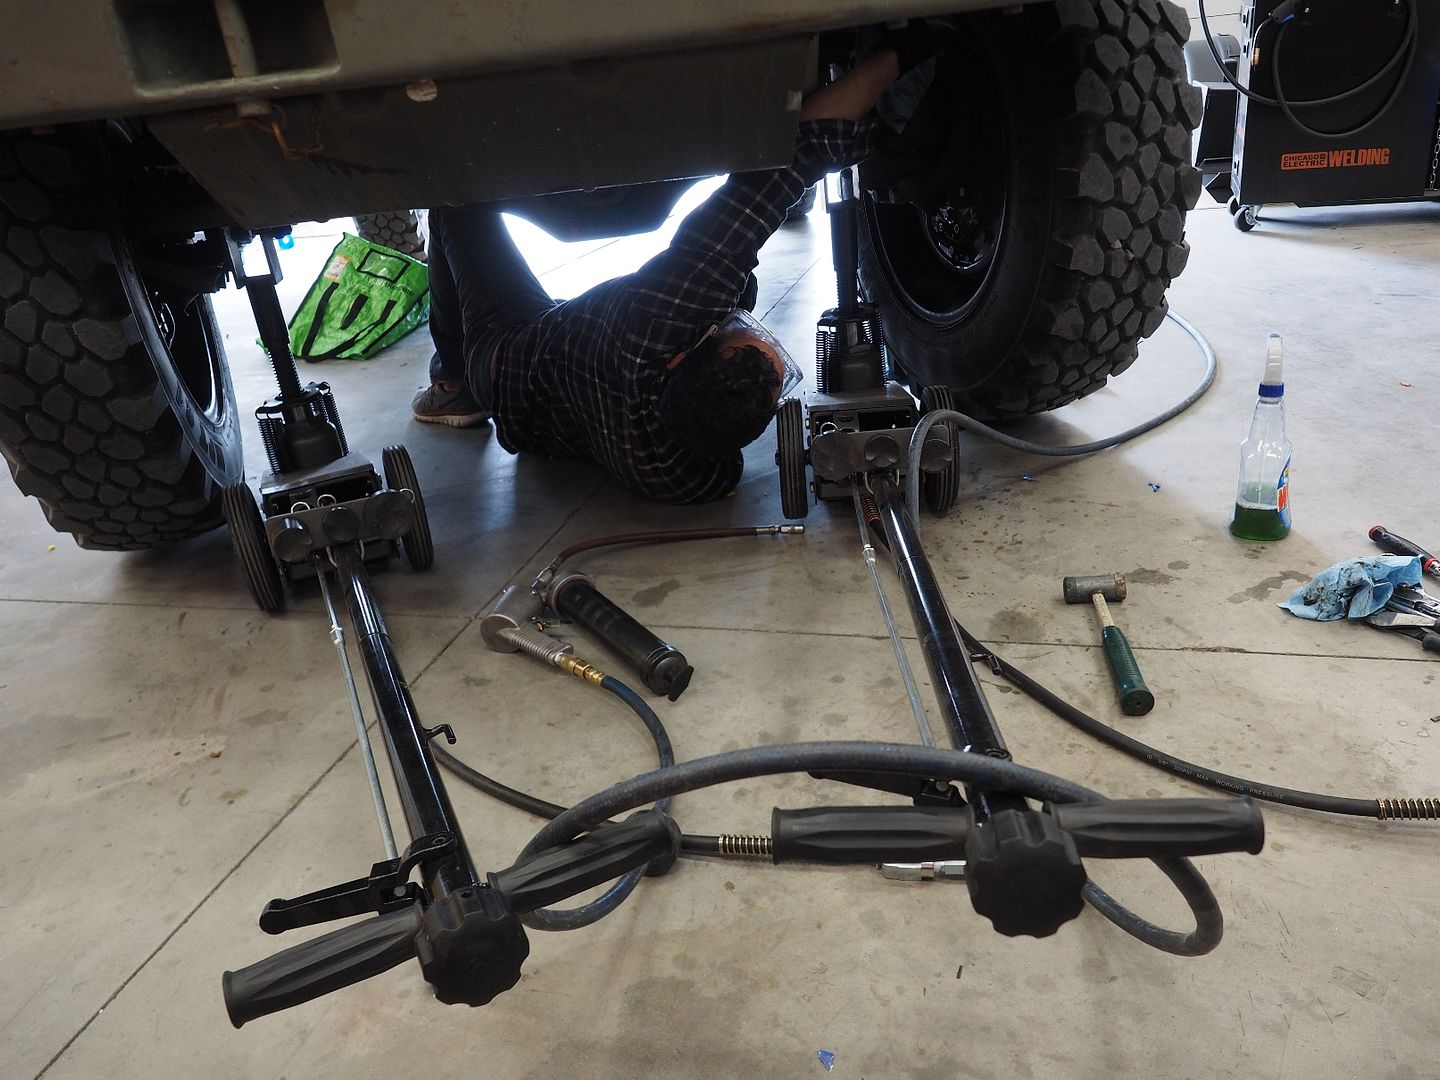
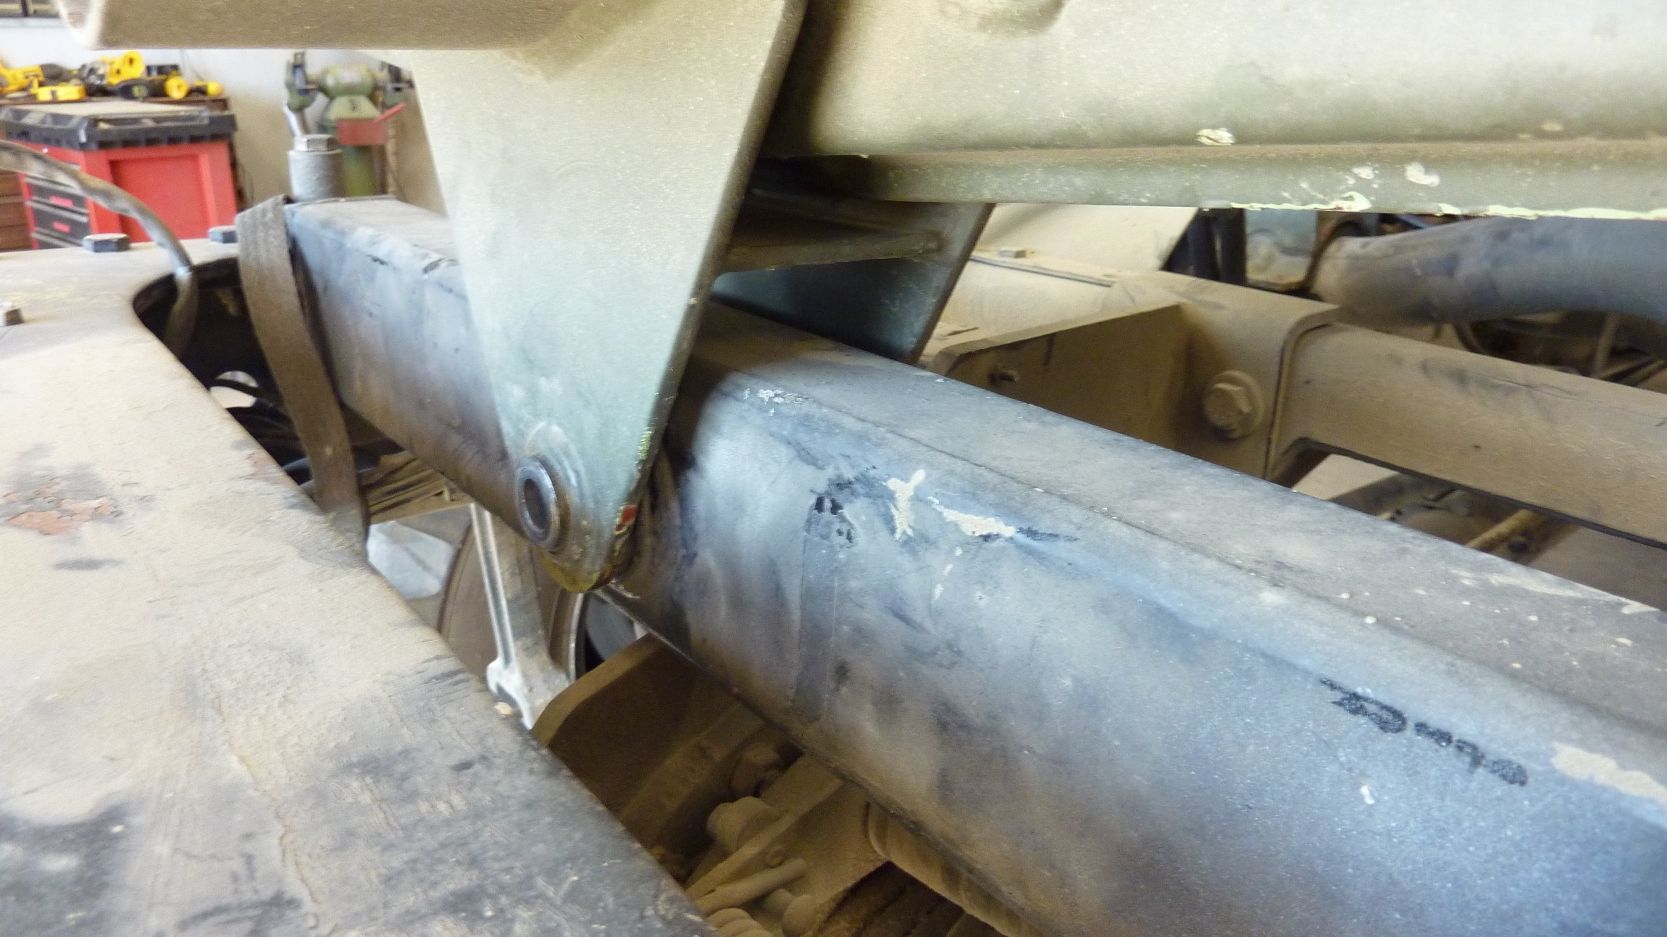
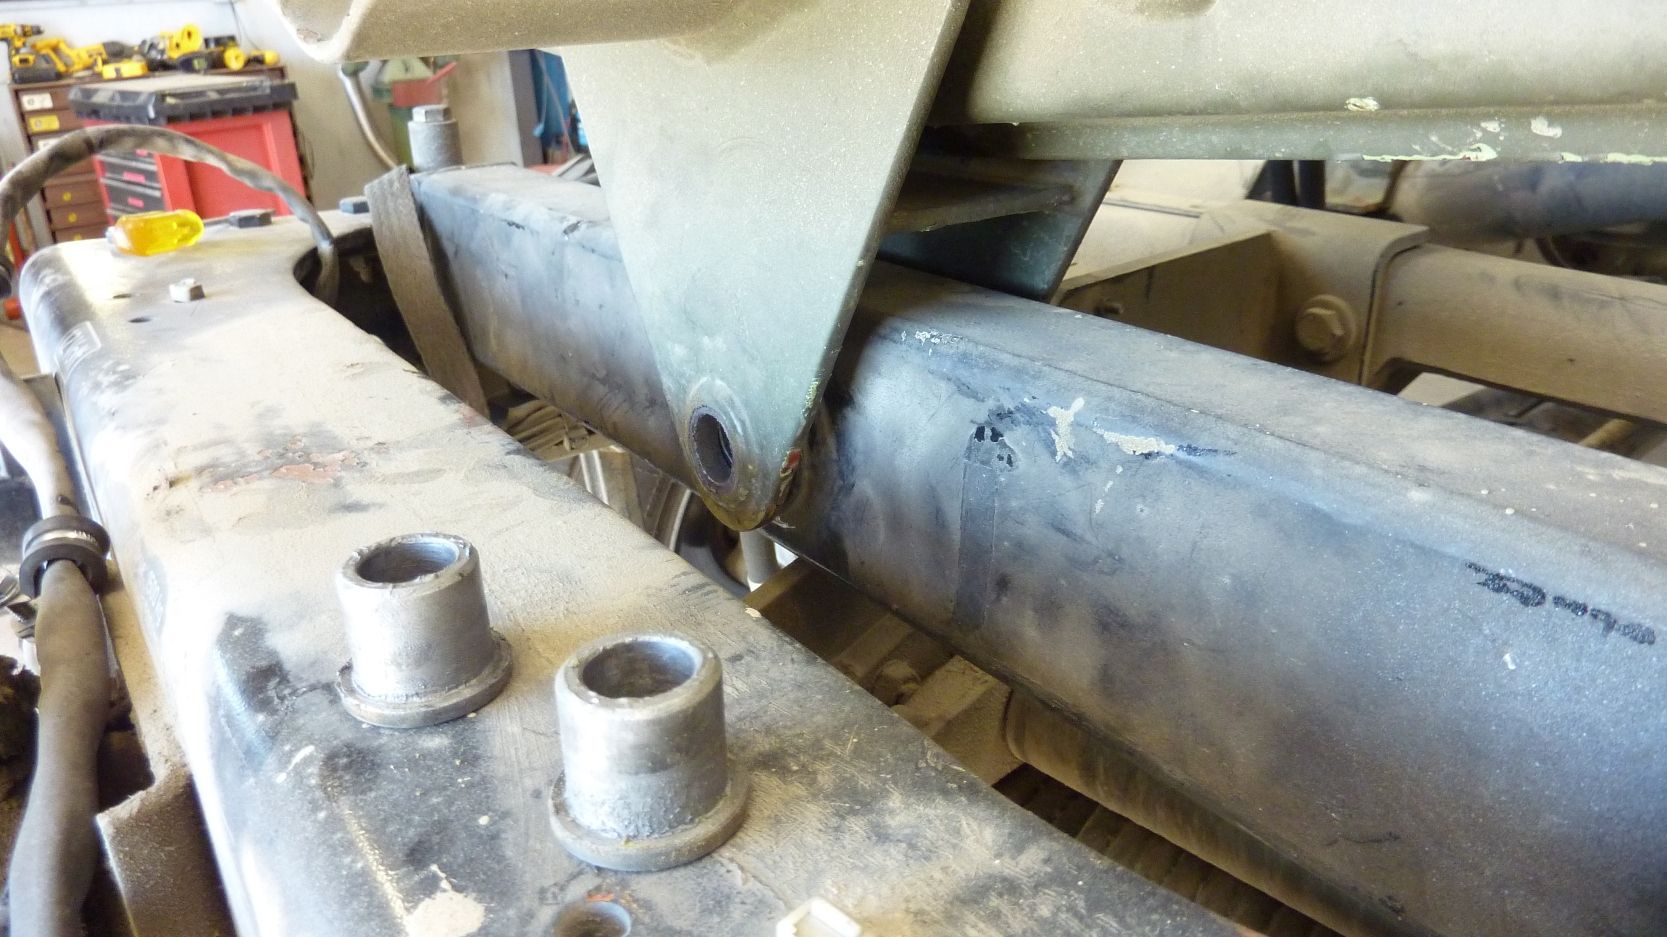
Removing the bolts and bushings from the pivot points.
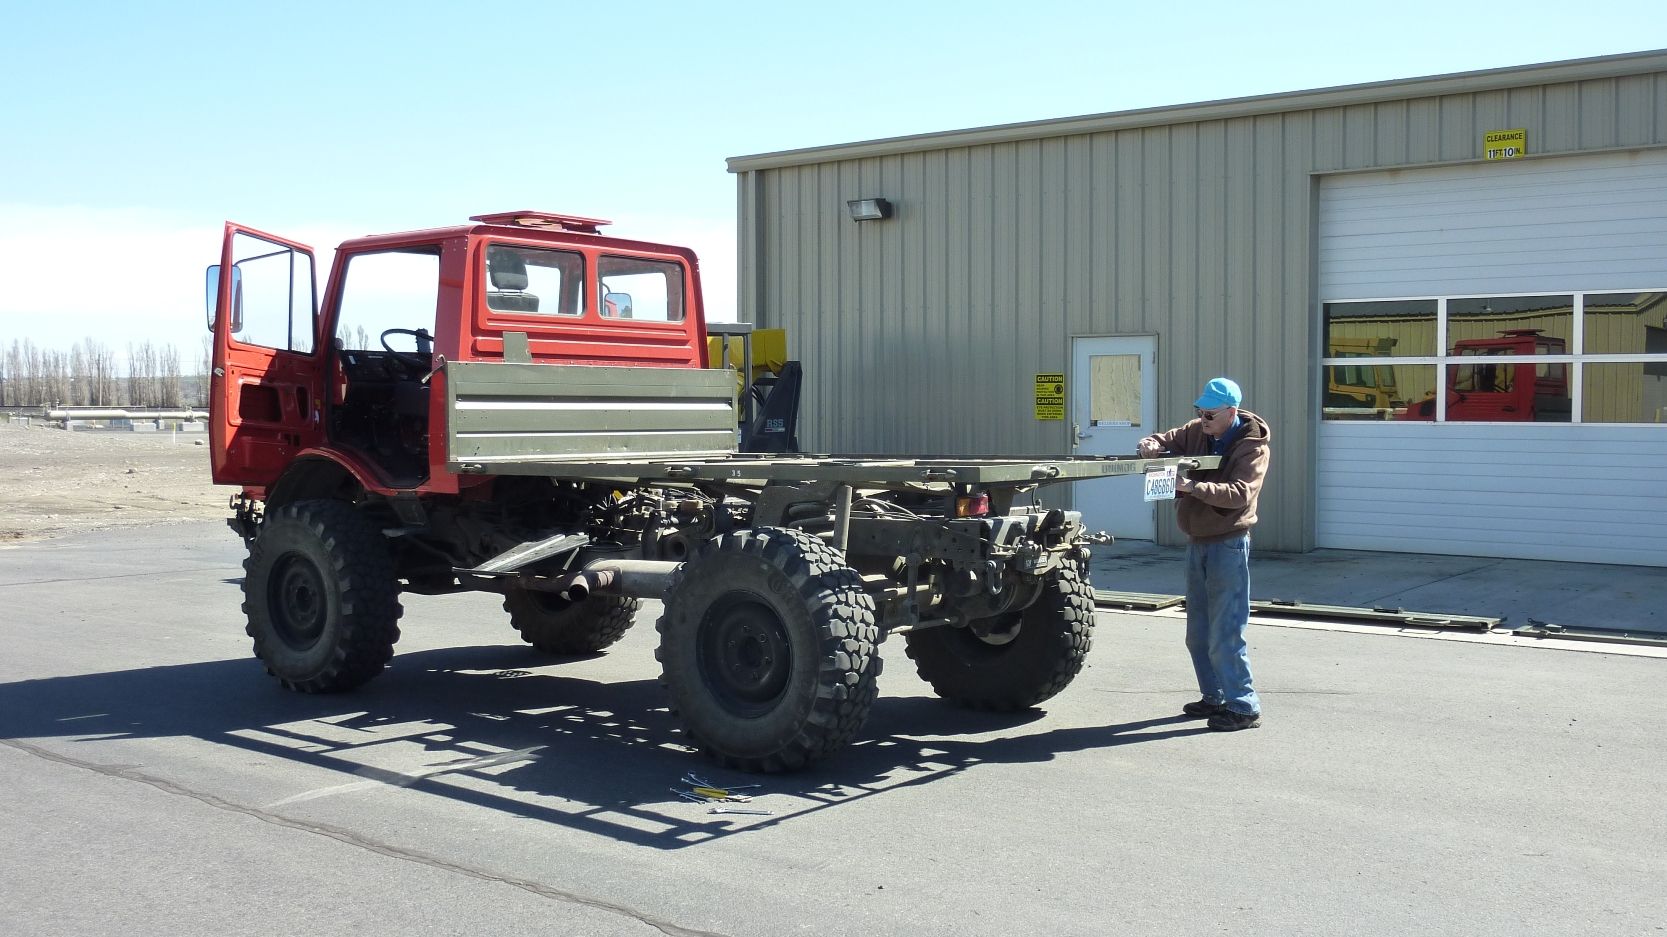
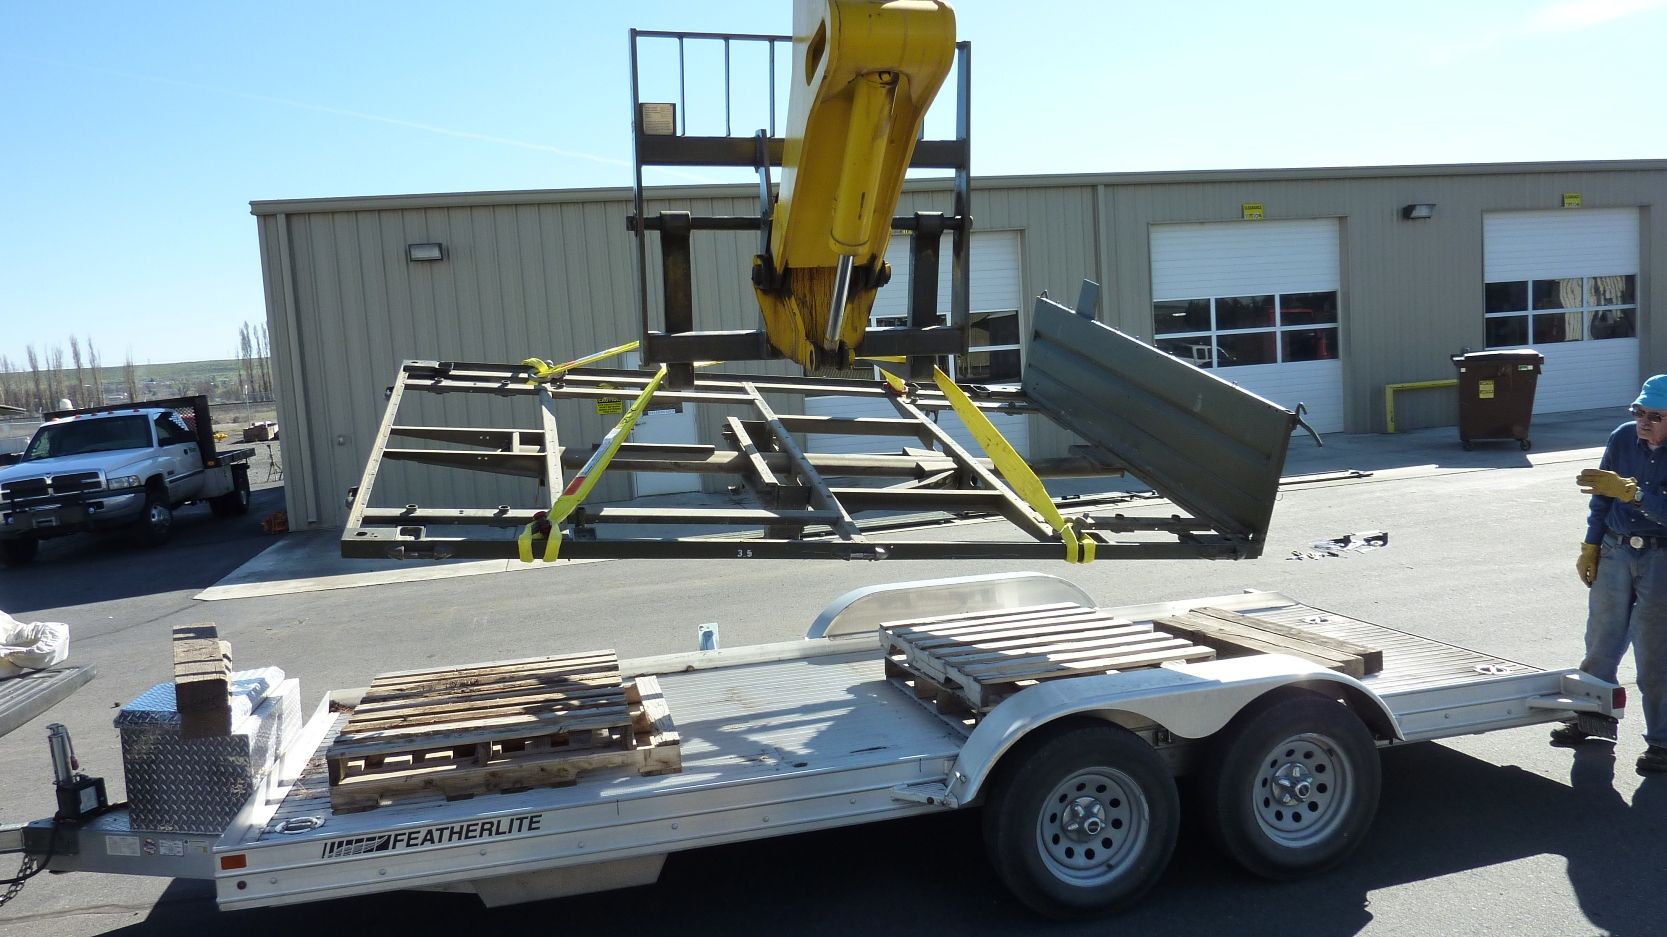
Bed is free at this point and is resting on the center mounts. Rigging is hooked up and the bed is ready to transfer to the trailer.

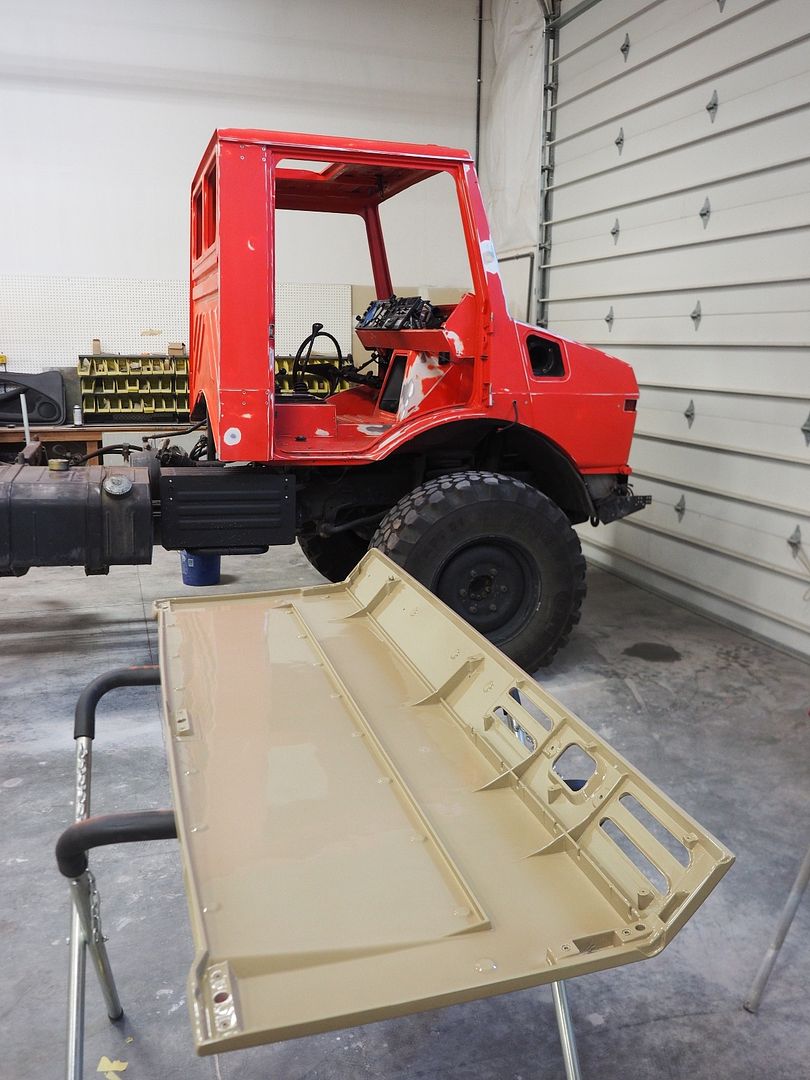
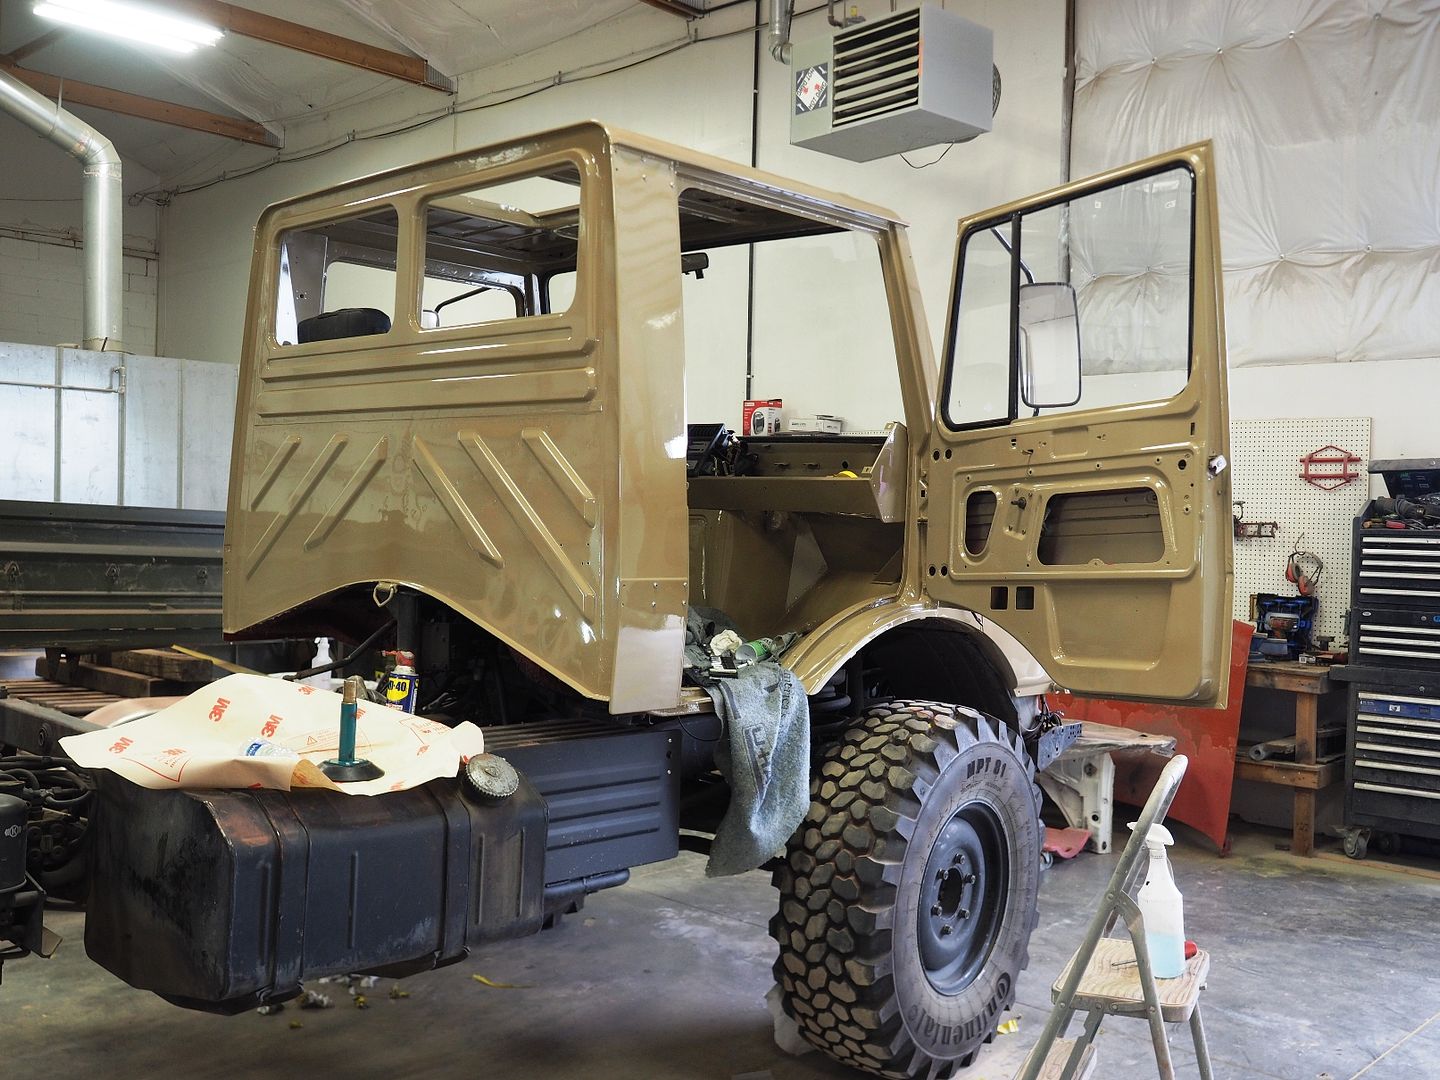
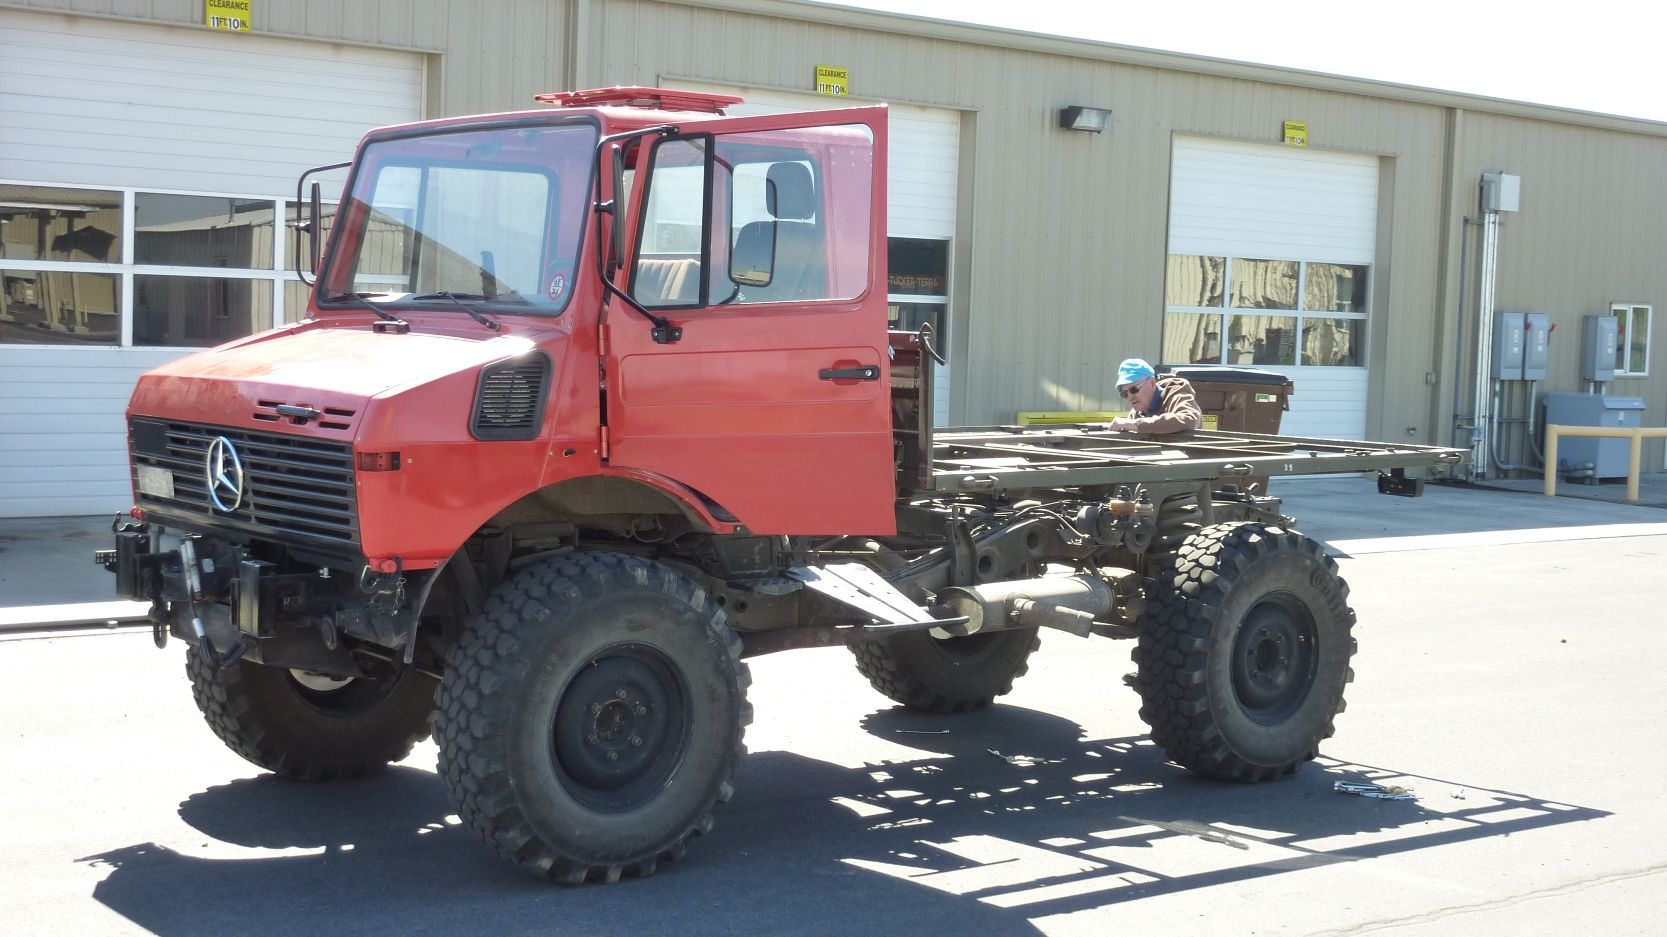
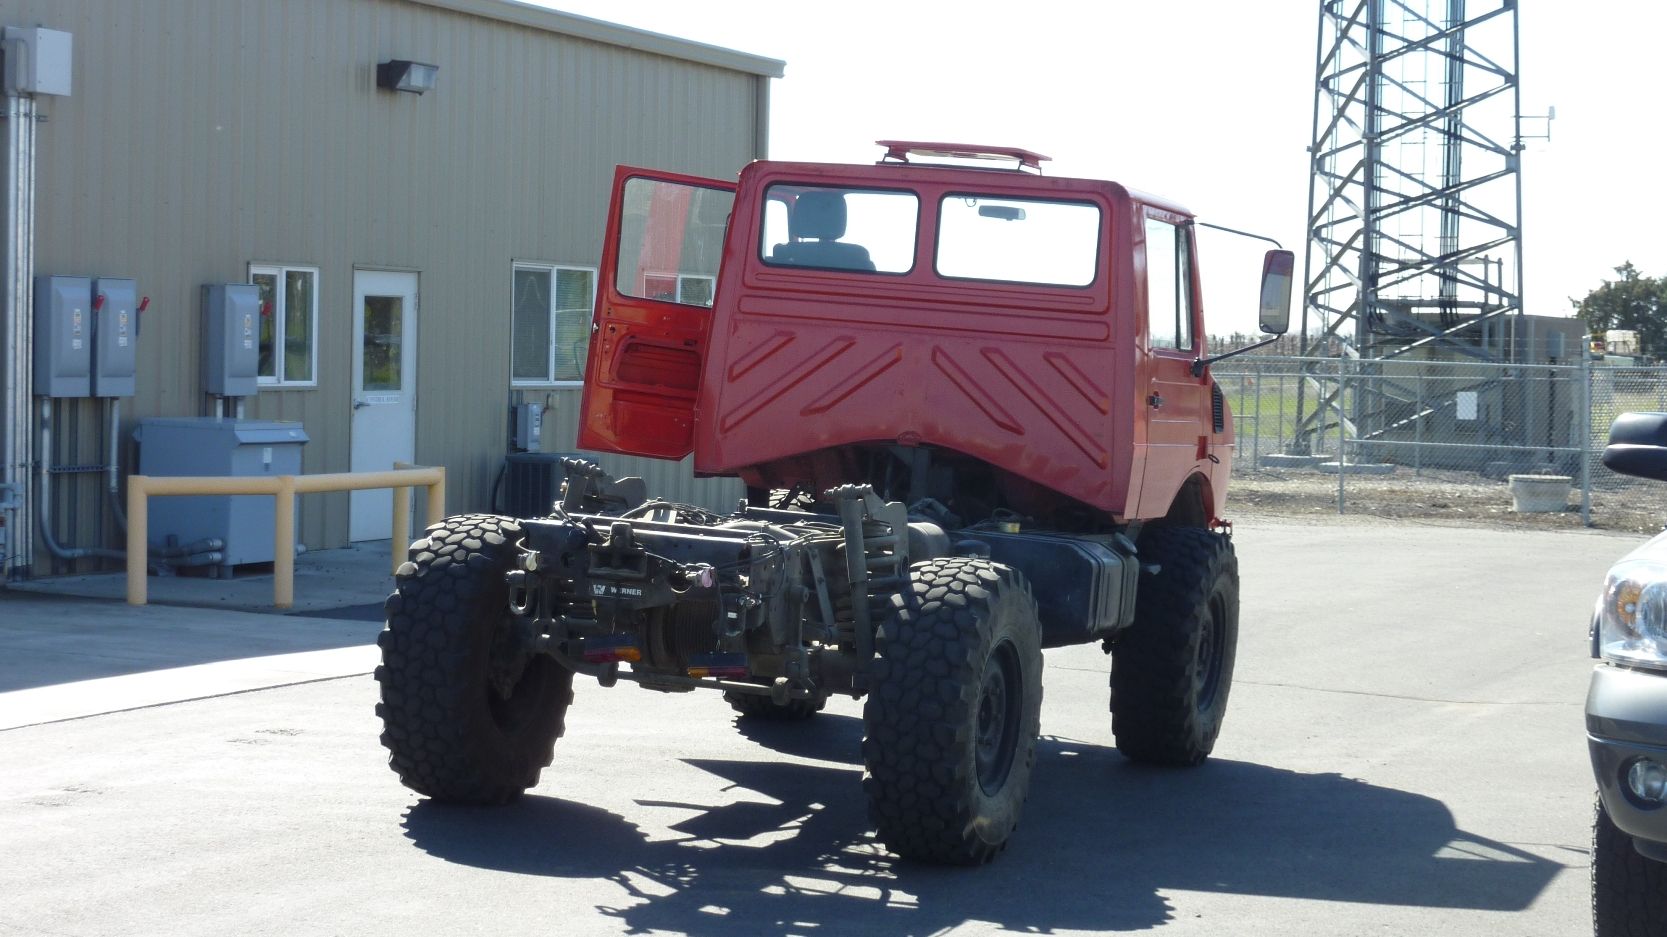
Bedless.
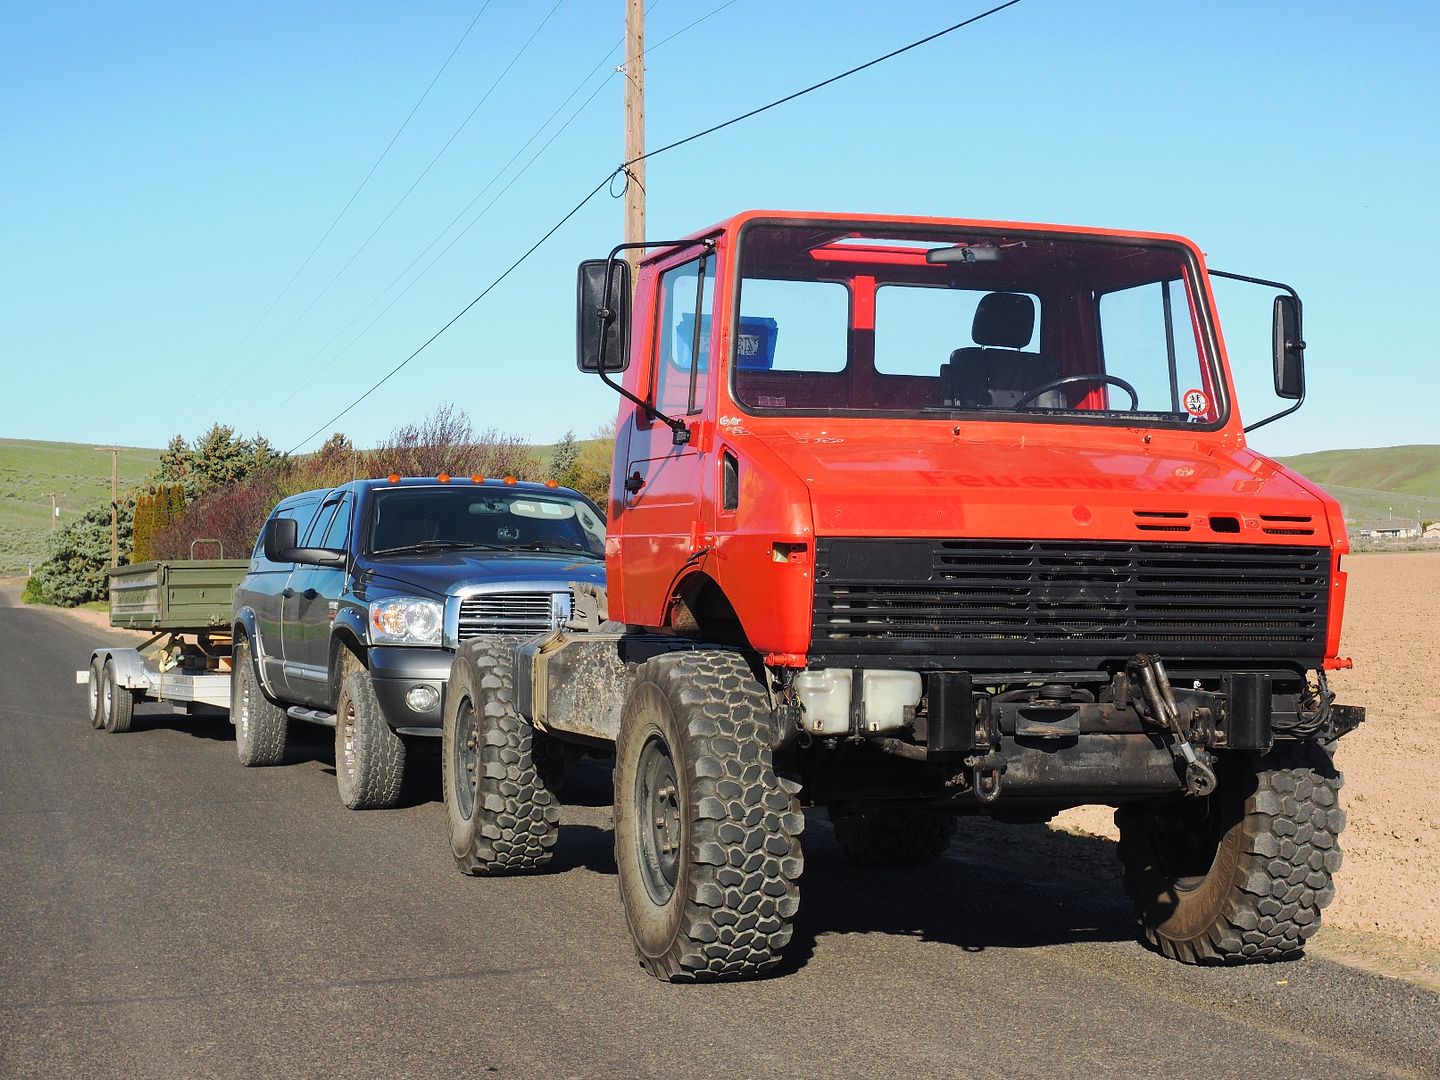
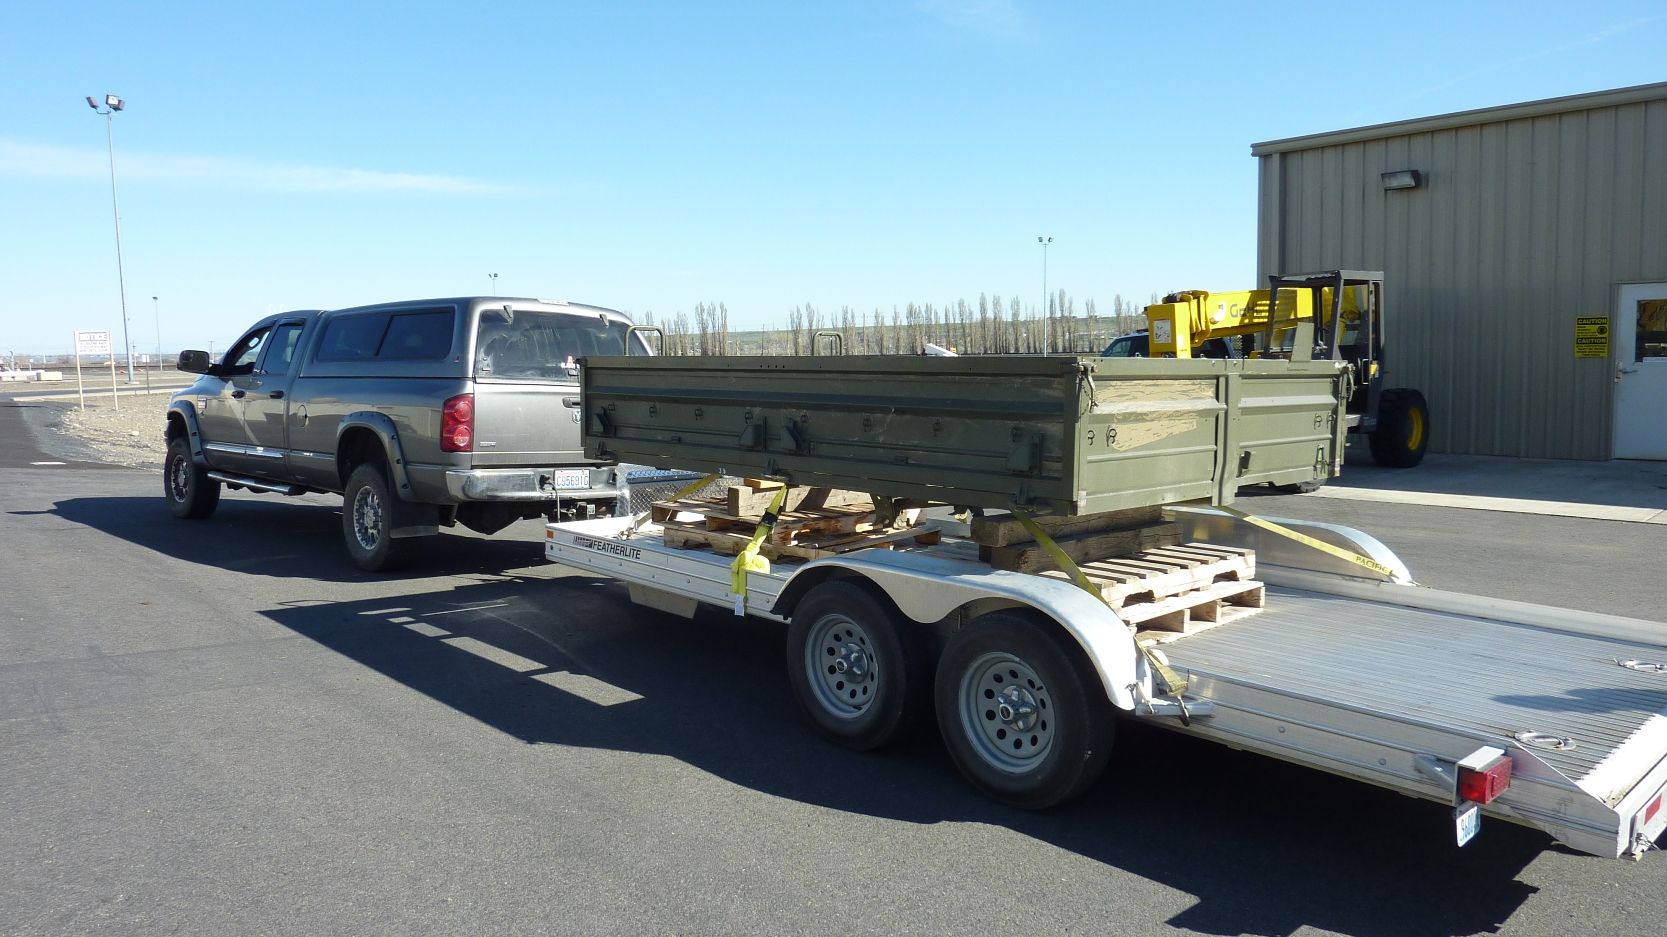
Bed strapped down for the trip back home.
Hills are turning green....Summer is coming!
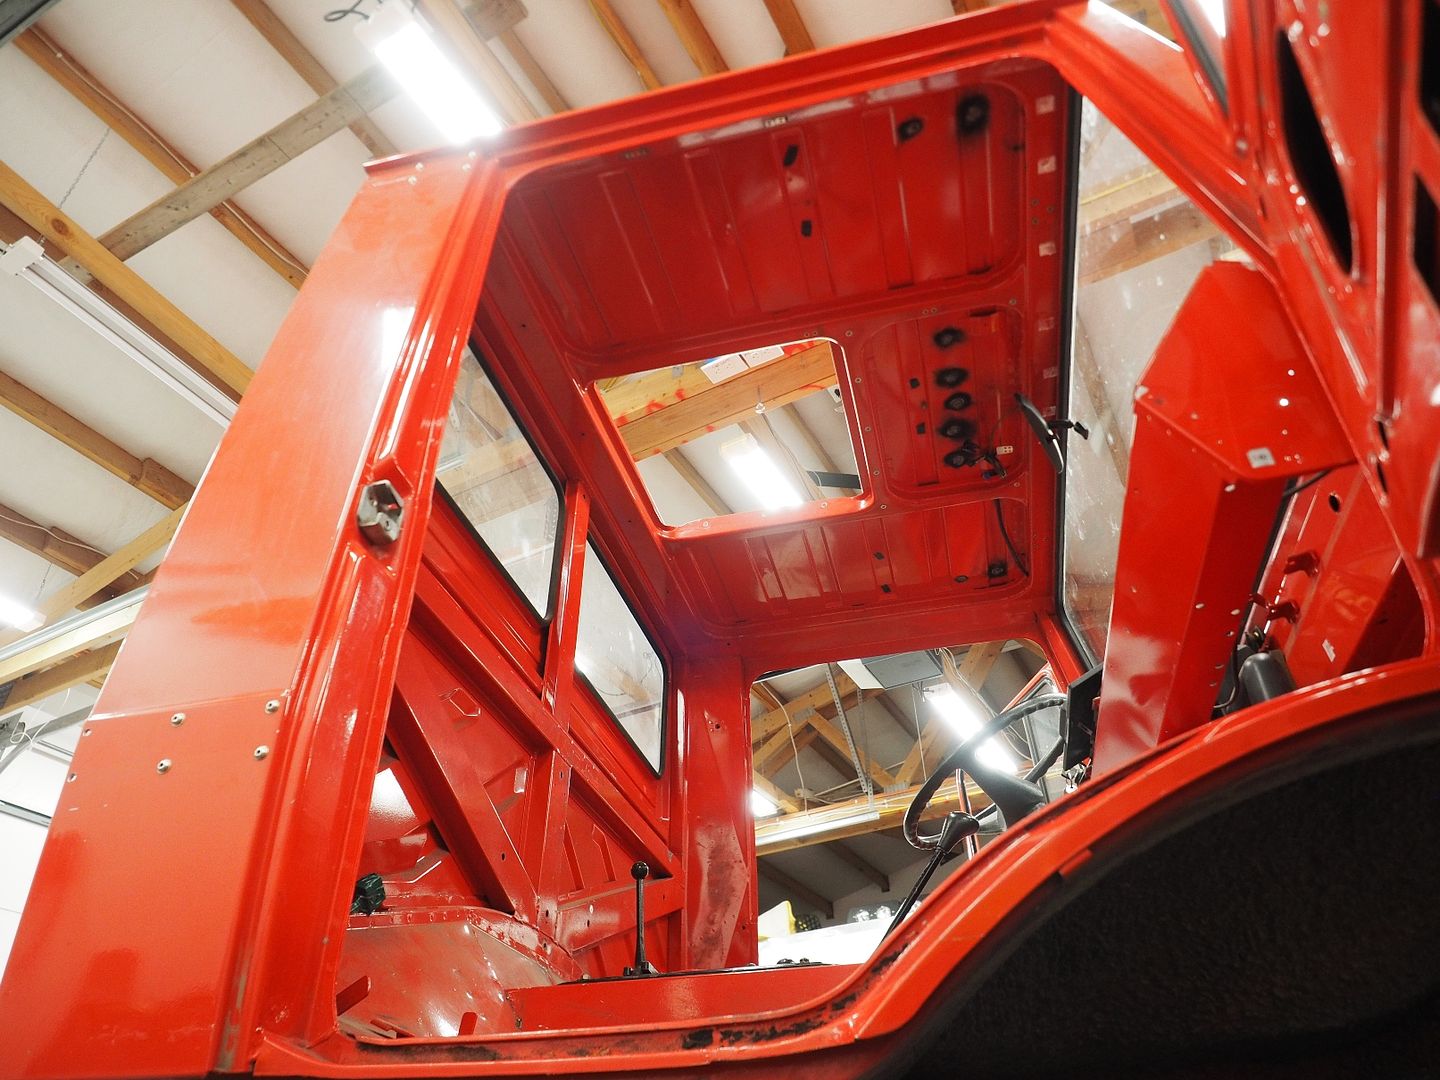
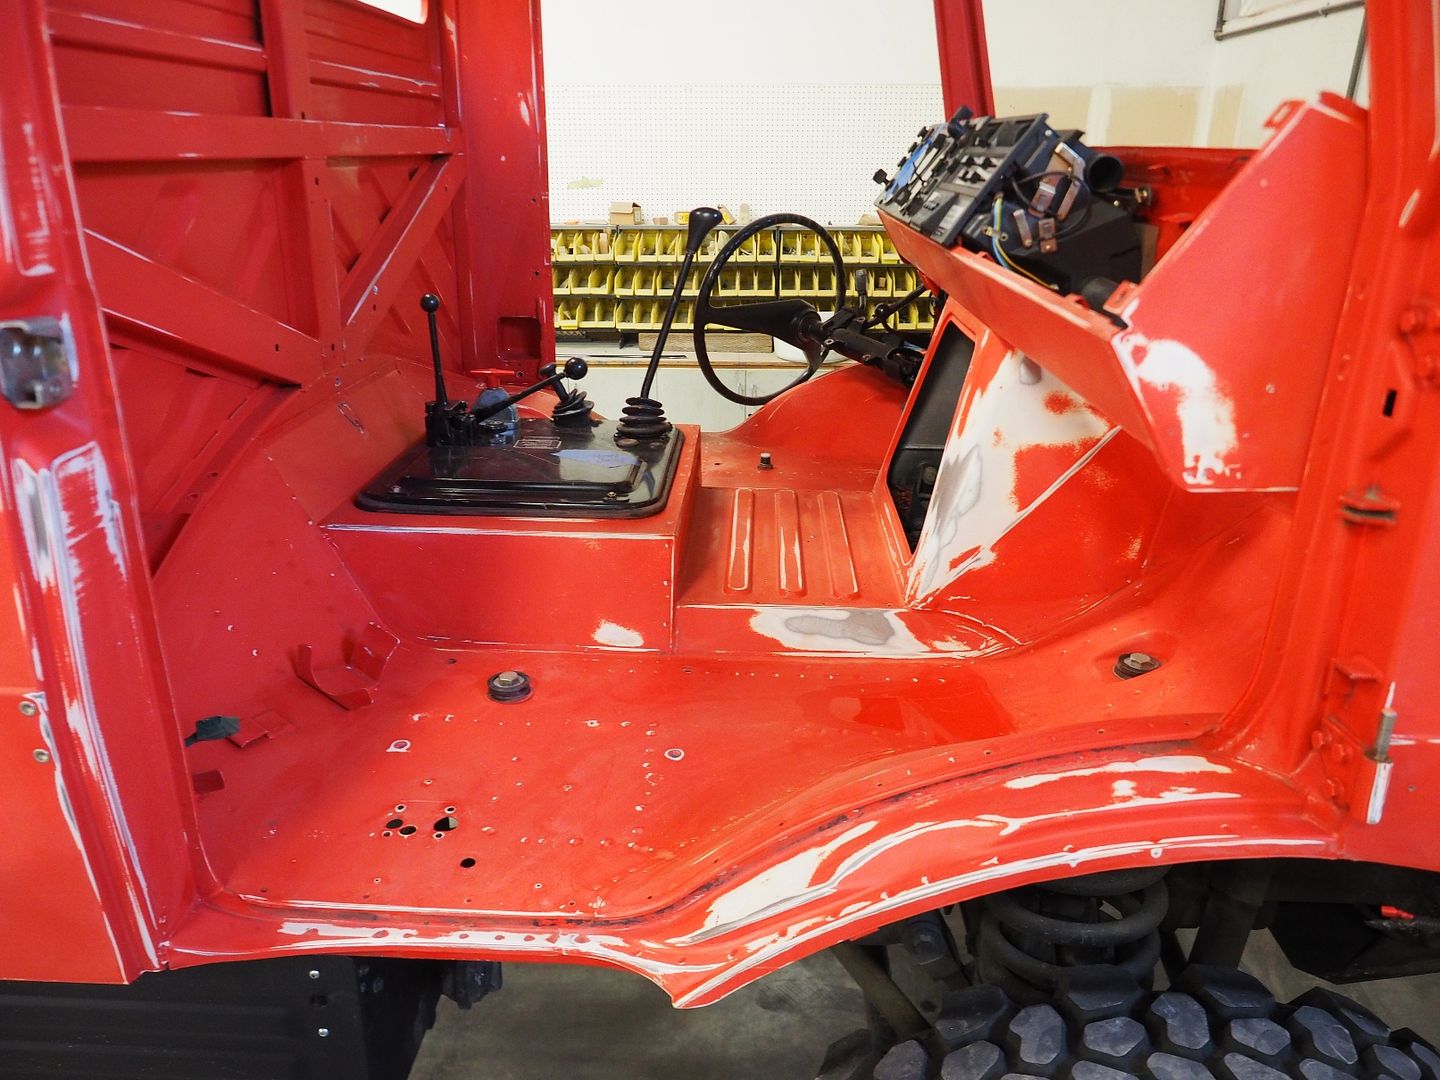
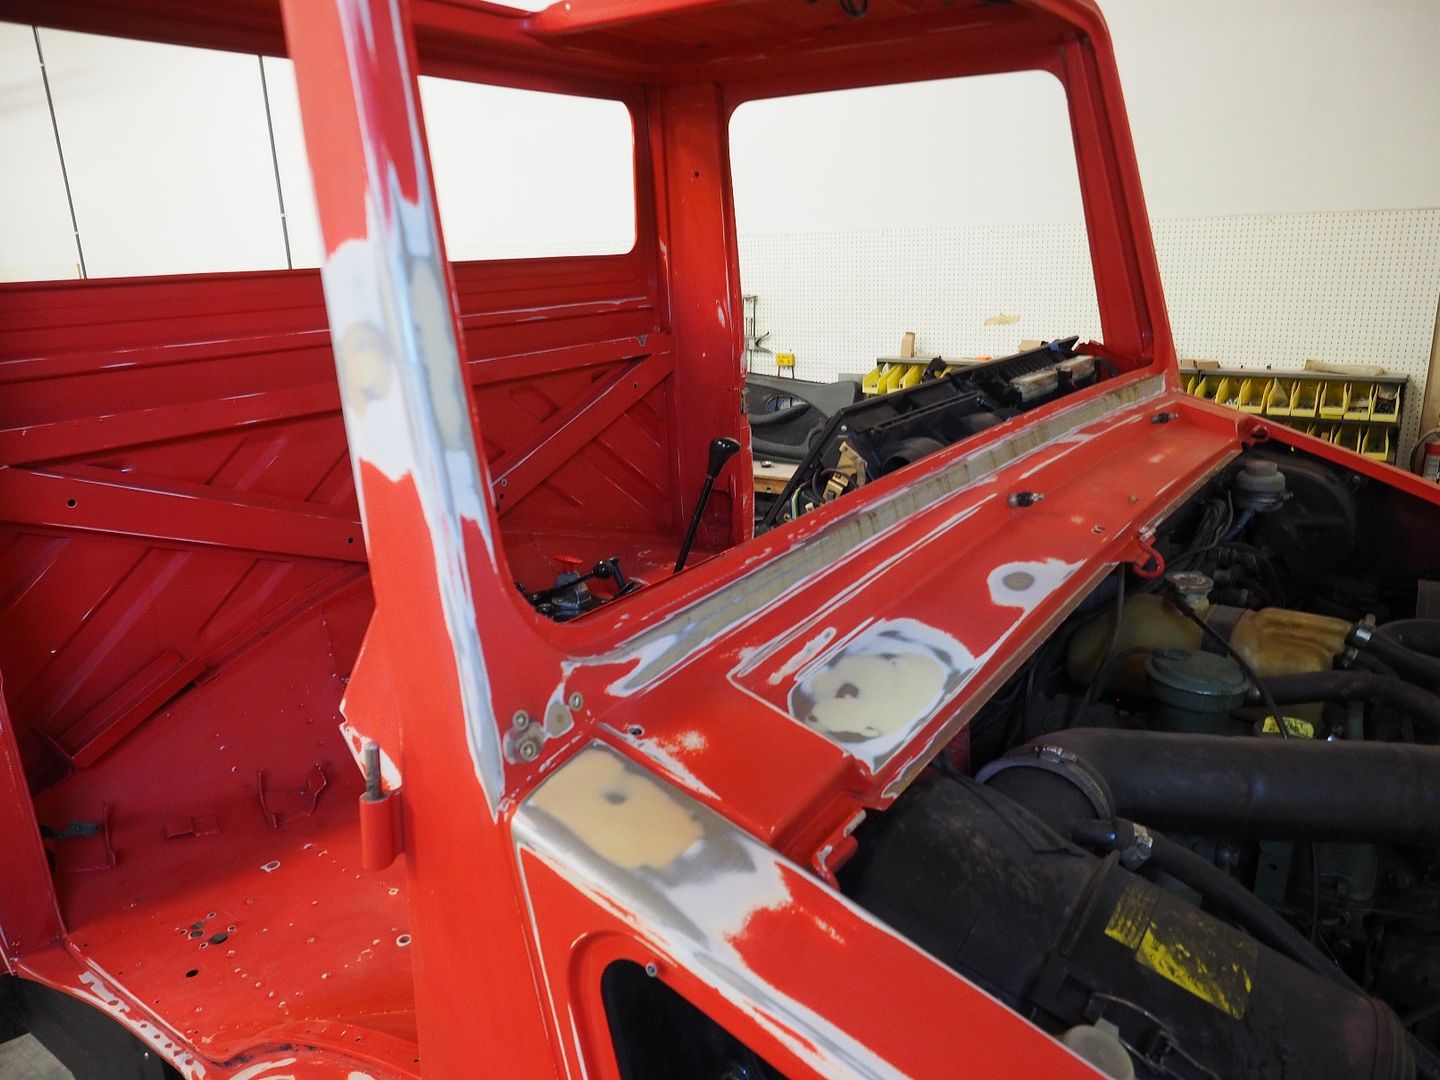
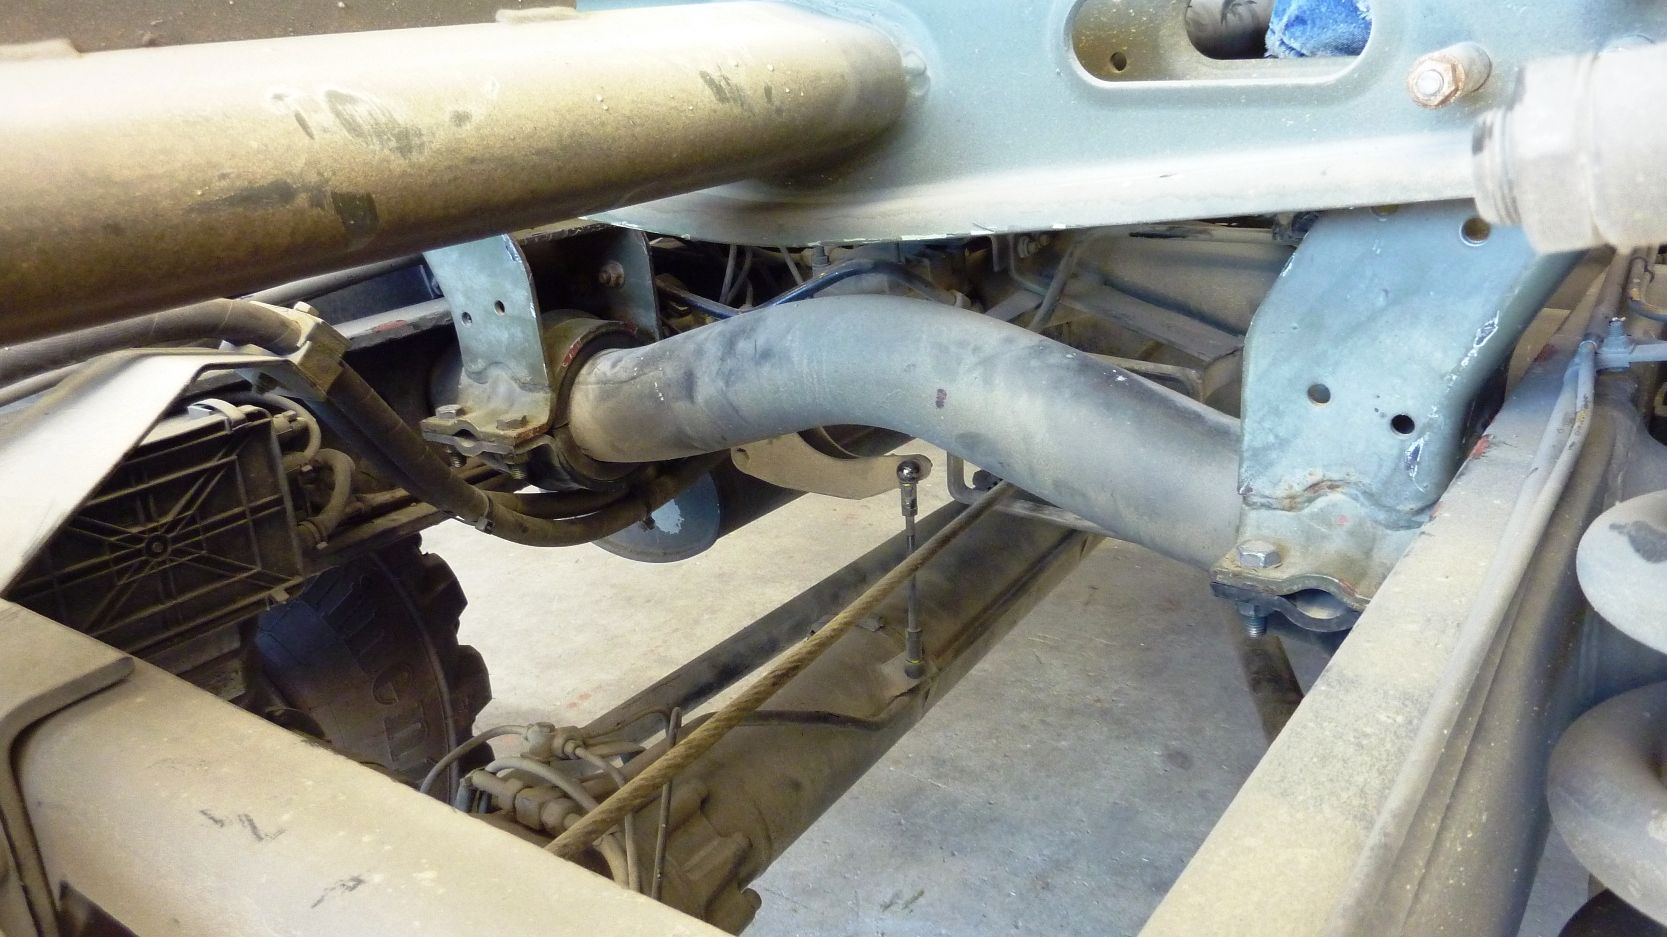
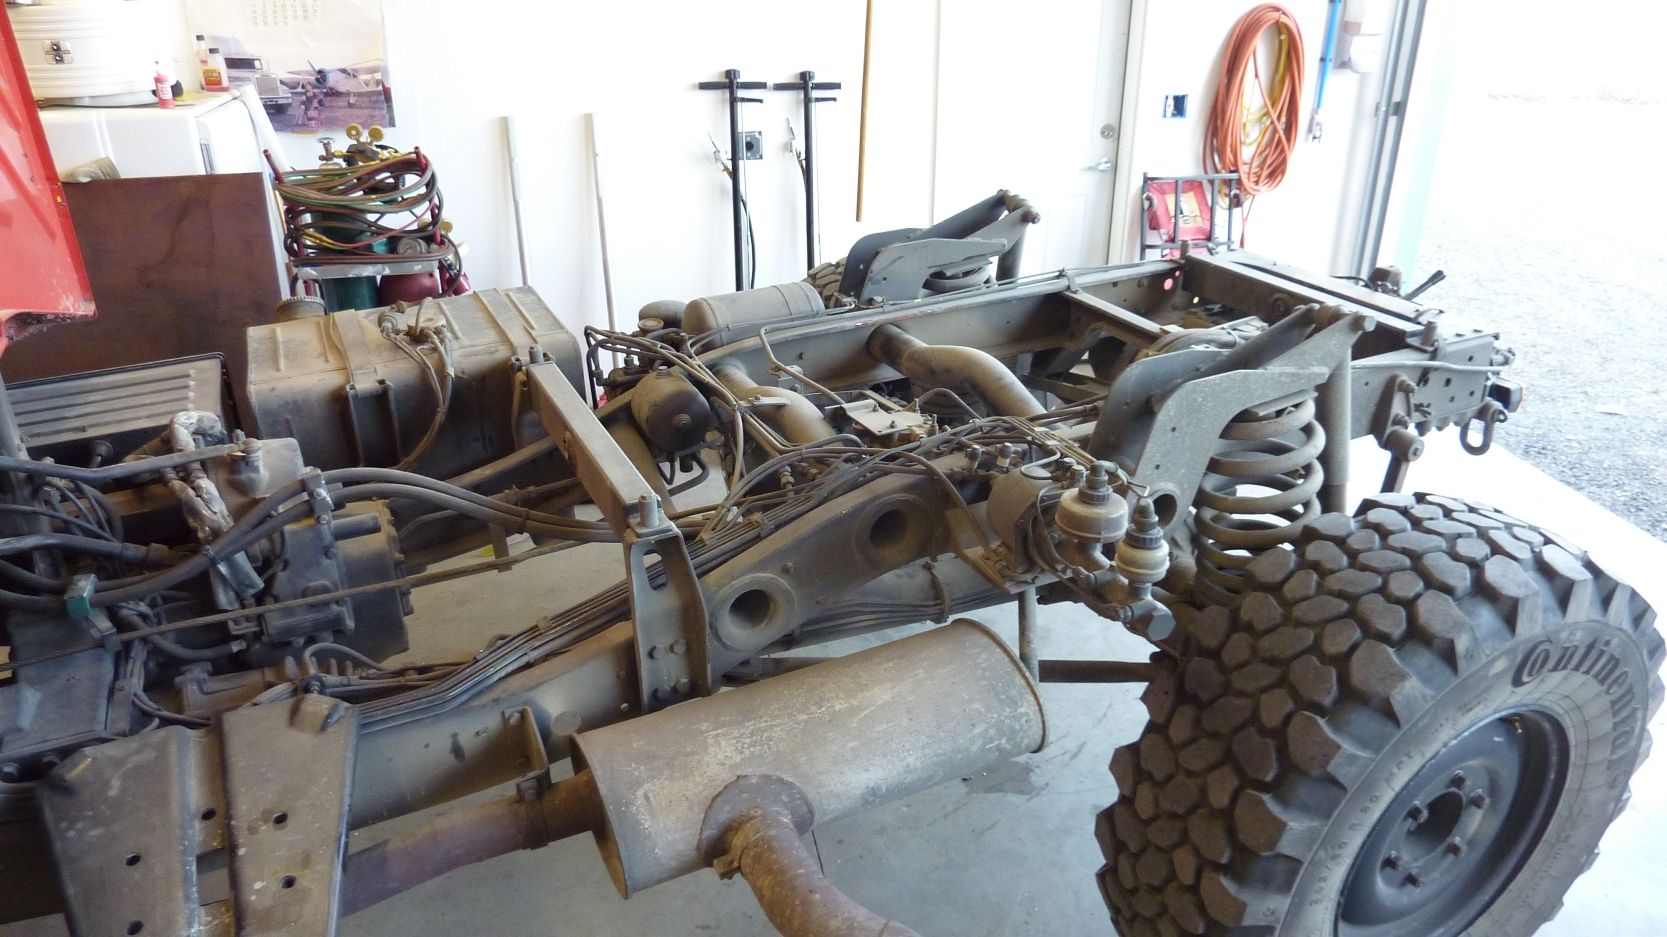
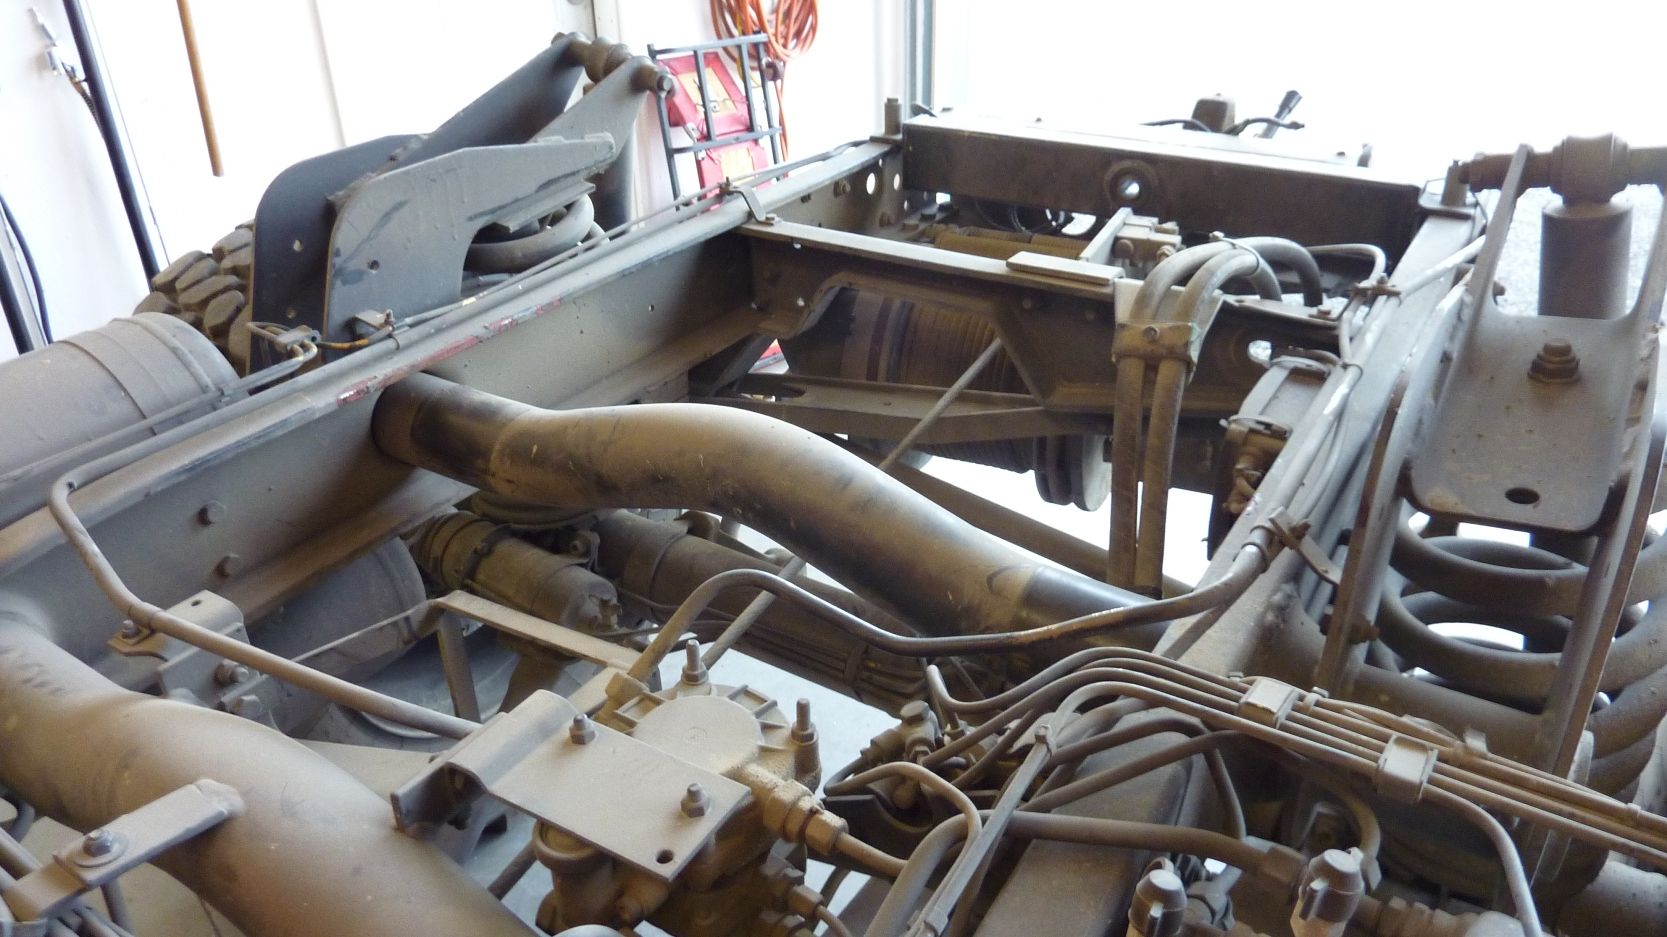
Couple pictures of the frame with the bed removed.
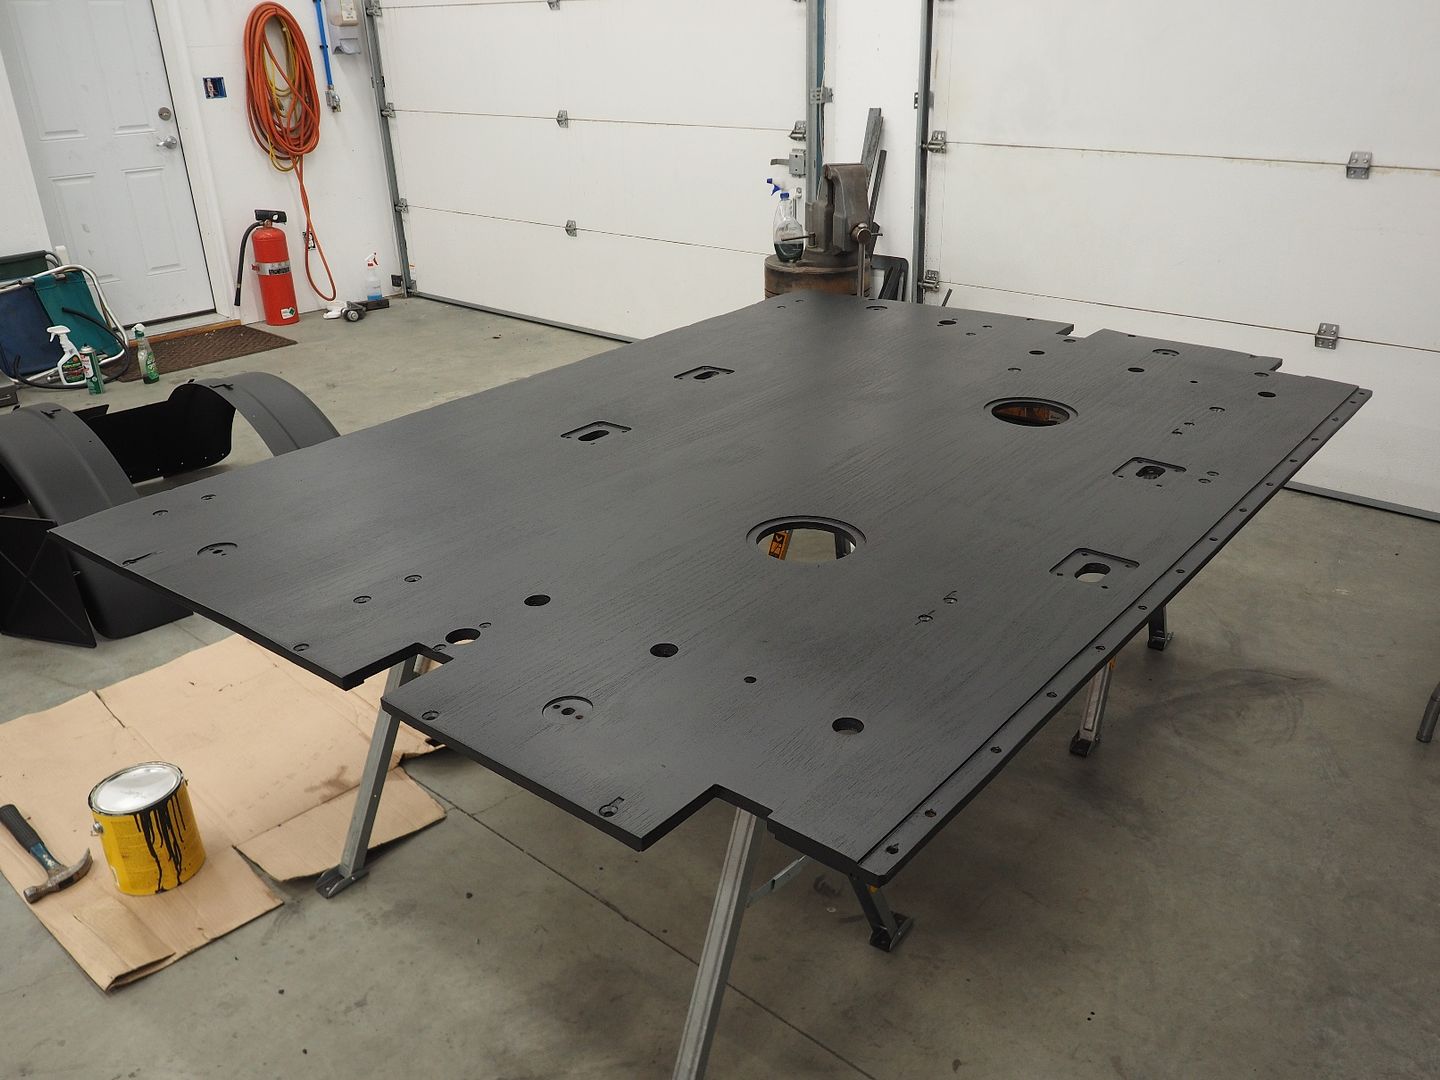
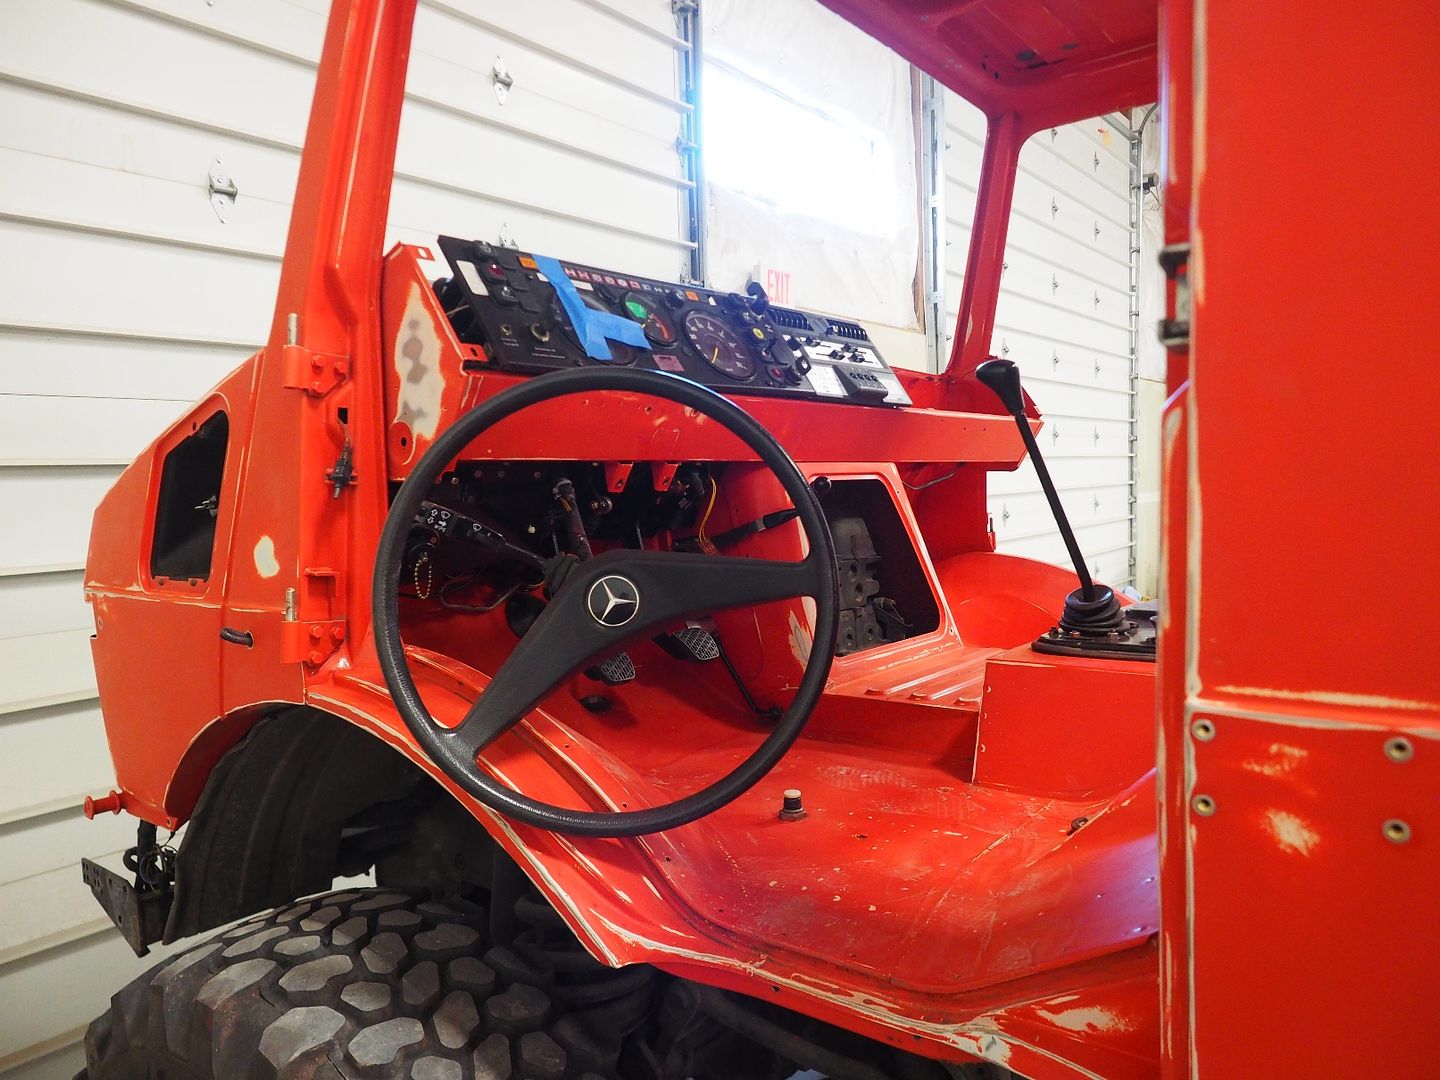
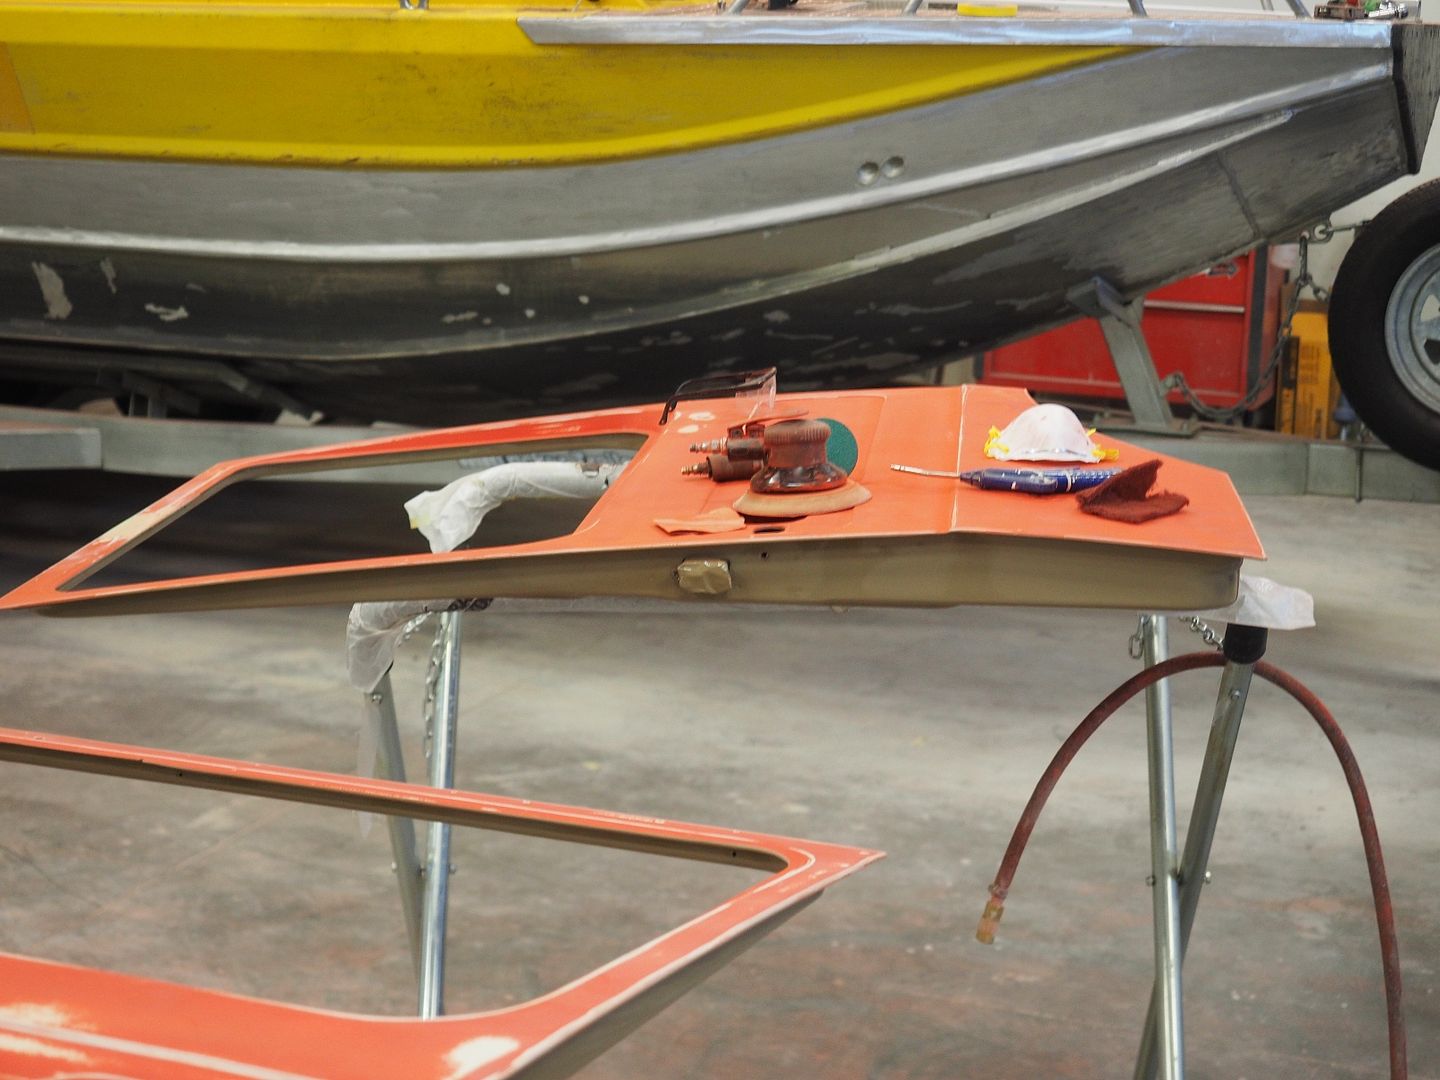
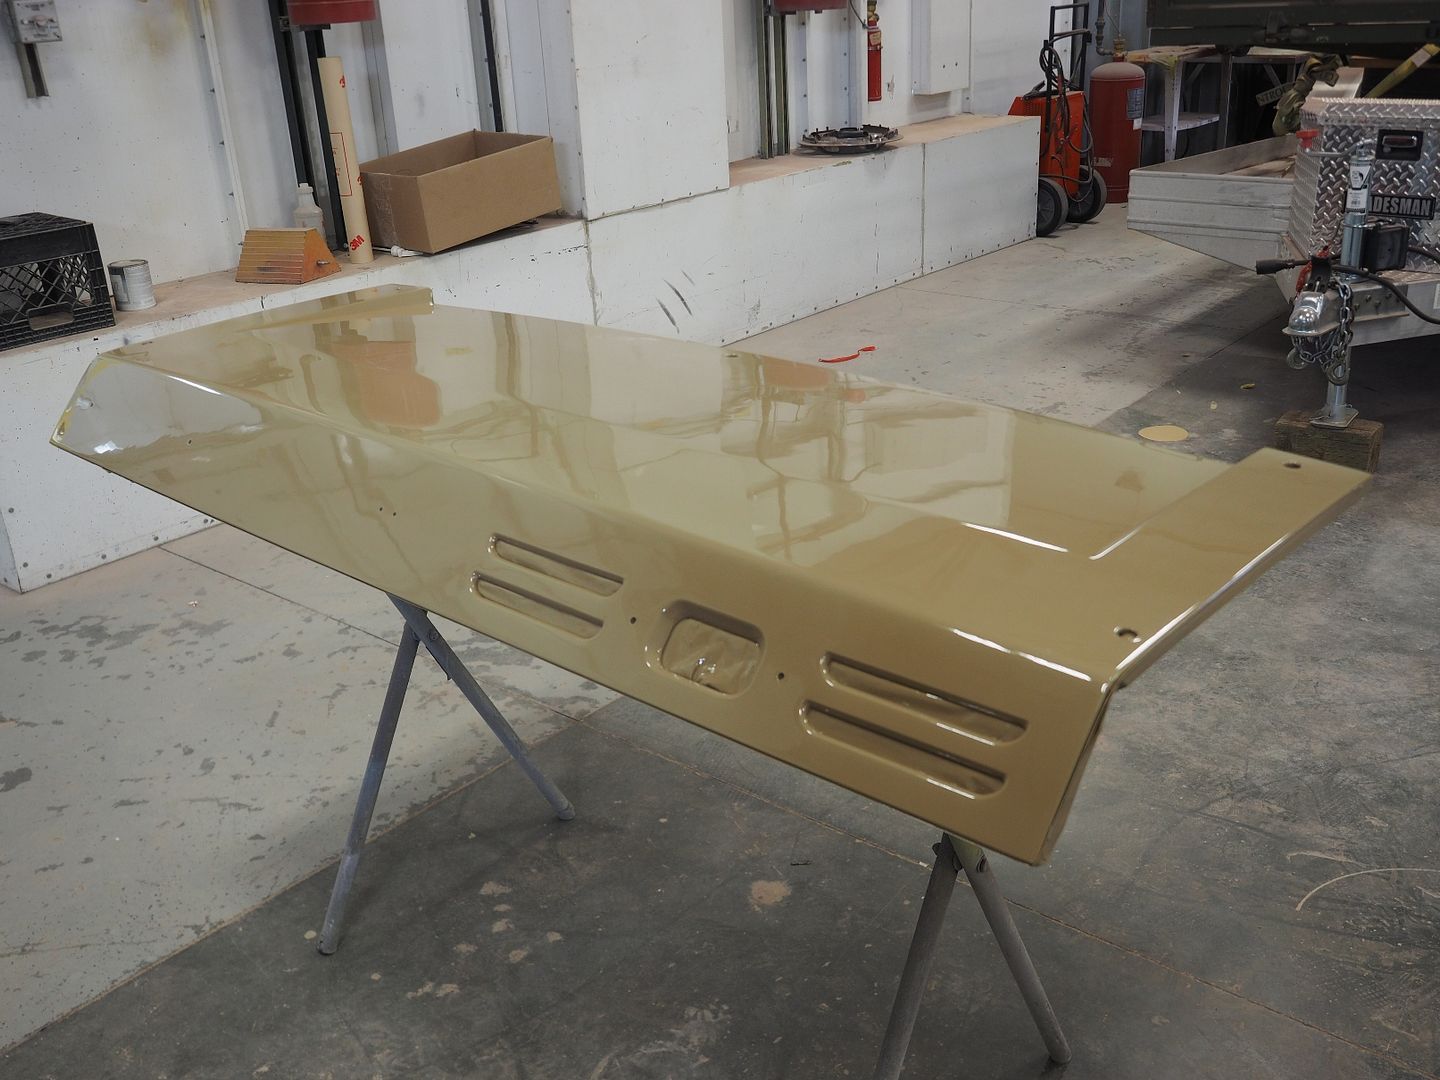
Now back to paint prep......Ugg LoL
Hodakaguy
The Turtle emerging from its den. Forgot my good camera today so the pocket camera will have to do.
Removing the tail lights and wiring
Removing the center mount caps, Dad backing up the bolts from up top.
This is the rear brake proportioning valve, this valve automatically adjusts the rear brake bias depending on load.
Removing the bolts and bushings from the pivot points.
Bed is free at this point and is resting on the center mounts. Rigging is hooked up and the bed is ready to transfer to the trailer.
Bedless.
Bed strapped down for the trip back home.
Hills are turning green....Summer is coming!
Couple pictures of the frame with the bed removed.
Now back to paint prep......Ugg LoL
Hodakaguy
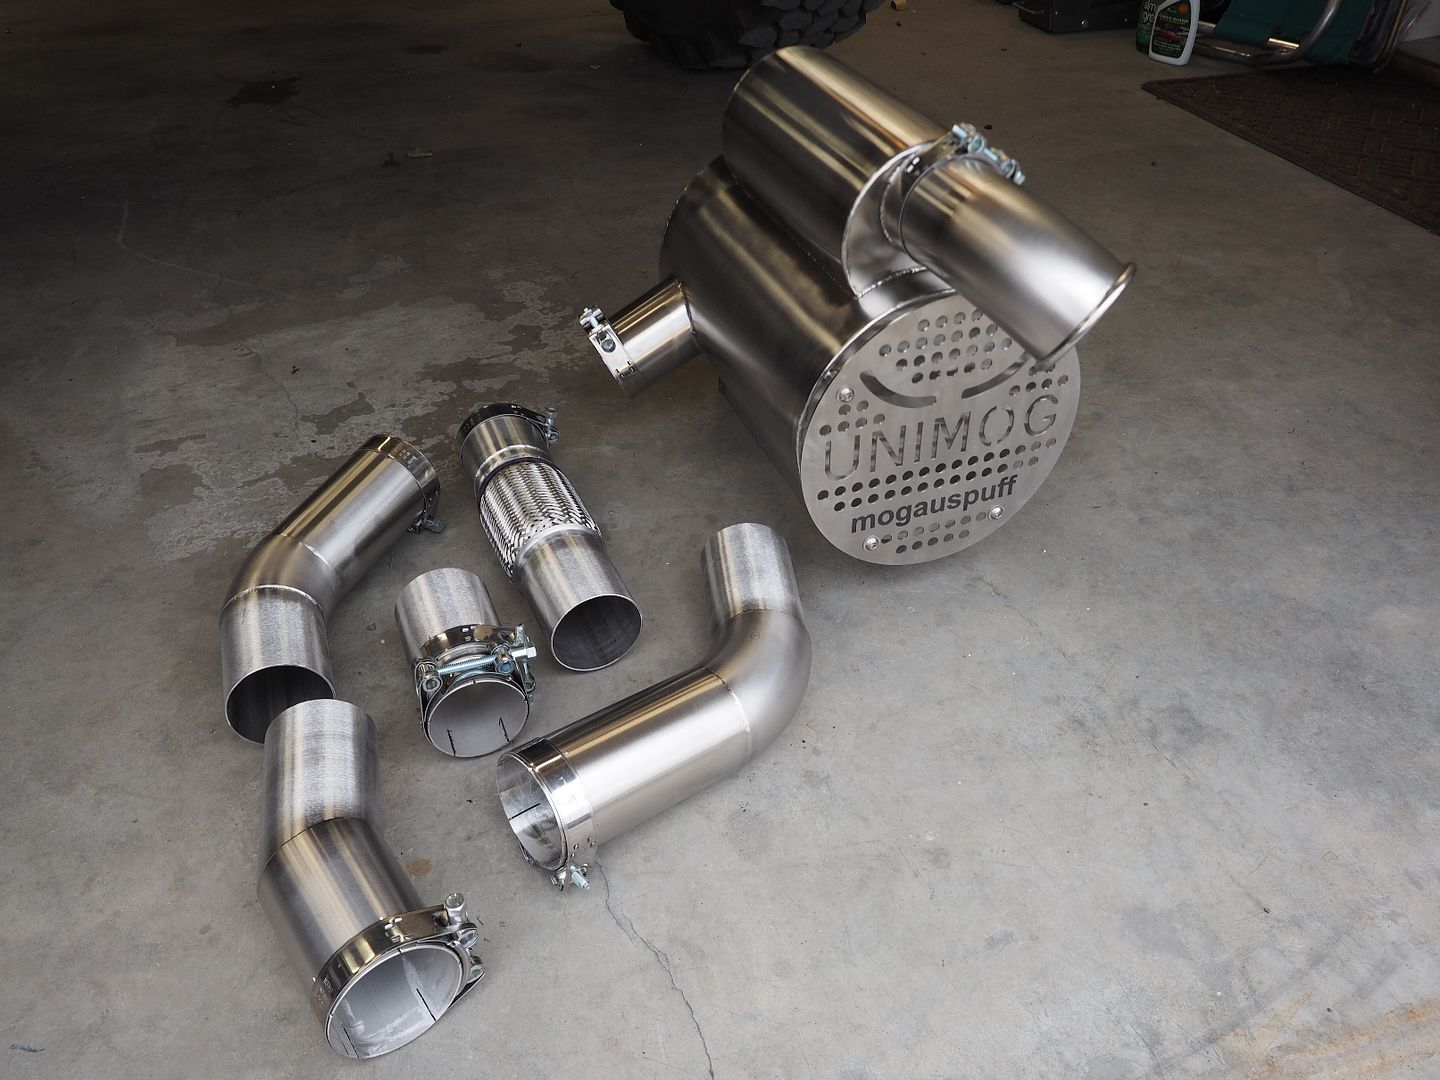
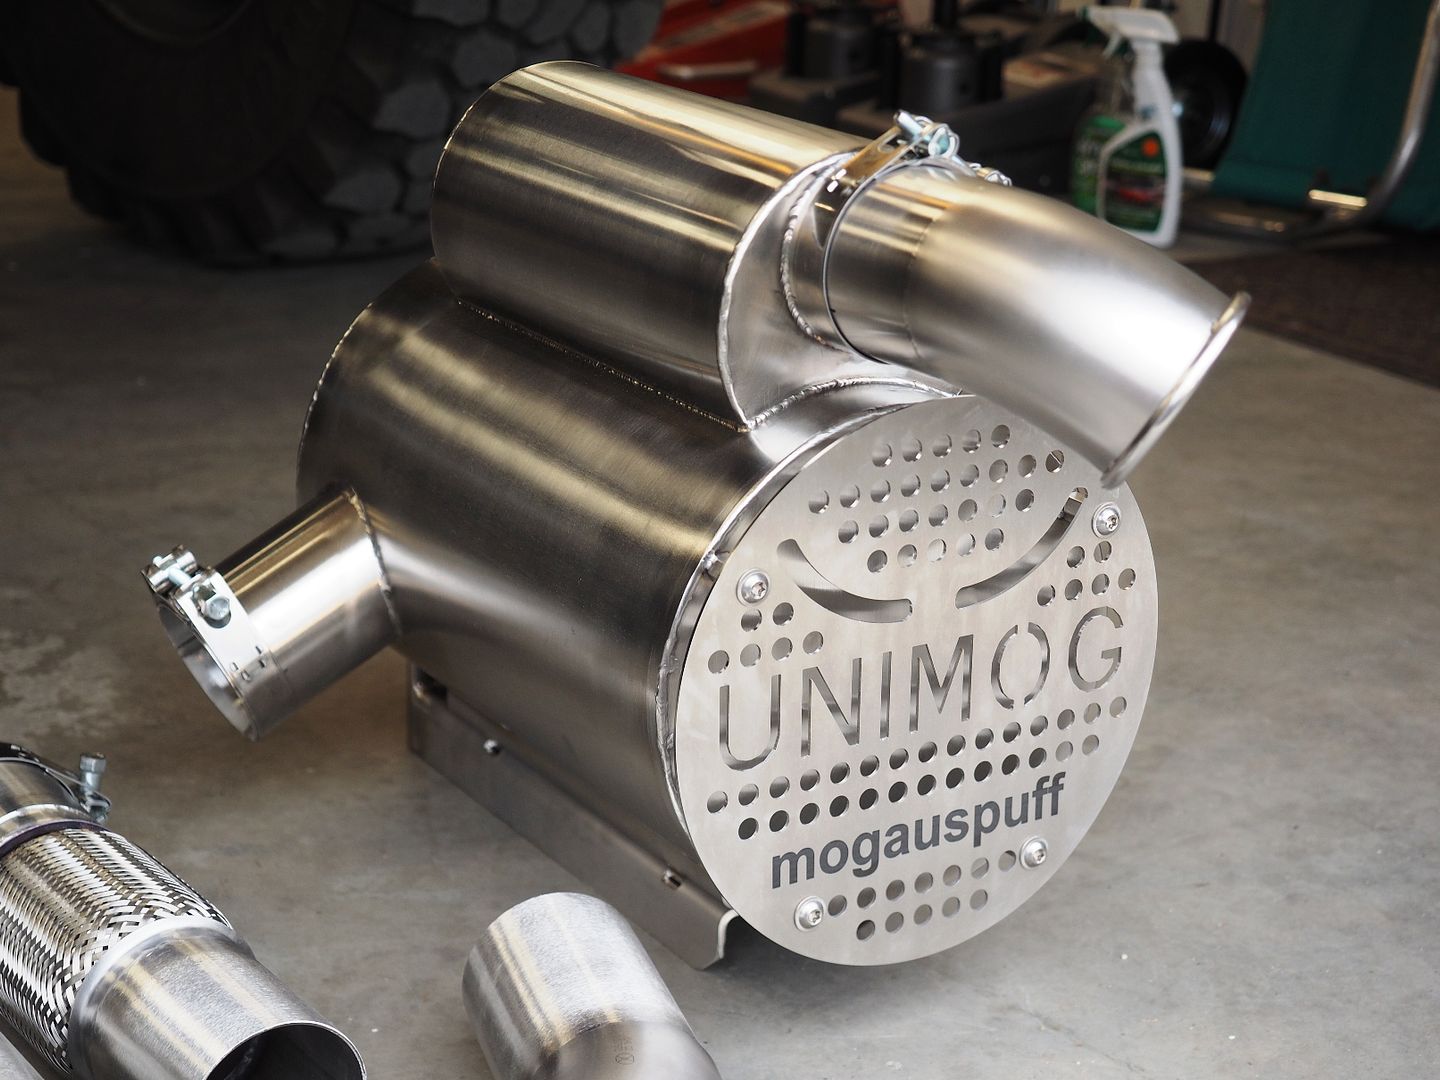
") . This will move the exhaust forward behind the step and clear up room for the extra fuel tank on the drivers side of the truck. Quality looks very nice, can't wait to hear it and should look great.
. This will move the exhaust forward behind the step and clear up room for the extra fuel tank on the drivers side of the truck. Quality looks very nice, can't wait to hear it and should look great.