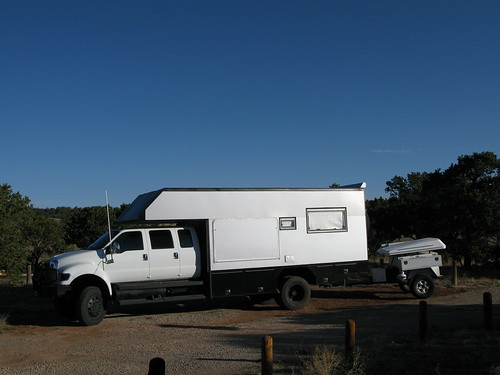
jayshapiro
Adventurer
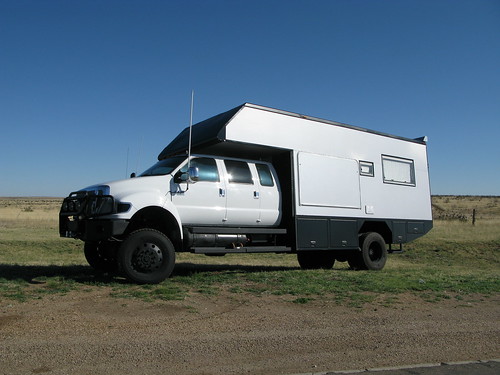
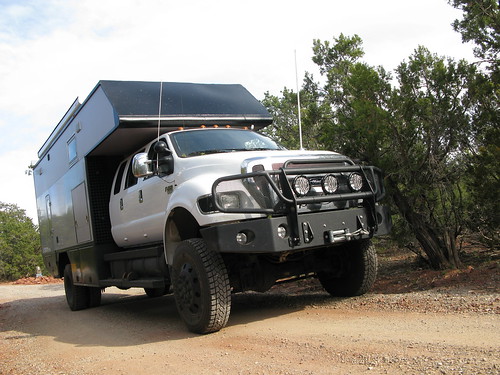
Heading Out
Hi there,
No new pics today (sorry!) but a few updates:
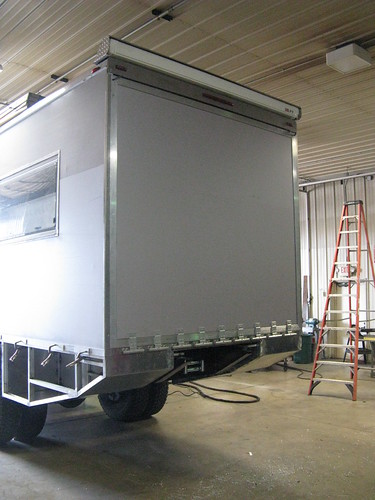
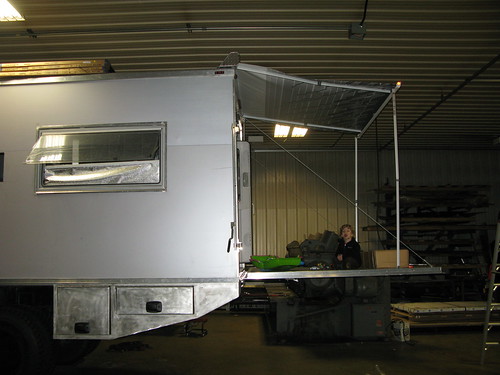
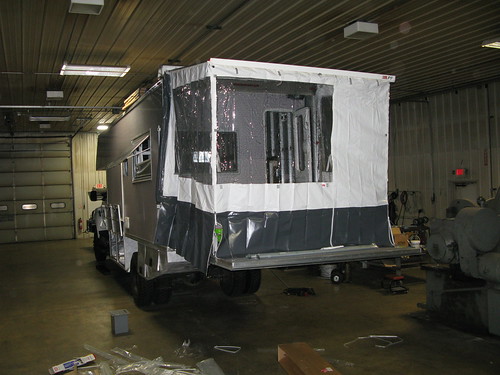
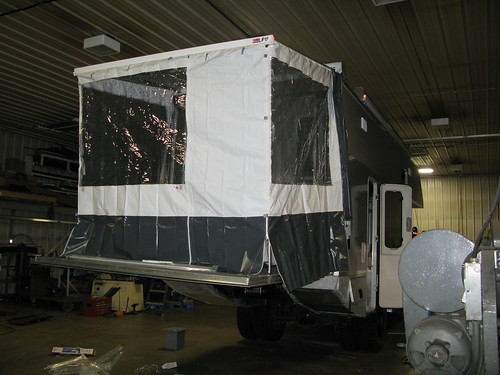
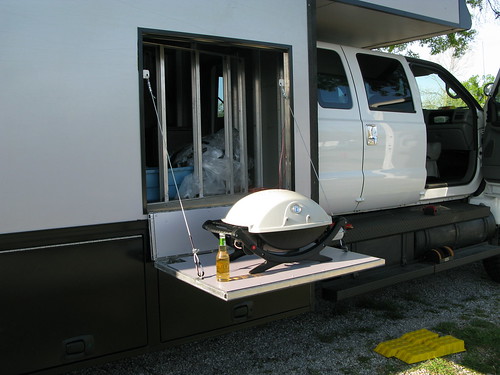
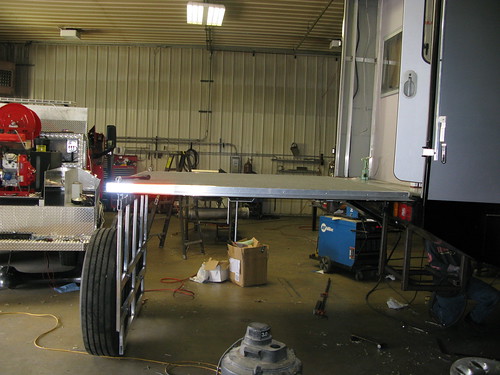
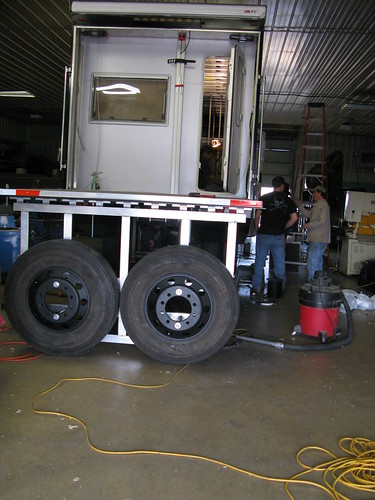
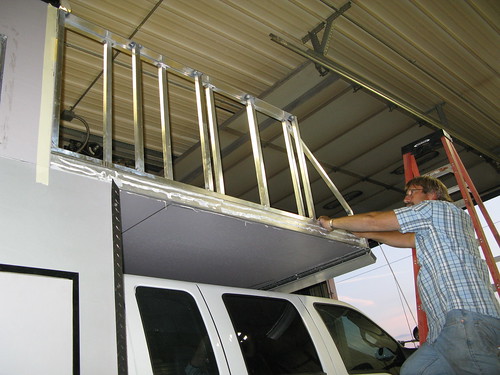
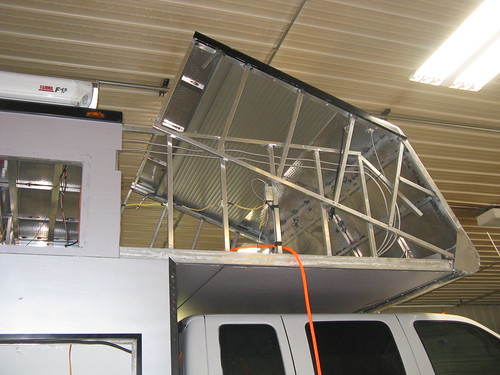
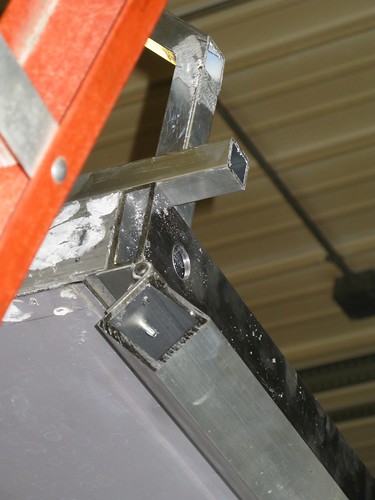
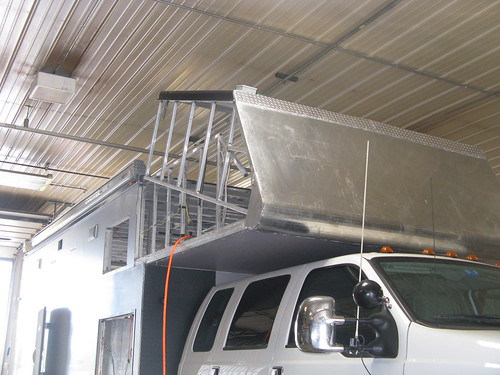
- The rear ramp door / veranda is now fully mounted and carpeted. We still need to build the rails for it, but I can't wait to try it with the Fiamma Tent.
- We were planning on using coil springs with cables to counter weight the ramp door (a la cargo door on a box truck) but it turned out that the door is going to be too heavy once we mount the two spares on it. So, we decided to go with two 2,500lb little electric winches. Probably overkill, but they should last. I was concerned about using electrics (which can go wrong) for something like that, but I figured the ramp door seals tight, and they are inside, so they should never be exposed to the weather or dust. Worst case we can always gather a few people and raise/lower it manually.
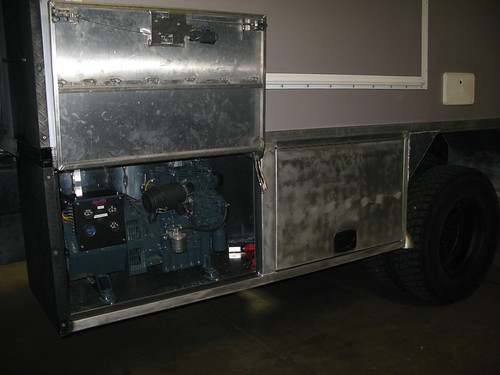
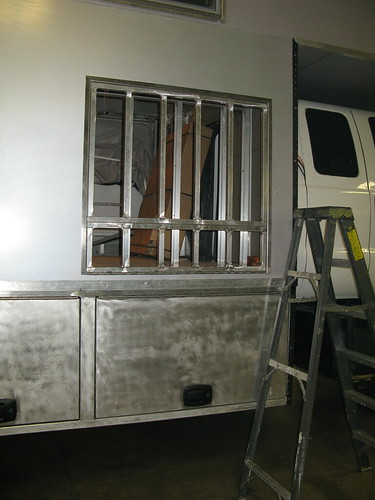
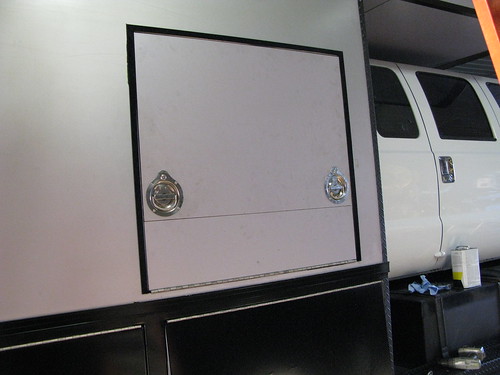
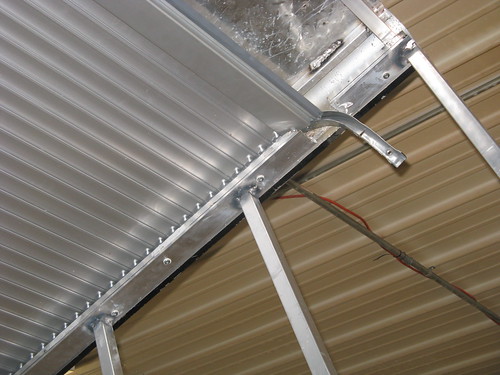
- All the cargo bays are getting their doors on this week. Should be done by Monday when I'll upload new pictures. Very nice design, should be good and water tight.
- We're building two grey water tanks into the triangle gaps around the rear wheel wells. When I get really bored / motivated, I will route a special circuit of the engine coolant (already running back for the water heater) through the grey water tanks to keep them from freezing up.
- The Medex sub-floor is going in next Tuesday, together with the Plyboo stairs unit.
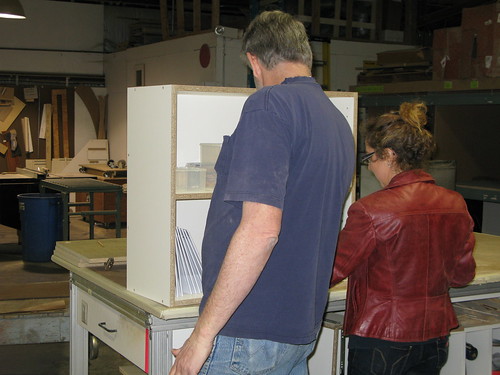
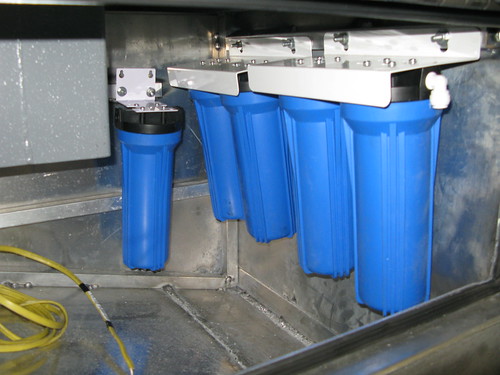
- The LED lights, water filters and kitchen cabinets are next after that...
The timelines are starting to look pretty grim, and I don't think we'll get nearly as much done as I had wanted before the Overland Expo. If you're stopping by don't expect to see too much on the inside... (feels like the Michigan U.P. trip all over again, only 8 months later!)
Cheers,
Jay.
Hi there,
No new pics today (sorry!) but a few updates:
- The rear ramp door / veranda is now fully mounted and carpeted. We still need to build the rails for it, but I can't wait to try it with the Fiamma Tent.
- We were planning on using coil springs with cables to counter weight the ramp door (a la cargo door on a box truck) but it turned out that the door is going to be too heavy once we mount the two spares on it. So, we decided to go with two 2,500lb little electric winches. Probably overkill, but they should last. I was concerned about using electrics (which can go wrong) for something like that, but I figured the ramp door seals tight, and they are inside, so they should never be exposed to the weather or dust. Worst case we can always gather a few people and raise/lower it manually.
- All the cargo bays are getting their doors on this week. Should be done by Monday when I'll upload new pictures. Very nice design, should be good and water tight.
- We're building two grey water tanks into the triangle gaps around the rear wheel wells. When I get really bored / motivated, I will route a special circuit of the engine coolant (already running back for the water heater) through the grey water tanks to keep them from freezing up.
- The Medex sub-floor is going in next Tuesday, together with the Plyboo stairs unit.
- The LED lights, water filters and kitchen cabinets are next after that...
The timelines are starting to look pretty grim, and I don't think we'll get nearly as much done as I had wanted before the Overland Expo. If you're stopping by don't expect to see too much on the inside... (feels like the Michigan U.P. trip all over again, only 8 months later!)
Cheers,
Jay.