Official OZTENT review

Nullifier

Expedition Leader
oztent009.jpg


Well everyone we have talked about it off and on for some time. I have finally got around to getting some picks of the Oztent system with a few of the options they provide for it. Mike and I each got one a few months ago but we have been slammed and had very little time to use them. Today I went up to Croom Wildlife Management area and set up the tent to get picks for every one.

First I want to Thanks Oztent for making it really easy on us to get 2 of the RV-4 units shipped up From Australia. They handled everything and it only took about 14 days once they left OZTENT to get to our door. Four of those days were sitting at customs waiting for the U.S. shipper to get clearance. Oztent is working on getting a real U.S. distributor signed up so hopefully first quarter 2008 these units will be well stocked in the U.S. and readily available. There goal is a full U.S. dealer network in the not to distant future.

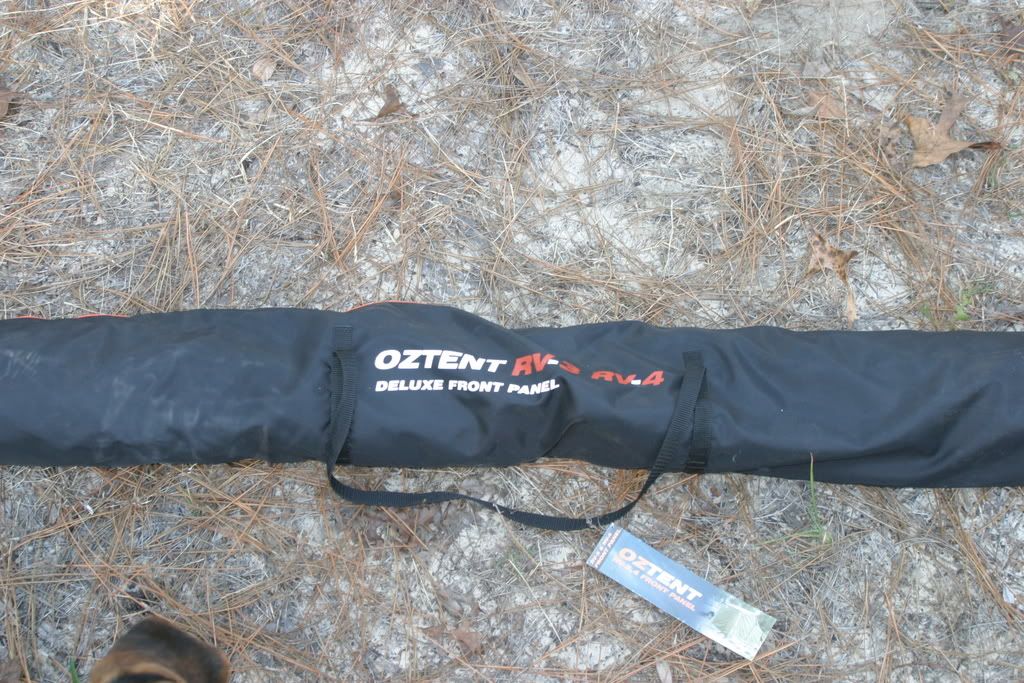
Two large boxes showed up well packaged but as usual beat up pretty bad. Both had actually been torn here and there but luckily nothing fell out of the boxes and everything showed up as planned.

oztent001.jpg

oztent002.jpg


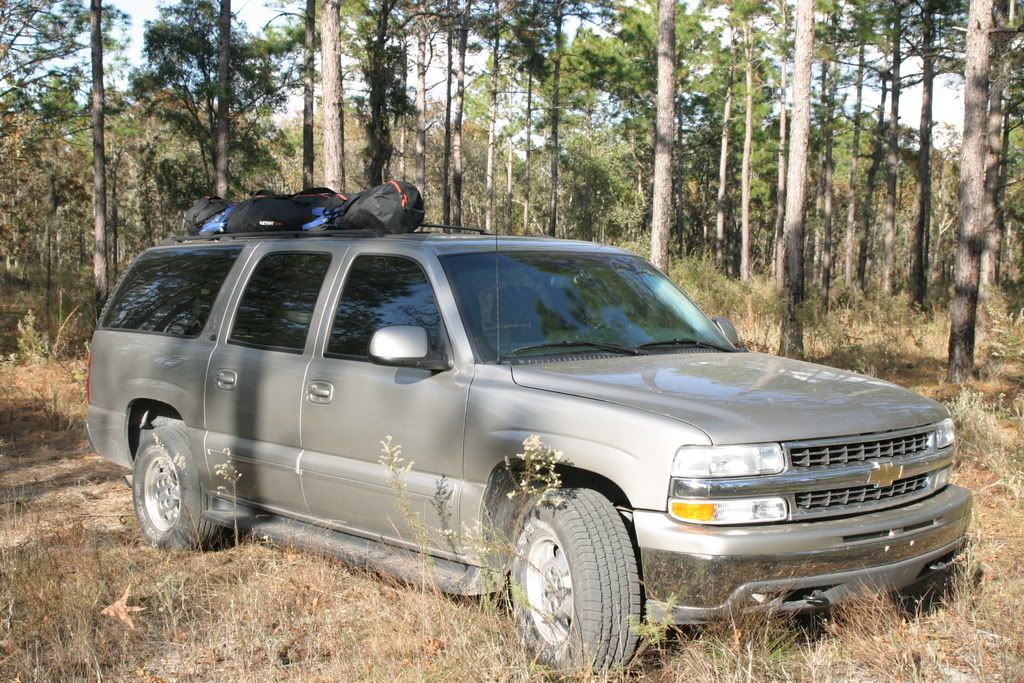
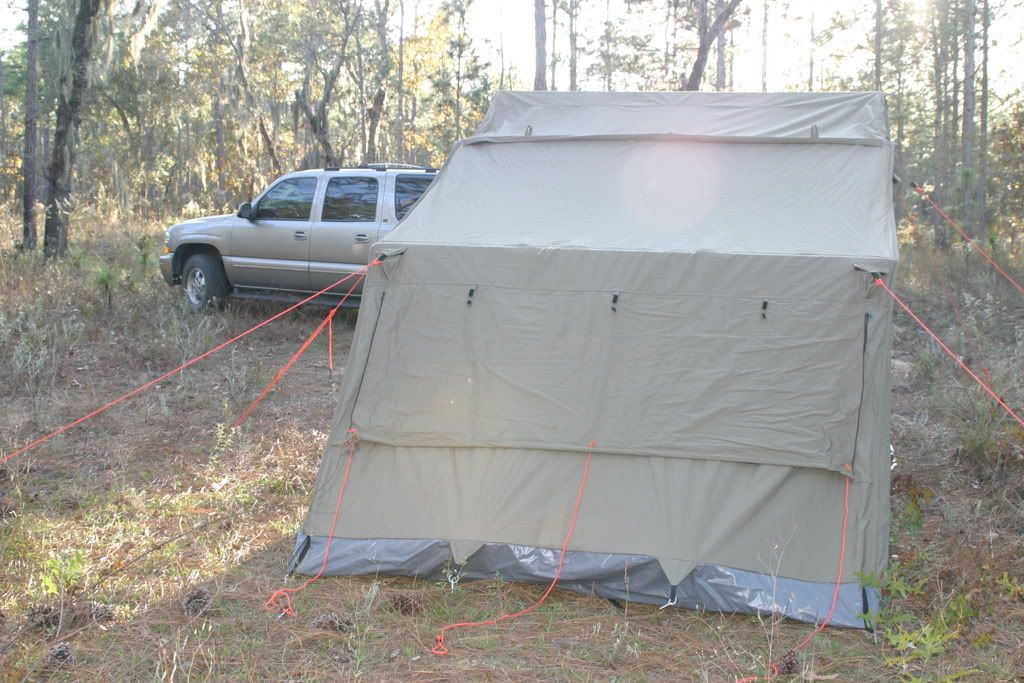
I loaded the Oztent on top of my suburban since I had the 3rd row seat in the back and it would not fit with out removing the seat. For most rigs the roof is where it will ride except for pickups where it will ride in the bed.

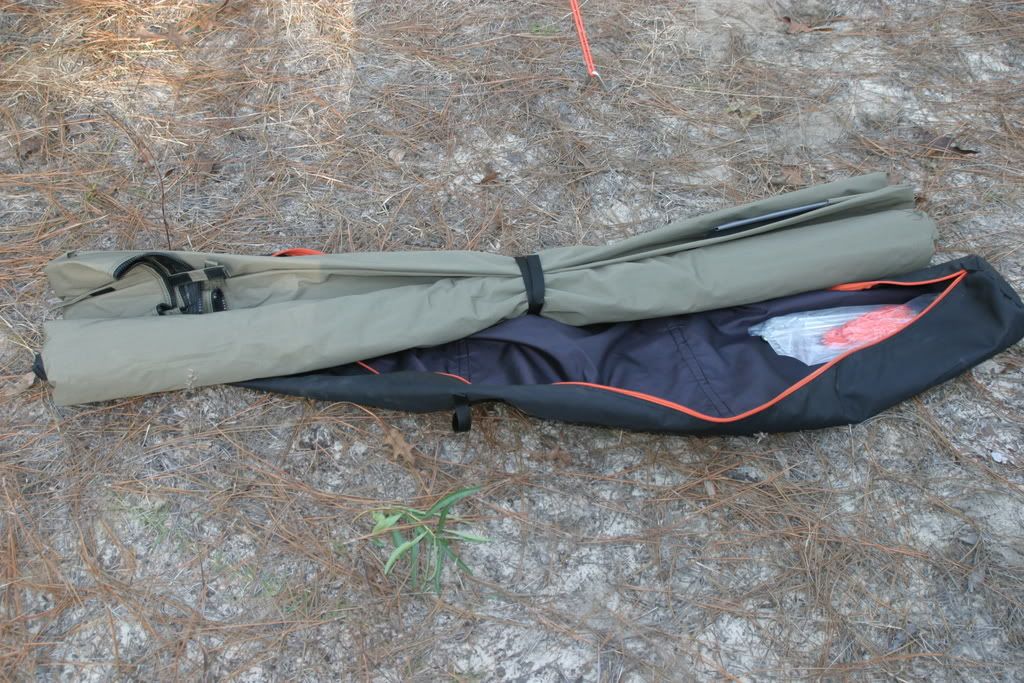
This particular RV-4 model weighed 48lbs on digital shipping scale at my office. So although not the light compact stowable tent you are used to it is still light enough to through on the roof rack with out killing yourself or adding a ridiculous amount of weight up top on the rig. Other units weight less, such as the RV-3 about 10lbs lighter, and they go down from there

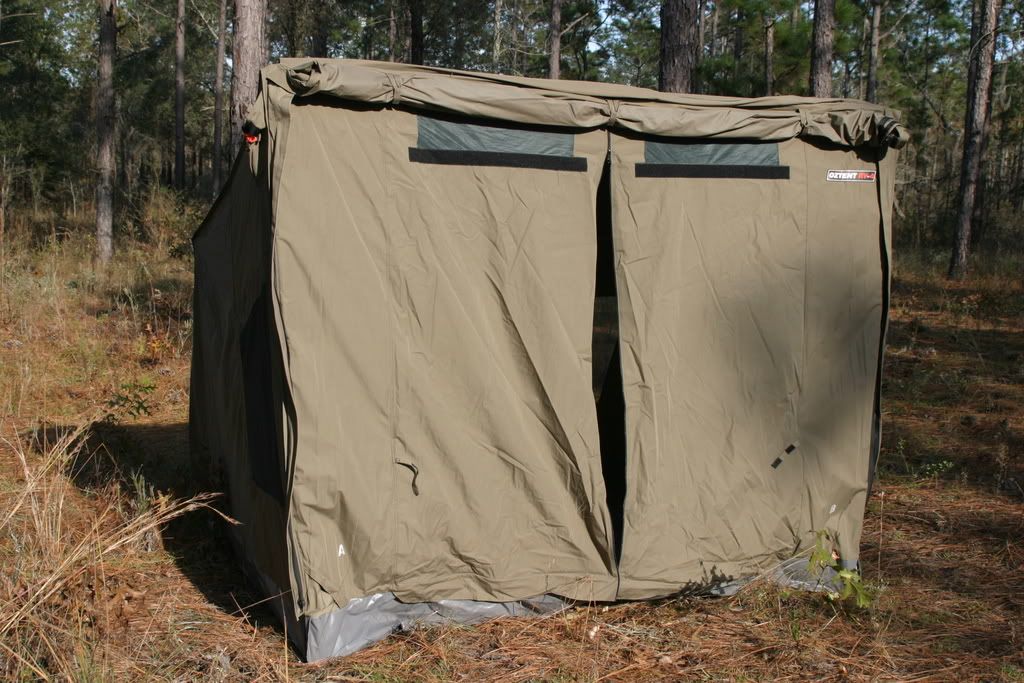
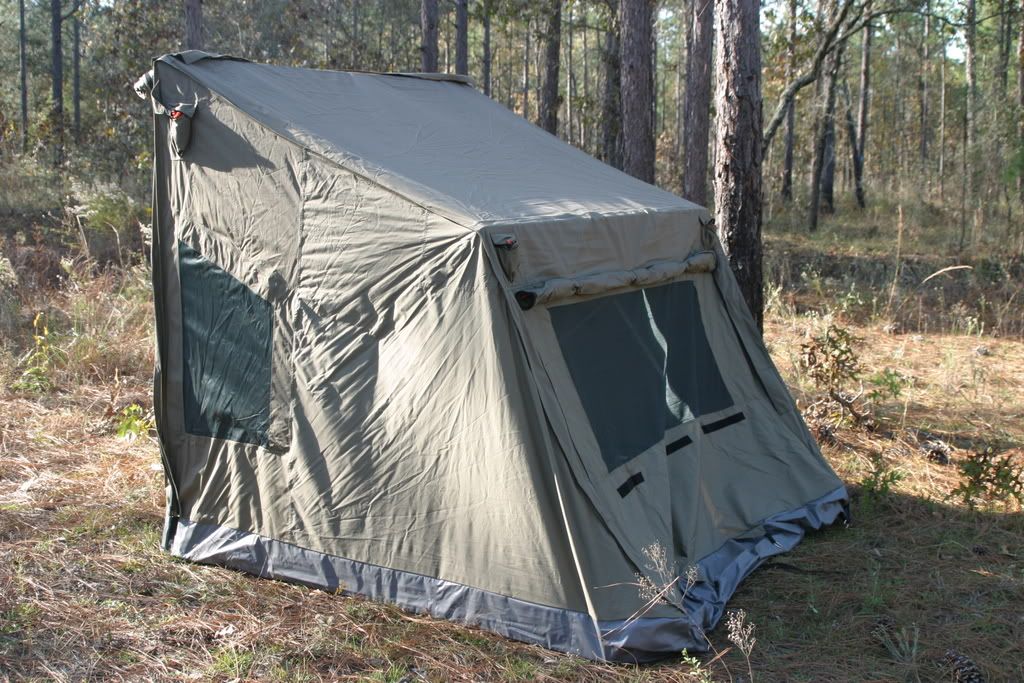
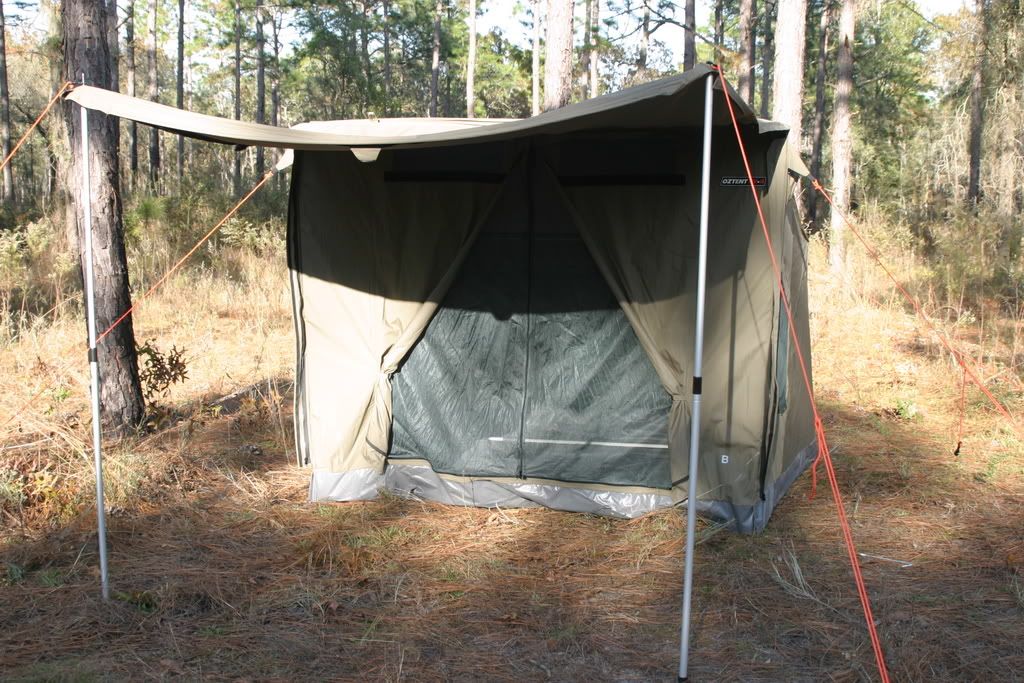
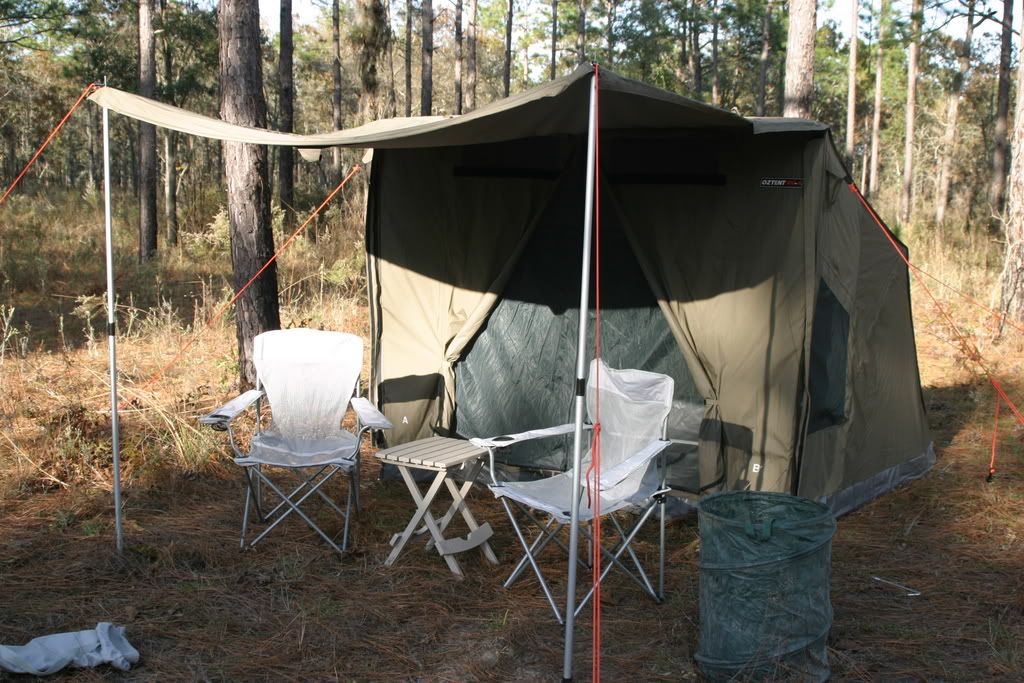
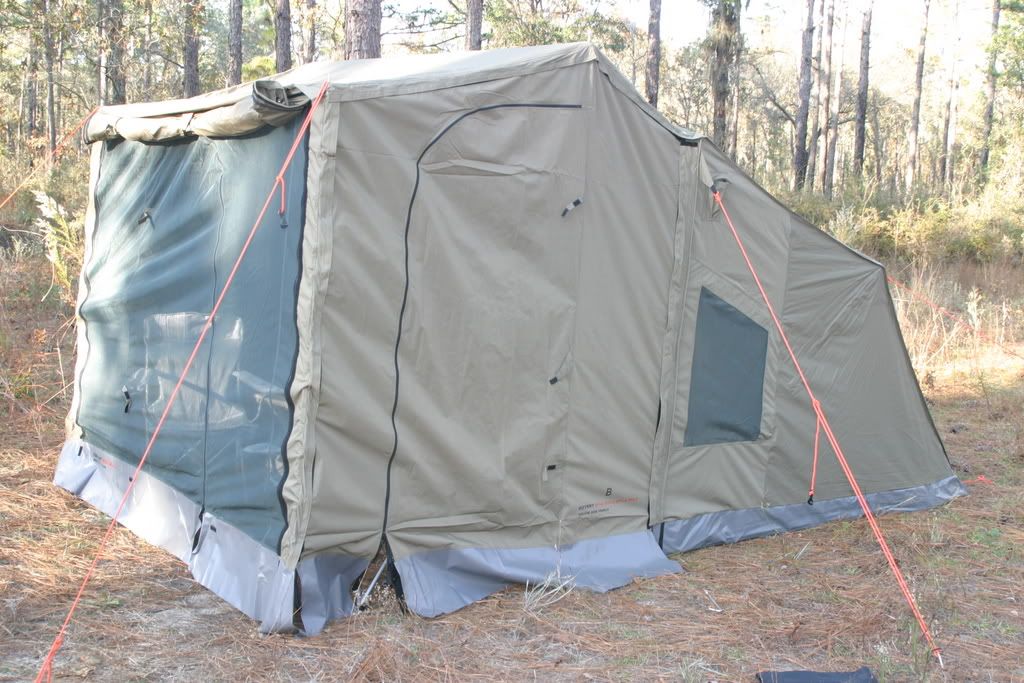
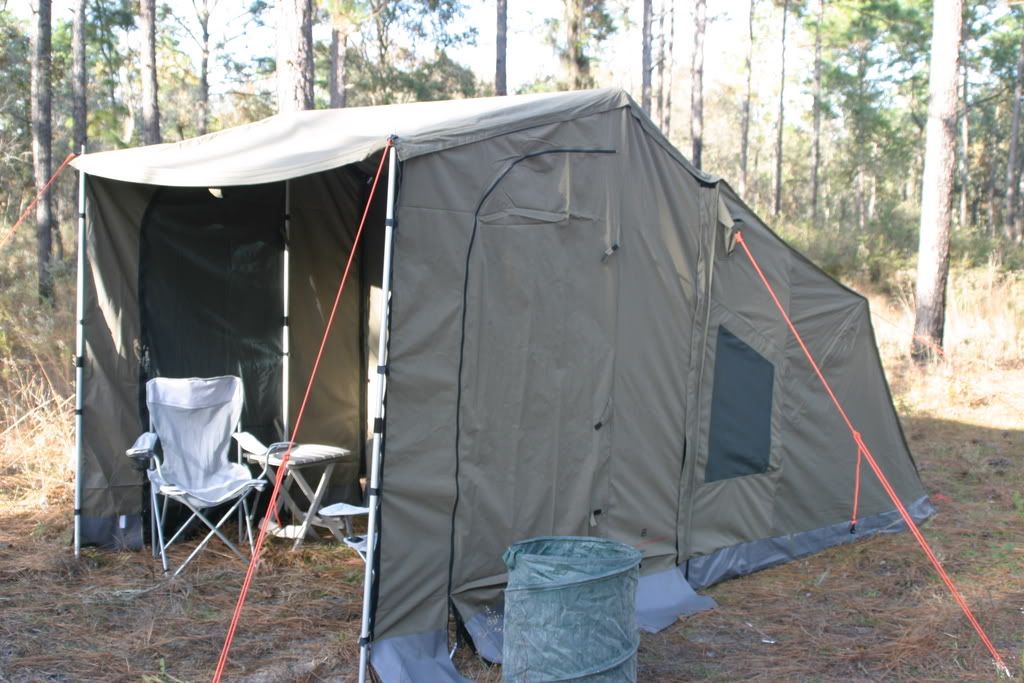
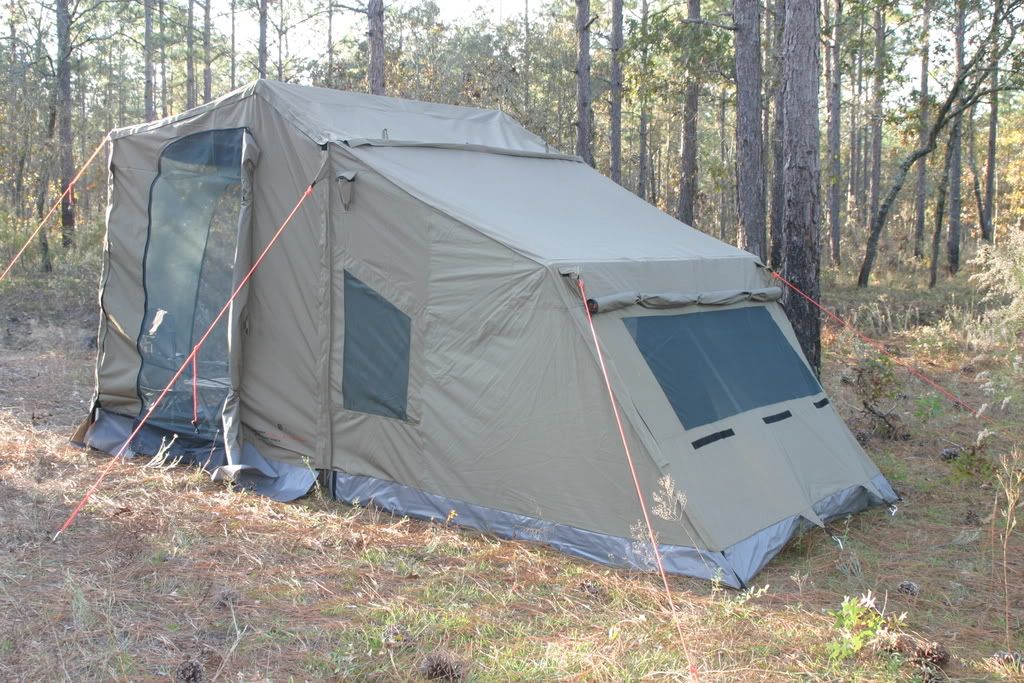
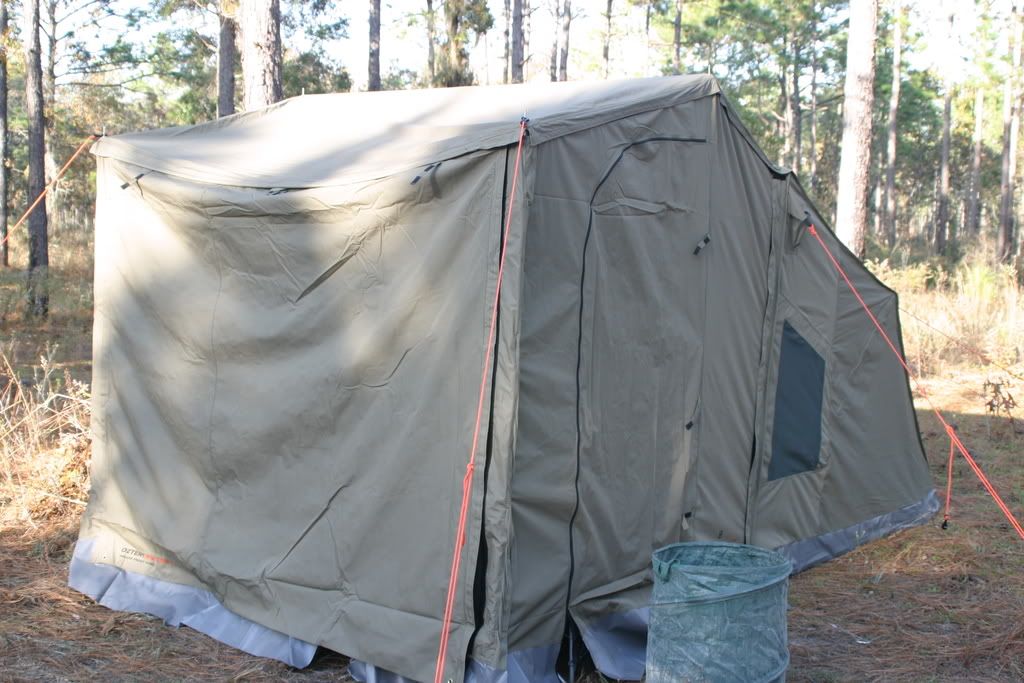
Once off the roof it actually took me 45 seconds to get the tent up and another 30 seconds to put out the 6 basic stakes to secure it. This was by myself and only the second time I deployed it. For heavy weather there are a ton of other stakeout options which you will see later but to set it up in the late of night or in a rain the basic shelter is up in no time. They are very comparable to a roof top tent in set up time.

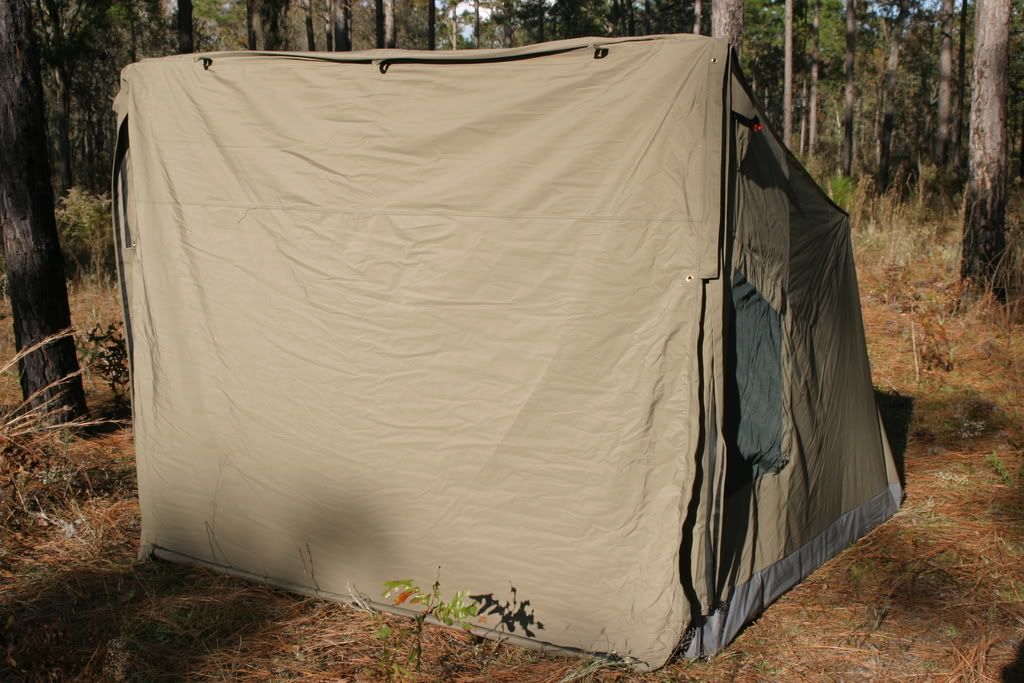
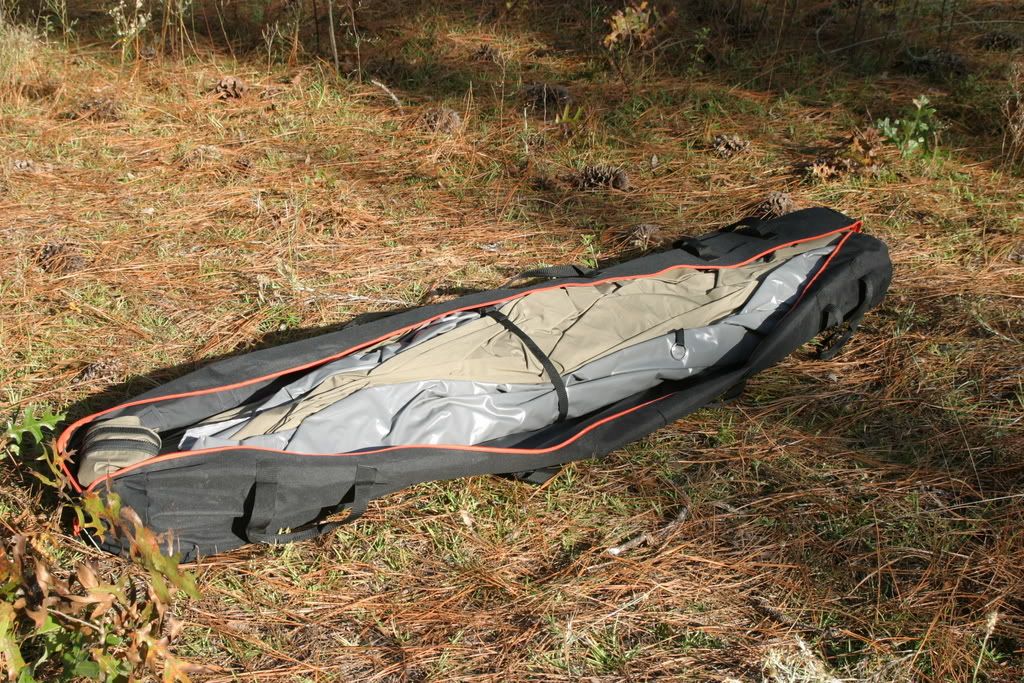
There are 5 steps to deploying the tent.
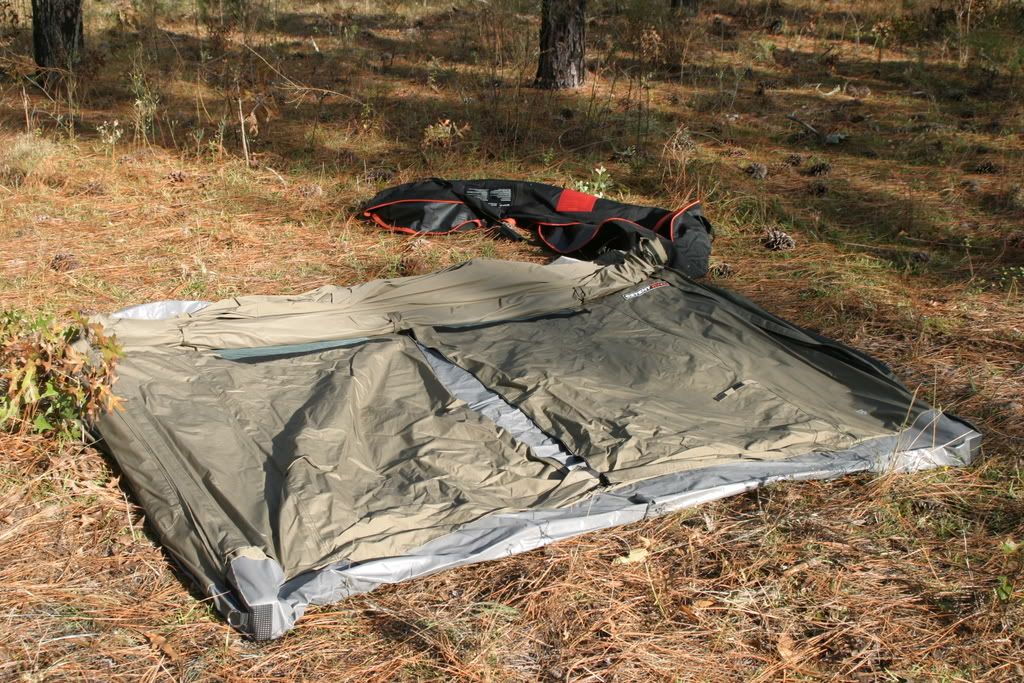
1: Take it out of storage bag.
oztent004.jpg

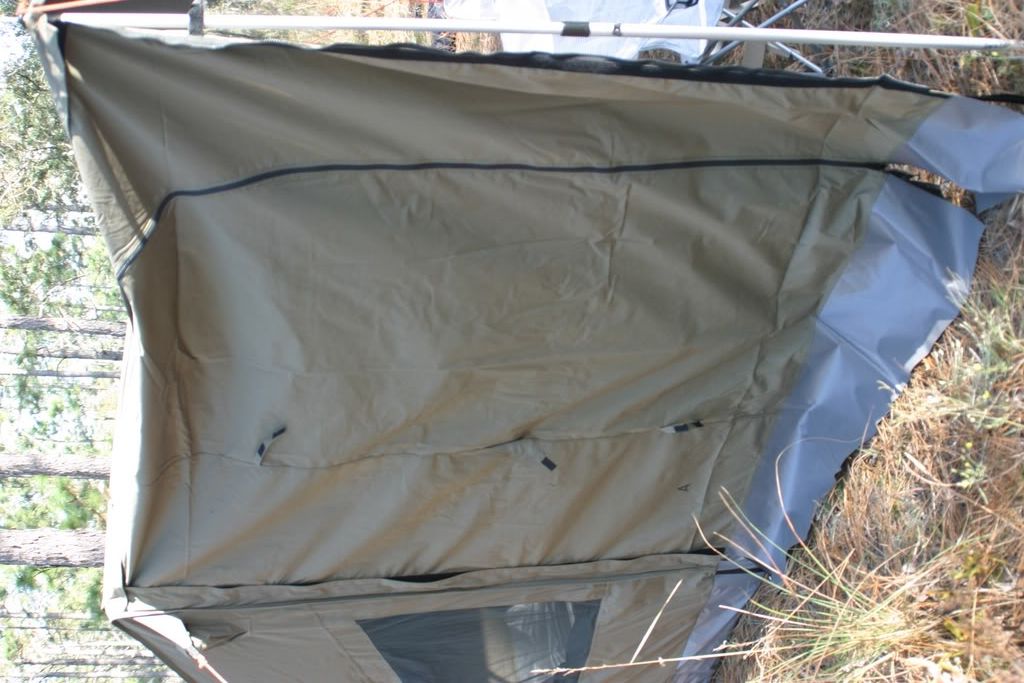
2: fold side "a" out.
oztent005.jpg

3: fold side "B" out
oztent006.jpg

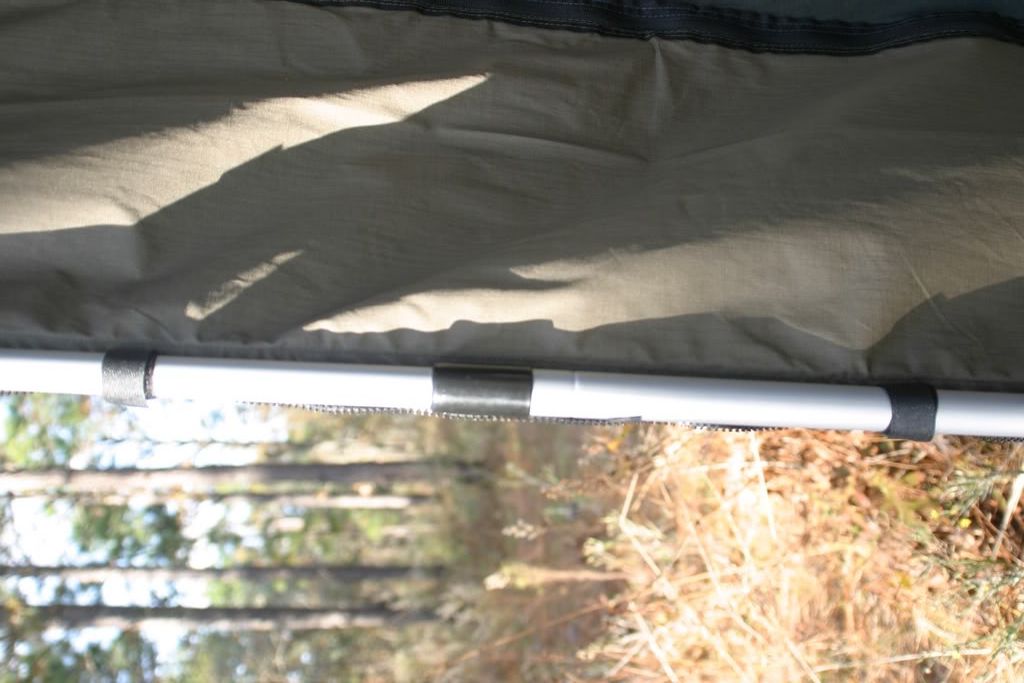
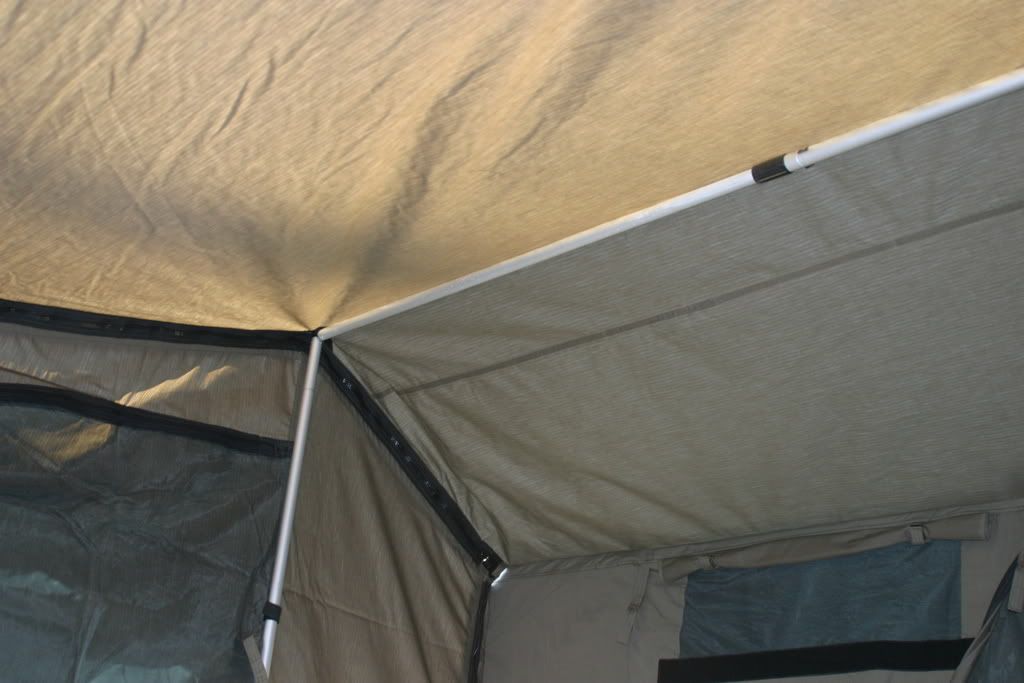
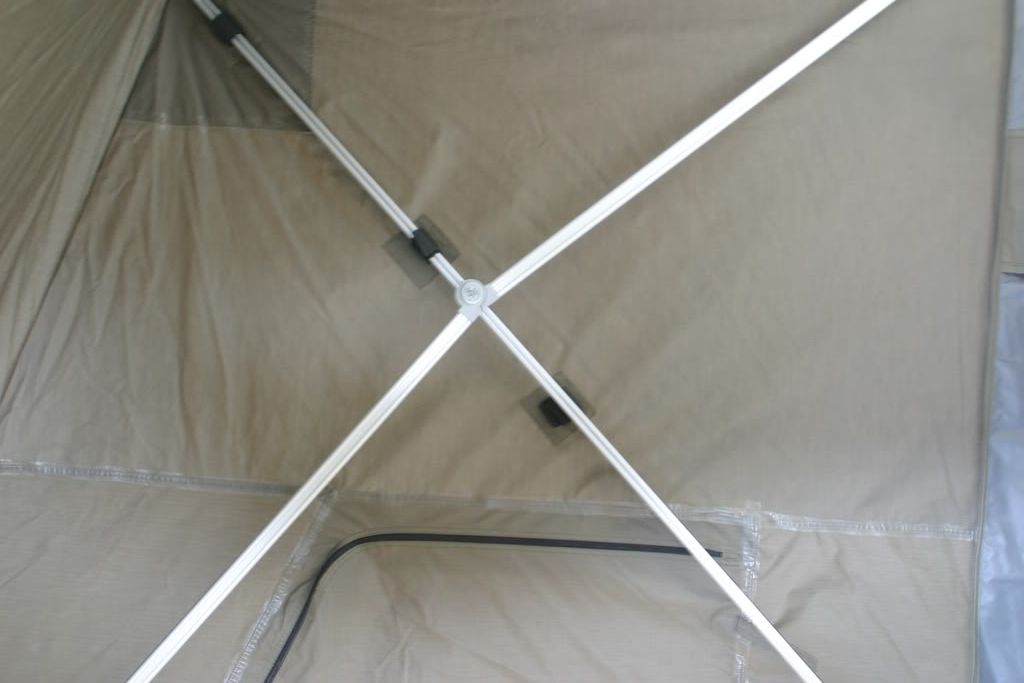
4: Raise the tent and "lock" the internal frame rails
oztent018.jpg

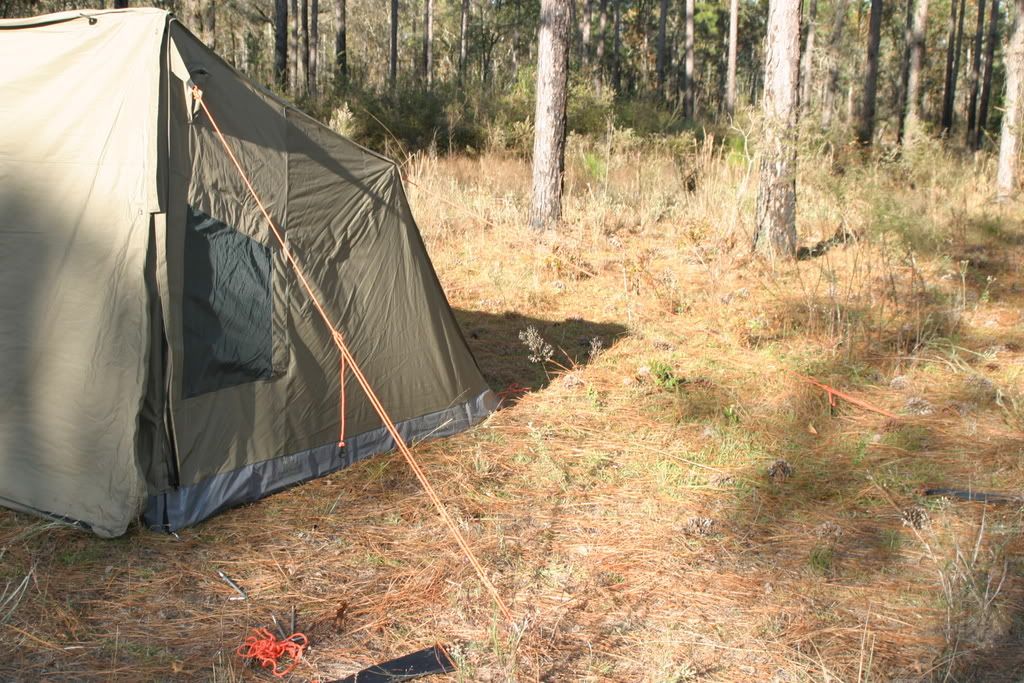
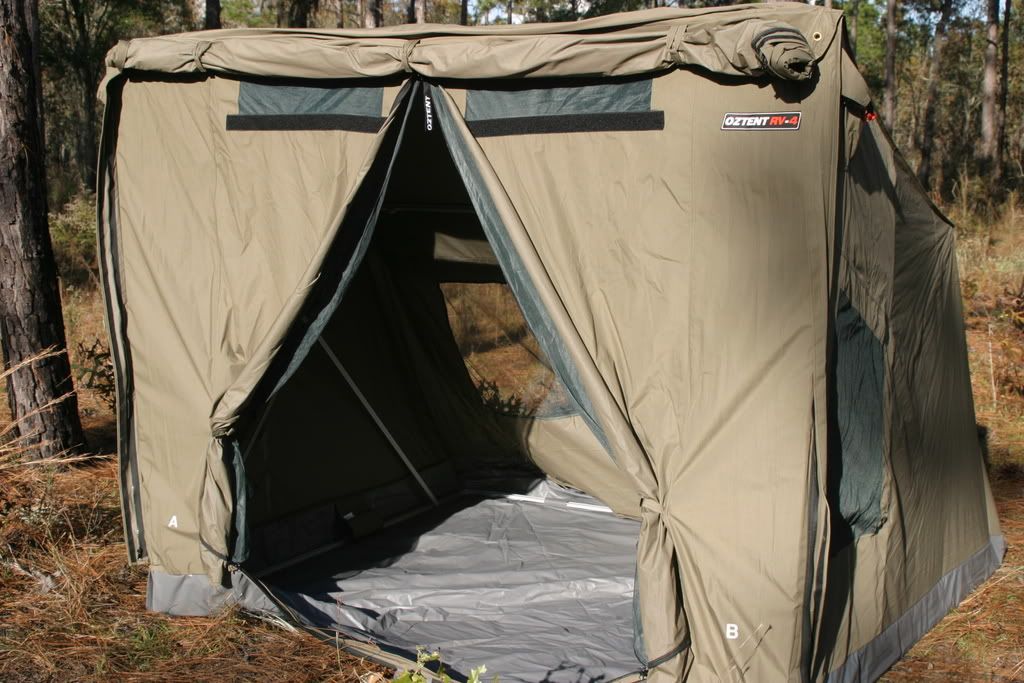
5: stake out the corners and rear wall. 6 staked total
oztent008.jpg

oztent017.jpg


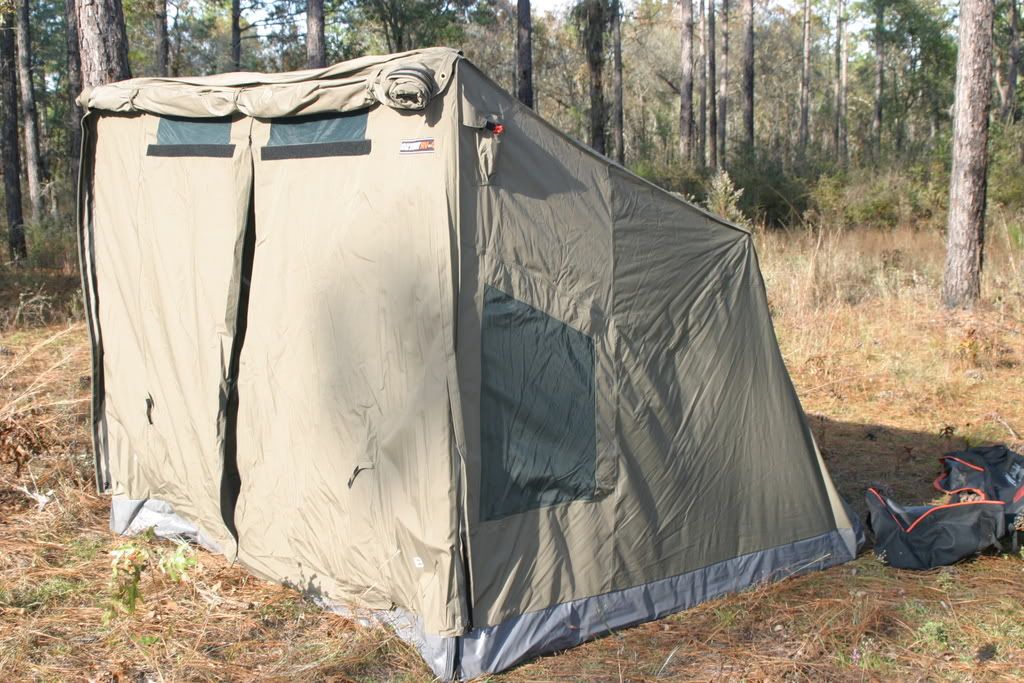
For a quick deployment in a storm or late at night to get to bed fast this is as far as I would go with the tent.
 

detailbarn

Adventurer
Nullifier, thanks for the great review and excellent pictures, do yo have any with a person in the tent or standing next to it for a size reference. thanks
 

Nullifier

Expedition Leader
Once the tent is up you will notice all the details that went into designing it.

Fist there are 2 pockets sewn into the rear wall of the tent above the rear window and one on each side near the front wall.

oztent015.jpg


oztent014.jpg


oztent012.jpg


These contain stake out lines that are built into the tent so there is no time wasted trying to locate the lost ropes to secure the tent in foul weather. The lines are a bright orange color as to help you not trip over them once deployed.


Above the front door are 2 vent windows to let heat escape in warm weather. These have flaps that drop and Velcro over the no seeum mesh for cold weather.

oztent013.jpg

oztent007.jpg


Each side has a decent size window that has flap stays at the bottom to keep the window flap from laying on the bottom of the tent.

oztent020.jpg

oztent021.jpg


The large panoramic rear window has a few great features. The large flap that rolls down for foul weather can also be staked out for added strength to the rear wall once zipped up. Or be left unzipped and staked out to provide shade and ventilation. It has the stake out lines stitched into the flap.

oztent009-1.jpg

oztent051.jpg


Moving inside you notice right away a very thick and durable bathtub style foor and seem sealing through out the tent factory. The internal frame is actually really well put together and secured to the sides of the tent via Velcro fastners. Its aluminum construction will provide years of worry free service. There is even a zippered port large enough to run a zodi tent heater into or power lines from a generator or from the truck. Most importantly is the fact that you can stand up and not hit your head on the tent. Only the tallest of people will have to bend over a bit as they approach the back of the tent.

oztent018.jpg
 

Nullifier

Expedition Leader
Now if I was going to have a camp set up for a full day or longer I would deploy the built in front awning. Simply undo the 3 awning stays and let the awning drop.

oztent025.jpg


Dont forget to stake out the top of the tent.

oztent026.jpg


Then get out the 2 Telscoping twist lock poles and stake them out. You now have a nice porch to sit outside and enjoy the view from your remote camp.

oztent028.jpg

oztent030.jpg
 

Nullifier

Expedition Leader
Just when you think you have your OZTENT set up, you are not done yet my friends. Oztent has released several well designed accessories for the tents. We have aquired a few of them to show you how expandable the tents really are. Often times on extended trips you will Base camp and then set out for day adventures like hiking, fishing, photography hunting, paddling, exploring trails in the ol’ 4wd or maybe your base camping as a pit crew for a Baja race team. No matter why you do it, nothing is better then coming back to a camp that is ready for you to go to sleep in comfort, cook a meal under a shelter in bad weather, load pics on the laptop or crack an adult beverage and hang with your closest friends in the wilderness.

A preview

oztent044.jpg


Oztent has designed a fully expandable porch system. With options such as side panels, deluxe side panels (featured), front panel (featured), ground sheet, rain fly, R.V. connector, and awning connector. These options make an already unqie tent a one of a kind camping condo.

We will fisrt add to our RV-4 the deluxe peaked side panels. We opted for the deluxe version since it features a peaked roof which will help significantly with rain run off and fight pooling on the awning, since we live in an area where rain is a constant. The install process is realtivelty quick and painless.

oztent041.jpg


First zip the side panels to the top section of the awning and then to the actual tent.

oztent034.jpg


All of the zippers are then covered with built in storm flaps that Velcro into place.

At the front of the porch you can now use the Velcro ties and attach the side panels to the front poles to secure them.

oztent035.jpg


Next get out the 2 telescoping poles from the kit and install them remembering the top cross support. At this time you are ready to stake out the added poles for extra stability.

oztent035.jpg

oztent038.jpg


I did not stake them out today and would say that the stakes are only needed in heavy weather. There are even extra stake out points sewn into the side panels to really secure it in very heavy winds.

oztent046.jpg


The side doors feature no see-um mesh for ventilation as well.

oztent037.jpg

oztent056.jpg


As you can see we have a nice sitting area protected from wind and nicely shaded There is plenty of room for 4 chairs and 2 end tables in the front porch with out feeling cramped since the front porch measure 8’ wide by 7’ out.

oztent037.jpg
 

Nullifier

Expedition Leader
Lastly is the front panel.

oztent040.jpg

oztent041.jpg


This will allow you to have a fully enclosed room to get away from mosquitoes, wind, or rain. Start by installing a cross bar at the front of the porch by placing it on top of the forward poles.

oztent042-2.jpg


Next zip the panel to the forward edge of the porch then down the corners. Finally use the Velcro ties to secure it to the front poles. You can adjust the poles height so the bottom flaps rest on the ground. In these pics I have the poles set a little to high so the flaps are not on the ground.

oztent045-1.jpg
 
Last edited:

Nullifier

Expedition Leader
These pics show you the full set up . I have placed a plastic 6’ table inside the screen room on one side for a kitchen table. I travel with a smaller lighter table I just wanted to show what could be used in this space. I still have 2 chairs and an end table on the other side of the screen room. Ther was still plenty of room to stand around and cook! If you are a hunter use this room to get your dogs, guns or ATV out of the rain.

oztent050.jpg

oztent047.jpg

oztent048.jpg


The front panels weather cover can be rolled up to allow ventilation and expose a no see-um door. Or with getting some extra twist lock poles you could deploy the front panels weather wall as another extended awning! That would give you a tent, a screened room and an outside sitting area!!! The tent and screen room give you an 8’x14’ foot print and with the screen rooms awning extended make it an 8’x20’ area! Oh and remember that with the optional connector you can hook to Oztents awning together. So by hooking 2 RV-4 models together with the side panels you would have an 8’X16’ screened room. Plenty of room for a group to hang out, with sleeping quarters on each end. Snorers in one tent, non snores in the other!

These tents have a great range of sizes for 1 person to an even bigger size then the RV-4 for large groups. The RV-4 unit will sleep 5 no issue on sleeping pads. My wife and I roll in comfort so we are now using nice cots and we have plenty of room for our dogs crate and other essential items with out even thinking about it.

All in all the most impressive Fast deploy ground tent I have ever seen. It is no wonder why these things are so popular down under. We are really looking forward to getting more tent time in these units in the next few months. We will continue to follow up on these units as they get more use and abuse.
 

Beowulf

Expedition Leader
Now that is a review. Thank you for taking the time to post all that up. I wish I had the time to do that much on the products I buy.
 
Outstanding!

Great review. That is a wonderful set up with tons of potential with all the accesories.

Do I understand it cost you 500.00 just to ship it??
 

Nullifier

Expedition Leader
ken richardson said:
Great review. That is a wonderful set up with tons of potential with all the accesories.

Do I understand it cost you 500.00 just to ship it??


Yes but that was 2 tents. So shipping was reallly $250.00. Probably not far off of getting a RTT shipped across the U.S. Plus once a U.S. distributor is set up, the shipping cost will not be a big factor since the tents will be shipped to the U.S. by the container load rather then 1 at a time.
 

Tucson T4R

Expedition Leader
That is a sweet set up! Thanks for posting your review. I like the versatile set up options.

FYI.... I have the same vinyl flaps around the bottom of my tent sides on my KK. If you lower your front poles a bit, they will layout on the ground around the tent edges. This way you can bury the flaps in the sand or dirt to totally seal out any unwanted critters or blowing wind/rain.
 

spressomon

Expedition Leader
Nullifier: Great review and pics: Thanks!

I want a similar set-up that will attach to my Maggiolina atop my Horizon to serve as a vestibule/sheltered entrance/exit for the Maggiolina. The 'X' bracing looks like it facilitates quick set-up while providing respectable rigidity for the tent.

Gives me some ideas!
 
Last edited:

offroad_nomad

Adventurer
Your RV-4 with the enclosed "porch" looks great.

I have an Oztent "Microfast" MI-4 that I got a couple of years ago, works great but I understand the "MI" series tents have been discontinued.
 

Moody

Needs to get out more
Wow. I like it. A lot, actually. I used to work as a sales guy at a high-end gear store and I am overly critical of gear, especially tents. I am anxious to hear more after some long term use in the field. What is the US cost on one of the basic tents? As shown with the awning/extra room cost?
 

Forum statistics

Threads
185,821
Messages
2,878,590
Members
225,378
Latest member
norcalmaier
Top