MegAmbo Summary Thread

ImageUploadedByTapatalk1380648648.314013.jpg

Due to an increasing number of inquiries to the building of MegAmbo I have decided to finally make a sort of retroactive build thread to summarize my build and hopefully answer some questions fellow members have. I will be updating this thread hopefully daily for a while to try to compartmentalize the huge build. Enjoy!!


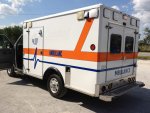
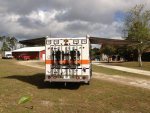
Jumping into the way back machine. We can go back to April 2012 when I purchased the 2004 Wheeled Coach ambulance. 138" wheelbase,SRW , 6.0 powerstroke turbo diesel for $4,440 near my hometown in FL

Original ad photo..
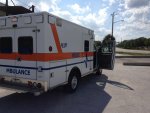
ImageUploadedByTapatalk1380648679.833021.jpg

The day I bought it
ImageUploadedByTapatalk1380648796.003559.jpg
ImageUploadedByTapatalk1380648813.179029.jpg
 

Magilla82

Observer
I'm looking forward to this. I had an ambulance before, got a divorce, needed to sell it... Now on the search for a new Bambulance project :smiley_drive:
 
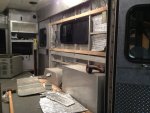
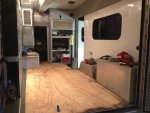
First things first... I cleaned,cleaned and steam cleaned.. Then I cleaned some more and started gutting the interior..

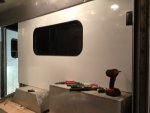
Started with gutting the passenger side wall to better insulate, reframe wall and install the Hehr sliding window.
ImageUploadedByTapatalk1380683246.558499.jpg

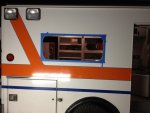
Taping the outside and cutting window..
ImageUploadedByTapatalk1380683304.594988.jpg

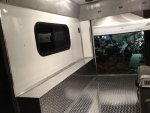
Wall closed and skinned with white .040 aluminum sheet
ImageUploadedByTapatalk1380683357.932714.jpg
ImageUploadedByTapatalk1380683376.932435.jpg

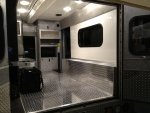
And finally the diamond plate storage box I made to cover the exterior compartment and wheel well are and create a storage box..
ImageUploadedByTapatalk1380683550.540370.jpg
ImageUploadedByTapatalk1380683948.522652.jpg

Also at this point I had changed all of the rectangular emergency lights for clear lenses. And the trademark wheeled coach corner lights for amber.. And fixed all of the compartment latches and door keepers etc... For which I had the luxury at the time of living about a hours drive from Wheeled Coach so a couple of trips to their parts department at the factory were handy...
 
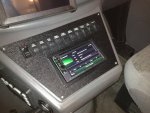
Up next I got the cab dialed in. Trash the old switch panel from the ambo and made a new one to accept a double din Kenwood head unit and an ipad on the dash as well as thinned out the unneeded wiring. Retina display ipad on the dash for music, maps, weather etc..
ImageUploadedByTapatalk1380756384.431008.jpg

First of many trips to the upholstery shop got the front seats recovered and foam replaced... The entire cab was soundproofed with dynamat including roof and doors.. New carpet installed and custom 3 piece floor mat..
ImageUploadedByTapatalk1380756602.461657.jpg

The awnings were then installled. The driver side awning is a Fiamma Eagle66 and the passenger side was a prototype Fiamma f65 eagle. Again I lucked out having Fiamma in my backyard. And was willing to help give them feedback on their legless awning as they tried to develop it. The awnings have accelerometers in them that trigger them to close in high wind scenarios... More on that later but pretty neat.
ImageUploadedByTapatalk1380756852.849142.jpg
 

zukrider

Explorer
you should type save in the next 30 posts to comeback and add to this so as to keep it in a specific order. will make reading easier.
 

cjken

Explorer
Is the rack over the cab something that can be bought or did you build it your self??
I need to find a rack like that.
Thanks
 

gringorick

Adventurer
Yeah, your rack is sweet. I need one too. I am having one built next week, after no luck searching for an off-the-shelf solution for storing 2 spares over the cab. Looks like about a $500 bill. Anyone have a line on a good rack that will mount over the cab and hold 2 spares (33" tires)?
 
Is the rack over the cab something that can be bought or did you build it your self??
I need to find a rack like that.
Thanks

The rack over the cab is a Yakima Load Warrior. cut in half, and both halves mounted side by side on yakima load bars and rain gutter mounts.
 

Forum statistics

Threads
185,900
Messages
2,879,328
Members
225,497
Latest member
WonaWarrior
Top