boo471
Adventurer
I finally got around to start my front bumper build. I scrapped the plans for a tubular bumper which was my original plan and will do a sheet metal bumper instead. I don't really have a good reason for that more than I think it fits the truck a lot better.
I thought I will try to do a little write up on this and do more of a step by step on this instead of just presenting some pictures. Just to show everyone that you can do a lot of fabrication in your own garage with just some simple tools and some pieces of sheet metal.
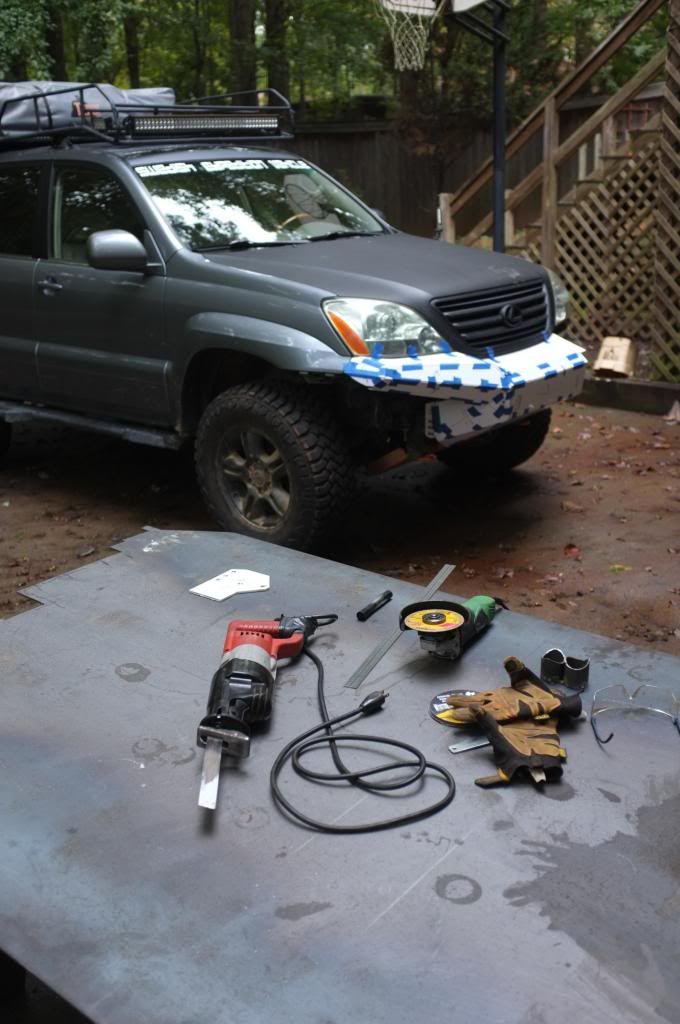
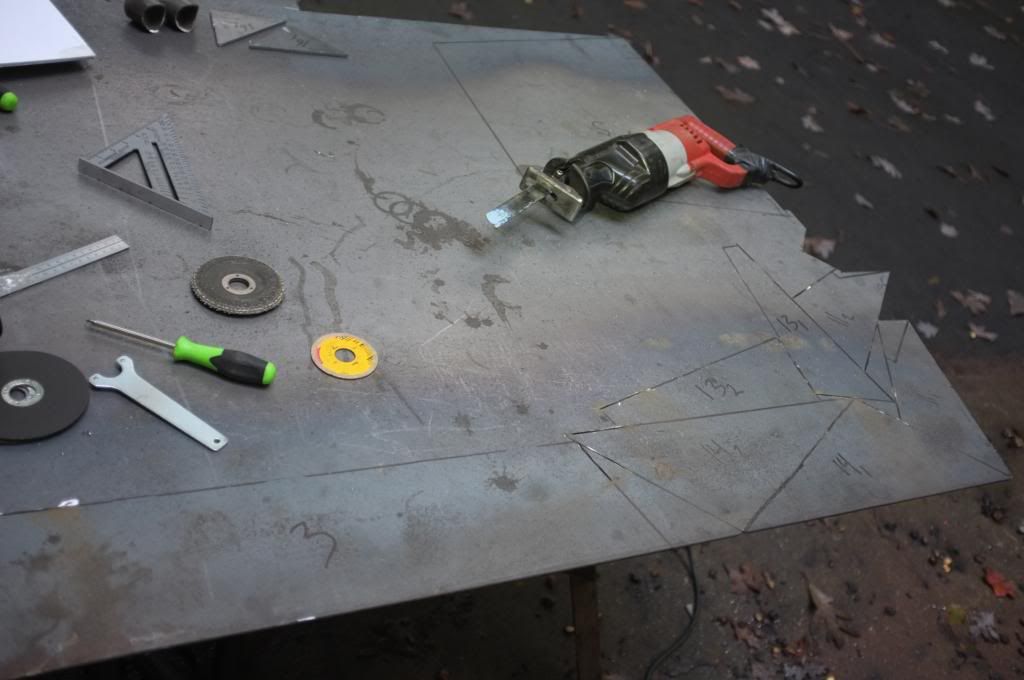
I'll be building the bumper out of 3/16" steel (Because thats what I had laying around the house). And I'll probably use some tubing to create a hoop to attach my 9" lights (A.K.A "Zombie Targeting System on my switch board). And the only tools I'll be using is my grinder, sawzall, drill, HFT Pipe bender and welder. It takes longer and not as easy as having more advanced tools but it works just fine.
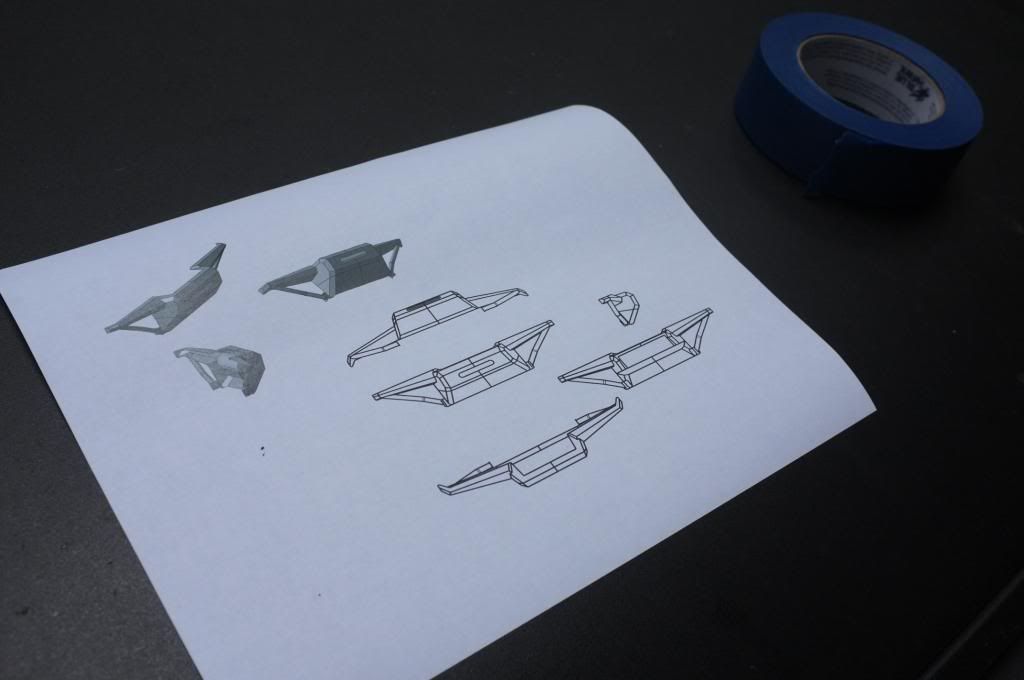
The first step was to come up with a design. I spent a few hours online and sketched some cool design ideas (at least according to me). Once I had a ruff picture in my head I started playing with it in CAD. I have access to Catia V5 at work so I used that. But any software would do or even cooler, a pen and paper.
I created some views on my bumper and printed it for reference. And thats all I will use it for, reference.
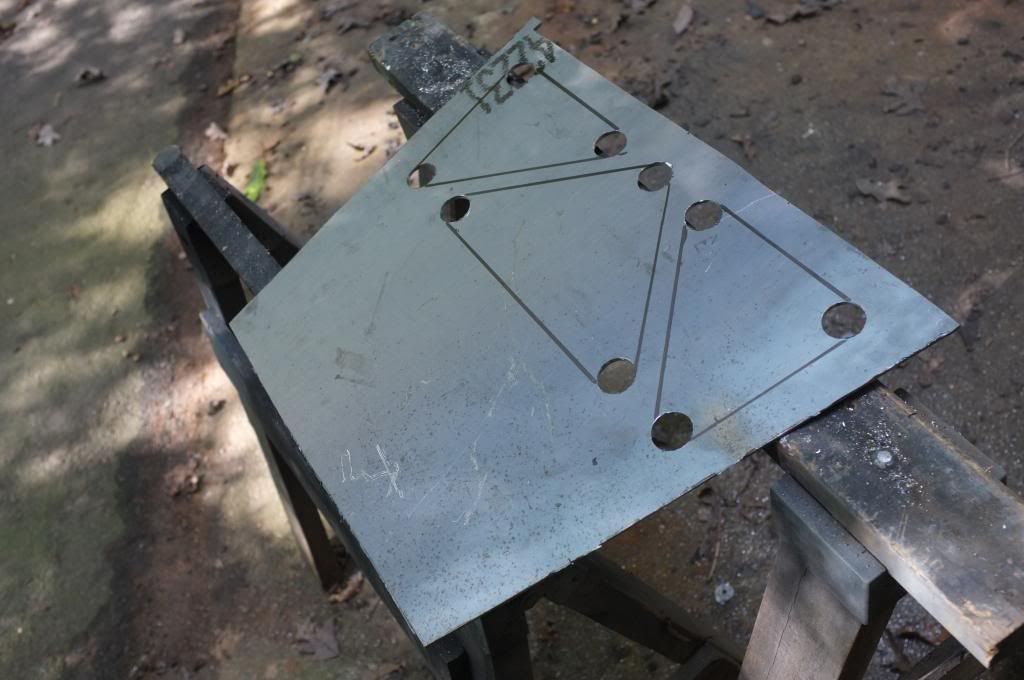
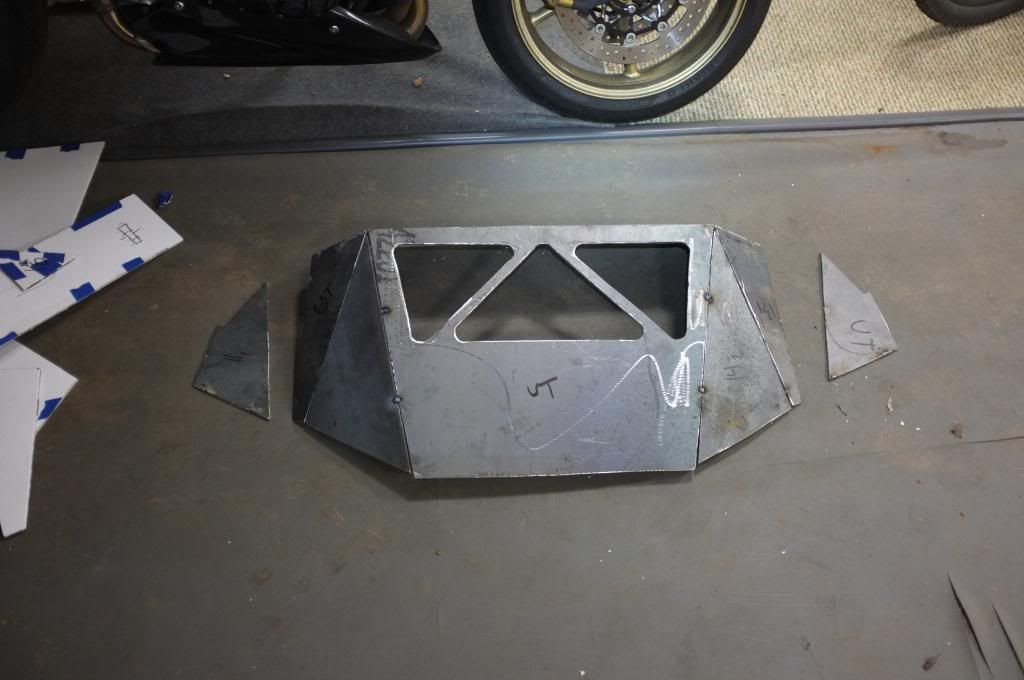
I will mostly create the design as go along. I knew I wanted to get kind of a diamond pattern design on the bumper. Think stealth airplane. I like the triangles and it makes for a strong design as well instead of using long flat pieces.
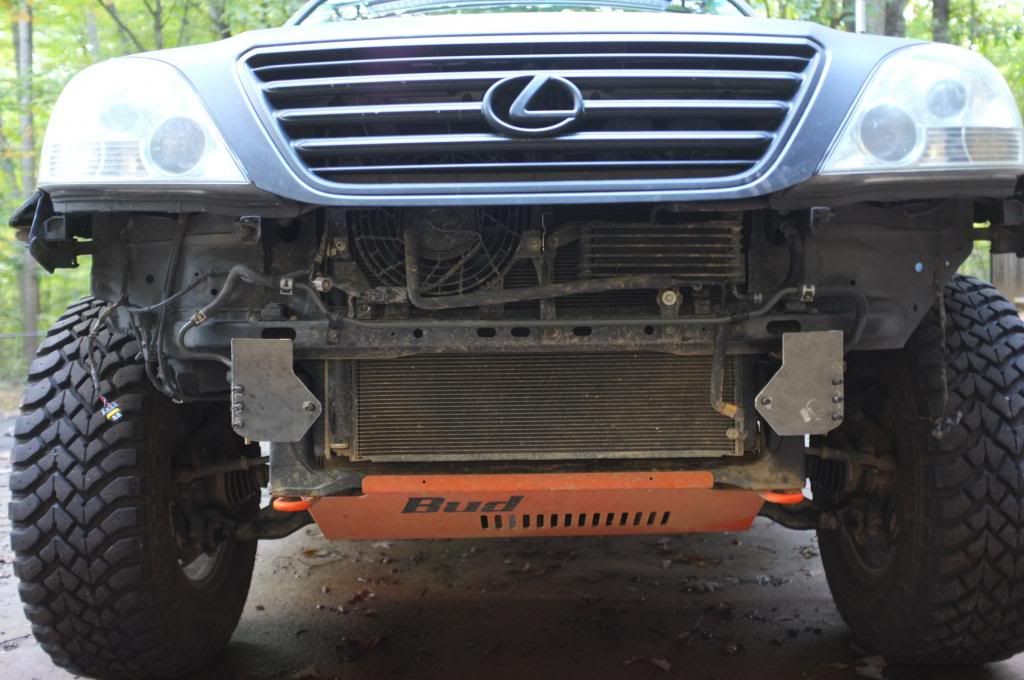
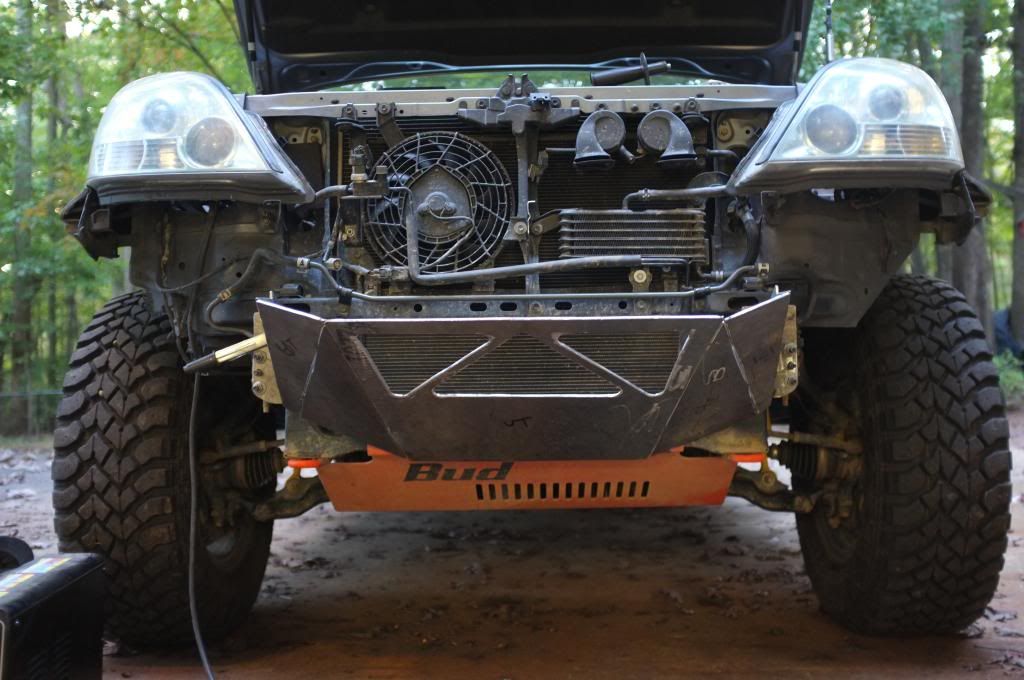
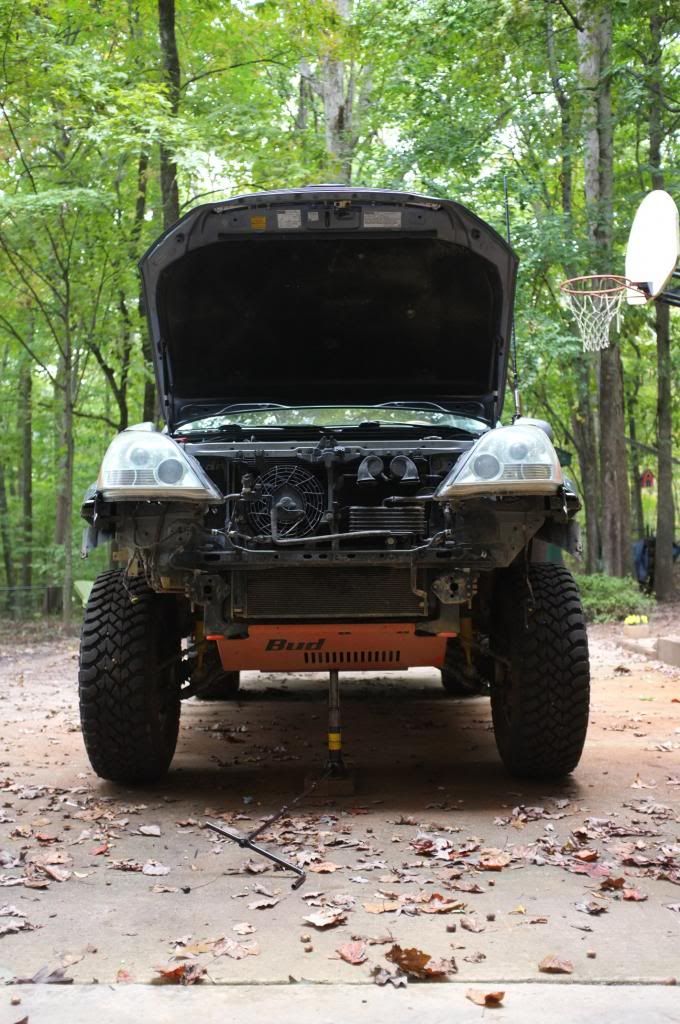
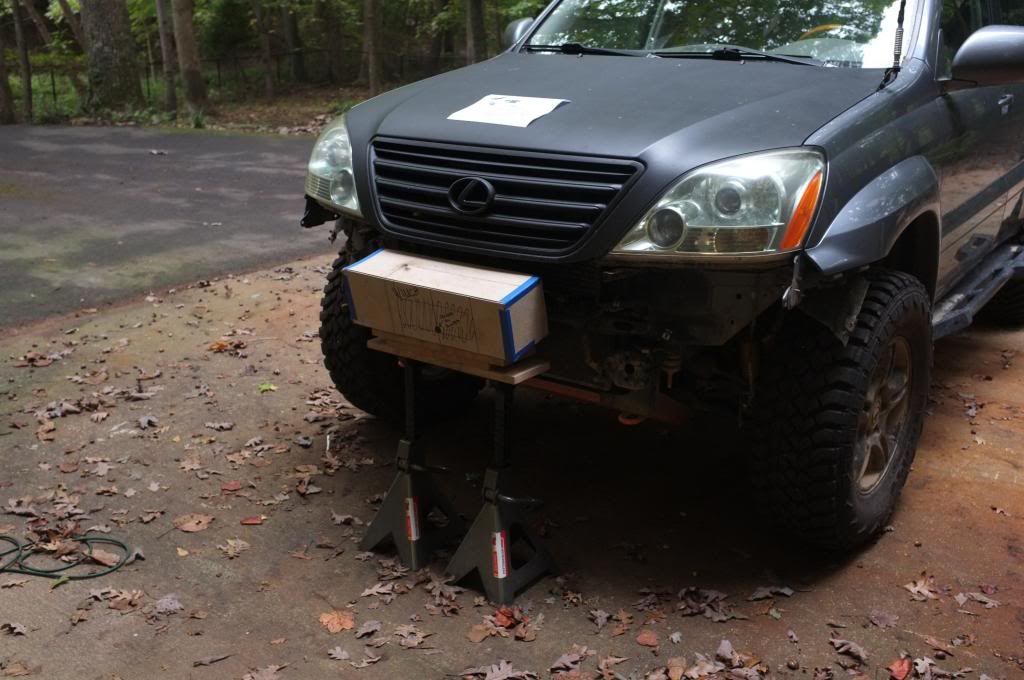
So the first step is to remove the stock bumper. 10min later it will look like this (truck is lifted because I'm bleeding the power steering system, more about that in the text lower down).
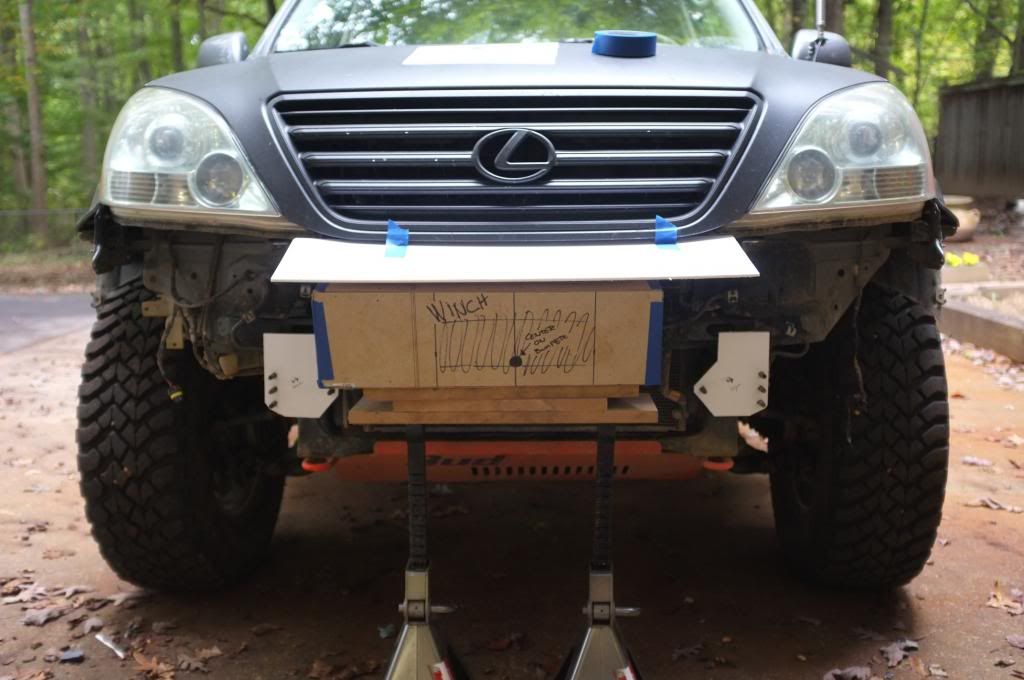
I know that there is a big chance that I will get a winch and mount in the truck. So I had to make room for that. I made my own paper winch mock up to use as help when designing the bumper. Its dimensions is pretty big so I know I will fit most winches once I decide on one.
Here is my awesome winch eyeballed so the roller will be centered on the bumper. Meaning the winch sits a little towards the passenger side.
The first thing you will notice when you have your fake winch in place is that there is a lot of piping going on in front of the truck. And I want my winch/bumper as close to the vehicle as possible. So I had to do something about that.
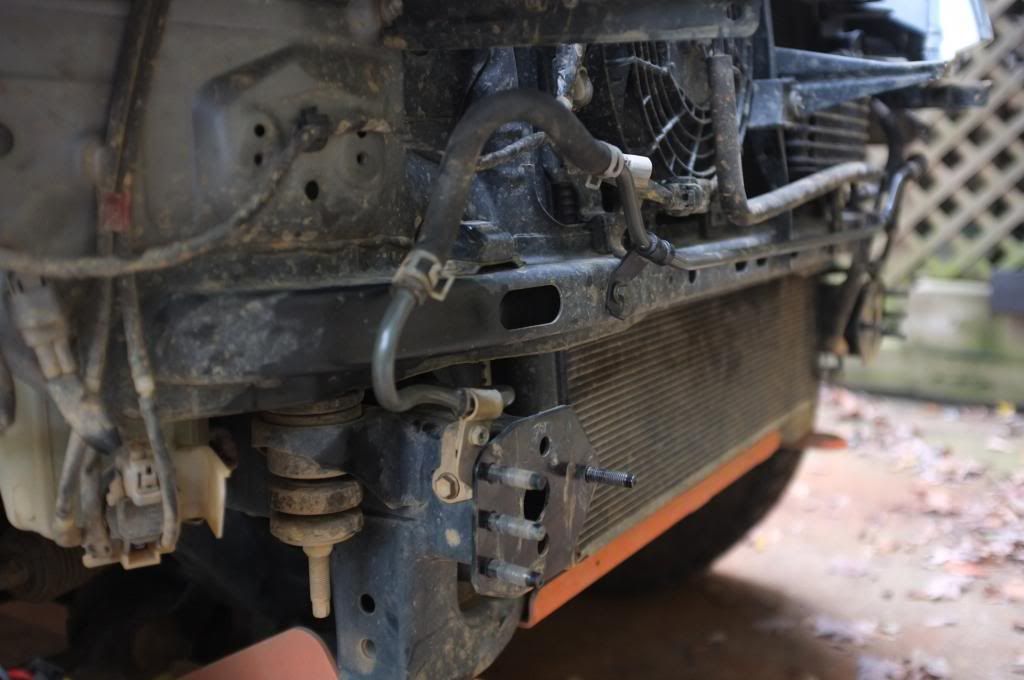
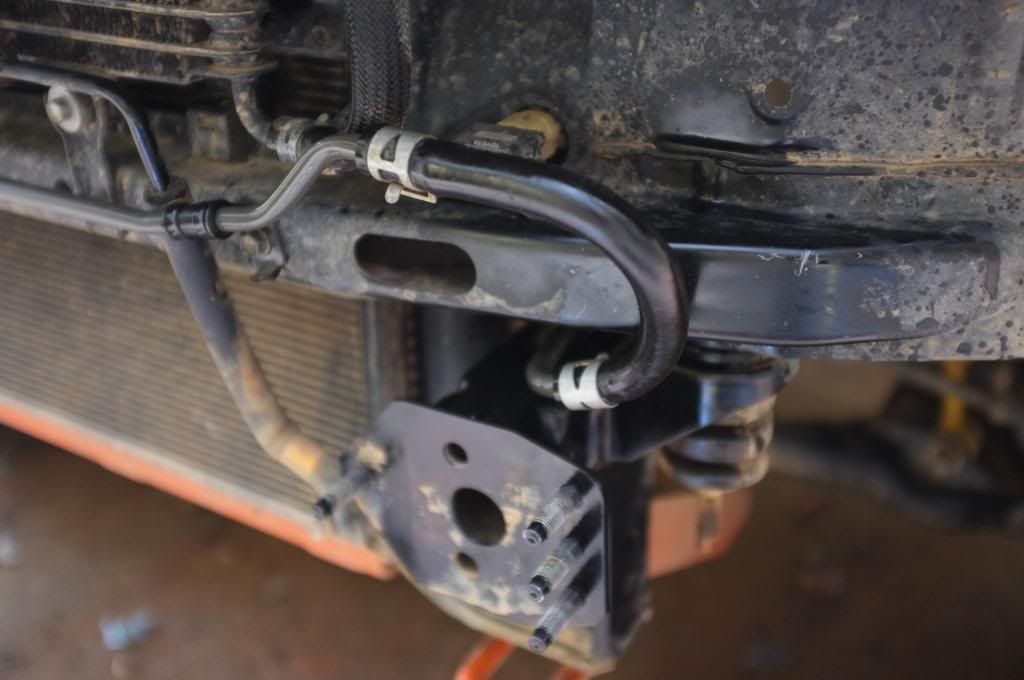
I dont have a before picture but what I did was to gently bend the pipes by hand and tuck them closer to the body. Here is the passenger side.
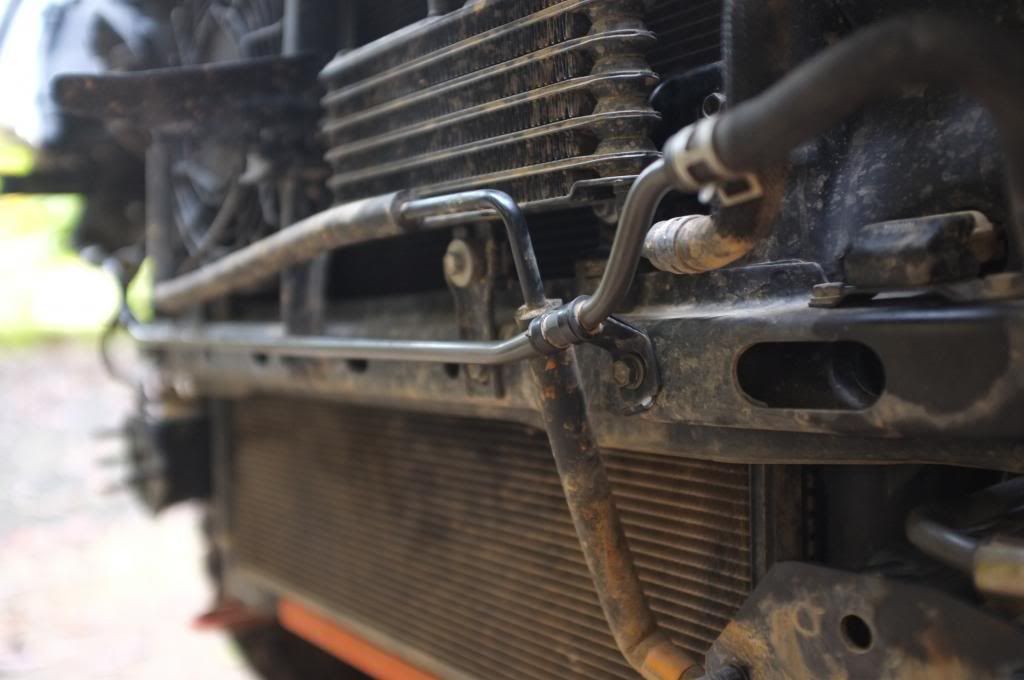
Driver side. I switched location on the 2 pipes so the power steering piping was on the outside holding the other pipe tucked in by the help of the bracket.
The downside with this is that you have to disconnect the hoses and pipes and if you get air in to your power steering system you need to bleed it. its a 20min job and pretty simple. But you need to lift the truck to get the wheels of the ground. But yeah, I had to do this.
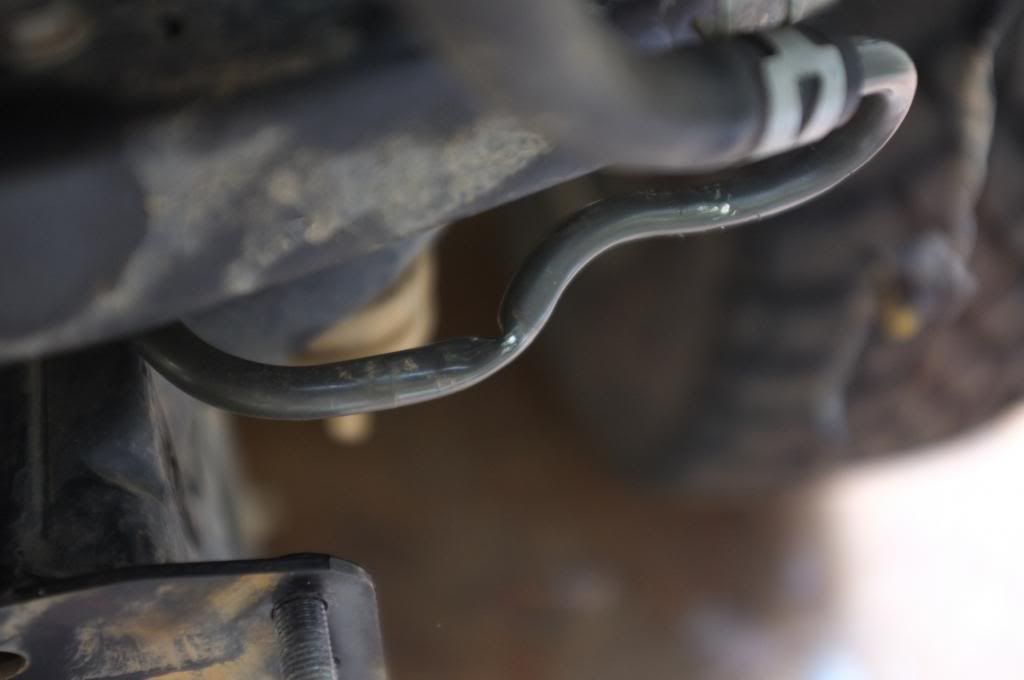
I noticed that I hadn't been that gentle with bending the pipes on the driver side and had a bad kink in the pipe.
So I cut the pipe of and ran the hose down to the new location. Easy fix, But it meant bleeding the system again
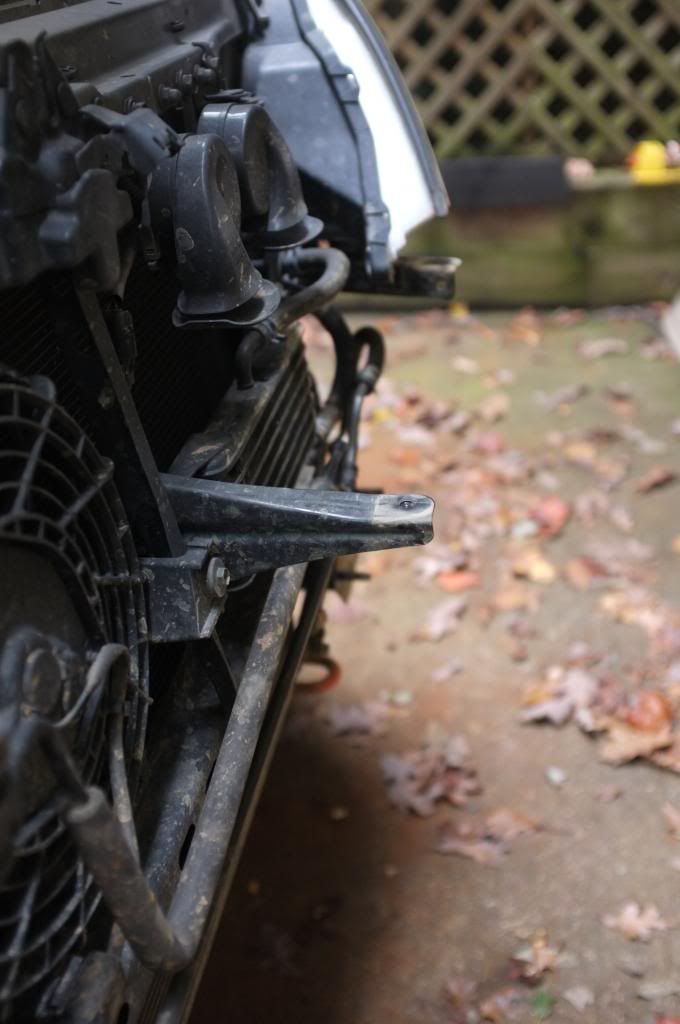
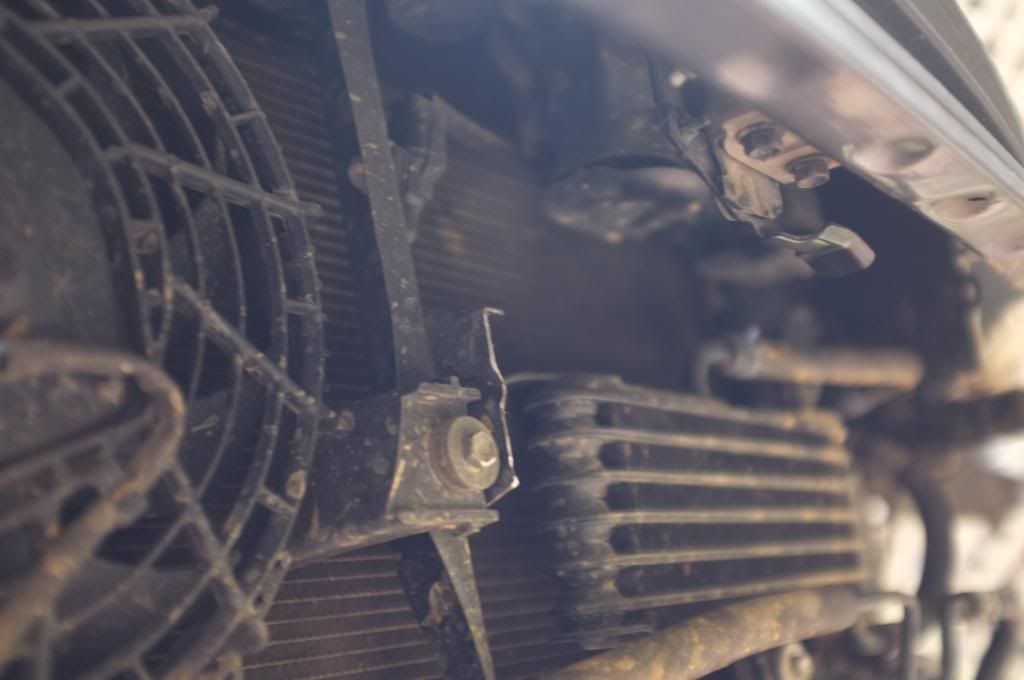
You'll also find some brackets here and there that you might want to remove.
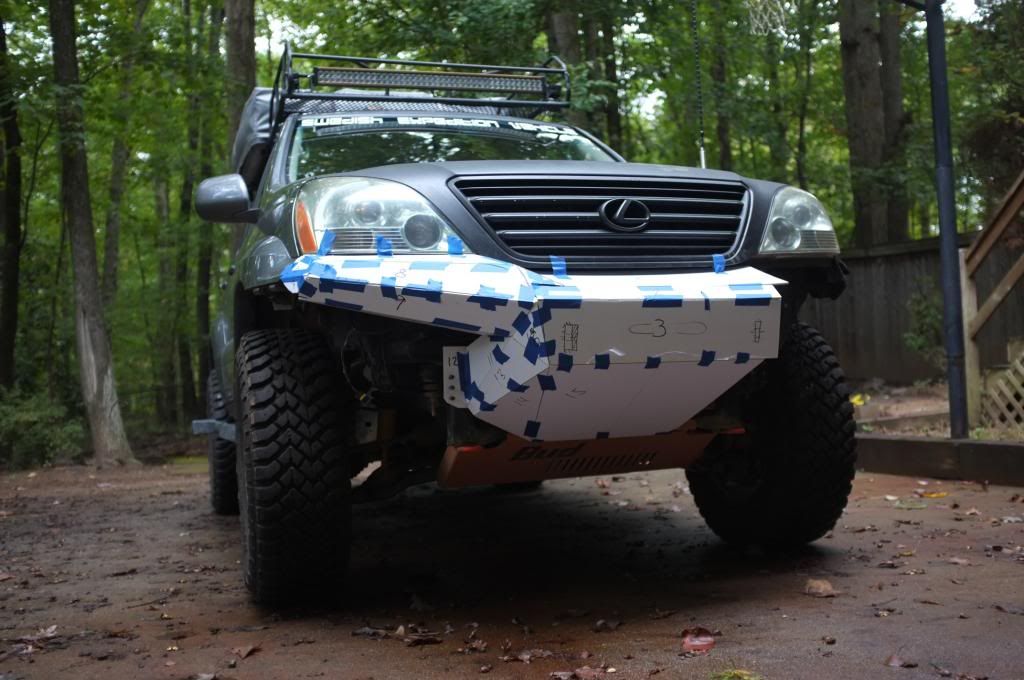
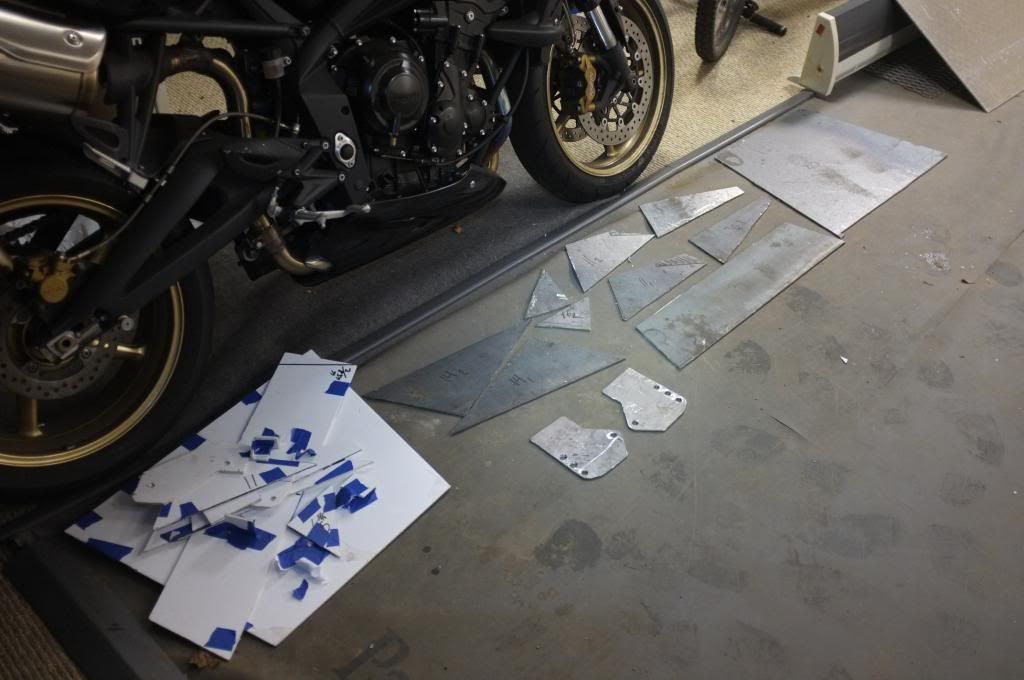
Once you got the front end cleaned up its time for the fun stuff. To start designing your mock up bumper. I used some hard foam paper from office depot. I used cardboard on my last couple of mock ups which is cheaper but this is much better and has similar thickness as my sheet metal.
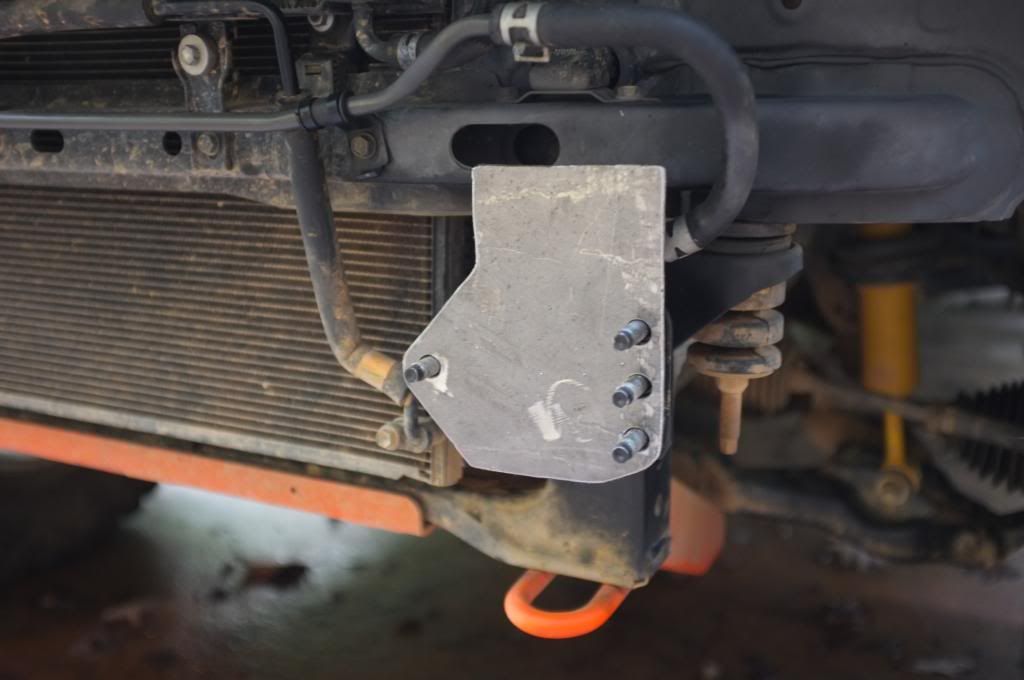
I started with the boring stuff. The fixing points. The reason for that is that it will kind of effect the rest of the design, depending on how I will mount it to the truck. So thats a good place to start. I will use the stock 4 bolts (on each side) that the stock bumper use. But I will also use 2 bolts on the side of the frame and then bolt this bracket to the bumper. A lot of aftermarket bumper for yotas use this and its a smart design that will make it a lot stronger.
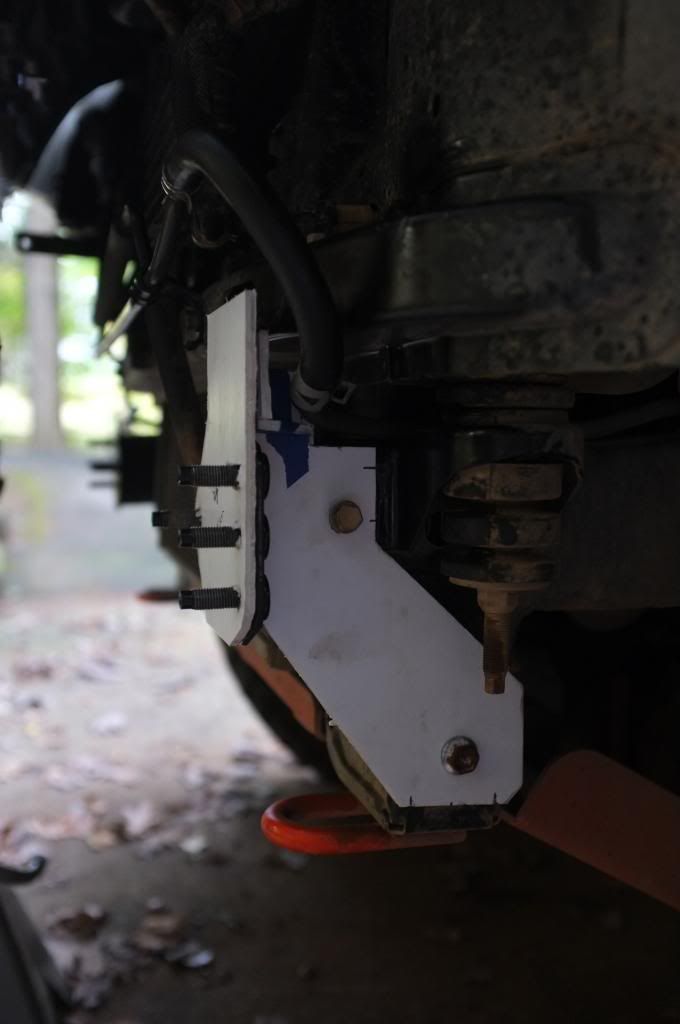
I will modify the angle of the bracket facing forward and have my skids press up agains these. So they can act as supports when hitting a rock.
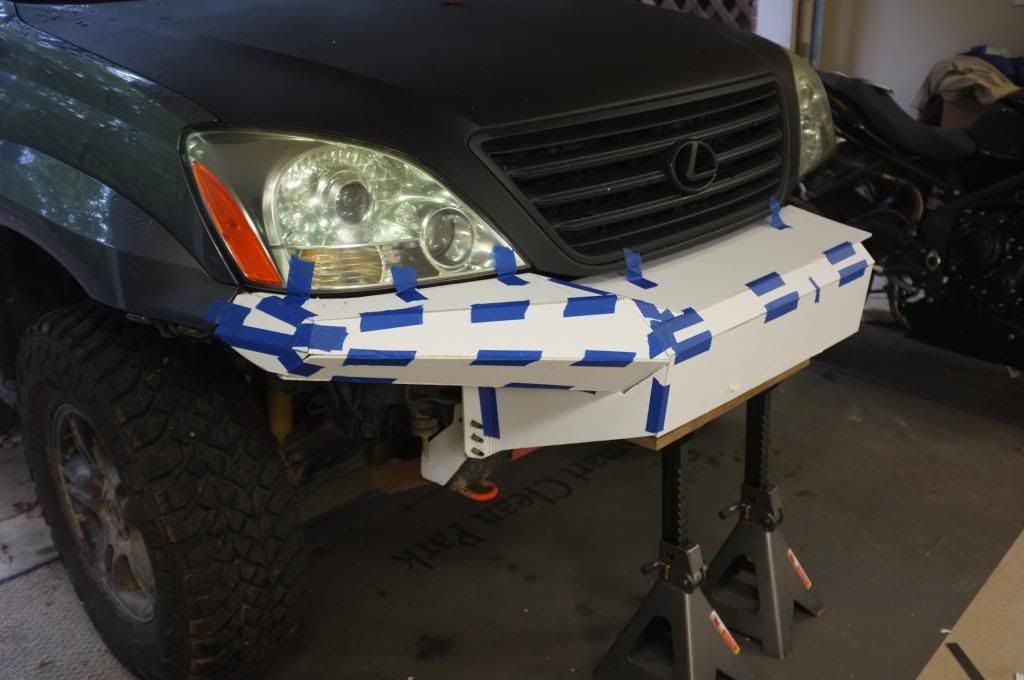
Then its on with the bumper itself. I started from the top and worked my way down.
Ruff top plate cut out.
I then moved on with the plating under the lights.

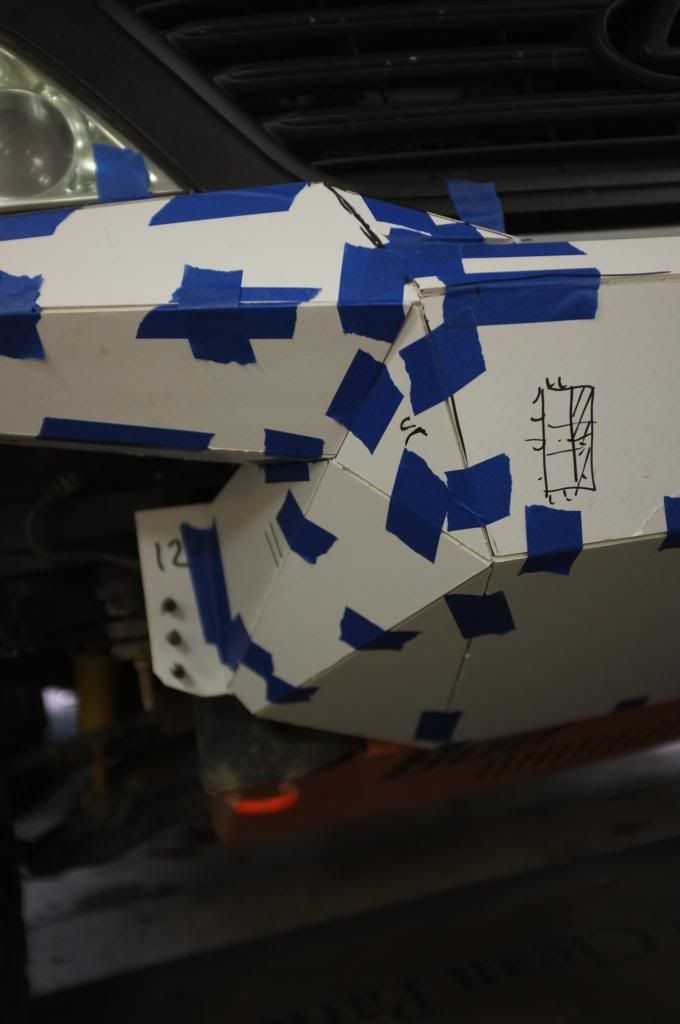
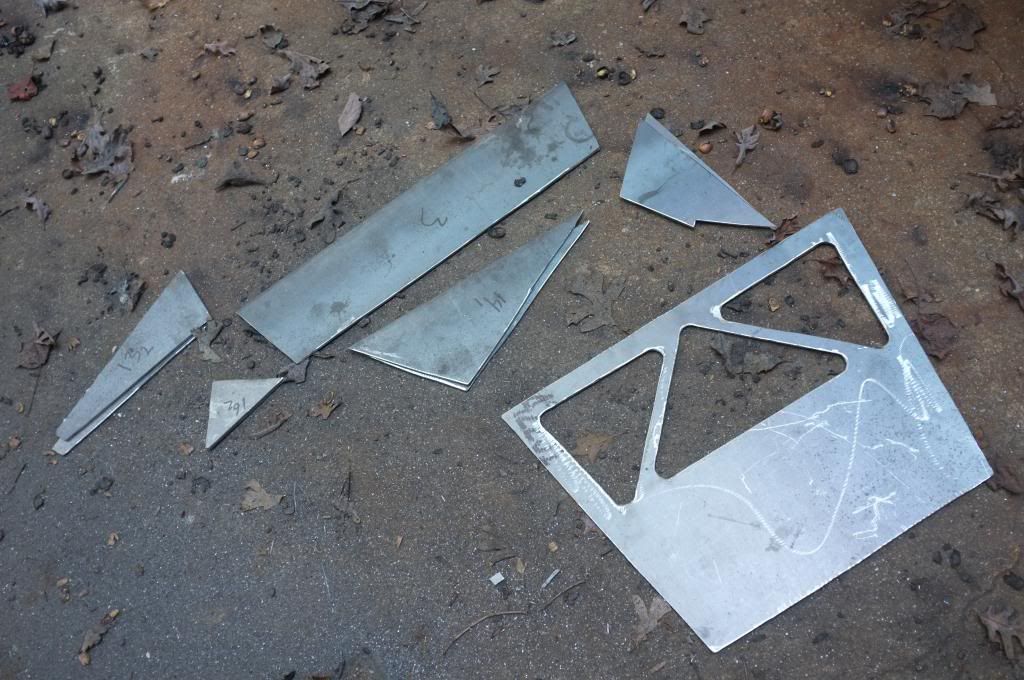
After that I just continued to add pieces to get the look that I was after. I made a piece. tested it. did some cuts to it and adjusted, then on to the next one.
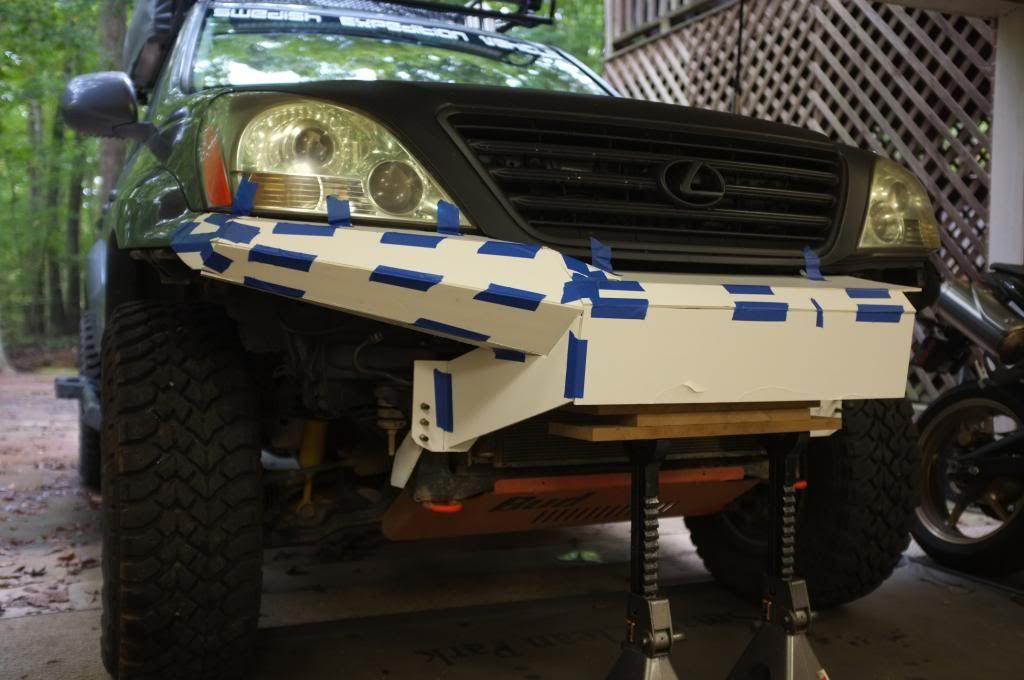
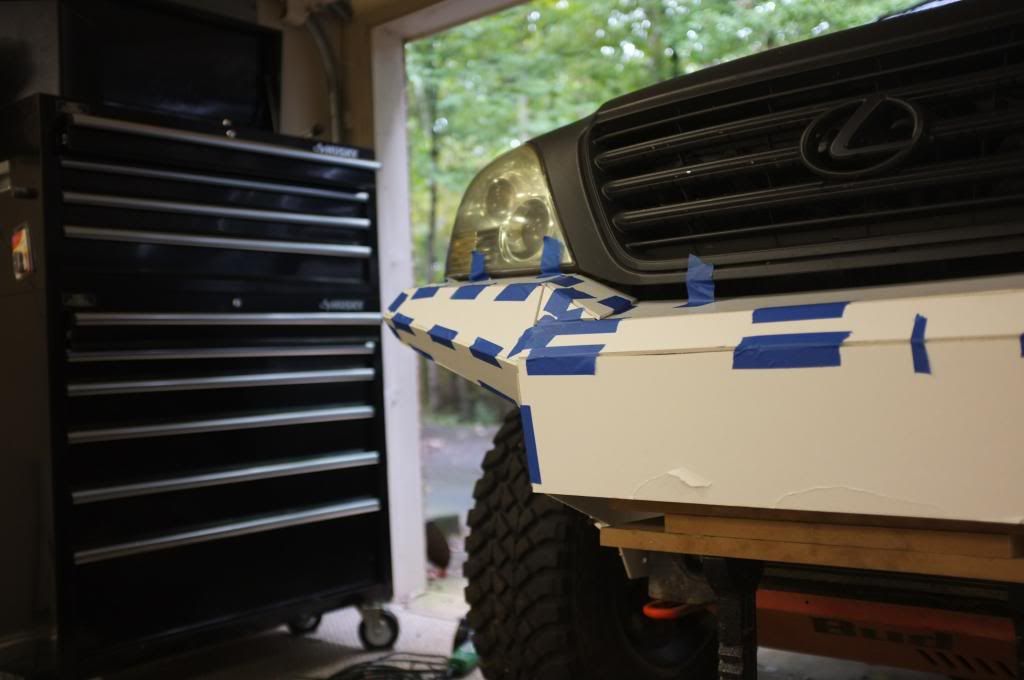
As you see I only to one side of the front and I will just cut out doubles when needed for the other side as well. Whats left to do on the mock up is the front skid shape and design for air going in to the cooling package.
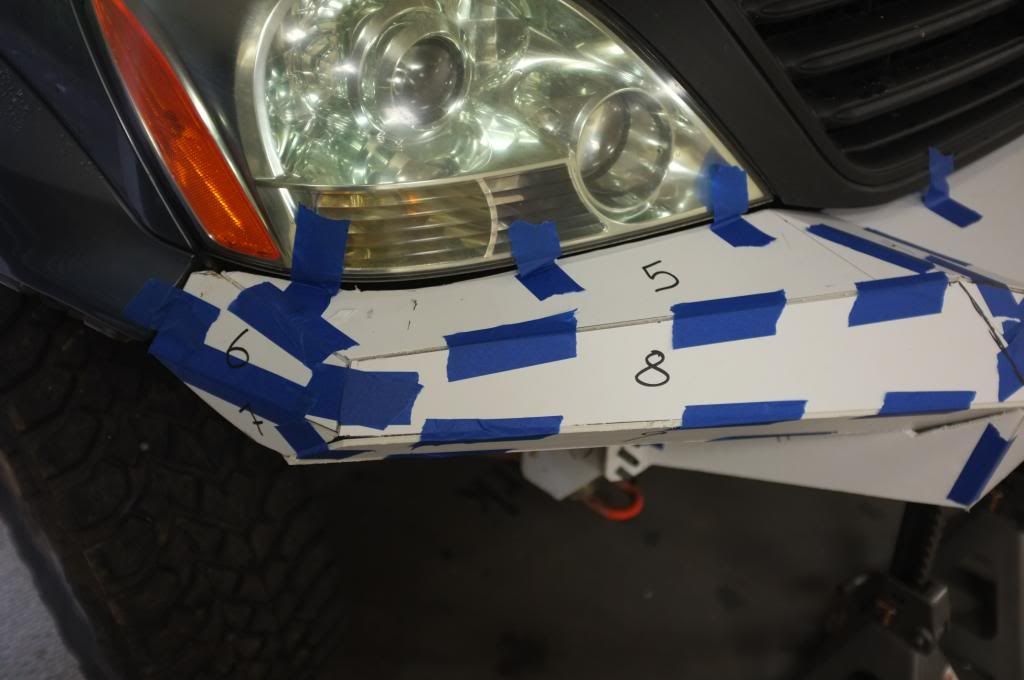
I had to remove the mock up to take my truck to work tomorrow. But the last thing I did was to mark all the pieces and take lots of pictures so you know what goes where!
To be continued.
I thought I will try to do a little write up on this and do more of a step by step on this instead of just presenting some pictures. Just to show everyone that you can do a lot of fabrication in your own garage with just some simple tools and some pieces of sheet metal.
I'll be building the bumper out of 3/16" steel (Because thats what I had laying around the house). And I'll probably use some tubing to create a hoop to attach my 9" lights (A.K.A "Zombie Targeting System on my switch board). And the only tools I'll be using is my grinder, sawzall, drill, HFT Pipe bender and welder. It takes longer and not as easy as having more advanced tools but it works just fine.
The first step was to come up with a design. I spent a few hours online and sketched some cool design ideas (at least according to me). Once I had a ruff picture in my head I started playing with it in CAD. I have access to Catia V5 at work so I used that. But any software would do or even cooler, a pen and paper.
I created some views on my bumper and printed it for reference. And thats all I will use it for, reference.
I will mostly create the design as go along. I knew I wanted to get kind of a diamond pattern design on the bumper. Think stealth airplane. I like the triangles and it makes for a strong design as well instead of using long flat pieces.
So the first step is to remove the stock bumper. 10min later it will look like this (truck is lifted because I'm bleeding the power steering system, more about that in the text lower down).
I know that there is a big chance that I will get a winch and mount in the truck. So I had to make room for that. I made my own paper winch mock up to use as help when designing the bumper. Its dimensions is pretty big so I know I will fit most winches once I decide on one.
Here is my awesome winch eyeballed so the roller will be centered on the bumper. Meaning the winch sits a little towards the passenger side.
The first thing you will notice when you have your fake winch in place is that there is a lot of piping going on in front of the truck. And I want my winch/bumper as close to the vehicle as possible. So I had to do something about that.
I dont have a before picture but what I did was to gently bend the pipes by hand and tuck them closer to the body. Here is the passenger side.
Driver side. I switched location on the 2 pipes so the power steering piping was on the outside holding the other pipe tucked in by the help of the bracket.
The downside with this is that you have to disconnect the hoses and pipes and if you get air in to your power steering system you need to bleed it. its a 20min job and pretty simple. But you need to lift the truck to get the wheels of the ground. But yeah, I had to do this.
I noticed that I hadn't been that gentle with bending the pipes on the driver side and had a bad kink in the pipe.
So I cut the pipe of and ran the hose down to the new location. Easy fix, But it meant bleeding the system again
You'll also find some brackets here and there that you might want to remove.
Once you got the front end cleaned up its time for the fun stuff. To start designing your mock up bumper. I used some hard foam paper from office depot. I used cardboard on my last couple of mock ups which is cheaper but this is much better and has similar thickness as my sheet metal.
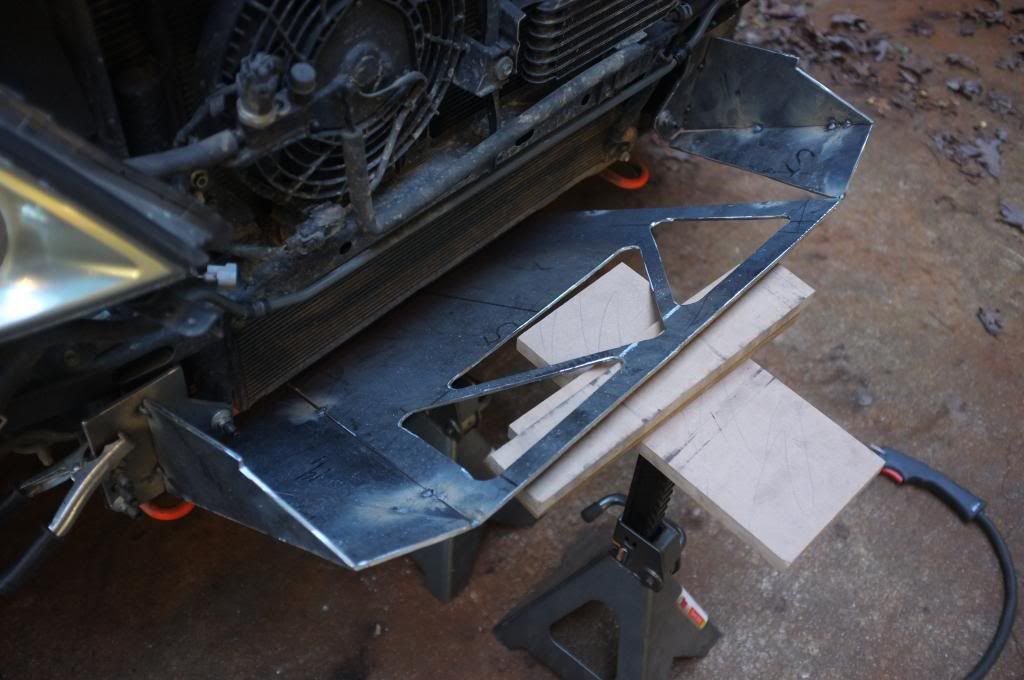
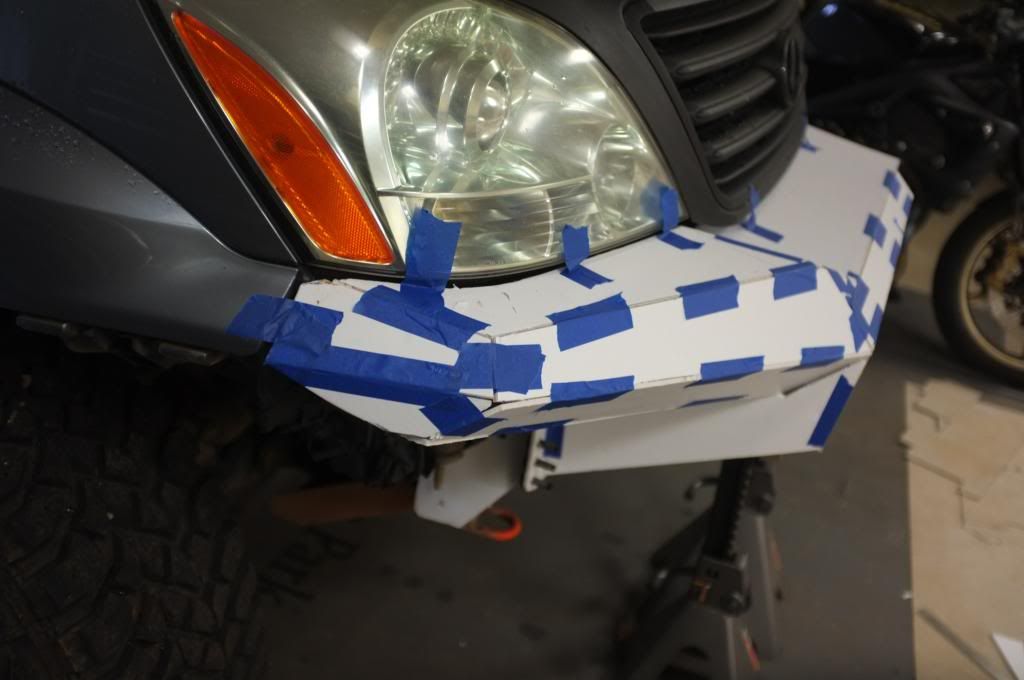
I started with the boring stuff. The fixing points. The reason for that is that it will kind of effect the rest of the design, depending on how I will mount it to the truck. So thats a good place to start. I will use the stock 4 bolts (on each side) that the stock bumper use. But I will also use 2 bolts on the side of the frame and then bolt this bracket to the bumper. A lot of aftermarket bumper for yotas use this and its a smart design that will make it a lot stronger.
I will modify the angle of the bracket facing forward and have my skids press up agains these. So they can act as supports when hitting a rock.
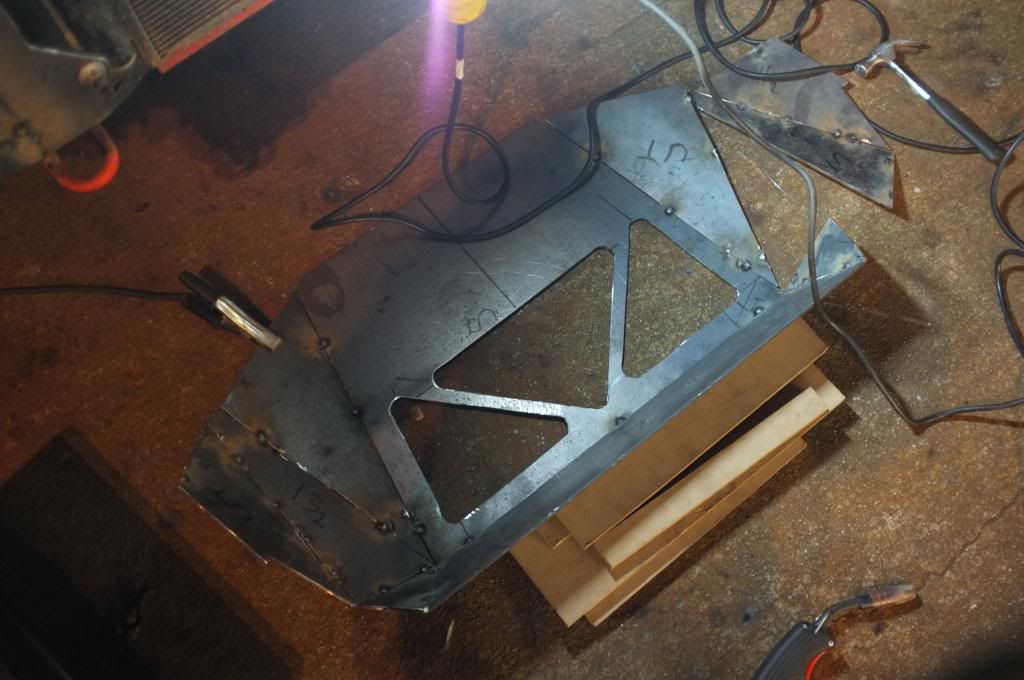
Then its on with the bumper itself. I started from the top and worked my way down.
Ruff top plate cut out.
I then moved on with the plating under the lights.
After that I just continued to add pieces to get the look that I was after. I made a piece. tested it. did some cuts to it and adjusted, then on to the next one.
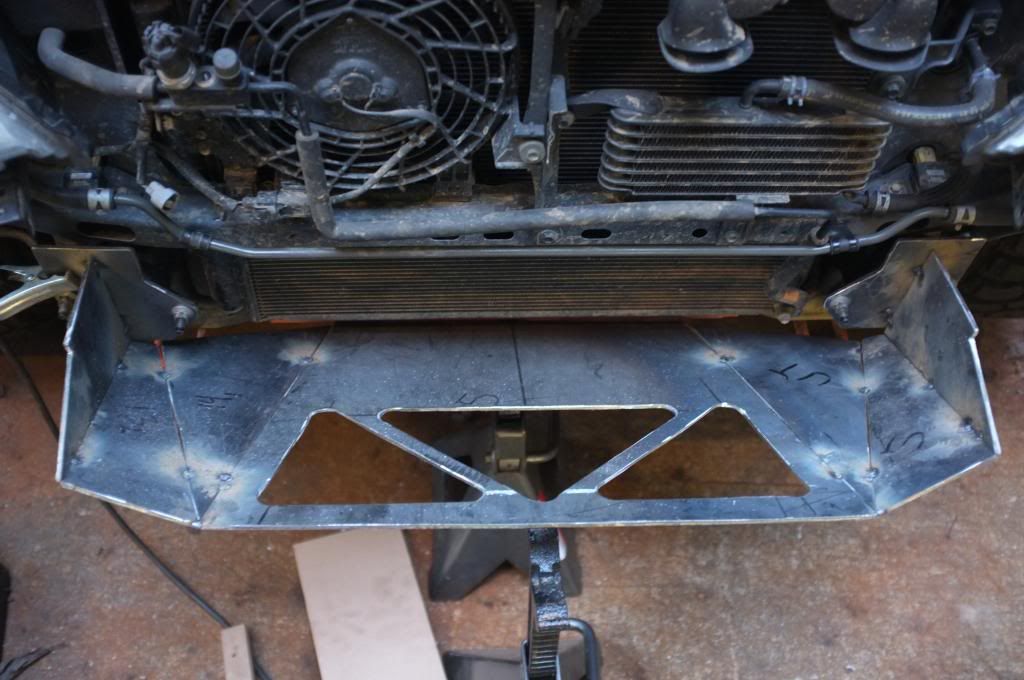
As you see I only to one side of the front and I will just cut out doubles when needed for the other side as well. Whats left to do on the mock up is the front skid shape and design for air going in to the cooling package.
I had to remove the mock up to take my truck to work tomorrow. But the last thing I did was to mark all the pieces and take lots of pictures so you know what goes where!
To be continued.
")