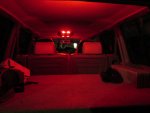
Mitsubishi Montero Gen 2.5 Dash, Console, and Interior LED Bulb Replacement
Just adding to the knowledge base and attempting to consolidate threads.
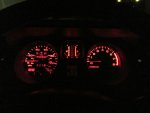
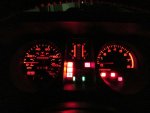
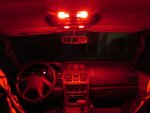
Here's what I did to replace my interior lights with LEDs (I used red bulbs).
--------------------------------------------------------
Purchase Info:
Links are for white bulbs. Other colors are available.
Type T5 Wedge (Type 74) Link
Type T10 Wedge (Type 194) Link
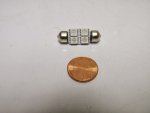
Type DE3022 (DE3175) Festoon Link
Type T4 Neo Wedge Link (Select 4mm)
Type 6641 Link
Quantities:
The following quantities are to replace all interior lights. Quantities required for each vehicle component are noted at the beginning of each subsection.
Type T5 Wedge (Type 74) -- Qty: 31
Type T10 Wedge (Type 194) -- Qty: 9
Type DE3022 (DE3175) -- Qty: 7
Type T4 Neo Wedge -- Qty: 2
Type 6641 -- Qty: 2
------------------------------------------------------
Subsections:
I. Speedometer/Tach Cluster
II. Compass Gauge Cluster
III. HVAC Controller
IV. Map Lights, Passenger Lights, Cargo Light, Door Courtesy Lights
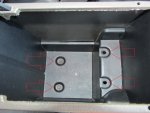
V. Center Console Ashtray
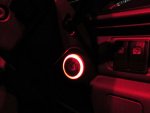
VI. Ignition Switch Surround
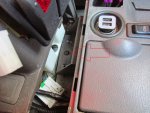
VII. Center Console Shift Indicator and Cigarette Lighter Surround
VIII. Sun Visor Vanity Lights
-----------------------------------------------------
I. Speedometer/Tach Cluster
Requires: 26 Type T5 Wedge (Type 74) bulbs and 7 Type T10 Wedge (Type 194) bulbs
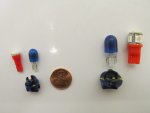
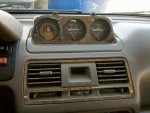
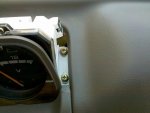
Remove the two screws on the Gauge Hood.
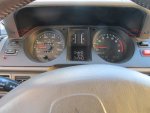
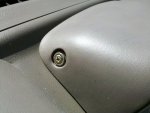
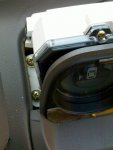
Don't forget this screw. It's hidden behind a cover.
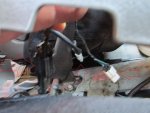
Lift the Gauge Hood forward and reach underneath to disconnect the wires that attach to these switches.
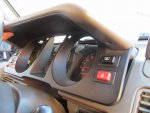
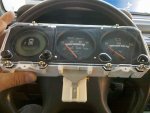
Remove the Gauge Housing by unscrewing these 3 screws.
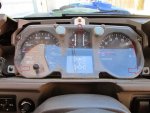
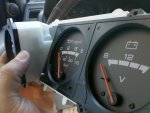
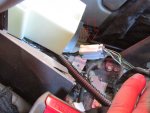
Pull the Gauge Housing forward and disconnect the right side first.
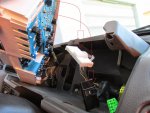
Housing pulls out after disconnecting five connectors.
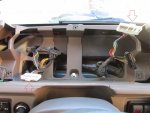
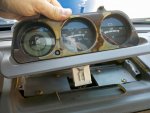
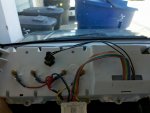
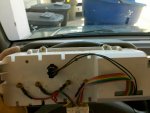
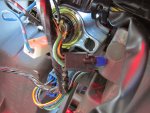
Flip the Gauge Housing over and this is what you see.
Blue sockets have a rubber diffuser over bulb.
Black sockets have no diffuser.

Indicator/Lens Color
*empty = no bulb
1. Tach Backlight/white
2. empty
3. SRS/red
4. empty
5. Cruise/green
6. empty
7. Battery/red
8. Oil/red
9. empty
10. Check Engine/yellow
11. Tach Backlight/white
12. Right Turn Indicator/green
13. Park/green
14. Reverse/green
15. Neutral/green
16. Drive/green
17. 2nd/green
18. Low/green
19. A/T/red
20. Door Ajar/red
21. High Beams/blue
22. Parking Brake/red
23. OD Off/yellow
24. C/D Lock/yellow
25. Anti Lock/yellow
26. empty (PWR/yellow)
27. Pass. Front Wheel/green
28. Driver Front Wheel/green
29. Seat Belt/red
30. Hold/yellow
31. Pass. Rear Wheel/green
32. Rear Diff. Lock/yellow
33. Driver Rear Wheel/green
34. Low Fuel/yellow
35. Speedo Backlight/white
36. Speedo Backlight/white
37. Left Turn Indicator/green
38. Speedo Backlight/white
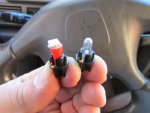
Large sockets fit a Type T10 Wedge (Type 194) bulb. There are 7.
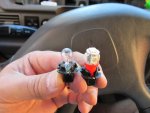
Small sockets fit a Type T5 Wedge (Type 74) bulb. There are 26.
***Observations***
Turn Signals/Hazards, Drive Wheel, and Cruise Control indicators have a green filter that blocks red LED light. Also, the high beam indicator has a blue filter which presents the same problem.
When fitted with LEDs the Low Fuel, SRS, Parking Brake, and A/T Temp indicators stayed dimly lit even when the bulbs were supposed to be off. Those circuits apparently require the resistance of an incandescent to operate properly. Because of this I left incandescents in Low Fuel, SRS, and A/T Temp. However....using an incandescent in the A/T Temp indicator caused the LED in the Parking Brake indicator to turn off properly, so I left an LED in the latter indicator.
The dimmer switch functions properly.
Continued...
Just adding to the knowledge base and attempting to consolidate threads.
Here's what I did to replace my interior lights with LEDs (I used red bulbs).
--------------------------------------------------------
Purchase Info:
Links are for white bulbs. Other colors are available.
Type T5 Wedge (Type 74) Link
Type T10 Wedge (Type 194) Link
Type DE3022 (DE3175) Festoon Link
Type T4 Neo Wedge Link (Select 4mm)
Type 6641 Link
Quantities:
The following quantities are to replace all interior lights. Quantities required for each vehicle component are noted at the beginning of each subsection.
Type T5 Wedge (Type 74) -- Qty: 31
Type T10 Wedge (Type 194) -- Qty: 9
Type DE3022 (DE3175) -- Qty: 7
Type T4 Neo Wedge -- Qty: 2
Type 6641 -- Qty: 2
------------------------------------------------------
Subsections:
I. Speedometer/Tach Cluster
II. Compass Gauge Cluster
III. HVAC Controller
IV. Map Lights, Passenger Lights, Cargo Light, Door Courtesy Lights
V. Center Console Ashtray
VI. Ignition Switch Surround
VII. Center Console Shift Indicator and Cigarette Lighter Surround
VIII. Sun Visor Vanity Lights
-----------------------------------------------------
I. Speedometer/Tach Cluster
Requires: 26 Type T5 Wedge (Type 74) bulbs and 7 Type T10 Wedge (Type 194) bulbs

Remove the two screws on the Gauge Hood.

Don't forget this screw. It's hidden behind a cover.

Lift the Gauge Hood forward and reach underneath to disconnect the wires that attach to these switches.

Remove the Gauge Housing by unscrewing these 3 screws.

Pull the Gauge Housing forward and disconnect the right side first.

Housing pulls out after disconnecting five connectors.

Flip the Gauge Housing over and this is what you see.
Blue sockets have a rubber diffuser over bulb.
Black sockets have no diffuser.

Indicator/Lens Color
*empty = no bulb
1. Tach Backlight/white
2. empty
3. SRS/red
4. empty
5. Cruise/green
6. empty
7. Battery/red
8. Oil/red
9. empty
10. Check Engine/yellow
11. Tach Backlight/white
12. Right Turn Indicator/green
13. Park/green
14. Reverse/green
15. Neutral/green
16. Drive/green
17. 2nd/green
18. Low/green
19. A/T/red
20. Door Ajar/red
21. High Beams/blue
22. Parking Brake/red
23. OD Off/yellow
24. C/D Lock/yellow
25. Anti Lock/yellow
26. empty (PWR/yellow)
27. Pass. Front Wheel/green
28. Driver Front Wheel/green
29. Seat Belt/red
30. Hold/yellow
31. Pass. Rear Wheel/green
32. Rear Diff. Lock/yellow
33. Driver Rear Wheel/green
34. Low Fuel/yellow
35. Speedo Backlight/white
36. Speedo Backlight/white
37. Left Turn Indicator/green
38. Speedo Backlight/white
Large sockets fit a Type T10 Wedge (Type 194) bulb. There are 7.

Small sockets fit a Type T5 Wedge (Type 74) bulb. There are 26.

***Observations***
Turn Signals/Hazards, Drive Wheel, and Cruise Control indicators have a green filter that blocks red LED light. Also, the high beam indicator has a blue filter which presents the same problem.
When fitted with LEDs the Low Fuel, SRS, Parking Brake, and A/T Temp indicators stayed dimly lit even when the bulbs were supposed to be off. Those circuits apparently require the resistance of an incandescent to operate properly. Because of this I left incandescents in Low Fuel, SRS, and A/T Temp. However....using an incandescent in the A/T Temp indicator caused the LED in the Parking Brake indicator to turn off properly, so I left an LED in the latter indicator.
The dimmer switch functions properly.
Continued...
Last edited:

