MoGas
Central Scrutinizer
Since many of the vehicles on this forum are foreign, I figured I’d do a little tech write up on replacing the starter contacts in a Denso gear reduction starter.
How this came about:
My wife’s 1999 Grand Caravan 3.3l V6 Flex Fuel minivan has been having a starter “click” but no engagement of the starter drive motor. Having had the same problem in my Cruiser some months ago, I thought I’d look at the starter. Low and behold, it is a Denso gear reduction type. I called my local Dodge dealer to see about getting a plunger and contacts and I was told “The starter is not a serviceable part, it just gets replaced”. I was not to be deterred.
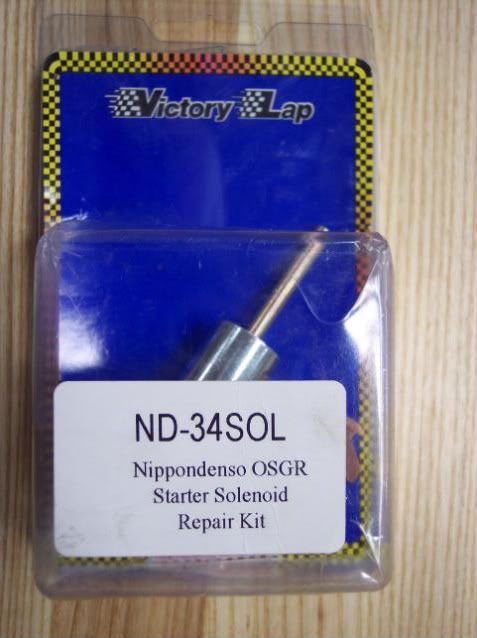
I went online and found the plunger kit at Checker Auto, in stock, for ~13 bucks. On the CSK auto parts site there is a link to see what the part you are inquiring fits. It is the same kit that I now keep as a trail spare for my 80. I bought the kit, and proceeded to remove the starter. Here is the progression of the repair, including digital images that should be basically the same for any Denso gear reduction starter.
I am not including images of the removal/install as that will vary with the vehicle.
This is the starter on the bench:
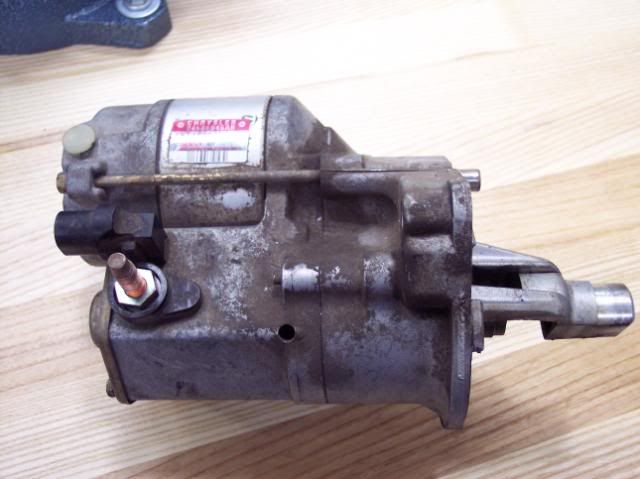
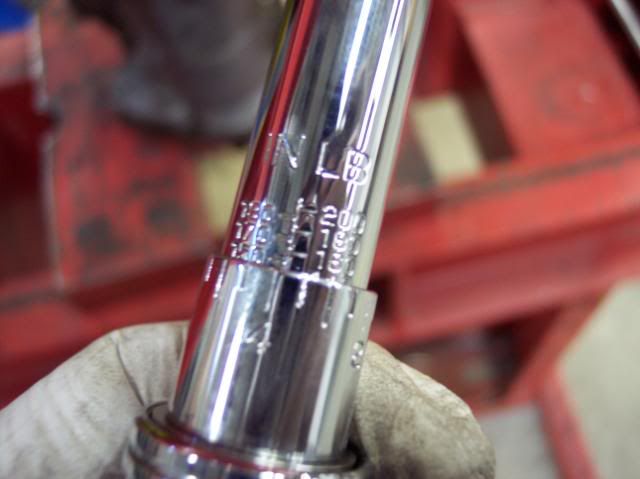
The Denso tag:

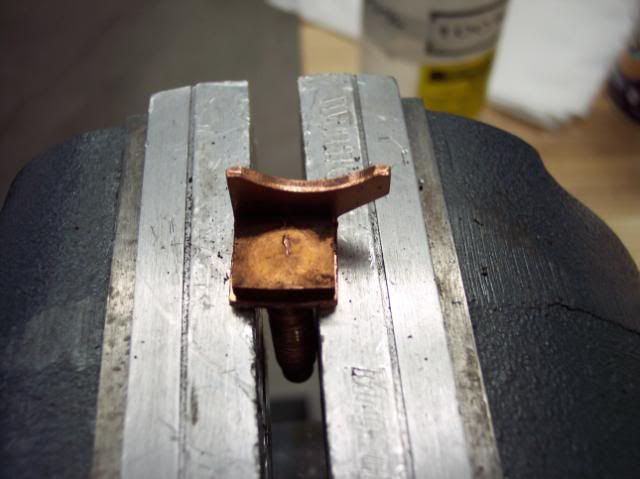
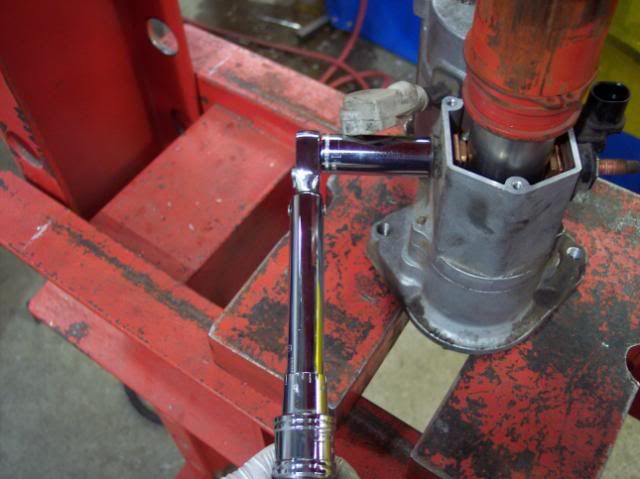
Place the starter securely in a vise using soft jaws. I have aluminum jaw covers, you may need to use wood pieces.
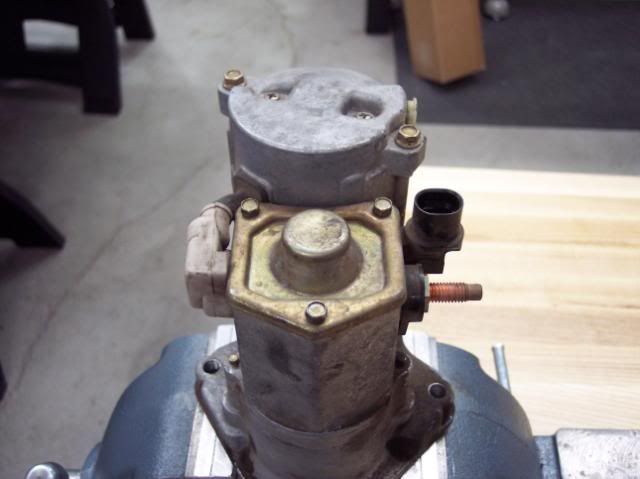
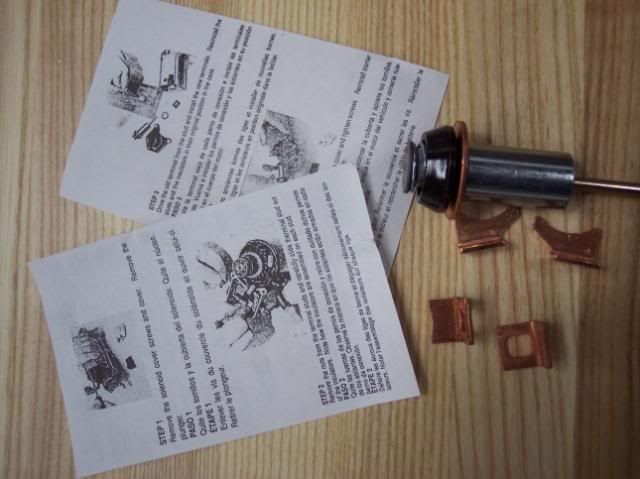
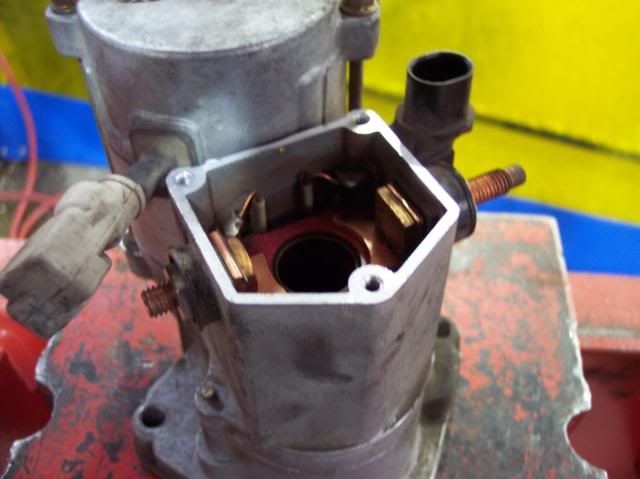
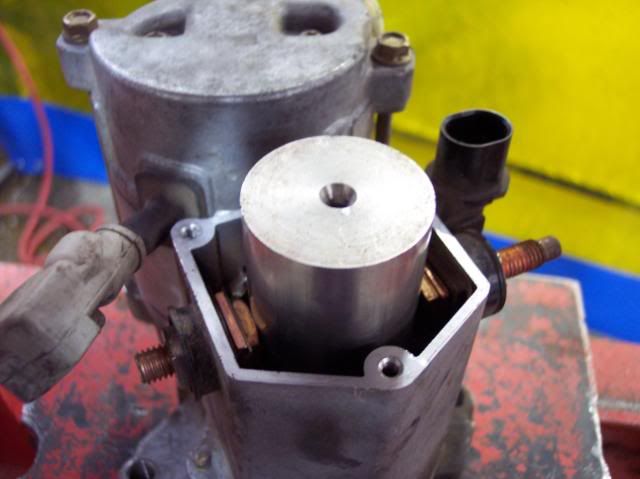
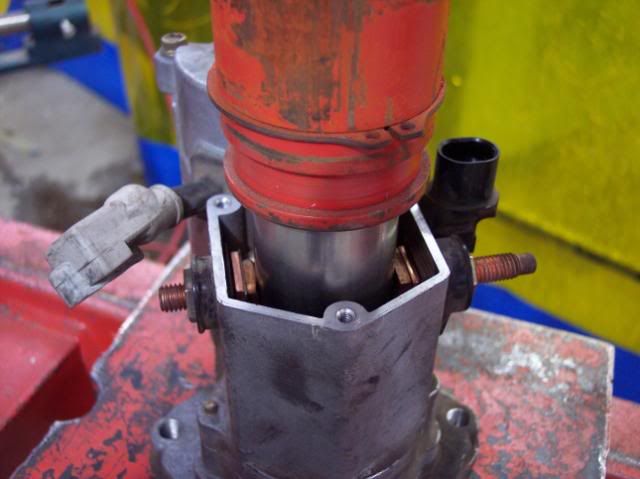
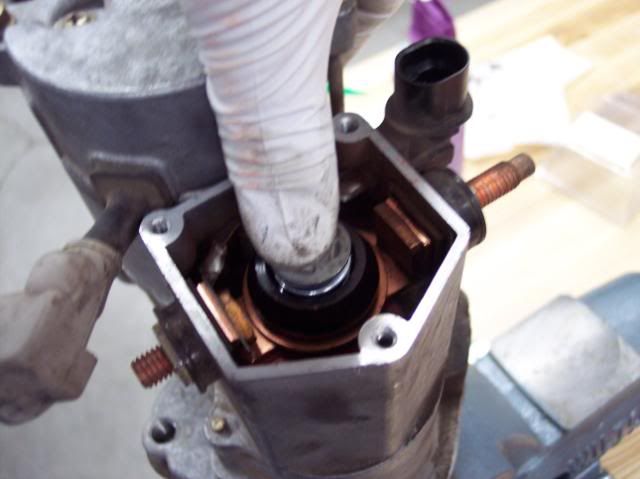
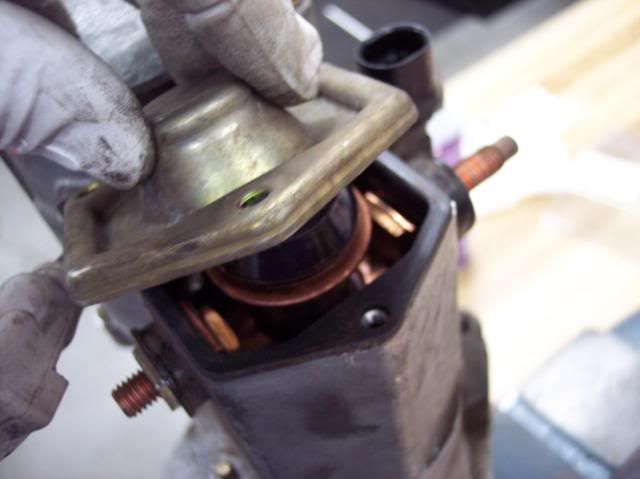
Remove the 3-7mm screws that secure the solenoid cover to the housing. This will expose the plunger. There will be slight spring tension on the cover, but it is not much and should be very easy to overcome by hand pressure on the cover:
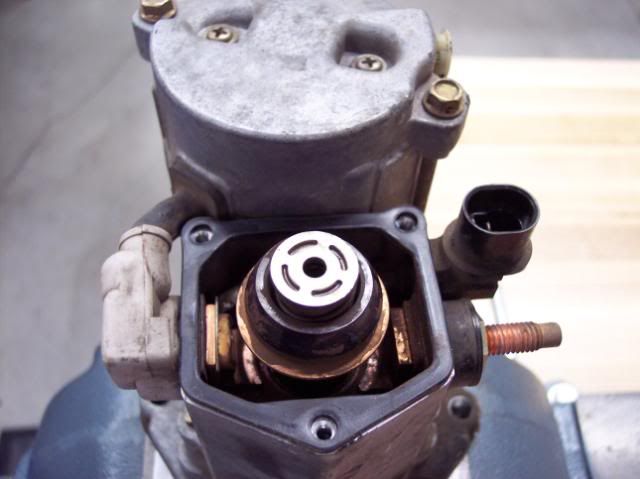
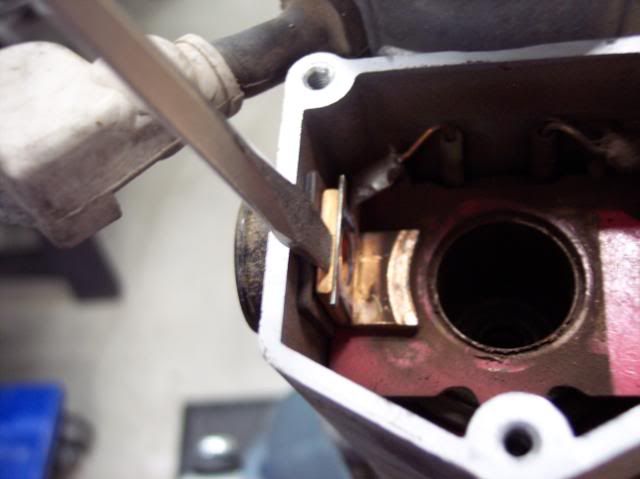
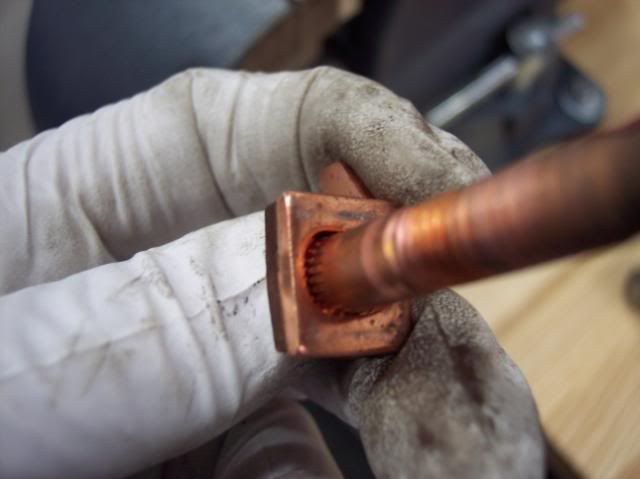
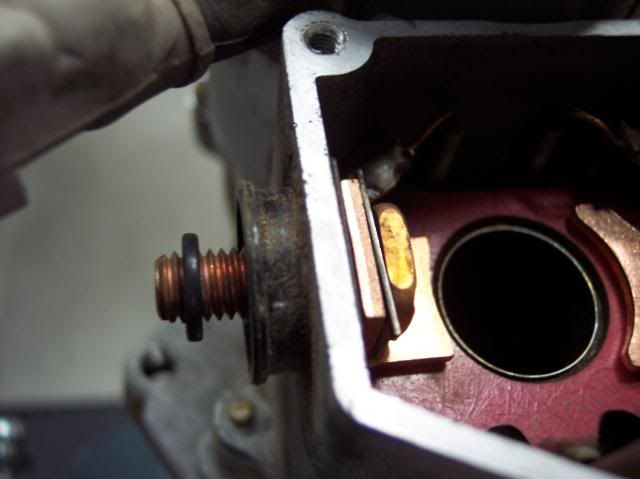
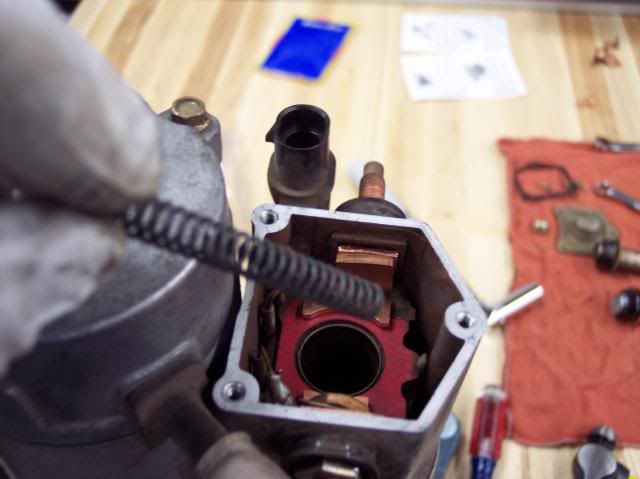
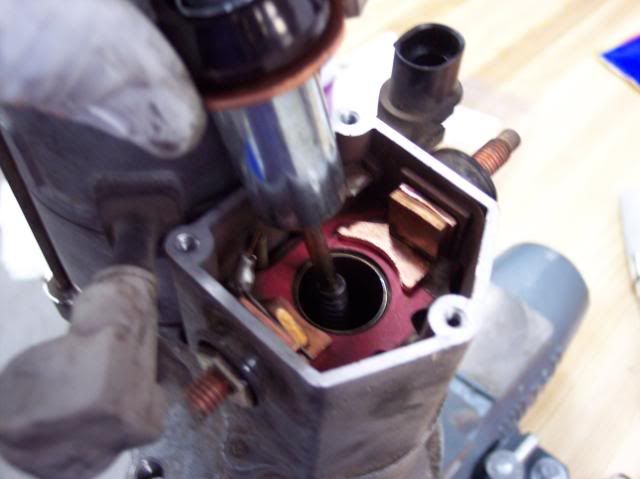
Pull the plunger out of the solenoid housing and set aside. You will now see the contacts on either side of the housing:
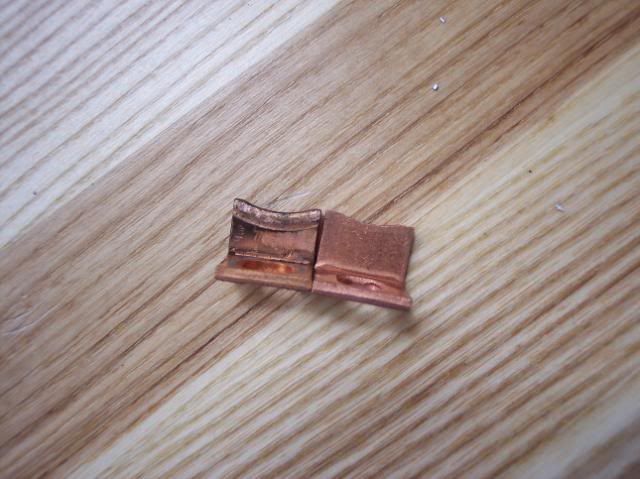
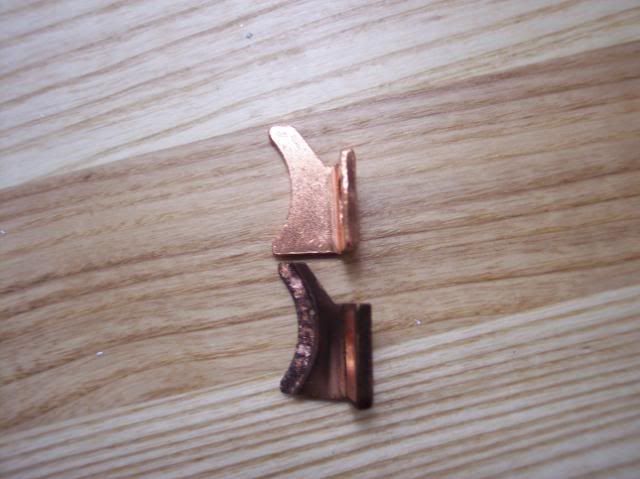
Side note: Notice that the contacts are worn down and pitted. The major failure can and has been that the contacts get worn to the point that when the starter engages, the plunger will stick between the channels dug out of the contacts keeping the starter engaged, even if you remove the key from the ignition!! There is full battery amperage going through the motor and if this happens you run a great risk of your vehicle catching fire. That is why it is important to address this issue as soon as you start to get the starter "click".
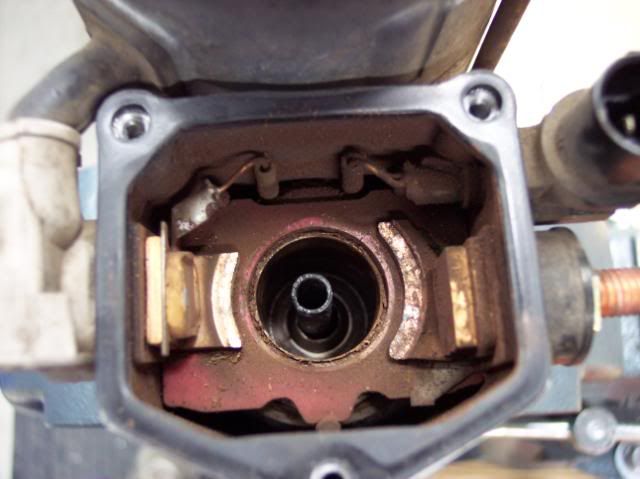
Remove the spring from the housing and set to the side. You will be reusing this part!! Notice the ball in the bottom of the hole. On my cruiser, the ball could be removed and potentially lost by turning the starter over from the position illustrated. On this particular version, the ball is retained by a ridge at the top of the hole and can't come out unless you take the starter solenoid screws out of the other end of the solenoid housing.
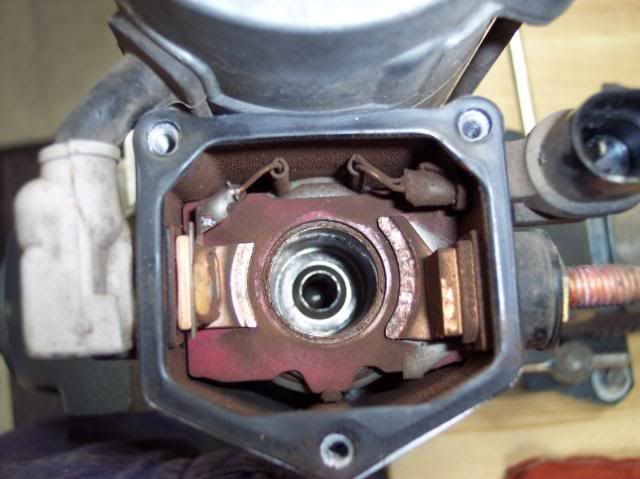
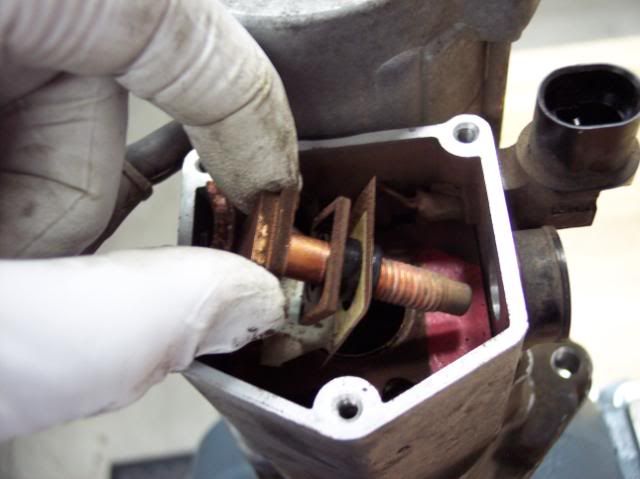
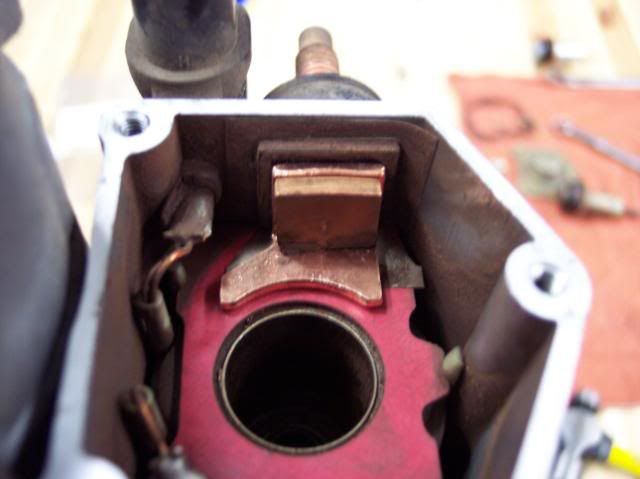
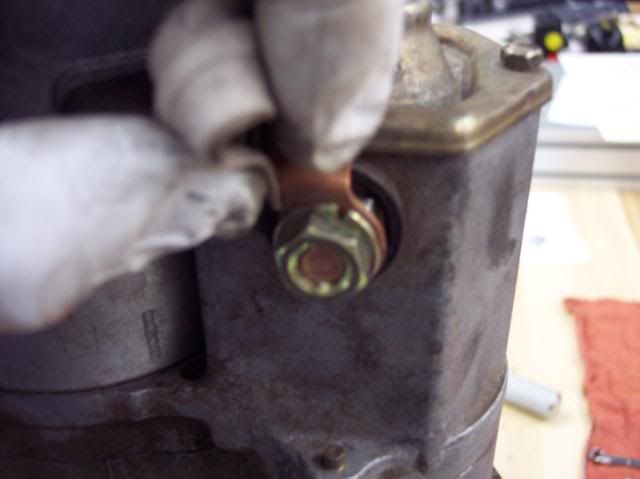
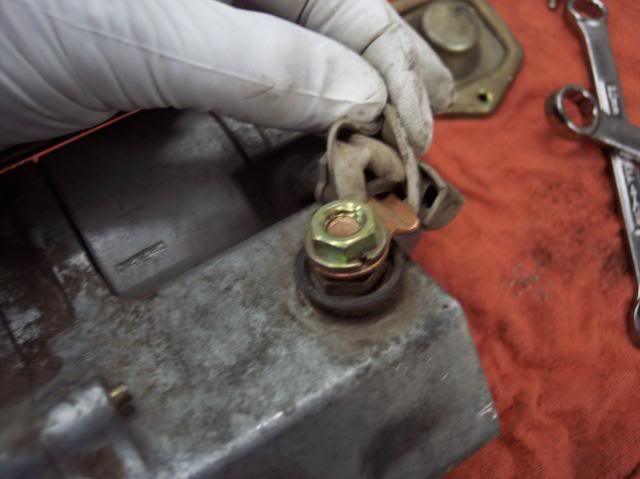
Remove the nut that holds the wire that transfers power to the starter drive motor:
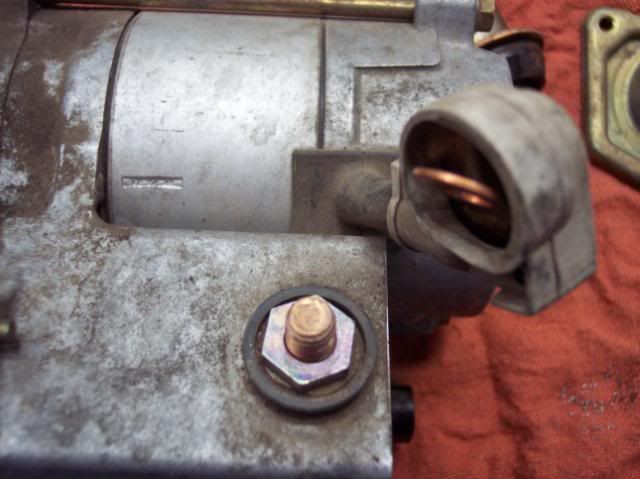
Remove the power transfer wire from the contact stud:
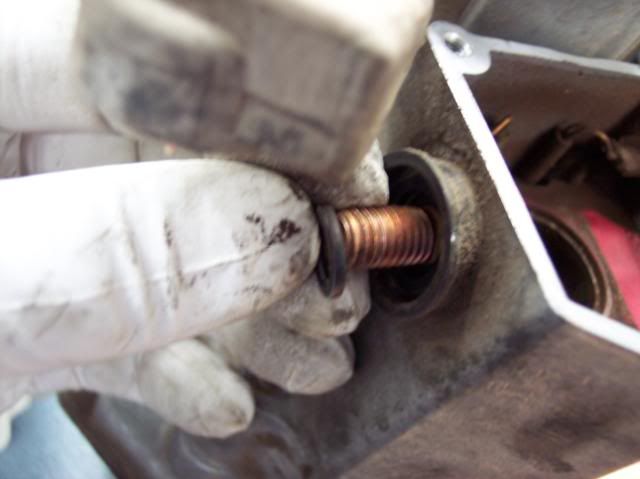
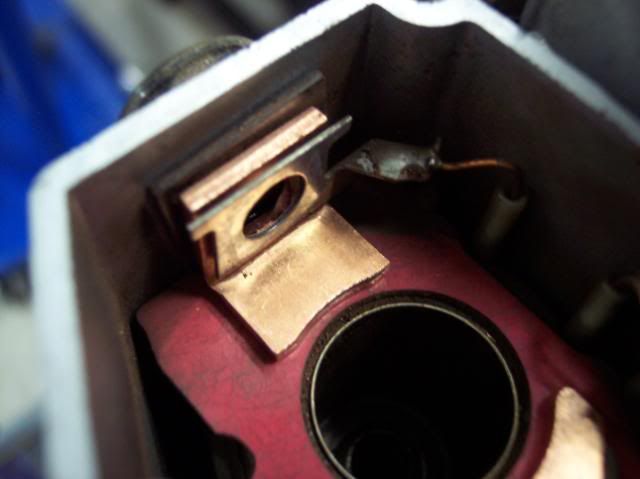
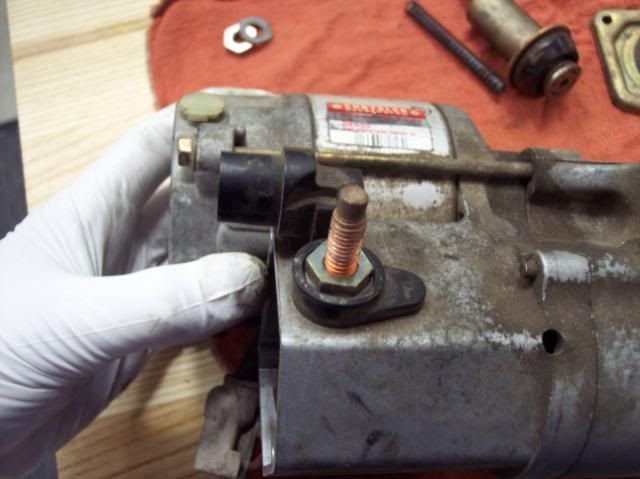
Remove the 14mm nut that holds the contact stud in position:
How this came about:
My wife’s 1999 Grand Caravan 3.3l V6 Flex Fuel minivan has been having a starter “click” but no engagement of the starter drive motor. Having had the same problem in my Cruiser some months ago, I thought I’d look at the starter. Low and behold, it is a Denso gear reduction type. I called my local Dodge dealer to see about getting a plunger and contacts and I was told “The starter is not a serviceable part, it just gets replaced”. I was not to be deterred.
I went online and found the plunger kit at Checker Auto, in stock, for ~13 bucks. On the CSK auto parts site there is a link to see what the part you are inquiring fits. It is the same kit that I now keep as a trail spare for my 80. I bought the kit, and proceeded to remove the starter. Here is the progression of the repair, including digital images that should be basically the same for any Denso gear reduction starter.
I am not including images of the removal/install as that will vary with the vehicle.
This is the starter on the bench:
The Denso tag:
Place the starter securely in a vise using soft jaws. I have aluminum jaw covers, you may need to use wood pieces.
Remove the 3-7mm screws that secure the solenoid cover to the housing. This will expose the plunger. There will be slight spring tension on the cover, but it is not much and should be very easy to overcome by hand pressure on the cover:
Pull the plunger out of the solenoid housing and set aside. You will now see the contacts on either side of the housing:
Side note: Notice that the contacts are worn down and pitted. The major failure can and has been that the contacts get worn to the point that when the starter engages, the plunger will stick between the channels dug out of the contacts keeping the starter engaged, even if you remove the key from the ignition!! There is full battery amperage going through the motor and if this happens you run a great risk of your vehicle catching fire. That is why it is important to address this issue as soon as you start to get the starter "click".
Remove the spring from the housing and set to the side. You will be reusing this part!! Notice the ball in the bottom of the hole. On my cruiser, the ball could be removed and potentially lost by turning the starter over from the position illustrated. On this particular version, the ball is retained by a ridge at the top of the hole and can't come out unless you take the starter solenoid screws out of the other end of the solenoid housing.
Remove the nut that holds the wire that transfers power to the starter drive motor:
Remove the power transfer wire from the contact stud:
Remove the 14mm nut that holds the contact stud in position:
Last edited: