Jeff - long time admirer of your many different DIY projects and pursuits. I really appreciate the fact that you document and post in such detail - definitely helps novices like me. I recently purchased a hard top for my 2013 JKU after having run a soft top for years. One day with the hard top and I can see why you pursued the the barn door project.
I'd like to take this project on. I have worked with fiberglass previously (albeit much smaller projects), so I am reasonably confident as it relates to that. My two biggest hurdles that I anticipate are (1) incorporating an off the shelf glass panel/frame into the mold, and (2) the attachment design and mechanics of the upper unit to the swing gate (and allowing for ease of removal when I want to run door less).
I have on more than one occasion read through this thread, however I regrettably did not bookmark specific posts that detail various steps in the process. Do you by chance have Google Photos album, Dropbox album, or some repository of photos from this endeavor that can be shared via a link? Worst case is I can pour back through 250+ pages.
I don't have the barn door photos in a separate place from the other photos, so you'd have to search through anyway and then you wouldn't get the benefit of the text of each post explaining what's in the photos. Most of what you'll need to know is in the first 20 or so pages anyway, so you won't have to go through the entire thread.
A few things that may help in your planning...
- The factory liftgate glass has a compound curve shape (curved in both directions) and in order to seal properly against the door jamb the barn door will also have to have the same compound curved shape. Getting this shape correct is key to proper weathersealing of the barn door, so focus on those curves in your mold design. If the curves are even slightly wrong, the barn door will leak (my barn doors don't leak BTW).
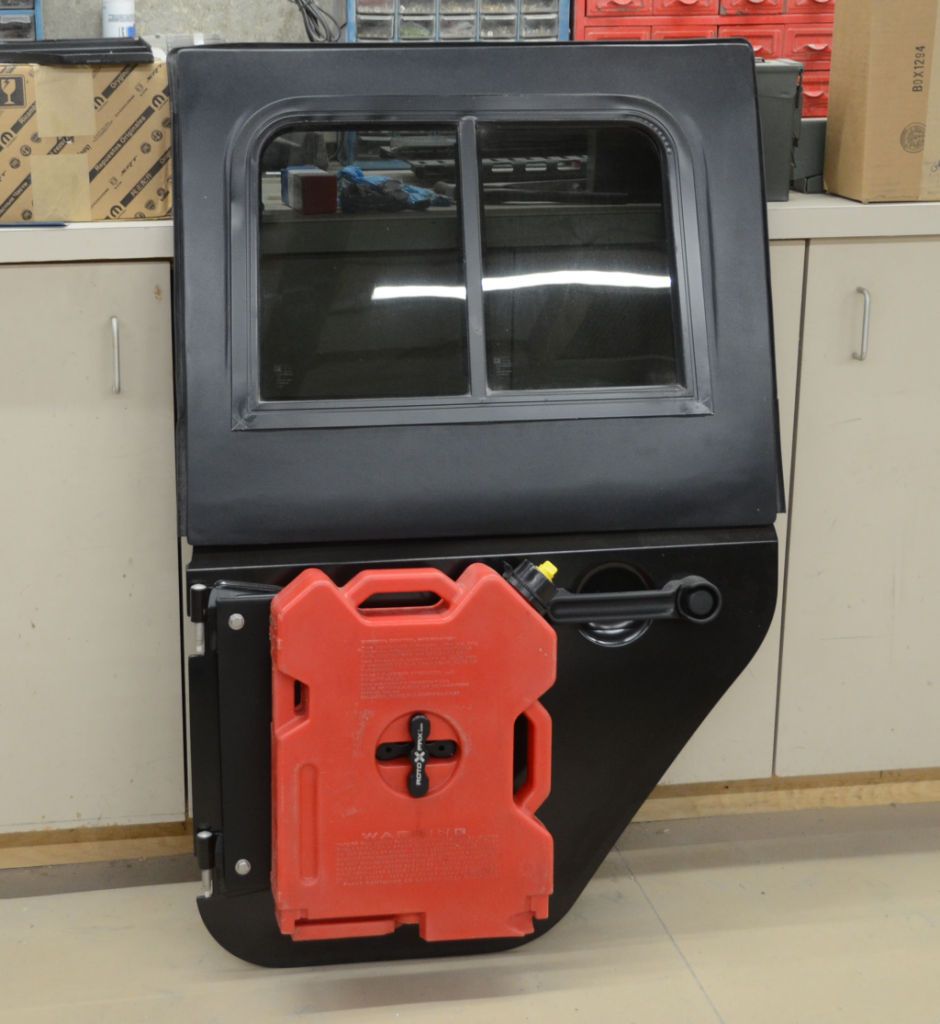
- In spite of the compound curves, I used flat glass in my design. You can see how I made a flat area for the window in many of the photos. Any glass place can cut glass to whatever dimensions you need, so the glass isn't a problem. You can either use laminated safety glass as I did in the first barn door, or have the window made from tinted glass and have it tempered as I did in the later two barn doors (the third barn door with very dark tinted glass for Florida I made earlier this year so you'll find it fairly late in the thread).
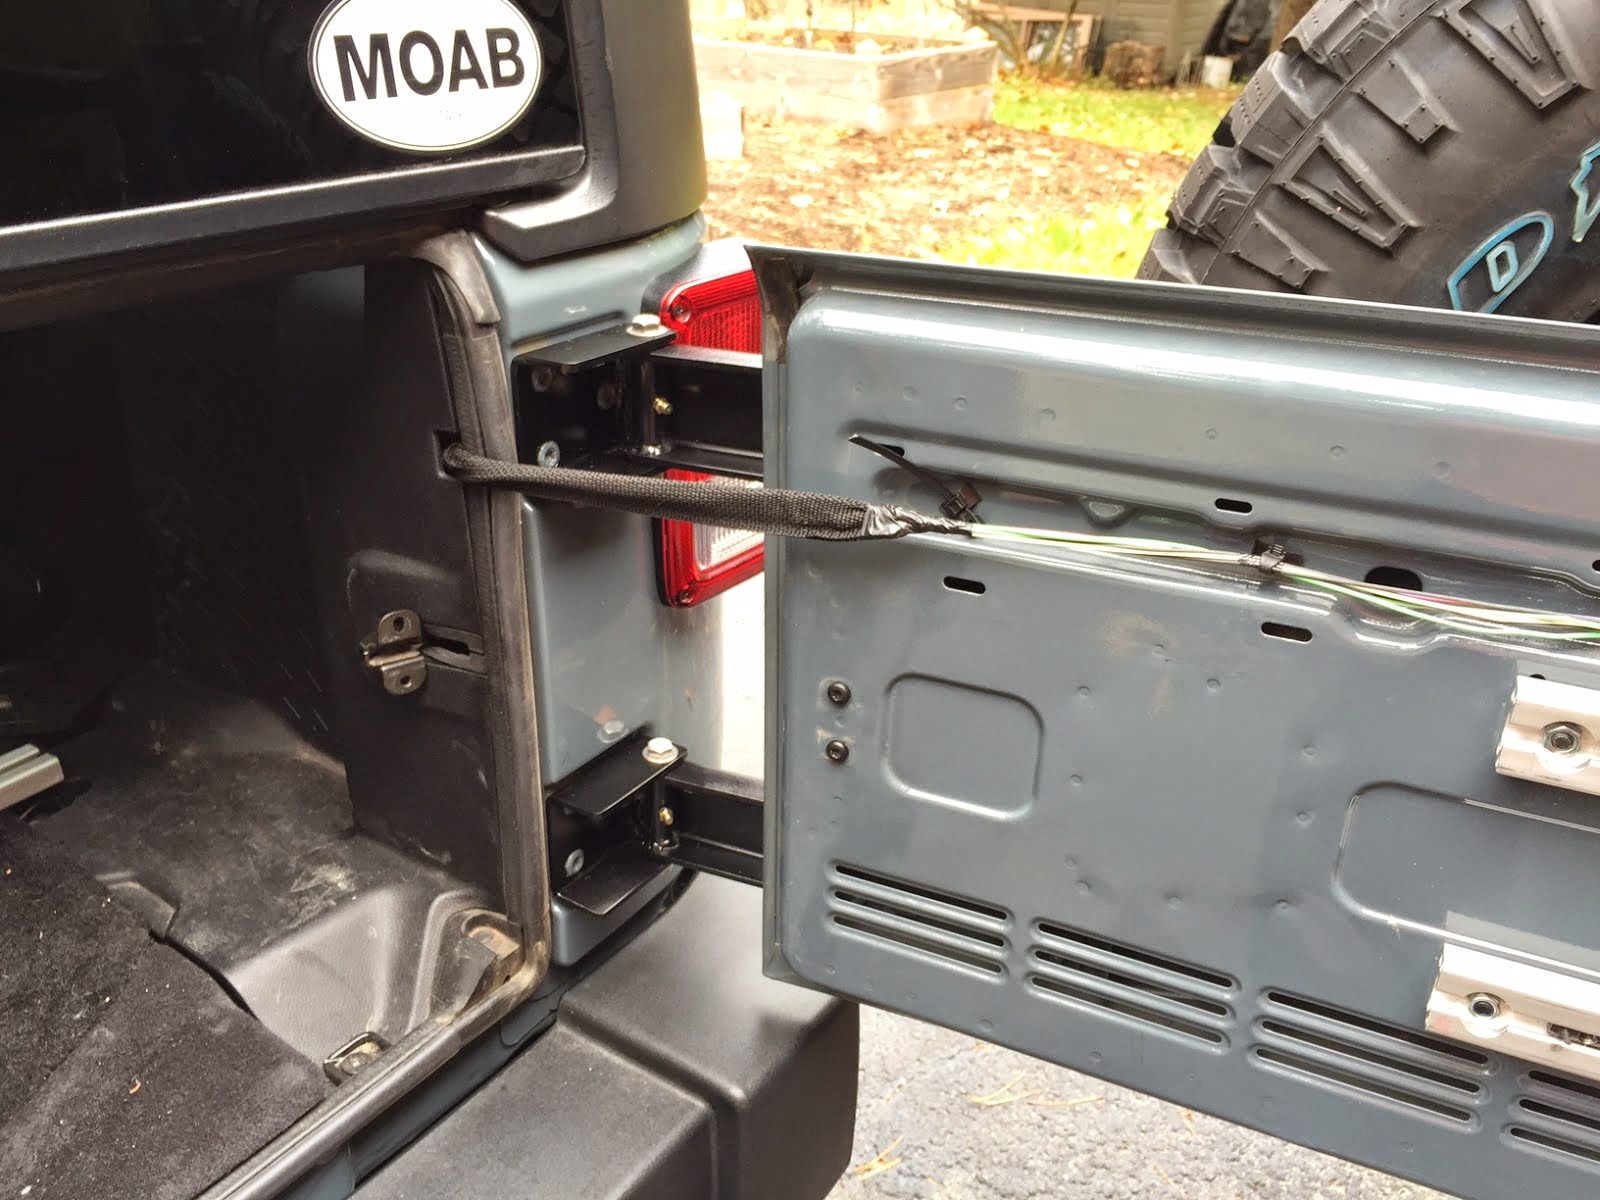
- If your hardtop is the later model, you'll need to make new hinges for your tailgate because hinges that work with a wide barn door are not commercially available. The later model hardtops have liftgates that are wider than the tailgate, and if you try to swing a wide barn door on the factory hinges the door won't work properly because the leftmost side of the barn door is to the left of the hinge pins - when the door opens out the part to the left of the hinge pin will swing inward and the door jamb will prevent the barn door from swinging. I made "wide swing" tailgate hinges to solve this problem they're also documented within the first 20 pages of the thread.
- The factory hardtop weatherstrip will leak with a barn door because of indents it has towards the bottom of the liftgate opening. I wrote about the solution for this as part of building the second barn door. Sorry I don't have a page reference for you but probably if you search on weatherstrip you'll find it.
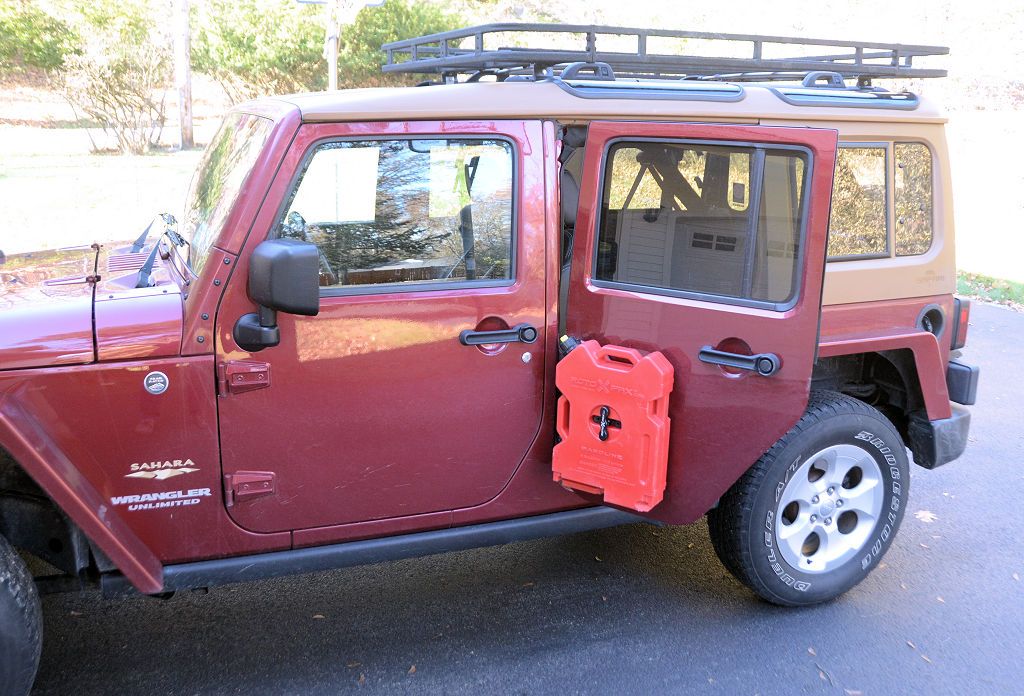
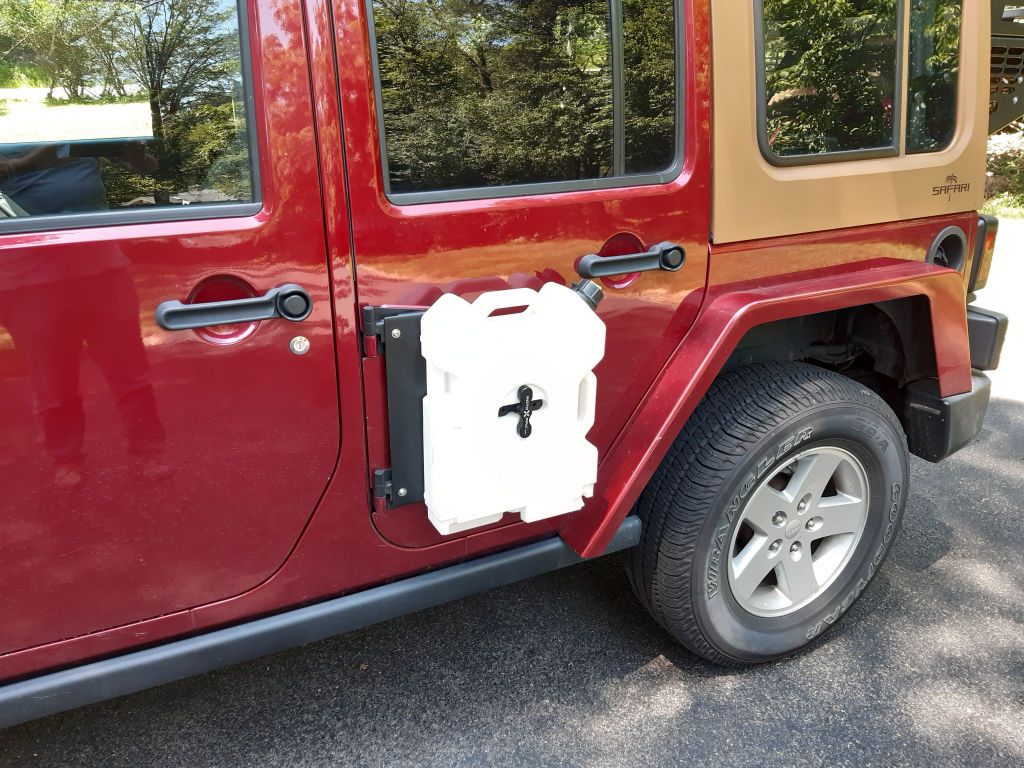
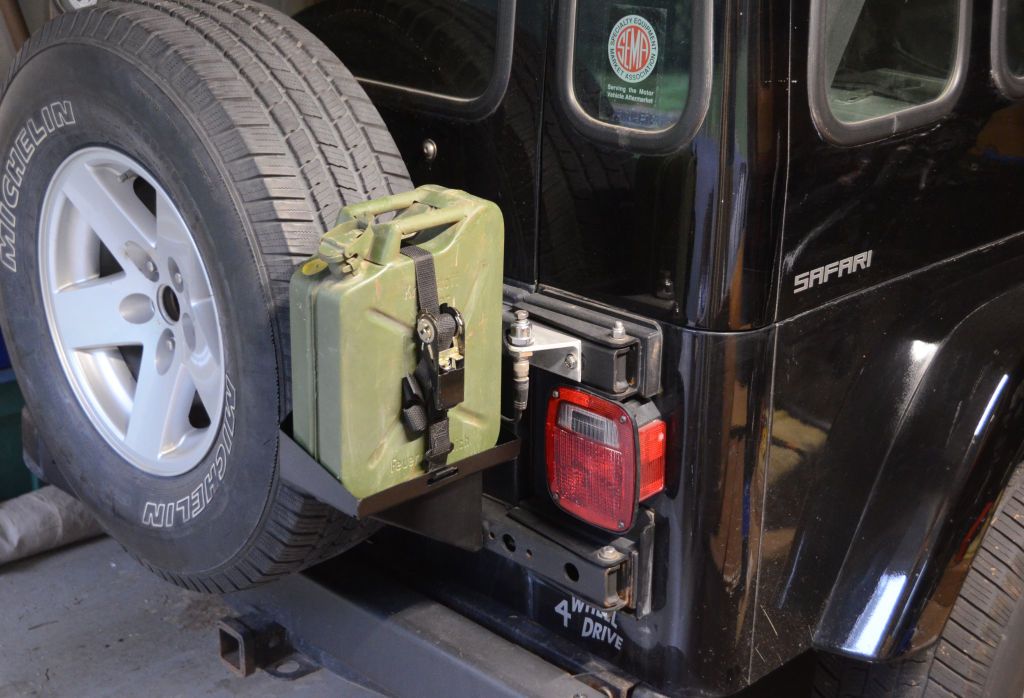
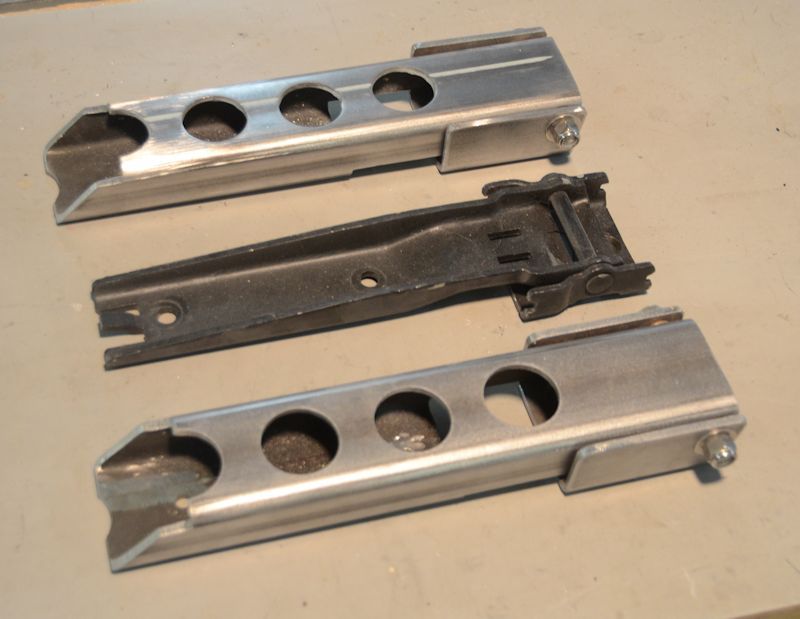
- Attaching the barn door to the tailgate isn't difficult, I use the same bolts that attach the spare carrier, although not how you might think. How I did it is documented in the thread as well.
- Do you plan to include a rear wiper and washer or a defroster grid in your design? I've covered all of these details at various points in the thread as well.
Good luck with your project. Happy to answer any questions you might have along the way. Focusing on getting the compound curves correct and implementing wide-swing hinges (if you have a later model hardtop) are the most critical details of the project, so concentrate on those details and the rest should fall into place.
 www.hickitchen.com