harrisonrmatt
Member
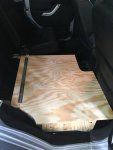
I got the "window" installed this morning. Actually it's a piece of 1/4" plywood painted white. I installed plywood for two reasons - since this unit will be used for the initial wiper installation, there's no need to subject a piece of glass to any risk from the work that will happen during that installation, and second, the plywood will be a perfect pattern for the glass shop. I can take the plywood to the shop and ask for a piece of safety glass that exact size, and I'll know everything will go together perfectly.
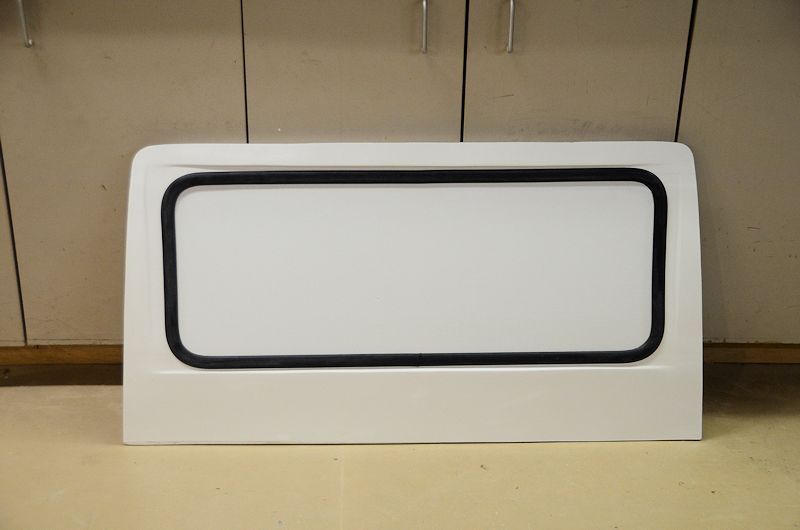
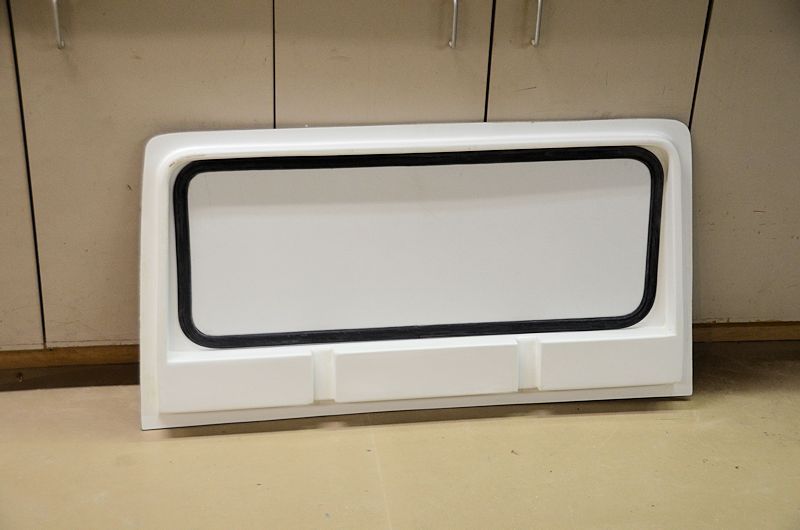
A production barn door could use either a gasket+glass type window like I'm doing on this prototype, or an aluminum-framed RV window.
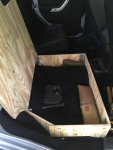
Next for this unit will be the wiper installation.
Hi Jeff - I am slowly making progress on this project; I finally have the fiberglass mold of the factory rear window completed. I have a few questions about the glass. I understand from your post that the glass is basically 1/4" safety glass. From what I could tell safety glass is typically used for windshields, and tempered glass is used elsewhere (side windows, etc.). Is there a reason to choose safety over tempered? I am also unclear on how the glass is seated with the gasket, or how it installs. Is it as simple as the gaskets lips wrapping around the edges of the panel and the edges of the window? No glue or any fasteners? Also, how did you source the gasket and glass - are there any online retailers you can recommend?
As I always, I very much appreciate your insight.

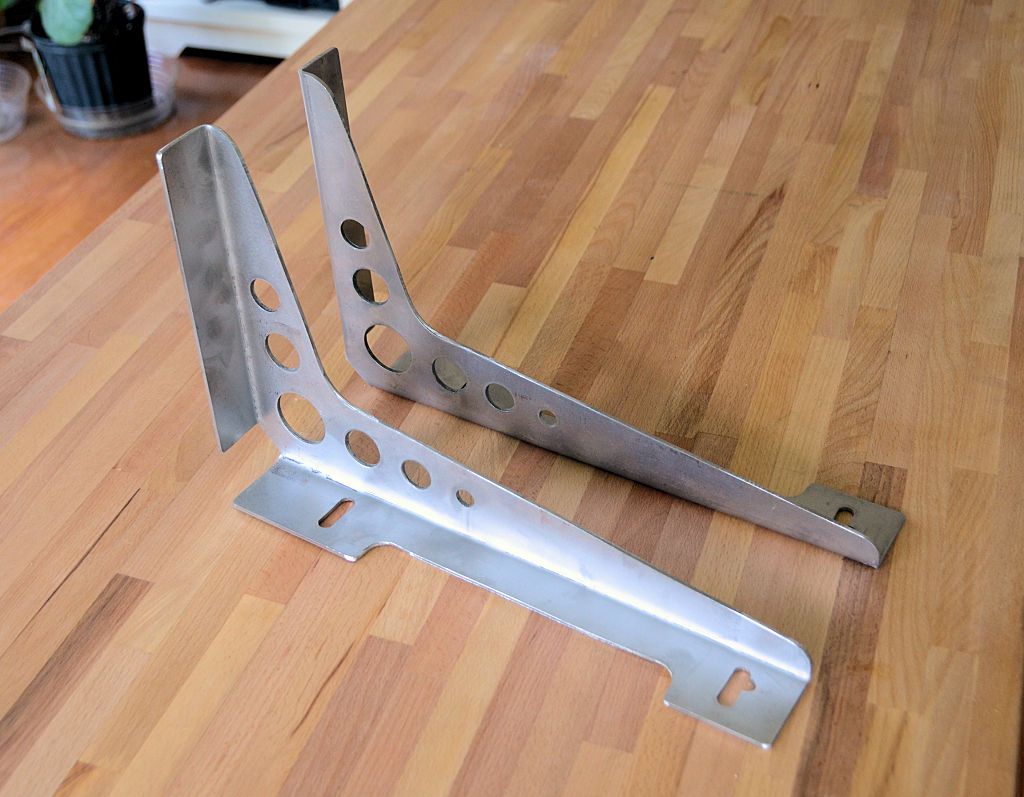
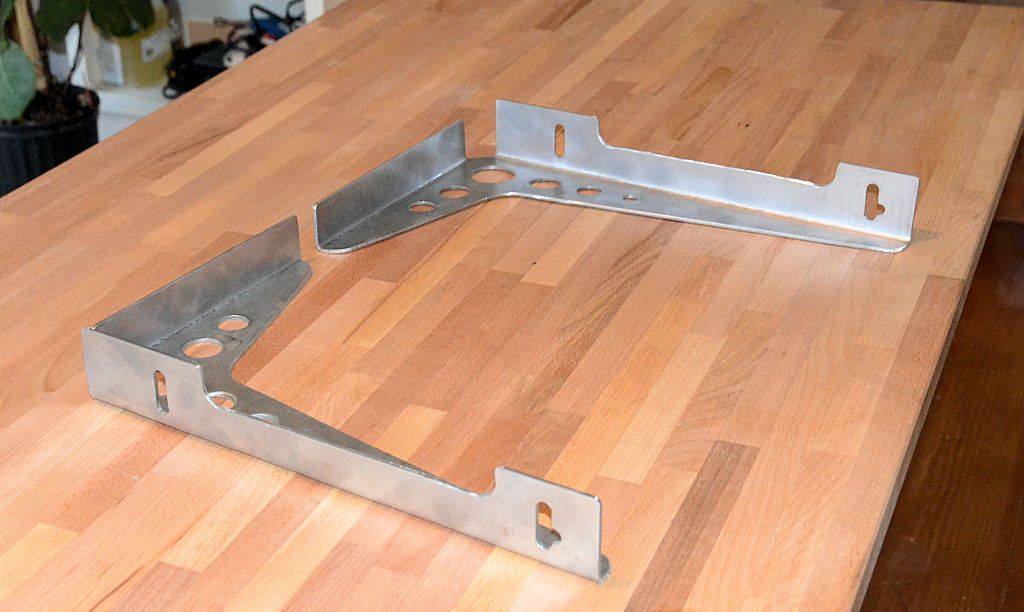
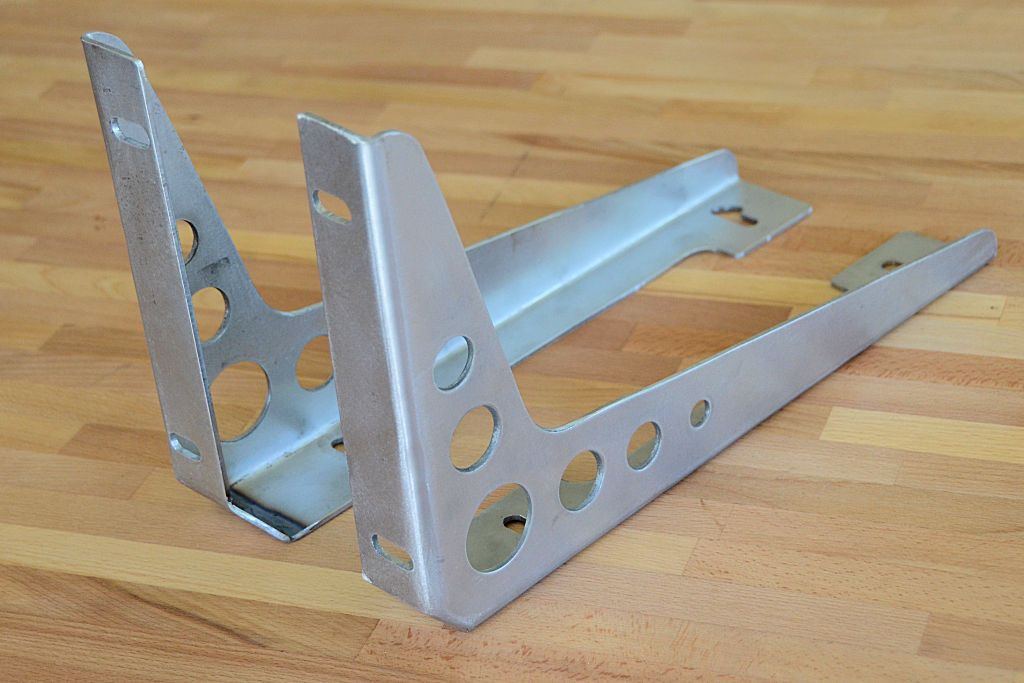
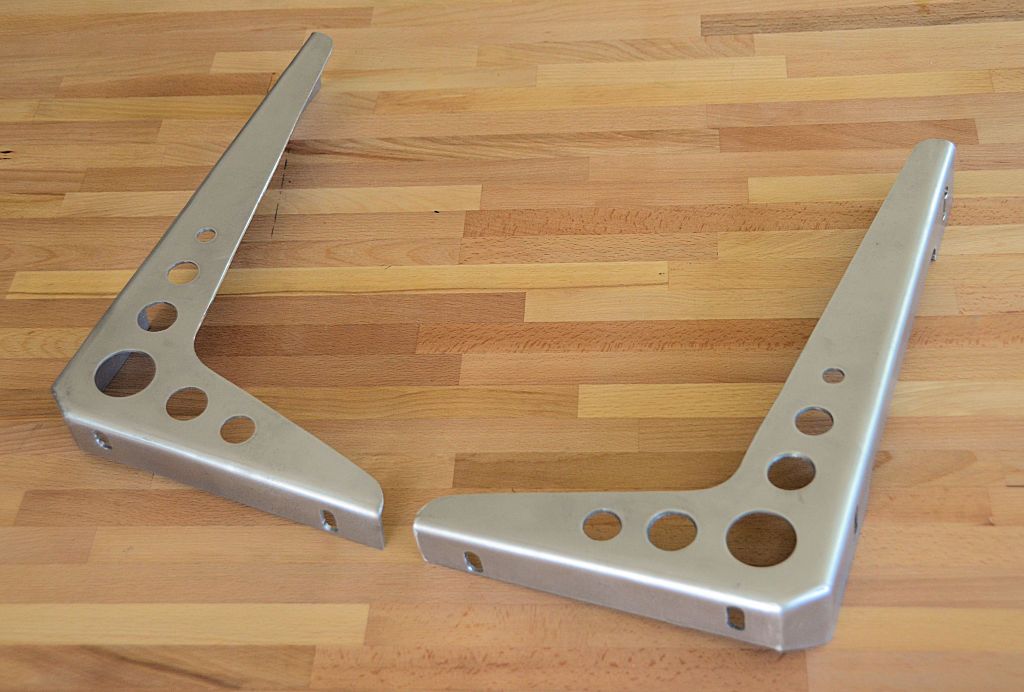
") . Well maybe most people wouldn't think of them as art, but I like to add some style to the things I do.
. Well maybe most people wouldn't think of them as art, but I like to add some style to the things I do.