Barn Door for JK factory hardtops

jscherb

Expedition Leader
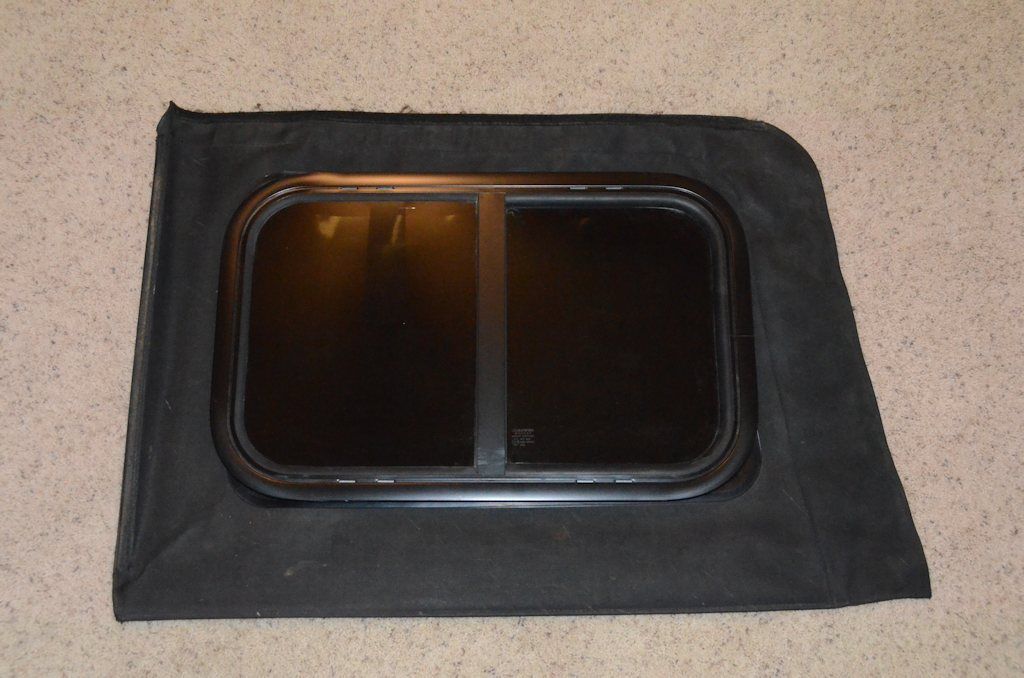
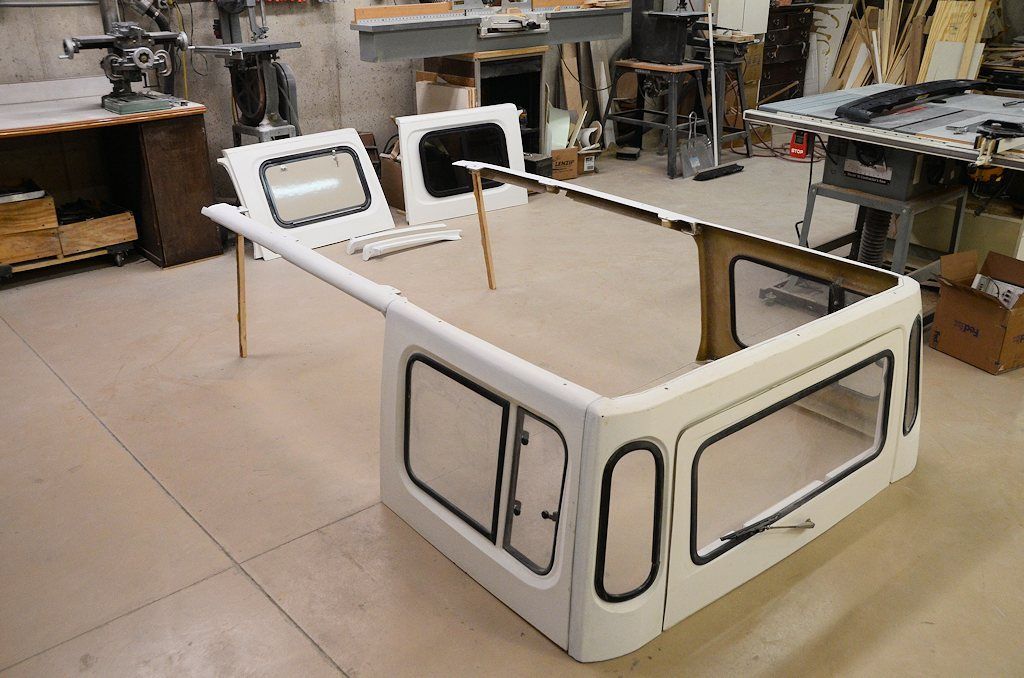
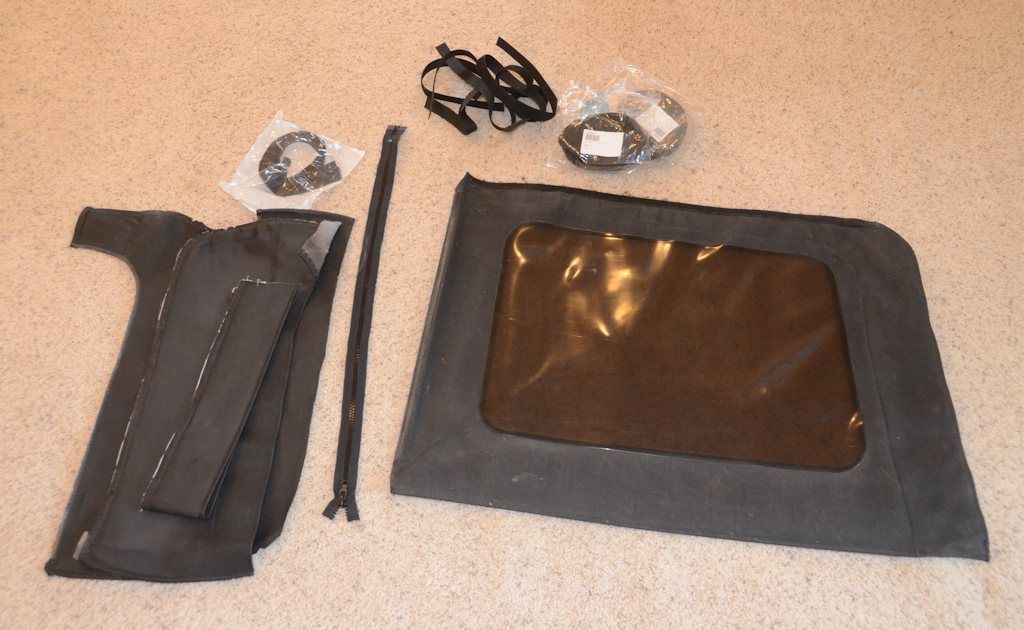
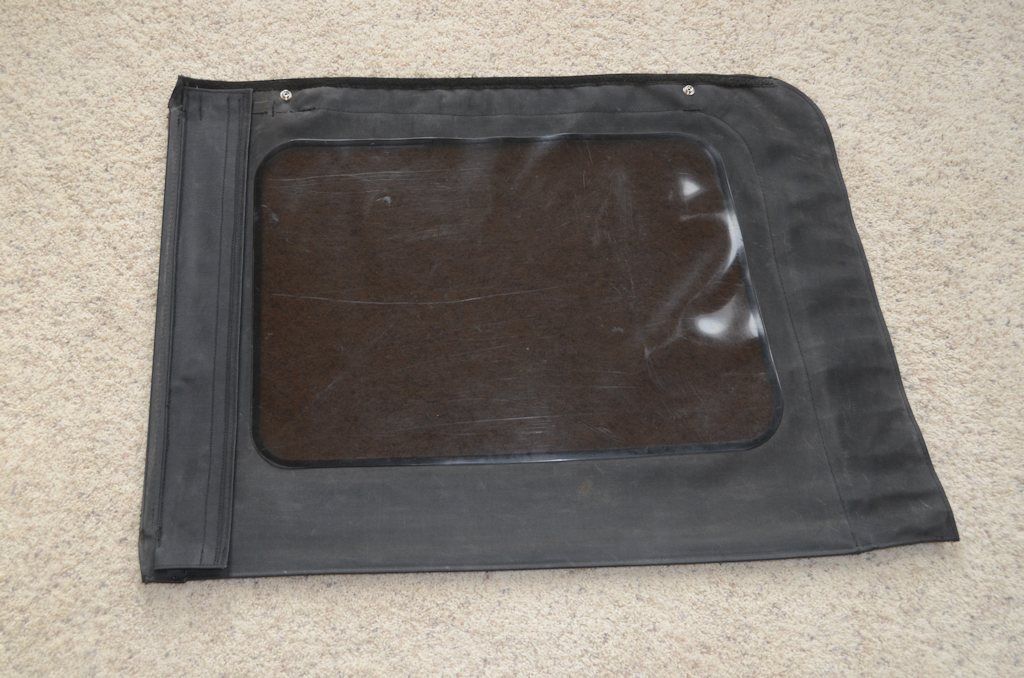
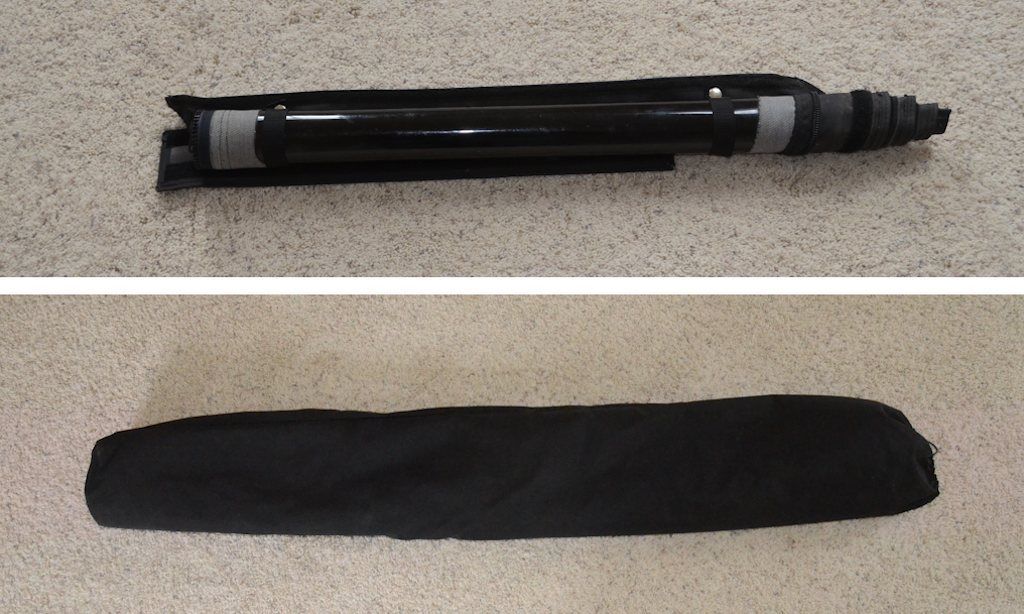
The other day I picked up a complete JKU soft top for $75, including frame (the frame isn't shown in this photo).

SoftTopParts_zpsy0klloax.jpg


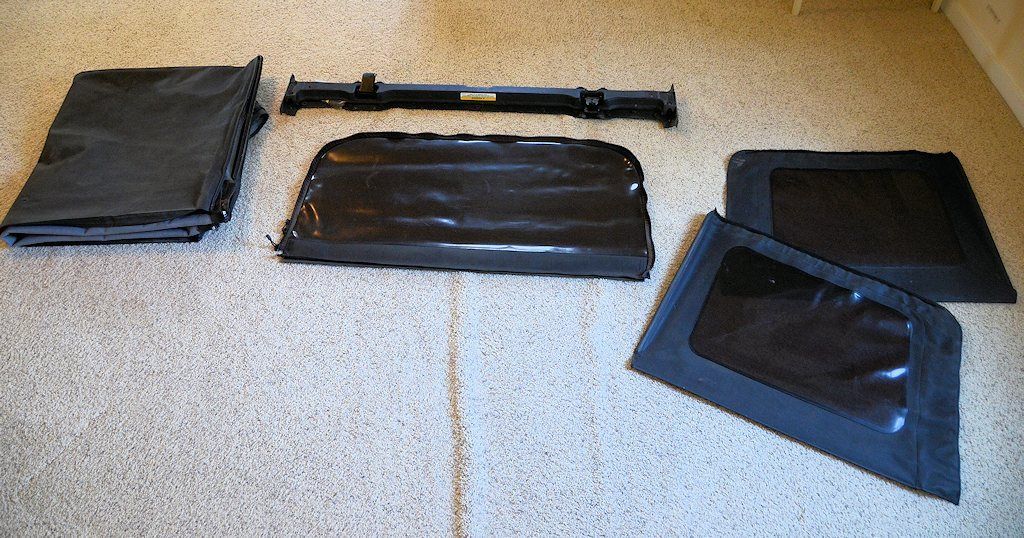
I bought it for several reasons:

- I'll sew the Safari Cab soft sides using the fabric from the roof panel.

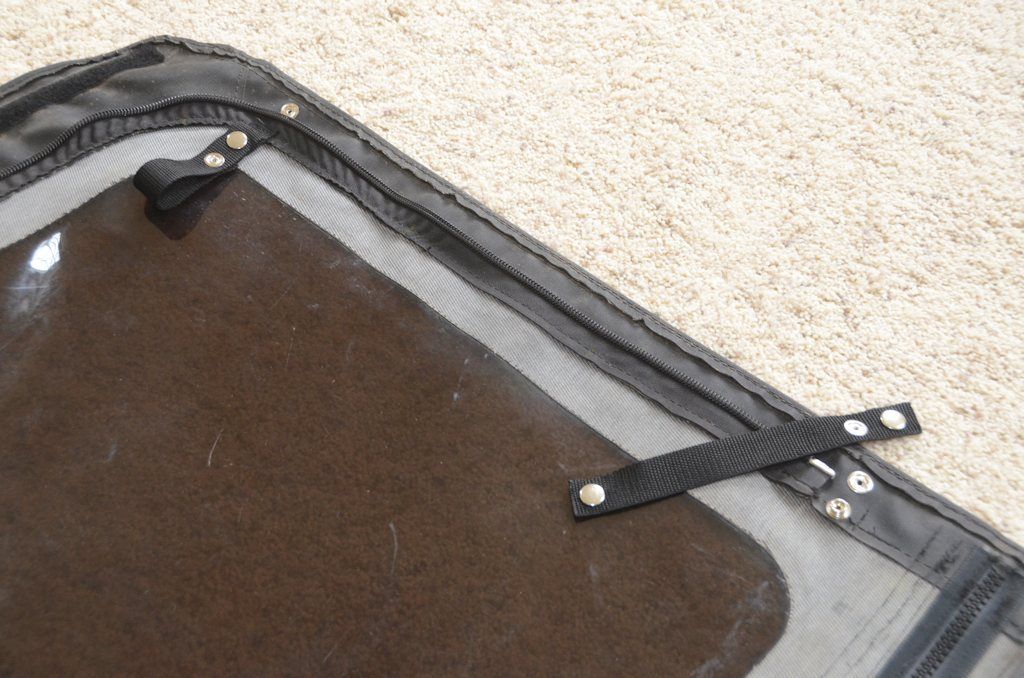
- I can turn the back window into the Safari Cab soft barn door.

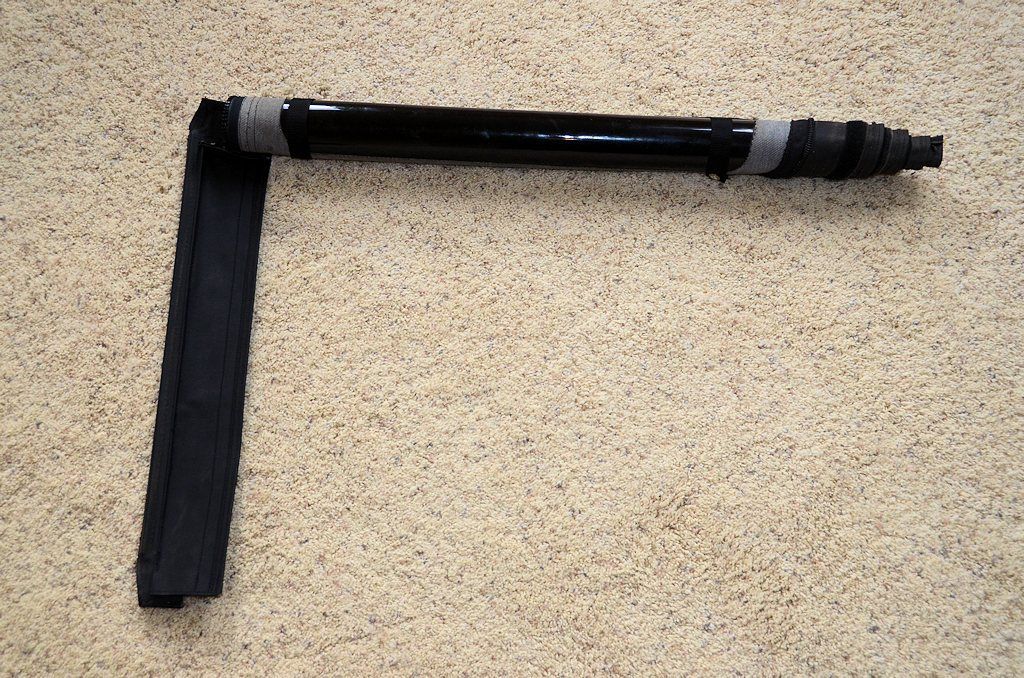
- I'll use the header for my Safari Cab soft roof concept (there's no header in the photo below).

SoftRoof1_zpsviblkcff.jpg


I don't have a use for the side windows with the Safari Cab, but maybe I'll come up with something creative to make from them. A couple of ideas...

- I could use the extra fabric from the roof panel and replace the windows (which are scratched anyway) with fabric to make solid side panels with no windows for the factory soft top.

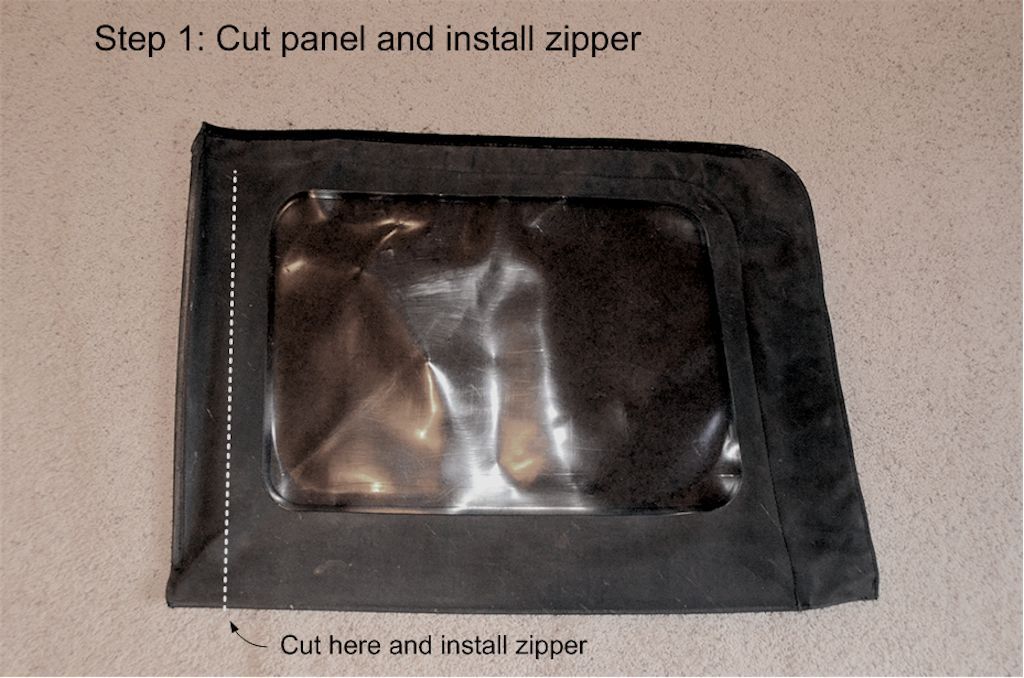
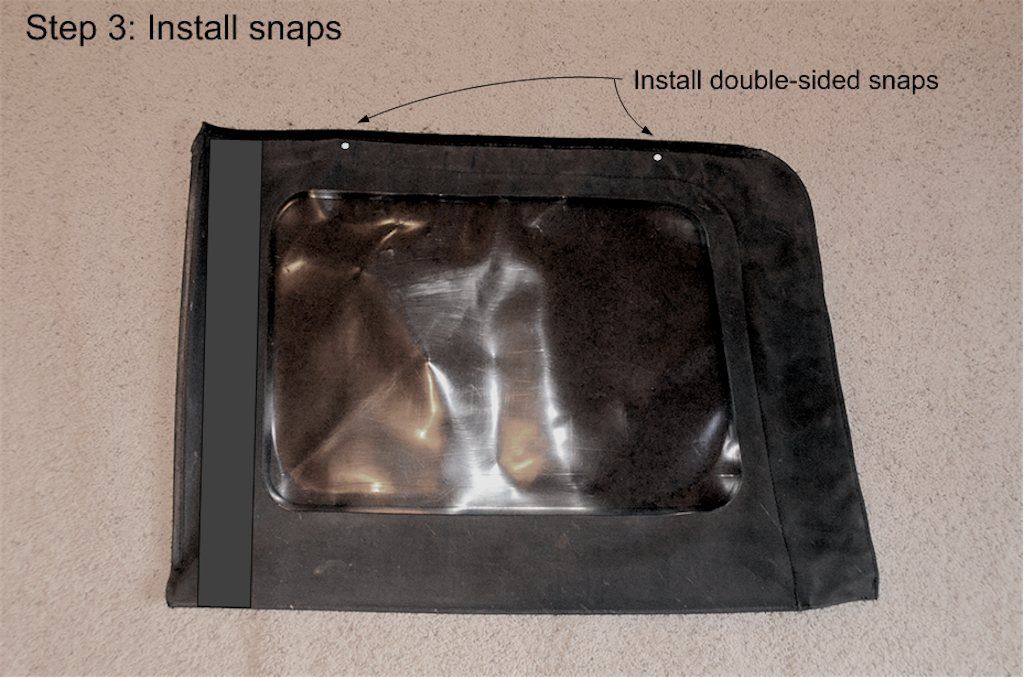
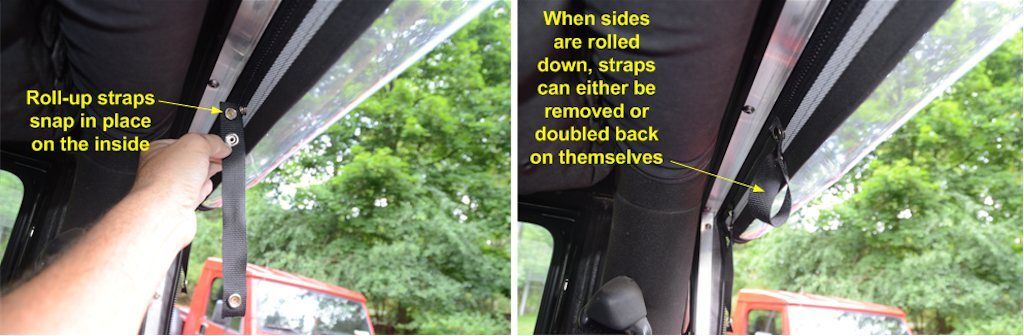
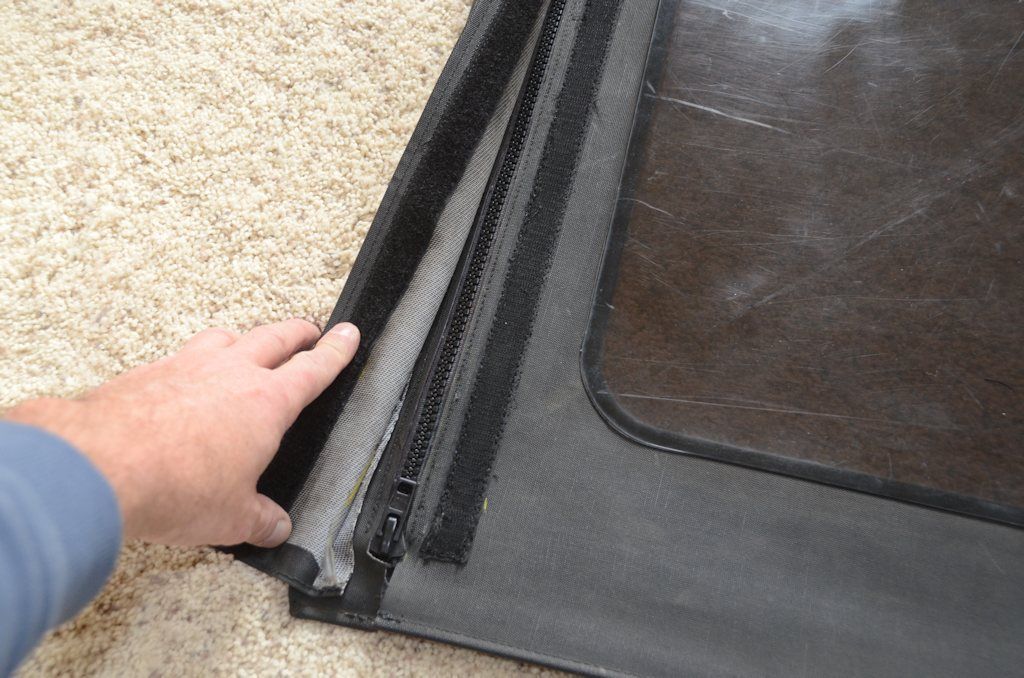
- I could make roll-up sides for the factory soft top using the parts - the factory sides don't roll up because of the plastic edge in the front and on the bottom; I could modify these so they could roll up. That way they could be opened up on the road without worrying about storing them, you'd just roll them up and leave them attached.

- I could try installing one of the half door slider windows in them, I think the rear door sliders would probably fit.

Any other ideas?
 

jscherb

Expedition Leader
The roll up "OEM"-ish side windows definitely caught my attention. :beer:

Smoking good deal on that top! :)

Doing roll-up sides for the factory soft top is the idea I like best too.

The deal on the top is going to even get better - it came with a complete set of door surrounds, which I definitely don't need, so I'll think I'll put them on eBay where they'll probably sell for more than the $75 I paid for the whole deal :).
 

Jurfie

Adventurer
Add a vertical zipper just behind the plastic lip that tucks into the door surround. I've been meaning to do this to my soft top sides to allow them to be rolled up rather than removed and stored; I often just remove the windows and leave the top up when I'm running my soft top, especially if I know I'll be hitting the highway.
 

jscherb

Expedition Leader
Add a vertical zipper just behind the plastic lip that tucks into the door surround. I've been meaning to do this to my soft top sides to allow them to be rolled up rather than removed and stored; I often just remove the windows and leave the top up when I'm running my soft top, especially if I know I'll be hitting the highway.

I've been thinking about the best way to convert the factory panels into roll-ups, and that would be a simple way to do it, but I wonder if that plastic lip will come loose when you open the door. In the factory design it's intended to be held in by the top of the panel being zipped in place, and the bottom of the panel being captured in the retainer lip on the tub. If you cut it at the bottom to put in a zipper, and it's unzipped, maybe the bottom of that plastic lip will come loose? I think something will have to be put in place to keep some tension on the front of the panel.

I really like the idea of turning the panels into roll-ups, so maybe I'll just cut it and see how well the front lip stays in place. If it stays, I can proceed to modify it with a zipper; if it doesn't I can decide what other changes might be necessary.
 

jscherb

Expedition Leader
Or... another thing I've been thinking about (I was talking to a friend who really likes this idea), is to put slider windows in the the soft top side panels - like the Bestop TrekTop Pro...

213075-lg.jpg


In this photo a spare slider I've got on hand is just sitting on the factory soft side, it wouldn't be hard to install it in the fabric panel for use with the factory soft top.

SlidersInSoftTopSide_zpsdxqkpgbs.jpg
 

jscherb

Expedition Leader
Travel and other priorities haven't given me a lot of time to work on the project for the past few weeks, but here's an update on what's been going on with it...

The last time I installed the top it fit very well, but there were a few minor adjustments I wanted to make and a few functional improvements to do, so I made a punch list of things to change. I've been working through the punch list as I've had time. One item on the list was to insert threaded inserts into the mounting flanges between the modular parts to make it easier to assemble things - rather than using bolts and nuts, all that's required now are bolts because the panels now have threaded inserts in them. Not much to look at, but here's a shot of the inserts in the mounting flange on the back panel where the side panel bolts up:

Punchlist1_zpshstdr68f.jpg


The threaded inserts make it simpler to change configurations. For example, here are the two configurations - one config shows the the hard side panel bolted to the upper door surround/jamb, and the other config is a rear surround/jamb bolted to the same upper surround. The rear surround seals the back of the door when the soft sides are installed instead of the hard sides. There are threaded inserts in the ends of the upper surrounds, which in addition to the threaded inserts at the back of the side panels, makes it easier to change configurations.

Punchlist2_zpszioelhag.jpg


That may not be very exciting, but the threaded inserts do make for nicer and quicker assembly/disassembly/configuration changes.

I also needed to make a few adjustments to the front of the upper surrounds where they meet the windshield to support the soft roof configuration. I had always planned to use a factory soft top header for the front edge of the soft roof but I didn't have one until a week or so ago. Now that I've got it I was able to make a minor change to the front of the surrounds so the factory header integrates with them very nicely. There's a recess at the front of the surrounds; the factory soft top header overlaps the surrounds at that recess, resulting in a flush fit for the soft roof. The factory header will be trimmed slightly to fit the recess in the surround (shown by the dotted line).

Punchlist3_zpsrzcjlwbd.jpg


All of the punchlist items have now been checked off on the side panels, the back panel and the upper jambs. There were no punchlist items on the barn door upper. There are a few small punchlist items on the roof panel; I'll take care of those next.

And here are all the parts (except for the roof) assembled today in the workshop. Leaning in the background are the alternate hard side panels, one with a cargo door and one with a slider window. On the floor in front of them are the surrounds for the front of the soft sides.

Punchlist4_zpscrskchts.jpg
 

jscherb

Expedition Leader
As usual, great work. This design would really cut down on existing blind spots with the JKU.

Thanks.

I do think visibility is a lot better out the back, I posted this "over the shoulder" photo from the driver's seat before. Not having the wiper motor in the view helps a lot, as do the extra windows in the back. When I finish the install the third brake light will be moved to the roof so that won't be in the view either. The Alpine windows bring a lot of light in too.

Rearview_zpslrmll1z3.jpg
 

jscherb

Expedition Leader
The roll up "OEM"-ish side windows definitely caught my attention. :beer:

Here's how it can be done:

Step 1. Cut the panel vertically. The panel wouldn't be cut in completely two, the cut would probably go to within 2" of the top of the panel and then stop. A #10 zipper (same size as the factory zippers) would be sewn into the cut. The plastic retainer strip at the bottom of the panel would be cut as well; it would stay in place. The front section should provide enough tension to keep the vertical retainer strip that goes up the back edge of the door in place.

RollUpWindowMod1_zpsbbpabjpv.jpg


Step 2. A zipper alone won't be weatherproof, so a flap has to be made to cover the zipper. The flap (shown in yellow in this drawing, although it would be black soft-top material to match) would be sewn to the panel along the red stitch line. Sewn to the panel on the roll-up side of the zipper would be a piece of velcro (shown in green); a matching piece would be sewn on the inside of the flap to hold the flap closed over the zipper. The flap would go up to just above where the roof panel comes down over the side panel so dripping off the roof won't get inside the flap.

RollUpWindowMod2_zpsowvts1ty.jpg


Step 3: Double-sided snaps are installed at the top of the panel, just above where the roof comes down over the panel.

RollUpWindowMod3_zpsu4teffzv.jpg


Step 4, this is a photo from my LJ Safari Cab roll-up sides - the snaps installed on the side panels are double-sided, so something can snap to both the inside and the outside of the panel on the one snap. The straps snap to the inside, loop around the rolled-up side panel, and snap to the outside to hold the rolled-up part of the panel in place.

RollUpStraps_zpsd6r0h5ng.jpg


To roll up the window, the retainer strip at the bottom of the opening section is released from the tub rail. Then the flap is pulled back to expose the zipper, and the zipper is slid to the top. The factory zipper, which still holds the entire panel in place, is unzipped up to roughly where it meets the roof panel. Then the opening section is rolled up, and straps are snapped in place to hold it up top.

It's a pretty simple sewing job, all straight cuts and stitching and no tailoring needed. The only slightly difficult part (difficult depending on the capabilities of your sewing machine) is that the stitching that holds the plastic retainer strip into the bottom of the panel will need to be stitched over to keep it from unraveling once the cut is made across it - some sewing machines will have no trouble running the needle through the plastic retainer strip, but if the sewing machine being used is too weak for that, then a few hand stitches will be fine to re-secure the factory stitching at the retainer strip.
 
Last edited:

jscherb

Expedition Leader
Checked my sewing supplies this morning... I've got everything necessary to convert the factory soft top side panels to roll-ups - correct zippers, scraps of JK soft top fabric large enough to make the flaps to cover the zippers; velcro, snaps and webbing for the straps. As soon as I get time I'll modify the panels.

RollUpMaterials_zpsvvvj9ngj.jpg
 

Jurfie

Adventurer
Checked my sewing supplies this morning... I've got everything necessary to convert the factory soft top side panels to roll-ups - correct zippers, scraps of JK soft top fabric large enough to make the flaps to cover the zippers; velcro, snaps and webbing for the straps. As soon as I get time I'll modify the panels.

Eagerly waiting to see how it works!
 

jscherb

Expedition Leader
Eagerly waiting to see how it works!
I had a little time this morning so I started on one of them. Got the zipper sewed in:

RollUpZipper1_zpsp4qzpoh5.jpg


Once the hard plastic strip in the front isn't part of the main panel anymore, it rolls up pretty nicely:

RollUpZipper2_zpscryx8md2.jpg


The zipper alone won't be weatherproof, so I've still got to sew a flap on to protect it. Also have to install the snaps for the straps to hold it in the rolled-up position.

It's promising so far.
 

jscherb

Expedition Leader
I finished sewing the first roll-up side (for the factory soft top) this morning. As soon as I can test it on the Jeep, I'll sew the other one.

Rolled down. There's a velcro-closure flap over the zipper to keep it weathertight, and two snaps for the straps to hold it rolled up. The snaps are positioned above the where the bottom of the roof panel falls, so they're not visible when this panel is on the Jeep.

JKURollUpSide1_zpsqjtgizkw.jpg


The velcro-closure flap and the zipper:

JKURollUpSide2_zpsocfwupwe.jpg


It rolls up very nicely:

JKURollUpSide3_zpsgcfssnut.jpg


There are straps on the inside to hold it in the rolled-up position. When rolled down, the straps can be doubled back on themselves like the strap at left, or removed completely like the strap at right:

JKURollUpSide4_zpstooiimsi.jpg


Another nice thing is that when they're rolled-up and off the Jeep, the vertical part that engages with the door surround can be folded back, so the entire panel can be stored rolled up. I'll probably sew a storage bag for them, the bottom half of the photo below shows a storage bag I made for my LJ Safari Cab roll-up soft sides, so I'll do something exactly like that.

JKURollUpSide5_zpsxgnqjboj.jpg
 

Forum statistics

Threads
186,000
Messages
2,880,715
Members
225,705
Latest member
Smudge12
Top