jscherb
Expedition Leader
Sorry but I haven't been following this thread for a while. Are these safari tops available anywhere yet?
Thanks
No, they are not available at this time.
Sorry but I haven't been following this thread for a while. Are these safari tops available anywhere yet?
Thanks
No, they are not available at this time.
In the board rooms across all the awning companies, I can see CEOs smacking their foreheads...
That is simply awesome! :beer:
There were a lot of things that were figured out long before we were born like window shades.
It is a good idea Jeff.
") .
.
I swore I'd seen smittybilt had something very similar?
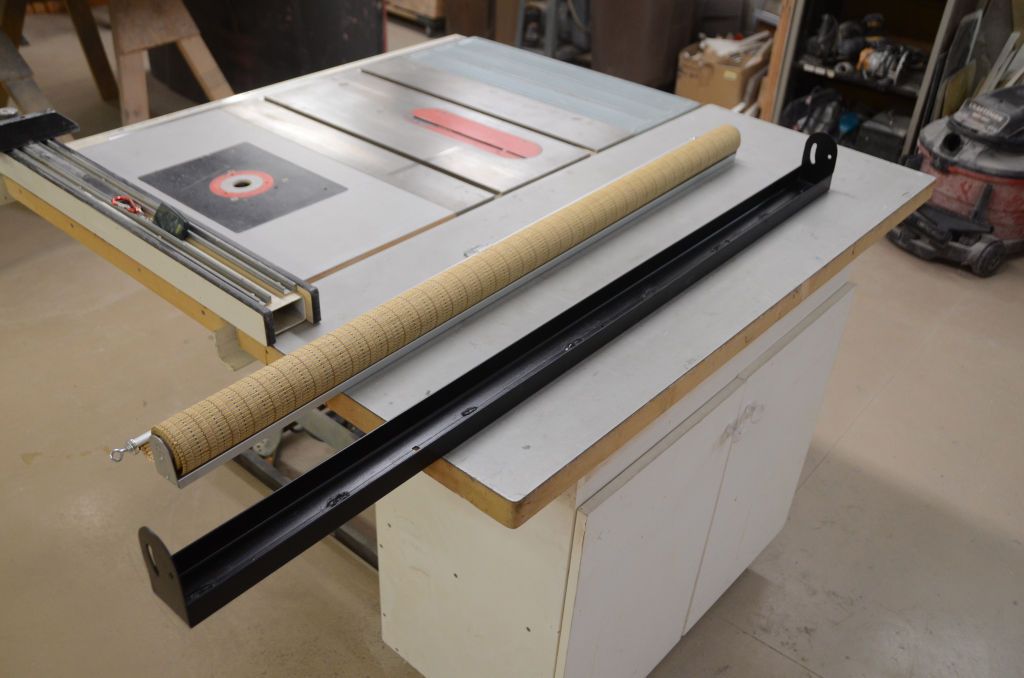
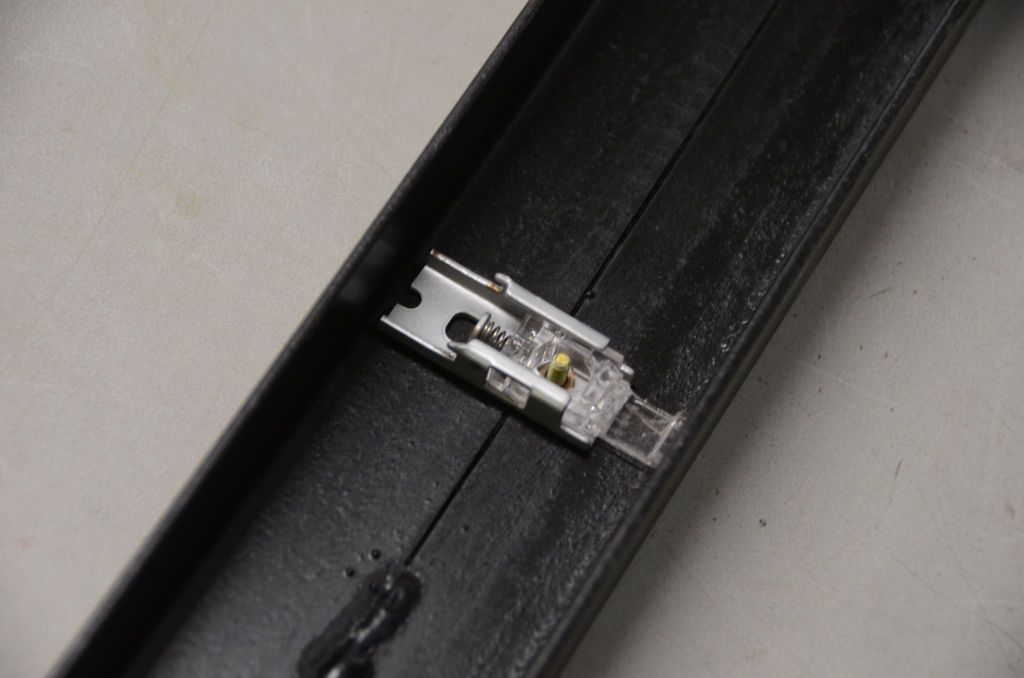
Another benefit to the sunshade is it will handle wind a bit better than a solid cloth.
Awesome write-up! Thanks for doing this. I'd like to make one for the Scout, as a "winter rainy day project."