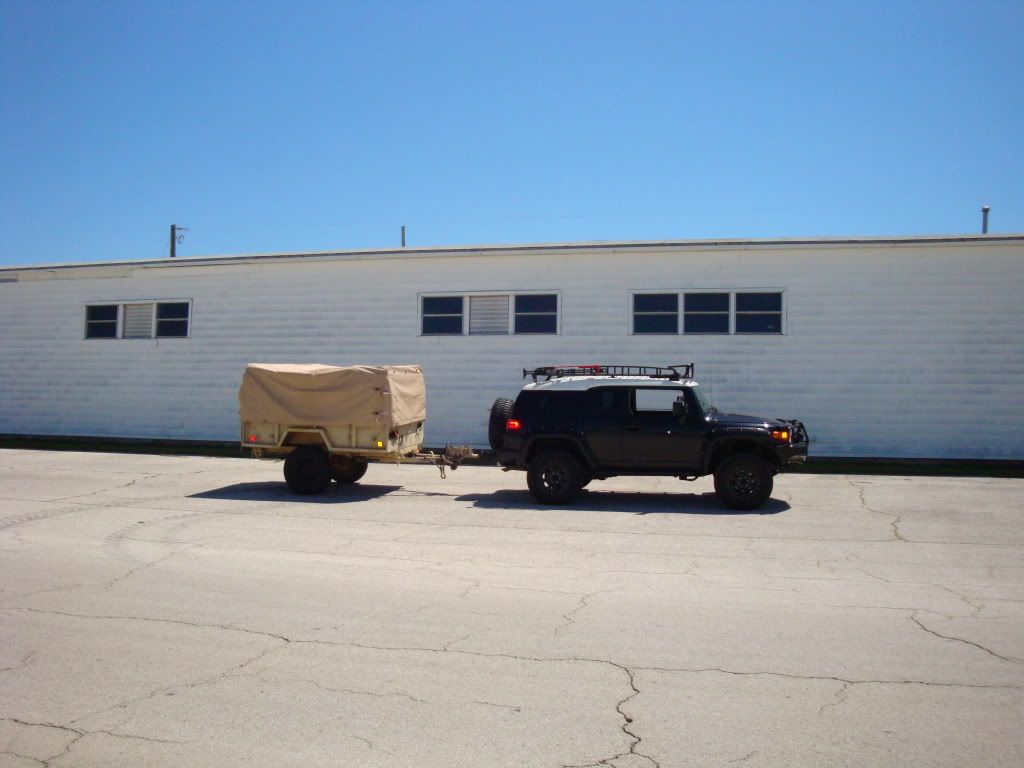
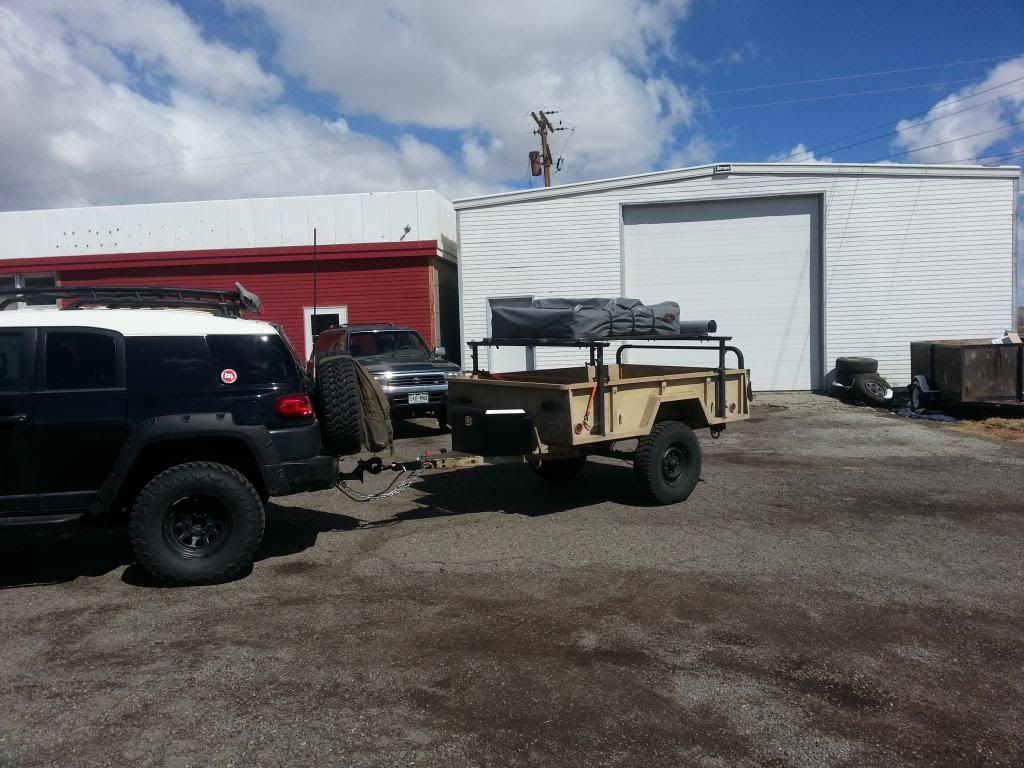
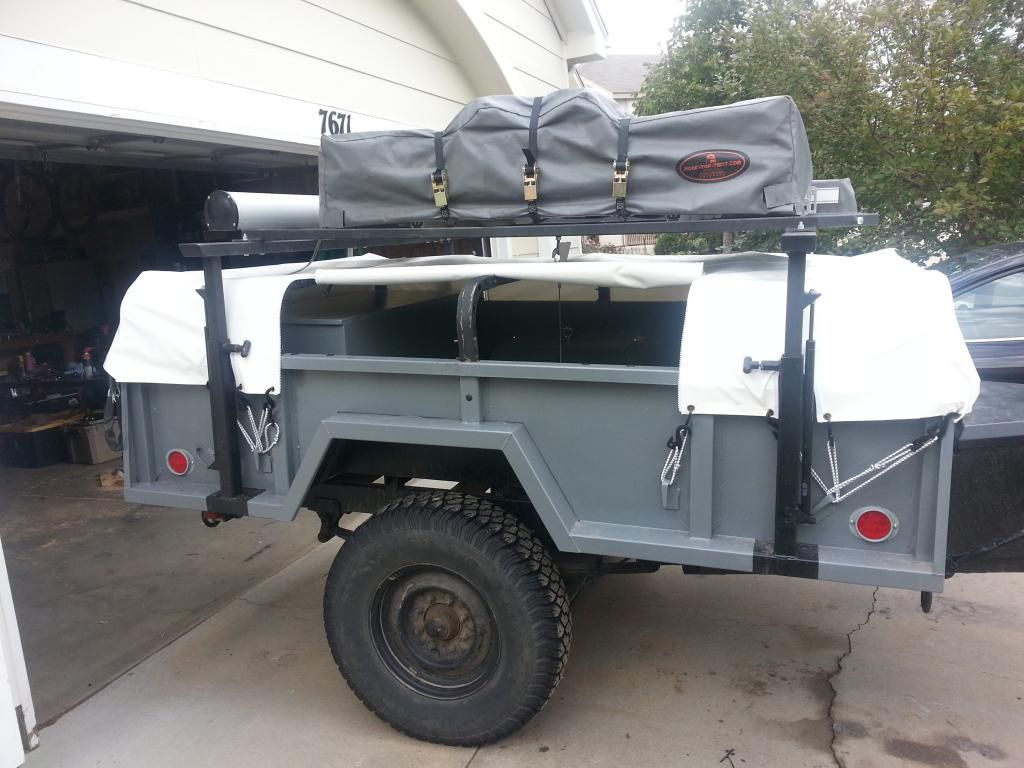
My M101A2 Expo/Base Camp Trailer

shack

Adventurer
hey all,

I haven't been around here in quite a while, but I thought I might share the progress I've been making on my trailer. Here's the original build thread.

I'm just copying and pasting into this site, so forgive me if there are some non-sequitur issues.

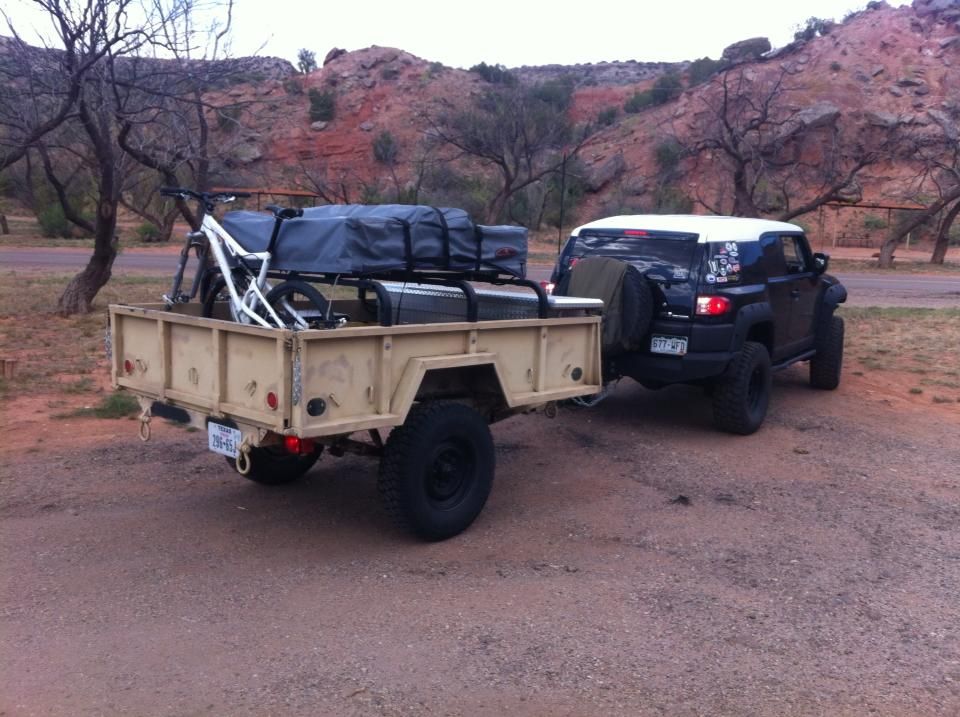
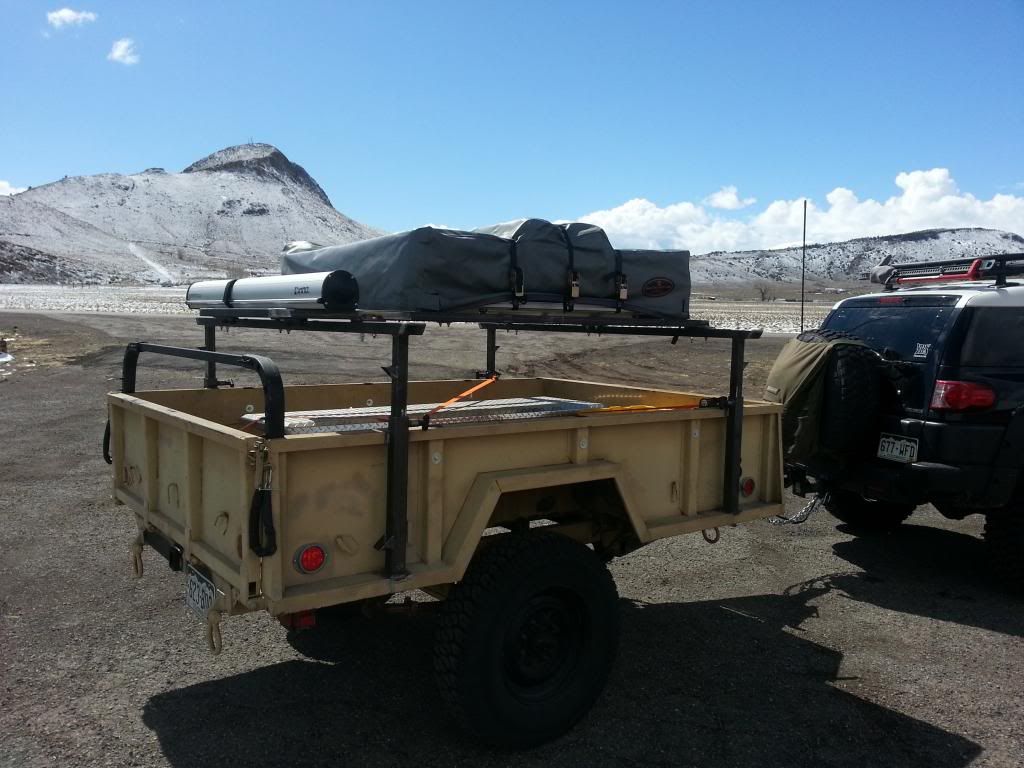
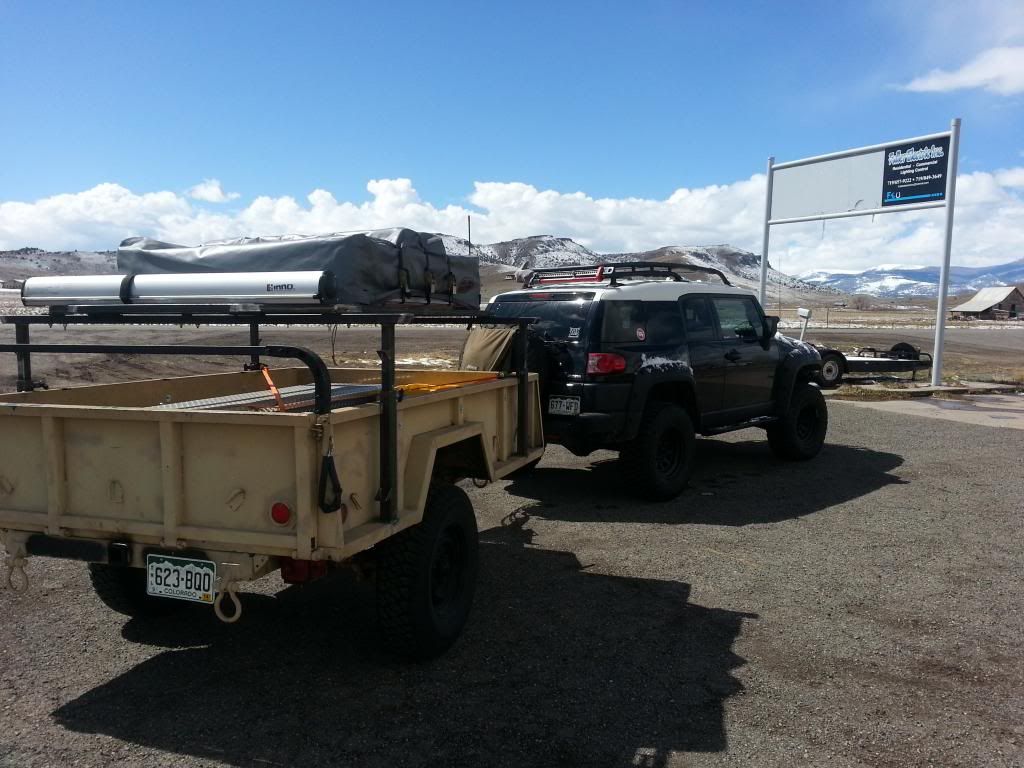
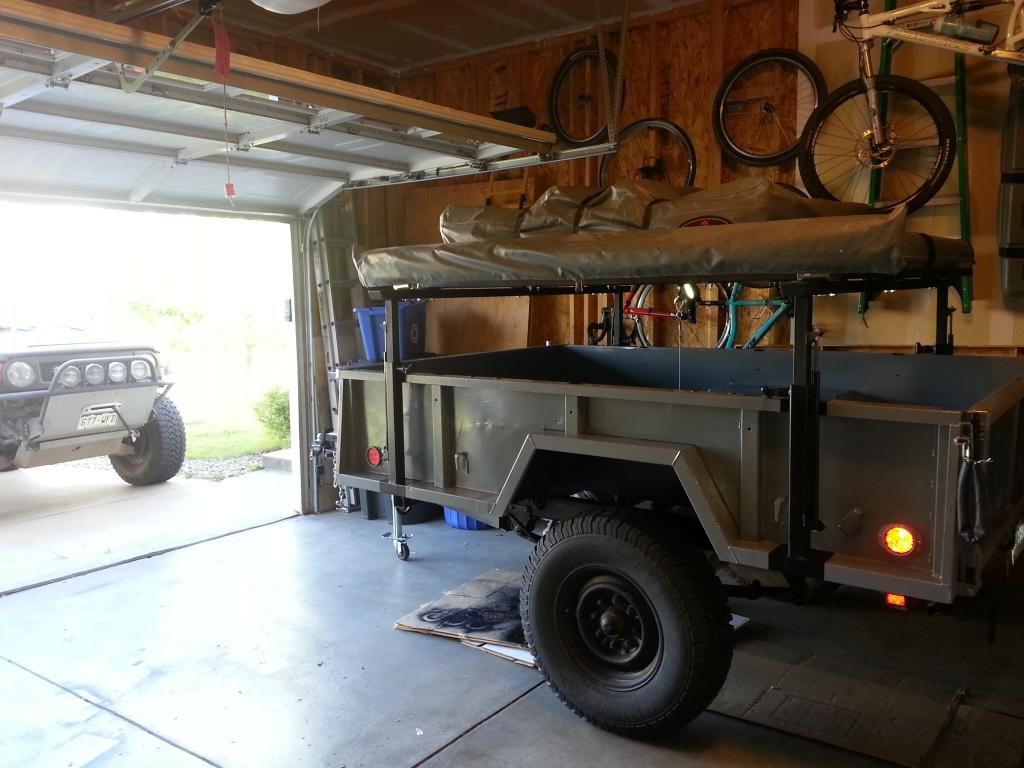
Current setup as of 6/4/14
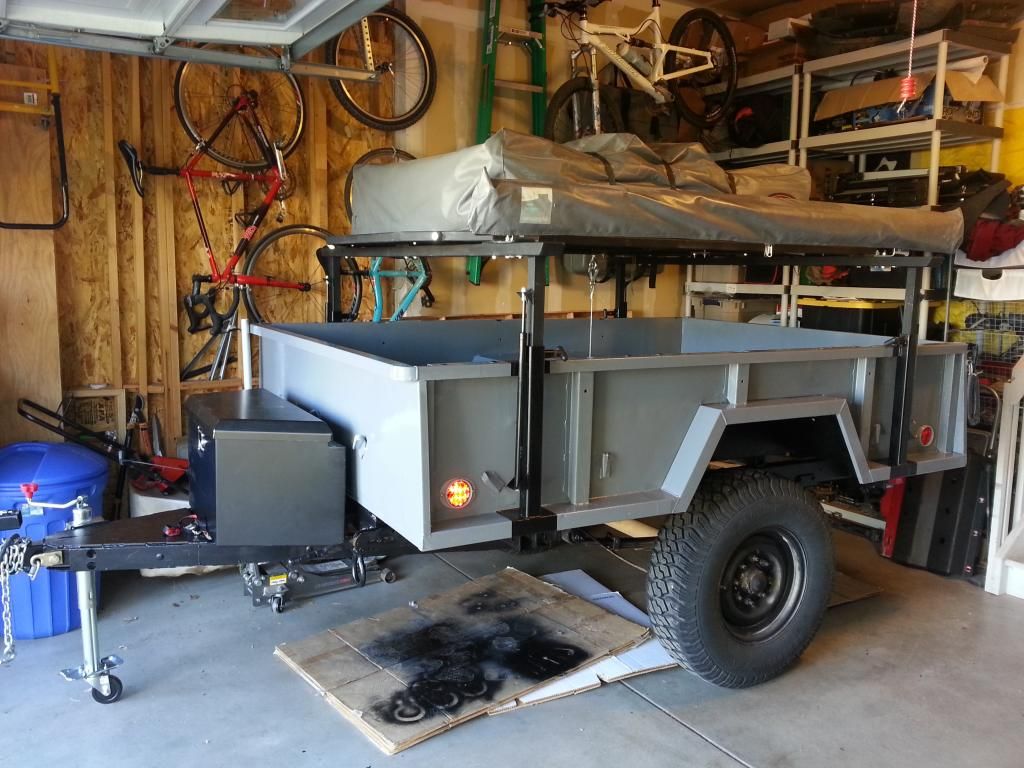


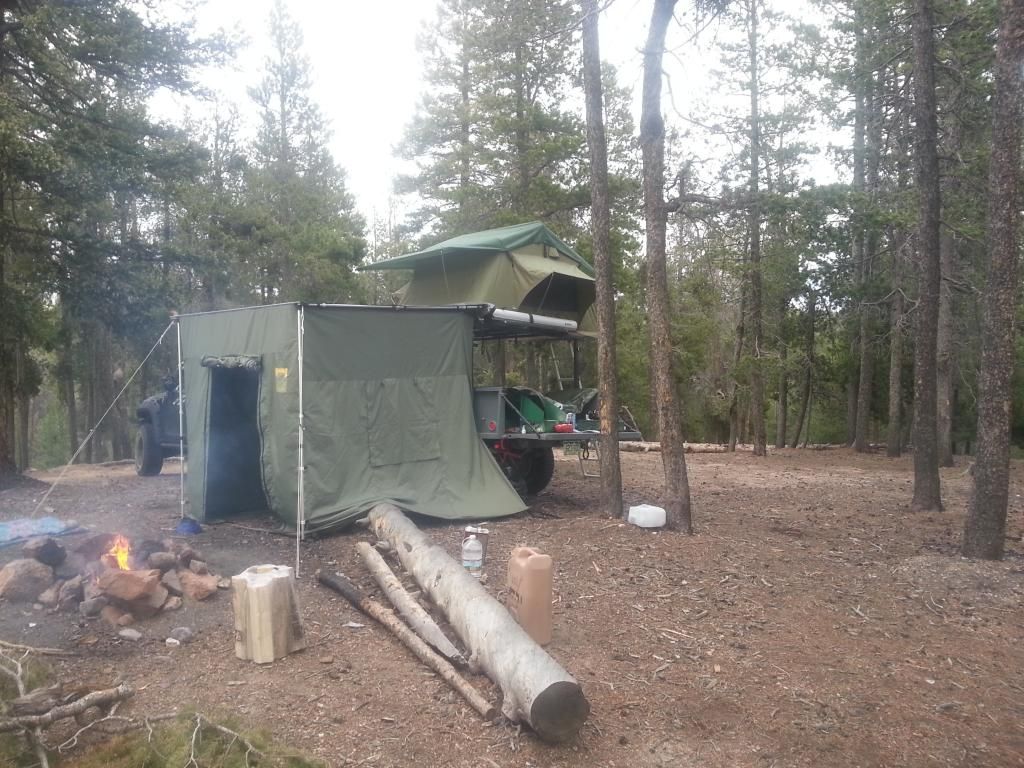
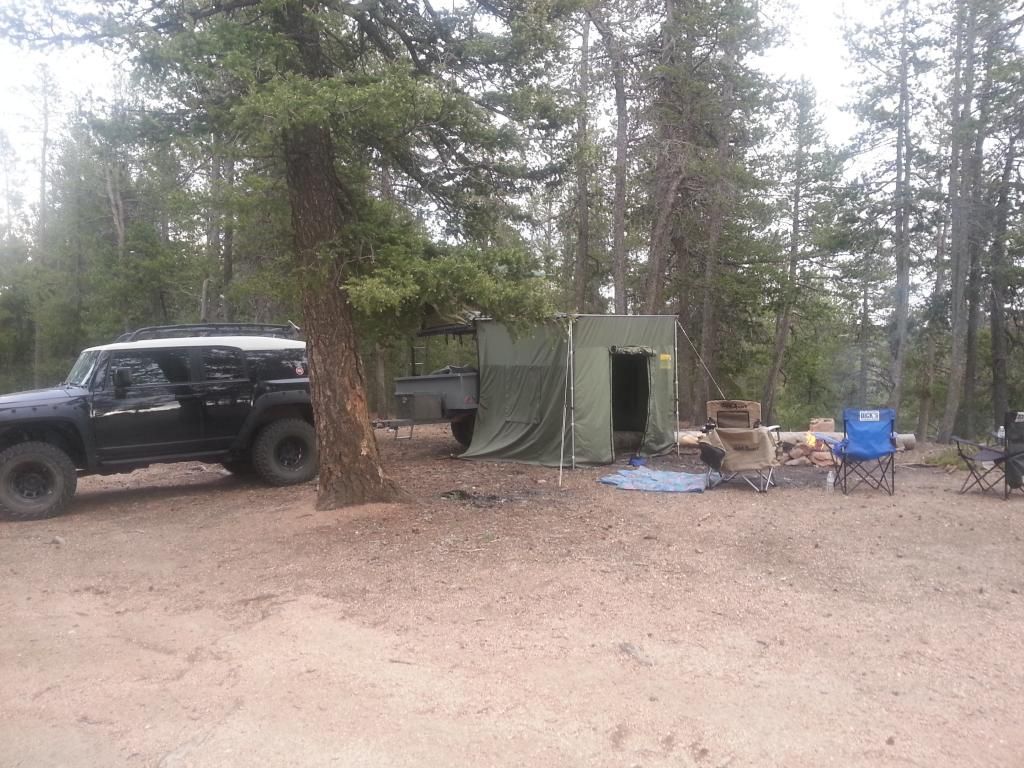
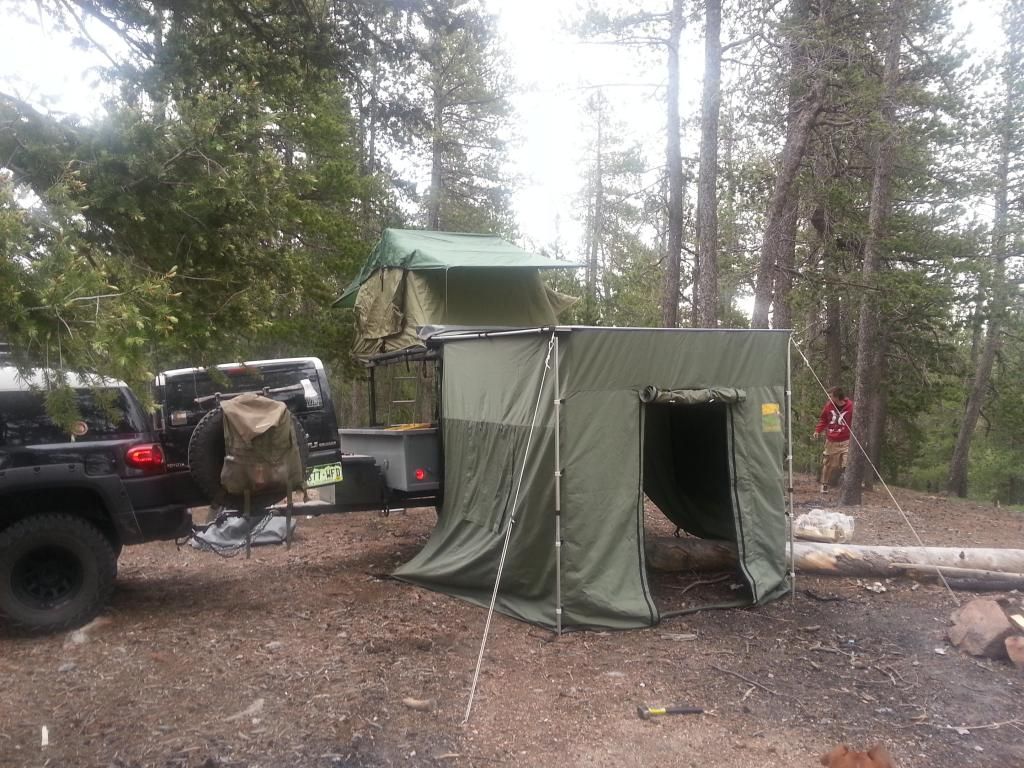
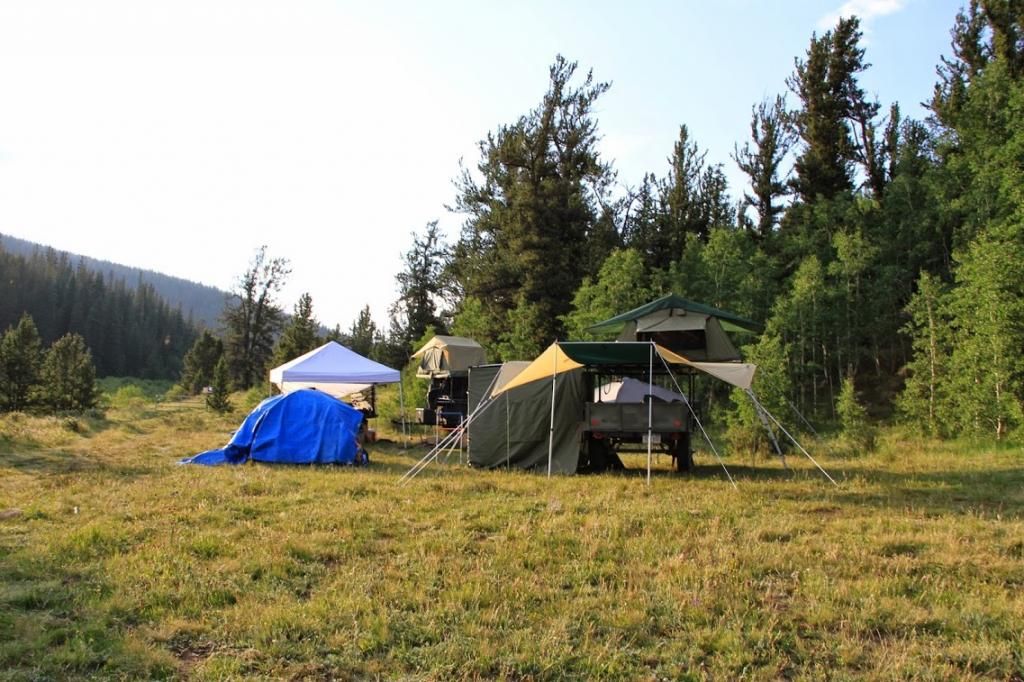
Mombasa Expedition RTT w/ changing rooma
Camping Labs Awning w/ changing room
Inno Awning
Custom battery box w/ Optima YellowTop Battery
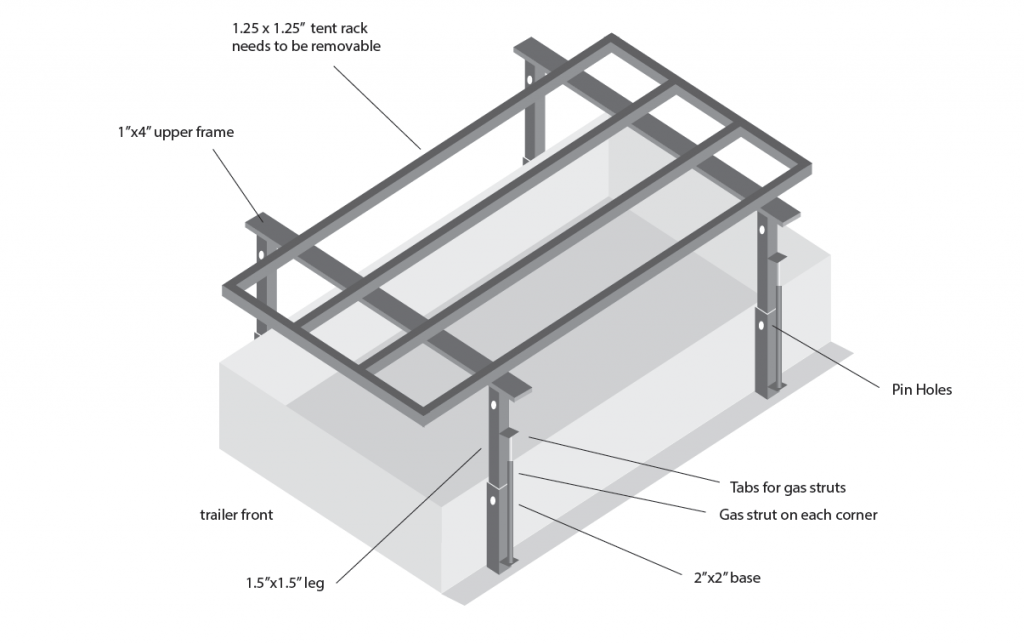
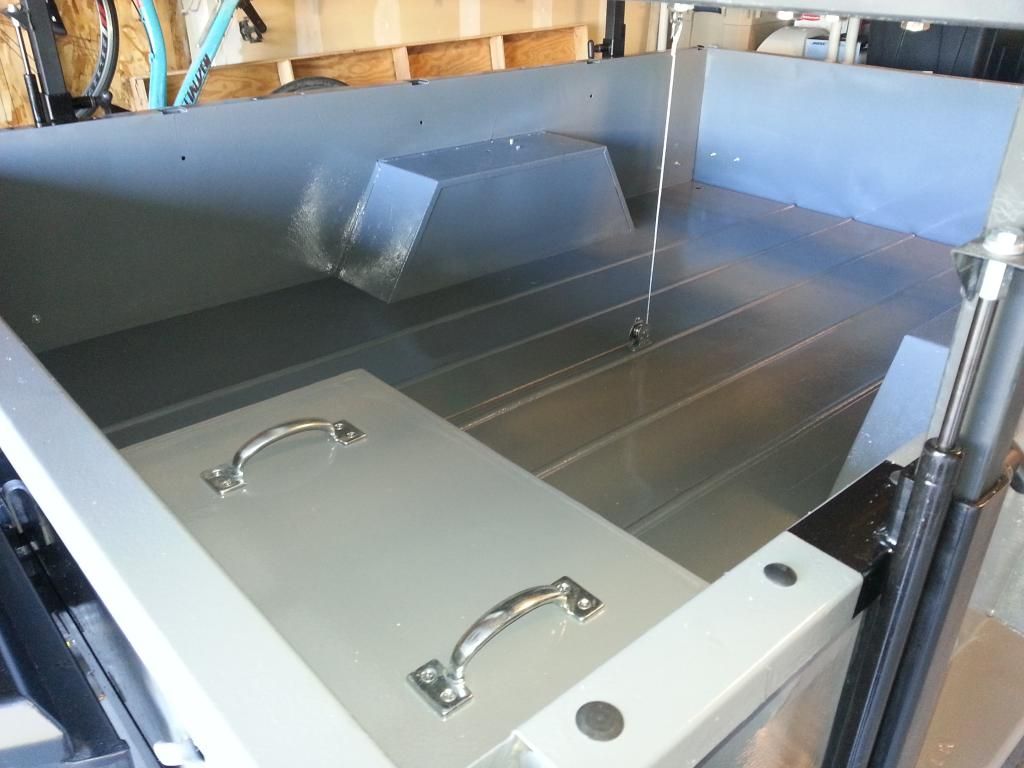
Custom height adjustable rack w/ 4 100lb gas springs - Thanks CAM Offroad!
Harbor Freight Tongue Box
Harbor Freight 2500 lb ATV winch
Max Coupler
2" receiver mount on drivers side
2" receiver mount on rear

///

Here she is the day I picked her up from Fort Hood, Texas
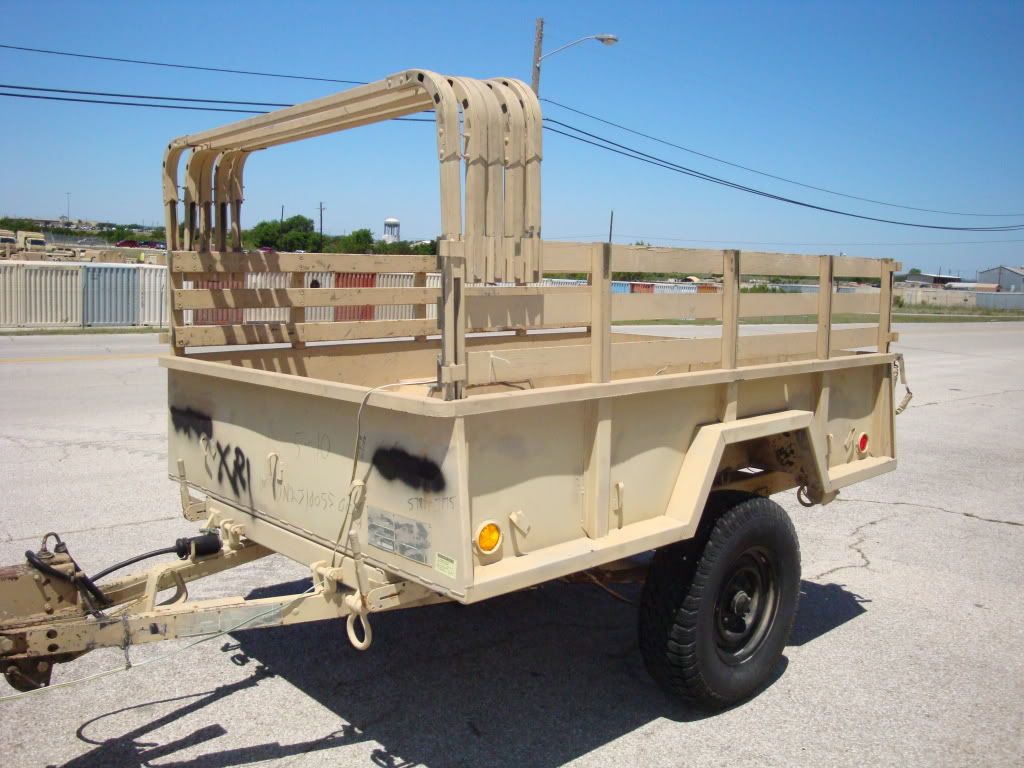


A quick back story:

I bought this trailer off Government Liquidation about 5 years ago with the intent of making it into a camping trailer. I had it for 6 or 7 months and never did anything with it. My wife got a job offer in California and we jumped at the chance to move to the coast. We left Texas with no real plan or place to stay, so I sold the trailer to another member here, JoeUser. Our stint in Cali didn't last very long and we moved to Colorado. Joe messaged me one day asking if I was interested in buying the trailer because he had picked up a new hobby, so we drove down and picked it up over a weekend.

That leads us the where this thread begins.

///

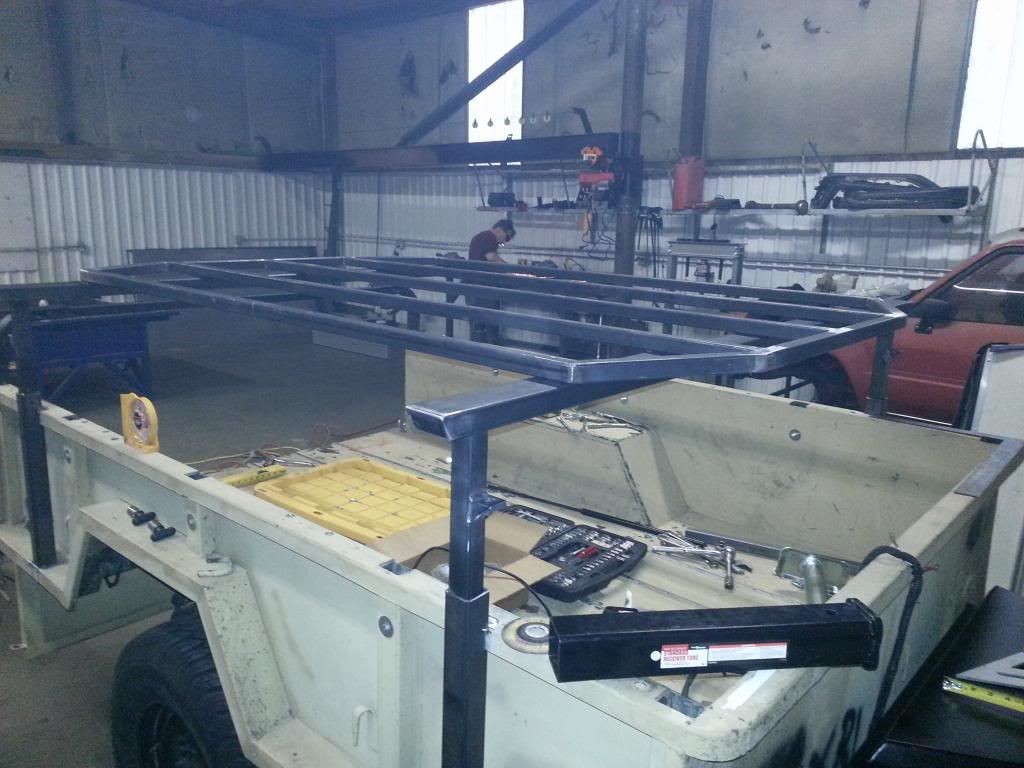
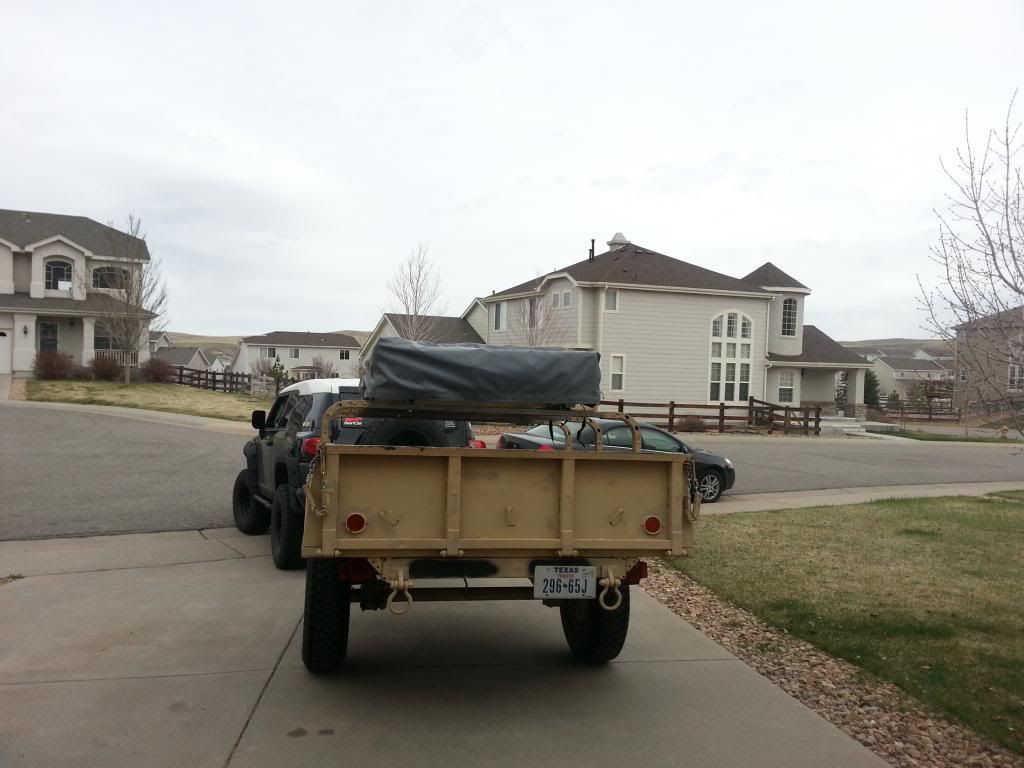
Today I worked on my RTT trailer. A few weeks ago I bought back my 101a2 from JoeUser in Texas and brought it back to Colorado. I was determined not to let it sit in the garage this time like I did last time. I wanted to make this a convertible design, so I can use it as a utility trailer, camping trailer, or box trailer (with the canvas on). I considered having a welder make up a rack for me, but after reading Texas TT's patchwork trailer thread, I figured I could knock this out on my own.

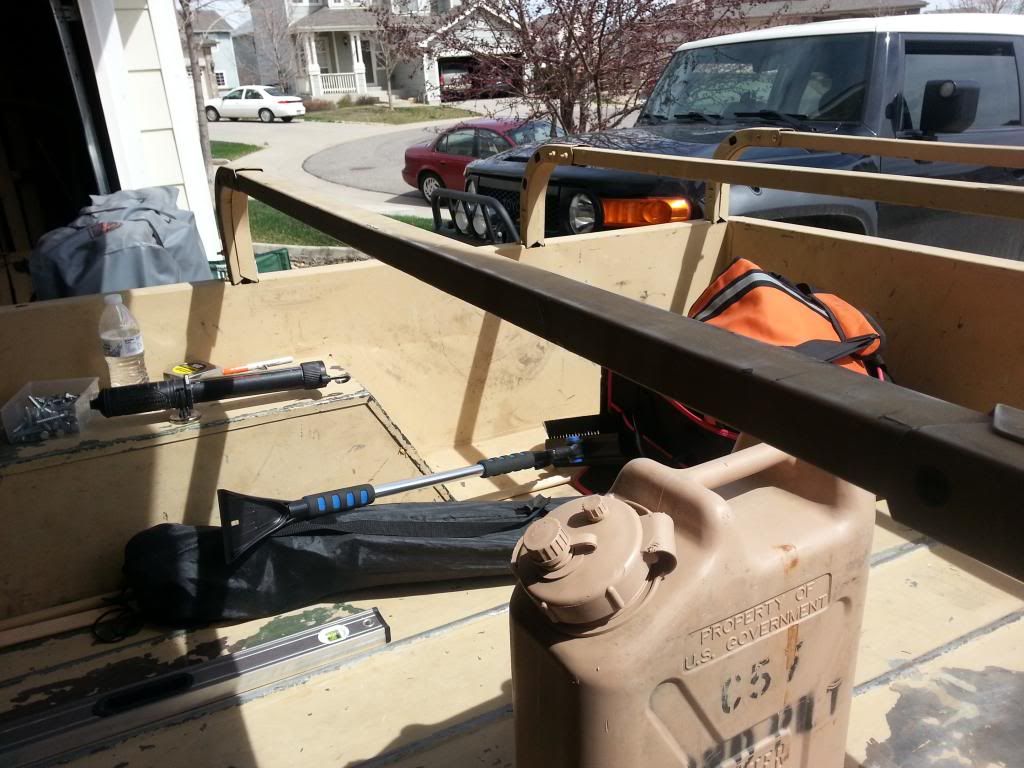
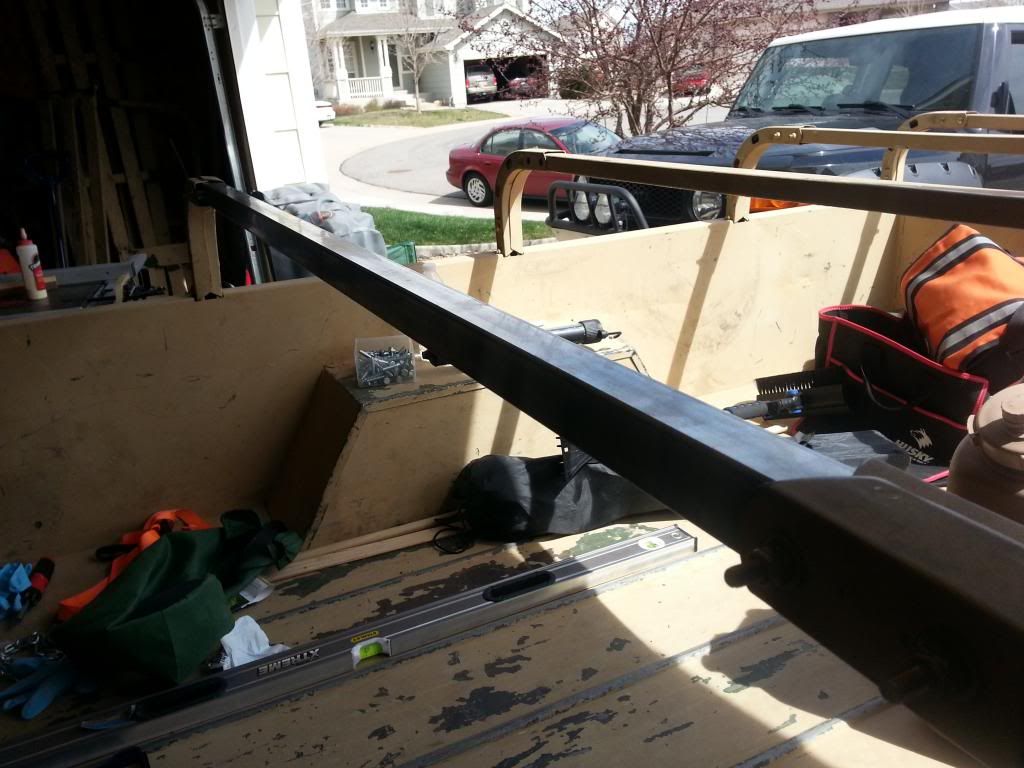
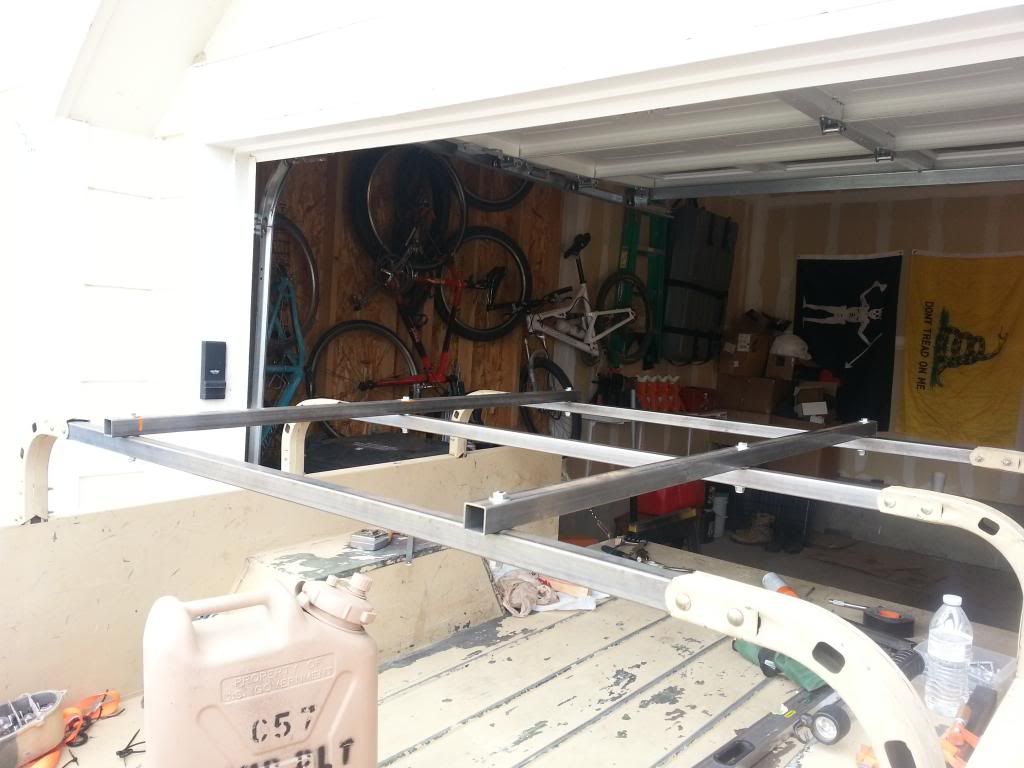
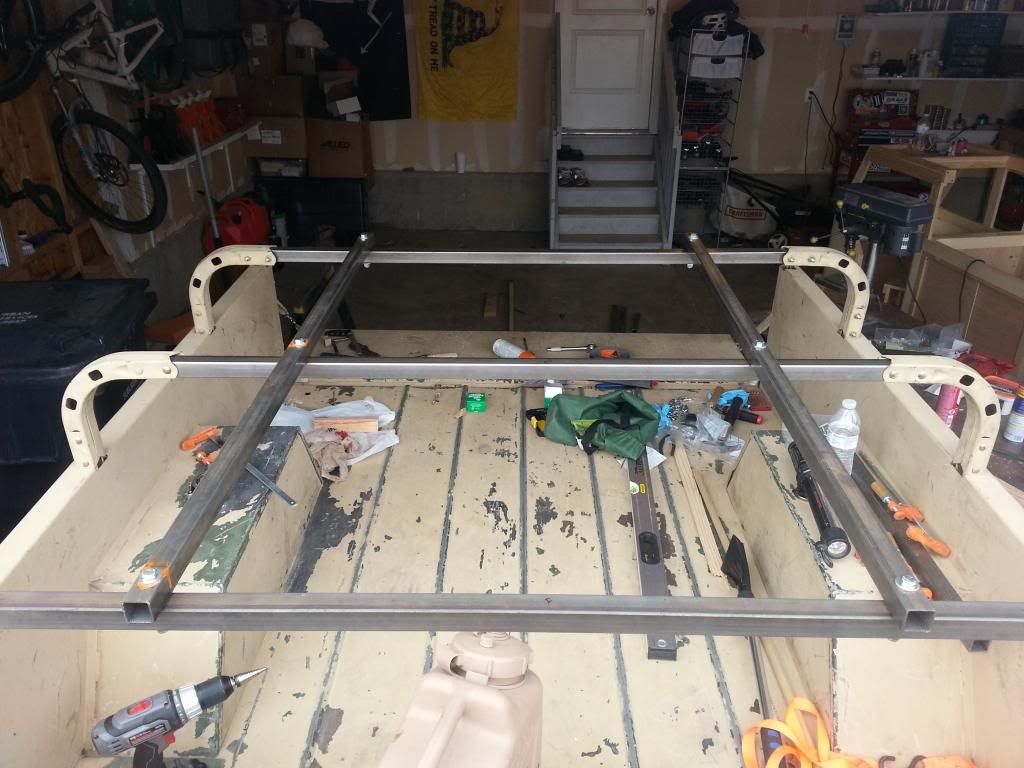
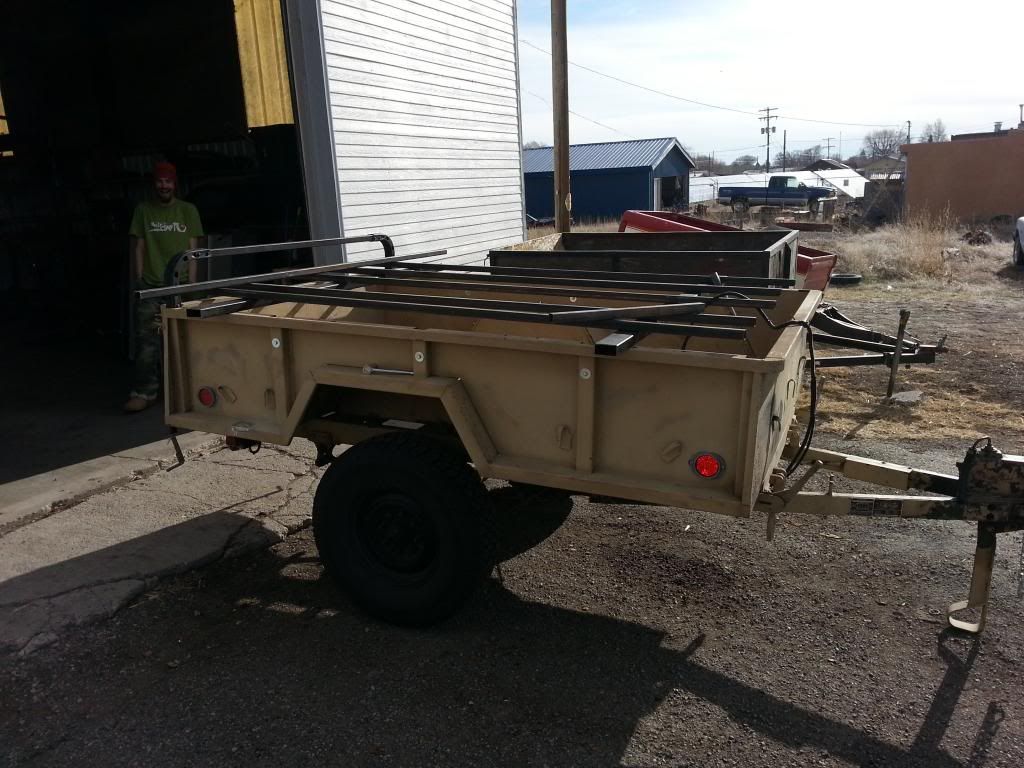
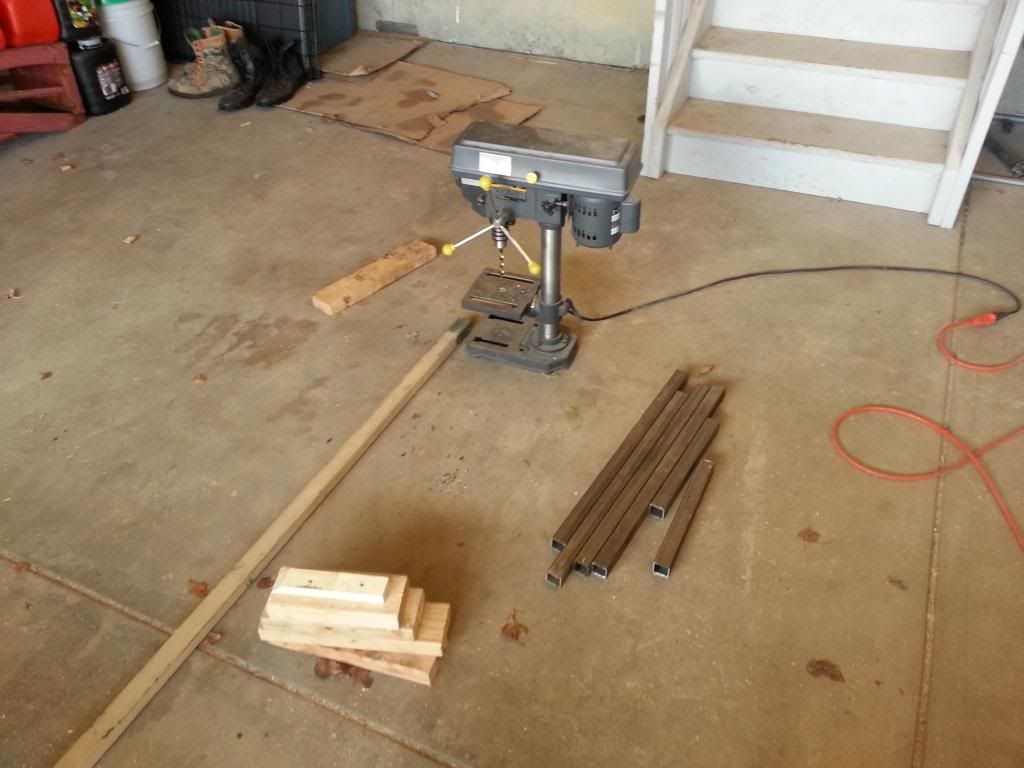
Borrowing from Texas TT, I decided to swap out the wooden bows with metal, tie them together with more material, and put the tent on top. This would be plenty strong, cheap, and most importantly, I could knock the design up without having to weld, because I don't yet. Went to the steel yard this morning and had them cut me 3 57" long pieces of 16 gauge 1.25" square stock, along with 2 pieces 54" long. I also got some 1' and 2' pieces to make some stronger legs for the bows, but didn't need them. Then I stopped at Ace and picked up some hardware.

Time to get to work.
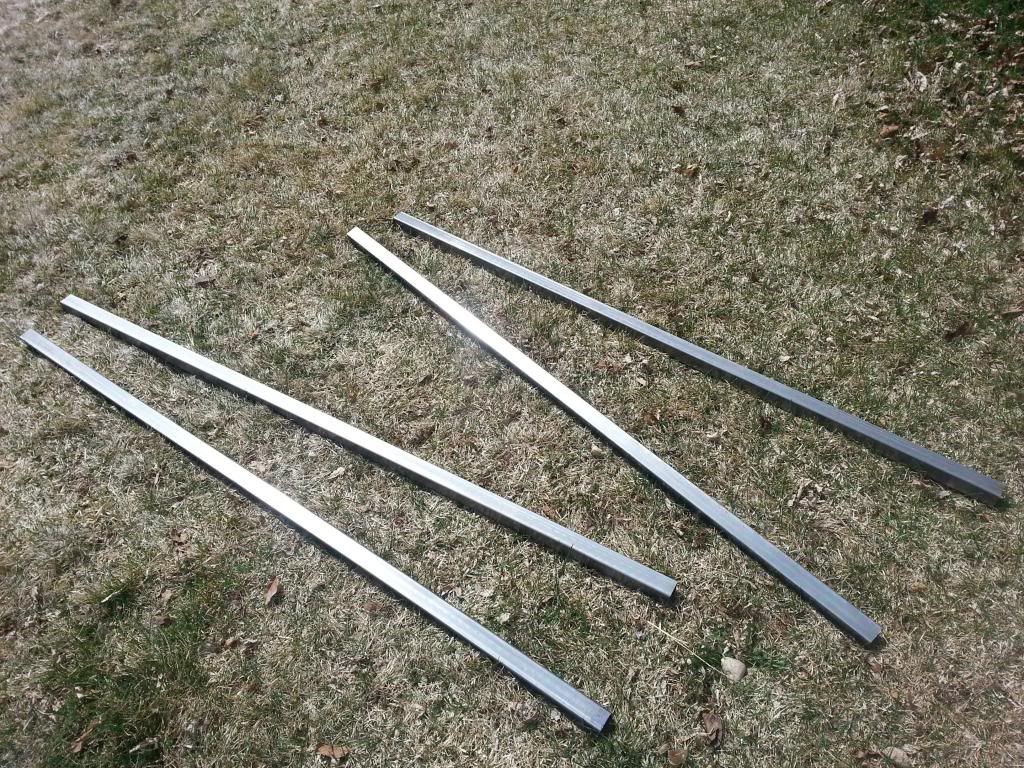
20130406_115603_zpsb2e78486.jpg


My Harbor Freight drill press worked out well for making straight holes through the steel.
20130406_115552_zps92acdabe.jpg


Old Bows

20130406_115539_zps6eb4fc5c.jpg


One new bow in place.

20130406_115535_zpsd588f964.jpg


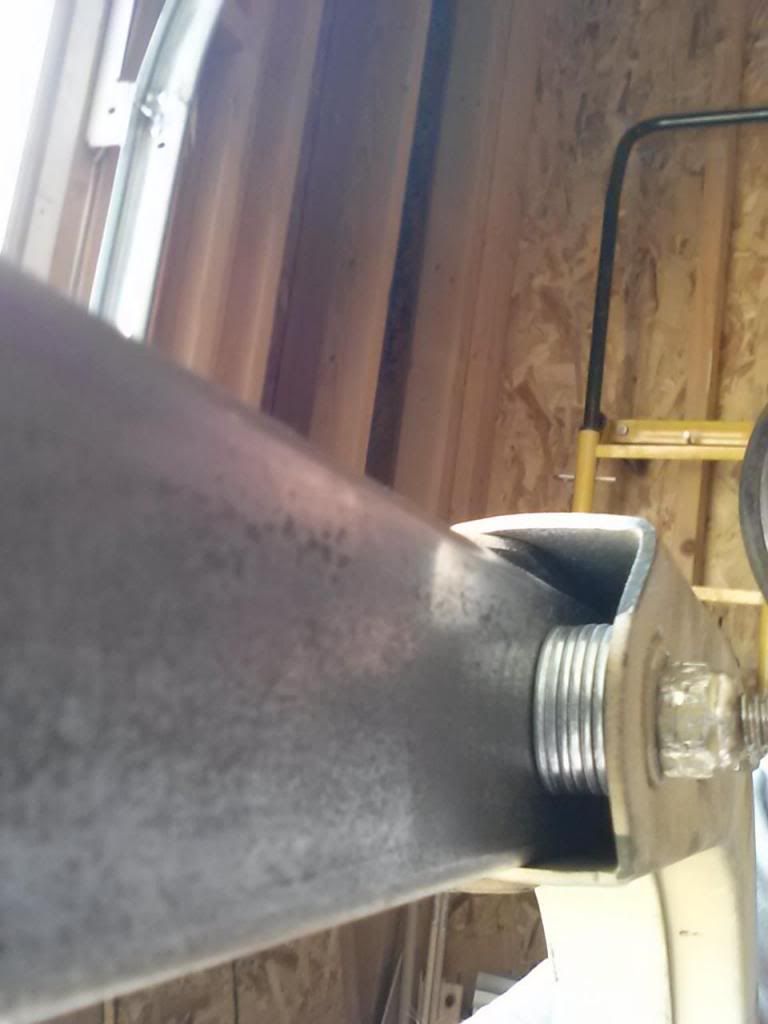
The original wooden bow tops were closer to 1.75" wide by 1.25" tall. Unfortunately, I couldn't find rectangular stock in that size, so I went with 1.25" square and added spacers to fill the void and make everything tight. On the first bow, I used stacks of washers. On the other 2, I used wooden spacers I made.
20130406_115527_zpsae0c0b23.jpg


Here's the general arrangement

20130406_142233_zpsd4fc89d9.jpg


20130406_142226_zpsffa32ed2.jpg


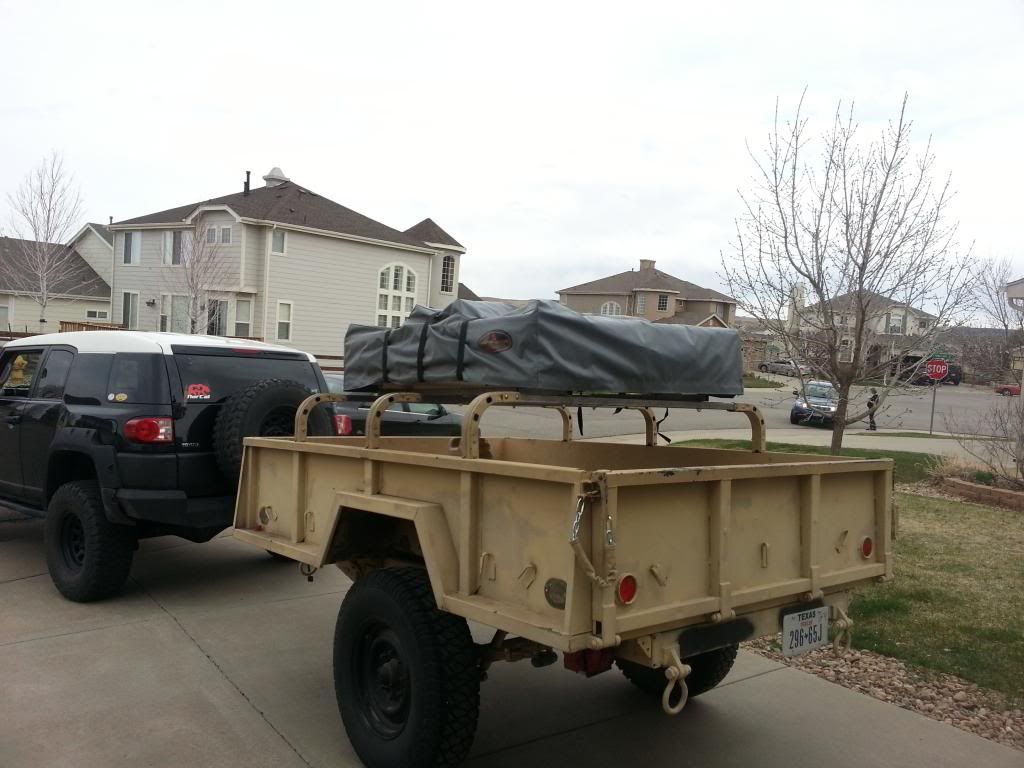
Went together smoothly, surprisingly. Mounted up the RTT and tested it out
20130406_145408_zpsd43dbb01.jpg


20130406_145413_zpsb4a1a3f3.jpg


20130406_151644_zpsfab05a18.jpg


Tomorrow I'll take it all apart and prime and paint the steel. Then, next steps will be to remove the surge brake and axle, and replace with 6 on 5.5 axle, paint, rims to match the FJ and electric brakes. Might do a max coupler later on but for now I'll probably go with some sort of removable lunette. I'm also going to add some 2" receivers along the sides and rear of the frame, for whatever I might want to add later.

Oh, total cost for the retrofit, including steel, hardware and a new set of Irwin drill bits, was right at $100. :rocker:
 

shack

Adventurer
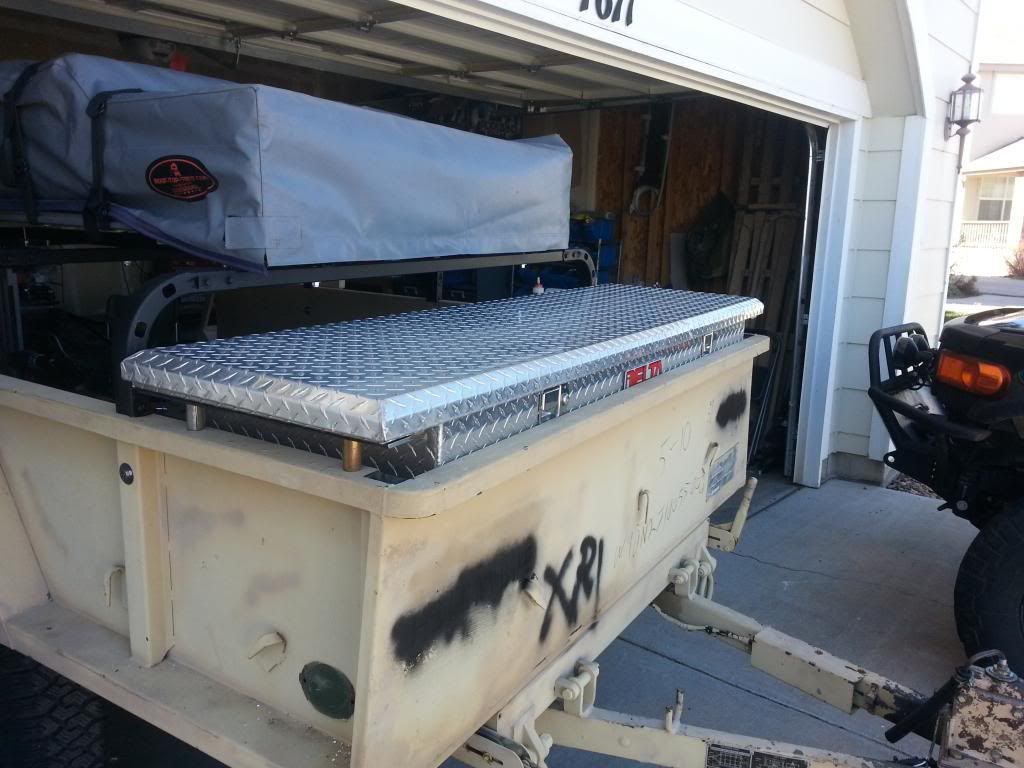
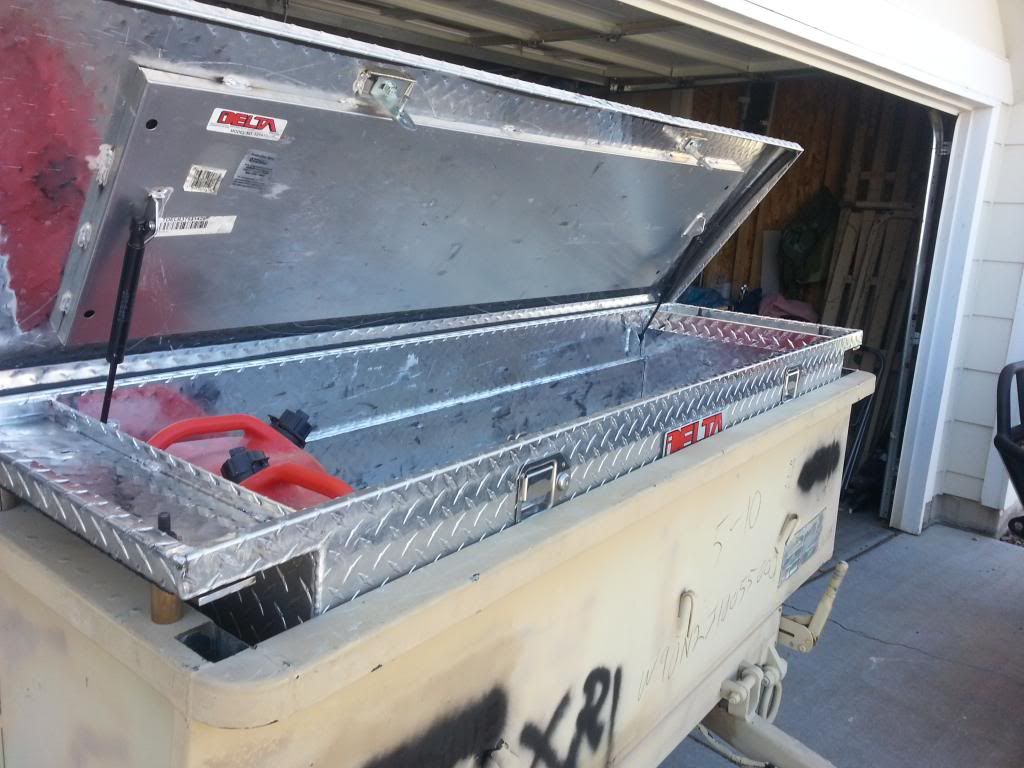
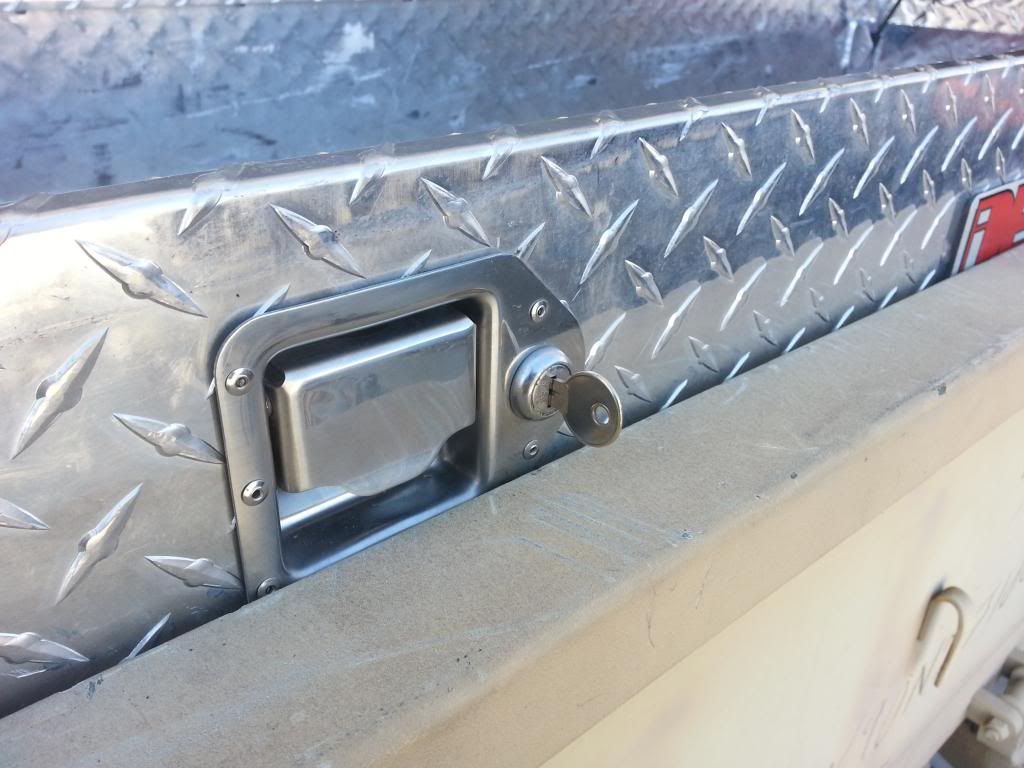
I thought it might be nice to have some locking storage on the trailer, so last week I started scouring craigslist for a truck tool box. Managed to get my hands on a low profile aluminum Delta box w/ a key. The only problem is the low profileness of it prevented me from accessing the handles when its in the trailer, so I rummaged through my scraps and found some spacers and some flat bar. Drilled out the flat bar and bolted everything together. Works great!


shack

Adventurer
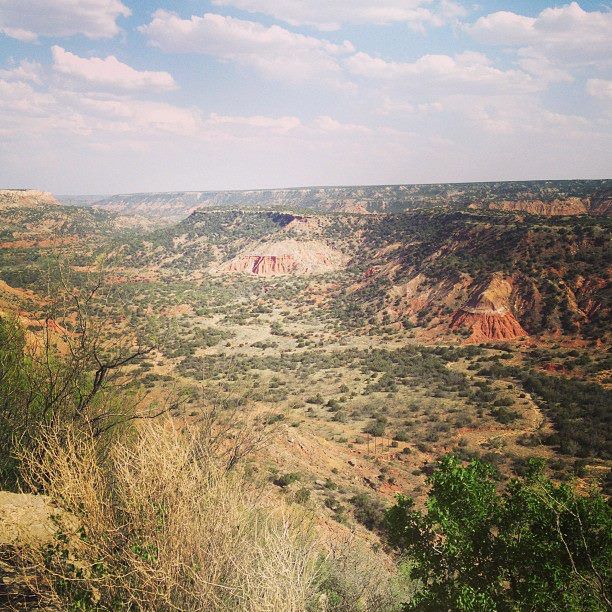
just had a 3 day mt biking trip in Palo Duro Canyon. Trailer did great, though my next project will most certainly be a chuckbox for the back. Working out of a plastic tub sucks.


shack

Adventurer
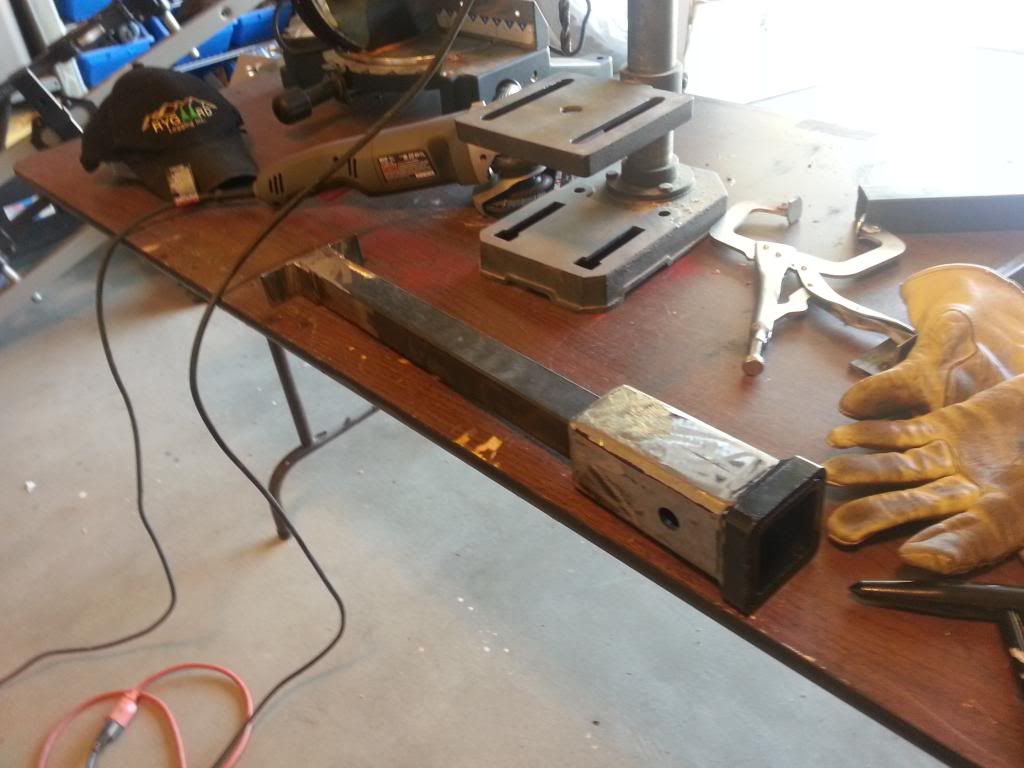
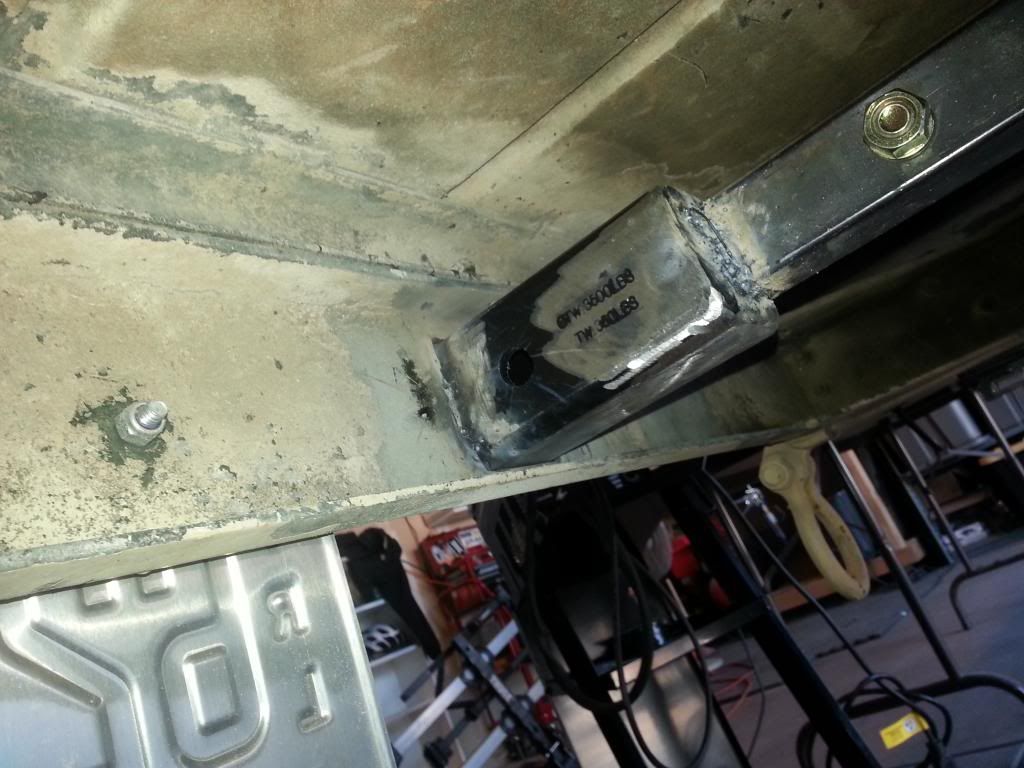
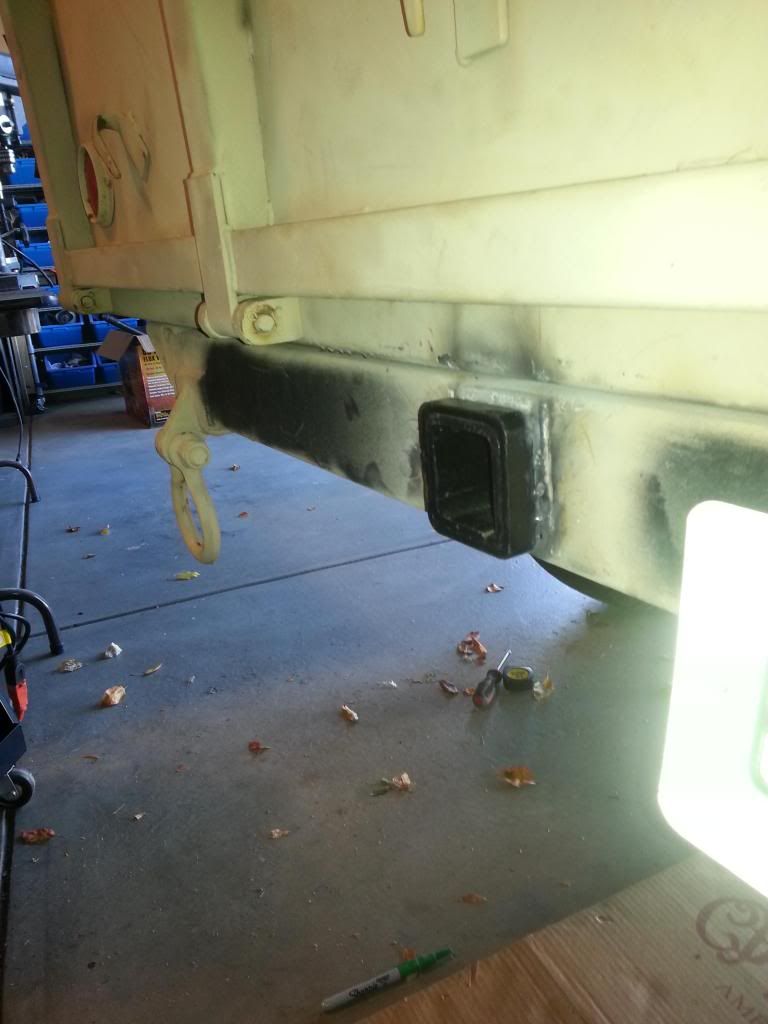
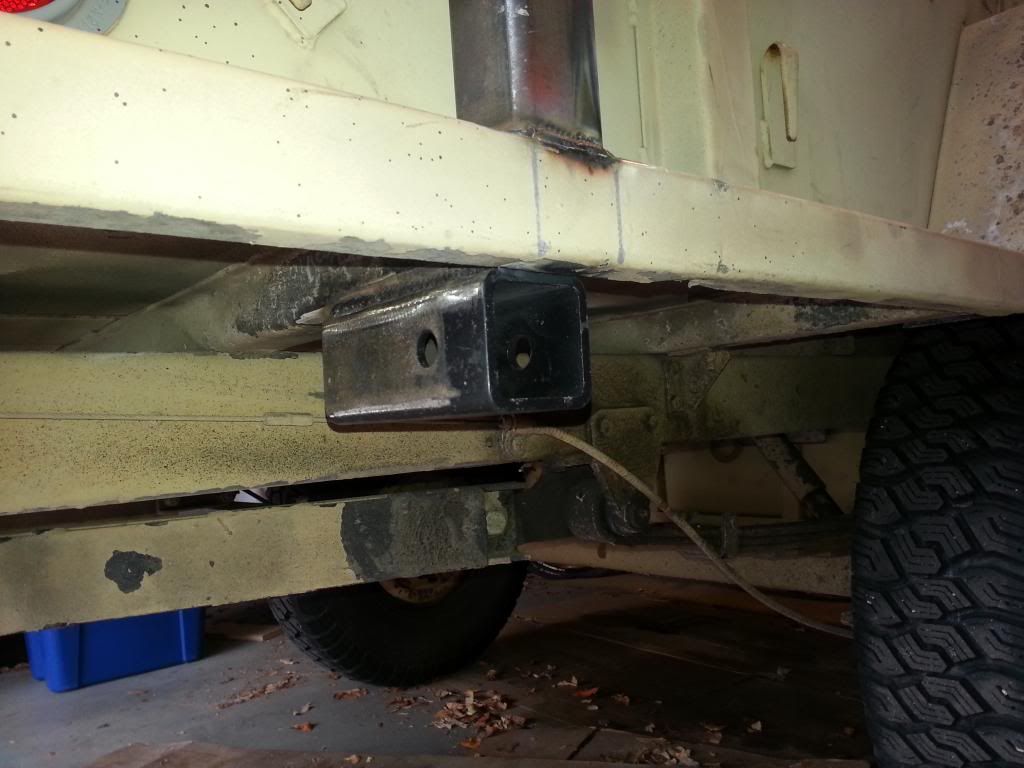
Well, this weekend I decided to take the bull by the horns and fab up my own 2" receiver for the back of the trailer. I didn't want to have a hitch that interfered with the tailgate, so that meant I had to recess it into the frame. This could create strength problems with the hitch, so I had to tie it into the frame somehow. My welding isn't the greatest, so I planned on using grade 8 bolts wherever I could to strengthen the whole assembly, while still welding where I could.

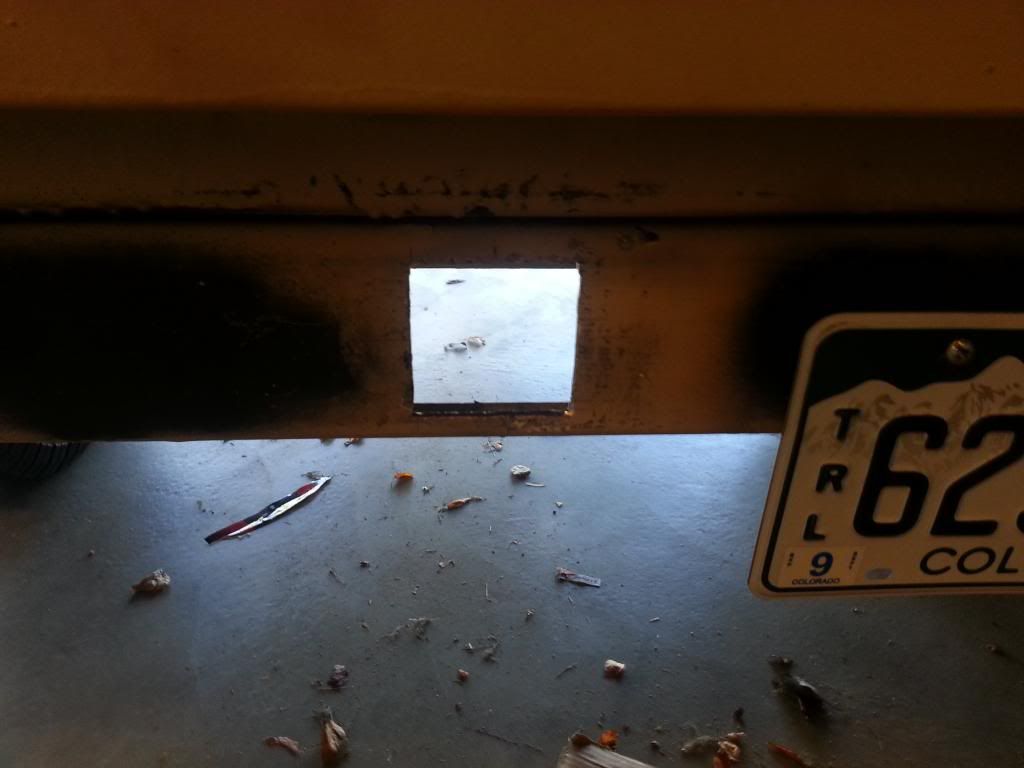
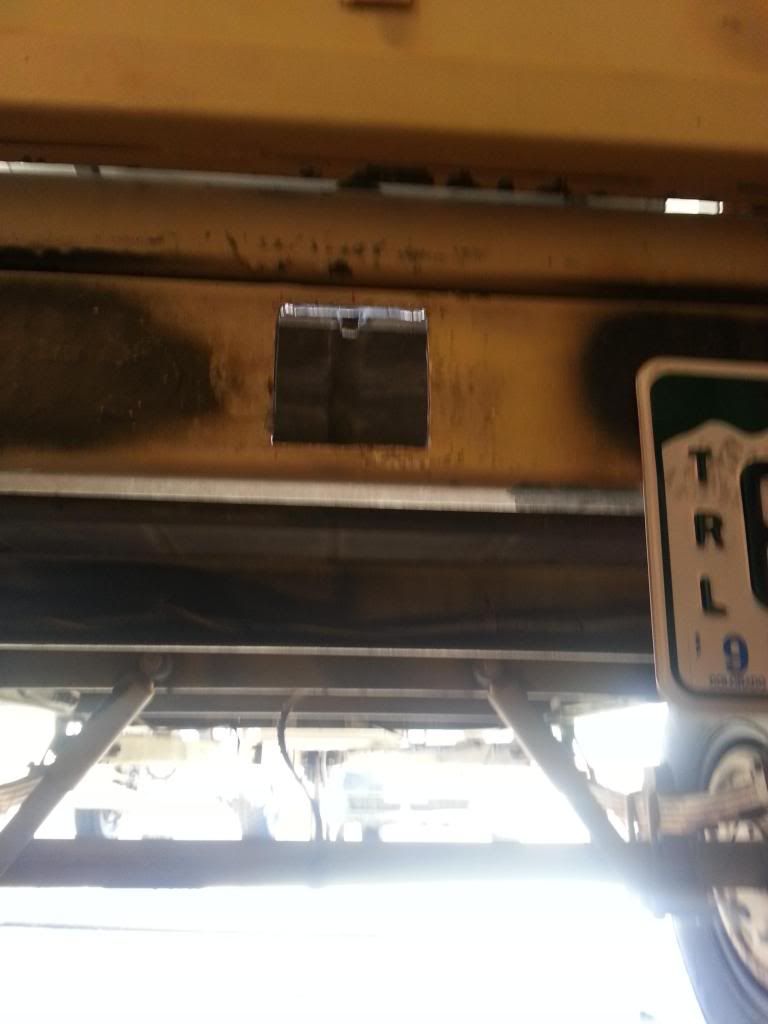
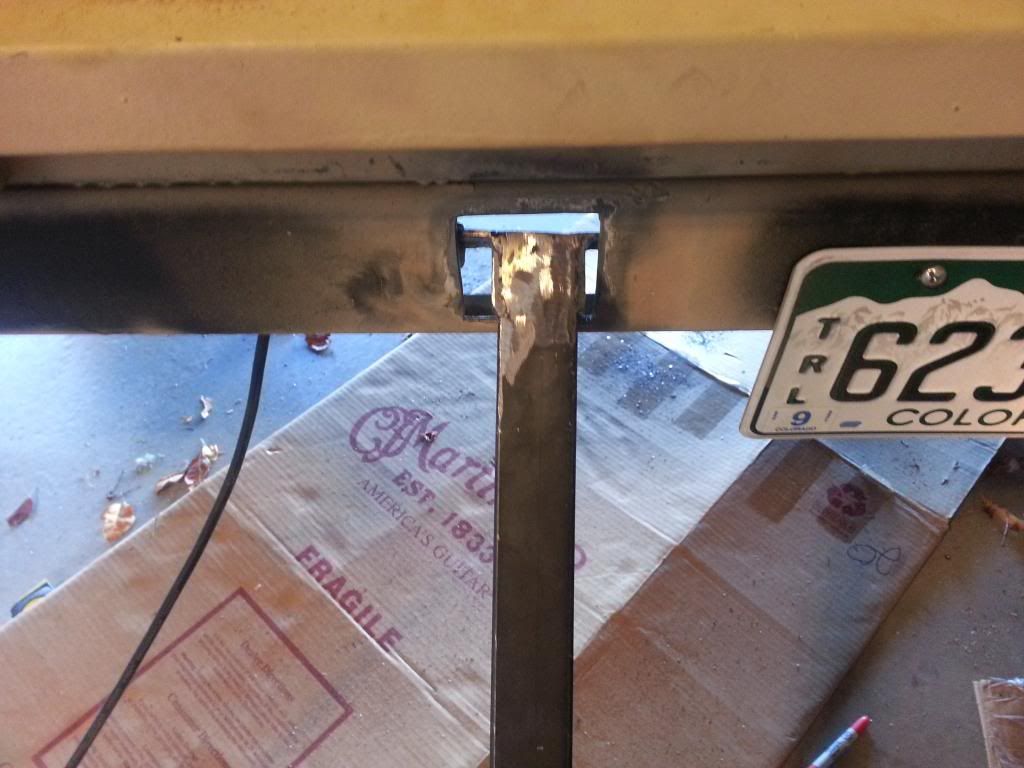
I started with a cheapy 1 1/4" to 2" adapter from Harbor Freight. Then I used that as a template, located the center of my trailer frame and cut a hole out with a jigsaw, like this


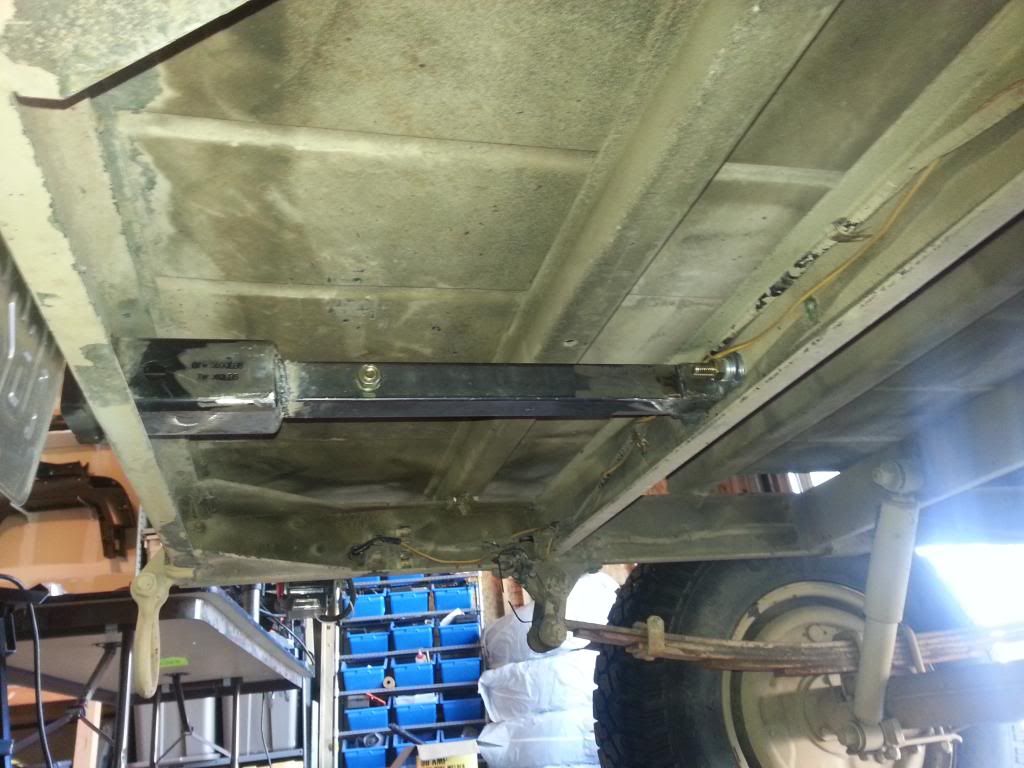
Looking from the bottom. The next frame member is about 18" away from the rear. Thats where the hitch will tie in to the frame.


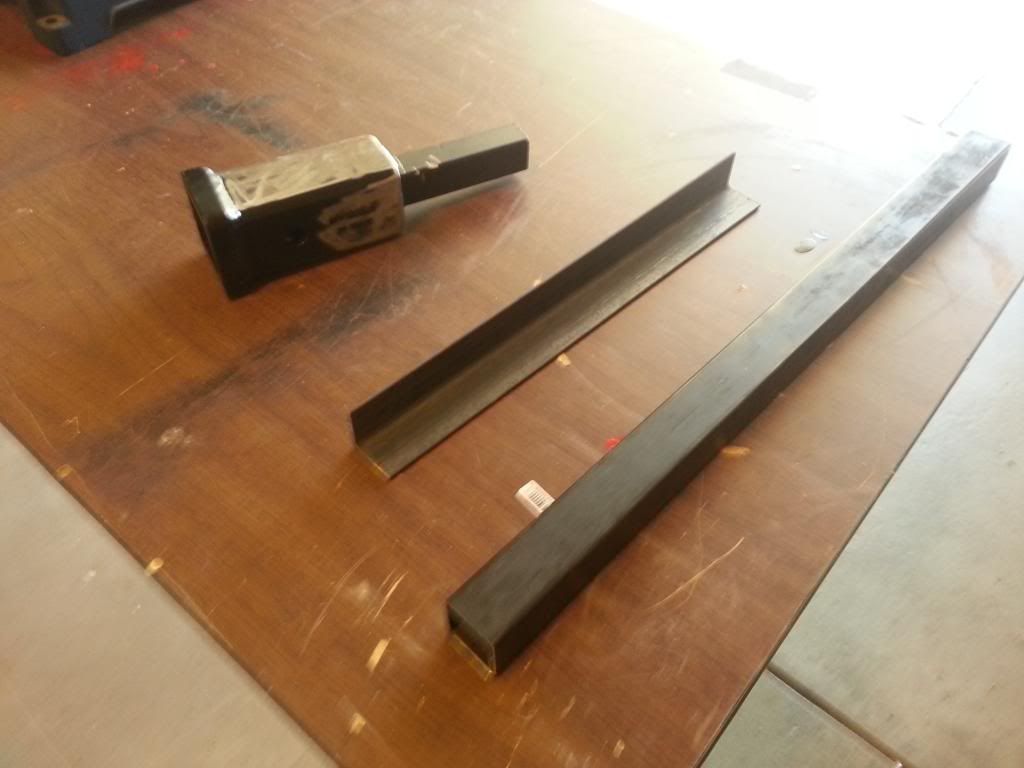
After cutting the hole and getting a loose plan in my head, I went to the steel yard and picked up some 1.5" square stock. I think its 16 gauge, but I'm not sure. Doesn't really matter for this.


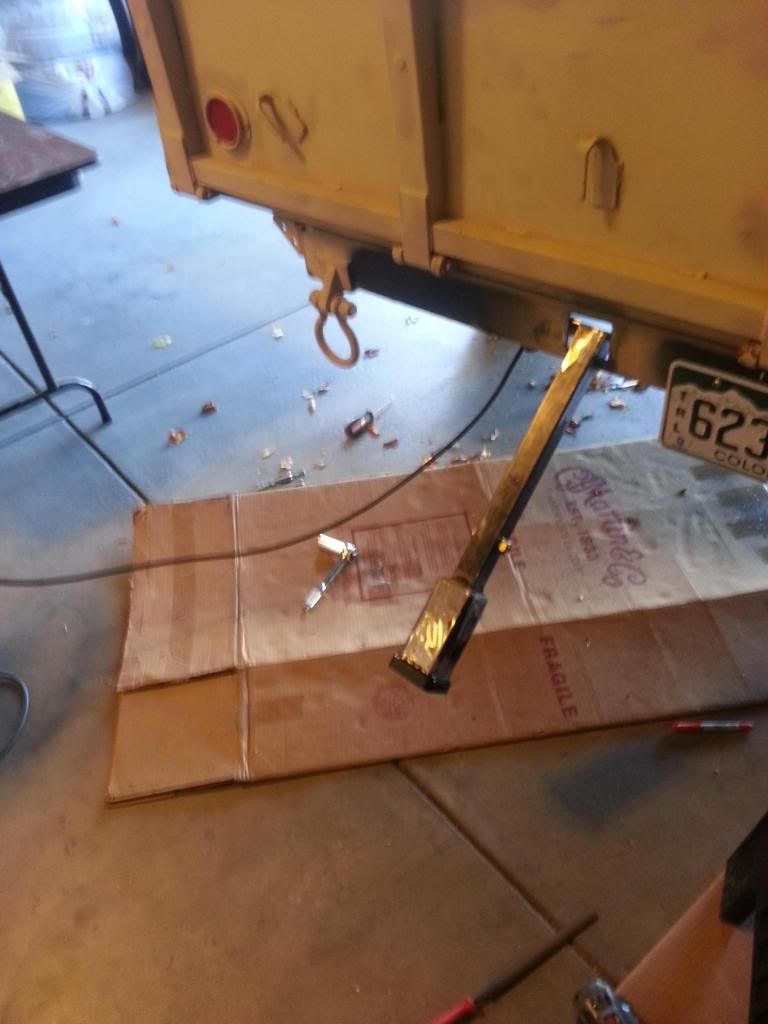
I ended up using a bit of angle scrap I had laying around from my tent mounts to create a flange to attach to the trailer. I ended up with this.


This is what the entire assembly looks like


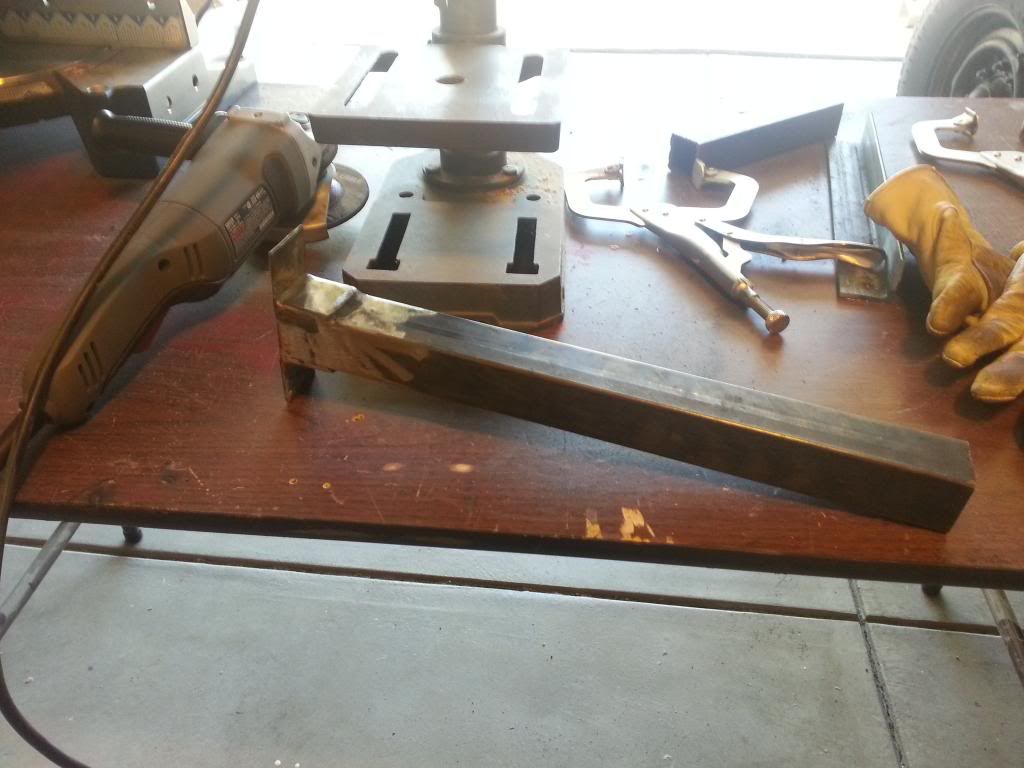
Because of the tolerances I made, I had to slide the hitch in from one side and marry it to the brace from the other side. I bolted and welded it together, and ended up with this.


The welds from the brace to the hitch are hideous, but they prevent the hitch from wobbling a bit up and down. After that, all that was left was to bolt it to the front frame and tack weld the hitch to the hole.


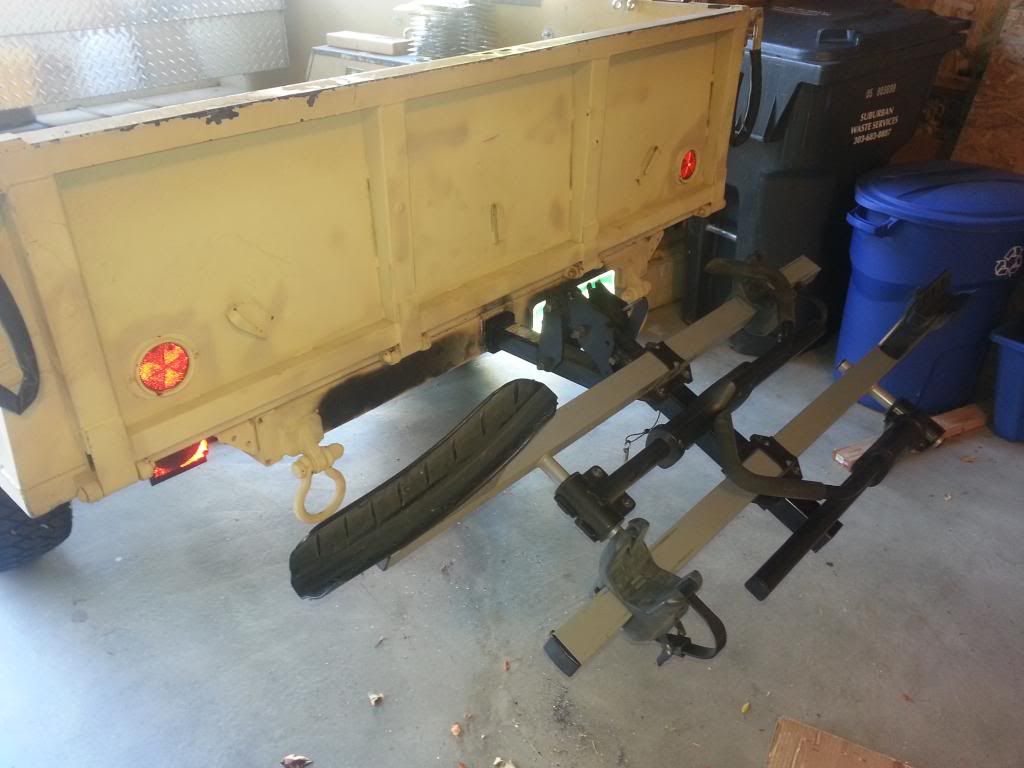
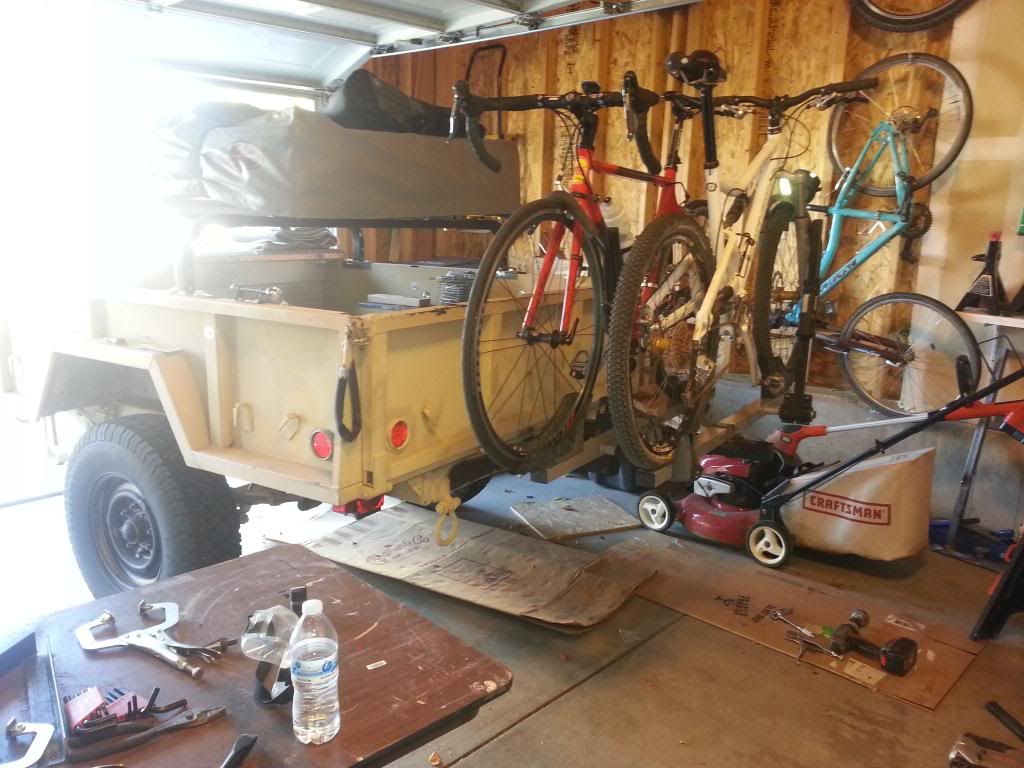
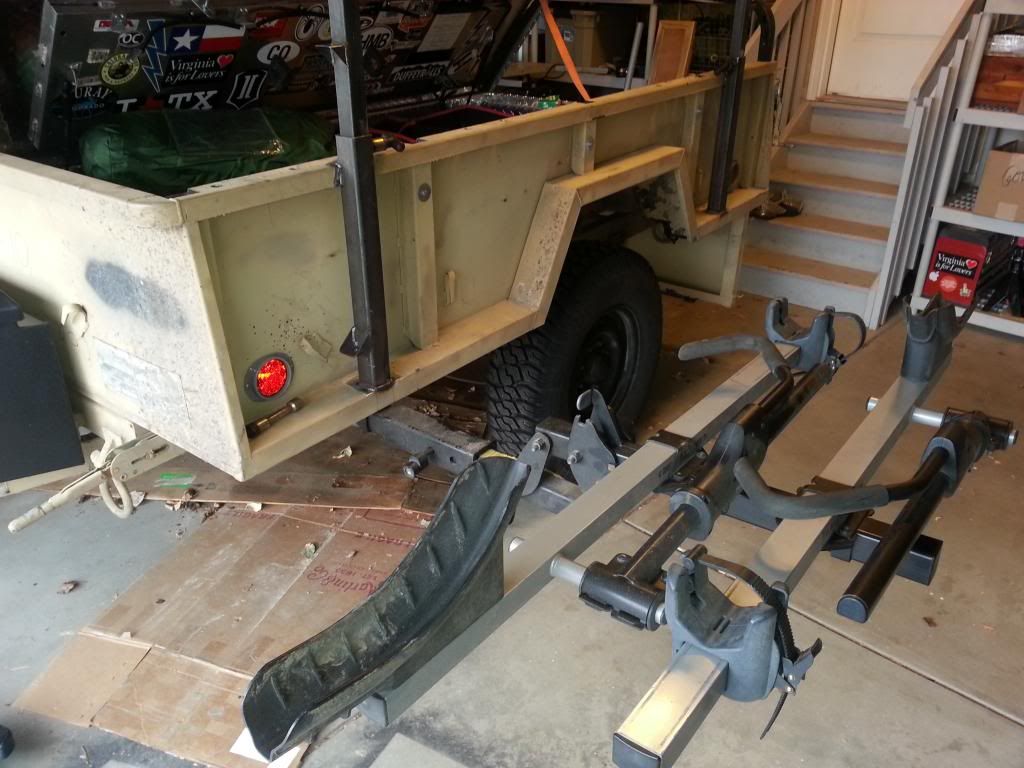
Afterwards I threw my bikes and rack to test everything out.


And then I gave it my own, very scientific, test which involved me standing on the carrier and jumping up and down. It didn't budge, so I guess we're good to go!

Edit: Total cost was about $35 in materials
 

shack

Adventurer
well, after a brief break from working on the trailer, it's time to get moving again. I've been planning the next step for a while now and today I decided to come up with some plans-ish. I'll be going down to CAM4x4 in early April to have this work done.


The rack will be based off Mark Harley's concept, but will be adjustable up and down vertically by about 16" or so via gas struts. I'm going to use the existing bows and have a custom cover made to gain more storage space underneath. I'll have to figure out what to do about the tool box though. I like it but its going to be an issue to work around. I'll also have problems opening the lid with the rack in the down position

It will also completely unbolt where needed so I can still use it as a utility trailer.

I'll also be swapping out the surge brake lunette for a 2" receiver and separate trailer jack, as I'll be using a max coupler or equivalent in the near future.
 

shack

Adventurer
Well, this weekend I visited my friends at CAM 4x4 in Del Norte, Colorado. They looked at the plans I developed, made a few tweaks, and away we went. I can't say enough good things about Charlie, JB and the work they do. Between the CAD work, plasma cutting and the quality welding, you're sure to get a fine piece of work at the end of the day. On to the photos!

First, I pulled off the existing full width truck tool box. It was going to be in the way with where and how I wanted the rack. We had also laid out the overall idea in this pic.


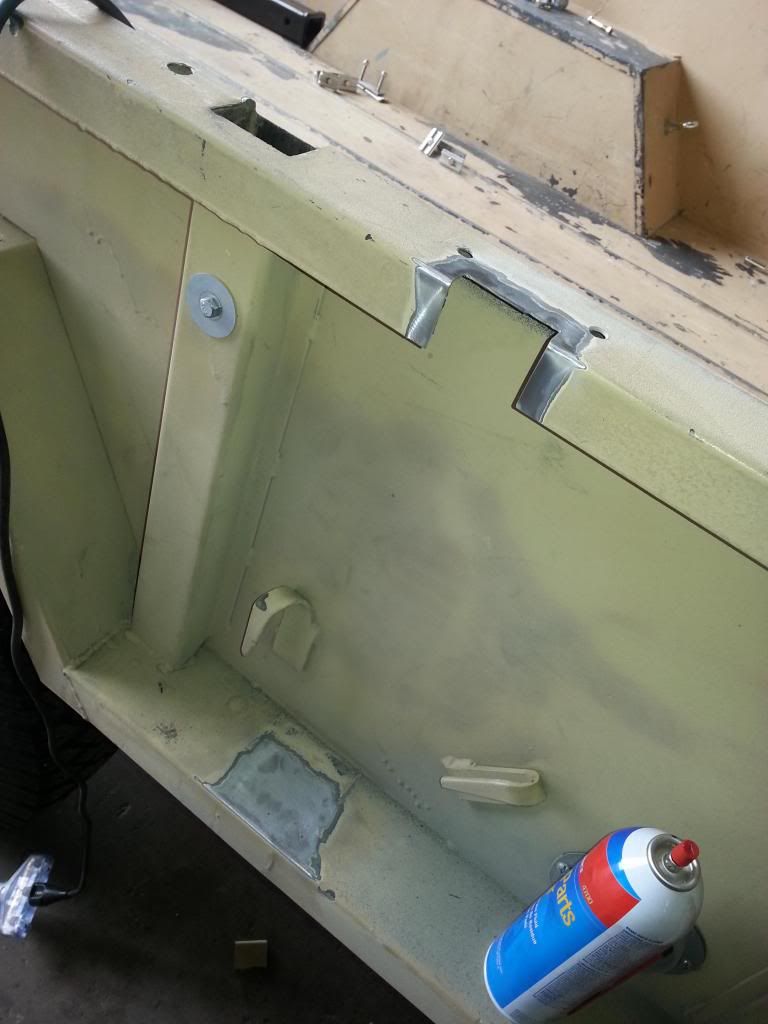
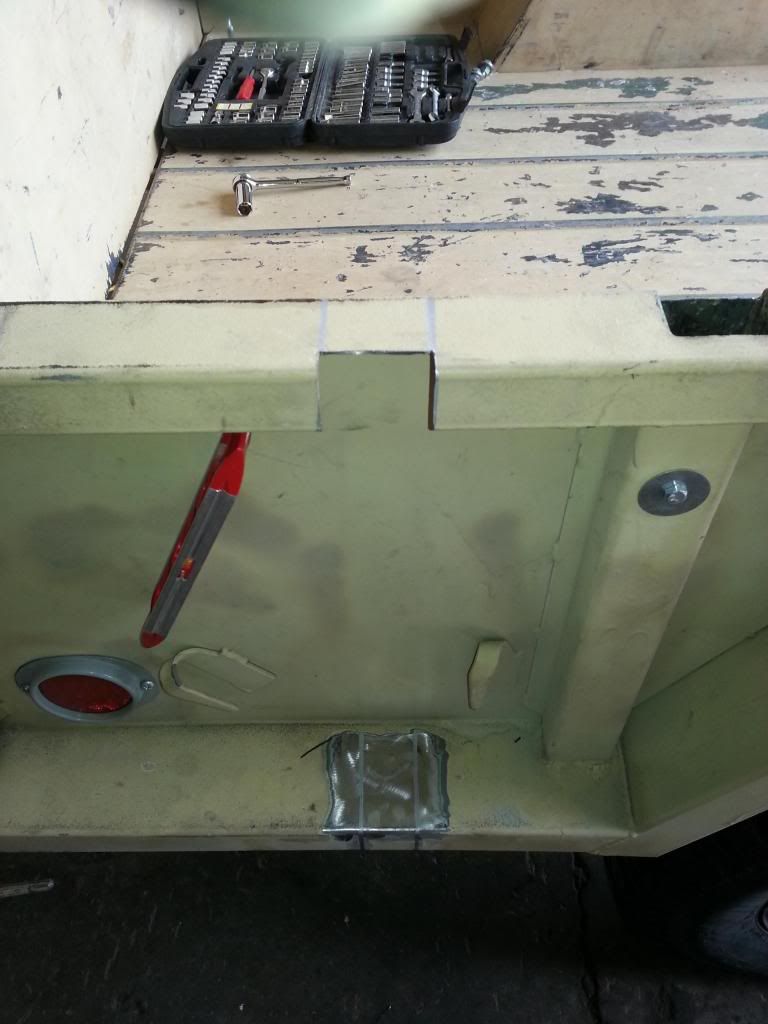
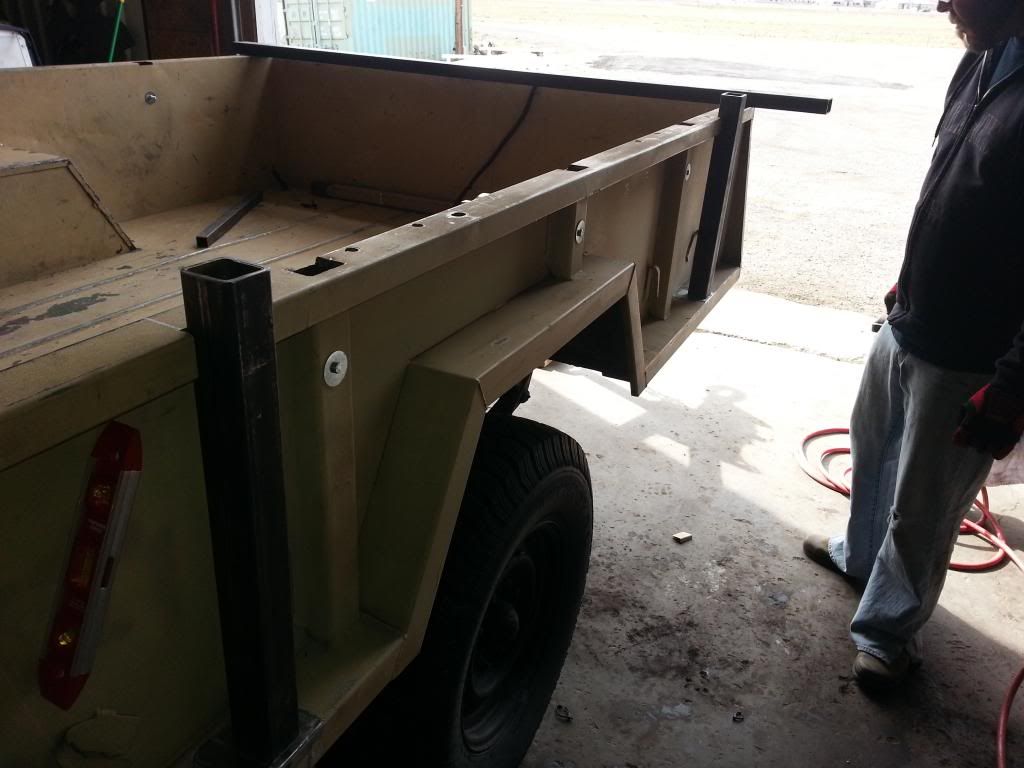
Rack placement dictated that we had to notch the sides of the bed, shown here. JB got some really clean cuts with the grinder. Side Note: CARC paint is really, really toxic. Care must be used when removing it… Also smells like hotdogs when its ground off.


Goose inspecting the cuts


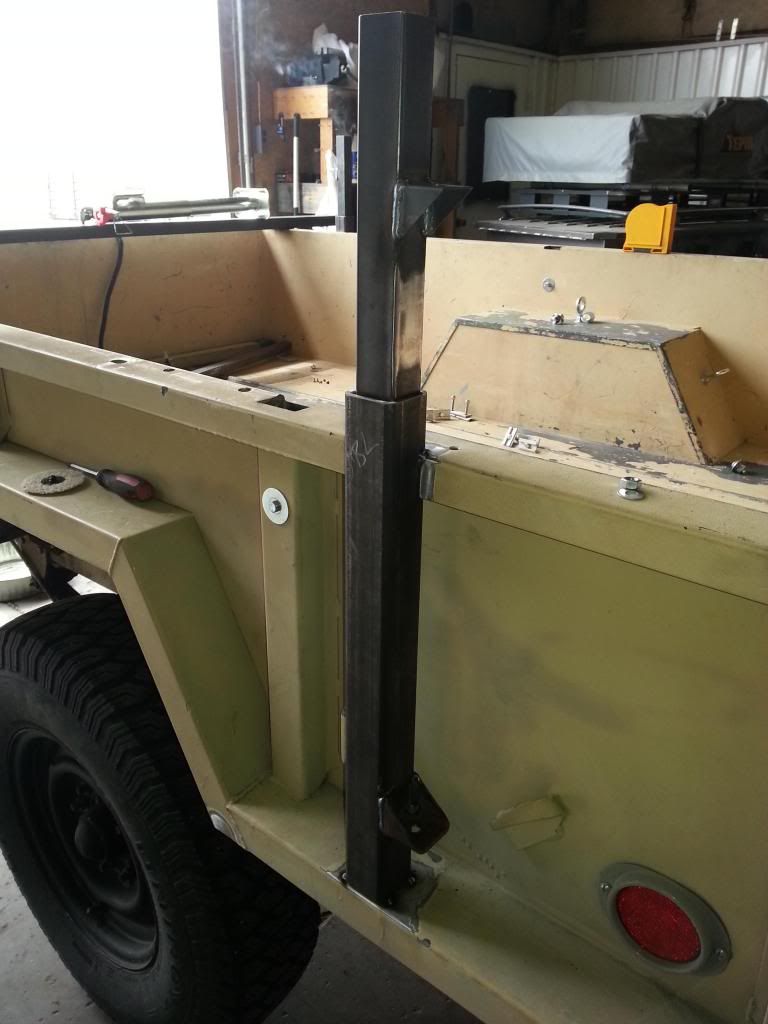
Stage 1 of the mockup. Theres a square 1.5 piece of .120 sliding into a 3/8 piece of 2" square shown here, with the lower spring mount welded on.


Legs are taking shape.


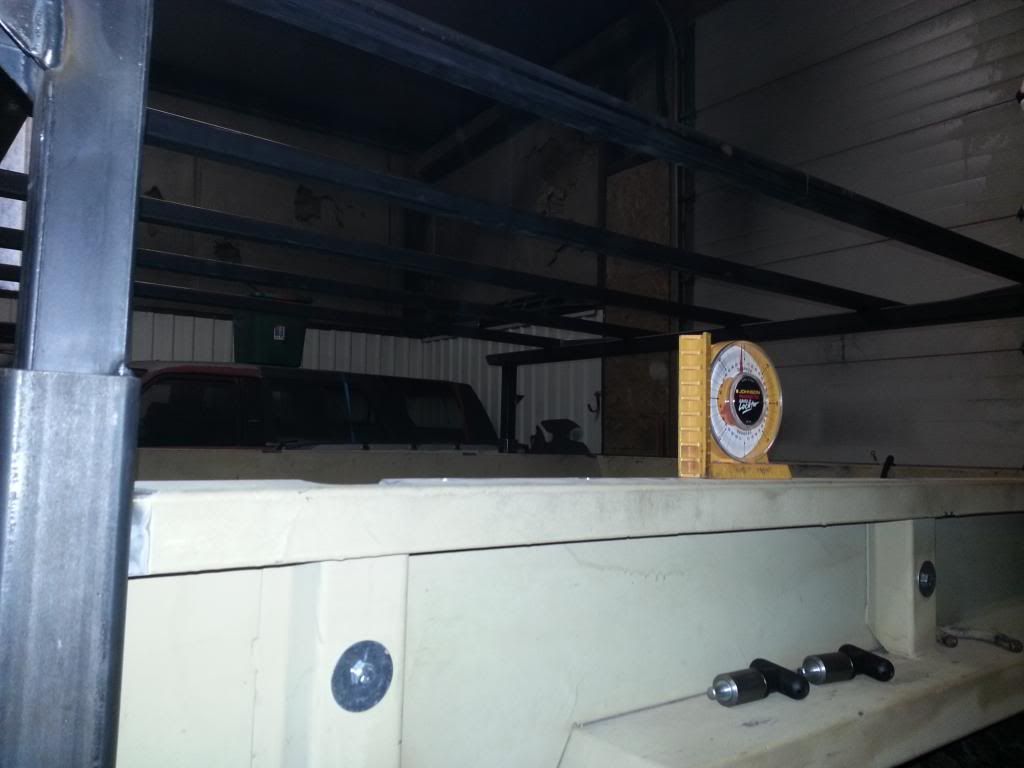
Making sure we're all leveled up.


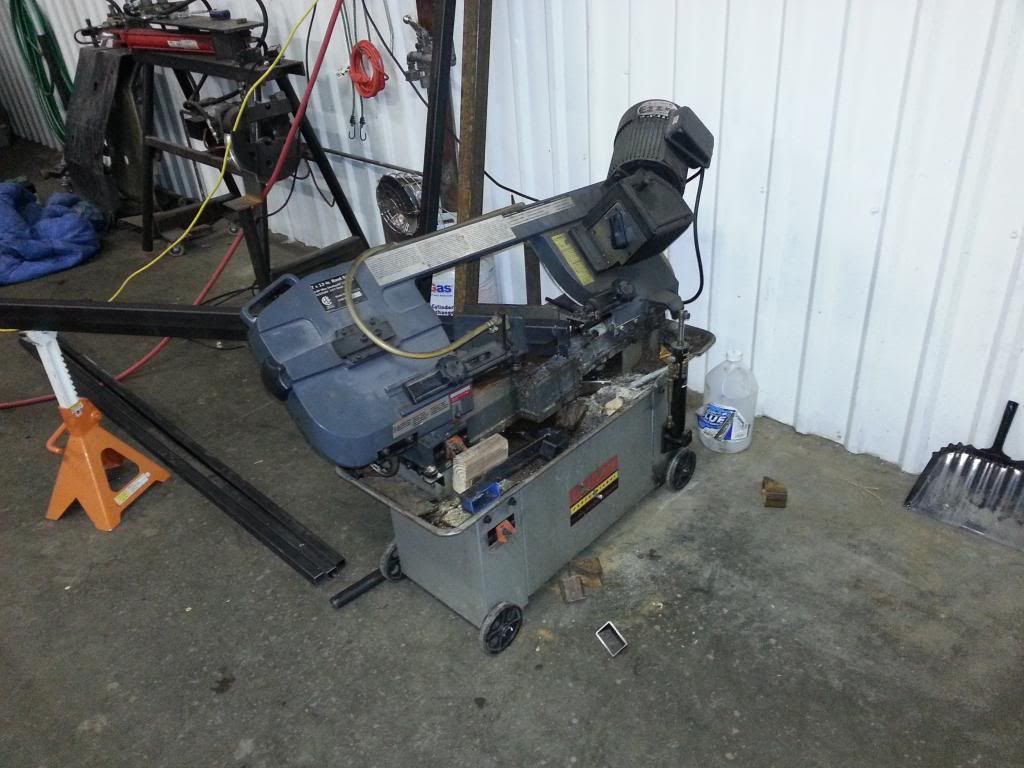
The hydraulic band saw making a cut to the upper rail, which is a 1.5" x 3"


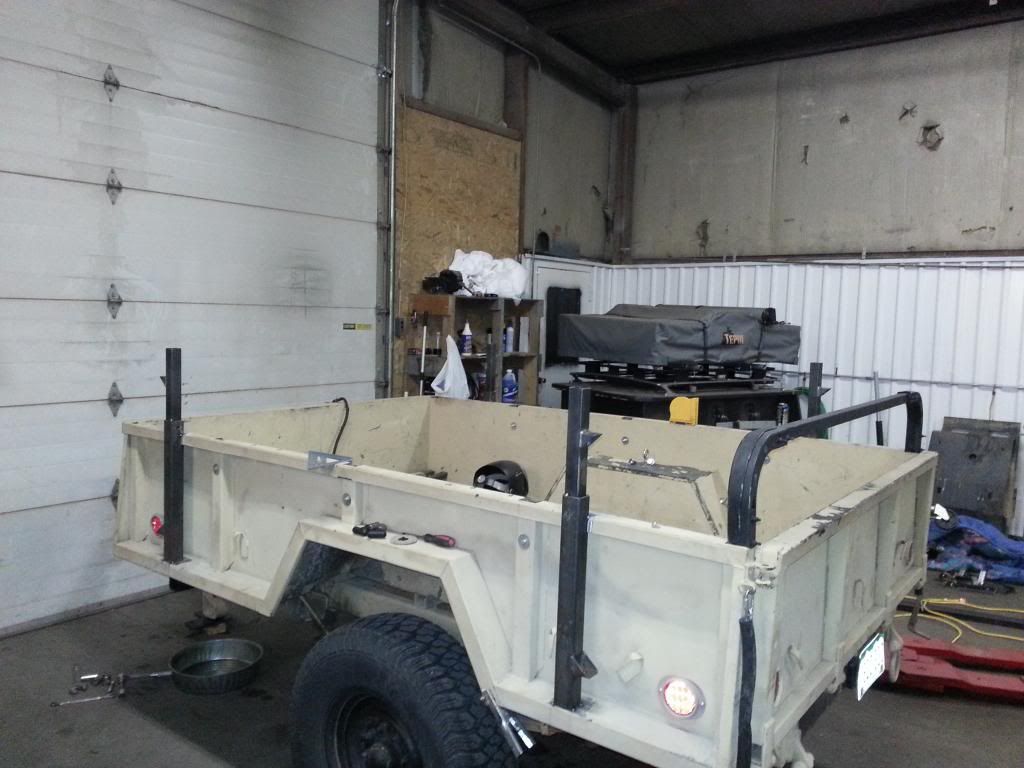
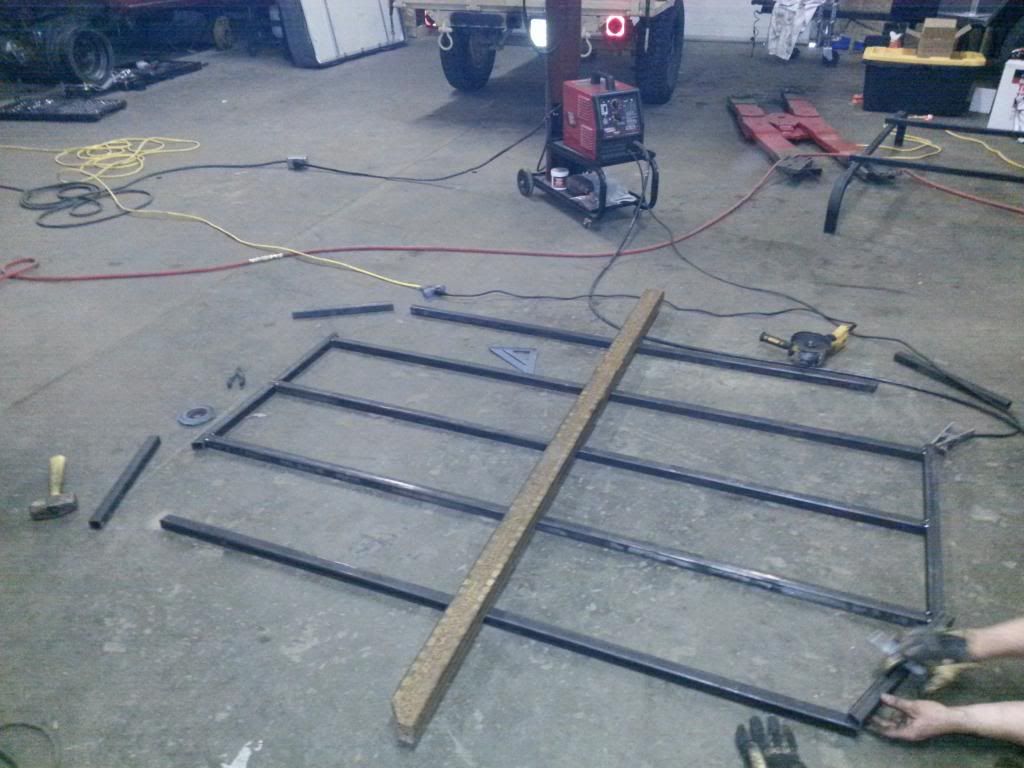
The upper rack starting to take shape on the floor. This is built out of square 1.25 .120 wall. Since I like using this trailer as a utility trailer as well, we went for a stronger rack up top. I figure I can load sheet/lumber on the top while still being able to put smaller items in the bed.


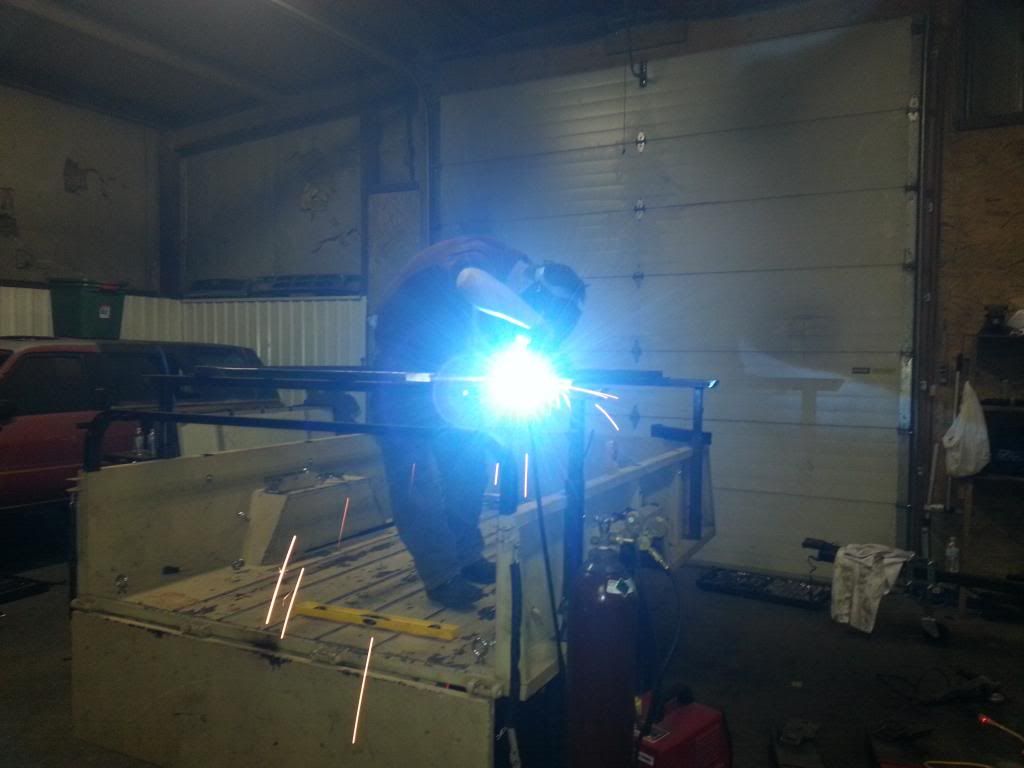
JB doing some welding on the .25 plate that attaches the rack to the crossbar


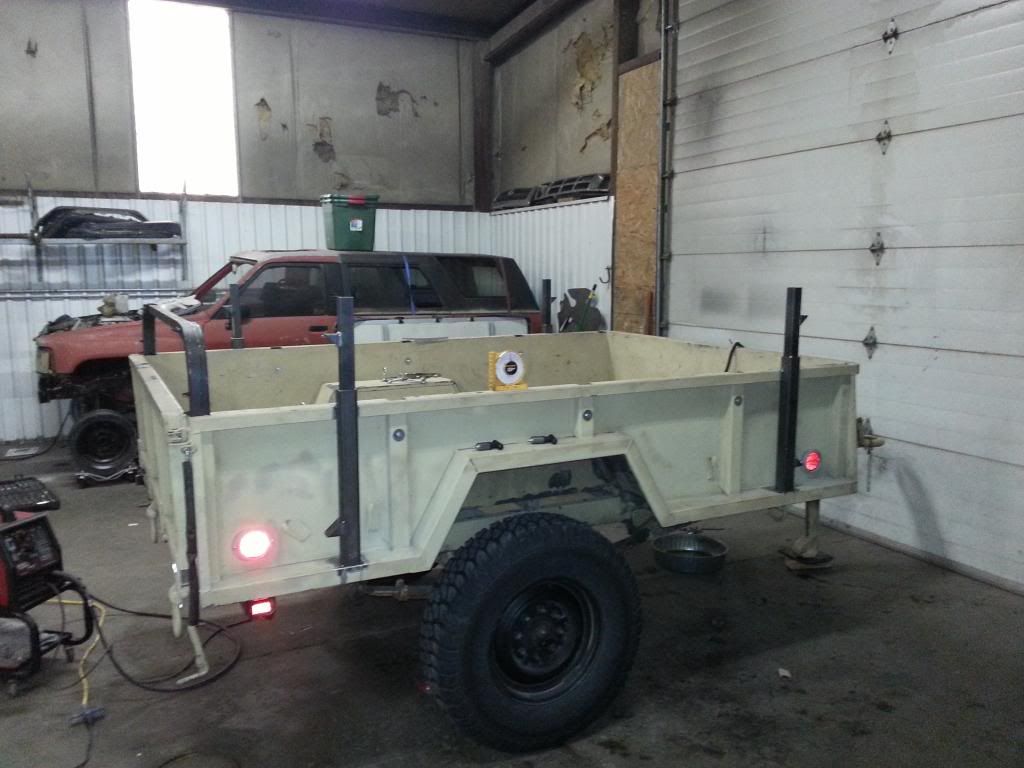
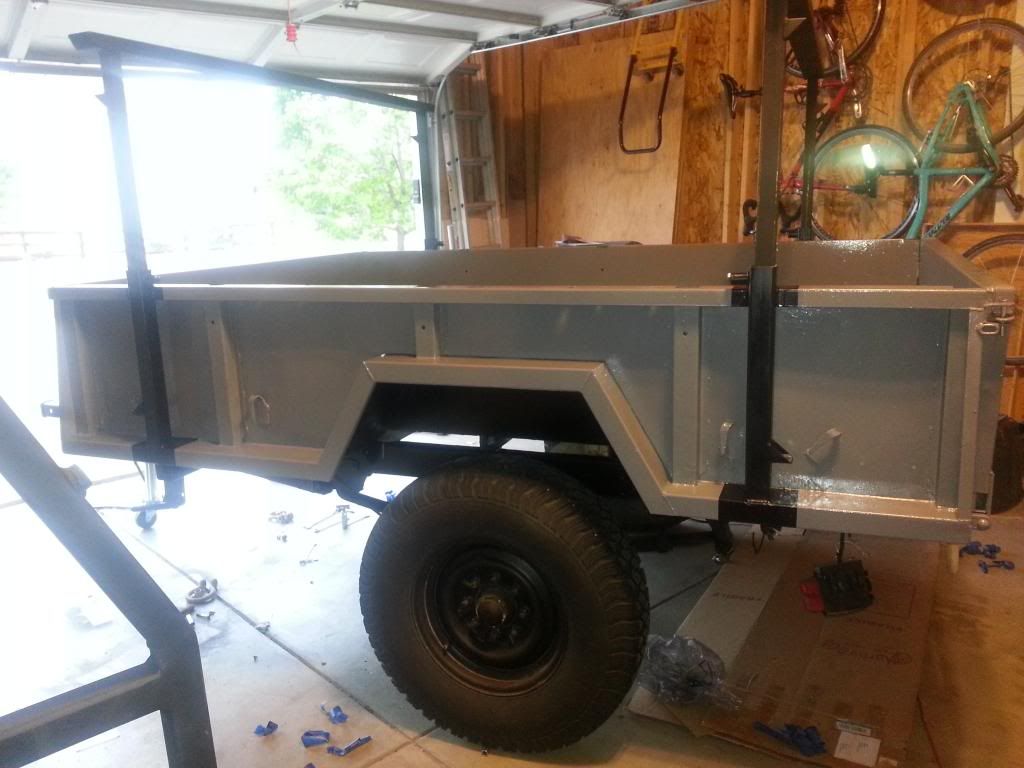
Done. The rack is bolted in place to the upper cross bars. That way I can remove everything by myself whenever I need to.


Rollout! They've got a great view out the front of their shop


They did a lot more work, including removing the lunette and replacing with a 2" receiver for my max coupler, rewelding the hitch I screwed up, and welding on a secondary hitch where I can attach anything I want, but these are all the pics I have from this weekend. I'll take some more detail shots soon (JB's welding skills are amazing) and also highlight the raise/lower feature of this rack as I get the kinks worked out. We started out with 4 100lb struts to raise and lower the rack approximately 16 inches. However, the 100lbers were much too strong and the rack wouldn't lower at all. A quick email to Mcmaster and I've got 4 50lbers on their way to me already. Should be here in a few days!
 

shack

Adventurer
Ok, sorry it took a few days but here are some photos highlighting some of the other work we did. I had a few goals I wanted to achieve with the trailer and I think we nailed them all.

1. I wanted to drop some weight. The surge brake assembly on the 101 is very, very heavy. I'm guessing 75 lbs?

2. I wanted to be able to run a fully articulating hitch like the Max Coupler.

3. I wanted less noise when towing. The lunette/pintle combo is crazy strong, but they're really noisy and there's quite a bit of banging around when you're off road.

4. I needed locking storage somewhere on the front of the trailer.

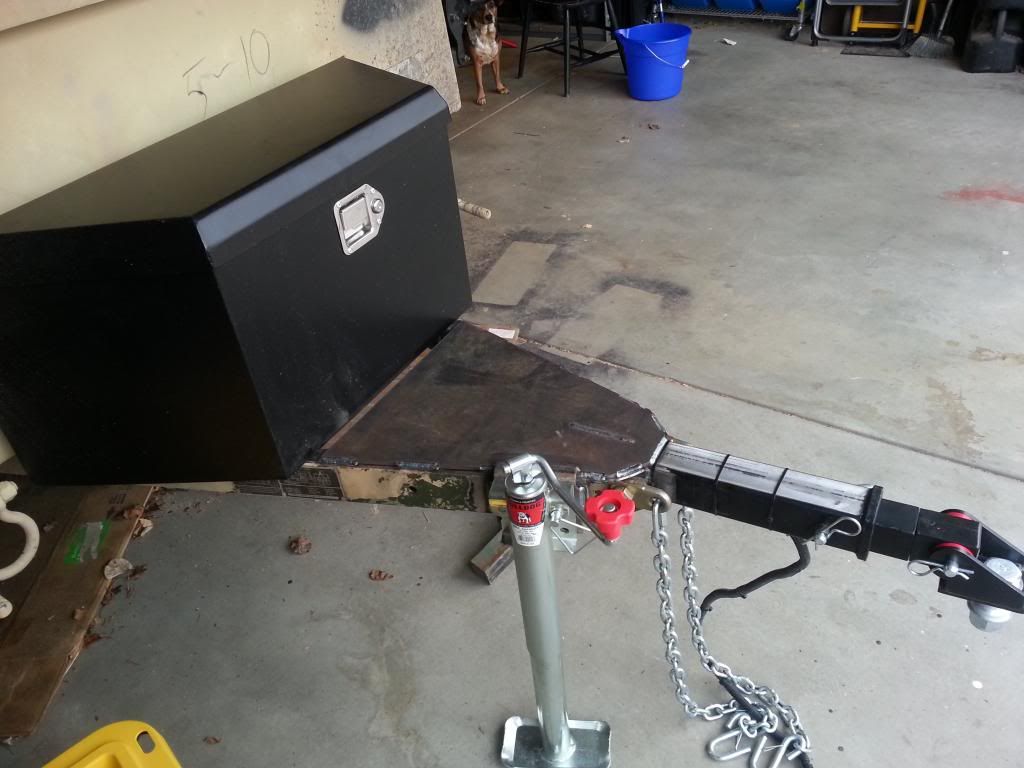
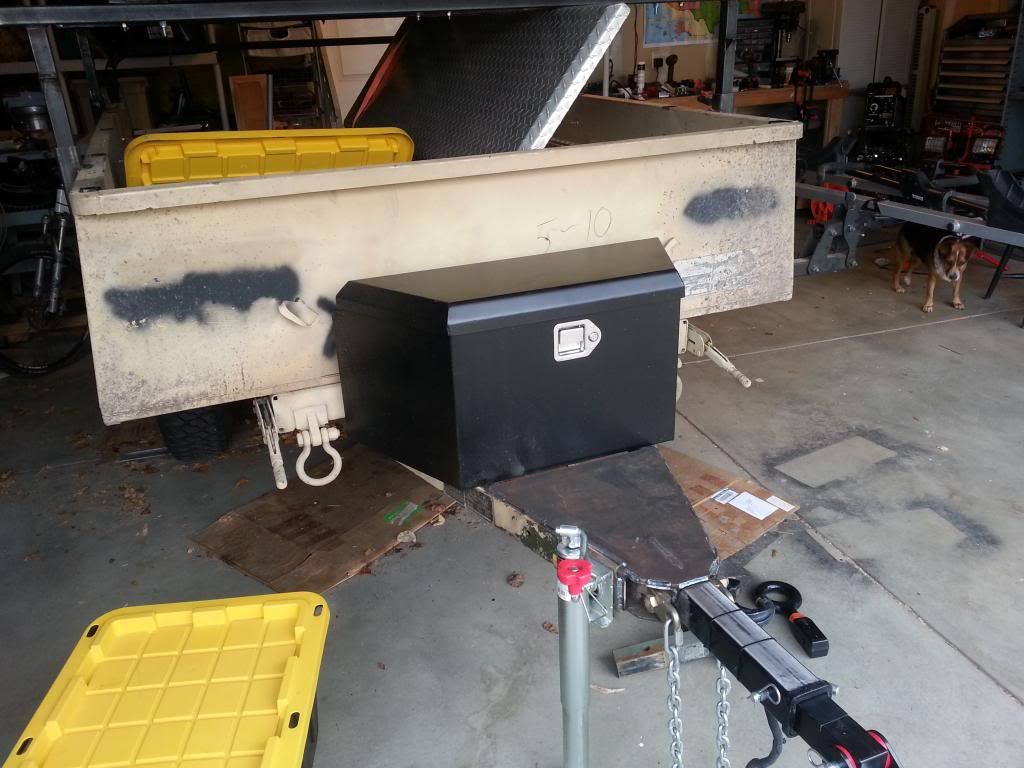
So, with that in mind I picked up an 18" receiver tube and a tongue tool box from Harbor Freight, a Bulldog trailer jack from a guy on Craigslist and some .25" plate steel from the yard. I also picked up a lunette with a 2" receiver, so I can run either hitch I choose with just a quick swap.


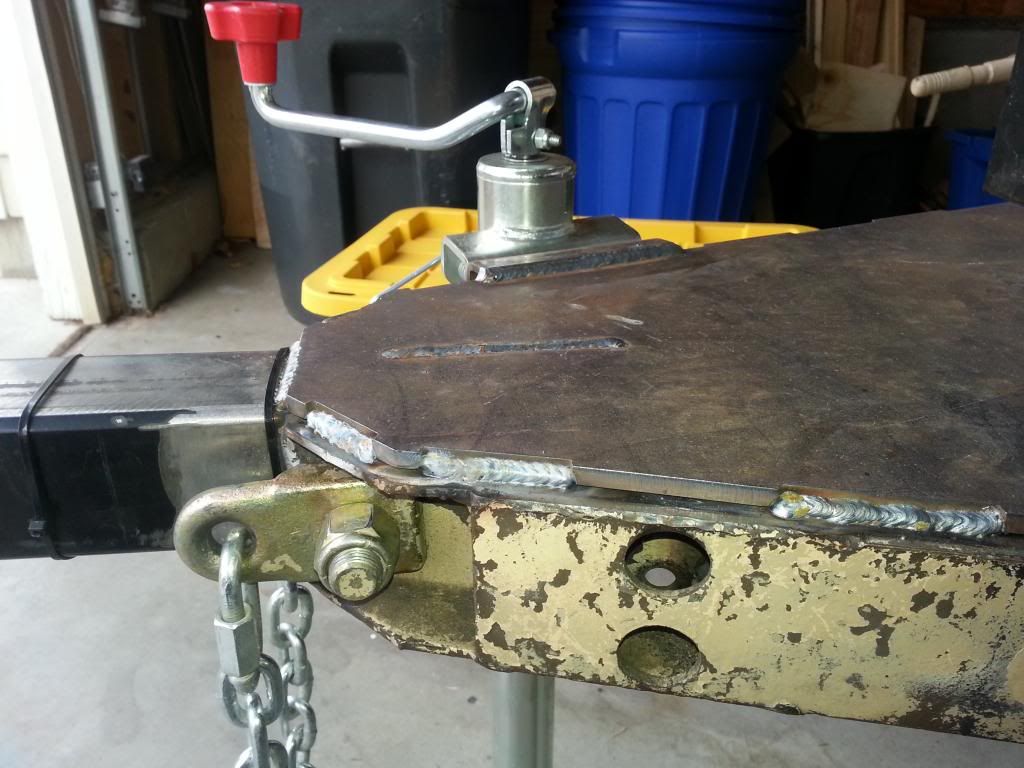
A close up of how JB and Charlie designed and welded the front plate. It's .25" steel and beefy as hell. Notice where the welds are and aren't. Charlie designed the plate in CAD, cut the plate out on their plasma table and JB welded in 2" lengths along both sides. They also cut a 1/4" slot on the top of the plate and welded everything to the receiver tube and brace from the top side. THIS THING IS STOUT!


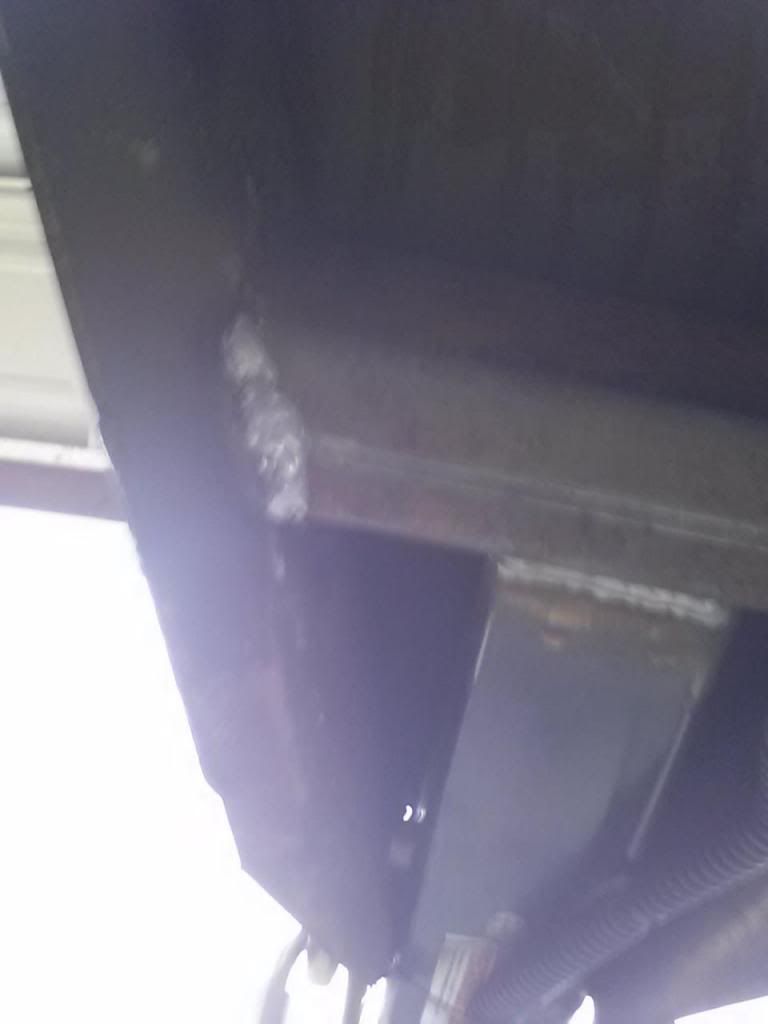
This photo shows the underside, where they added in a 3"x1.5" rectangular tube for strength. The receiver is welded to the plate, the tube and the trailer rail sides. Its not moving… ever!


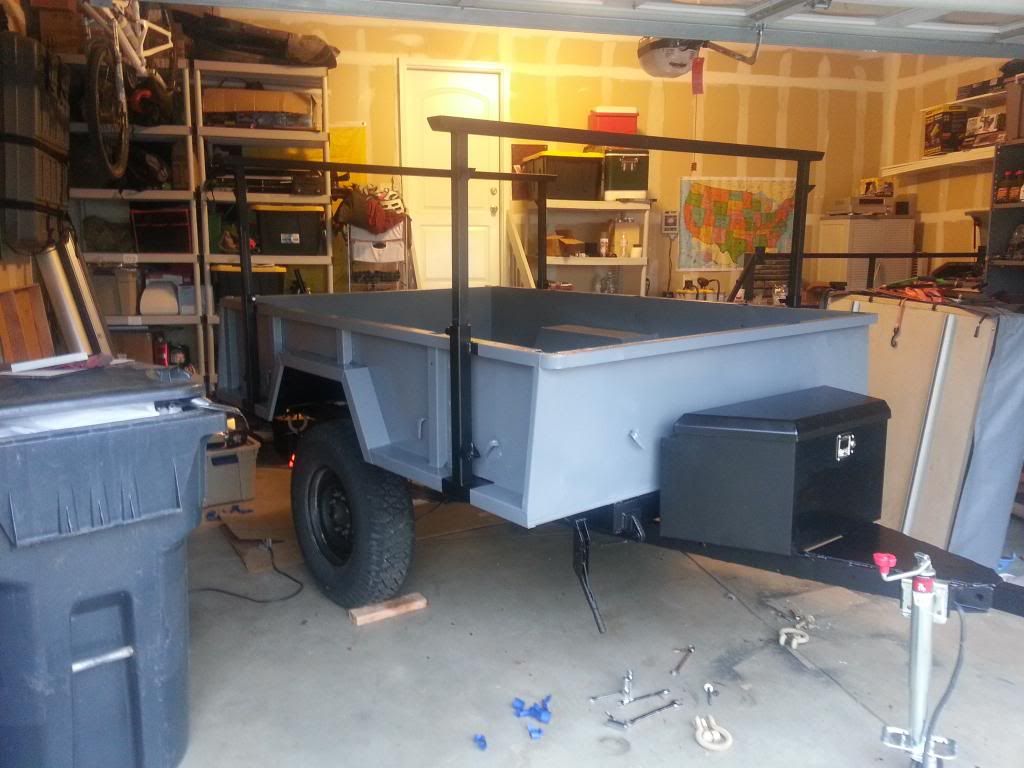
I added a Harbor Freight Tongue box because I had to remove the full width truck version. Its a pretty decent size, though I'm not a huge fan of how the lid doesn't open up fully. For now though, it works great. Its held down by 4 bolts running through some angle brackets JB welded to the trailer underneath it


Another part I added was a 2" receiver under the front left support of the trailer. I got the idea from Mark Harley and its going to work great.


I plan on taking out bikes with us when we camp, and having this hitch will allow me to move the rack from the rear hitch to the front and out of the way.


shack

Adventurer
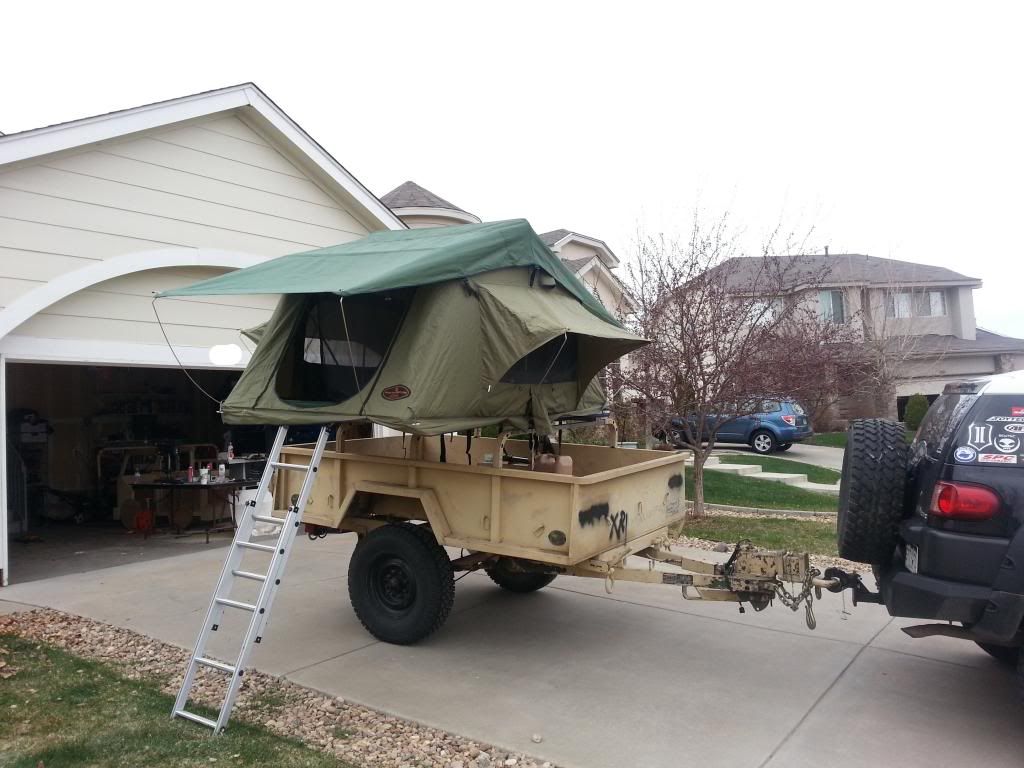
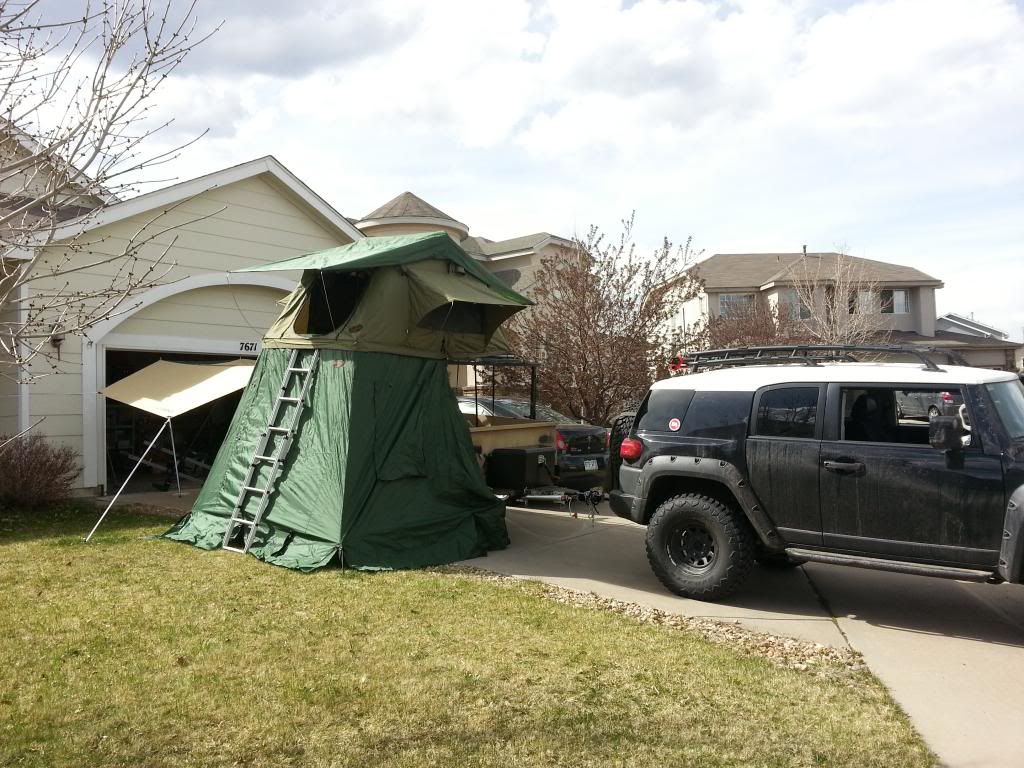
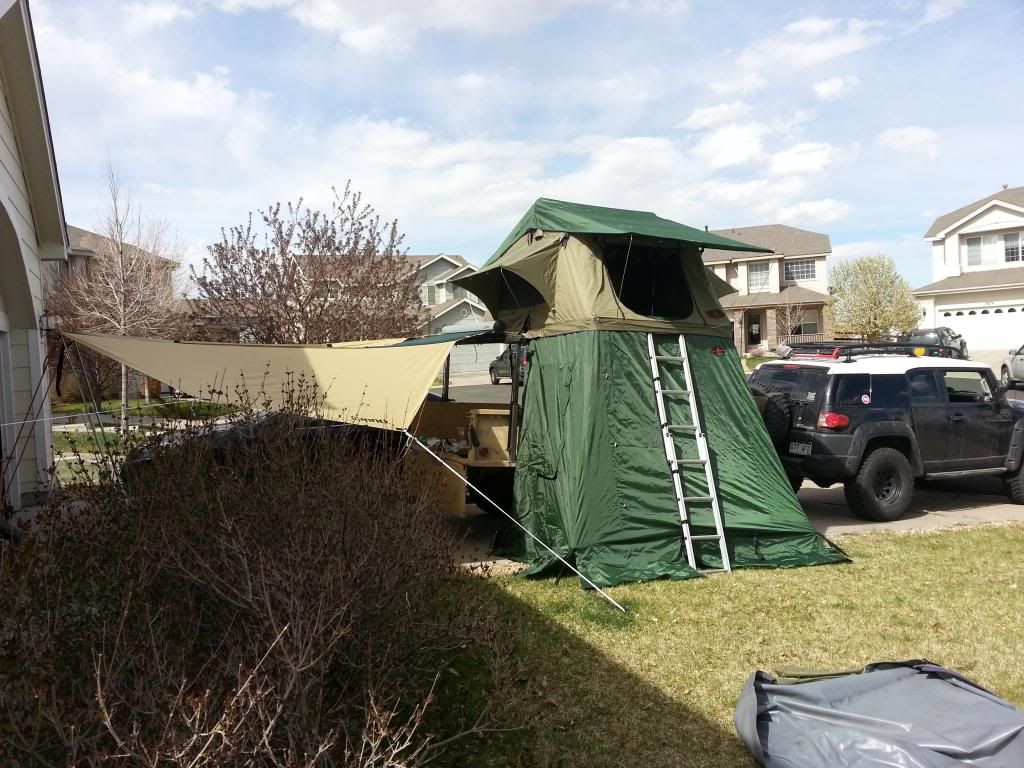
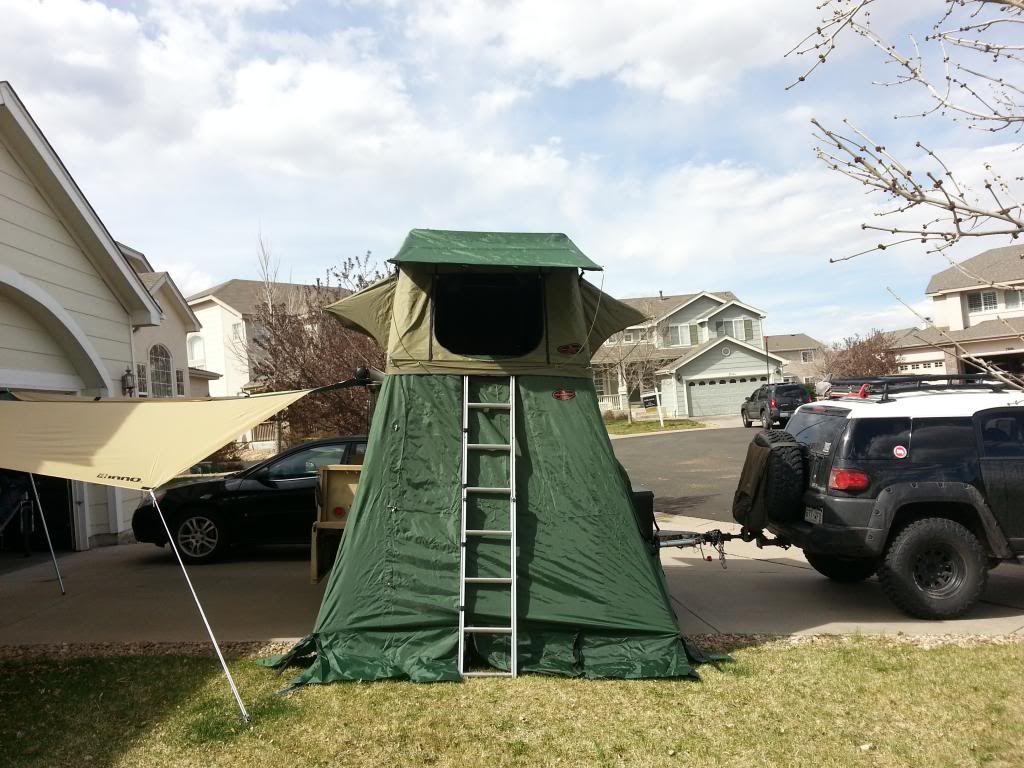
So this weekend I tore everything down and started painting the rack. Before I did that, I wanted to see what all this work had gotten me. Here are a few pics of the tent, changing room and awning set up in my driveway. The awning is pretty low because I was fighting a losing battle with the wind, but in camp it'll be well above head height.

Note: I've got about 6'6" of head height under the tent in the changing room


shack

Adventurer
Paint!

Wasn't planning on doing this just yet, but I was playing around with some Rustoleum Pro paint and just decided to do the whole trailer. I had originally planned to smooth all the dents, sand all the drips and fill all the holes. I realized that would run me more money than I had paid for the whole thing, so I sanded down the worst drips and just rollered the paint on. Its not a perfect job by any means, but it works for me.

Better pics later when I get everything back together


shack

Adventurer
Took me a bit longer than I thought, but she's all back together at this point.


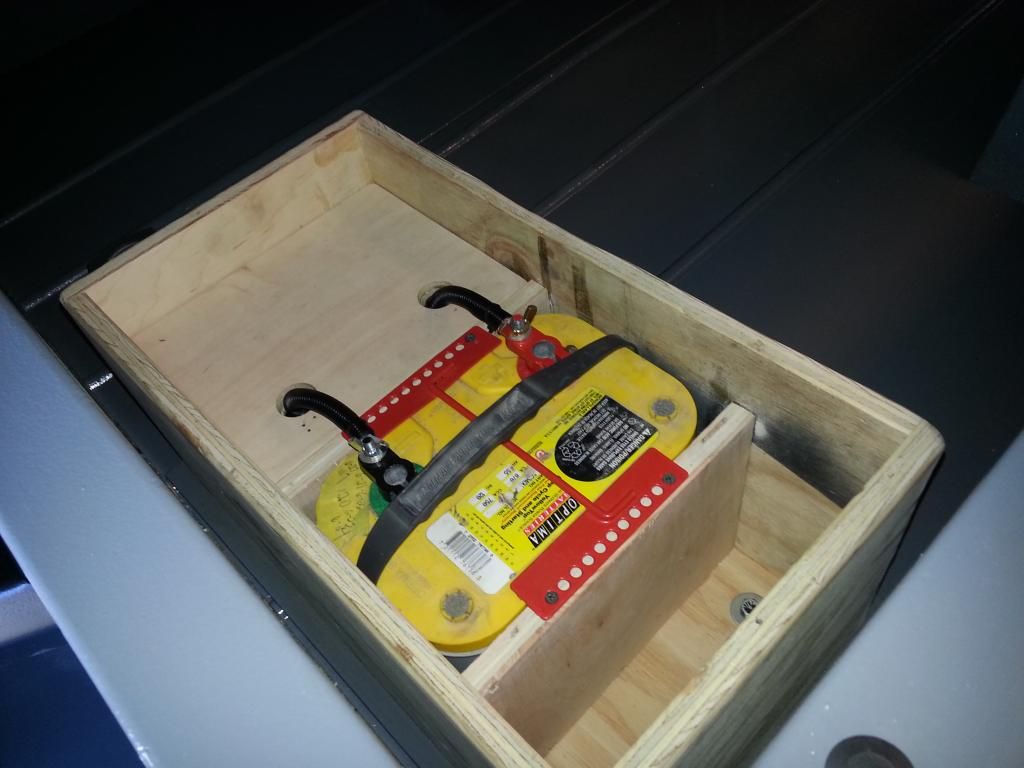
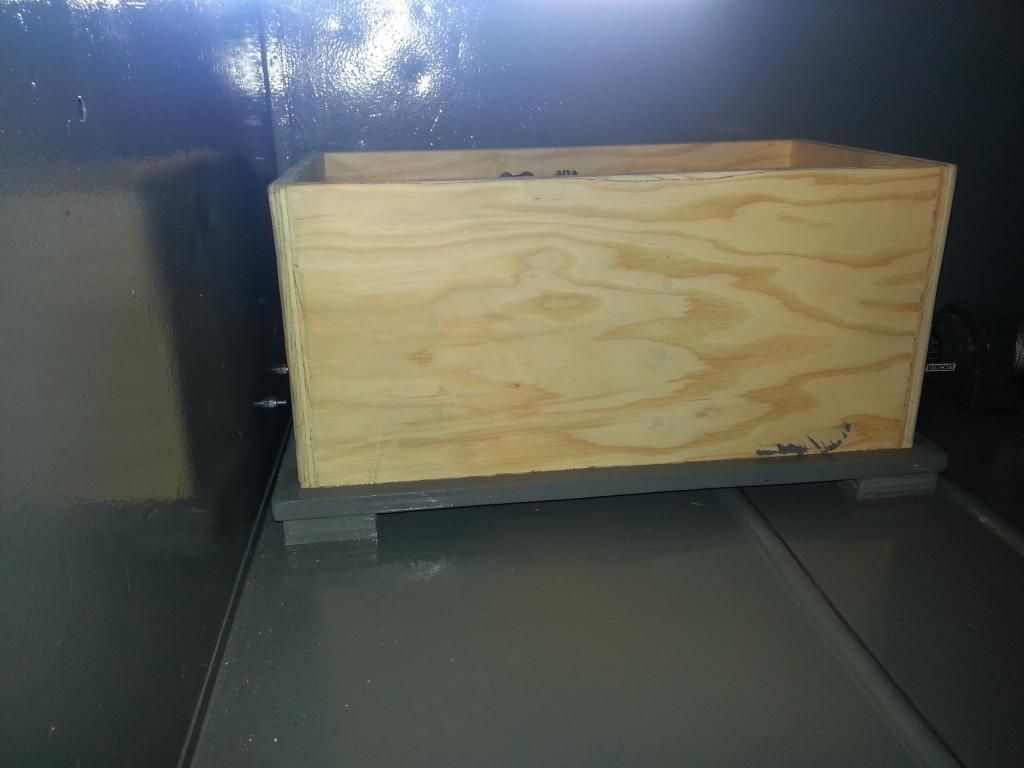
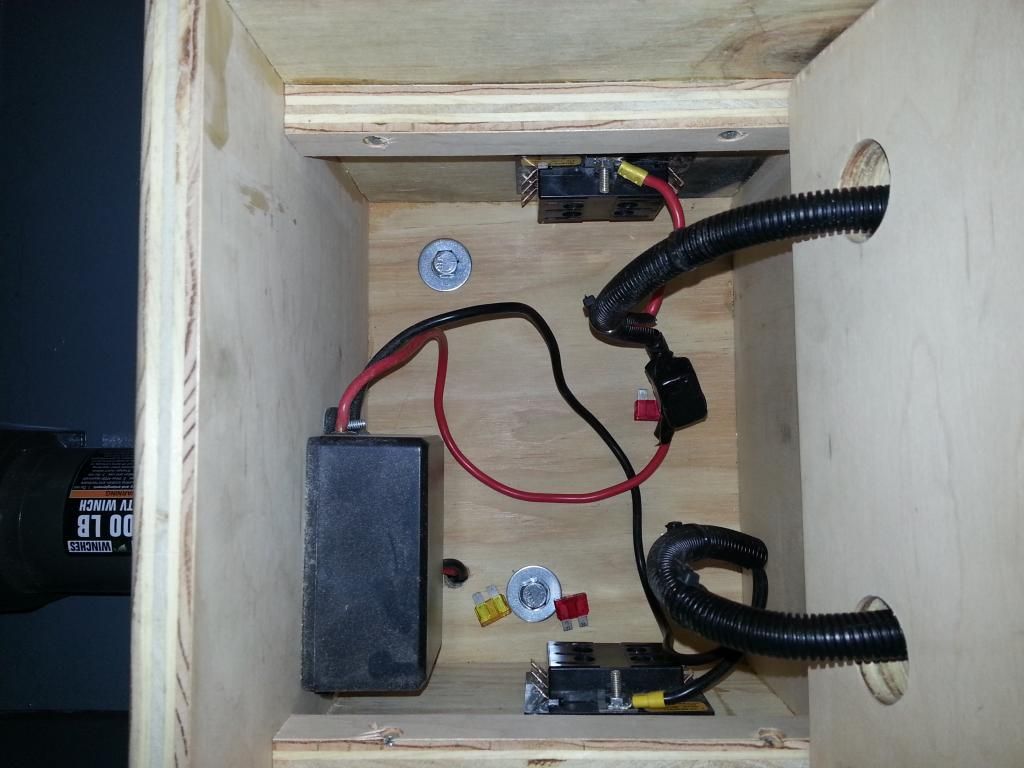
Also, I snapped a few pics of the battery box I just built. Up until now, I've been running power from the FJ to the trailer. I had a chance to buy a couple Optima Yellowtops at a great price and jumped at the chance. I wondered where I might put them, and was leaning towards putting all the electrical in the tongue box. I wasn't really a fan of that idea so I built a battery box out of scrap 3/4 ply I had laying around. I designed the box with 2 walls, an inner and an outer. Everything is encased within the inner wall and the outer is for additional protection and weather resistance. A few heavy coats of paint and its good to go!

Top on:


Top off:


Theres a panel on the left side of the box thats removable to access winch controls, fuse panels, etc. Right now, the only thing thats wired up and working is the winch. Also, there's no battery disconnect switch. I'll be adding that as well in the near future.


Next up will be the custom top.
 

shack

Adventurer
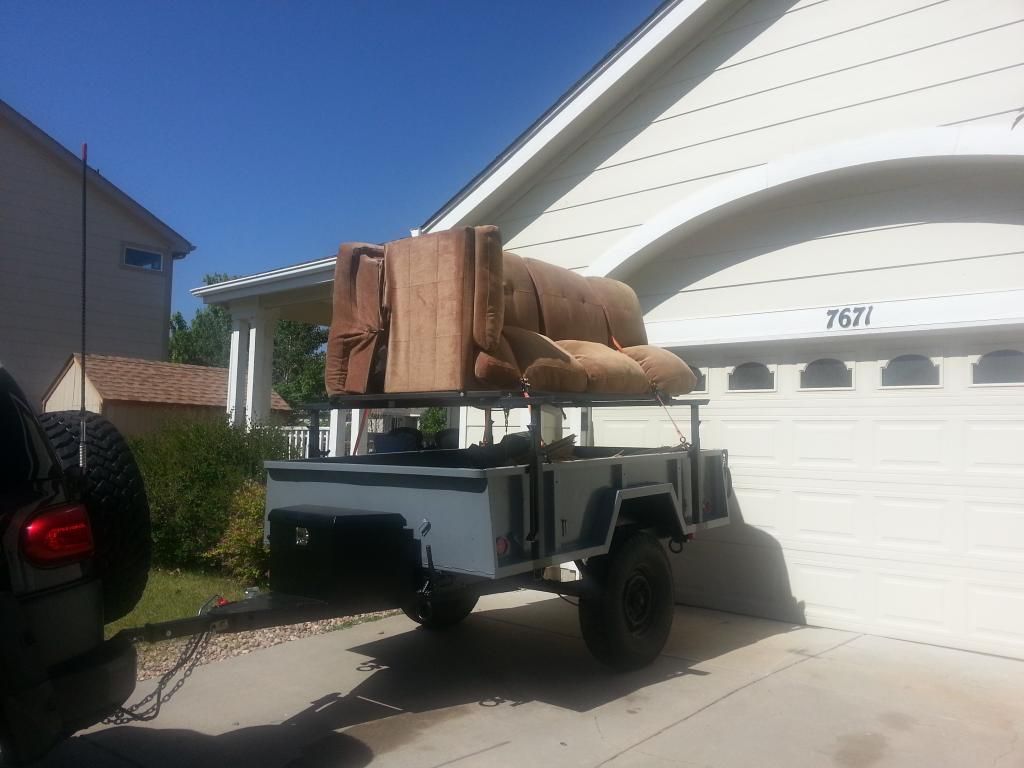
Got out and did some camping this weekend… finally. But before I could do that I had to make a run to the landfill to get rid of our old couch.


It was just easier to throw it on the rack.

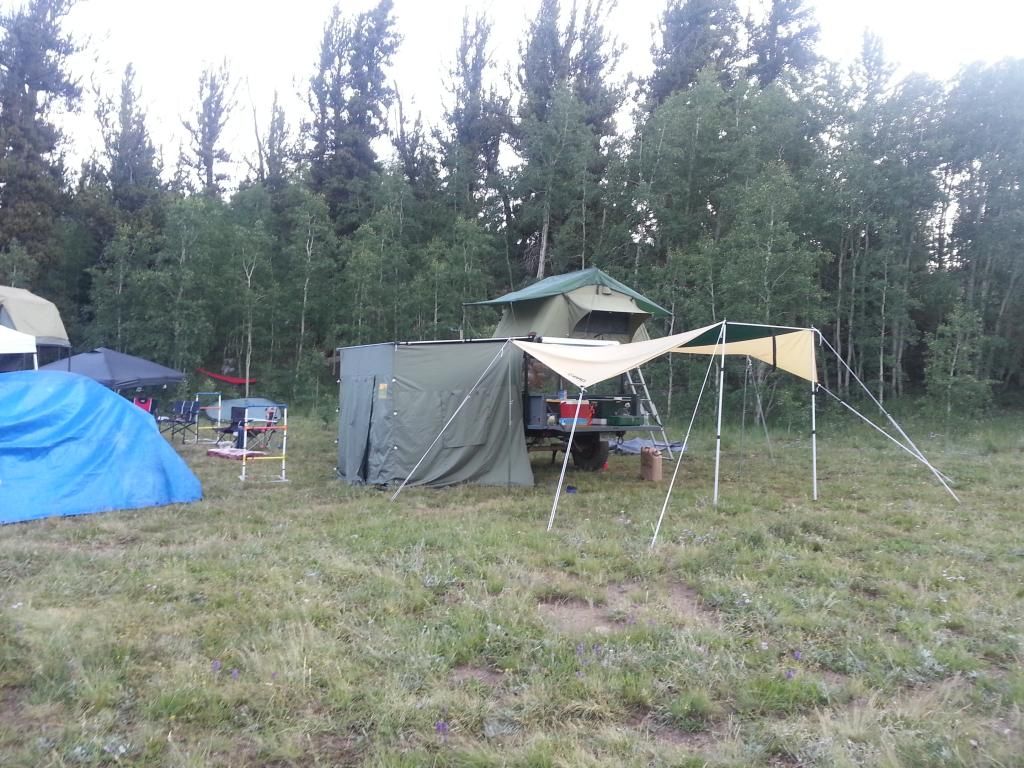
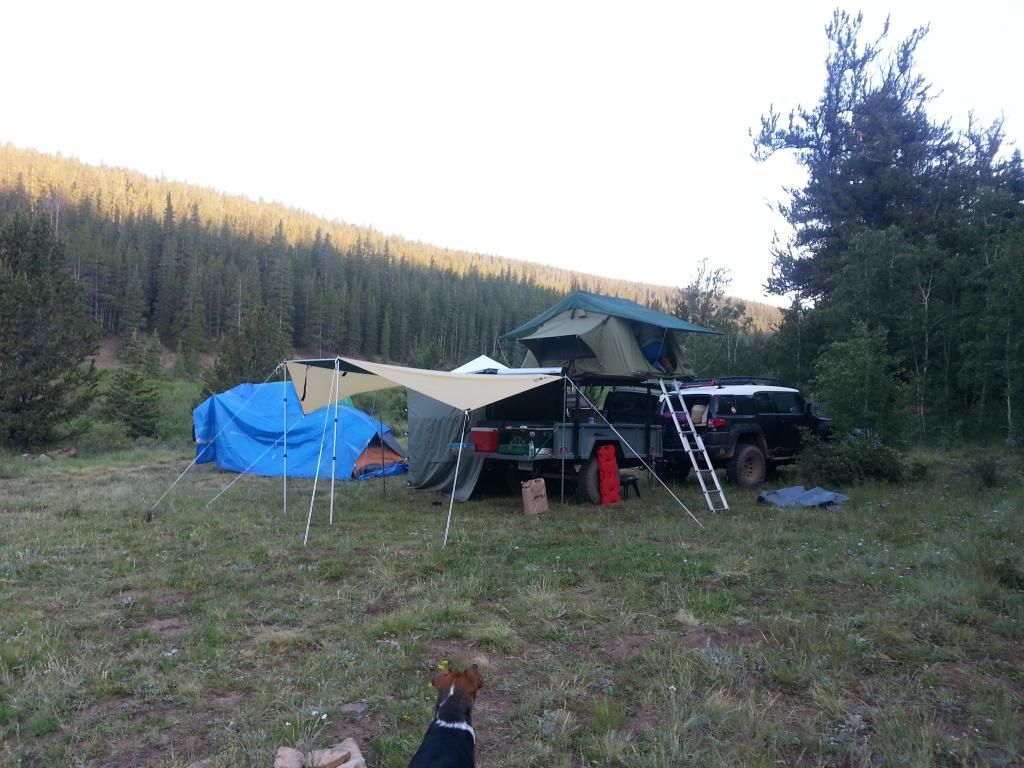
Few camp pics.


Good times! I desperately need some leveling legs though.
 

shack

Adventurer
Some recent updates:

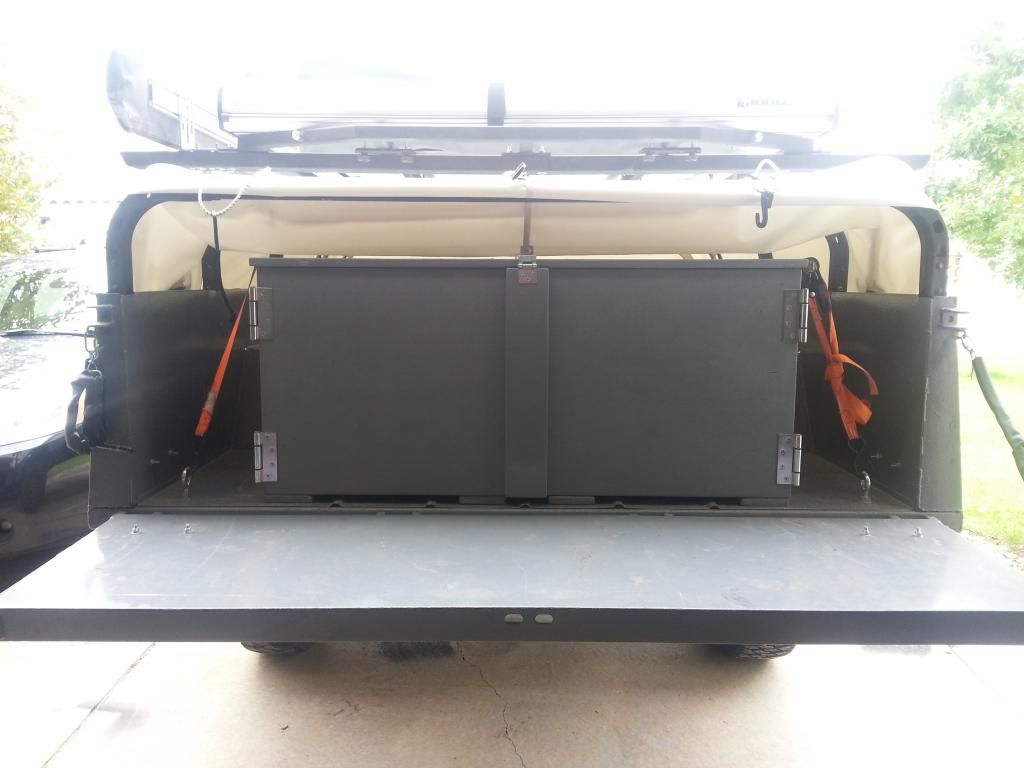
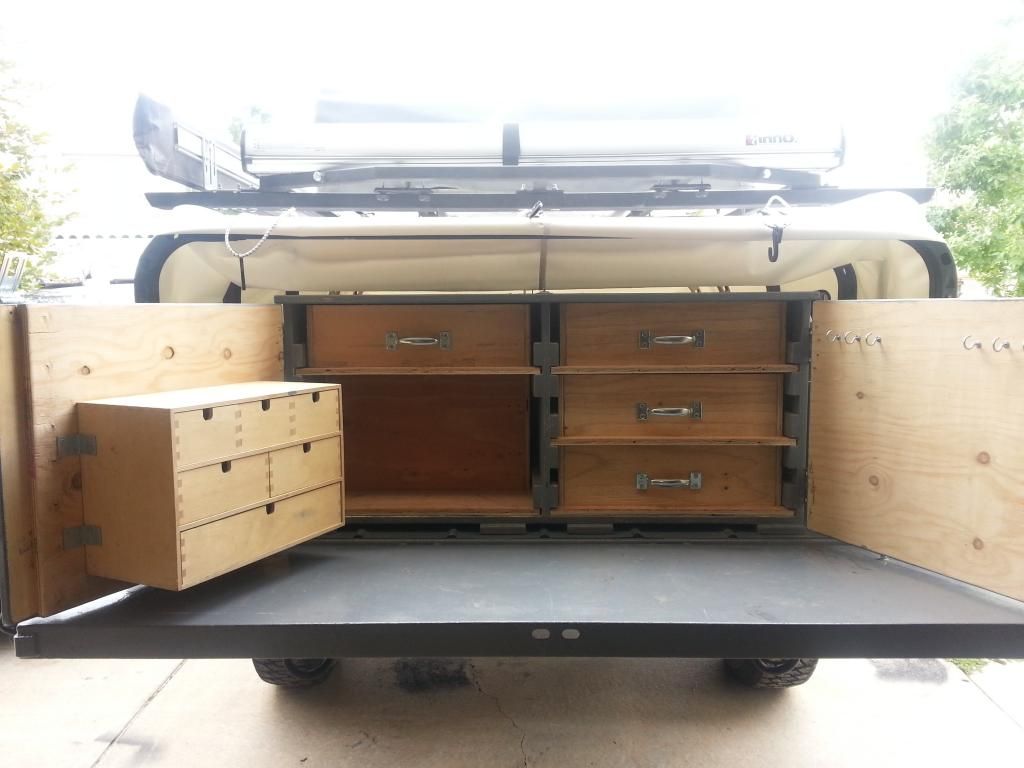
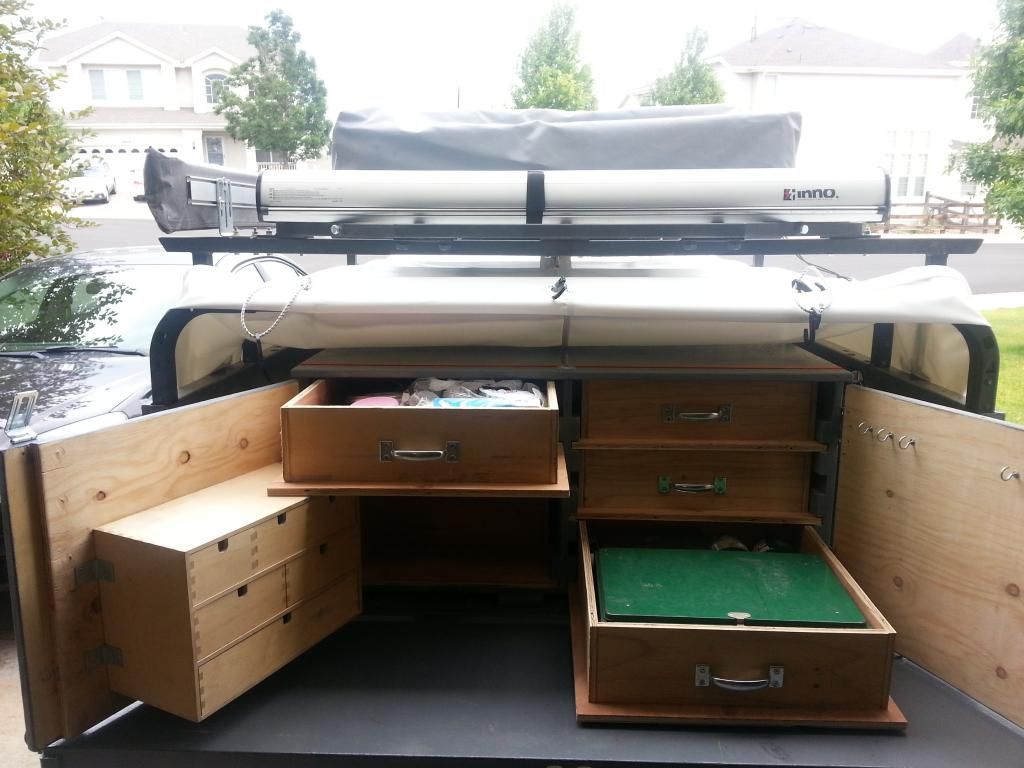
I got really, really tired of working out of plastic tubs when it came time to cook a meal, or search for items we use a lot. So, before our Ouray trip, I made a large chuck box for the back of the trailer. Its a shade under 4ft wide, 2ft deep and about 20" tall. I wanted drawers, but I didn't want to spend the money on slides so, I cut 2" strips and spaced them out on each interior wall. I used .5" plywood and made shelves that rested on top of the strips, then made sides that fit inside the strips. The result; cheap drawers! I'm sure there's a term for the method I used, but I'm not familiar with it.

I had been given a small set of wooden drawers, probably originally to be used for jewelry, and wanted to incorporate them into the build. I affixed those to the outer door for easy access to silverware, napkins, wet naps, condiments, etc. Works great!

There are 5 drawers total, with the one on the bottom left being shorter and taller than the rest so the silverware area can fit in the box.


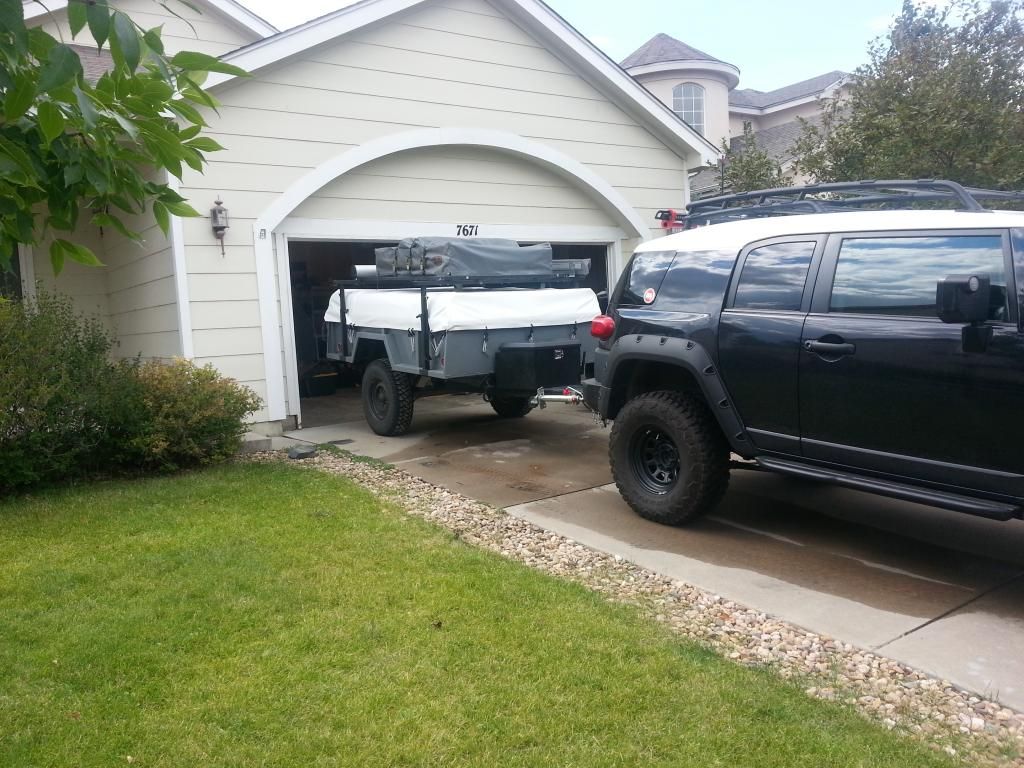
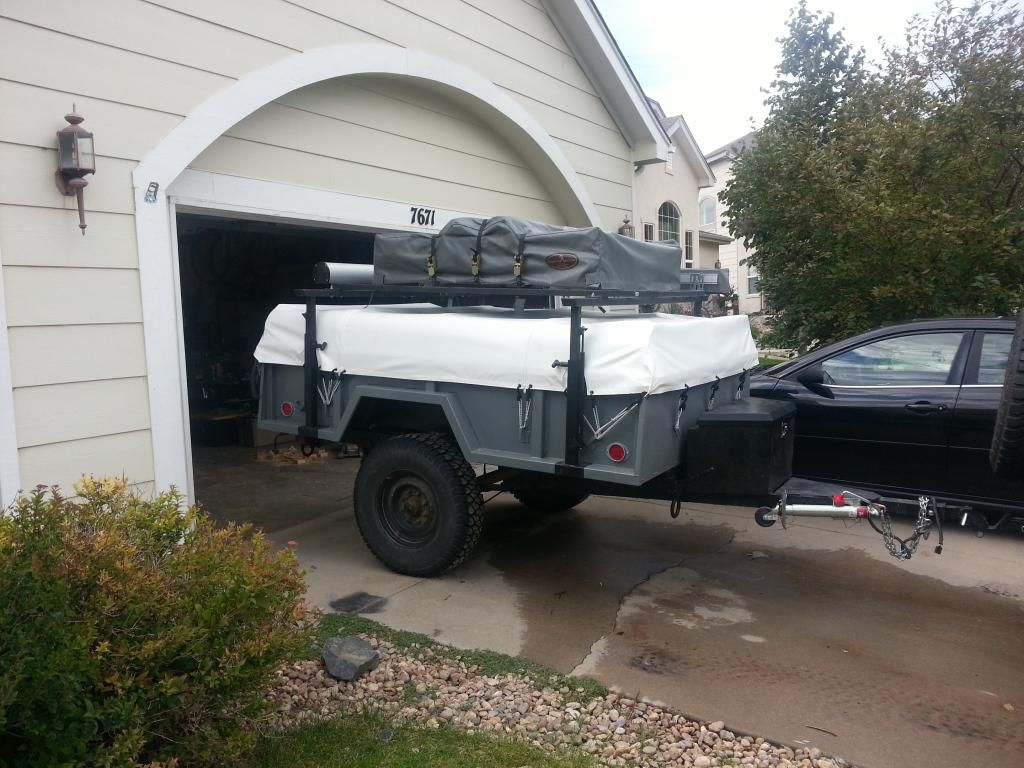
As a birthday gift from my wife, I had a custom cover made from a local guy who does boat covers. It's made out of the same material that long haul truckers cover their loads with, so its very sturdy. I originally planned on going with black or more of a cream color, but when he showed me how easy it was to clean the white, I had to go with it.


I had him add zippers on both sides to ease access into the bed area. I'm pretty happy with how it all turned out and can't wait to get it out camping again!


shack

Adventurer
Next steps:

6 on 5.5 3500lb axle w/ matching wheels
Onboard Hot Water
Solar Battery Charging

Happy Trails!
 

Mark Harley

Expedition Leader
Very nice work! The chuck box is great and the cover is the icing on the cake.
Great idea with the side zippered openings.
 

Forum statistics

Threads
188,382
Messages
2,903,946
Members
230,272
Latest member
RodneyKnighten
Top