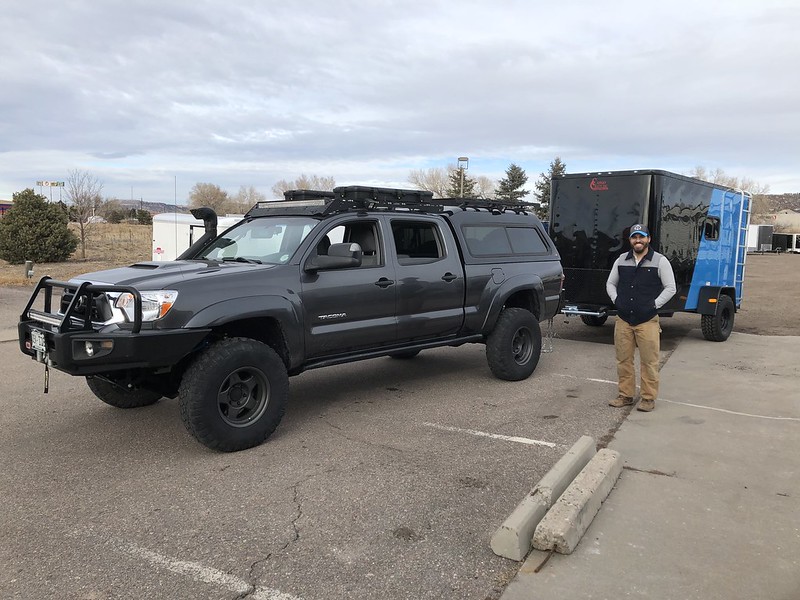
Battleship Jones: 2015 Tacoma DCLB Build Thread

Adventurous

Explorer
Truck is back!

Glamour shots to follow, but I've started making a dent in the small pile of parts I started accumulating while it was gone.

Since I first pulled the rear seats and the plastic bins behind the seats, I've had to stare at the ugly combination of Dynamat and foam. I had resolved to make something to cover it both so the dogs didn't tear it to pieces as well as to give the back seat area a more polished look. Enter docloco from Tacomaworld and his molle panels (https://www.tacomaworld.com/threads...el-for-2nd-3rd-gen-dc-or-ac-rear-seat.410254/). I didn't want a molle panel as I need the back seat free and clear from obstructions and he was more than happy to oblige my request for a blank panel with only mounting holes and spots for the seatback latches.

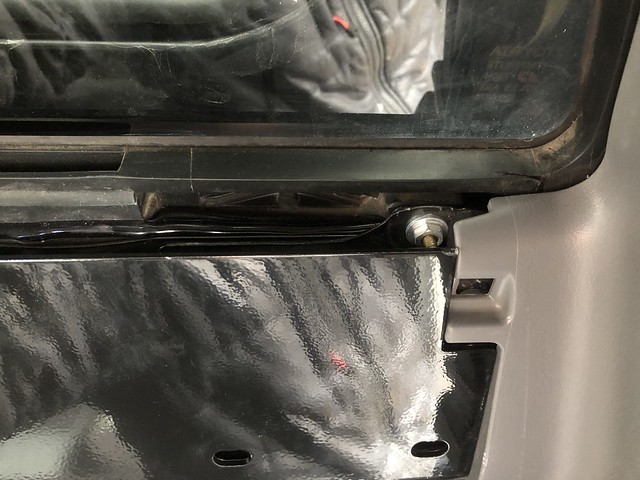
As was expected, I had to do a little bit of adjusting to make it fit my truck. The only area that I had an issue was in the corners where it couldn't seat up against the rear wall due to interference with the window mounting bolts. See below
Untitled by Tim Souza, on Flickr

Not a big deal. A few minutes with a 2" hole saw later and I was able to nip enough out to get it to seat. A little bit of gloss black enamel paint on the exposed edges, a bit of drying time in the warm basement, an earful from the wife about stinking up the house with spray paint fumes, and it's in!
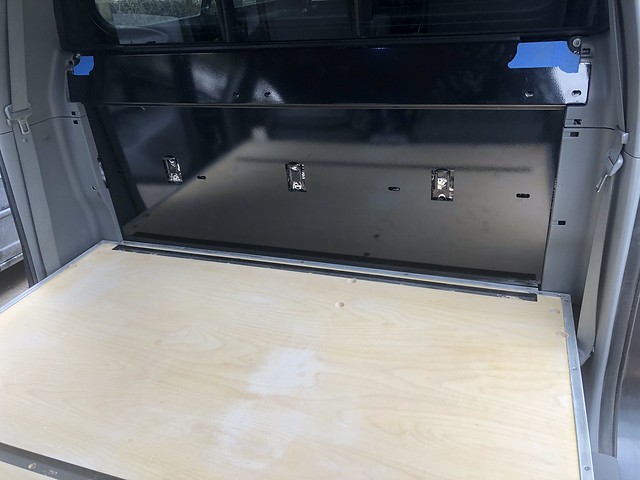
Untitled by Tim Souza, on Flickr

Mission accomplished! It's pretty once again. Platform is currently undergoing a bit of a makeover itself, the glue holding the aluminum trim on wasn't holding, so I've screwed that down, deepened the counterbores for the mounting bolts to accommodate washers, and will be getting the top surface coated with some sort of bedliner to prevent the dogs from sliding around. Still debating on whether to tuck foam + MLV beneath it all before it goes back together.

Side note: I can't recommend docloco enough if you are looking to do something similar. He was extremely professional, communicative, and provided a good looking product at a reasonable price within the time frame quoted.
 

Adventurous

Explorer
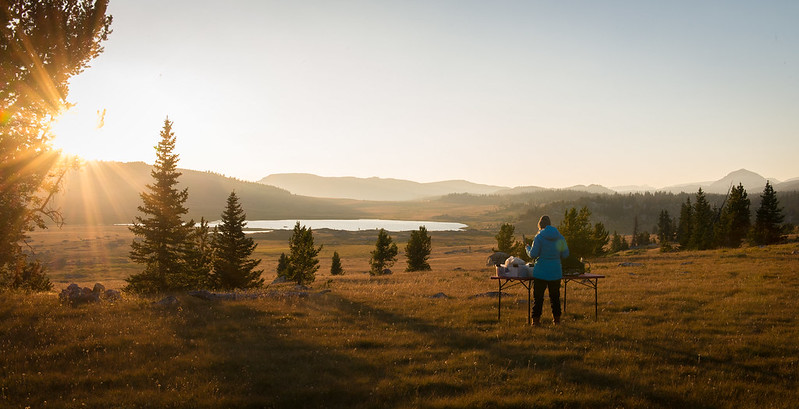
Hadn't posted this one up, but over Labor Day weekend last year the wife and I took a few days off of work and headed up north with the intent of visiting Yellowstone and Grand Teton National Parks. There wasn't a whole lot of dirt involved, but we did travel over land, live out of the truck, and the pictures might be of interest to those who don't live close enough to visit.

Our itinerary was pretty loose, but we roughly planned it out as head from Denver, CO to Red Lodge, MT, catch the beginning of the Bear Tooth highway and take that down into WY so we could enter though the northeast gate of Yellowstone, then spend a few days in the park before heading south into the Tetons and heading home. The wrench thrown into our plans that forced us to reconsider a little bit were the forest fires raging across the region all summer. It'll be quite evident in the pictures, but I think we chose perhaps one of the worst weekends possible to head out if we were hoping/expecting views. It was eerie and unfortunately cramped our style a bit, but that just means we'll have to go back. :)

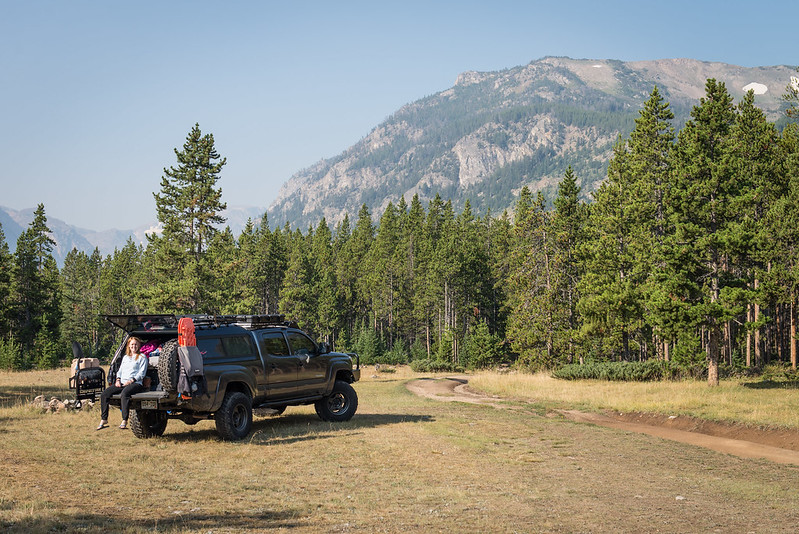
Camped just outside the beginning of the Beartooth Highway. For those who have never driven it, it was perhaps the prettiest section of blacktop I've traversed in my 30 years on this planet. Cooler than the Million Dollar Highway in CO, cooler than the Kancamagus Highway in New Hampshire, and more spectacular than anything else I can think of. It is a definite must do for those in the area.

20170901-DSC_2557 by Tim Souza, on Flickr

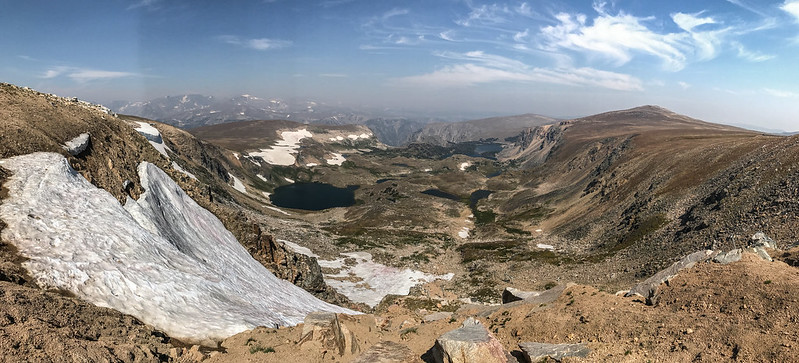
And a panorama from the top. You can see the forest fire smoke lingering on the horizon just waiting to head down our way...

20170901-IMG_4201 by Tim Souza, on Flickr

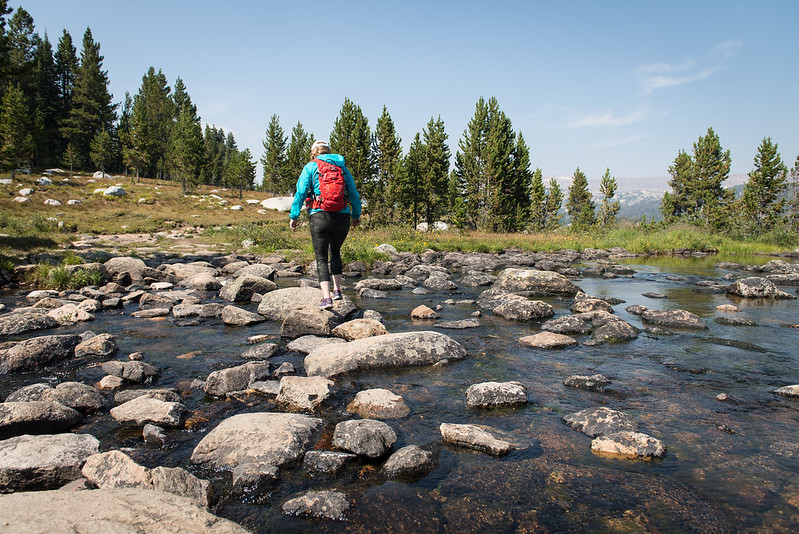
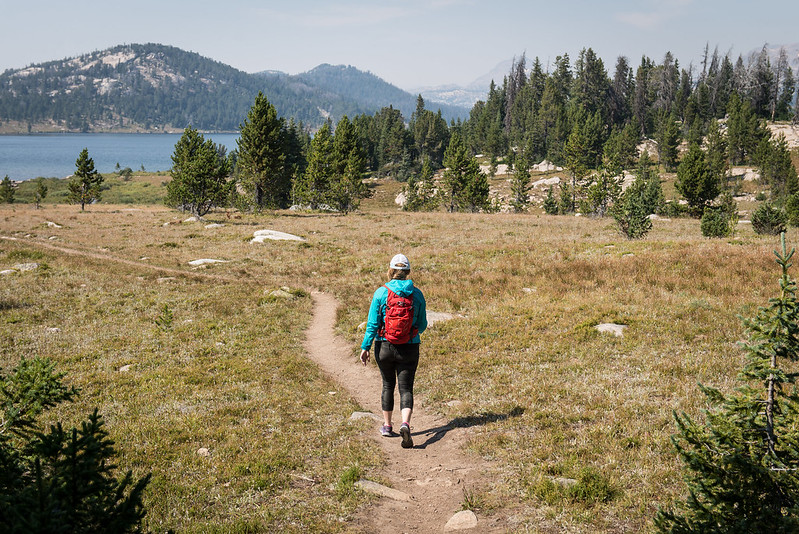
We spent most of that day up at elevation trying to get out bearings and figure the plans out. We settled on spending one night up near the pass before heading down to Yellowstone. We passed the time with a nice 6 mile hike. It was our first time in real bear country so we stayed quite vigilant, but never spotted one.

20170901-DSC_2603 by Tim Souza, on Flickr

20170901-DSC_2597 by Tim Souza, on Flickr

Following the hike we went off in search of camping. Most of the stuff close to the highway was already taken, so we traversed some of the lesser beaten paths in search of our home for the night. We had no real success and ended up spending the night in the parking lot of a trailhead, but not before venturing off down a bit of the Morrison Jeep Trail where we found a place to pull over and cook a nice, meaty hamburger dinner that I'm sure wasn't enticing at all to any nearby bears.

20170901-DSC_2626 by Tim Souza, on Flickr

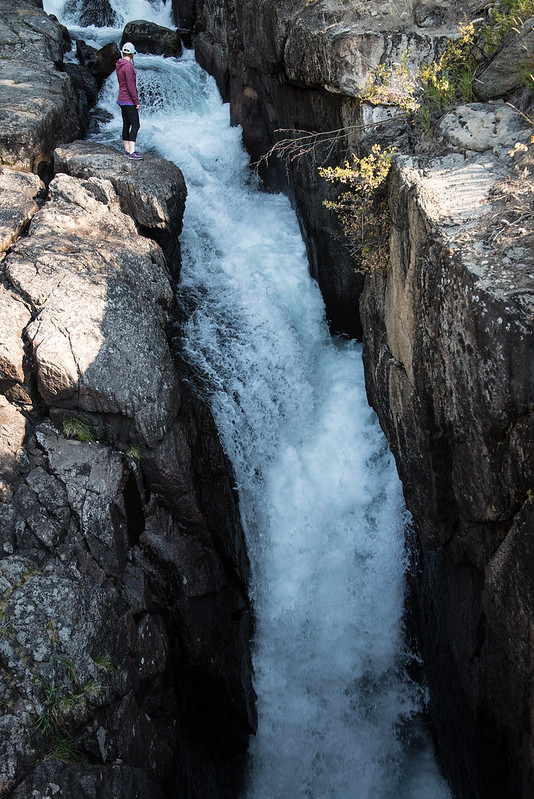
The next day we came down the pass back into WY and stopped at this big old waterfall alongside the road where we were treated to a few real cowboys driving cattle through the area. Kind of neat to watch them in action.

20170902-DSC_2646 by Tim Souza, on Flickr

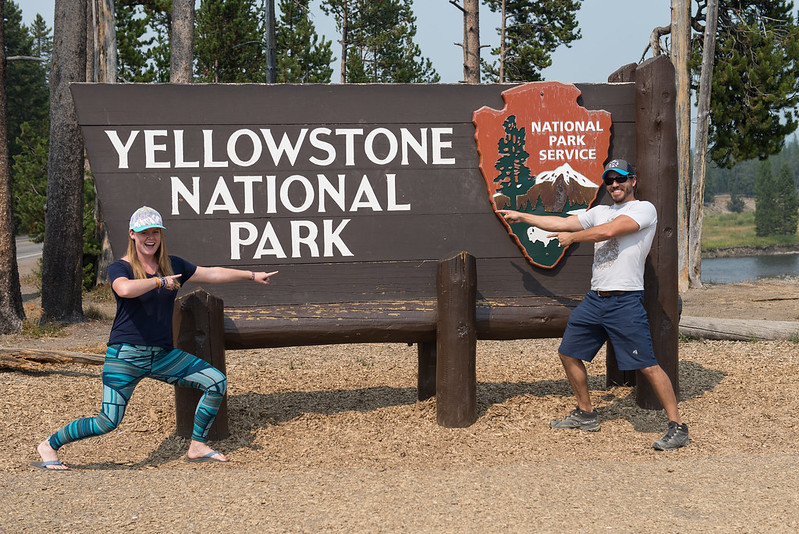
Into the park we went (of course those familiar will recognize this isn't the sign at the northeast entrance :D)!

20170904-DSC_3199 by Tim Souza, on Flickr

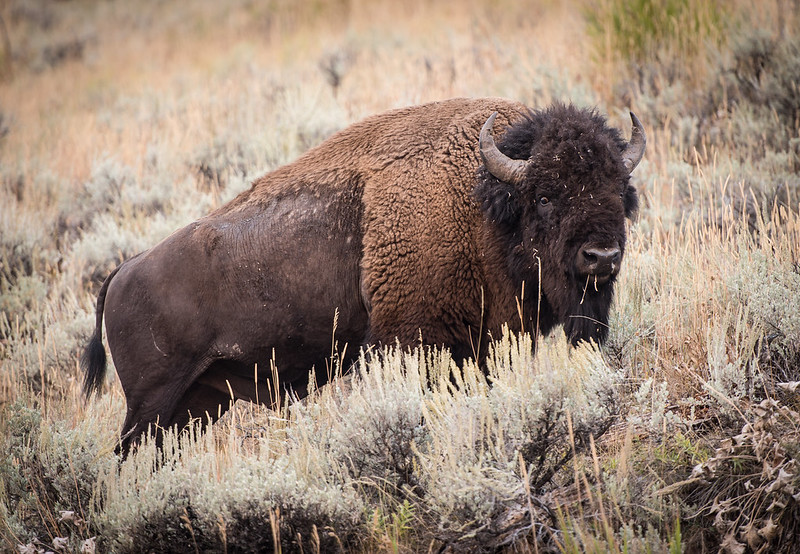
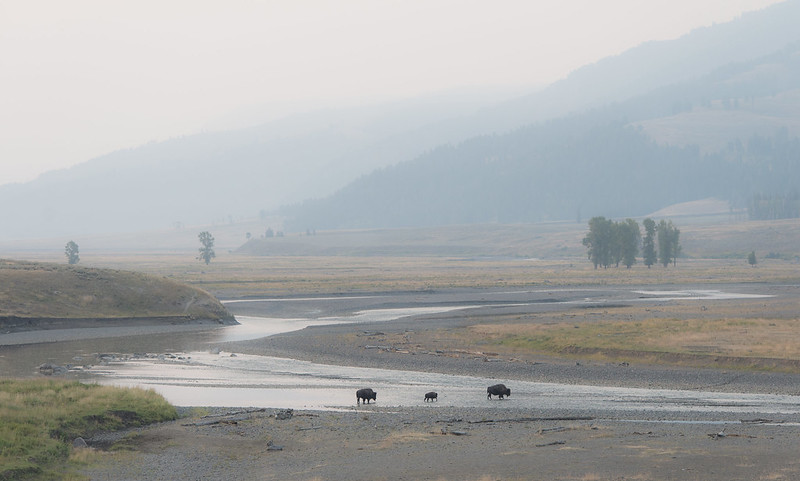
It was super, super crowded. Lots of people driving at 10 mph and stopping in the middle of the road to look at animals, animals blocking the road, it was like a zoo out there. Still, it was out first real encounter with bison up close and they are really neat creatures. The wife was absolutely enamored which explains why we spent our two mornings in the park getting up early to hang out with the bison before they moved out into the meadows as the sun rose.
20170903-DSC_2760 by Tim Souza, on Flickr

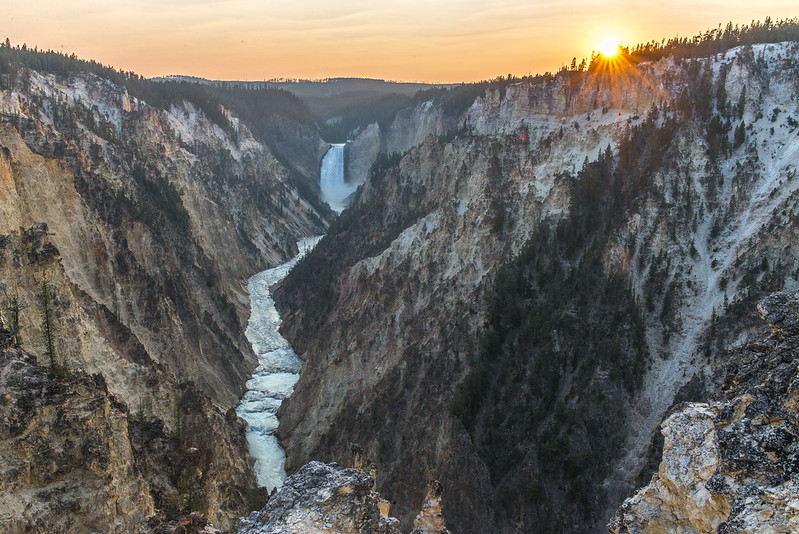
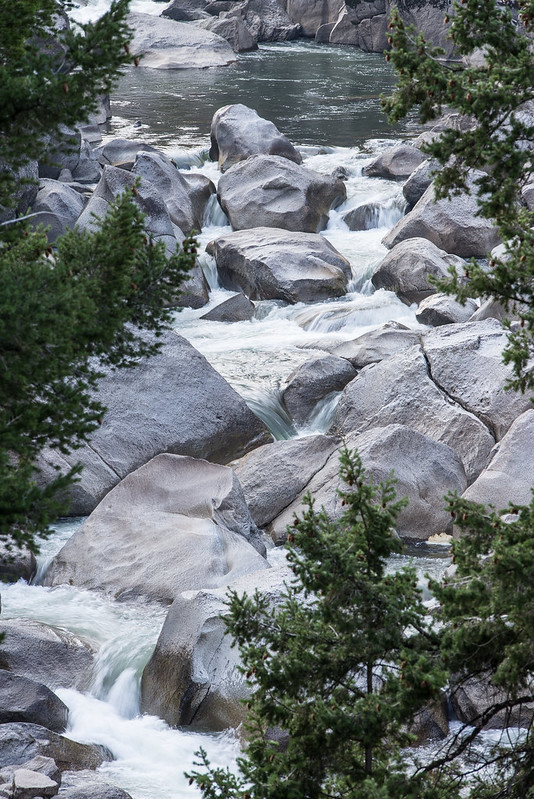
We did most of our exploring during the morning and evening to avoid the crowds while trying to hike during the day. It is a very diverse park but it is very evident the critical role water plays in shaping the landscape.

20170903-DSC_2971 by Tim Souza, on Flickr

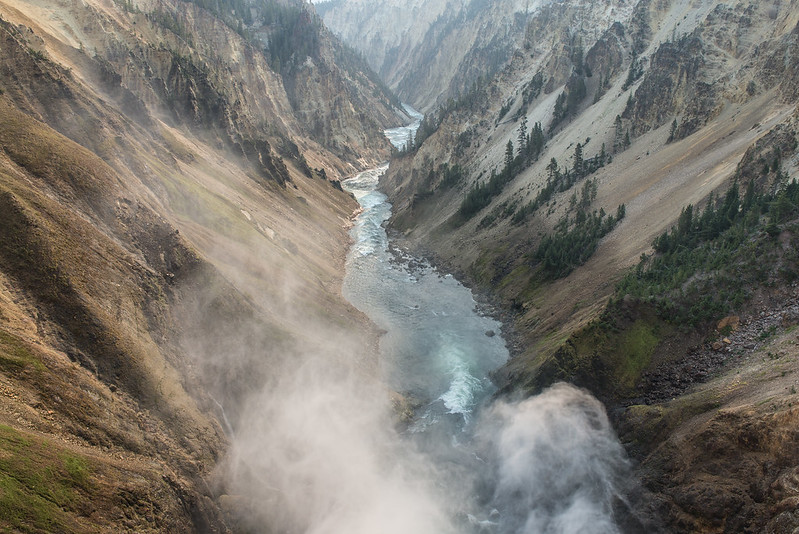
From another angle...

20170904-DSC_3176 by Tim Souza, on Flickr

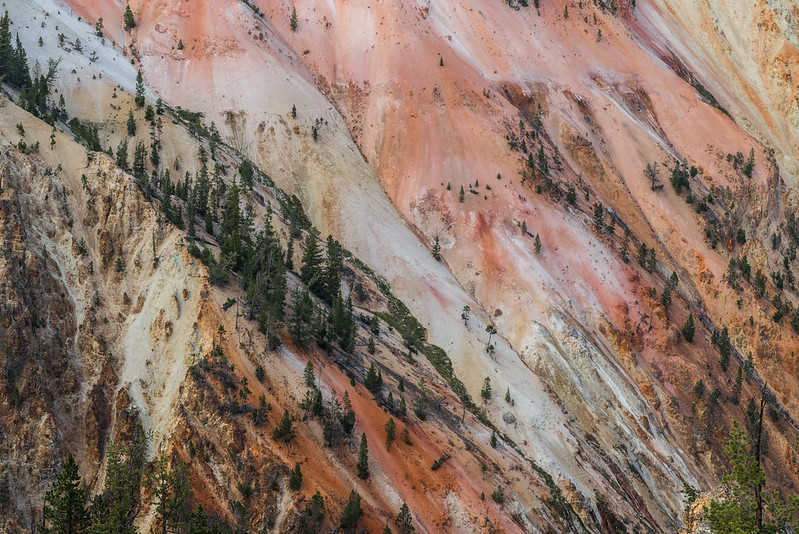
I was enraptured by the walls of the canyon.

20170903-DSC_2983 by Tim Souza, on Flickr

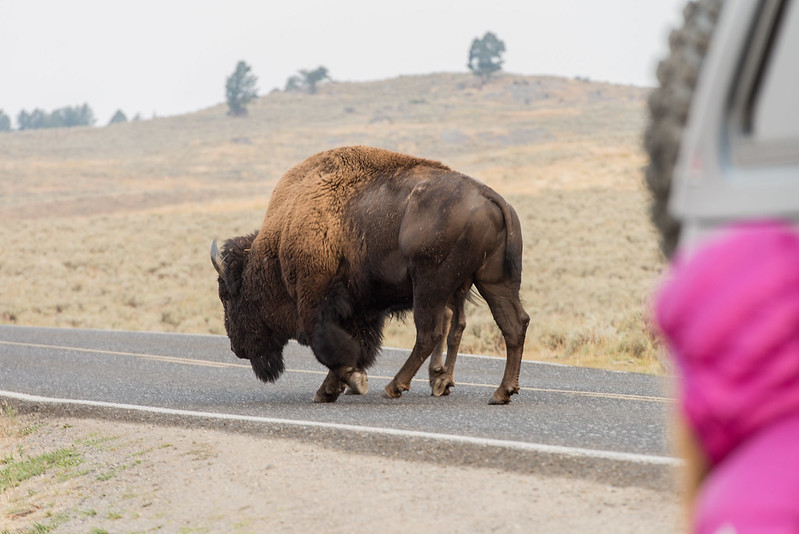
As I said before, we spent our mornings up before the sun to watch the bison descend into the meadow. They will literally engulf you and your vehicle on the way down and they are BIG.

20170904-DSC_3112 by Tim Souza, on Flickr

This is representative of how smoky it was, visibility was quite limited which put a damper on the tremendous views I'm sure were abound.

20170904-DSC_3131 by Tim Souza, on Flickr

Everyone was looking up at the birds and I was looking down at the water. Metaphor for my life.

20170903-DSC_2865 by Tim Souza, on Flickr

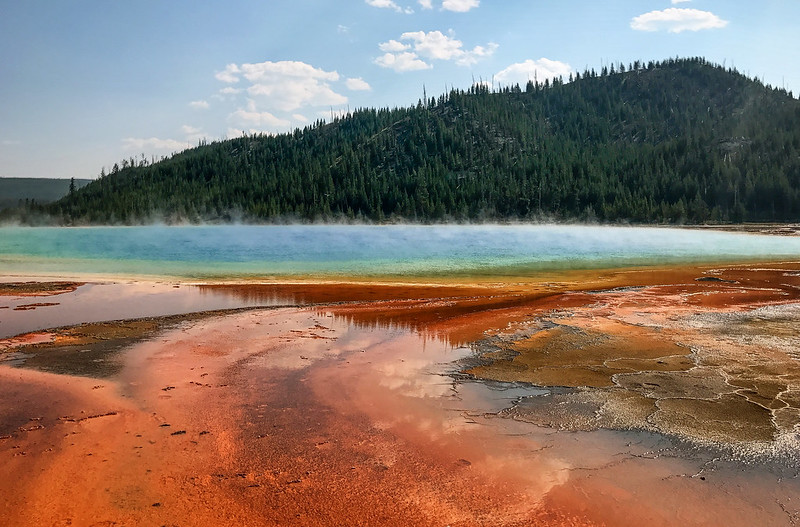
We saved the big name attractions for the last day. The prismatic pool was amazing and colorful, one of those places I wish I could view from the sky.

20170903-IMG_4332 by Tim Souza, on Flickr

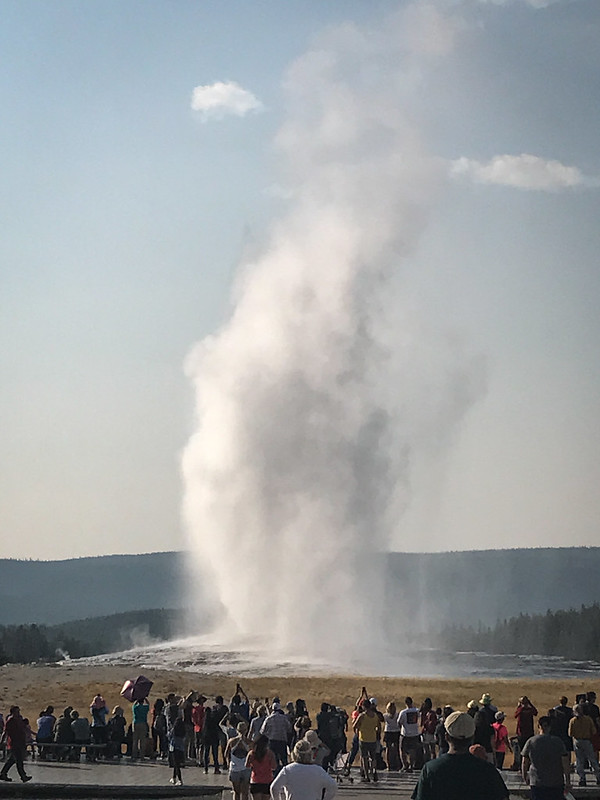
The pre-requisite shot of Old Faithful. It was neat and all, but I'm not sure I would go out of my way to see it.

20170903-IMG_4344 by Tim Souza, on Flickr

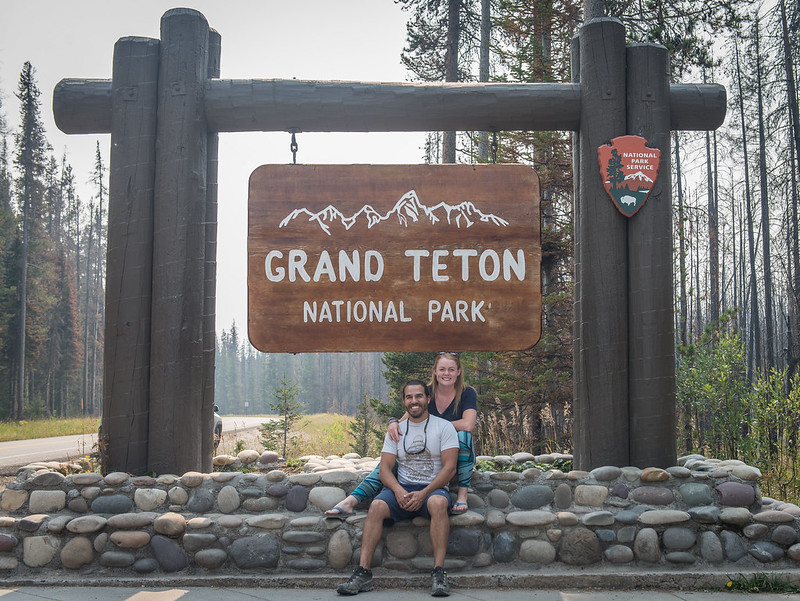
After driving out to West Yellowstone to grab ourselves street tacos we hit the pavement again and drove south towards the Grand Tetons. Welcome to Grand Teton National Park!

20170904-DSC_3200 by Tim Souza, on Flickr

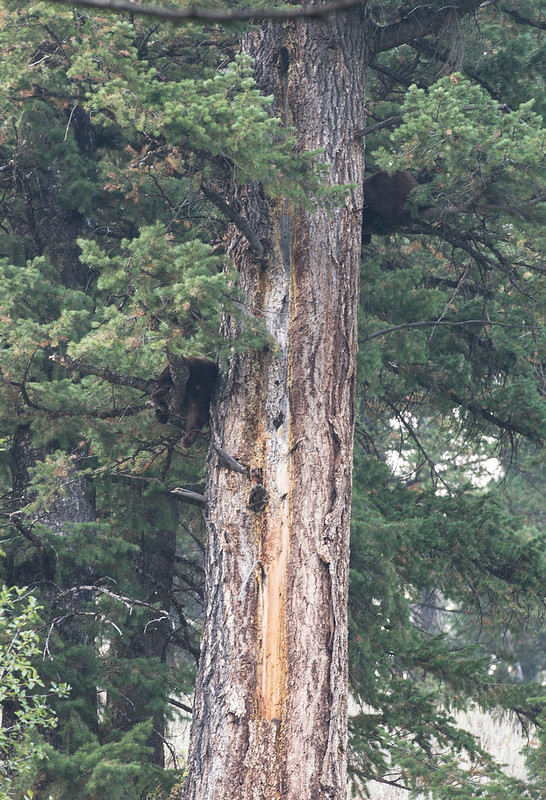
This was sadly the most obscured part of the trip. You flat out couldn't see the Tetons. The smoke was so bad you could taste it in the air which quenched our desires to do too much hiking. We spent a little over a day in the park before deciding to head home early. We headed south through the park and happened upon a couple of little bear butts in a tree by the side of the road.

20170904-DSC_3229 by Tim Souza, on Flickr

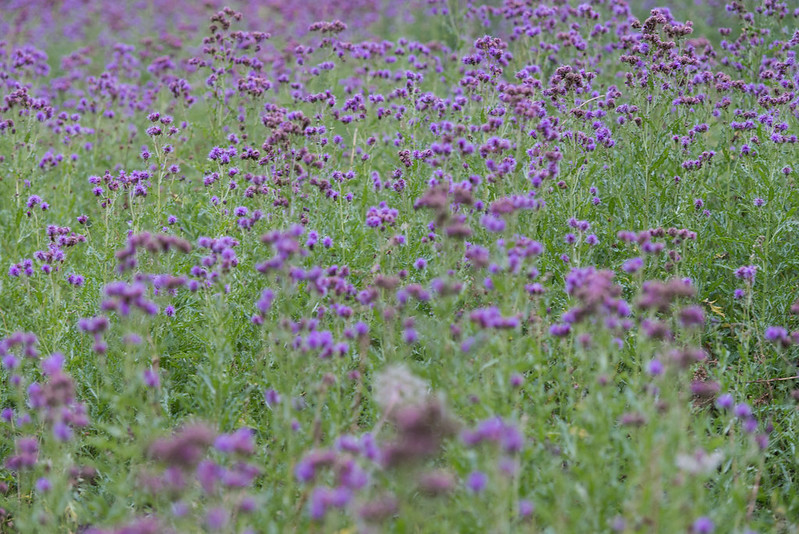
We were so close to Idaho I couldn't not venture over. So we did and spent the night camped out in a secluded little spot right off the highway immersed in a sea of purple flowers.

20170904-DSC_3235 by Tim Souza, on Flickr

We were up before the sun yet again and headed back into the park in search of wildlife. We first attempted to do the River Road which was the only 4x4 road in the park but encountered a gate. I asked the rangers about it and they said flooding had washed out part of the road and they didn't think it would ever open again. :(. RIP to what I'm sure was a truly unique experience in a National Park.

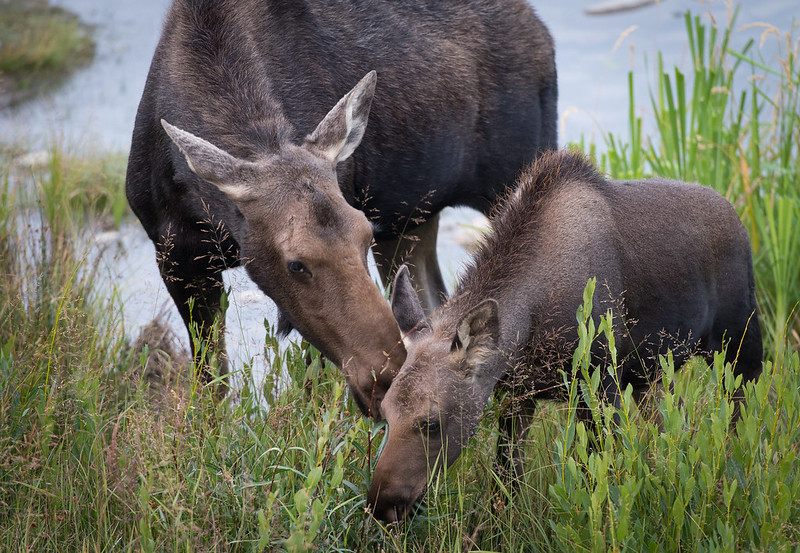
After that disappointment we headed back out hoping to find some moose or bears. The lack of crowds meant that we were treated to a private viewing of a mama moose and her offspring for 15 or so minutes before other people noticed. She was quite close but didn't seem to mind our presence up high on the river bank.

20170905-DSC_3372 by Tim Souza, on Flickr

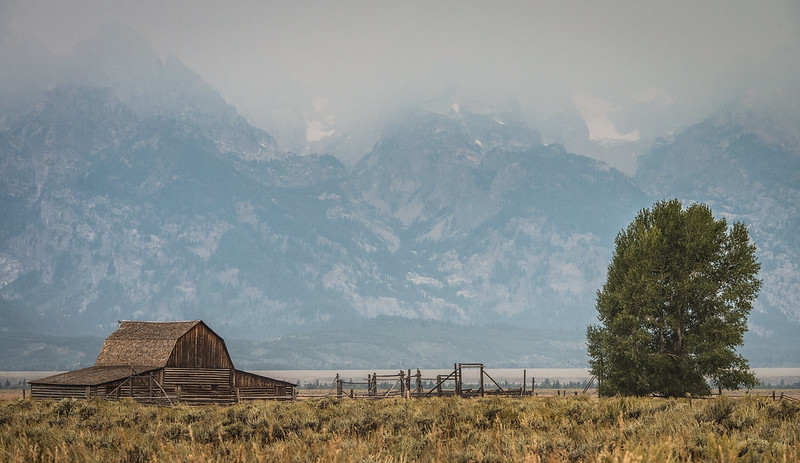
We sat with them for a while until they wandered off in search of tasty bushes downstream. The iconic Moulton barn is right across the street and I would be remiss to visit the area and not add that photo to my collection. The smoke of course had other plans, but I suppose I got a unique shot?

20170905-DSC_3427 by Tim Souza, on Flickr

Anyway, we pointed the truck towards Denver and made the trek from Jackson Hole in pretty decent time. It was by and large a great trip, but I will for sure have to go back again when the air clears and I have a longer lens on my camera to better capture the wildlife that was just out of my reach.
 

Adventurous

Explorer
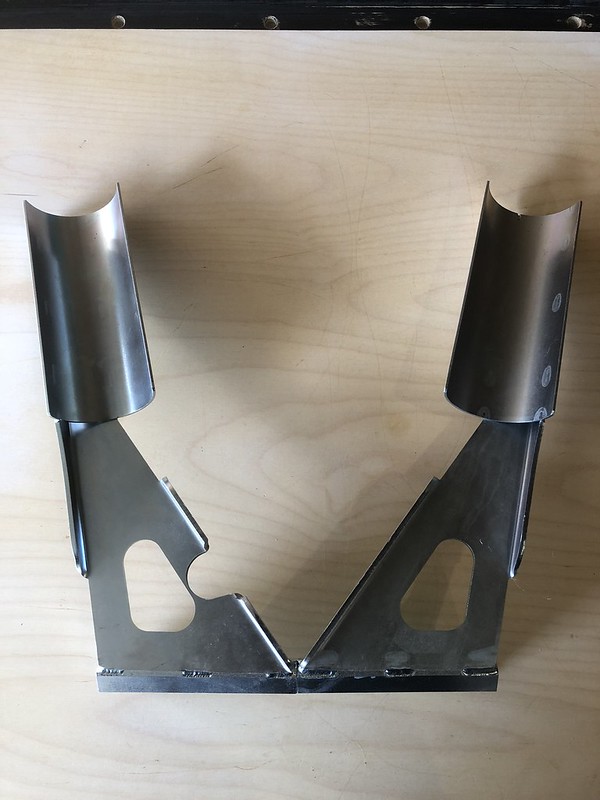
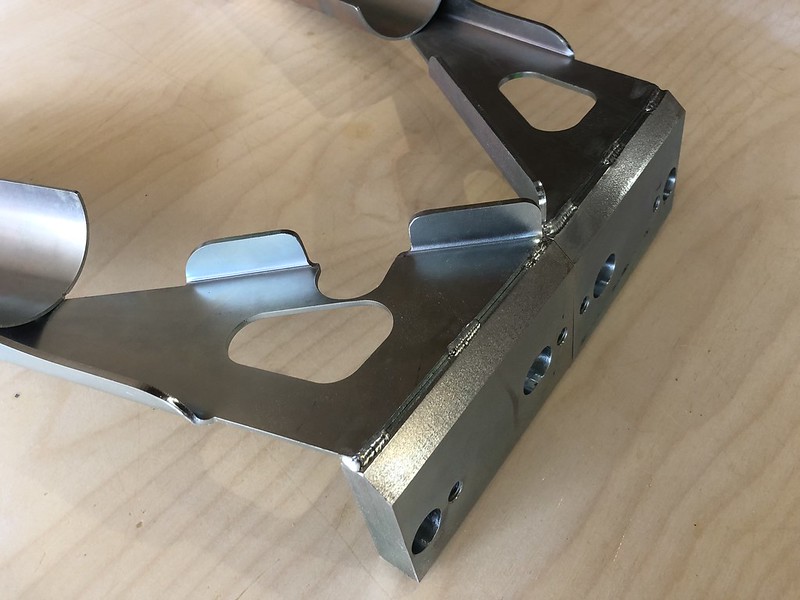
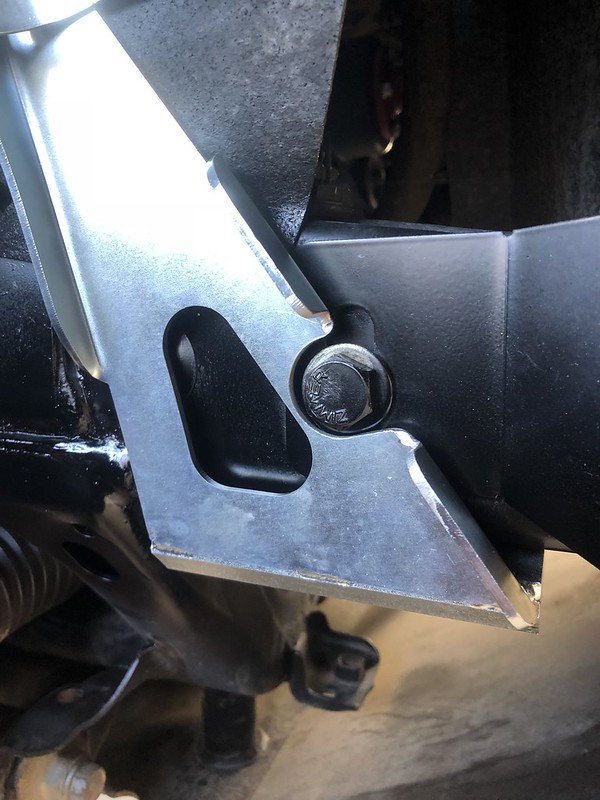
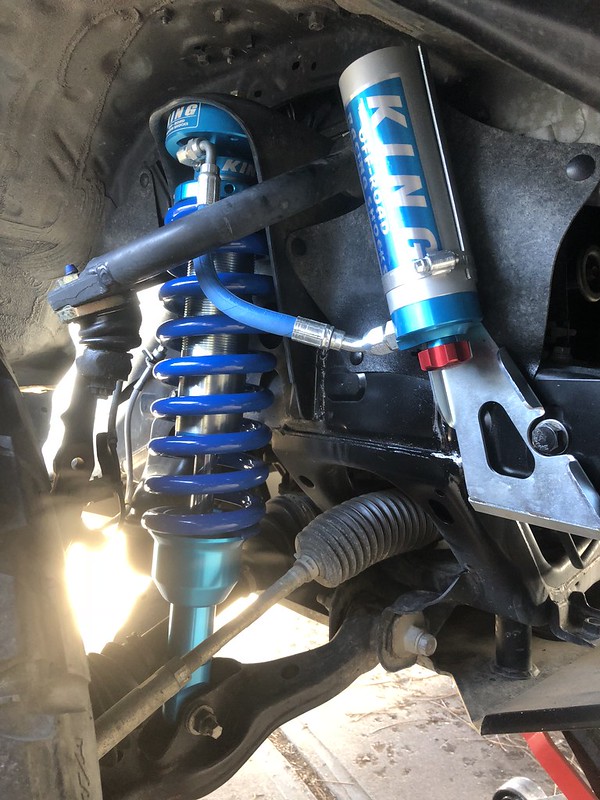
Truck wise I had an opportunity on Tuesday to install the King remote reservoir coilovers. The most challenging part was installing the reservoir mounts, ARB bumpers have a hefty frame reinforcement plate that is supposed to relieve front end stresses while winching. Unfortunately the big honkin bolt head that goes through the frame hole lines up more or less spot on with 1 of the 2 legs of the reservoir mount. Here's what I came up with to solve the problem.

Un-modified on the right, modified on the left:

Untitled by Tim Souza, on Flickr

Untitled by Tim Souza, on Flickr

All to clear this:

Untitled by Tim Souza, on Flickr

Of course this had the unavoidable side effect of reducing the structural integrity of this bracket quite a bit. The reinforcement rib that I hacked a good section out of lines up with the non-reinforced portion on the other leg which means it's susceptible to bending laterally. That said, the whole assembly feels pretty sturdy once the reservoir is mounted, so I doubt it's going anywhere, just something to be aware of for those in a similar position. I suppose I could devise another way to mount the RR, but we'll see how long this lasts for. I do like that they integrated a swap bar bracket drop into the assembly, that was a nice touch.

And the goods. Purdy!

Untitled by Tim Souza, on Flickr

I can't give any more than initial impressions as I only have 100ish miles of pavement under them, but methinks I'll like them quite a bit. There is a noticeable difference in the ride due to the valving changes and I think I've settled on 3 clicks of compression damping as feeling pretty good. There's a touch more body roll through corners but it firms up nicely so it never feels wallowy or unstable. Small bump sensitivity is increased and with both high and low speed compression there's significantly less input transmitted to the body of the vehicle. Rebound feels faster as well, the wheel feels like it drops into holes a bit quicker and doesn't pack up as much over repeated hits in quick succession. A very pleasant change that has transformed the ride from HD truck feeling to a more lively feel. To each their own of course, I'll post up more in-depth thoughts after I've had an opportunity to put them through their paces on dirt. That's where I've noticed the biggest differences when moving from OME to ICON and hopefully I'll notice the same leap in performance with this most recent swap.

Anyone in the market for some ICONs? :D
 

Adventurous

Explorer
Nice YNP photos!

And I'm glad to hear you like the ICON -> King move. One day, one day :)


I would definitely advise doing foam + MLV under that entire rear seat area. I did mine.

Is there any more info you can share about that platform? I had several variations of the same idea myself, and will be making yet another one in the near future. Current plan is to (again) do a full rear-seat delete, replace with a platform, and mount a 50QT ARB on one side, along with a 40" dog crate on the other.

Are you simply drilling holes in the platform and mounting directly to the original seat/seatbelt holes? Or making some sort of brackets/adapters to go in between? I've done both and am not sure which method I prefer more...

Methinks you are right and that a layer of MLV + foam would be to my benefit, after all, my truck isn't the most quiet thing out there and no one has ever complained about it being too quiet right?

My platform mounts using the 6 bolts that used to hold the seats down. No brackets are used, just some counterbored holes in the platform surface that the bolt heads tuck into. The platform is made of 3/4" baltic birch plywood that is doubled up at the rear (where it mounts) and up towards the front where the tie down track is recessed. Check out post #114 here: http://forum.expeditionportal.com/threads/139692-Boden-Build-2015-Tacoma-DCLB-4wd/page2

He does a good job at showing how he built his platform, I followed the same basic steps but extended mine over the footwell area to give the dogs a bit of extra support so they wouldn't get bounced off while offroading. I definitely like the backseat replacement. With that gone I still have room to shuttle all my friends around and can carry the cooler + a ton of gear in the back.
 

Adventurous

Explorer
Spent a little (okay, a lot) o ftime working on the truck over the weekend. It was a weekend full of tasks that needed to be done but are completely hidden and nobody but me will ever appreciate the time and effort it took to complete.

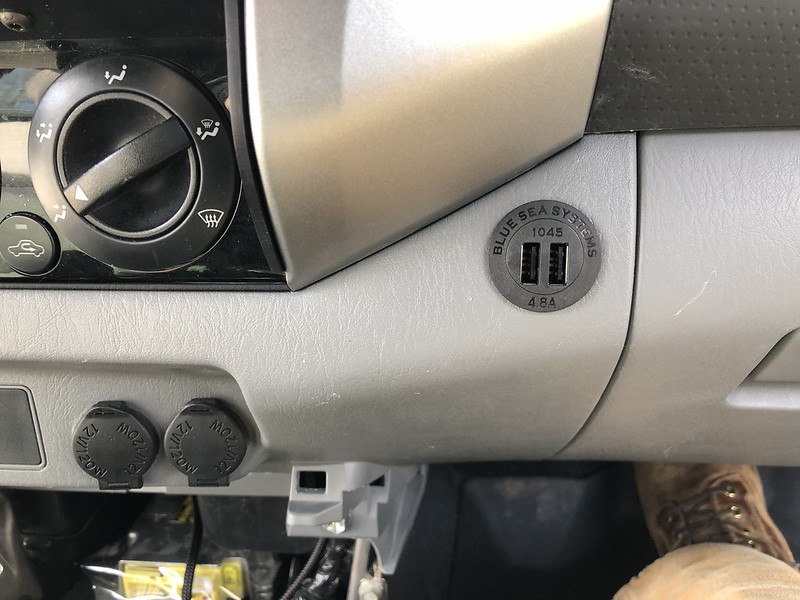
Ever since I bought the truck there has been one glaring weakness in the interior, the lack of USB outlets. I'm not sure who at Toyota, in 2015, greenlighted 13 cupholders and only a single USB outlet which may not even pair with and charge devices. Neat right? I found this out on our road trip this past summer when I had the tablet mounted and monitoring transmission temper and noticed that it wasn't charging. I thought this was just a fluke, but it wouldn't charge some other Android devices either, so I guess it's pretty picky about what it likes and does not like. It'll charge our iPhones, but again, one outlet, only one phone charging at a time. And it's only when the keys are in the ignition. Yes, sure, I could get an adapter to use with one of the two cigarette lighters, but those are only hot with the ignition as well, so problem only 1/2 solved.

I ordered up one of these: https://www.amazon.com/gp/product/B01BV1MTAA/ref=oh_aui_detailpage_o06_s00?ie=UTF8&psc=1

Pros:
- fast charging
- device recognition
- unobtrusive looks

Cons:
-expensive

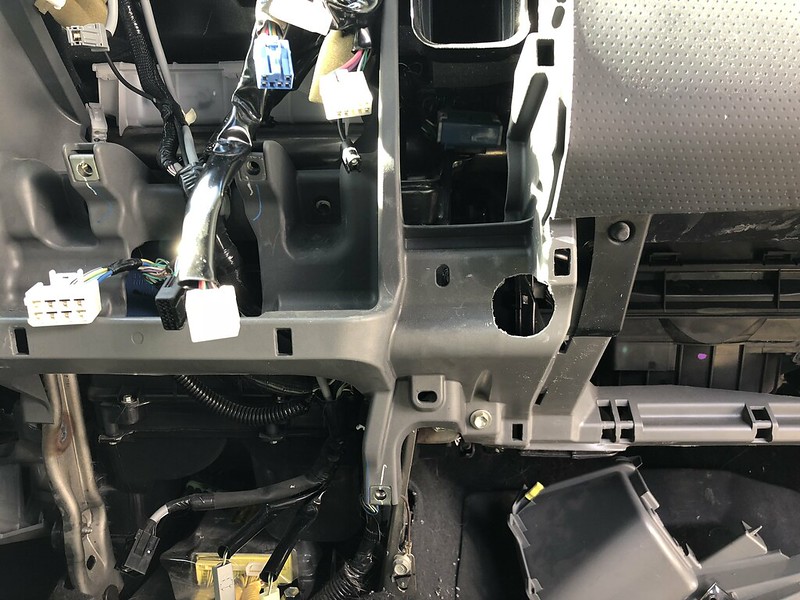
The question then became where to put it. It has a relatively long body, so I needed some place with plenty of dead space behind it. I also wanted it to be mounted close to the dash for convenience sake (see charging tablet), and on a vertical service so dirt and grime wouldn't accumulate in the sockets (nasty little puppers). I selected a space on the dash right beneath the inboard, passenger side HVAC vent. This area met all the criteria, was relatively flat, and would make the socket look as OEM as possible. Downside being that you need to take apart pretty much the entire dash to get to it. Radio, HVAC controls, radio surround, gauge bezel, glove compartment, and all lower pieces of trim. That was the worst part of the install.

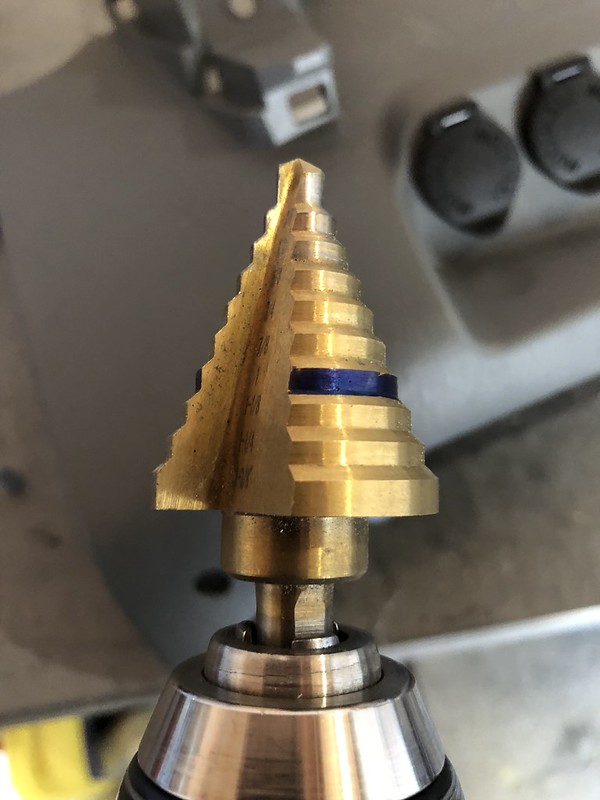
Anyway, once I had the space picked out on my panel of choice I drilled the hole for it. Blue Sea specifies a 1 1/8" hole. Given that most of us use step bits to achieve those diameter holes, and over sizing would require a trip to the dealer for a $100+ panel, I present my little shop tip. Sharpie the flat of the right sized hole to make sure you don't overshoot the mark. You can wipe it away with brake clean or acetone when done.

Untitled by Tim Souza, on Flickr

Measure once, measure twice, measure thrice, then have at it! With the whole drilled in the panel itself I turned the bit on the structure beneath the hole to clearance for the back of the plug. I hogged out a little extra to ensure clearance.

Untitled by Tim Souza, on Flickr

After a few rounds of test fitting, I was able to assemble everything and mount. I chose not to use the cover flap and instead trimmed the flap off and used the remaining rubber ring as an isolator against the back of the panel beneath the lock nut. I made up a 16 ga. wiring harness, ran it down the radio wiring harness, back behind the steering wheel, and out of the firewall grommet. It will eventually plug into the Bussman block (always hot) once I get that in the truck. The final result!

Untitled by Tim Souza, on Flickr

Like it was meant to be there. Part 1 of the 2018 version of the electrical makeover.
 
Last edited:

Adventurous

Explorer
Finally had the opportunity to drop the truck off at the shop on Friday to get a few things taken care of. For reference, all work was done by Corey at Insain Fabrications (http://www.insainfab.com) outside Denver, CO. Great guy, great work, and can tackle any sort of work from mild to wild at a fair price. Highly recommended.

Anyway, with the move from 255/85s to 285/75s, I knew that the body mount chop was in order. It's a fairly straight forward endeavor and isn't exactly breaking new ground at this point. Cut, weld, clean and paint. There should be plenty of room now to let the 285s breathe.

DSC_3850 by Tim Souza, on Flickr

An odd thing happened while they were doing the cab mount chop, which in his experience (500+ CMCs) had never happened before. The stainless Goodridge lines I put on melted from the heat. As in, the clear rubber outside just melted and dripped off leaving the smaller stainless braid exposed. Corey replaced the lines with some new ToyTec stainless braided hoses, but still found it odd that it even occurred in the first place. So, word to the wise, if you have Goodridge lines, you might want to beware if you ever expose them to any heat. Everyone else, as you were.

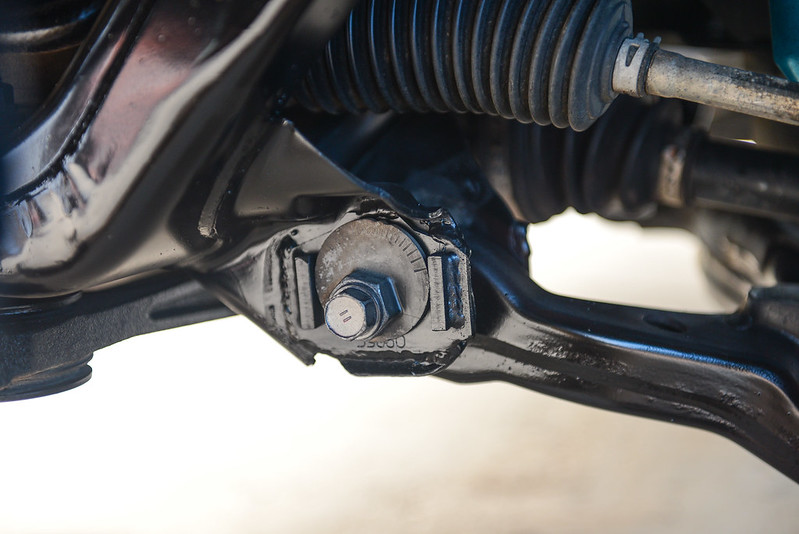
The other thing I needed done was the Total Chaos cam tab gussets (http://www.chaosfab.com/2007-2009-FJ-Cruiser-Lower-Control-Arm-Cam-Tab-Gussets-59860). I posted about it earlier in the thread, but I noticed that mine were starting to fold over and the truck couldn't hold an alignment. By some miracle they were about equally out, so the steering was always okay, but once they start to bend that's it. You can hammer them back, but there's no chance they'll remain that way. I've seen some people throw a reinforcing weld bead on the factory tabs to give it a bit more support, but the ship had already sailed in my case. These are pretty straightforward as well with the most time consuming part being disassembling everything to get to the tabs. Once it's all apart they can be air chiseled off and the Total Chaos kit welded on. It is made of a 1/8" steel backer with 1/4" steel side pieces. No chance these will bend over during use!

DSC_3852 by Tim Souza, on Flickr

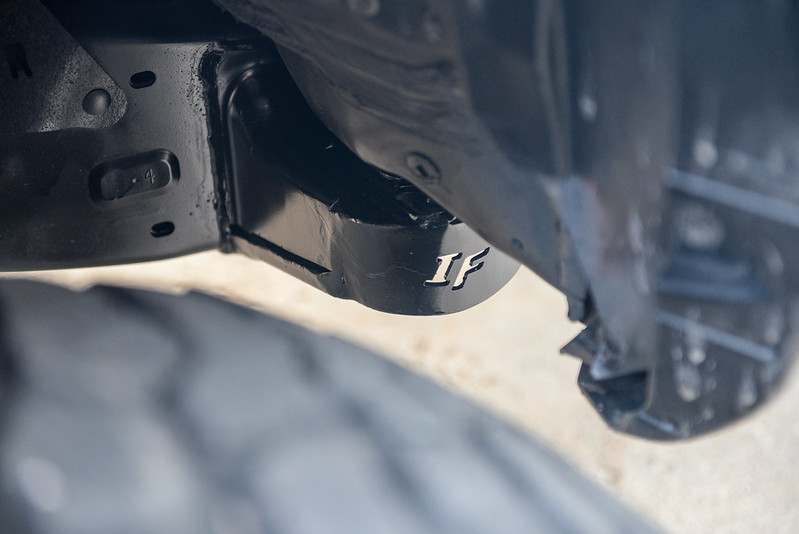
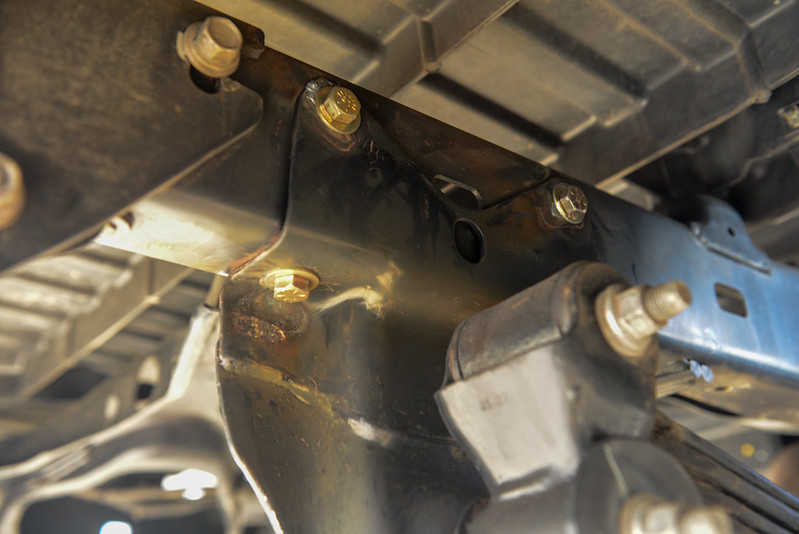
The last thing I had them do burn out the rivets holding the rear shackle hangers on. Why? Because I purchased an aftermarket BAMF shackle and hanger. Once again, they are significantly beefier than the OEM mounts, the shackle uses poly bushings, and it has a grease fitting. They also retain the stock geometry, so outside of bolting them on there's no need to mess with anything else. The worst part of the install is definitely getting the rivets out. Toyota does a darn good job at ensuring these stay put. When it comes to removal, it's a messy, arduous job that usually requires grinding the heads off the rivets, drilling out the center, then air hammering them out. Reports on the inter webs says it takes people anything from a few hours per side to 6 hours per side. It was much easier to supply the hardware and let them burn the rivets out with a plasma cutter. :)

DSC_3853 by Tim Souza, on Flickr

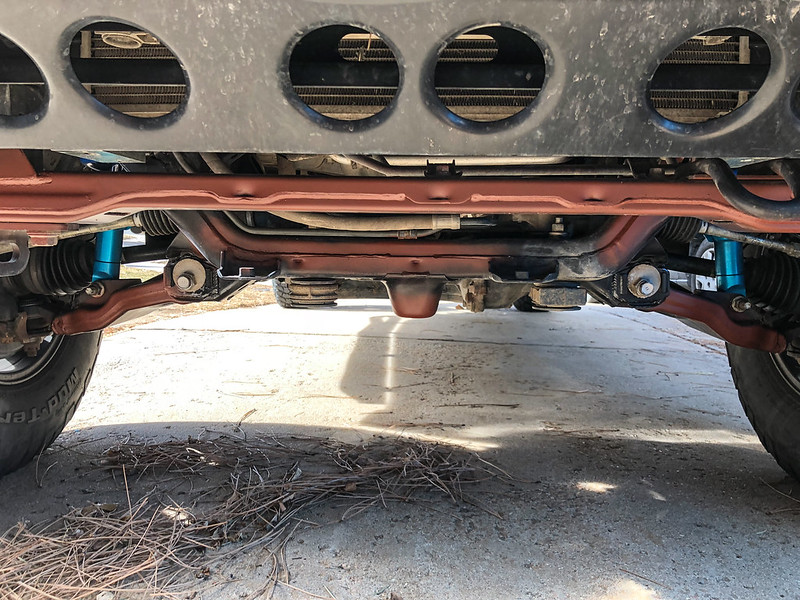
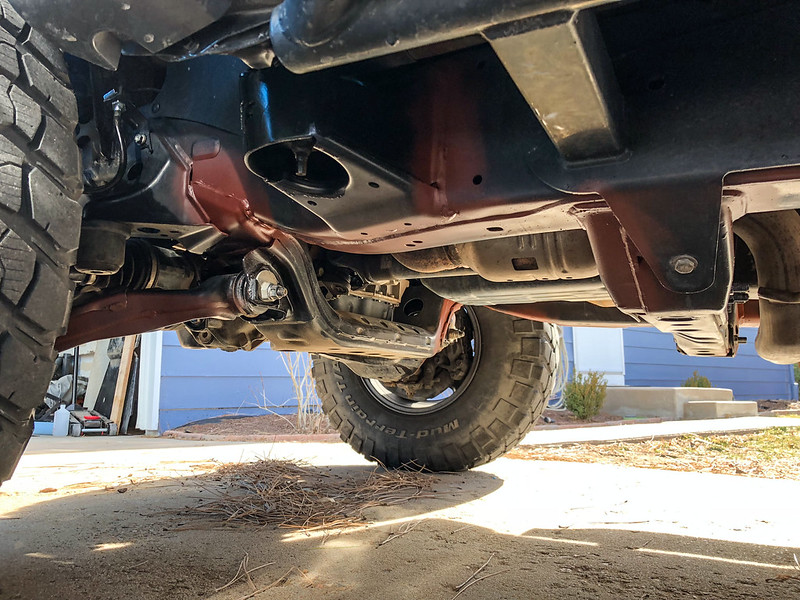
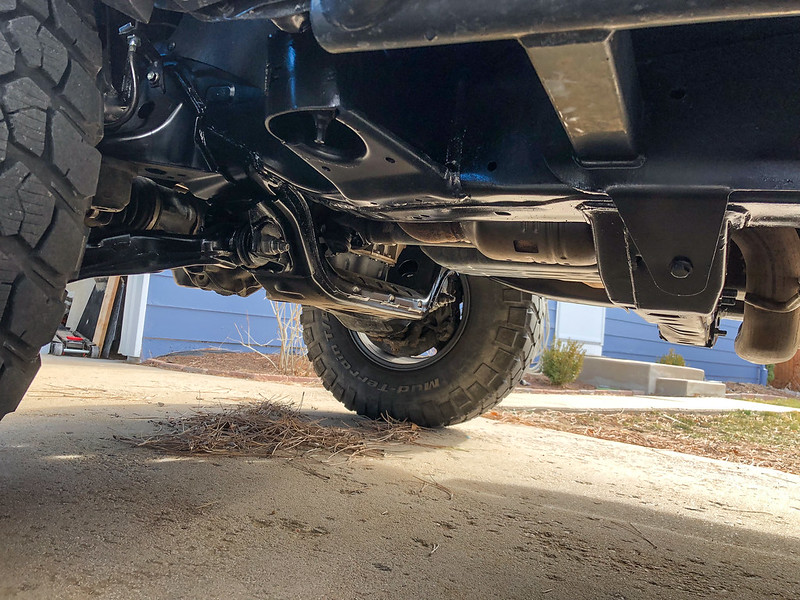
Lastly was a little bit of TLC. I removed the skid plates prior to sending it off and this gave me access to pieces of the undercarriage that are normally tucked away. I know I've talked about my aversion to rust many, many times, and my new resolve is to wire wheel, prime, and paint any areas I see that have rust every time I work on a certain area of the truck. Given how notorious Tacomas are for having the frame rot out from underneath it, I figured it's a prudent activity. I intentionally use the red colored primer to keep track of what I've done and what still needs to be done.

IMG_0171 by Tim Souza, on Flickr

IMG_0172 by Tim Souza, on Flickr

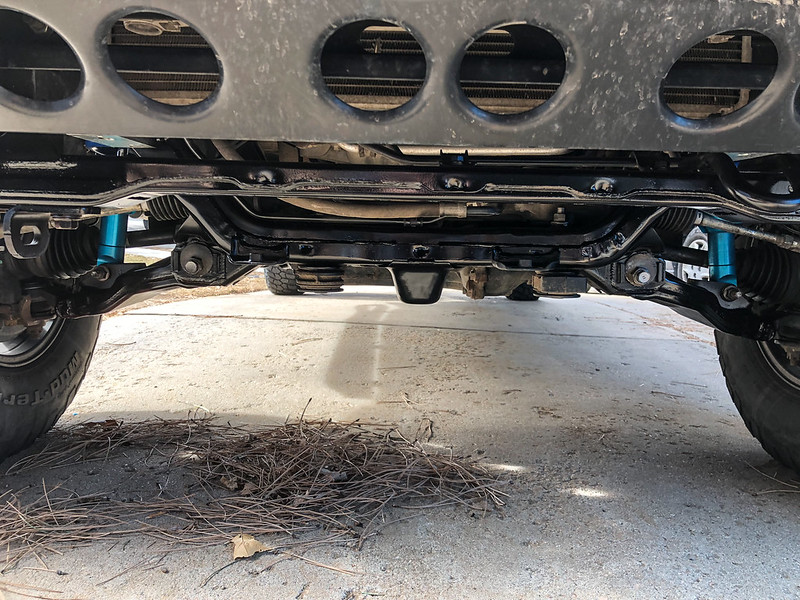
As you can see from the primer, the rust is typically relegated to the welds and surrounding areas. I made sure to coat everything very well as I'd rather have a few paint runs in hidden places than rust. I'll eventually try and repaint every piece of the frame whether it needs it or not.

IMG_0173 by Tim Souza, on Flickr

IMG_0175 by Tim Souza, on Flickr

So fresh and so clean. Like the day it rolled out of the factory. Well, almost.

Side Note:
2 year update, the Chassis Saver paint has failed. It eventually peeled off of the sliders and is in the process of self removal everywhere else I used it. I don't think it was related to bad prep as I was pretty diligent about roughing up the underlying surface, cleaning with acetone, then brushing it on as directed in warm conditions to allow for proper curing. So, although my initial reaction was positive, I have to rescind my recommendation.
 
Last edited:

tjalward

Observer
Very nice Tim, the upgrades are coming along! Good to see it, can't wait for more! ** wish I was able to move as fast as you **
 

Adventurous

Explorer
Back to the differential gear debate. For the foreseeable future I'll be running some variant of 33 or 34" tire and various states of heavy. I would rather be undergeared than overgeared, but still within reason. After driving DaVike's truck on 4.56s I'm leaning towards 4.88s with an ARB in the rear and open in the front.

Thoughts?
 

bkg

Explorer
Back to the differential gear debate. For the foreseeable future I'll be running some variant of 33 or 34" tire and various states of heavy. I would rather be undergeared than overgeared, but still within reason. After driving DaVike's truck on 4.56s I'm leaning towards 4.88s with an ARB in the rear and open in the front.

Thoughts?

4.88's, no question. Consider the fact that, in addition to tires, you've added a lot of weight to the vehicle. Then, compare the final drive ratios of the manual vs. the automatic - I think you'll find that you're final drive ratio is much lower (numerically) than that of a manual.

I just put 4.88's in my 04... bumpers, topper, skids, etc... 285/75-16 General AT2's in load range D. HUGE improvement. Sure, cruising RPMS went up 18%... but at 70mph, that puts me at 2600 rpms. Now it can pull a slight incline w/o shifting.

In hindsight? I may have done 5.29's. Seriously.


EDIT: did some searching.....

6th gear - manual - OD is .85:1
5th gear - automatic - OD is .71.:1

So you could drop gear ratios almost 20% and still be in the same cruising RPM as the manual with stock tires...
 

Adventurous

Explorer
+1 to what bkg said. 4.88's is the way to go.

--

I'm getting ready to swap brakes on my own Truck - are you still happy with the parts you installed? Considering getting the same parts.

Still quite happy with the EBC yellow stuff pads and Sport rotors. They've got some serious bite to them. Downsides of course are that they are expensive, produce a goodly amount of dust, and wear fast. But if you prioritize braking power over those other things, I definitely recommend that setup.
 

tjalward

Observer
I also agree with 4.88. And why stop, just get the front ARB and be done with it. And if you do that, isnt the ECGS bushing no longer needed? I also plan to do the sport rotors and yellow pads soon. I think the TRD sport braking sucks as is. Heard the TRD offroad brakes are WAY more grippy under heavy braking. Good to hear you are still liking the setup.
 

Hodakaguy

Adventurer
These trucks should have came with the 4:88's from the factory! The truck is soooo much more enjoyable to drive after the gear upgrade, I installed the Nitro 4:88's with REM polish. No more huge boggy spot in the throttle and the gear hunting is gone. I went with the front ARB locker so as mentioned above no ECGS bushing needed. I did buy the bushing and tool before changing my mind and installing the ARB, they are available for sale if anyone needs them.

Hodakaguy
 

DaVikes

Adventurer
My 2 cents on gears

Hey Tim, there is a site here http://grimmjeeper.com/gears.html that has a nice handy dandy gear ratio calculator. You input your transmission model, transfer case ratios, final drive ratio, and tire size. It will tell you your rpms at a given speed, or you can put in speed and get rpms. Once you know your rpms for your gearing and tire size, you can simulate the gearing by putting it in fourth and driving at those rpms on the highway. You'll get a feel for engine noise & vibes, and I think some of the scan gauges might give you instant fuel economy.

From my experience, if you are running 33" or bigger and towing, you'll want 4.88. I don't tow, so the 4.56 work for me, as I don't want the additional highway rpm. The best mpg I get is about 15.5 in the mountains at 65-70 mph. I should be able to do better on flat land, but going 75 ish keeps it at 15.5. Highway rpms are the only downside to gearing. They are great around town and off road.

How are you liking the Kings?
 

Forum statistics

Threads
188,018
Messages
2,901,213
Members
229,411
Latest member
IvaBru
Top