DaVikes
Adventurer
I have 4.56 gears, and recently moved from 285/70/17 Duratracs to 34x10.5/17 KO2's (which are really 33.4"). For towing, I wouldn't go bigger than the 285's. The truck felt really strong around town with them, and needed them in the mountains. The downside is revving a bit more on the highway. The 285's w 4.56 gears result in overall gearing about 10% shorter than stock. With the 34x10.5's, overall gearing is about 5% shorter than stock. I think with 4.56's and 35's you would end up at about stock overall gearing. There is a pretty nice gearing calculator at http://www.grimmjeeper.com/gears.html.
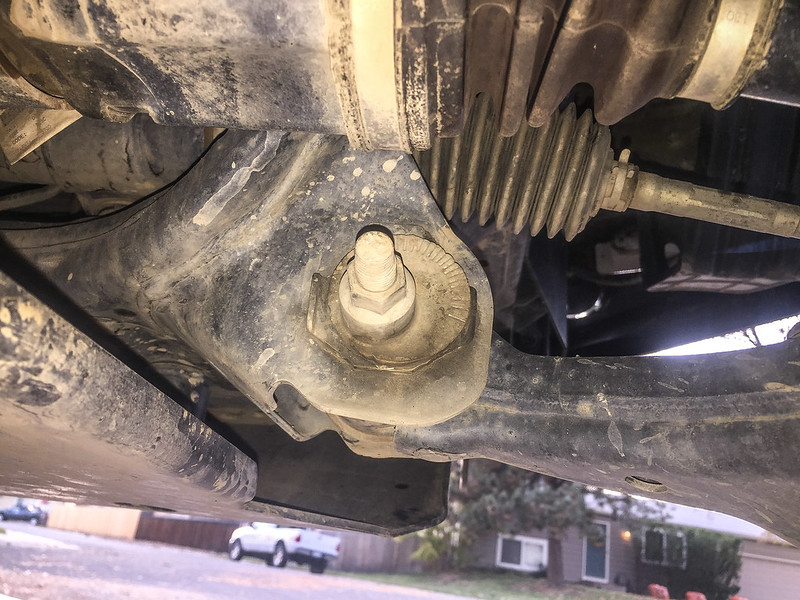
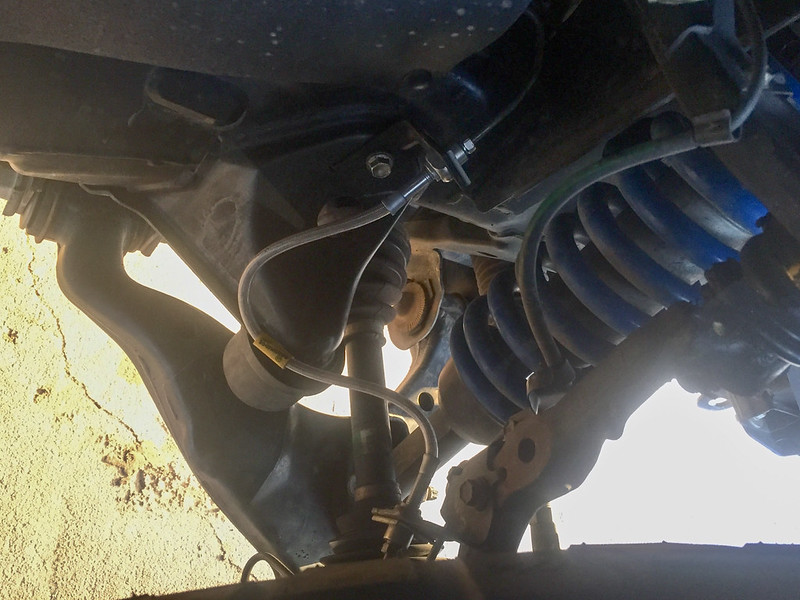
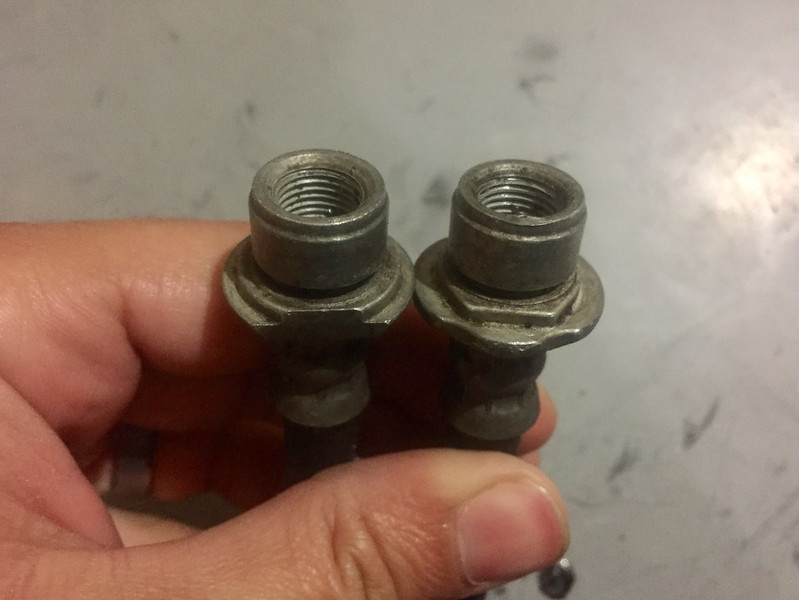
I think the prior owner of my truck ran 35's for a while, judging from his thread on TW. Rear fender flares were trimmed, and he did a cab mount chop. I got the truck with 44k, and at about 55k I had to replace both front wheel bearings. I guess 35's would increase capability/comfort off road, but on road ride will suffer due to the increased weight.
Another tire size to check out is the 255/85/16 or 255/80/17. Just slightly taller than 285's, and narrower.