My Disco II Build

MStudt

Adventurer
Had a little forward progress this weekend. I was able to install our ARB compressor, and get the winch mounted up.

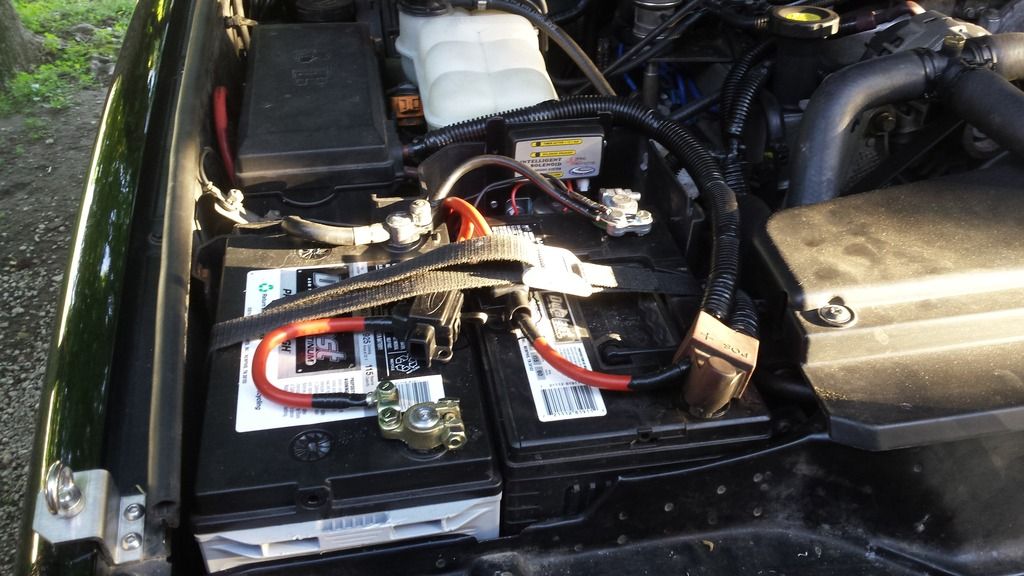
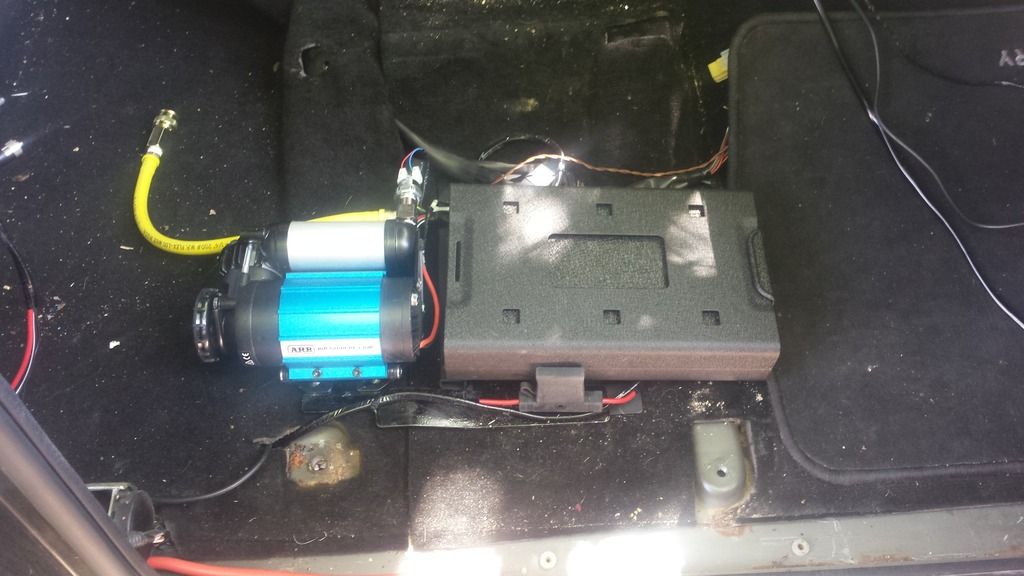
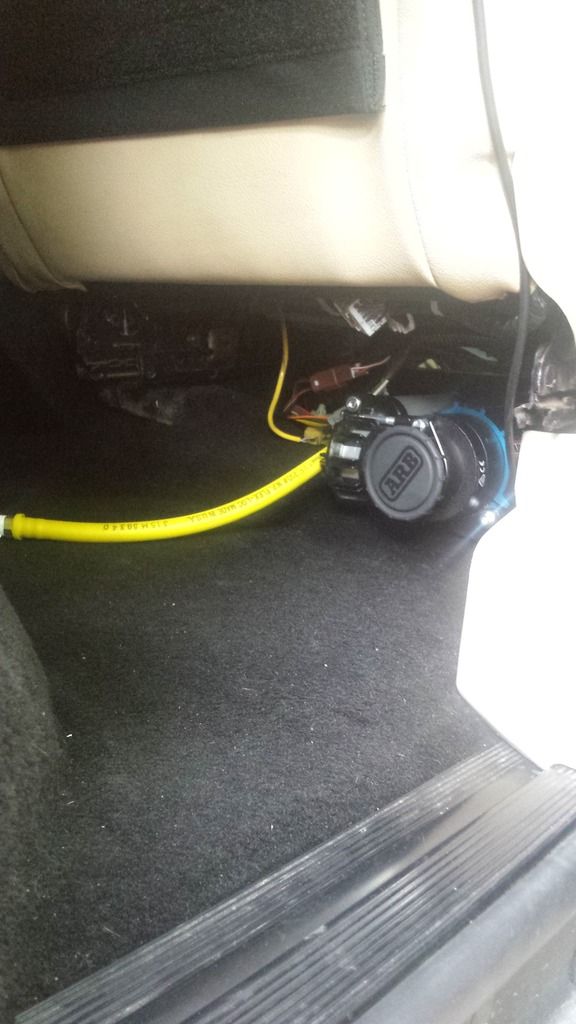
I decided to put the ARB CKMA12 compressor under the passenger seat. I decided to make small extension to come off the frame I made for the safe. I also added a fixed piece of air line hose to the compressor so I wouldn't have to reach under the seat trying to find the connection. The compressor sits nicely under the seat, and is powered through the BlueSea fuse box that's installed on the platform.
20170506_122505_zpsuqn27bry.jpg

20170508_182117_zpse12mxmwc.jpg


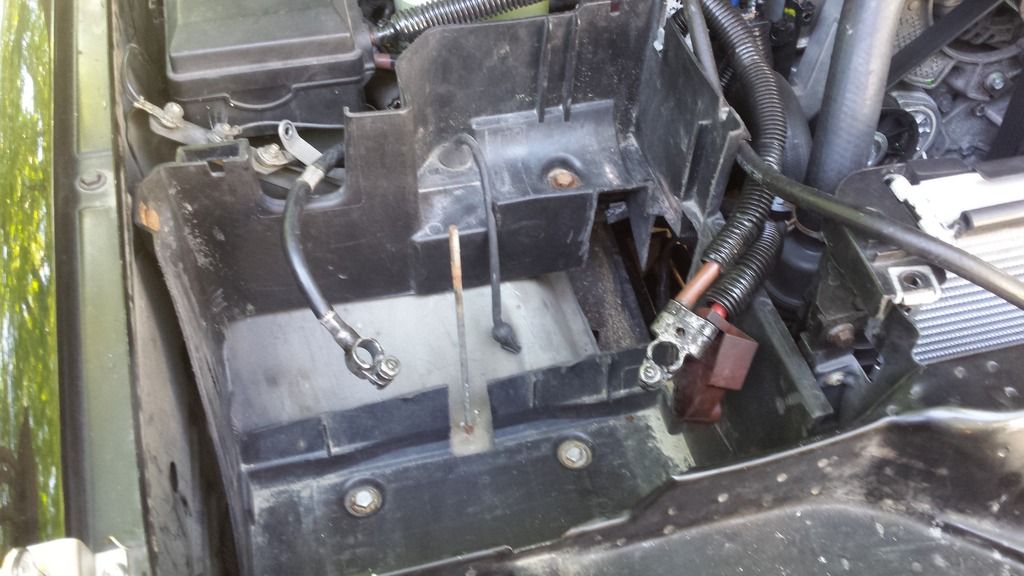
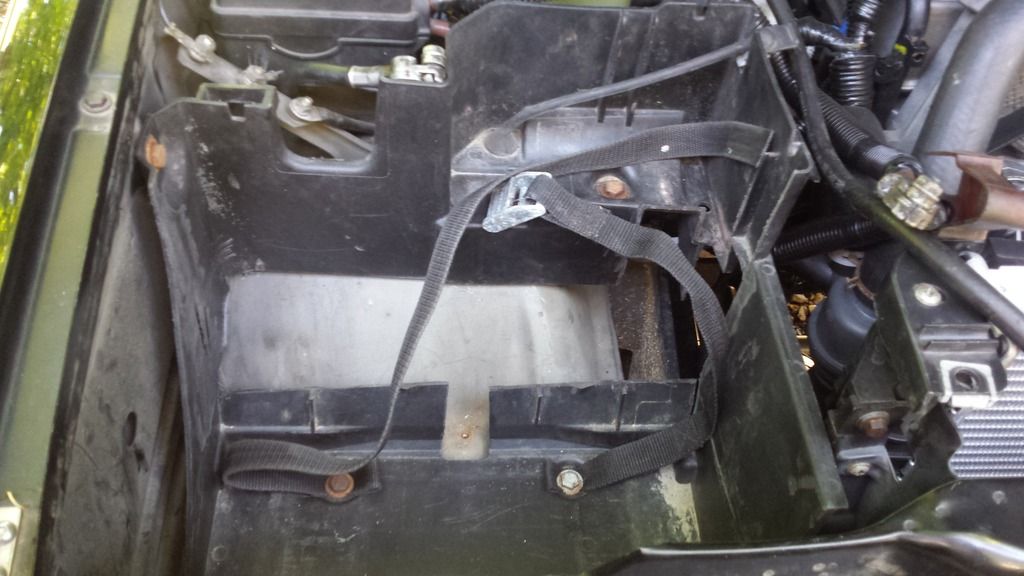
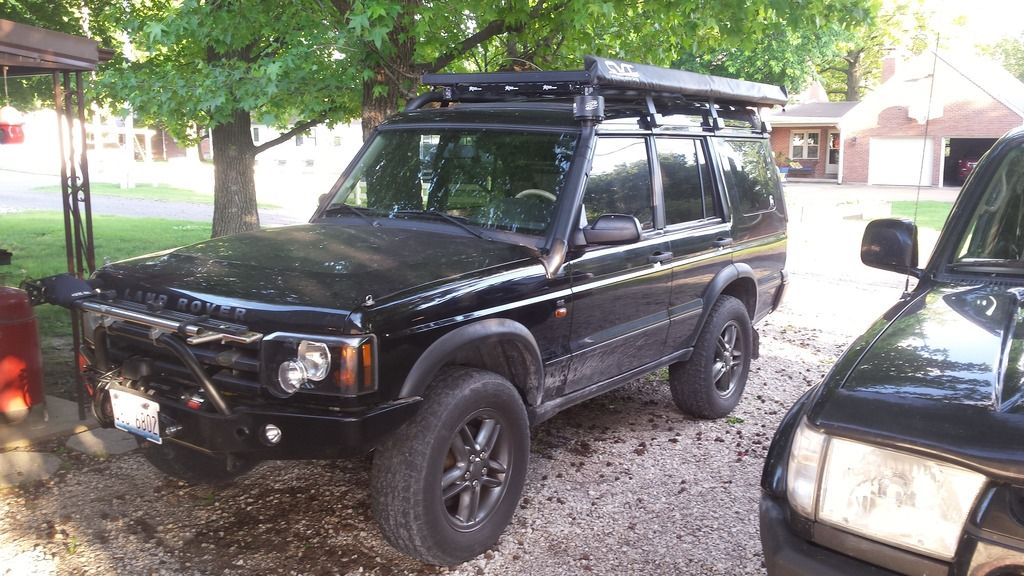
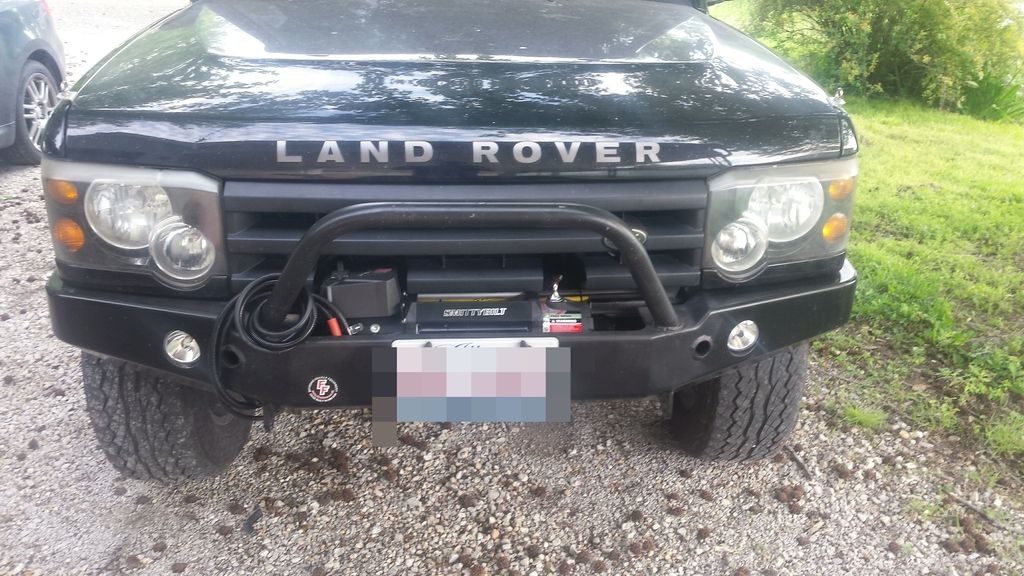
Installing the winch was a pit of a pain. I had to trim some of the grill support to clear the winch, and had to trim the grill some too.
20170508_182154_zps15acxbhu.jpg
 
Looks great. Nice work. I'm asking because I do not know. Is there any concern of water damage to the compressor in that location? I'm not sure on D2 but I know my D3 I won't go that high in water (intentionally. Lol) because of the factory electronics in the floor. Is the D2 wired the same way or can you ford deeper water if you wanted?

Nice work, great idea on the extension. I want to have mine at the bumpers when I put one in but we will see how much work that will be. Lol

Cheers
 

MStudt

Adventurer
Looks great. Nice work. I'm asking because I do not know. Is there any concern of water damage to the compressor in that location? I'm not sure on D2 but I know my D3 I won't go that high in water (intentionally. Lol) because of the factory electronics in the floor. Is the D2 wired the same way or can you ford deeper water if you wanted?

Nice work, great idea on the extension. I want to have mine at the bumpers when I put one in but we will see how much work that will be. Lol

Cheers

I'm "hoping" to not get into a situation where we'll have water that high. The D2's have several components located on or near the floor. I know the transmission controller is under the driver seat, and there a large bulkhead of wires in the passenger kick panel.

The D2's lack room for adding accessories. Making everything we need a challenge to mount.

As I suspected. Same goes for the D3. There is more crap under the floor and seats than should never be in a 4x4. LOL. Oh well, like you said, no intent to go that deep but it would be nice to not have to worry about it.
 

MStudt

Adventurer
I really need to remember to stay on top of this thread. I have so many threads going on that it's hard to keep track.

This past weekend we took a drive up to the inlaws to do some much needed frame work. On the way up my wife noticed the temps starting to creep, and it did the same thing the following day coming home. Before this trip the temps were steady at 199.4 on the highway, and that was fine with me. We added a winch to the front, and I was told that would cause a increase in the temp due to air loss. However, we were hitting temps around 217 on the highway, and I wasn't OK with that.

After digging around last night I came up with the follow. The fan clutch went out, and now spins freely for about 2 full revolutions. I also discovered the AC condenser fan motor was completely seized, and couldn't be turned at all. Lastly I decided to check the coolant, and that when I found a nice big air bubble in the line. The air bubble is left over from NOT bleeding the system correctly the first time. Having a small air bubble in these engine will easily cause a 10 degree spike in temps. All three of those issues, and the fourth issue of the winch likely lead to the recent spike.

Tomorrow I'll have a new fan blade, fan clutch, and fan motor. Since this is an 04 my option for an LR replacement was $250 for the viscus fan/clutch unit. Or I could order the fan blade (620-602), and fan clutch (922786) from Autozone for about $80. Both of those parts were used on the pre 03-04 models, and were 2 piece units. I also picked up a fan motor (PM9116) for a Toyota Corolla since they use the exact same motor as the D2's, and are about 1/3 the price. Once I get these installed I'll be adding Water Wetter to the new coolant that I'll add to bleed the system down.
 

MStudt

Adventurer
Over the weekend I was able to get quite a bit done. I swapped out the bad afn clutch, fan blade, and ac fan motor for good parts.

Clutch - 922790
Blade - 620-112
Motor - PM9116 (fan blade trimming required)

Sorry for some of the not so good pictures. I usually have my wife take pictures, but she was working on her own projects. On Sunday I knocked out our dual battery install, and it wasn't too bad. I was on the fences about installing a National Luna dual battery, and finally decided to do it. Since the plan in to live out of the Rover we needed to have some extra juice just in case.

I took the original box, and cut a little off the bottom to help fit the batteries.
20170521_125139_zpsln7j3p5y.jpg


Next I added a battery tie down that uses two of the mounting bolts. This is very simple, and wraps around the new tray, and both batteries to hold them in place.
20170521_131607_zpsdyuhstcp.jpg


While cleaning the garage I was able to find a nice sheet of aluminum that I used to make two single battery trays, and a corner piece. I used RTV to fix the corner piece to the battery box. Since it was open to the elements I decided to cover it.
20170521_133301_zps0yo47i8i.jpg


Here's the finished product. I'm not to keen on the location, but there isn't much to work with under the hood.
20170521_190250_zpsw4ecp7us.jpg


I'll have to get a picture on the monitor mounted inside still, and I'll post that here later.
 

Howski

Well-known member
Are you running a 180 t stat? I'm running one and very rarely even see temps over 190 F, granted I am running an inline t stat which opens earlier also. Report back after you get your fans replaced
 

MStudt

Adventurer
Are you running a 180 t stat? I'm running one and very rarely even see temps over 190 F, granted I am running an inline t stat which opens earlier also. Report back after you get your fans replaced

I'm running the 180* stat, but I'm not certain is working properly. Both fans have been replaced, and are both working now. I'll have a better idea today on the temps since my wife is driving the Rover around today.

Let me know about your inline setup. I was looking into that a couple months ago, but never got around to doing anything about it.
 

Explorer0863

Adventurer
When I bought my D2, I considered the inline t-stat, but decided to install the 180 degree t-stat first. I added good coolant + water wetter and the temperature stays between 188-190...driving every day in the Caribbean. I'm happy with that and never installed an inline t-stat.

BTW, what group size batteries did you buy?
 

Howski

Well-known member
Let me know about your inline setup. I was looking into that a couple months ago, but never got around to doing anything about it.
I used the write up off LRR forums I believe. While I do like it I might just do the LR 180 replacement if I had to do it again
 

MStudt

Adventurer
BTW, what group size batteries did you buy?

I went with Group 34's.

I used the write up off LRR forums I believe. While I do like it I might just do the LR 180 replacement if I had to do it again

OK, and that's just about the best write up that I've been able to find. I don't think I'll be going that route just yet since I feel like I'm getting mine close. I still think my issue is air in the system from not bleeding it correctly.
 

MStudt

Adventurer
With the long weekend I was able to get some much needed work done, but not as much as I was hoping. I started the weekend by trying to wire up our led lights from Cali Raised. I always like sticking with OEM switches on the dash, and keeping the OEM switches on the Rover was what I wanted. After playing around with the Rover switches I decided it wasn't worth the headache anymore. I messed around with these switches for a good 2-3 hours before giving up on them. No matter what I did I couldn't get them to work.

The other option was to pick up some Carling switches, but those wouldn't fit in the dash openings I had to work with. After 20 minutes of searching I came across a guy who was 3D printing switch pods for the ashtray spots on D1's. The pods from D1's also fit the D2's, and of course this lead to a purchase. Here's the item that I purchased to house the new Carling Contura switches that I also bought.

710x528_14154180_8600222_1461969310_zpszcvb6d2x.jpg


Of course my lighting is on hold now, but we already know everything works. All that's left is installing the switches.
 

MStudt

Adventurer
With the switches being a bust this past weekend I decided to move on. I was able to install front and rear differential skids, and the Southdown snorkel. My wife only asked for a couple things on the Rover, and having a snorkel was one of them. I didn't get pictures of the differential skids yet, but I will get some tonight.

Below are a couple pictures of the snorkel. I didn't take any pictures of the install since it was pretty much a guessing game. To say the Southdown snorkel had instructions would be an exaggeration. It came with a template for the cutout, but that's about it. I had to do some searching for Google images to get everything figured out. In the end I think it turned out pretty good. I still need to seal it up just a little around fender fitting.

For those of you familiar with the Southdown snorkel you'll notice something different about this one. I worked with Southdown before purchasing the snorkel to see what they could come up with for an elbow. I didn't want to run their typical snorkel end, and wanted to use a Donaldson Top Spin filter instead. They were able to bend, and stretch an end fitting for me that allowed me to mount the Top Spin filter vertically.

20170529_190707_zpslifnfte0.jpg

20170529_190735_zps7hncvqf7.jpg

20170529_190722_zps7bnvsonl.jpg
 
After 20 minutes of searching I came across a guy who was 3D printing switch pods for the ashtray spots on D1's. The pods from D1's also fit the D2's, and of course this lead to a purchase. Here's the item that I purchased to house the new Carling Contura switches that I also bought.

Of course my lighting is on hold now, but we already know everything works. All that's left is installing the switches.

Can I get that website you ordered those from? I'm looking for someone who can 3D print me some dash parts for my D3 project.

Mahaloz,

E
 

Forum statistics

Threads
185,897
Messages
2,879,321
Members
225,497
Latest member
WonaWarrior
Top