Box Rocket
Well-known member
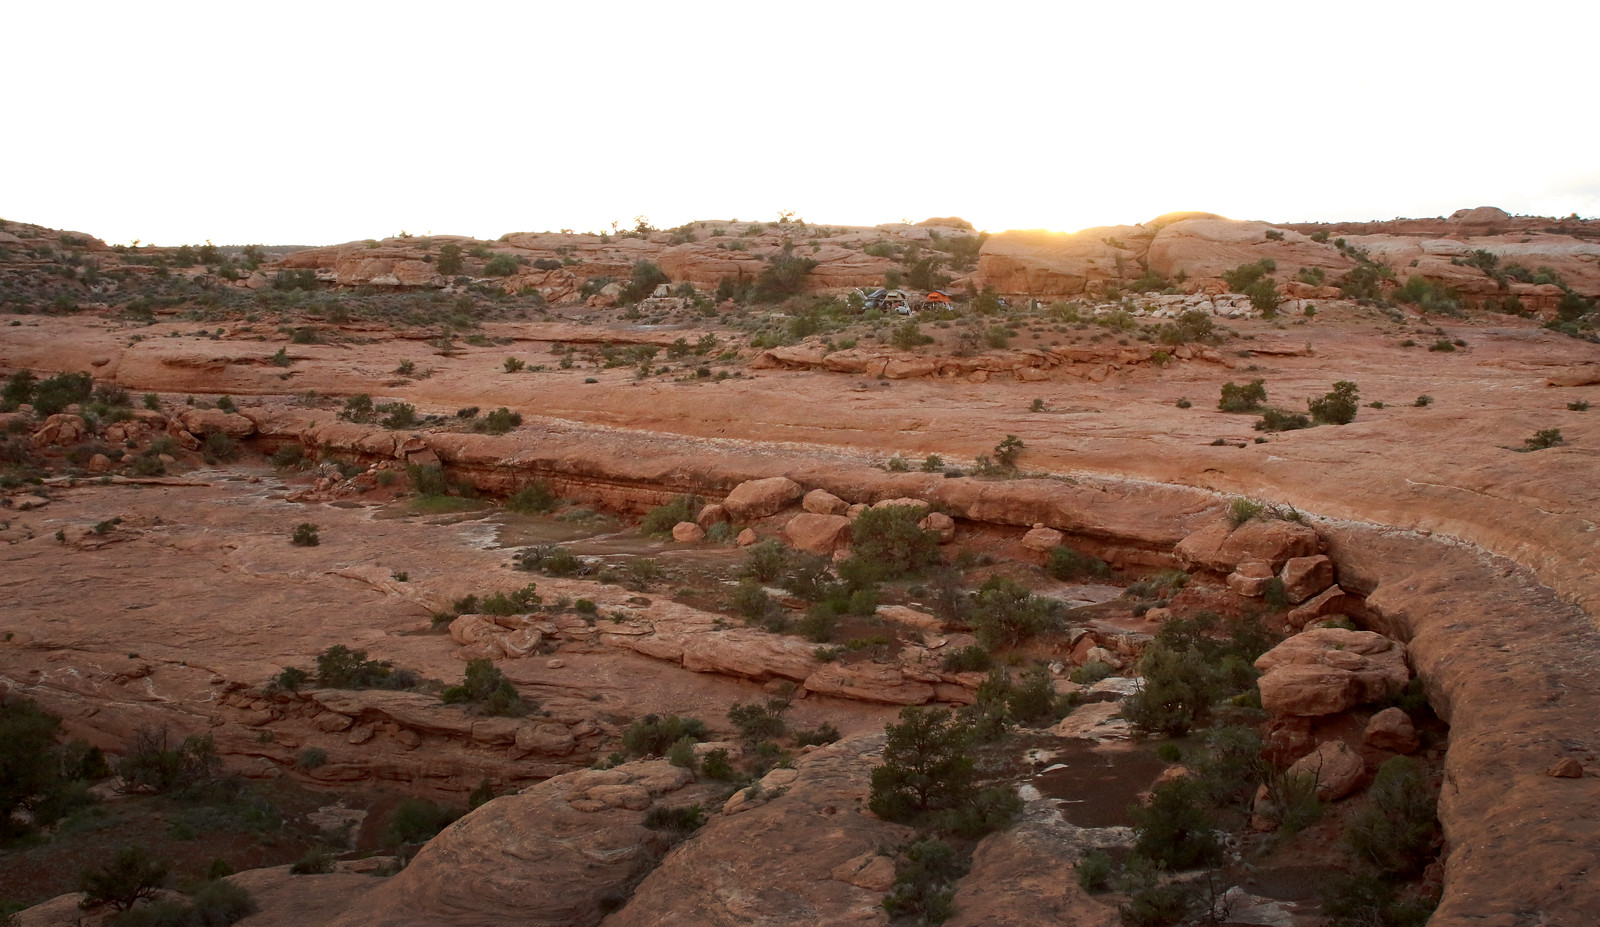
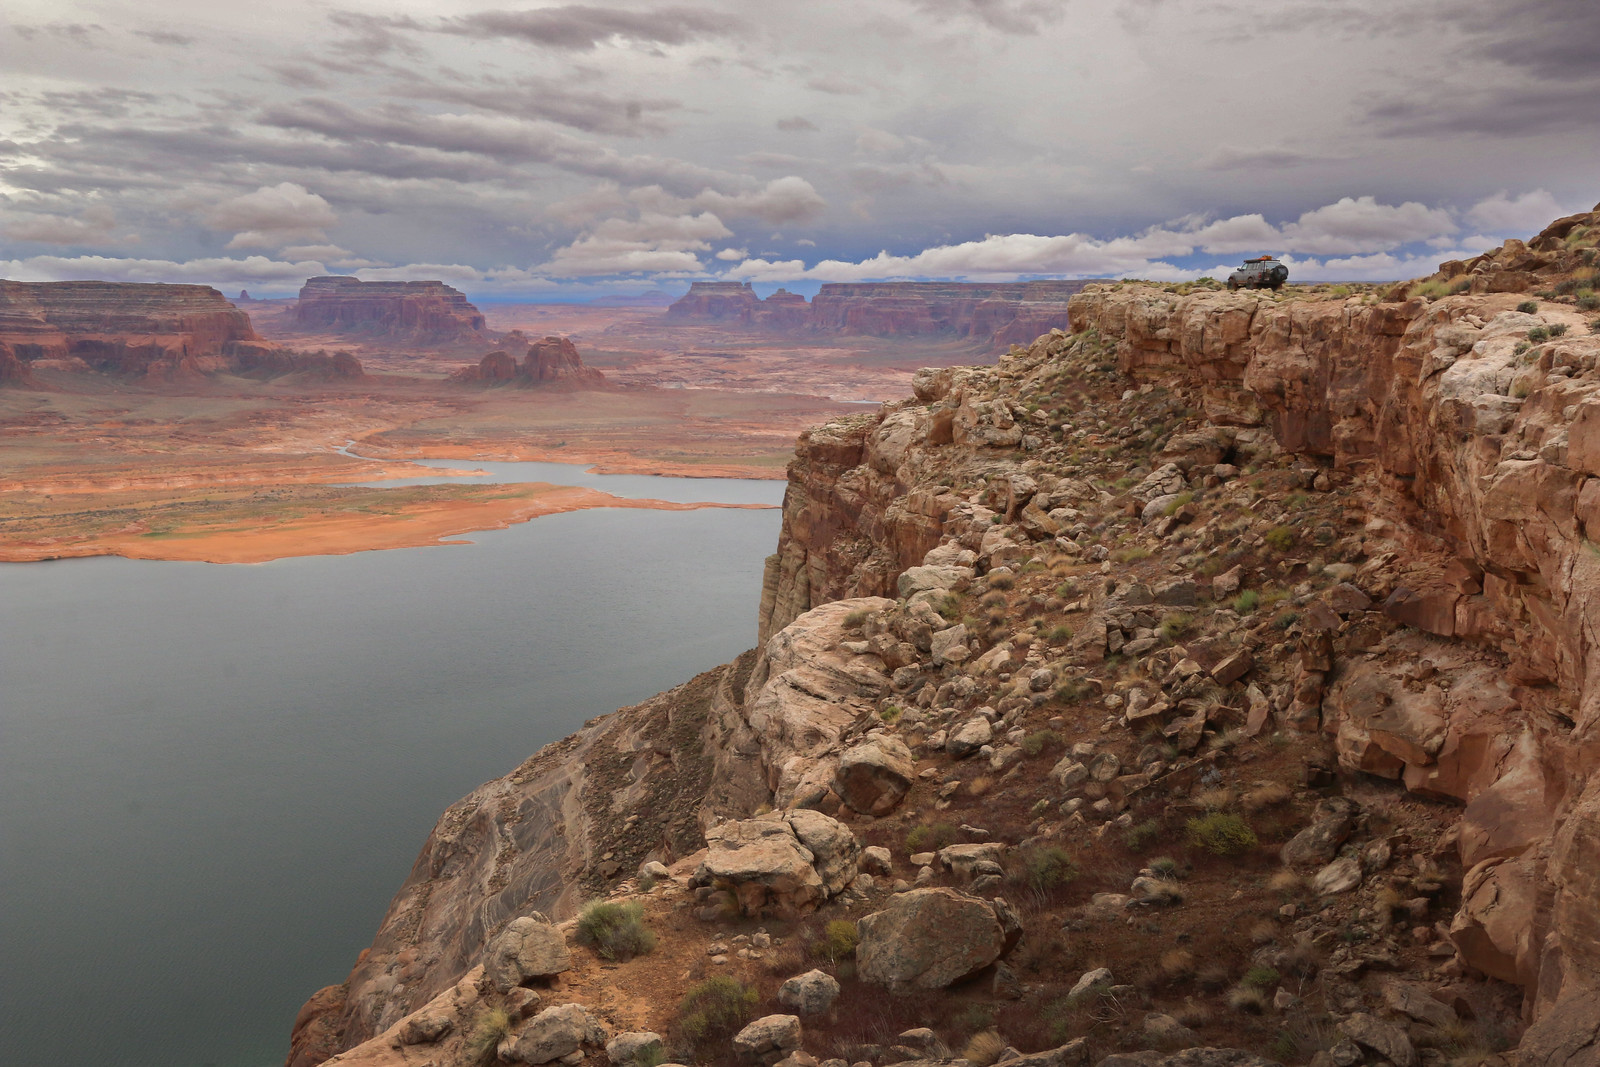
Thought I'd share a few pics from the SW Adventure 2019 trip from a few weeks ago. Spent 5 days guiding a group of Slinky suspension dealers/customers around southern Utah and finished our route in Moab just in time for the start of Cruise Moab. It was the third year for this trip and it was another fun one. We had Darren from 4xOverlandAustralia (man behind the Slinky suspensions), Christo from Slee Offroad, Kevin Brown from Endless Horizon Outfitters (US distributor for the Slinky suspensions, and a few customers.
 IMG_2544 by Adam Tolman, on Flickr
 IMG_2537 by Adam Tolman, on Flickr
 IMG_2609 by Adam Tolman, on Flickr
 IMG_2699 by Adam Tolman, on Flickr
 IMG_2756 by Adam Tolman, on Flickr
 IMG_2782 by Adam Tolman, on Flickr
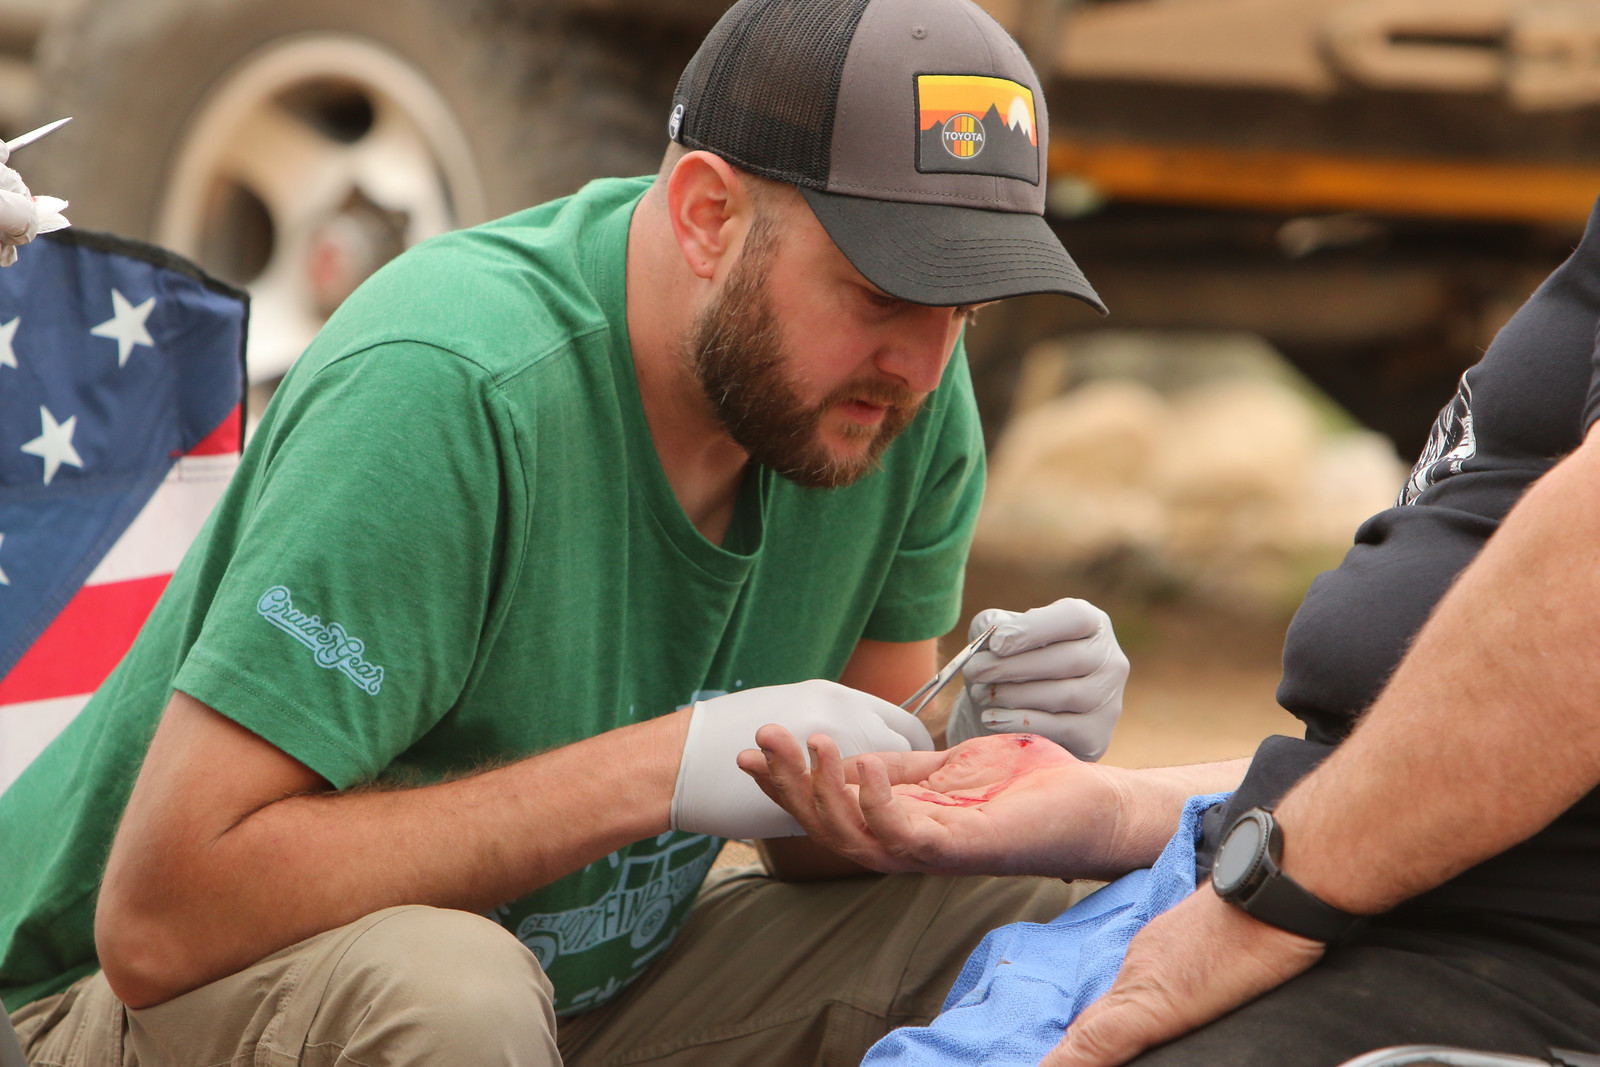
Kevin seemed to find humor in Darren getting 7 stitches after tearing his hand open on a busted ratchet strap buckle. It was nice to have trained medical people in the group, with a full suture kit.
 IMG_2818 by Adam Tolman, on Flickr
 IMG_2819 by Adam Tolman, on Flickr
 IMG_2830 by Adam Tolman, on Flickr
 IMG_2843 by Adam Tolman, on Flickr
 IMG_2859 by Adam Tolman, on Flickr
 IMG_2897 by Adam Tolman, on Flickr
 Untitled by Adam Tolman, on Flickr
 Untitled by Adam Tolman, on Flickr
Family Reunion Shirts")
 Untitled by Adam Tolman, on Flickr
 Untitled by Adam Tolman, on Flickr
 Untitled by Adam Tolman, on Flickr
IMG_2544 by Adam Tolman, on Flickr
IMG_2537 by Adam Tolman, on Flickr
IMG_2609 by Adam Tolman, on Flickr
IMG_2699 by Adam Tolman, on Flickr
IMG_2756 by Adam Tolman, on Flickr
IMG_2782 by Adam Tolman, on FlickrKevin seemed to find humor in Darren getting 7 stitches after tearing his hand open on a busted ratchet strap buckle. It was nice to have trained medical people in the group, with a full suture kit.
IMG_2818 by Adam Tolman, on Flickr
IMG_2819 by Adam Tolman, on Flickr
IMG_2830 by Adam Tolman, on Flickr
IMG_2843 by Adam Tolman, on Flickr
IMG_2859 by Adam Tolman, on Flickr
IMG_2897 by Adam Tolman, on Flickr
Untitled by Adam Tolman, on Flickr
Untitled by Adam Tolman, on FlickrFamily Reunion Shirts
Untitled by Adam Tolman, on Flickr
Untitled by Adam Tolman, on Flickr
Untitled by Adam Tolman, on Flickr CO2
CO2 CO2
CO2 CO2
CO2 IMG_3277
 IMG_3246
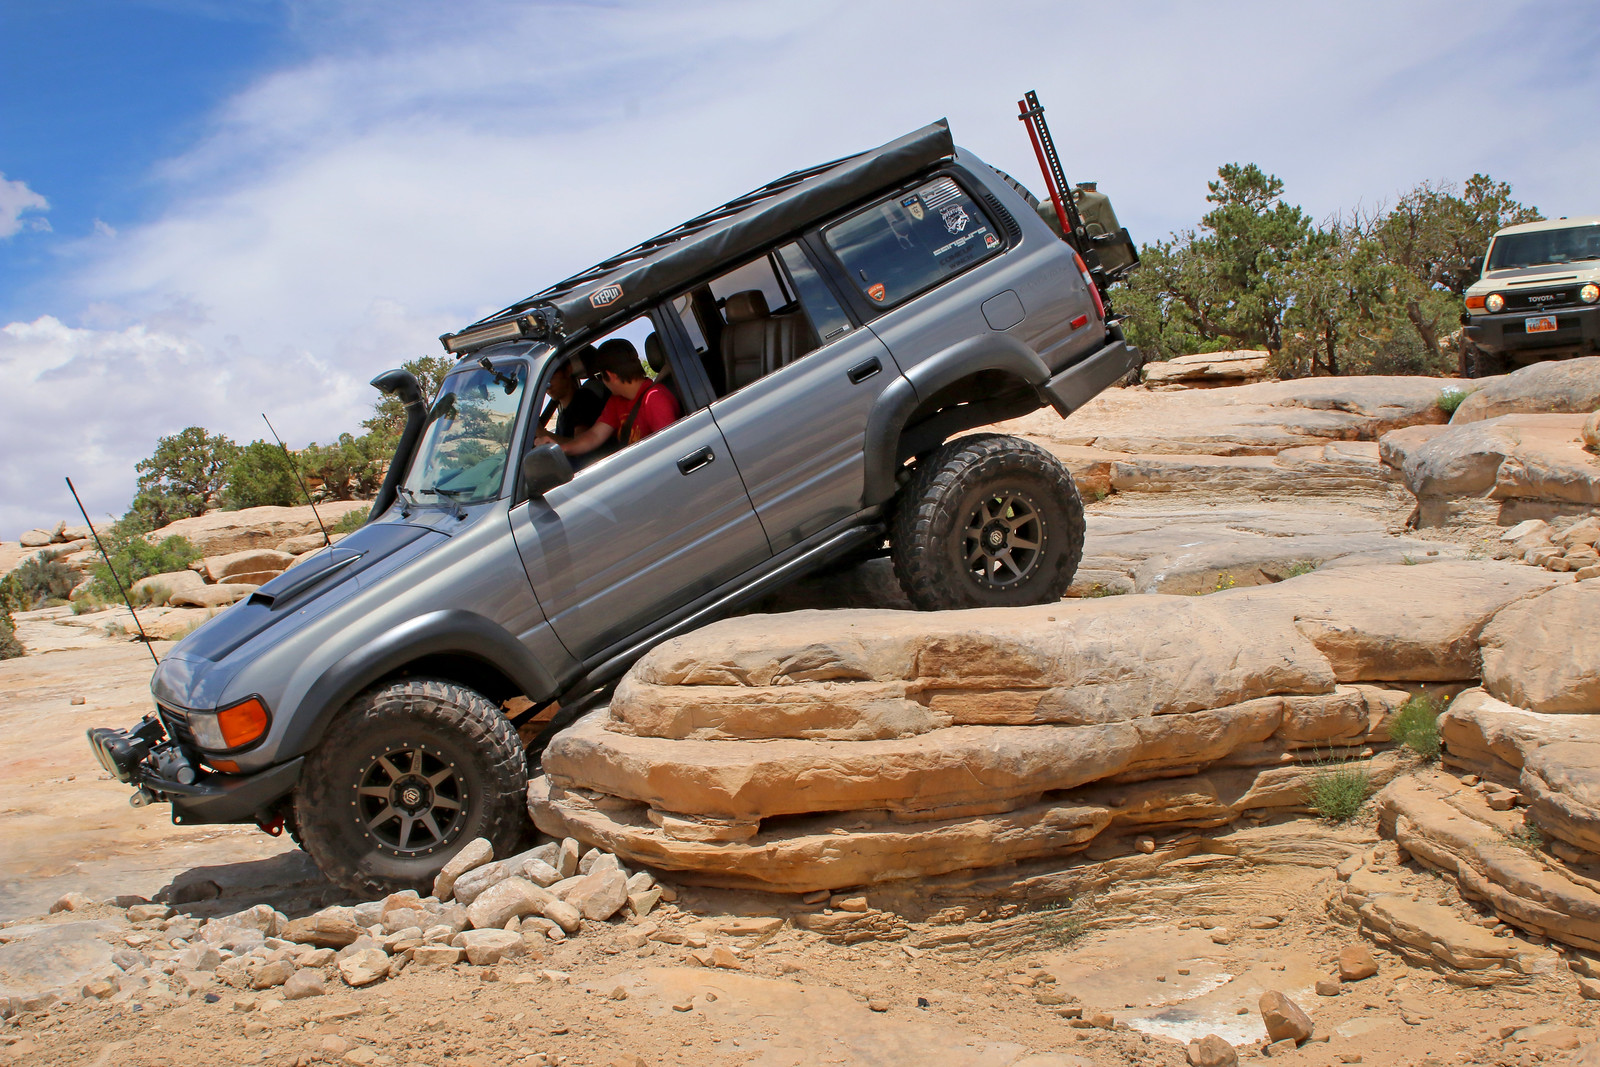 IMG_3250
 IMG_3161
 GG_drawers1
 GG_drawers2
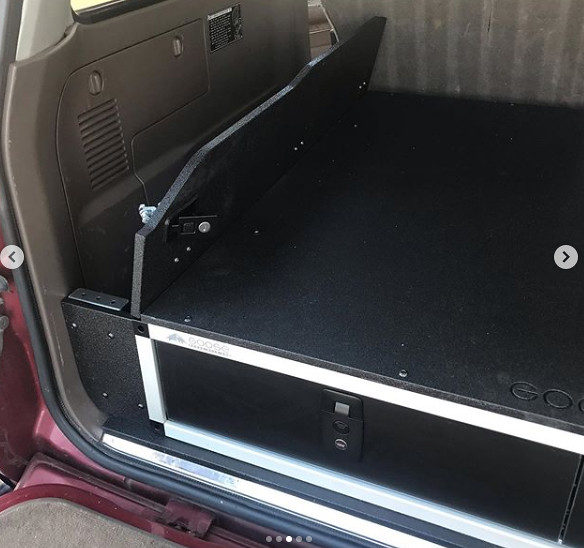 GG_drawers3
 GG_drawers4
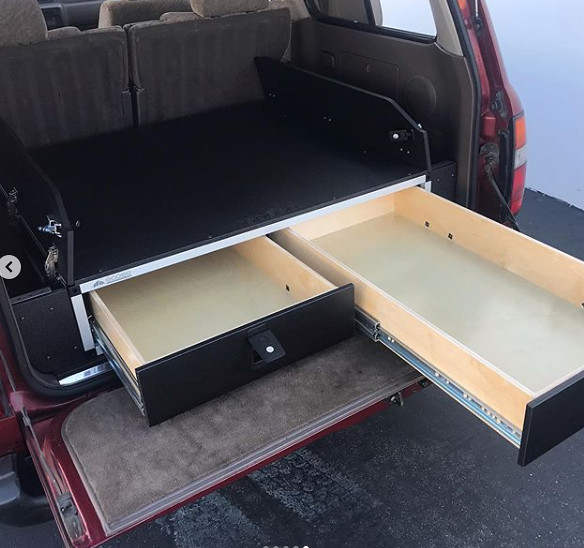 GG_drawers5
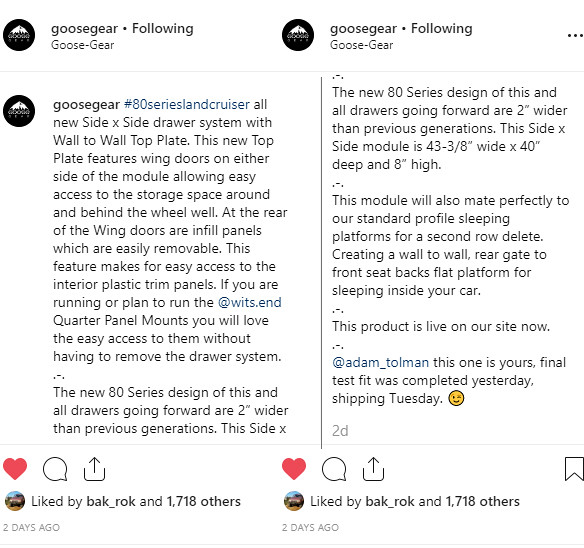 GG_drawers6
 Untitled
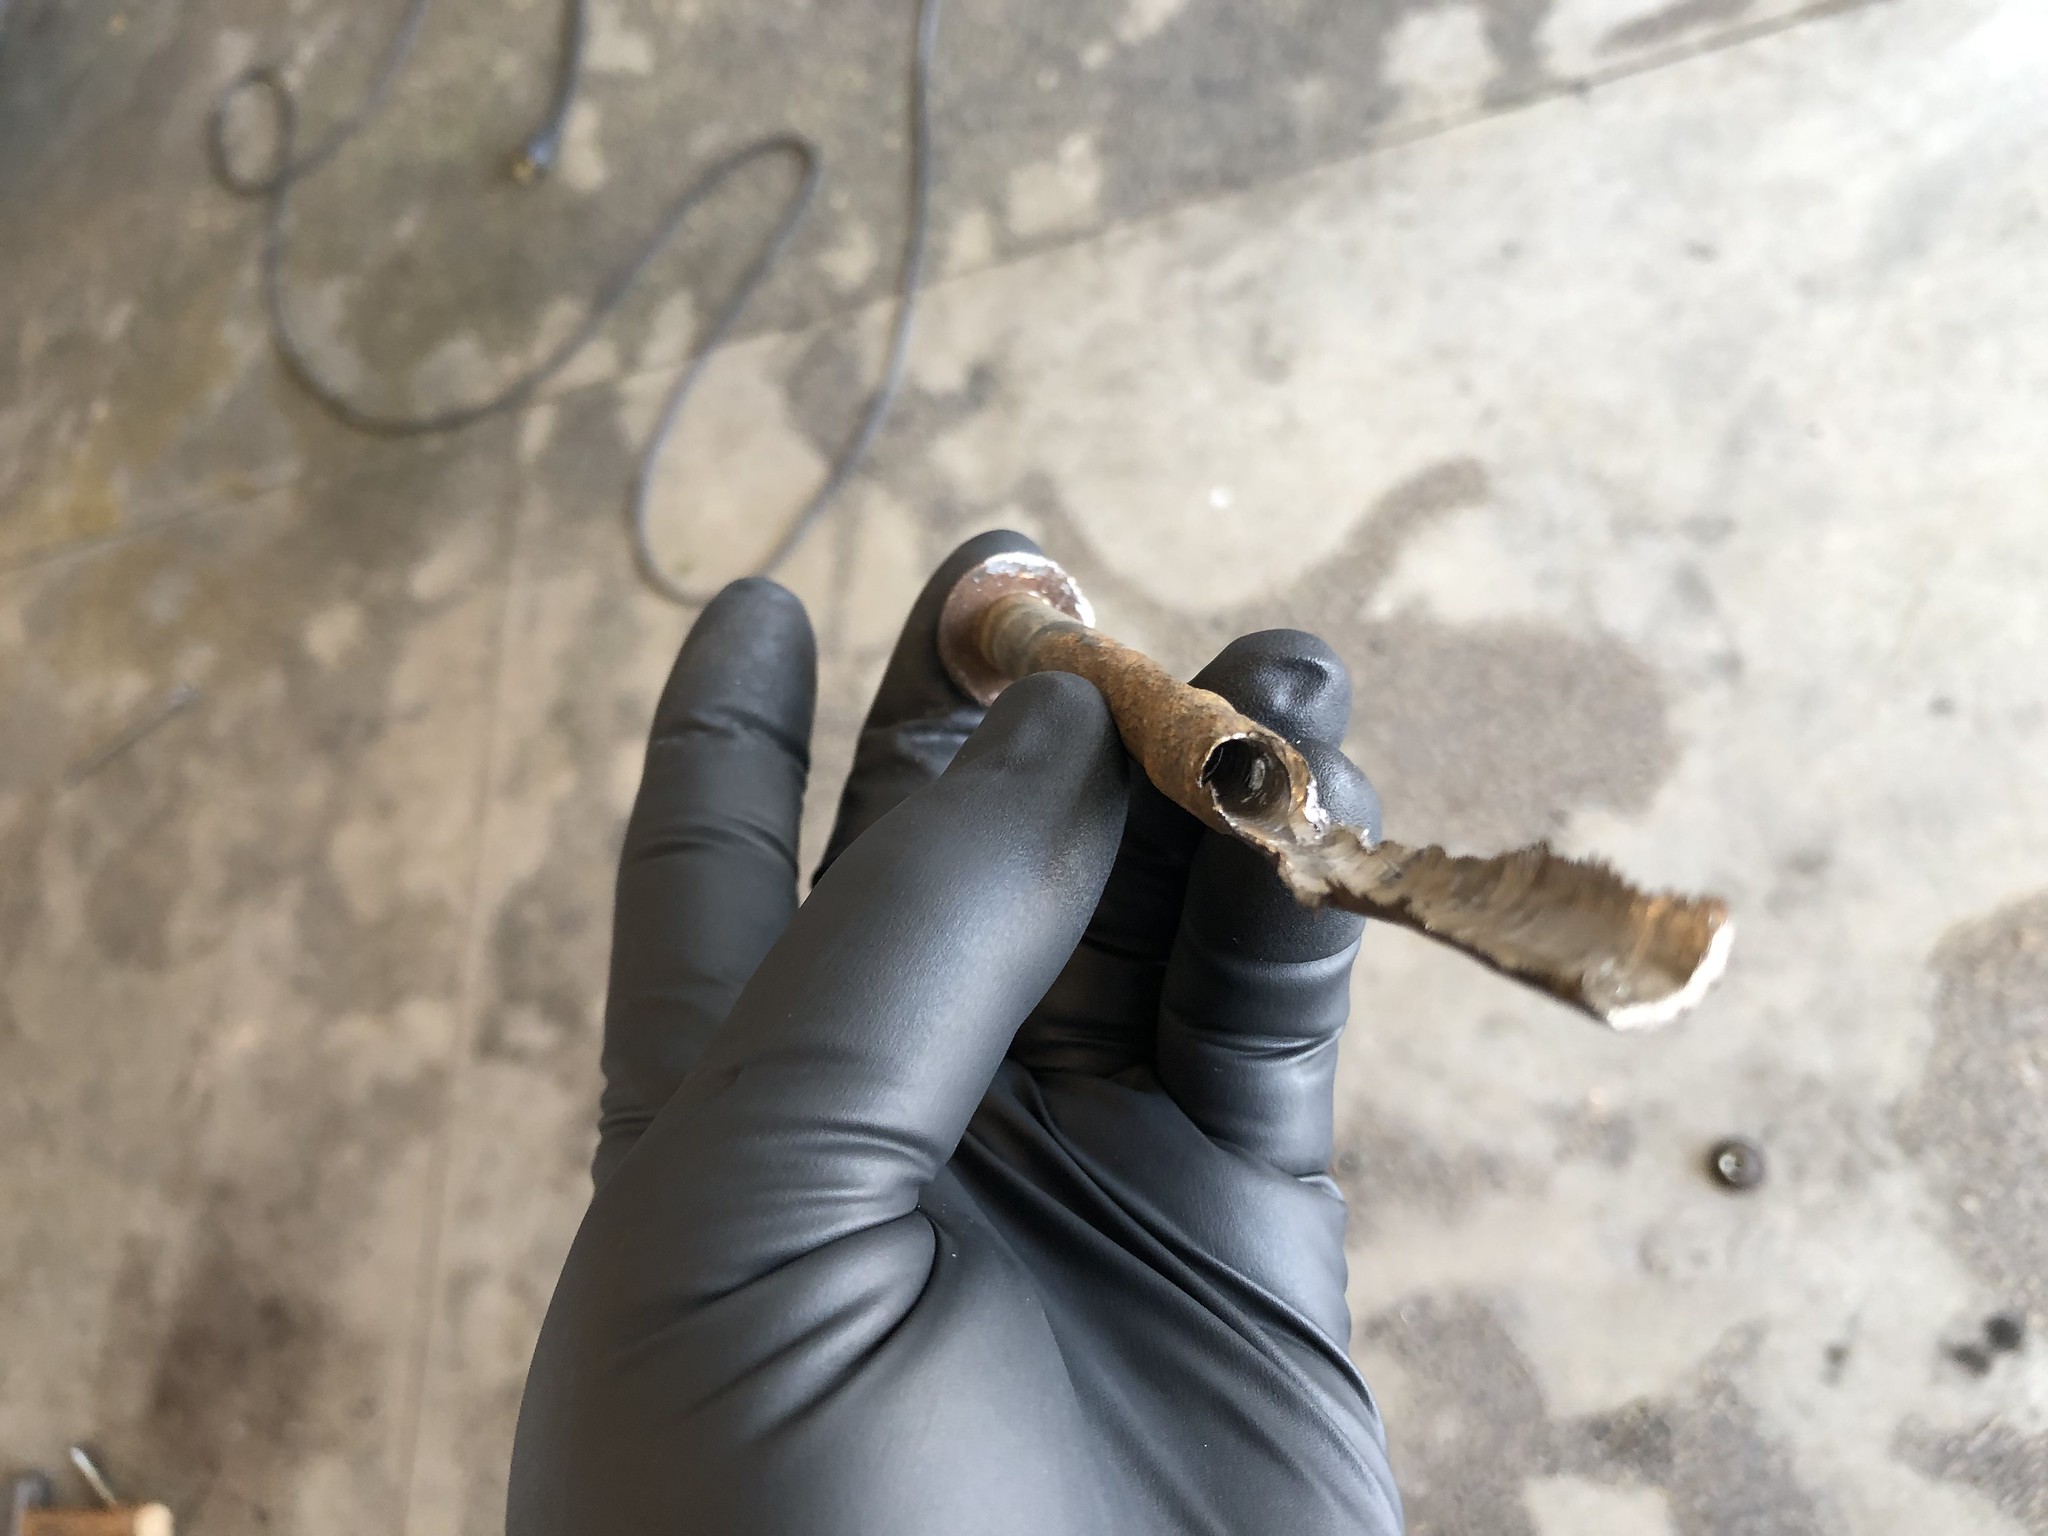 Untitled
 Untitled
 IconWheels and Toyos
 IconWheels and Toyos
 Rear seats
 Rear seats
 Rear seats
 Rear seats
 IMG_3420
 IMG_3421
 IMG_3422
 IMG_3424
 IMG_3426
 Drawers
 Drawers
 IMG_3419
 IMG_3414
 IMG_3415
 IMG_3413
 IMG_3411
 IMG_3412
 IMG_3417
 IMG_3418
 Drawers
.JPG")
 Swaybar links
 Fixing Leaks
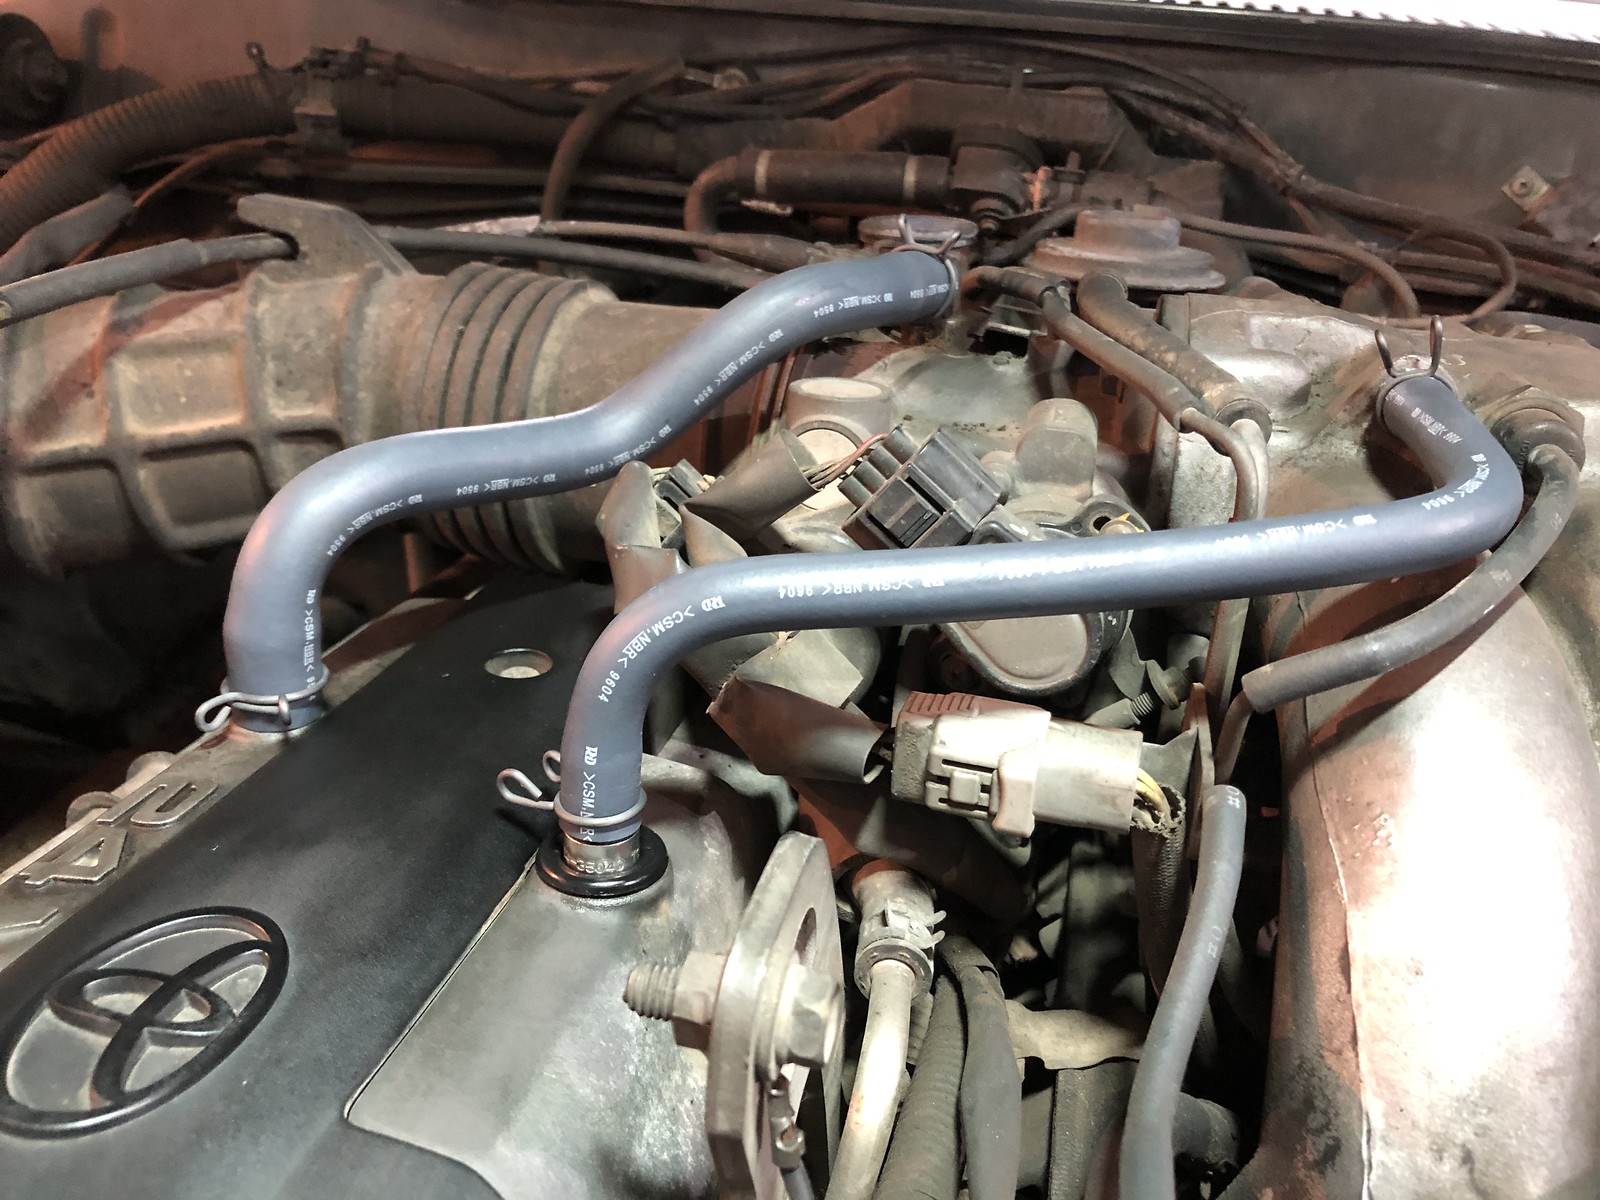 Fixing Leaks
 Fixing Leaks
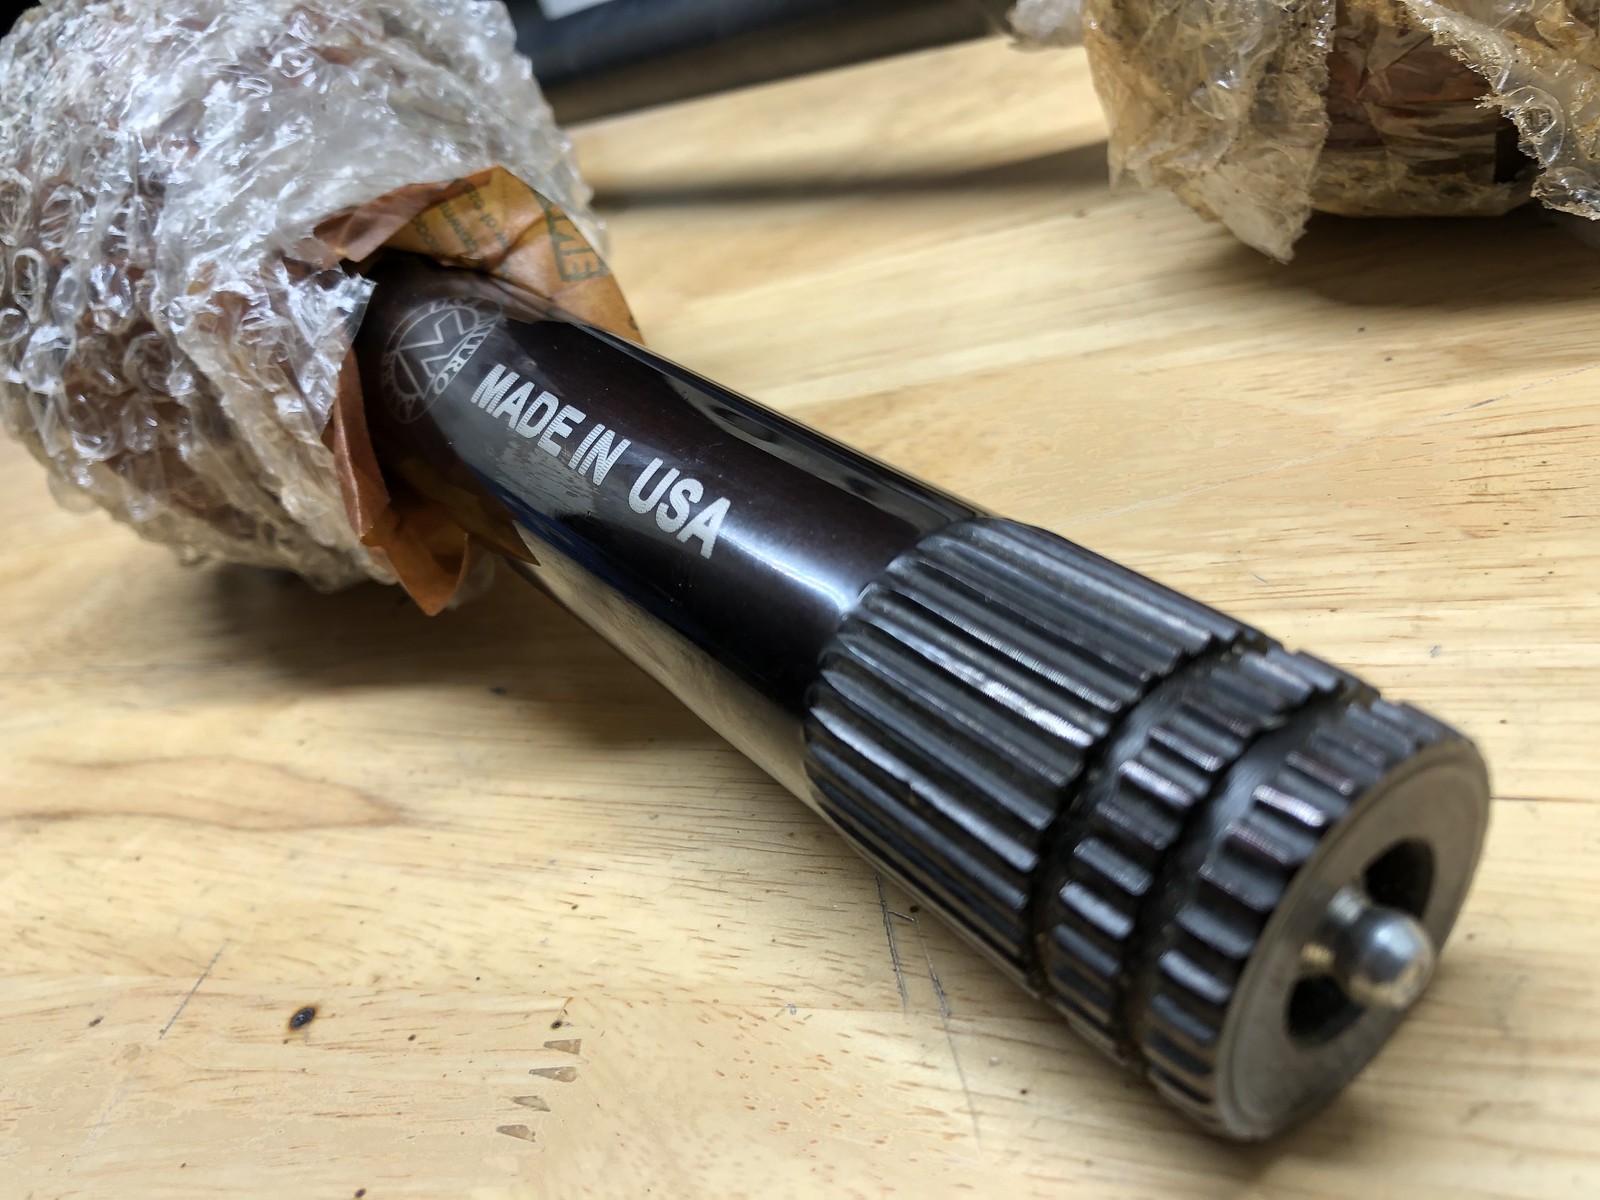 Untitled
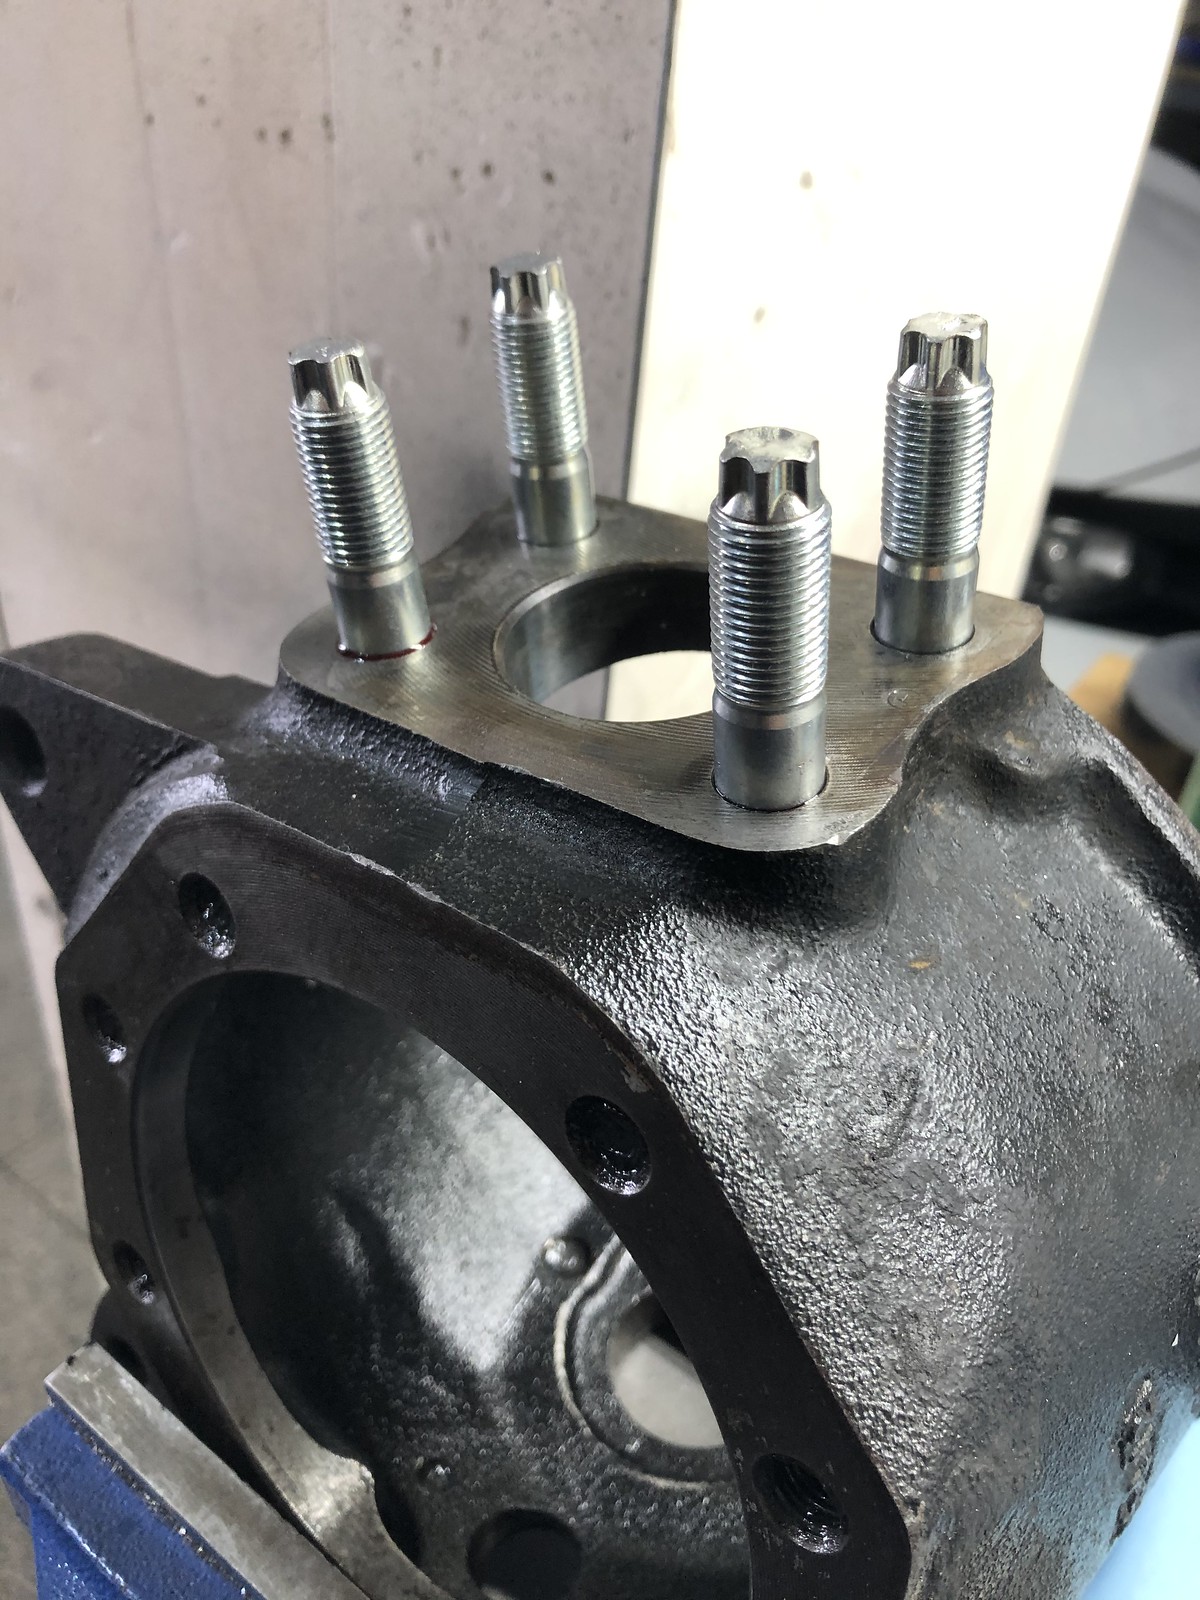 Front axle service
 Front axle service
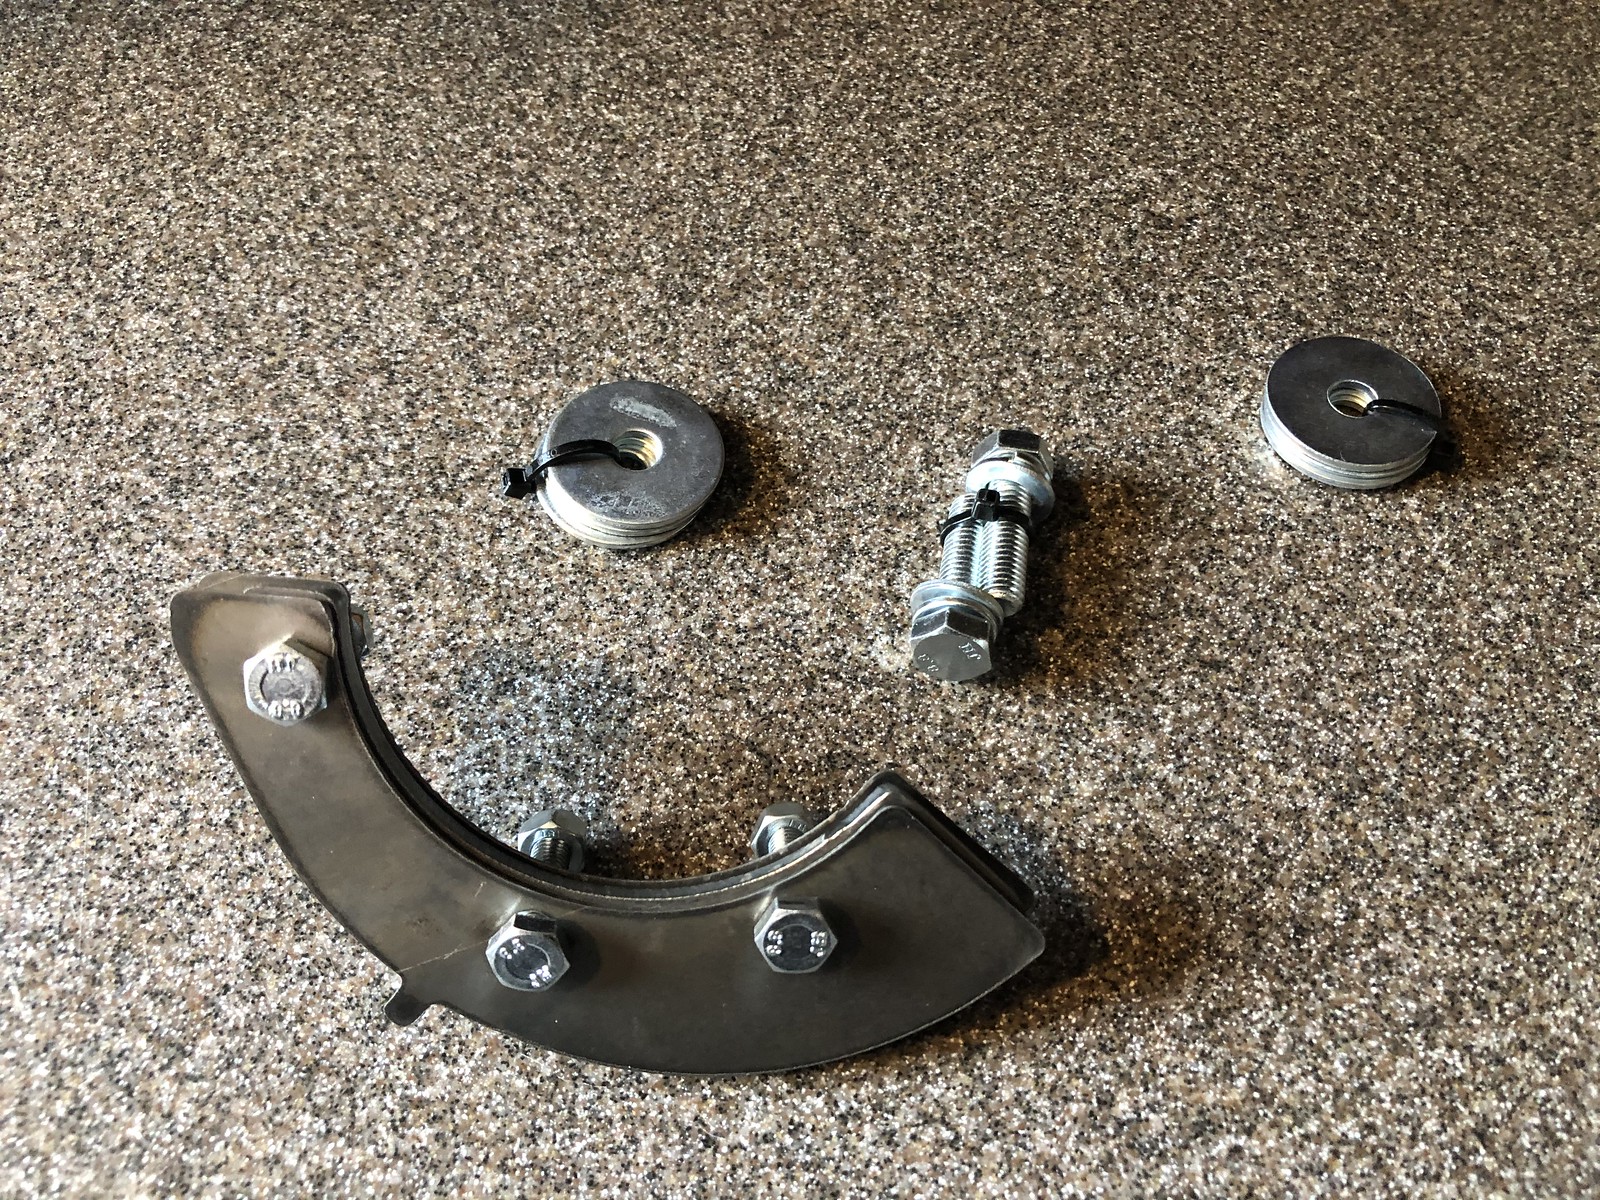 Untitled
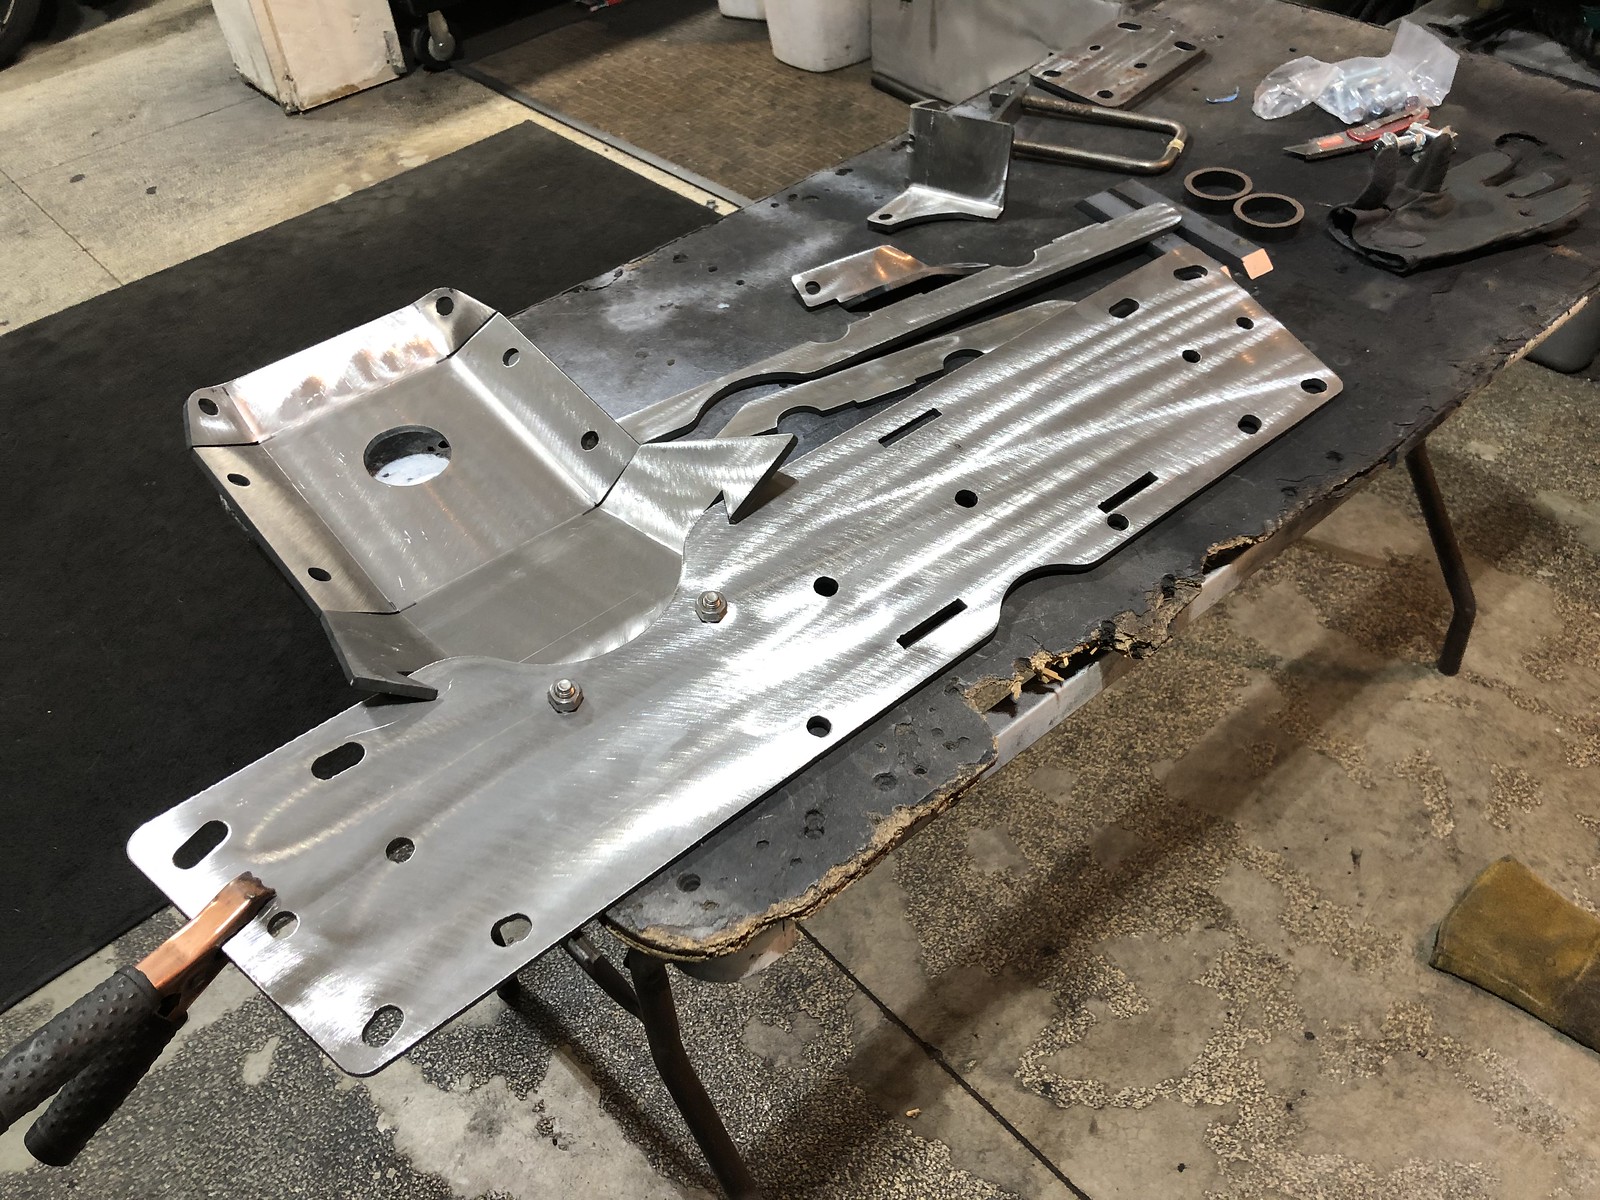 Skidplate
 Skidplate
 Skidplate
 Untitled
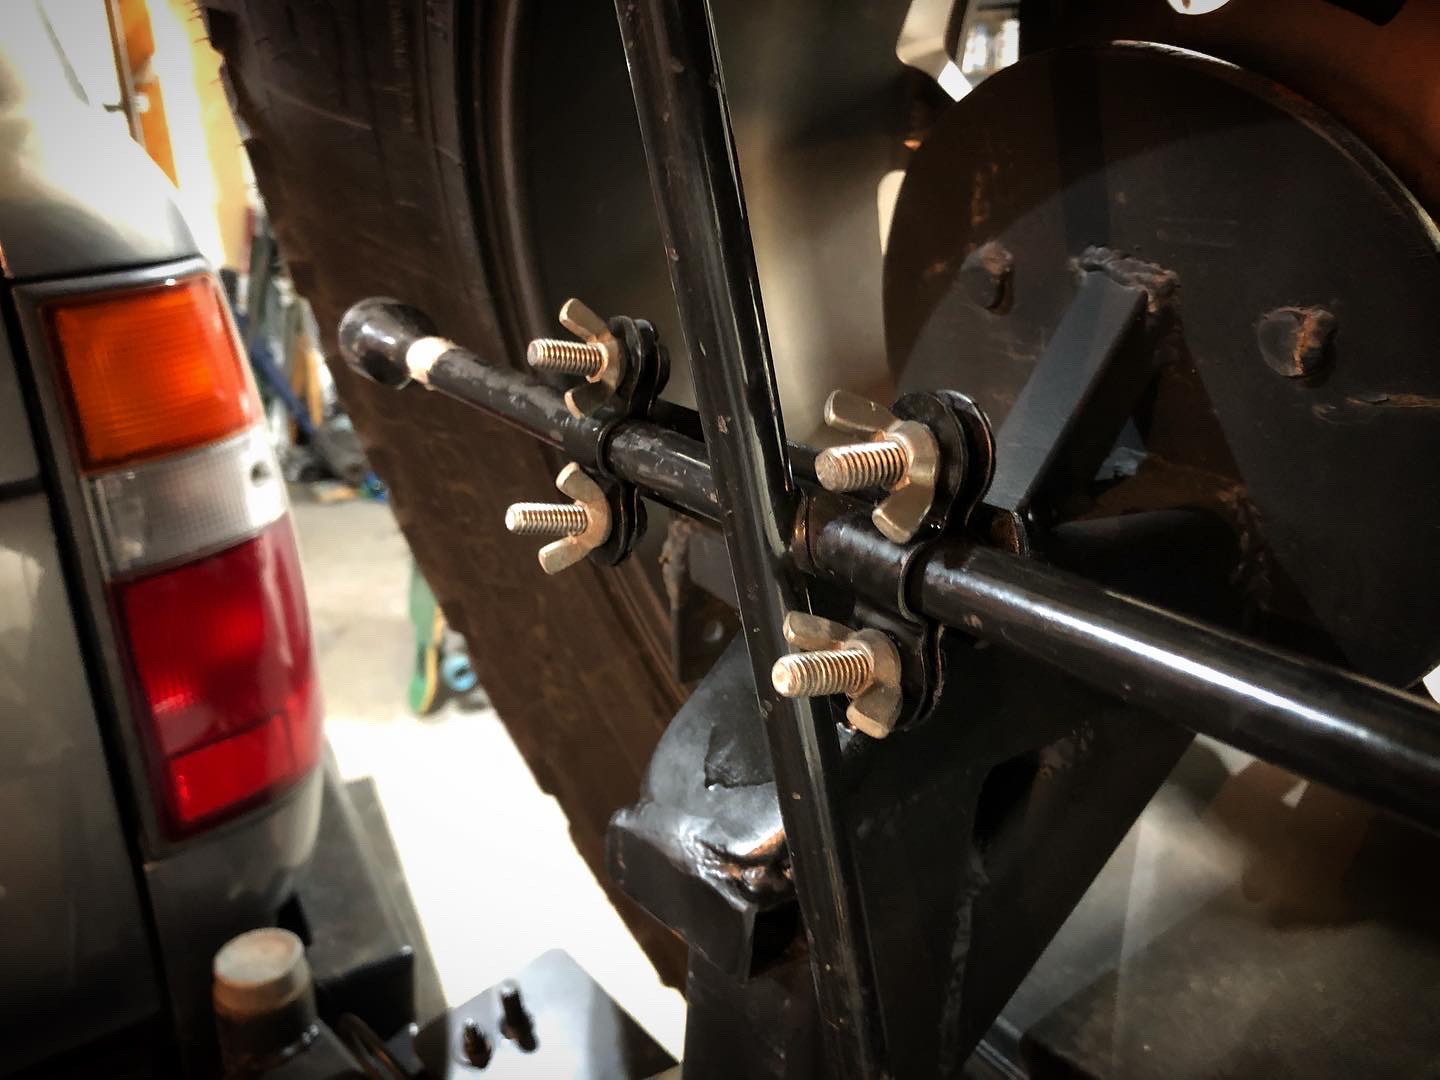 Untitled
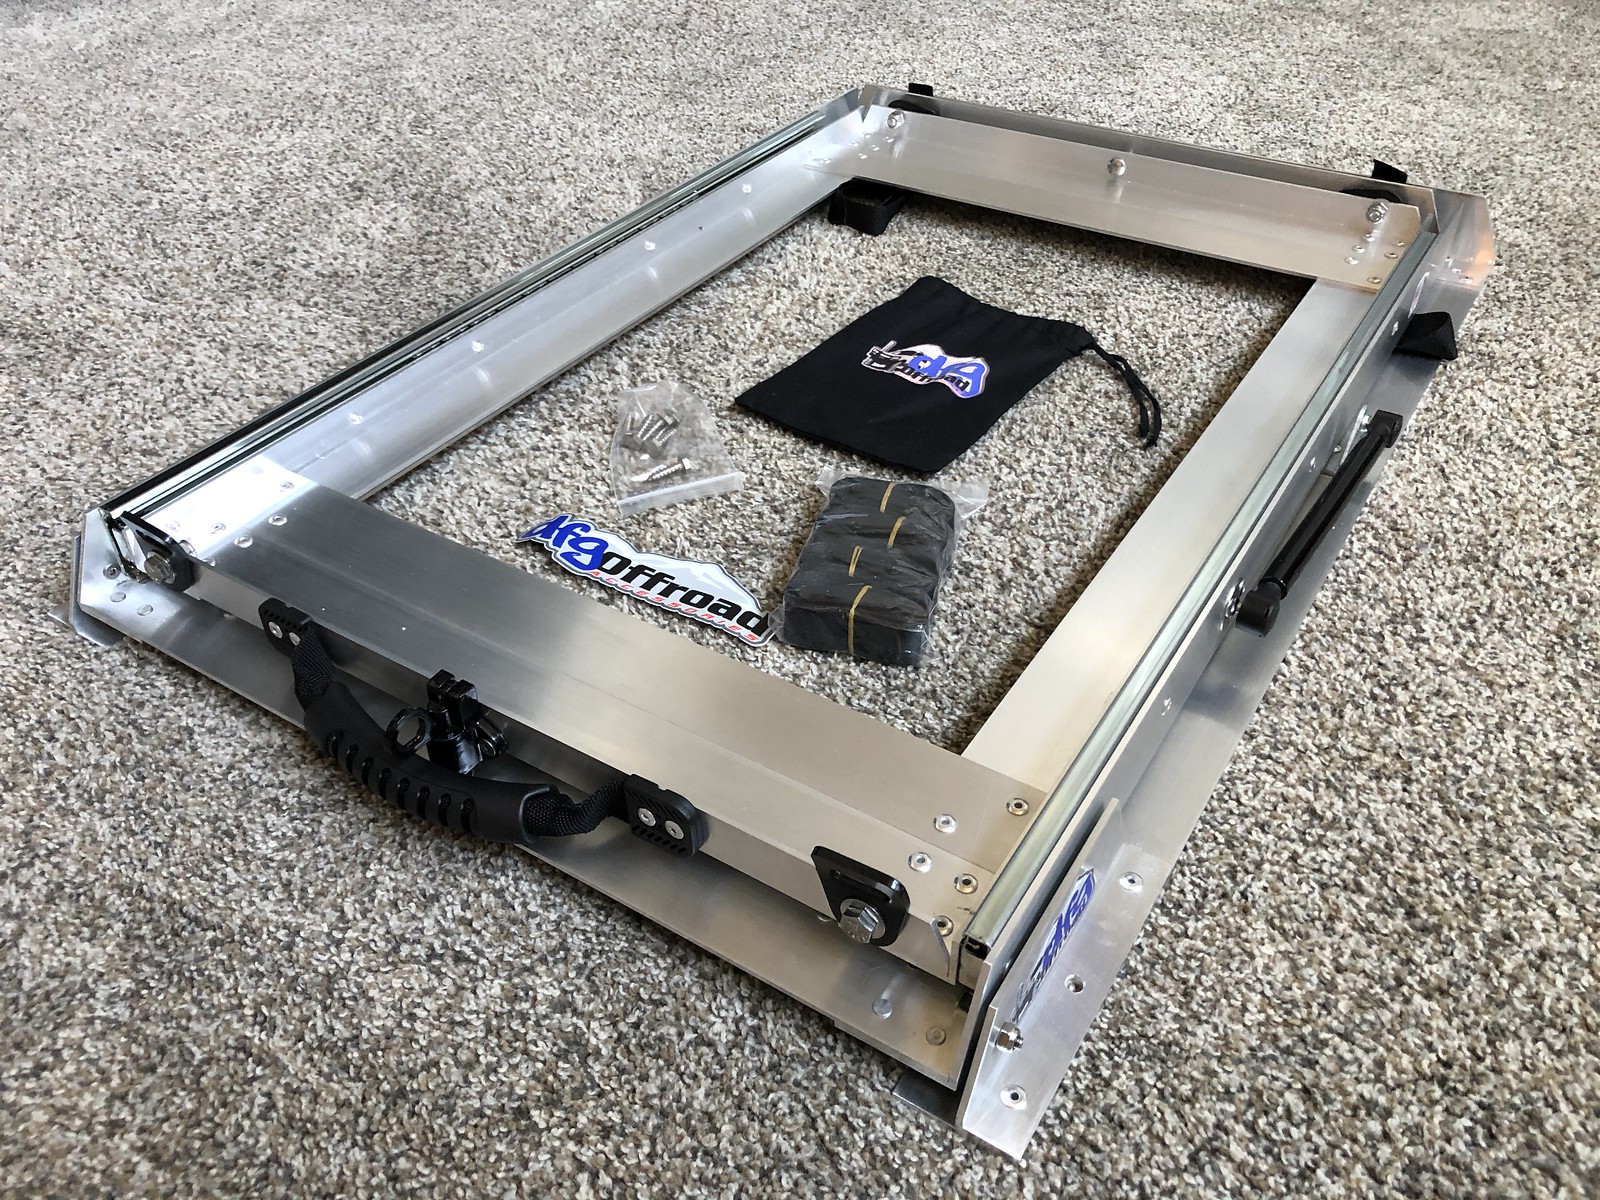 Fridge Slide
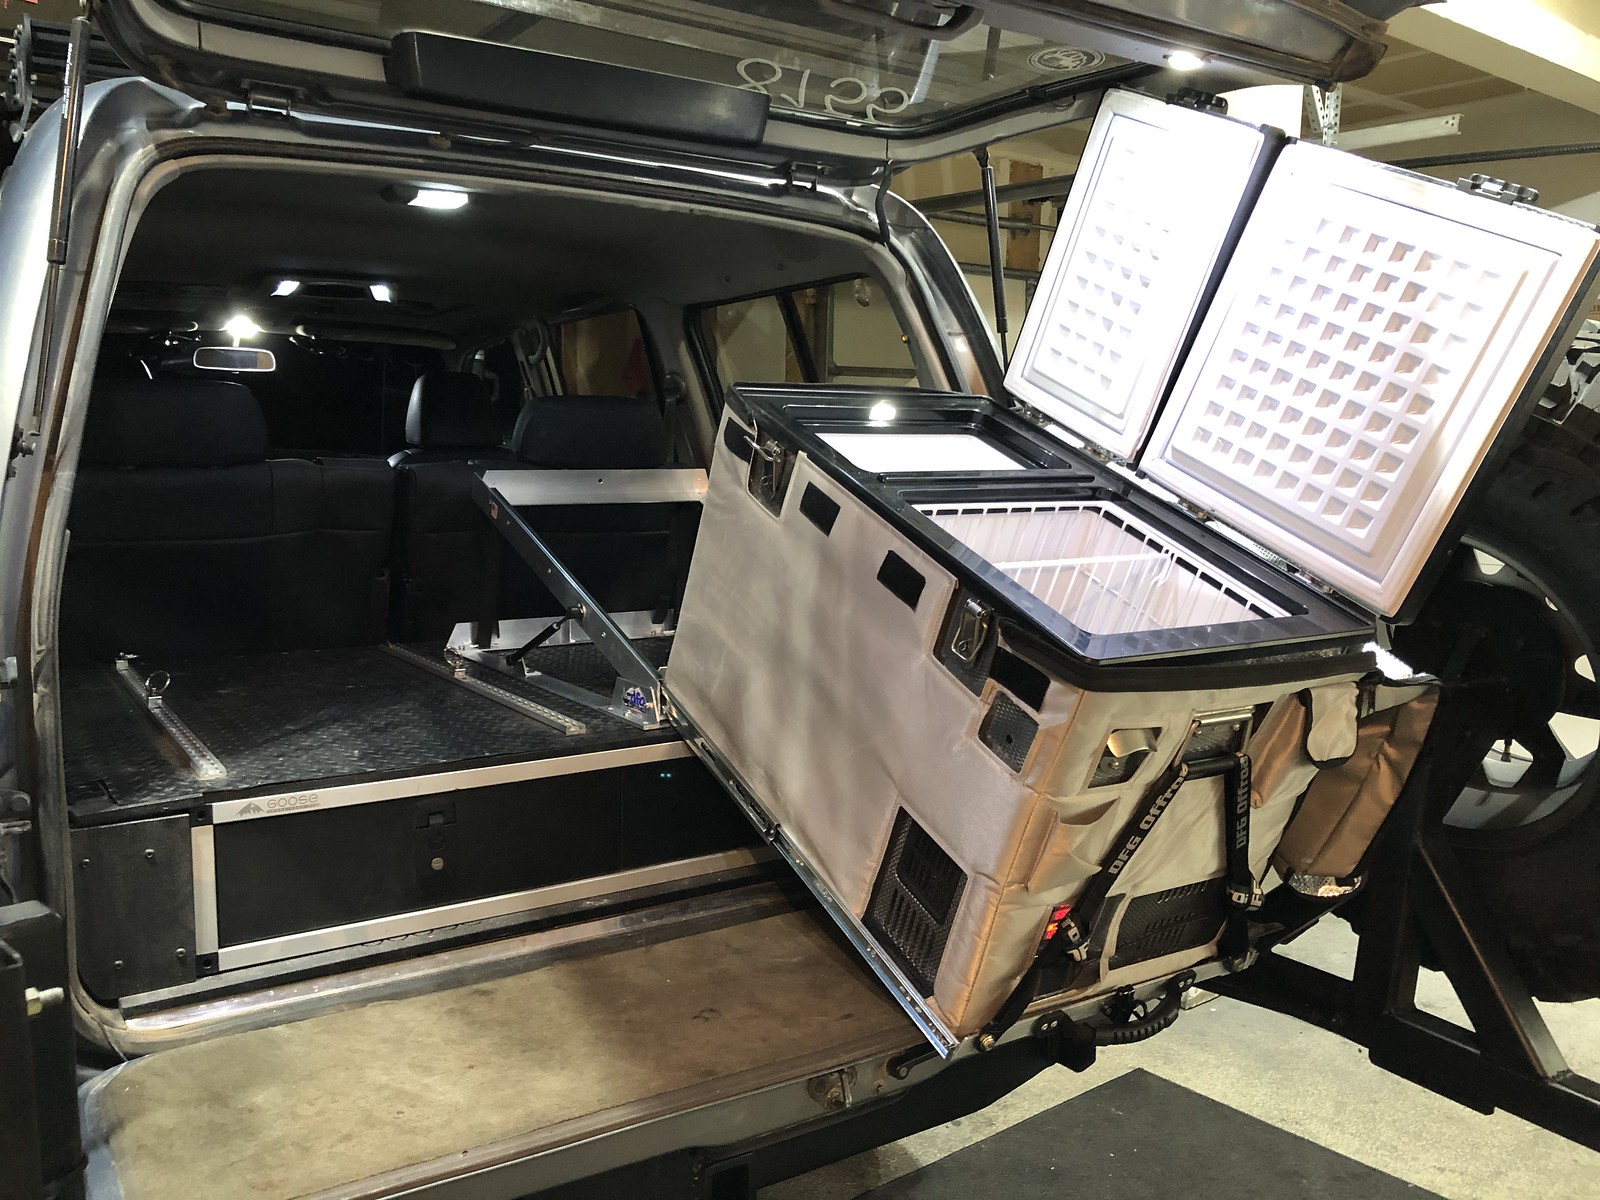 Fridge Slide
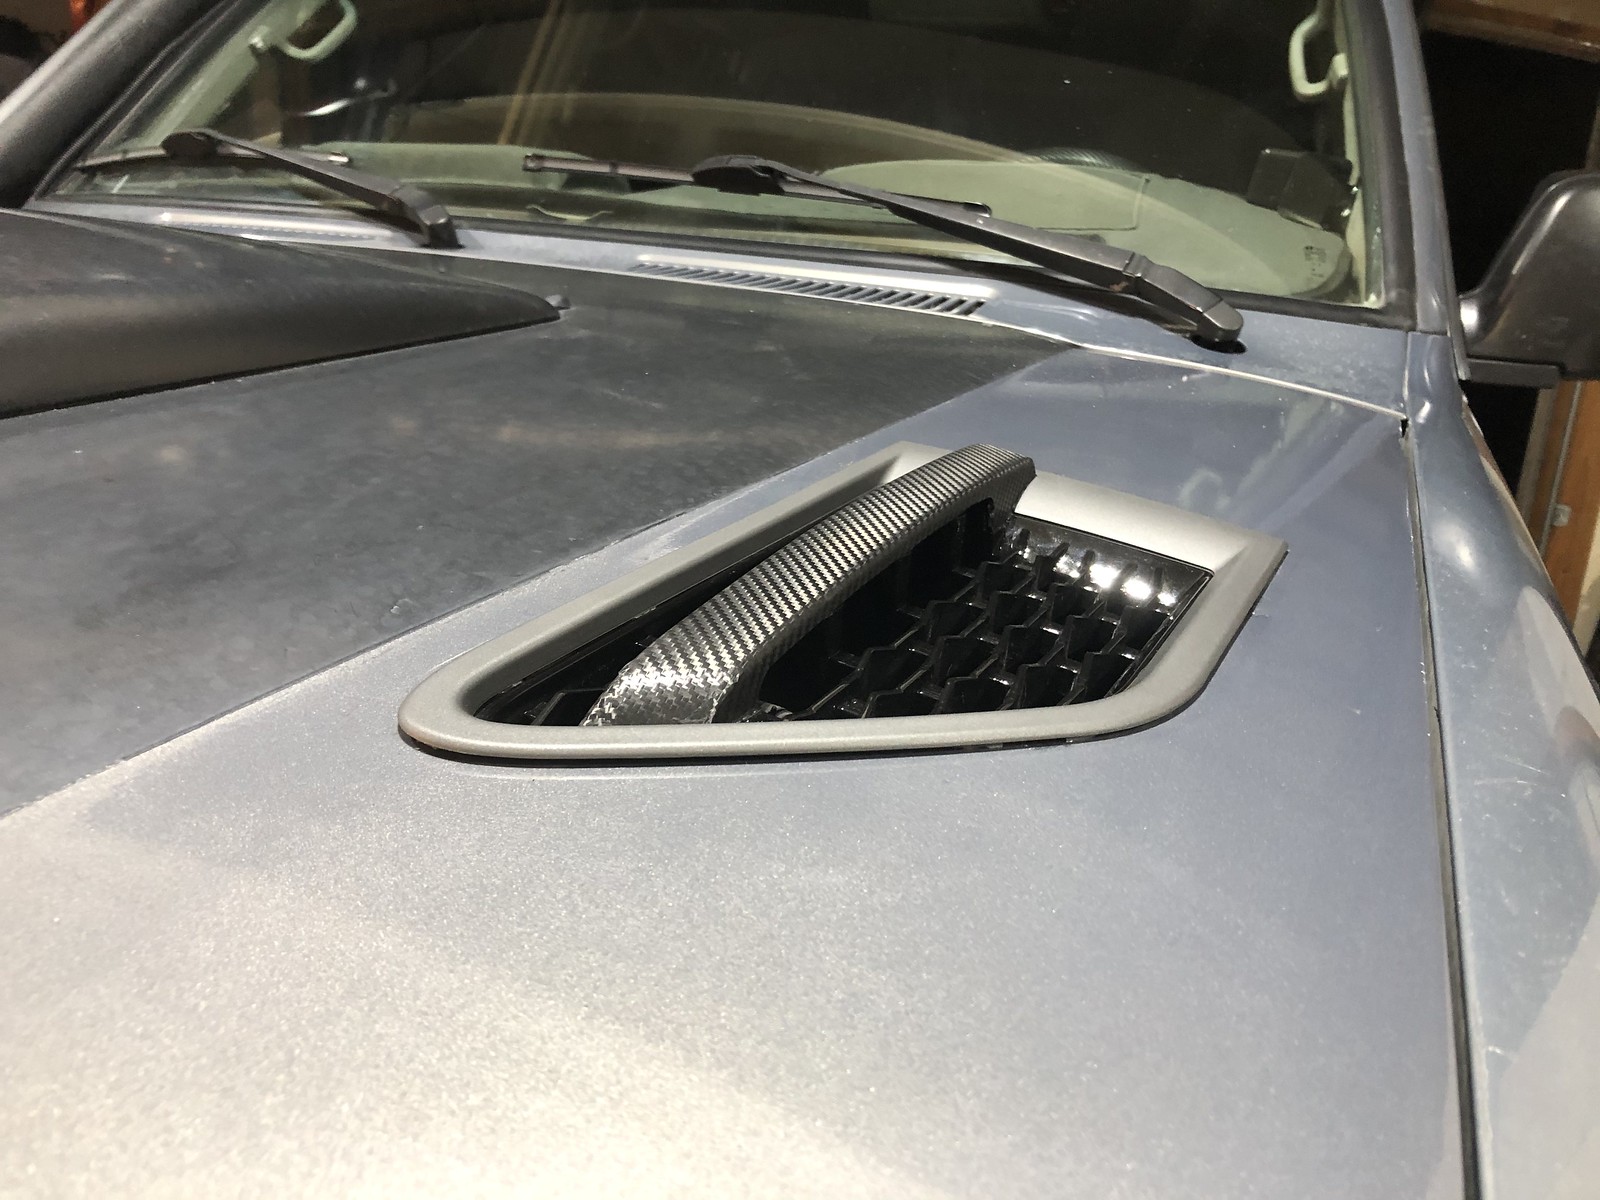 Hoodvents
 Hoodvents
 Hoodvents
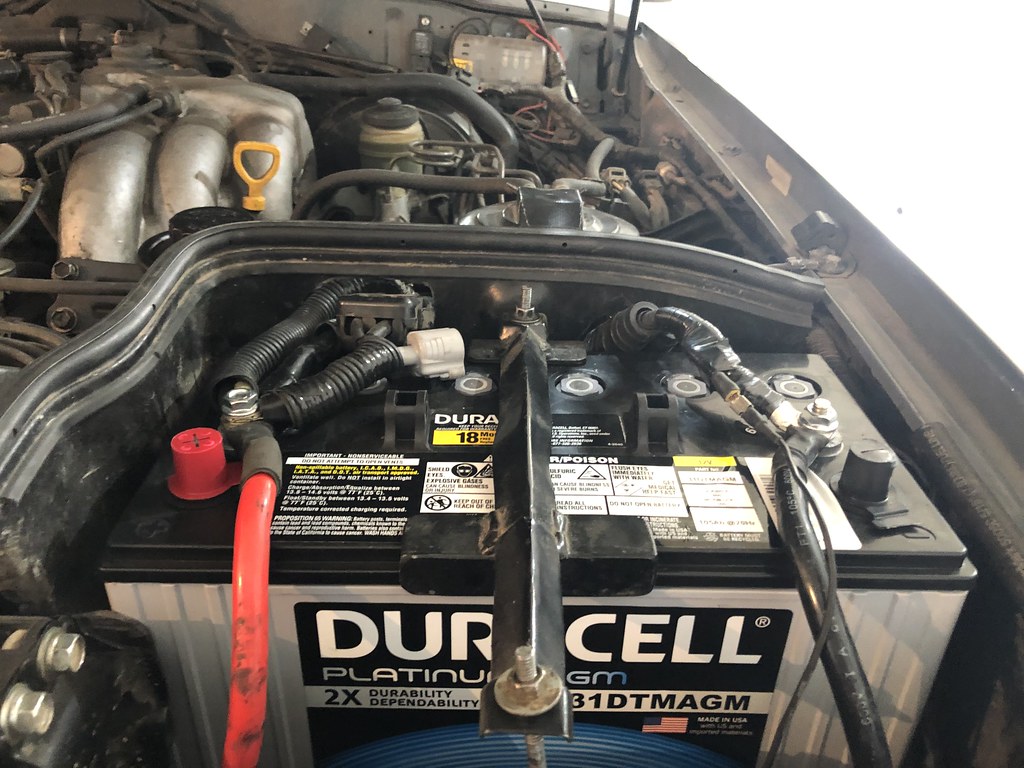 Untitled
 Untitled
 Untitled
 Untitled
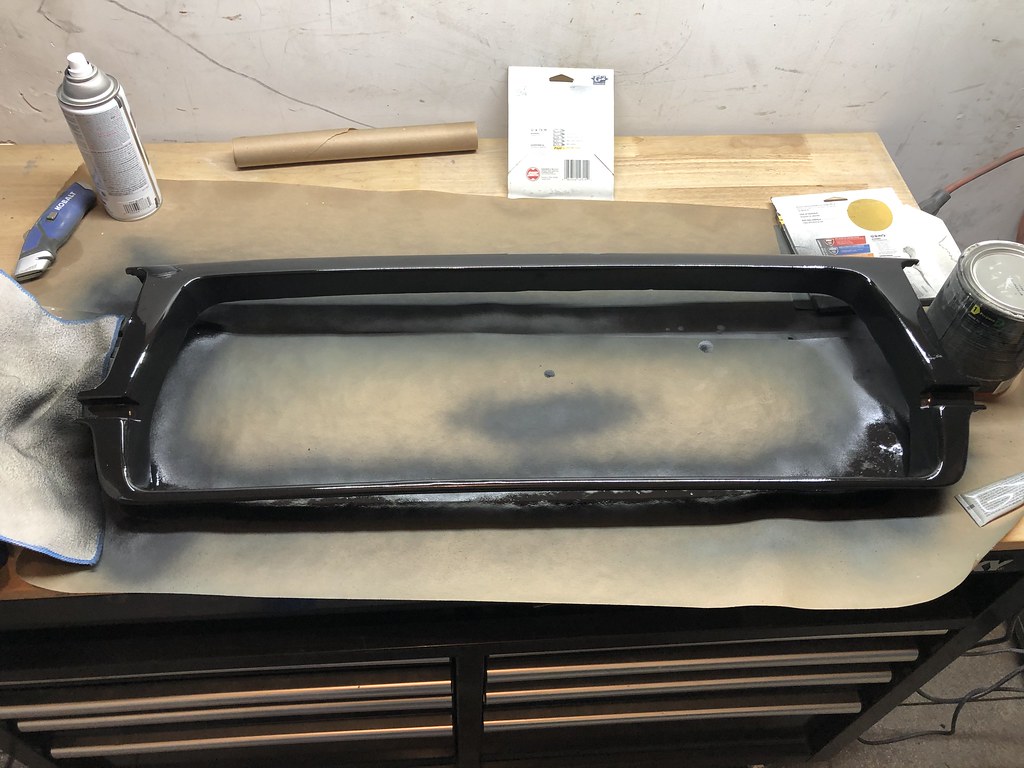 Untitled
 Untitled
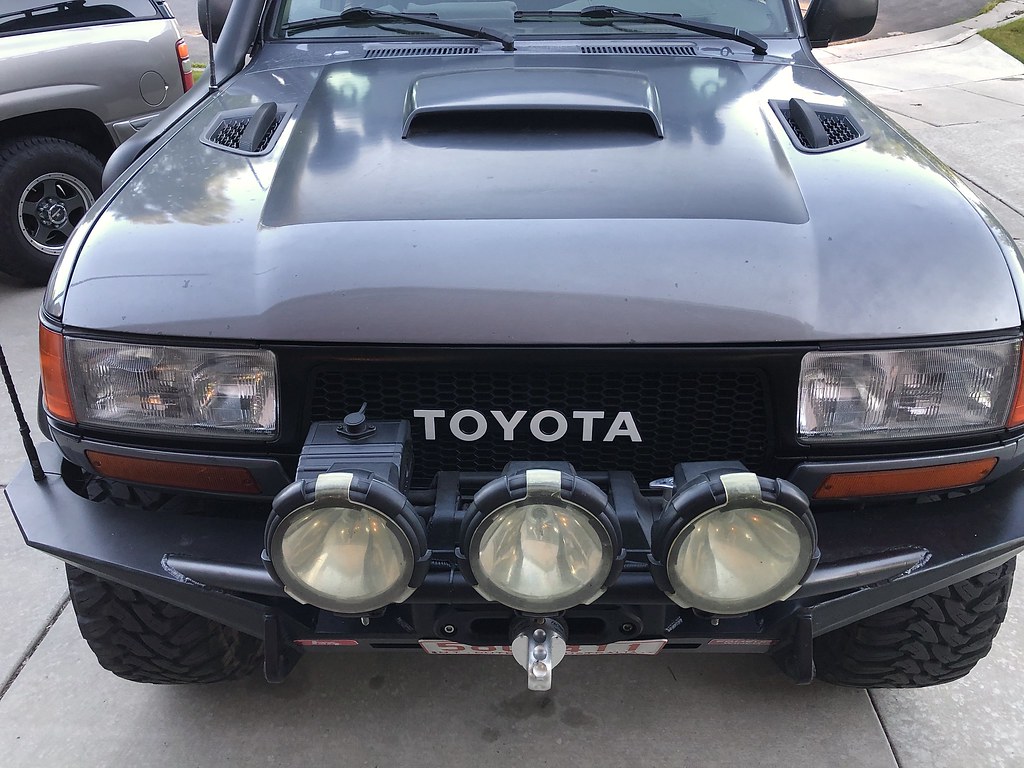 Untitled
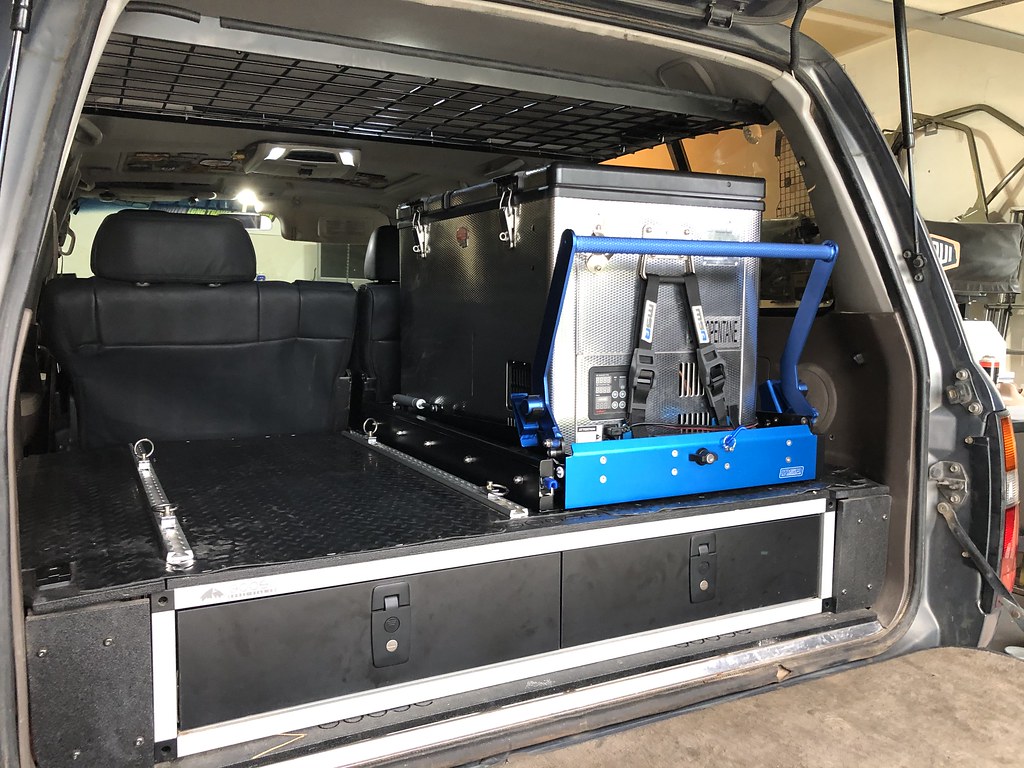 Untitled
 Untitled
 Stage5 Slinky
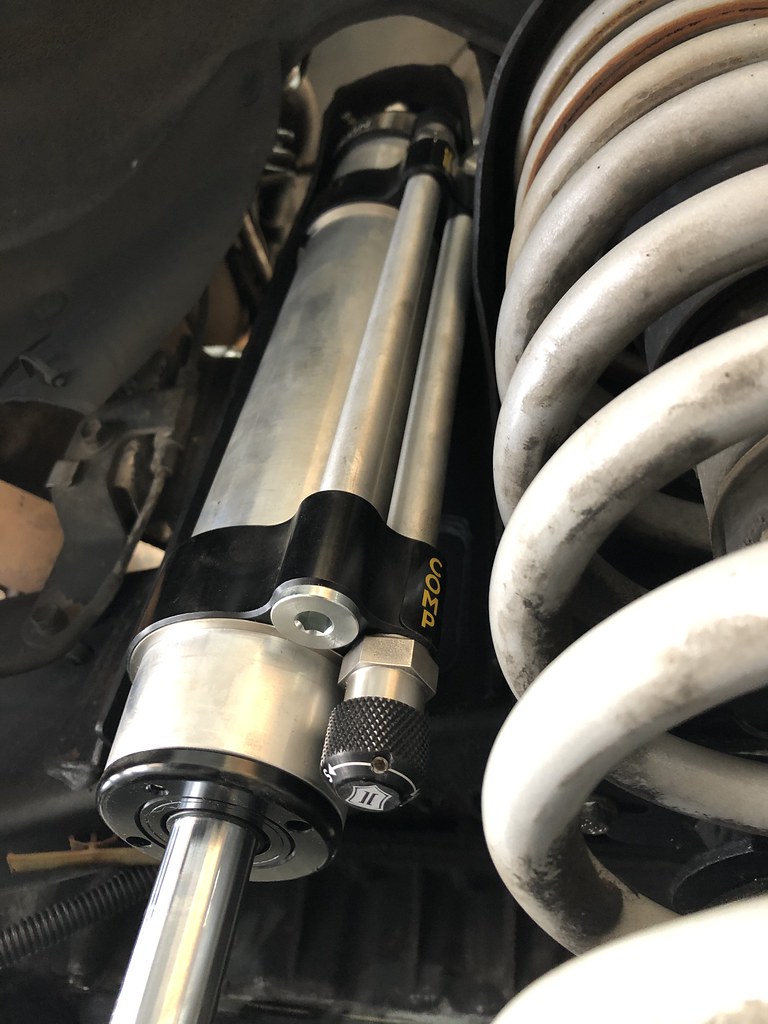 Stage5 Slinky