Northern Explorer
Explorer
New Exterior Light (more pictures then what should be necessary)
My camper came equipped with an exterior light but I wanted to add one that could be switched on from the inside. I added something similar to my Fleetwood Neon when I had it. It comes in handy for viewing critters and other things that go bump in the night.
The first thing I looked for was a place to mount it. I decided to mount it underneath the cab over bed. Then I had to figure out a clean way to run the wire. The driver’s side ended up working out the best.
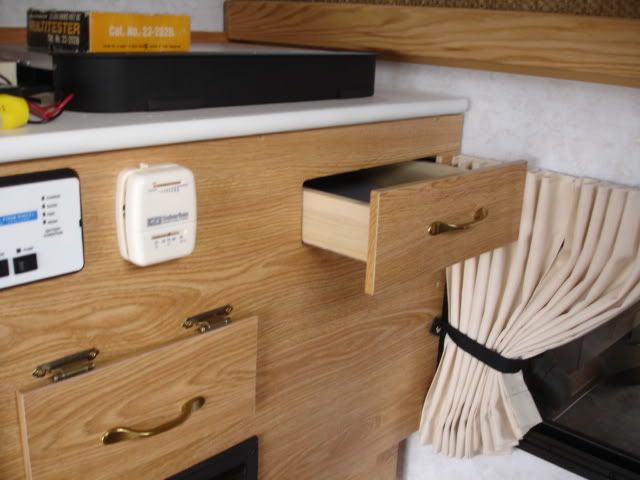
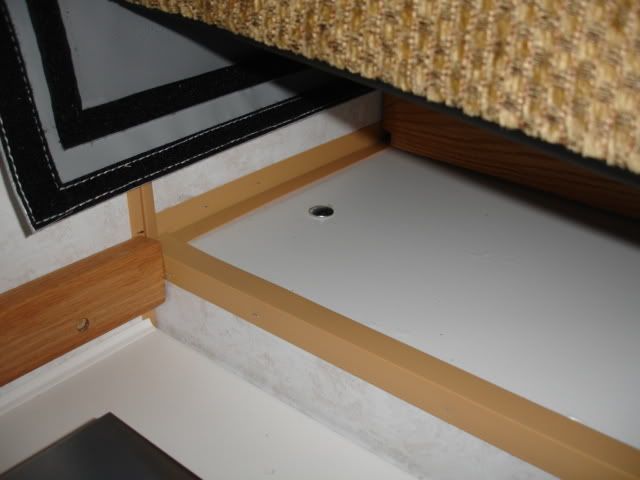
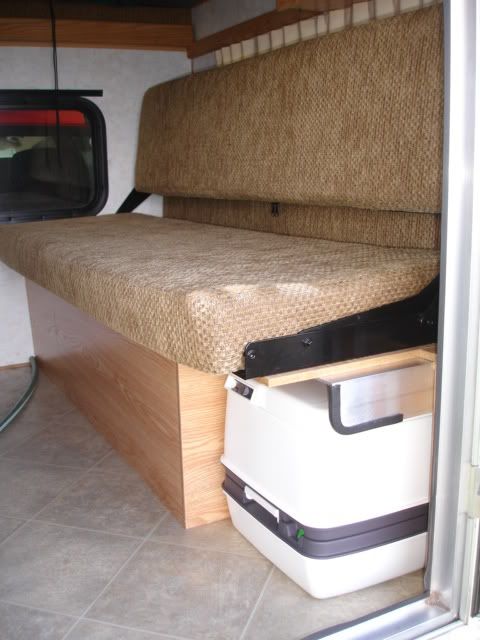
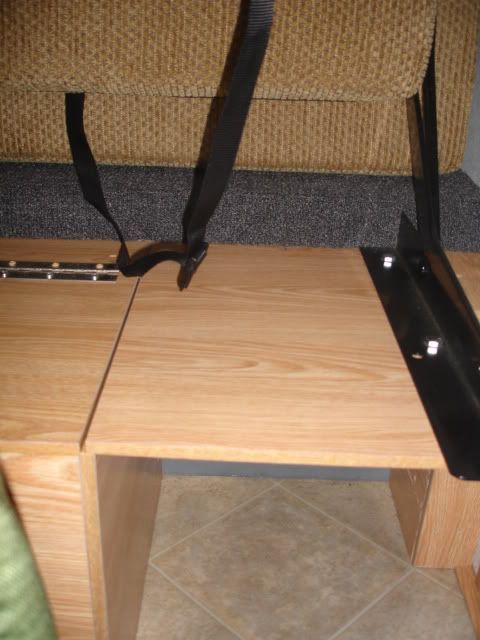
I pulled out this drawer to take a look inside
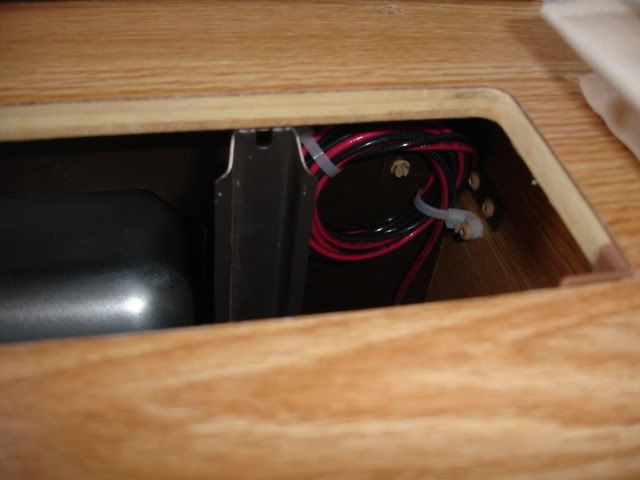
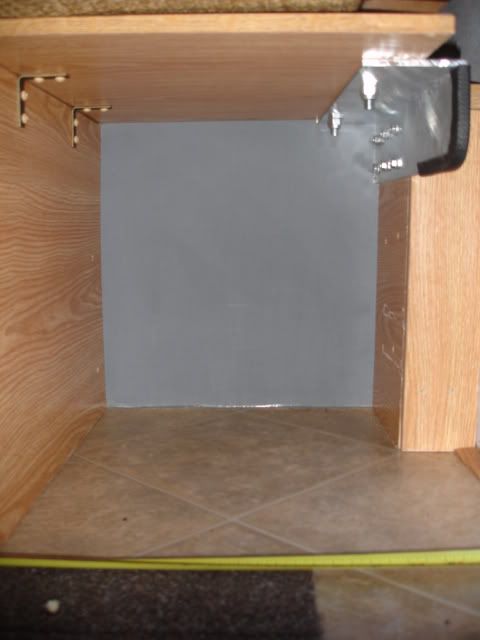
and found this unused coil of wire.
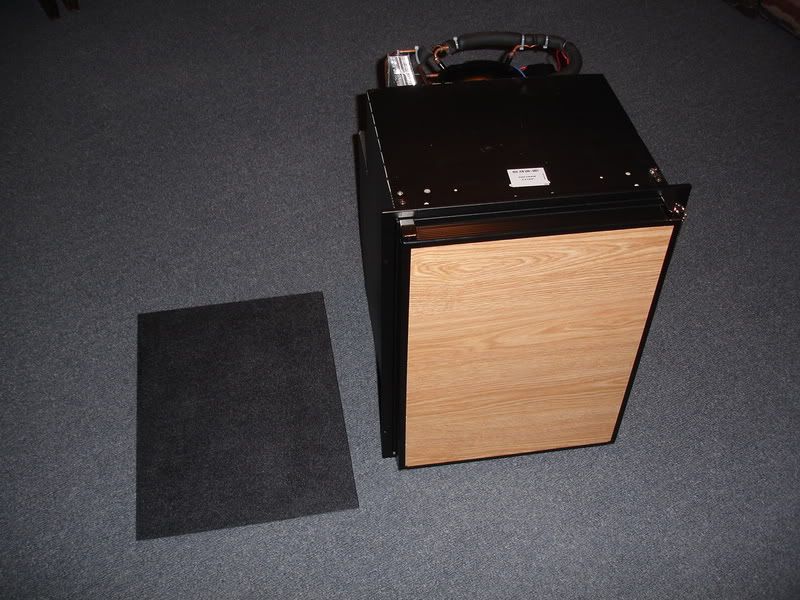
Four Wheel Campers has listed that all campers come pre wired for a furnace, refrigerator, power roof vent fan, solar panel and electric water pump weather you order these options or not. I don’t think this wire belongs to any of those. My best guess would be that it’s for an optional stereo. So my initial plan was to use this wire. The problem is that the wires are not hot and I couldn’t trace back all the way to see where the other end is in order to hook it up to the fuse box. I ended up just running fresh wire, which really wasn’t a problem anyway.
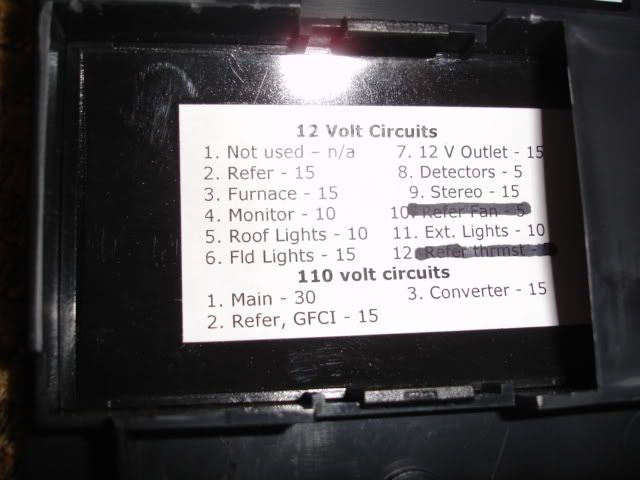
I plugged into the location marked stereo on the fuse box.
Front of fuse box with cove removed.
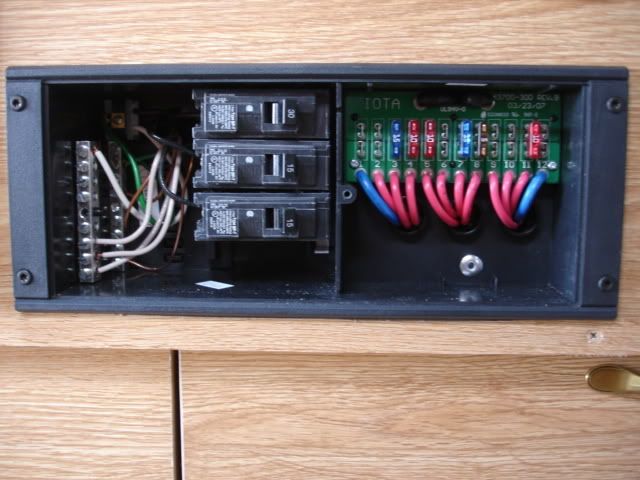
The fuse box itself has to be pulled out slightly in order to access all the wire connections.
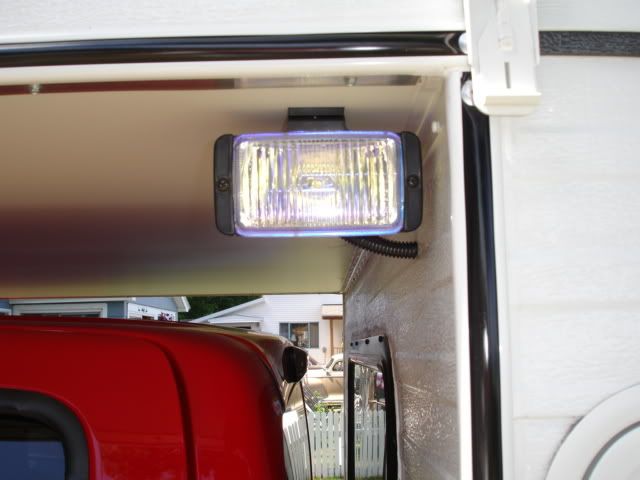
Now for the light.
I purchased a fog light that I thought would look good in the location that I picked out. In hindsight this should have been a floodlight but the fog light should be fine for the limited use that I have planned for it.
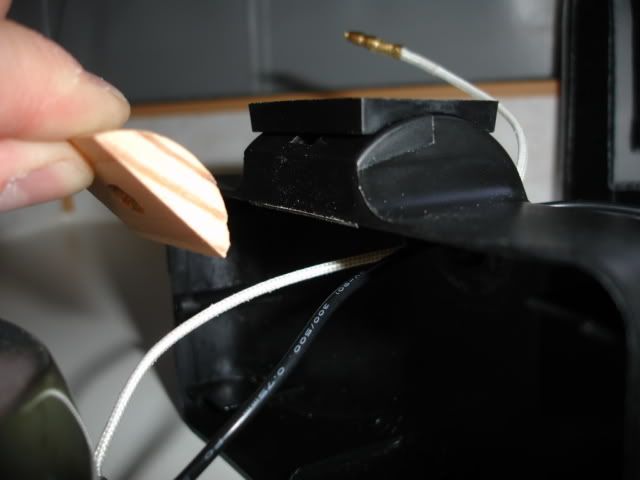
One modification was required. Normally the head of the bolt sits inside the light housing and the nut is on the outside. This wouldn’t work on account that the bolt would have been sticking up into the area where the slide out bed sits. I purchased a carriage bolt and lock nut and cut the bolt to just the right size. I also had to make an adapter out of a large wooden dowel rode so that the backwards-facing nut wouldn’t crush the light housing.
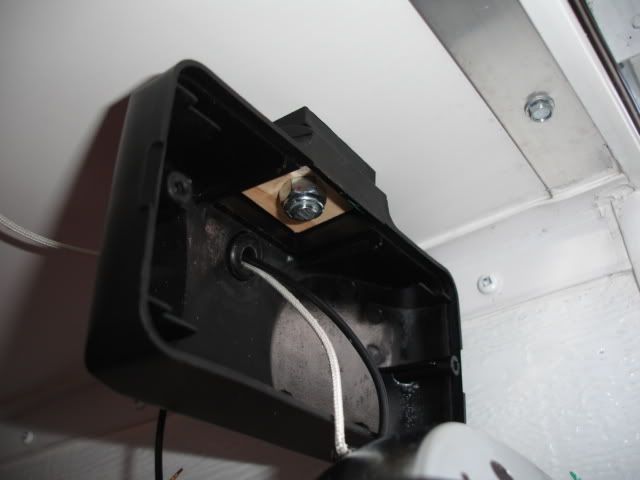
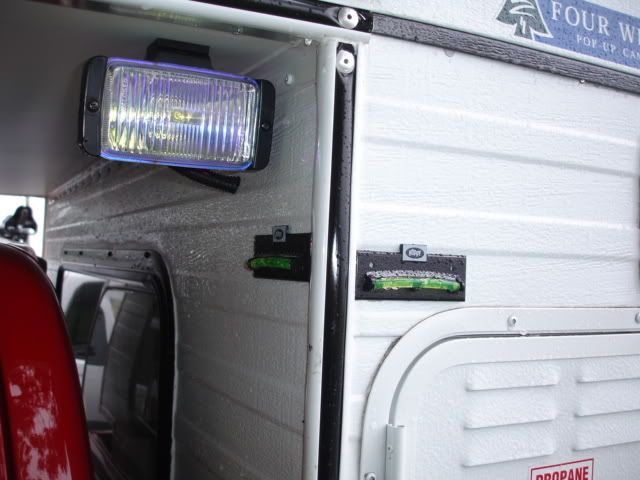
Carriage bolt location under the slide out portion of the bed.
Wooden adapter
Put together
Final results (side)
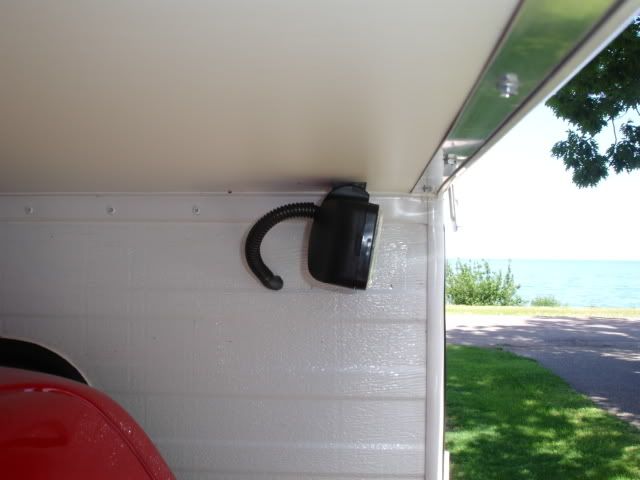
Final results (front)
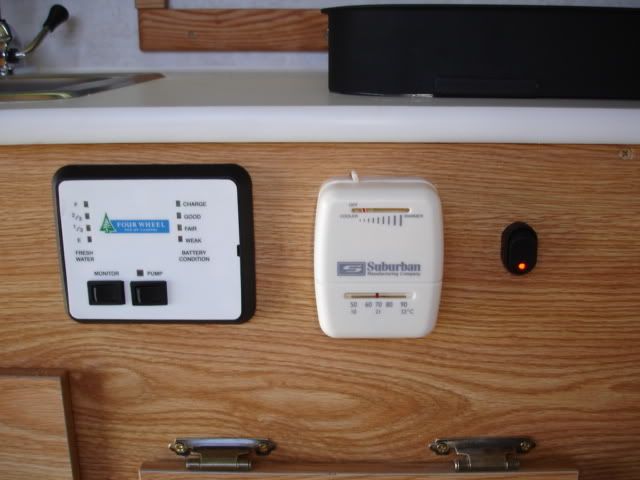
Location of switch
My camper came equipped with an exterior light but I wanted to add one that could be switched on from the inside. I added something similar to my Fleetwood Neon when I had it. It comes in handy for viewing critters and other things that go bump in the night.
The first thing I looked for was a place to mount it. I decided to mount it underneath the cab over bed. Then I had to figure out a clean way to run the wire. The driver’s side ended up working out the best.
I pulled out this drawer to take a look inside
and found this unused coil of wire.
Four Wheel Campers has listed that all campers come pre wired for a furnace, refrigerator, power roof vent fan, solar panel and electric water pump weather you order these options or not. I don’t think this wire belongs to any of those. My best guess would be that it’s for an optional stereo. So my initial plan was to use this wire. The problem is that the wires are not hot and I couldn’t trace back all the way to see where the other end is in order to hook it up to the fuse box. I ended up just running fresh wire, which really wasn’t a problem anyway.
I plugged into the location marked stereo on the fuse box.
Front of fuse box with cove removed.
The fuse box itself has to be pulled out slightly in order to access all the wire connections.
Now for the light.
I purchased a fog light that I thought would look good in the location that I picked out. In hindsight this should have been a floodlight but the fog light should be fine for the limited use that I have planned for it.
One modification was required. Normally the head of the bolt sits inside the light housing and the nut is on the outside. This wouldn’t work on account that the bolt would have been sticking up into the area where the slide out bed sits. I purchased a carriage bolt and lock nut and cut the bolt to just the right size. I also had to make an adapter out of a large wooden dowel rode so that the backwards-facing nut wouldn’t crush the light housing.
Carriage bolt location under the slide out portion of the bed.
Wooden adapter
Put together
Final results (side)
Final results (front)
Location of switch
Last edited:

")