Stan@FourWheel
Explorer
Hey Northern Explorer
are you sure you even need the exterior vents cut on the outside of your four wheel camper for that particular refrigerator ??
most of the "12v only" compressor refrigerators I have seen, and that we have installed here in the shop, don't require exterior vents to be cut in the side of the camper (they usually cool to the inside of the camper).
you might be able to save yourself some time, hassle, and $$.
Try calling Chicali in our shop when you have time and ask him what they are doing.
If your refrigerator has a "propane" mode then you will need to vent it for sure ! But if it is only 12V, you might not need to.
They are open Monday - Friday 8:00am - 3:30pm (California Time)
800-242-1442
Ask for Chicali
=================================================
.
are you sure you even need the exterior vents cut on the outside of your four wheel camper for that particular refrigerator ??
most of the "12v only" compressor refrigerators I have seen, and that we have installed here in the shop, don't require exterior vents to be cut in the side of the camper (they usually cool to the inside of the camper).
you might be able to save yourself some time, hassle, and $$.
Try calling Chicali in our shop when you have time and ask him what they are doing.
If your refrigerator has a "propane" mode then you will need to vent it for sure ! But if it is only 12V, you might not need to.
They are open Monday - Friday 8:00am - 3:30pm (California Time)
800-242-1442
Ask for Chicali
=================================================
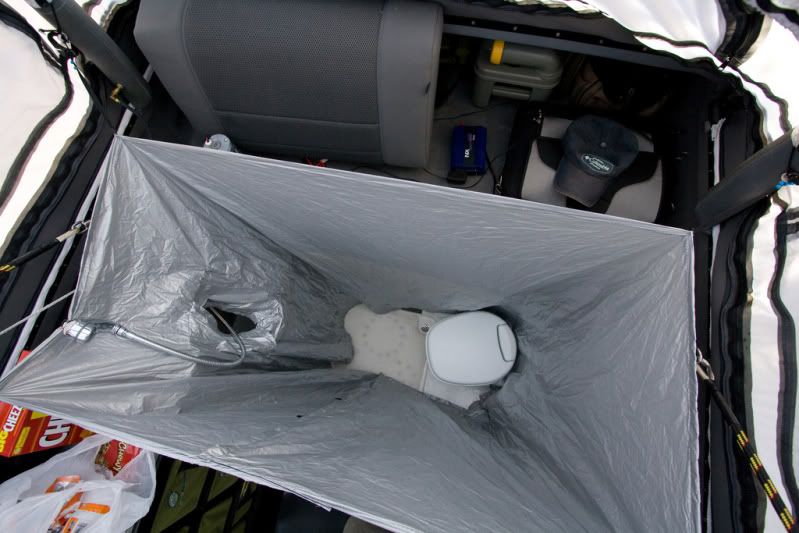
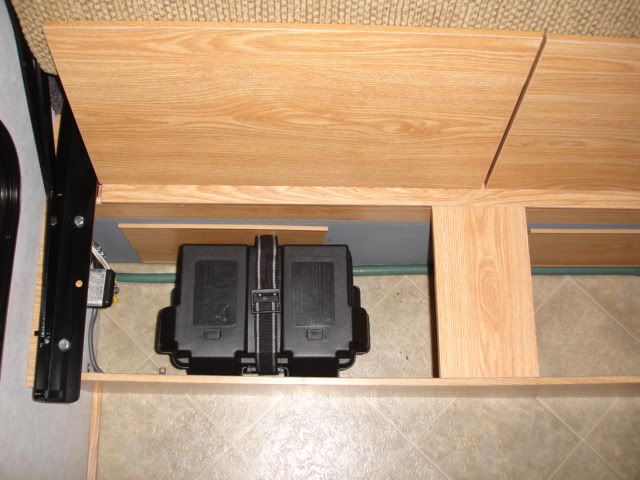
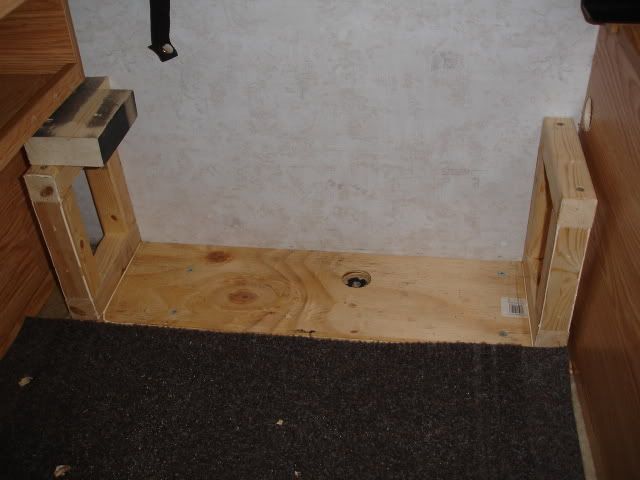
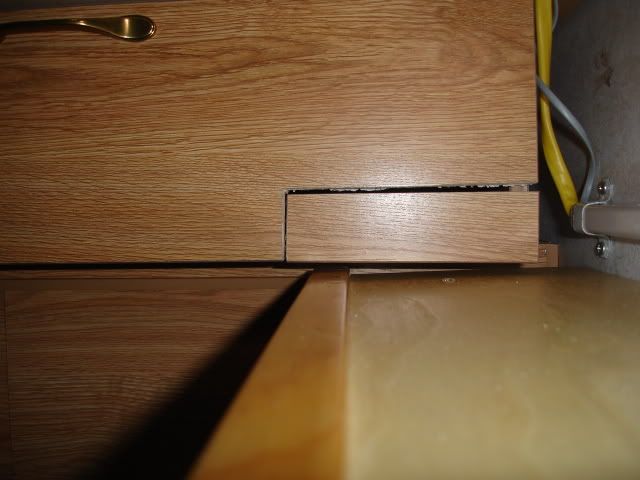
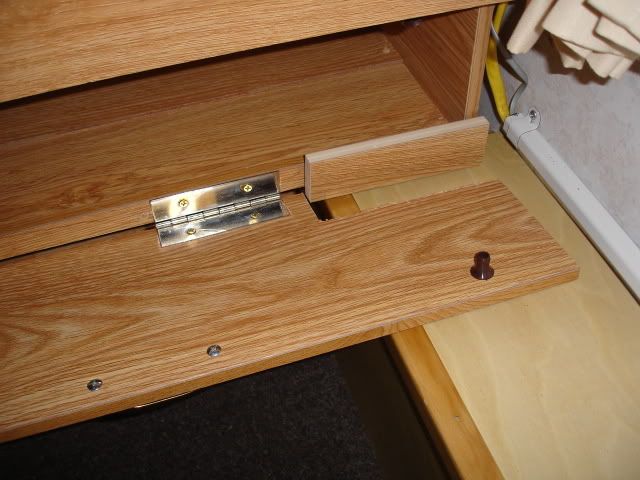
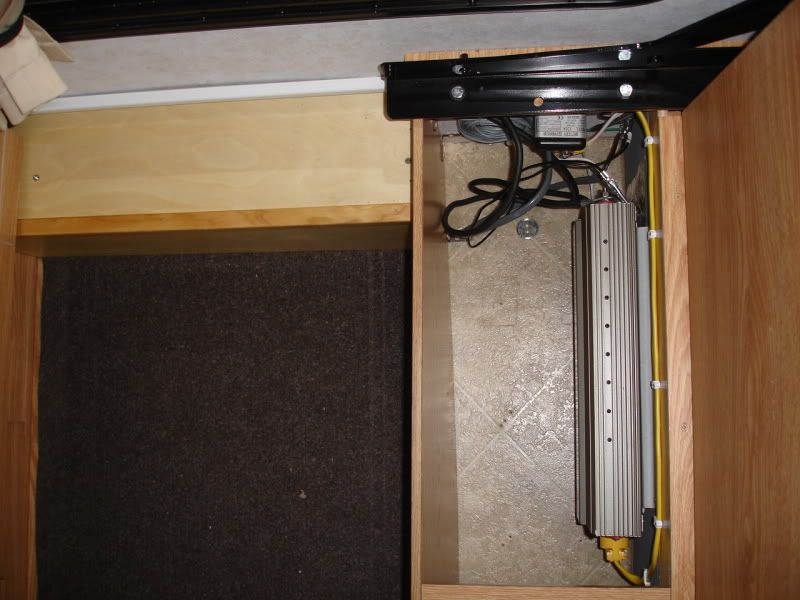
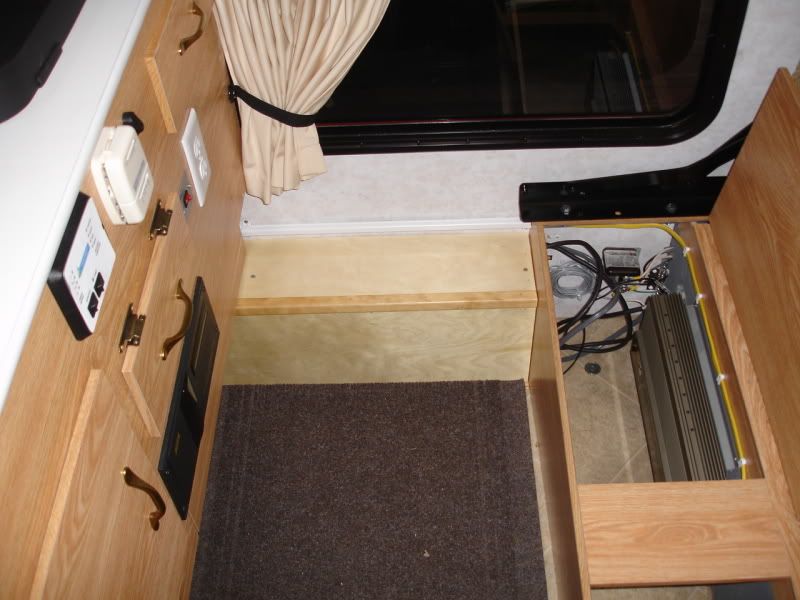
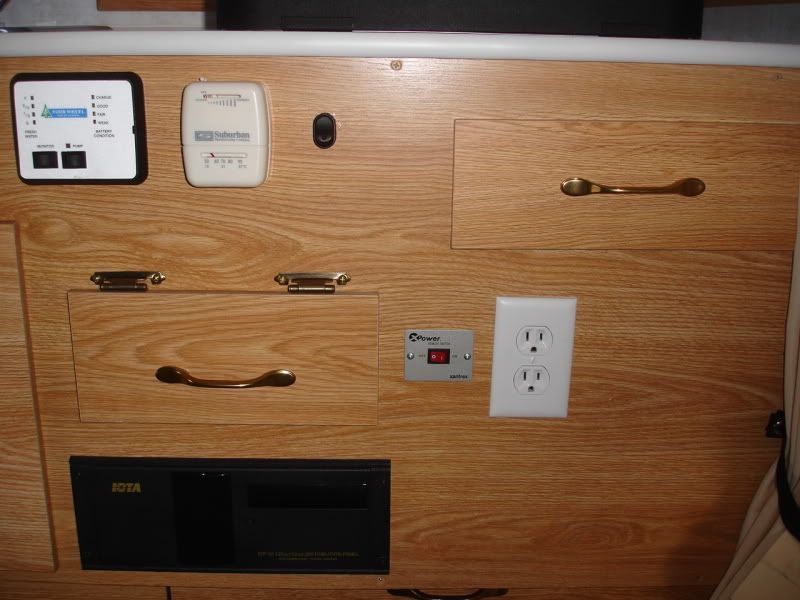
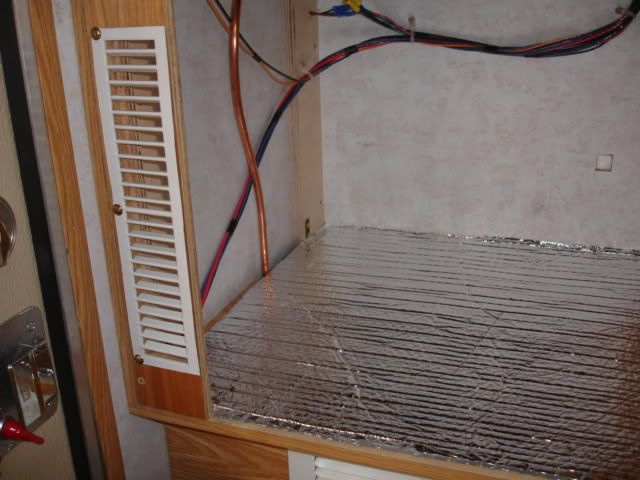
The rest of the install will come later this spring when it warms up. I still need to cut holes on the outside of my camper for the vents, frame in the refrigerator, and fit the second battery that I have on order.
.
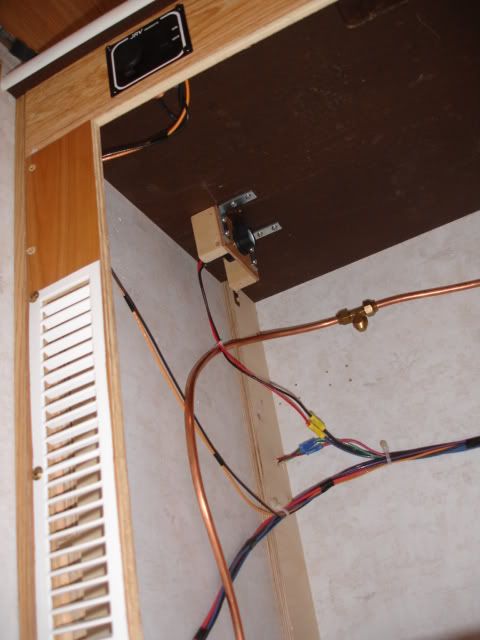
") I purchased a cheap indoor outdoor digital thermometer from Wal-Mart in order to keep an eye on the refrigerator temperature. I mounted it on Velcro so I can take it into the cab of the truck when I'm driving.
I purchased a cheap indoor outdoor digital thermometer from Wal-Mart in order to keep an eye on the refrigerator temperature. I mounted it on Velcro so I can take it into the cab of the truck when I'm driving.