2006 Fleetwood Neon - Family Adventure Basecamp

Jeepinaaron

Adventurer
Suspension Modifications

Next in line to be detailed are my suspension modifications. I am not sure what to think about the stock suspension which was on the trailer. It was a leaf spring which went eye to eye to the frame, with NO shackle! So that obviously worked well and caused the trailer to bounce going down the highway with every bump.

I followed Badandy's build and went with the same springs that he did with. Dinoot trailers offers a 29" 1150lbs spring set, along with a shackle kit. I purchased this and provided the components to HCORE4x4 for an installation. He hacked off some of the stock components and installed the new springs.


For shocks I told Aaron at HCORE4x4 to use his best judgement and imagination. He opted to outboard the shocks to keep them out of the way for trail obstacles.


The trailer rides awesome now. I've taken it down some not so smooth dirt roads and I can see the suspension work properly, and there are no more bone jarring noises coming from the trailer any more on bumps.
 

Jeepinaaron

Adventurer
Renogy 100w Solar Panel

I know that a lot of my travels will take me places which are "off the grid". The trailer runs on a 12v marine battery to power the lights, fan for the heater, electric brakes, and any accessories which I may add. I decided to add a solar panel to the roof for constant off the grid power. Amazon has been my go to store for this project as they sell everything. I located this 
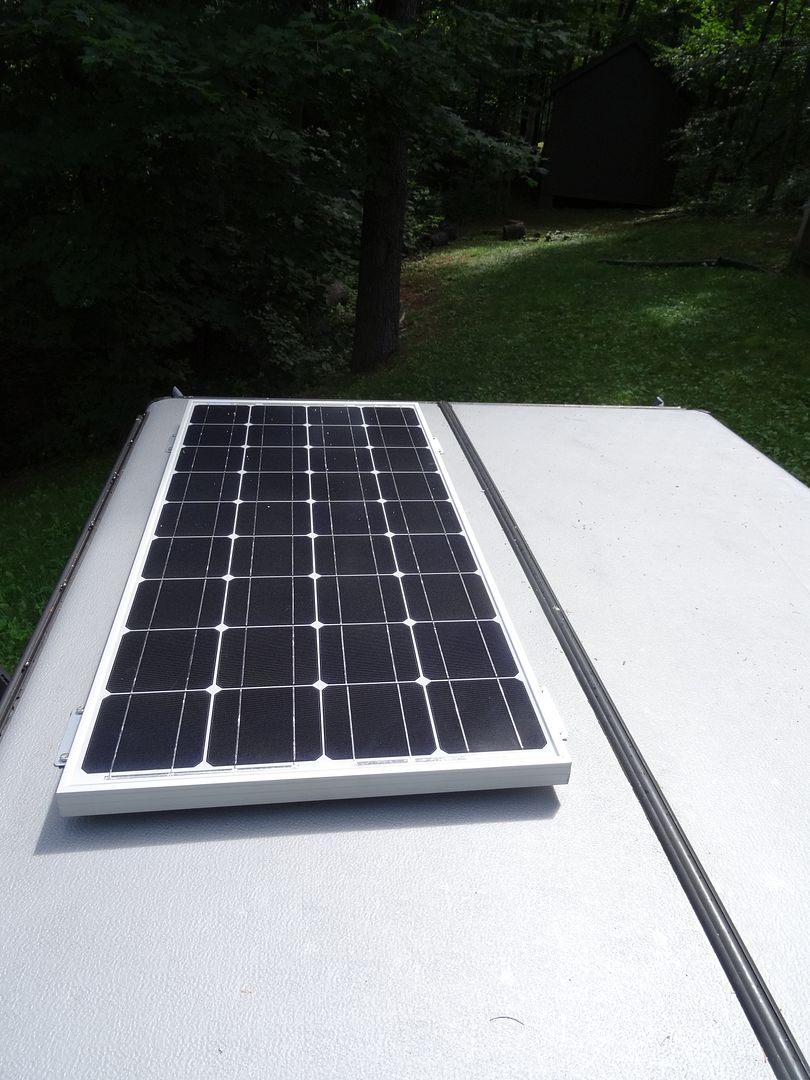
Renogy 100w Solar Panel with a charge controller. It seemed like a complete kit which included the panel, mounting brackets, charge controller, and hopefully sufficiently long cables.

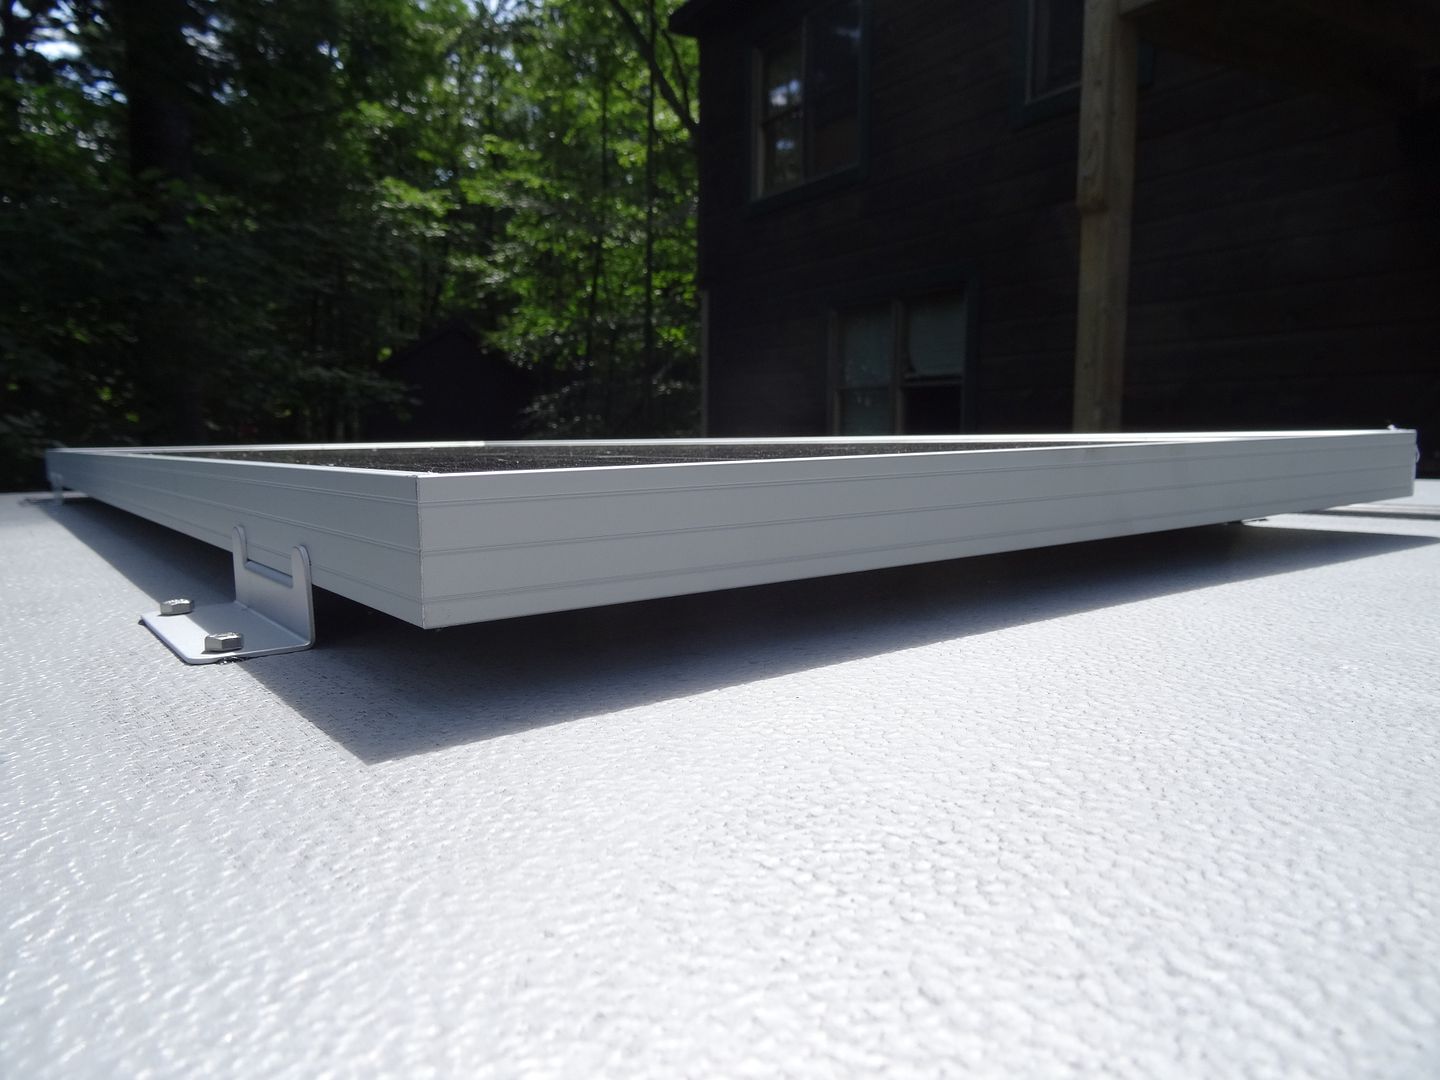
I started with mounting the panel to the roof. I chose a permanent roof mount so that it will continuously charge even while I'm traveling, and also having to put out the solar panel and point it towards the sun is just one more thing to worry about when setting up camp. I mounted the panel towards the rear on the passenger's side. I drilled through the roof and utilized the supplied brackets to mount it. I discovered that the roof is constructed with the thin metal outer skin, with a styrofoam type middle, and ceiling board. I utilized fender washers on the inside to distribute the lift forces the panel may create. It is a solid mount with 8 bolts. Be careful to not over tighten the bolts and crush the ceiling. I also utilized silicone sealant under the brackets on the bolt holes and also on top of the bolts. To run the wires through, I drilled one hole in the roof under the panel and ran the wires through. This was also heavily sealed.


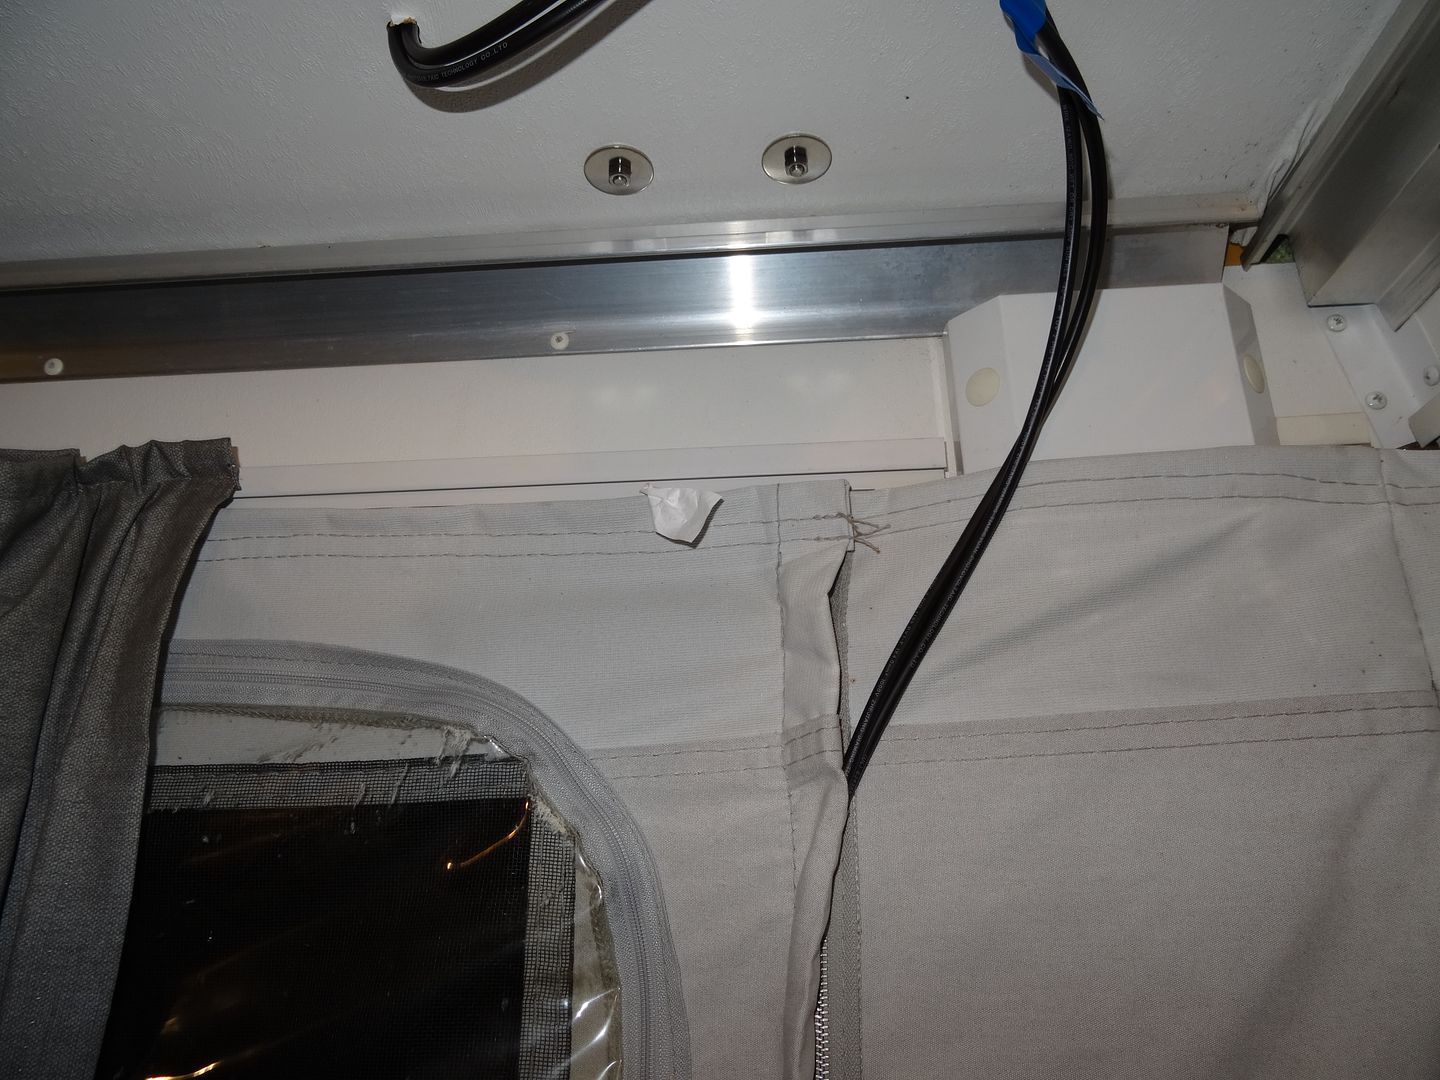
One thing I was trying to figure out was how to run the wires in a manner where they would be out of the way when the camper is collapsed. I noticed on the driver's side of the trailer the wires for the ceiling lights were ran through a channel along an outer zipper in the fabric. It then entered into the box in a manner that would need to be completed during the construction of the trailer. I followed this same suit, and slid holes in the top and bottom of a channel which went along the zipper on the passenger side. I brought the wires out at the bottom. In the picture securing the wires has not been completed, as I don't have the appropriate supplies at the moment, they will not be hanging free like this when I am finished.


I then ran the wires along the bottom of the pull out side, and drilled a hole and brought them through the top of one of the cabinets. I followed the interior of the cabinets to a location in the under the bench storage area. This is where I mounted the charge controller. I chose here because I don't have a better location to mount the box near the battery, and the supplied cables were a perfect length for this location mounting. The cables which went to the battery were a perfect length as were the cables to the panels. Be sure and follow the instructions and connect the battery to the charge controller first so the system can determine if it is a 12 or 24v system.


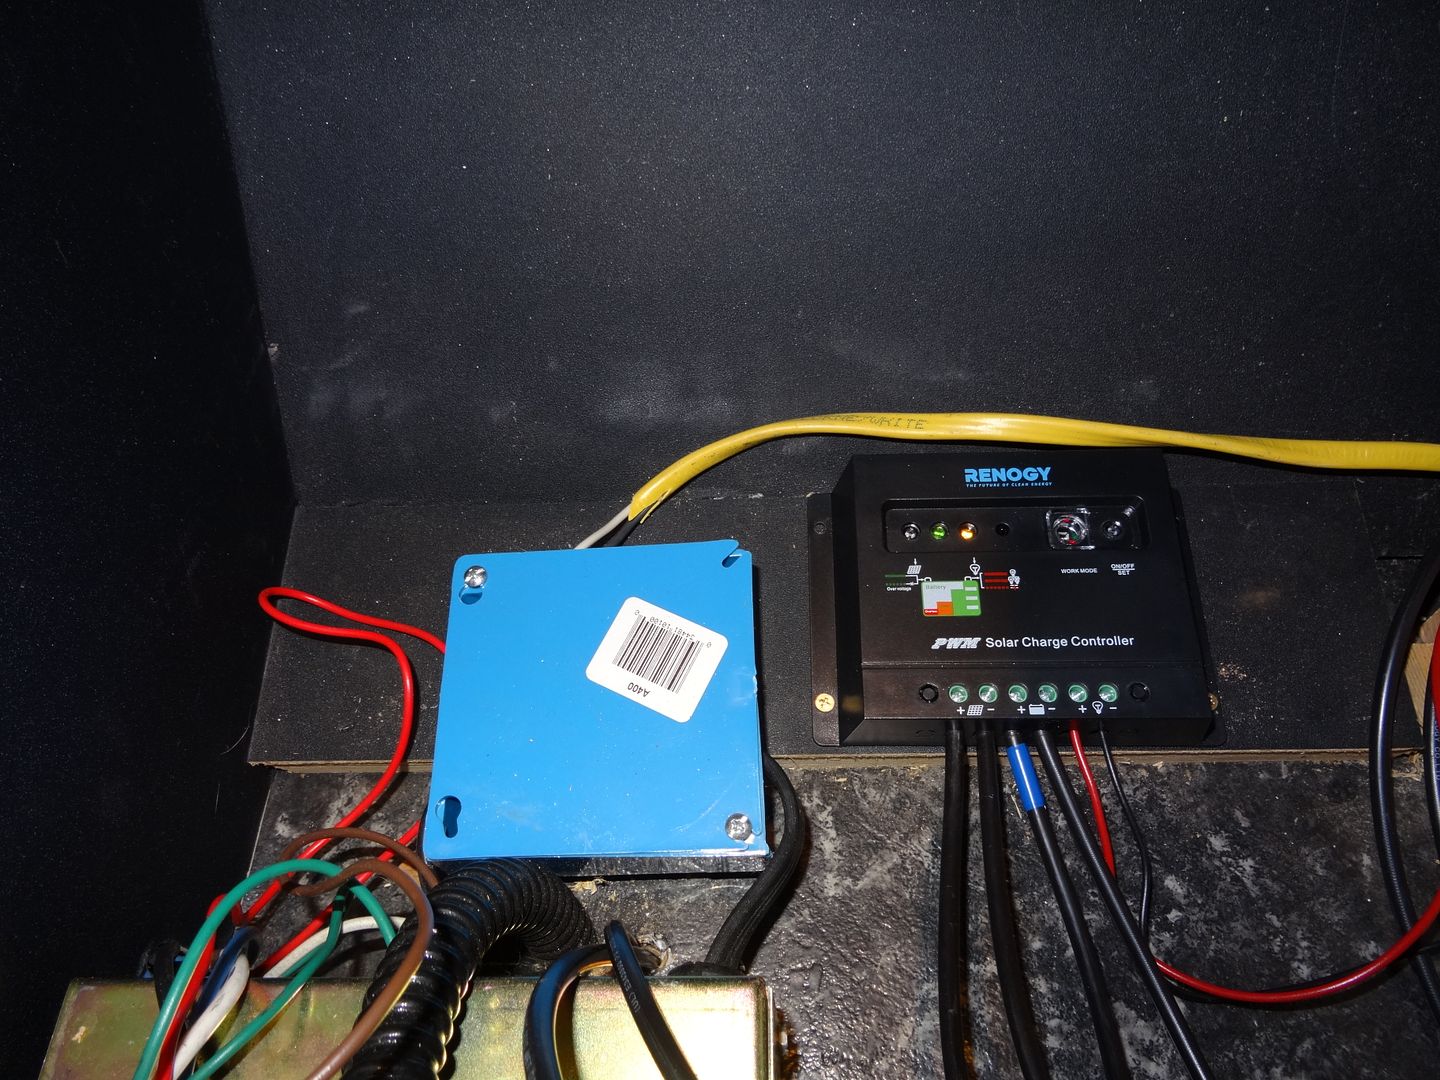
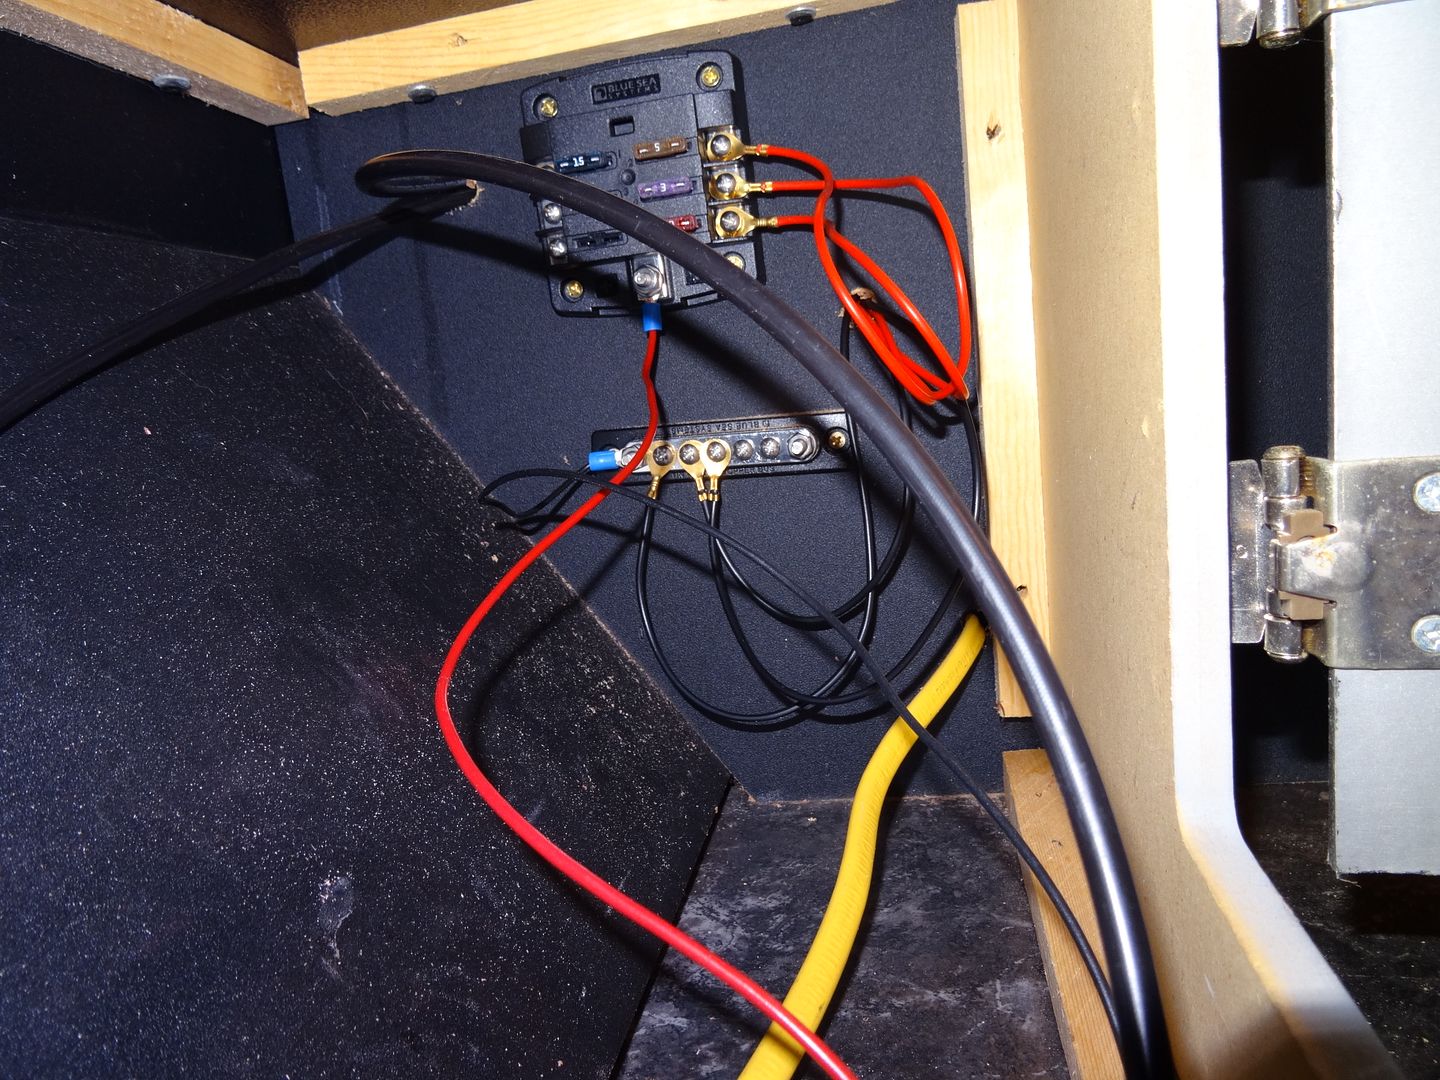
You will notice on the charge controller there is a positive/negative output for accessories straight off the controller. This keeps me from needing to run power from the battery, since the battery already provides power to the charge controller. I believe it supplies up to 20 amps, and will alert you if the draw is too great. I wired from this output to my fuse block and ground block for accessories. These blocks were located in the center storage compartment. Again, the wires are still a mess. I chose both a Blue Sea Systems fuse block and ground block.


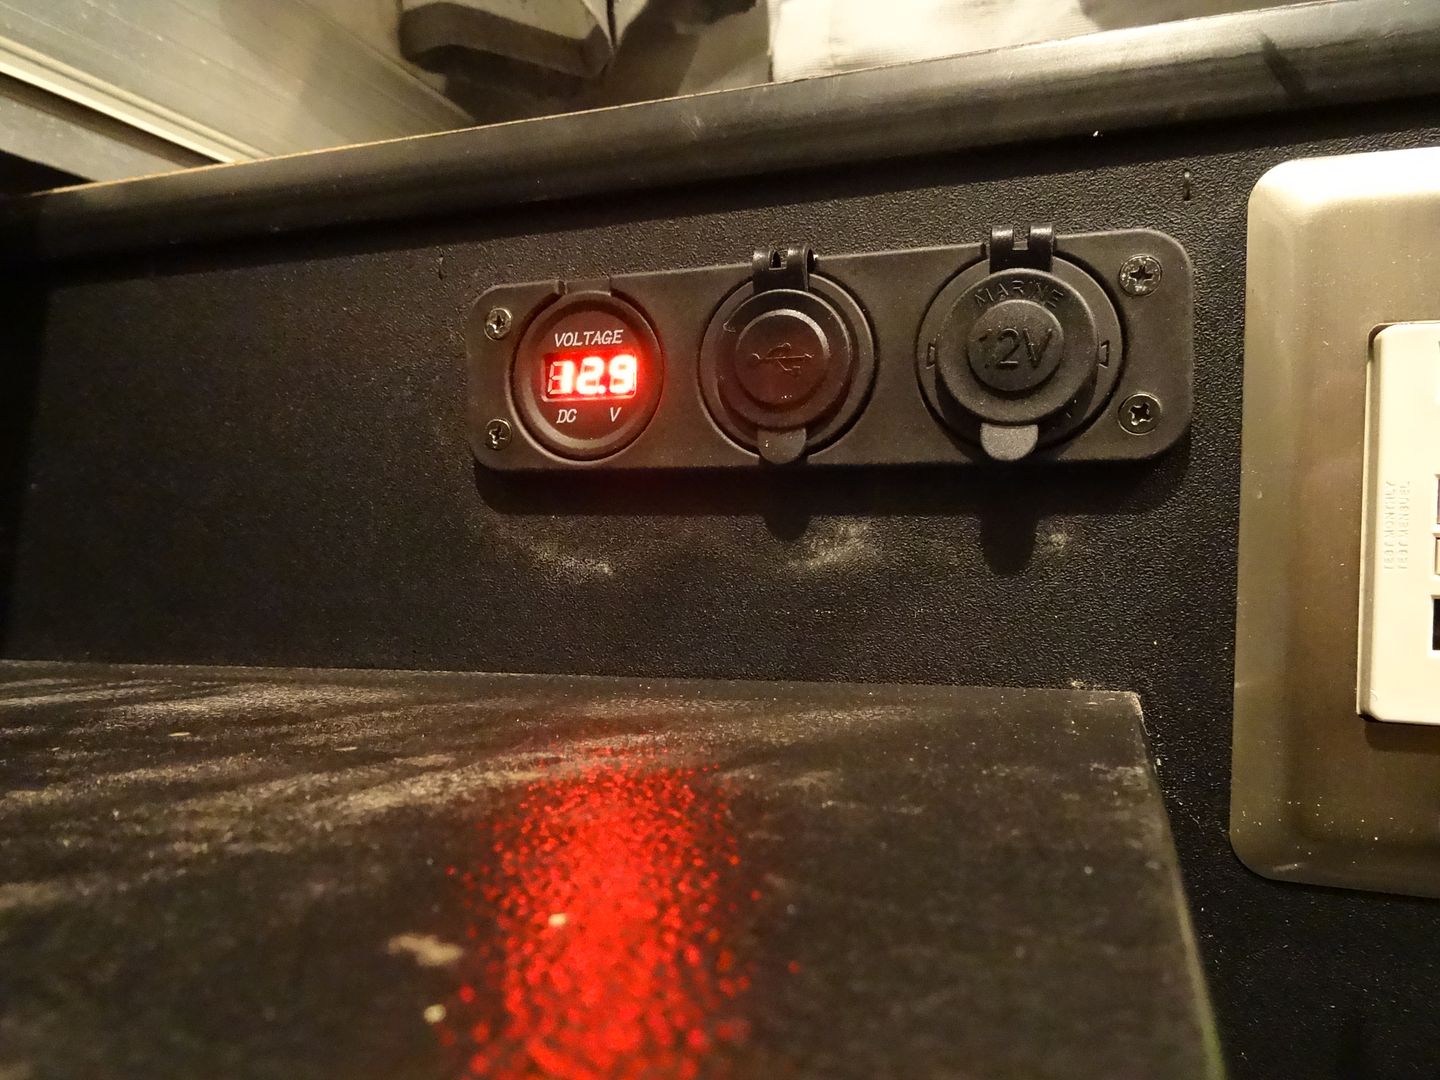
The first accessory I knew I needed would be 12v power to charge cell phones, iPad's, etc. I chose this one from Amazon as it includes both USB, 12v, and a voltage meter so I can monitor the status of the battery. I mounted it near the AC outlet, which is also close and convenient to the fuse block so I could utilize the supplied wires to a plug and play set up.


MountainD

Adventurer
I was looking at adding a charge meter but I don't want the light to always be on. Is yours always on or is there's button? Ideally I want it to show volt but only back lit when I hit a button-- is that how they work? Otherwise I can add a switch, I suppose...
 

jmnielsen

Tinkerer
I was looking at adding a charge meter but I don't want the light to always be on. Is yours always on or is there's button? Ideally I want it to show volt but only back lit when I hit a button-- is that how they work? Otherwise I can add a switch, I suppose...

Pretty sure you would just need to add a switch.
 

Jeepinaaron

Adventurer
I was looking at adding a charge meter but I don't want the light to always be on. Is yours always on or is there's button? Ideally I want it to show volt but only back lit when I hit a button-- is that how they work? Otherwise I can add a switch, I suppose...

This one is always on. Yea, momentary switch would be the way to go.
 

bugnout

Adventurer
Nice job, that should keep you powered up on the trail.

I discovered that the roof is constructed with the thin metal outer skin, with a styrofoam type middle, and ceiling board. I utilized fender washers on the inside to distribute the lift forces the panel may create. It is a solid mount with 8 bolts. Be careful to not over tighten the bolts and crush the ceiling. I also utilized silicone sealant under the brackets on the bolt holes and also on top of the bolts. To run the wires through, I drilled one hole in the roof under the panel and ran the wires through. This was also heavily sealed.

I'd like to add roof rack/cross bars but was worried about this very issue. I don't think the roof is strong enough for any significant load. I'm thinking that an exterior frame that transfers the weight to the sides of the cap and then rest that frame on supports on the box should transfer the loads off the roof at least when being pulled. Not as worried about the static loads when the camper is set up.
 

Jeepinaaron

Adventurer
Nice job, that should keep you powered up on the trail.


I'd like to add roof rack/cross bars but was worried about this very issue. I don't think the roof is strong enough for any significant load. I'm thinking that an exterior frame that transfers the weight to the sides of the cap and then rest that frame on supports on the box should transfer the loads off the roof at least when being pulled. Not as worried about the static loads when the camper is set up.

If you put a good deal of bolts, with something to spread the load across the inside you would probably be ok. Either fender washers or some sort of metal plate. I have read about Fleetwood's having roof racks which were just put on with silicone from the factory, haha. If I were to do it, I would run a track like Frontrunner or Yakima, as opposed to just "feet" on the roof.
 

Forum statistics

Threads
185,911
Messages
2,879,535
Members
225,497
Latest member
WonaWarrior
Top