Thoryota
Observer
great work thor
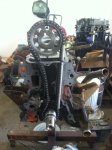
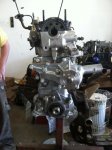
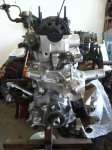
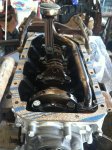
Thanks shabba. In the next couple of weeks hopefully I will have it back on the road. As much as I like working on it I want to get out and enjoy it.
great work thor
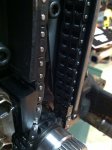
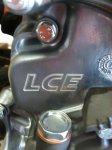
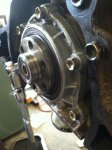
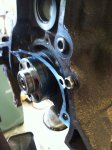
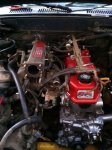
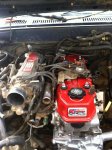
Build looks great! I ran a LC Dual Row on my 4runner, so good. Only problem was matching all the new hardware on the thicker cover.
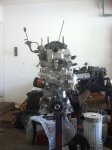
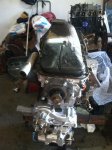
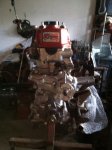
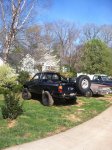
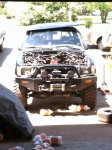
I have two questions about your tire carrier. How did you mount the tire to it? What do you think about having the tire offset like that, is it better for visibility or does it matter?Over the last week while waiting on some parts for the timing chain job I set to work building a tire carrier. I built it using nothing but simple tools. A 4 1/2'' angle grinder with grinding rocks and cut off wheels, and a basic tombstone stick welder. Anyone can do this if they take their time. The tire carrier was built out of stuff laying around. I might have a total of fifty dollars in it. The hinge set up while it works is not perfect. If I ever decide to redo the mount I will redo the hinges for sure. They do work but with the weight of the tire the pins bind up. To open the carrier I have to beat the pin out with a hammer. To latch it shut I have to beat the pin back in. This might be a good thing in the fact that the pins will not jump out going down the road and the tire falls off the back. Also with everything bound up the carrier might not rattle. I need to get the truck running again to see if this is going to be true. Also if I drive both pins out the entire mount is removable so I can use the truck for truck things if needed.
I have two questions about your tire carrier. How did you mount the tire to it? What do you think about having the tire offset like that, is it better for visibility or does it matter?