Simple kind of van, a 2006 e150 build thread.

new owner flew down with his girlfriend and are driving it back to oakland.

definitely bittersweet, but whats to come is going to be even sweeter.

i think ill just keep carrying on in this thread if thats ok.
 
E84F5FF3-45A9-4B65-9DB0-89C79BD8BF69_zpsiebekind.jpg


been crazy busy with a new project, and forgot to post up the new ride.

gone is the e series, enter the transit connect LWB, brand spankin new 2016, this thing is like a real van, only smaller.

already tested it to death valley for an ADV rider rally and it sleeps well, gets 25mpg at 80 with the ac blasting, and drives like a car. itll do.

pic is from the palomar mountain area of So cal, that flag is one that me and a friend placed there as his old flag (that we've ridden by 100's of times) was looking a little ragged, so we brought him a replacement, and hung it up. that was july last year, flag still holding up well, will have to check on it in a few months.
 
ok, so here goes.....

Big rad van was for sale for a while,

March 25th the buyer flew down from Oakland and picked it up, he's stoked, and making it his own

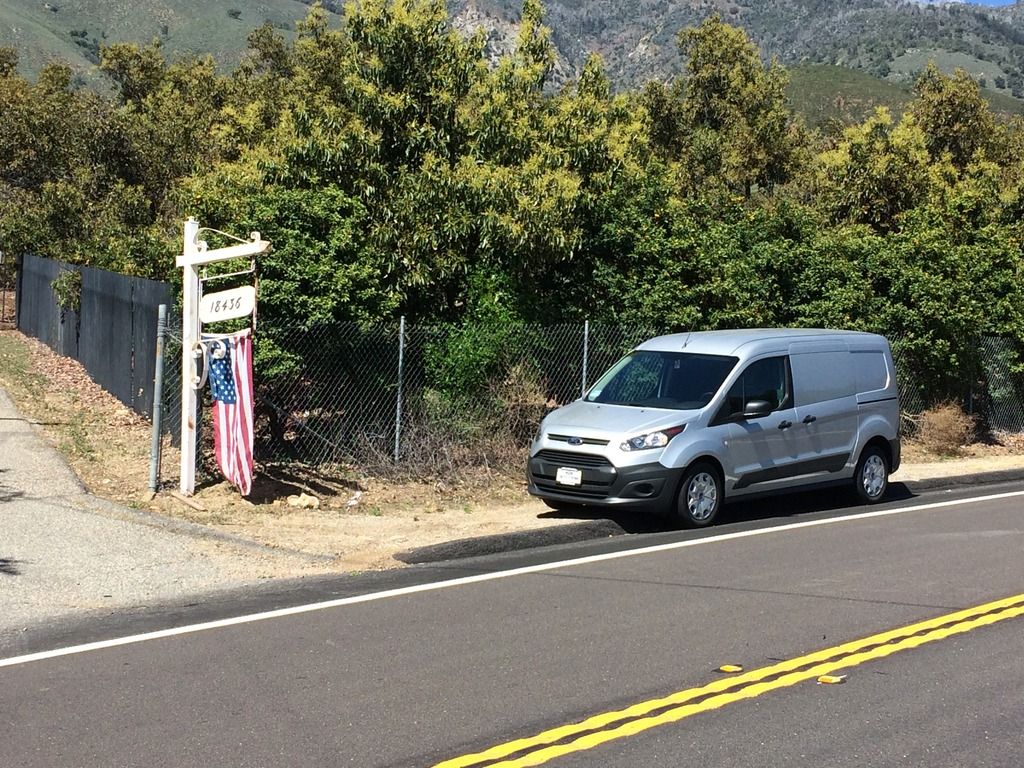
that very same day, i went out and picked up a new 2016 transit connect. silver, base model (how i like em), but has rear windows, and back up sensors (not needed, but not bad either)

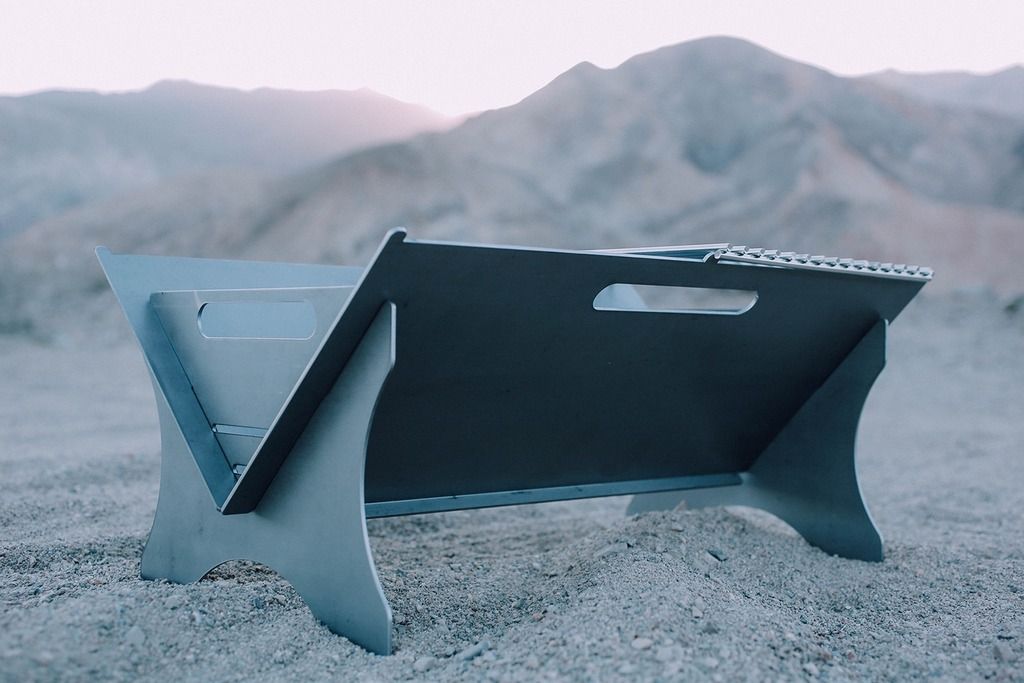
first weekend, headed out to the Advrider death valley NOOB rally to meet with some buddies and shoot the fold a flame project .

3A97550F-E12F-43AD-BFAE-AC7DCC17FAAE_zpsyqvypruz.jpg


heres a pic from about April 5th, only reason i know that is it was my Father in laws birthday.

E84F5FF3-45A9-4B65-9DB0-89C79BD8BF69_zpsiebekind.jpg


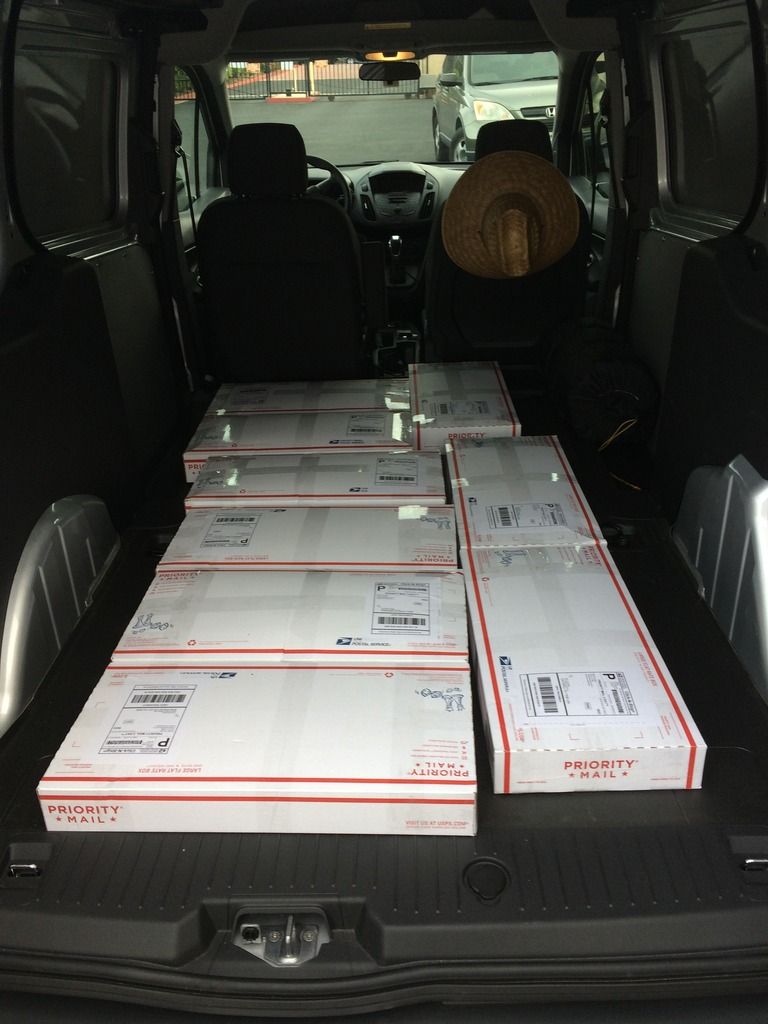
**** got busy, real busy, been cranking away on the fire pits, and went to Overland Expo, took the little van, its pretty great.

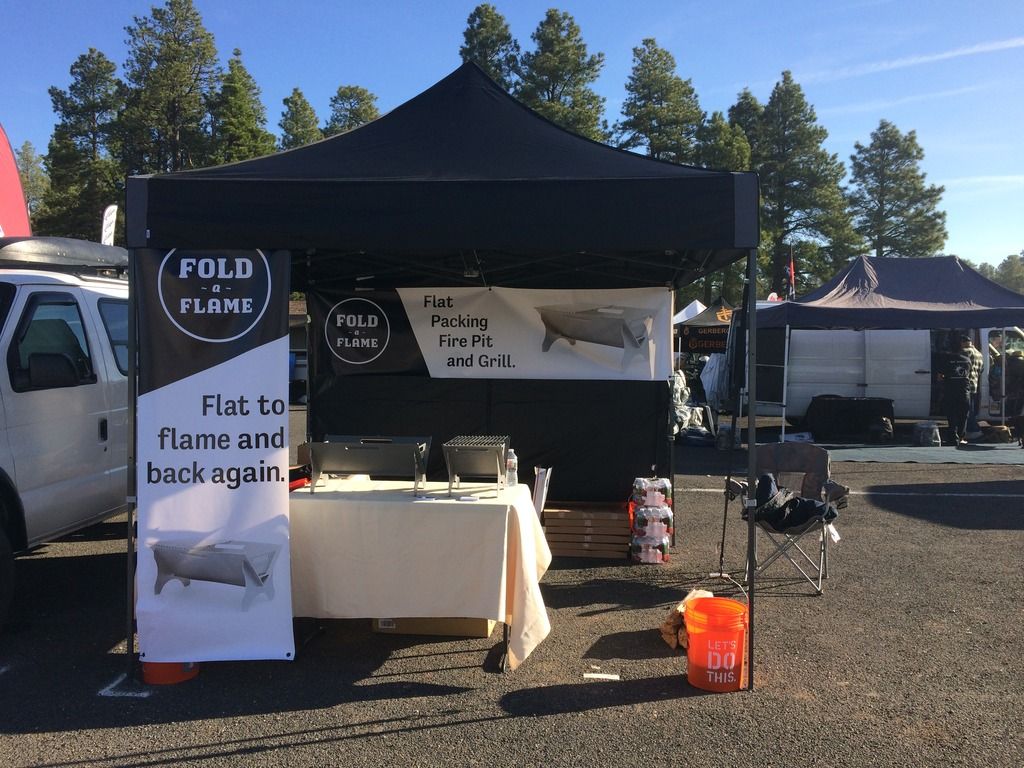
booth for overland expo

25EF98B3-0C72-4FE8-94B5-0FD432D94935_zpsqv9ajret.jpg


at this point, I'm sleeping in the van, old school, blow up mattress on the floor, sleeping bag, towel in the back door to block light, and a little curtain on some para-cord behind the front seats. no pics, but just doing what has to be done, cuz all time/energy was focused on getting to overland, with product, and a halfway decent booth, and making a go at the firepit sales, was a great weekend, took 1100lbs of fire pits, sold them all, and even came back and had to ship some more out.

48CFE899-3976-405A-809C-61DE7CB8C761_zpsfupeqbdo.jpg


ok, so heres where the build on the new one starts.

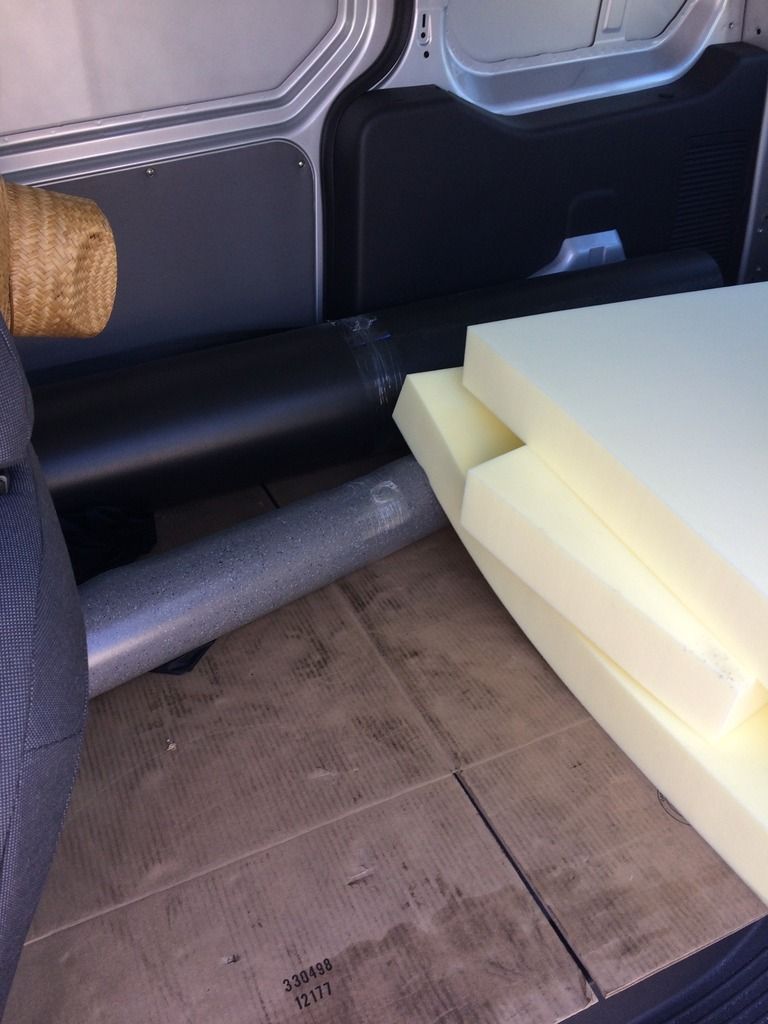
weekend after overland expo, i decide its time to start rounding up stuff for the van, first stop, A1 foam and fabrics in Santa Ana, to order the foam for the cushions, then on to Linoleum City in Los Angeles for the flooring material.

46921CBD-3113-40F7-84A8-331DE0C25C00_zps2typvjmo.jpg


3 cushions will make up the bed in the van, one 36x48 in the rear, a 30x42 on the drivers side, and a 18x42 on the passenger side (this section will be "convertible" it will be able to retract/deploy as needed. more on that when the build starts.

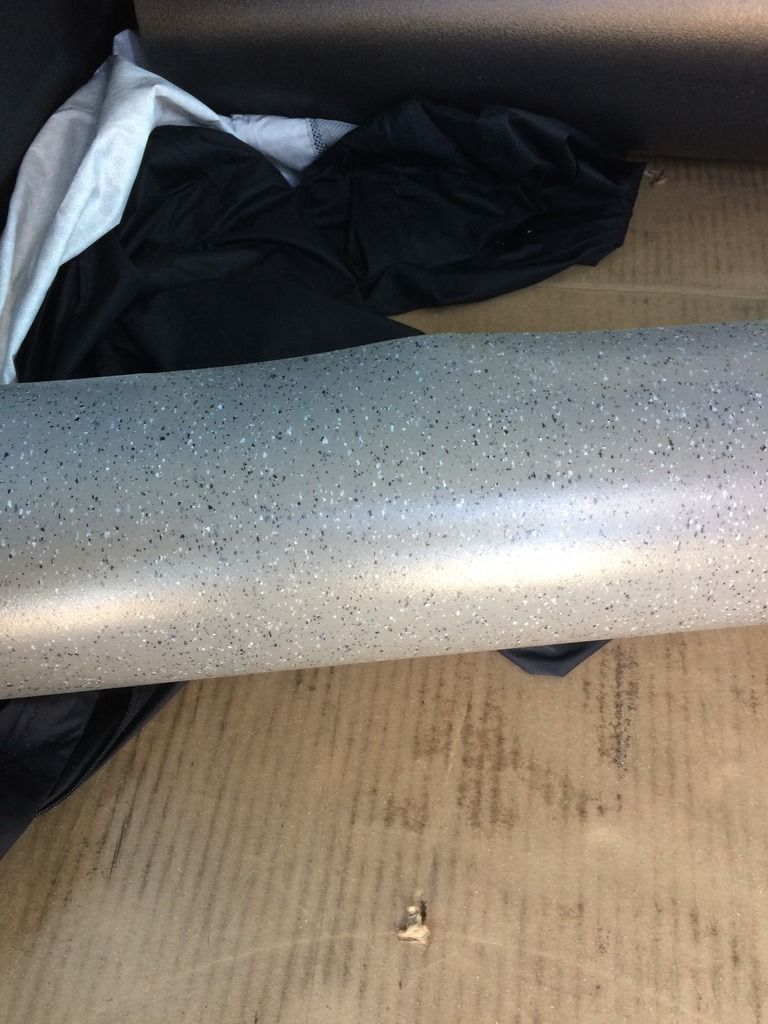
heres a close up of the flooring

F2E67DAE-B930-40AB-8772-00A024C056DA_zps60hiuwne.jpg


i dropped the foam off at the upholstery shop, usually he takes a long time, he's a busy dude, and hooks me up really well, i use him for car stuff at work, so he takes care of me when it comes to my ****. told him "i need it in 2 weeks" cuz in upholstery time, thats like 6 weeks. haha, but this time, he was done in 2 weeks.

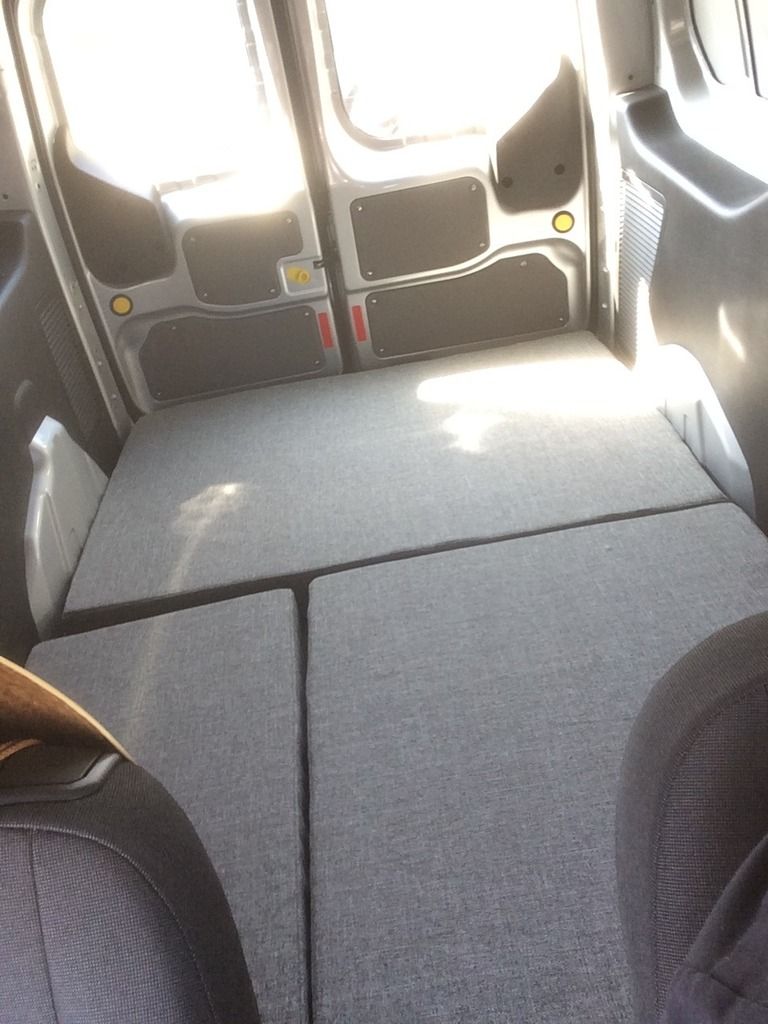
heres how they will lay out in the van in bed mode. gives me a mattress size of 48x78" which is great.

B4D1A6E3-92F7-4234-A530-D7AAE4A5CC7B_zps6qqqzp0h.jpg


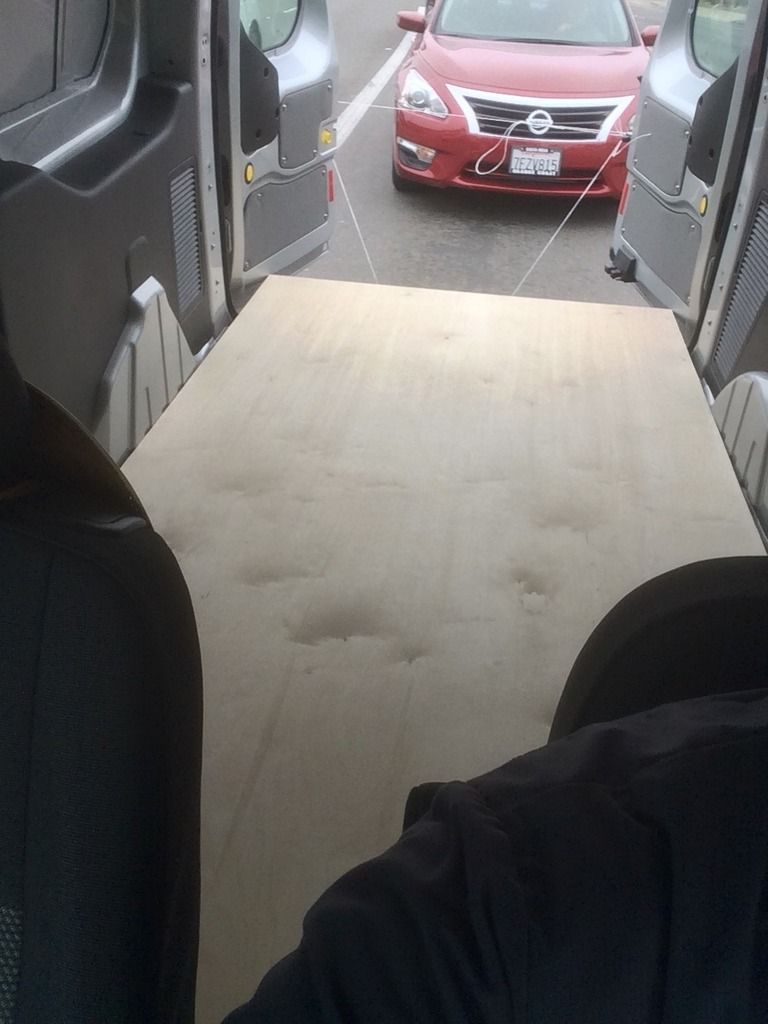
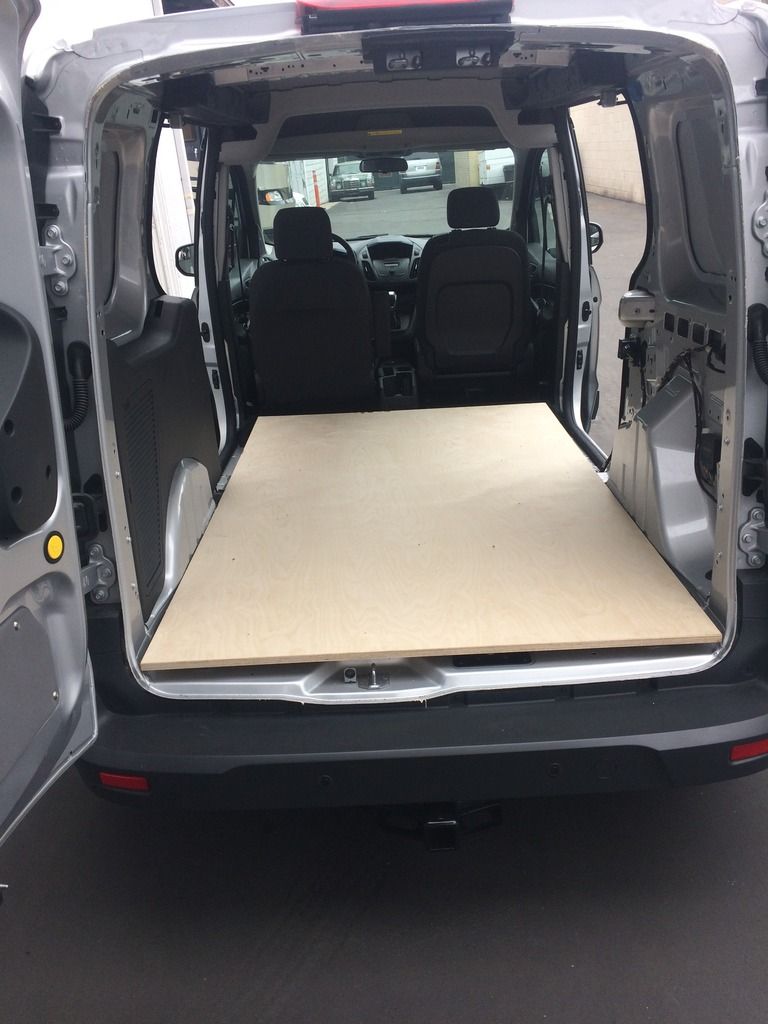
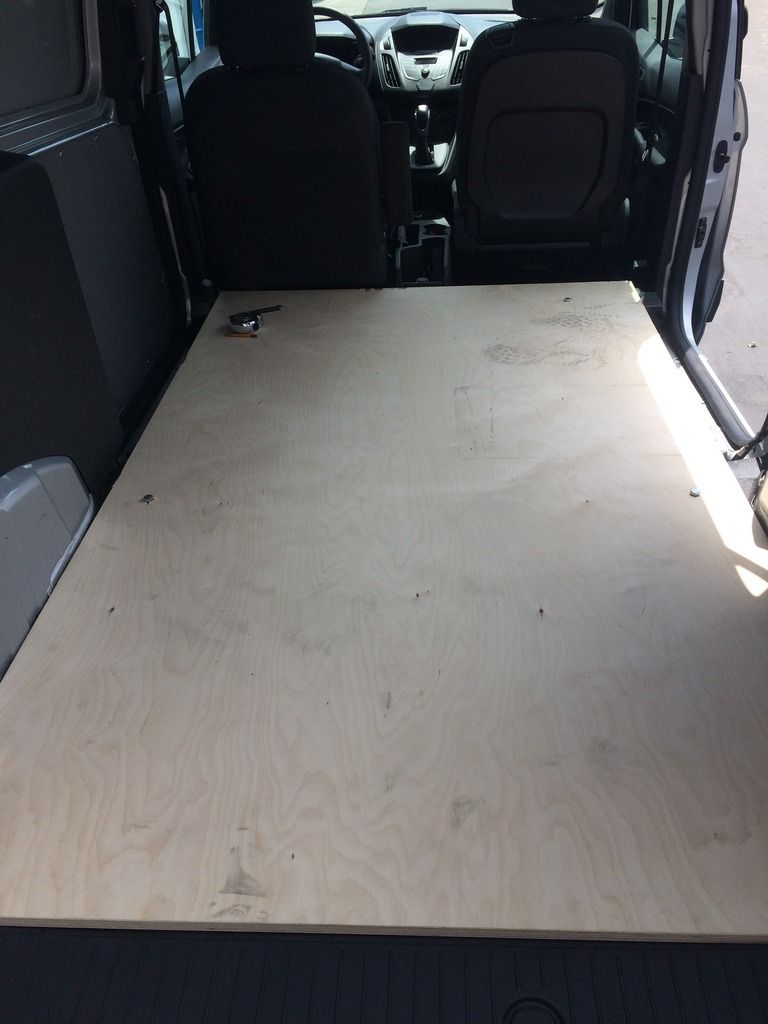
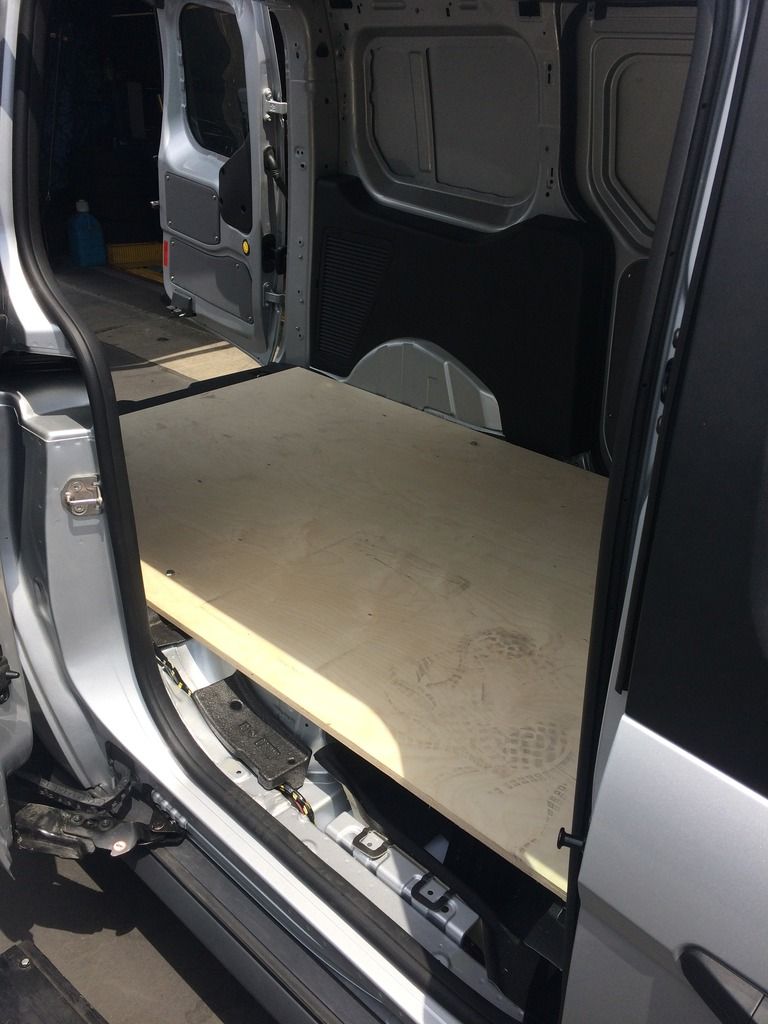
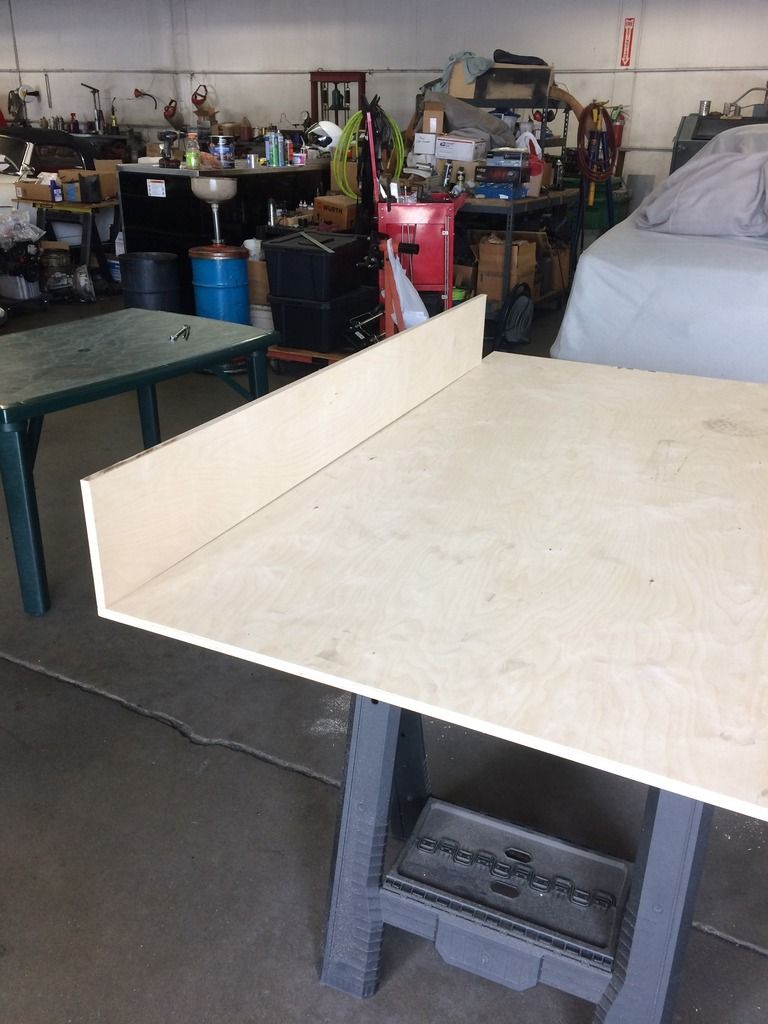
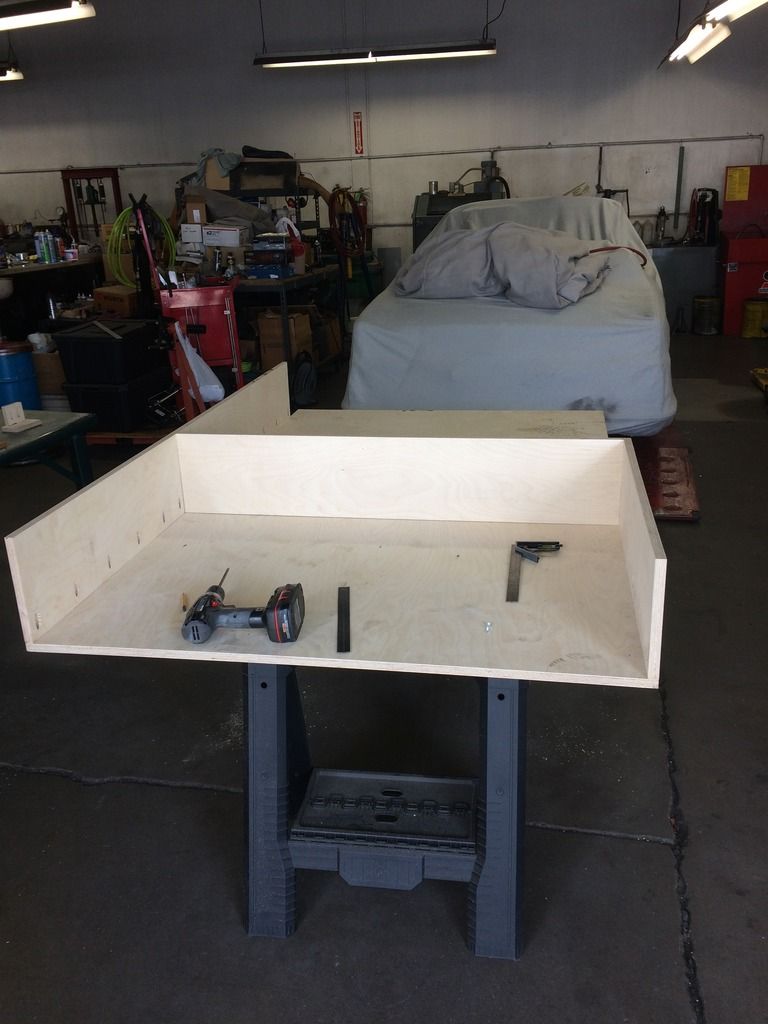
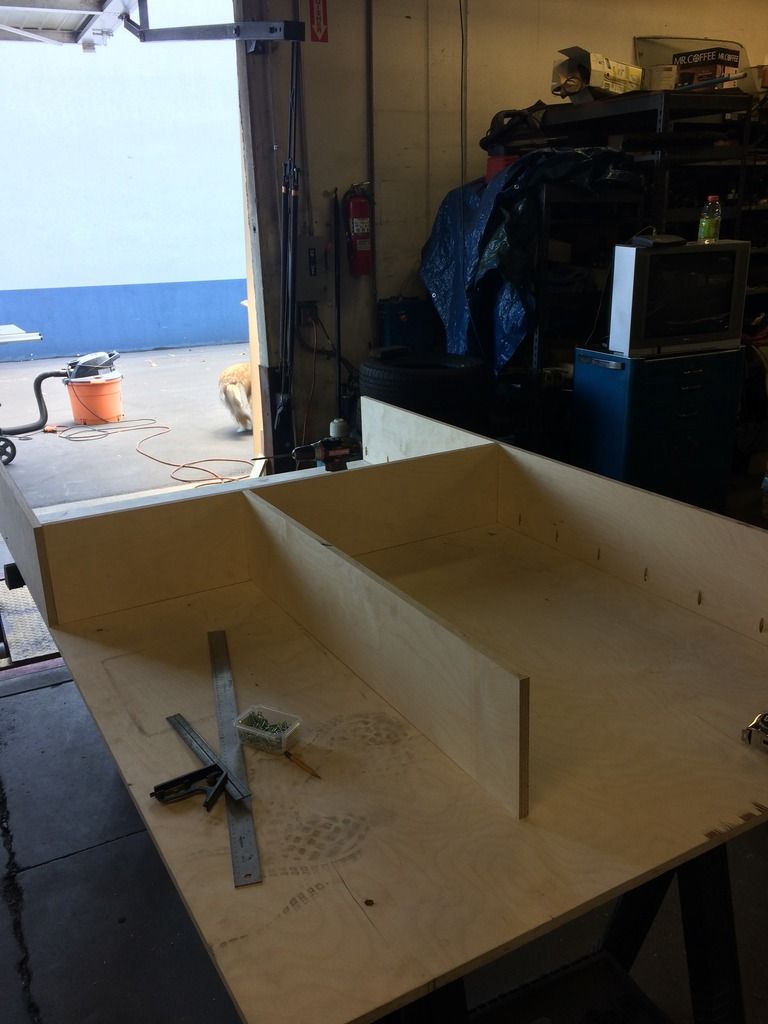
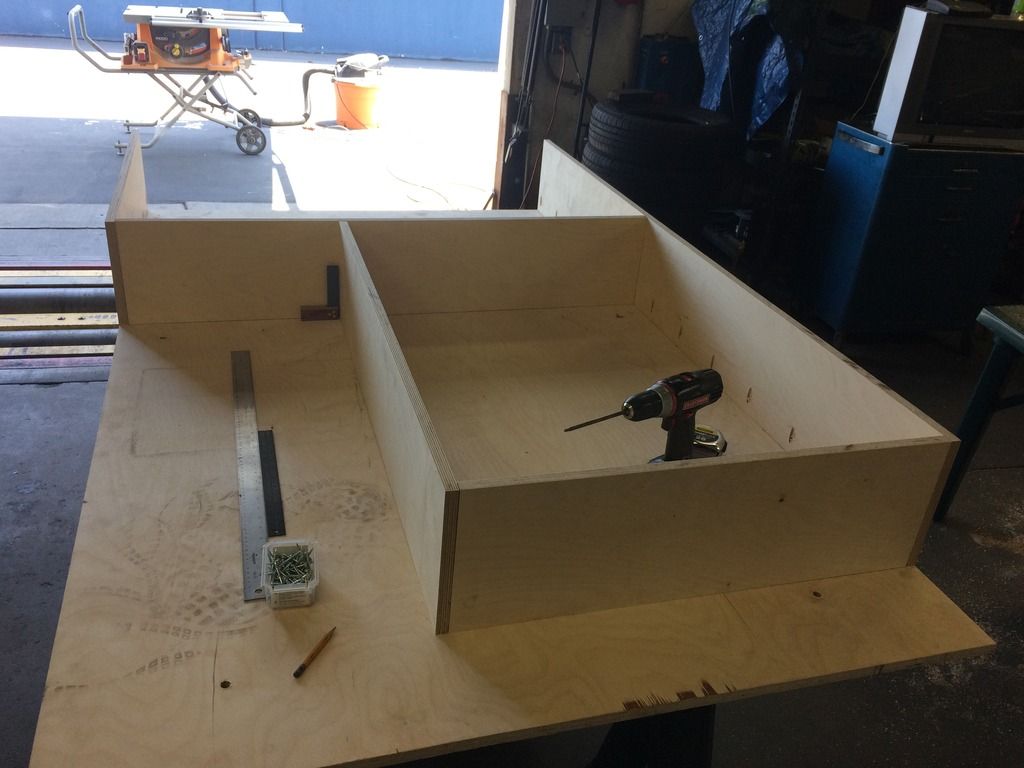
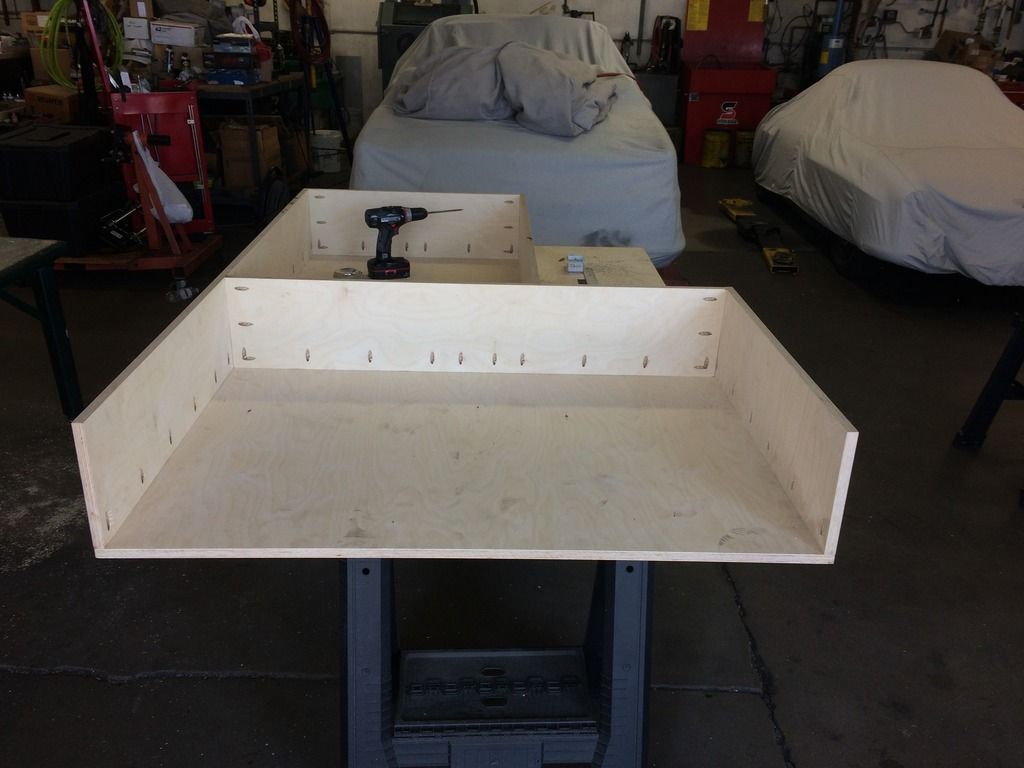
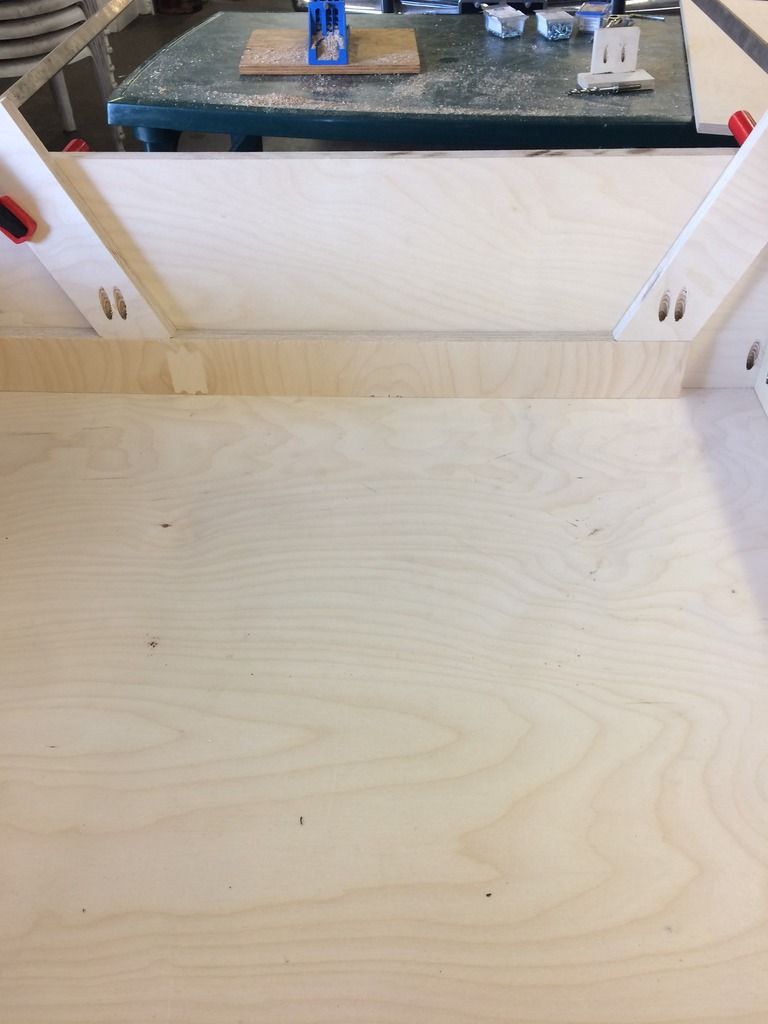
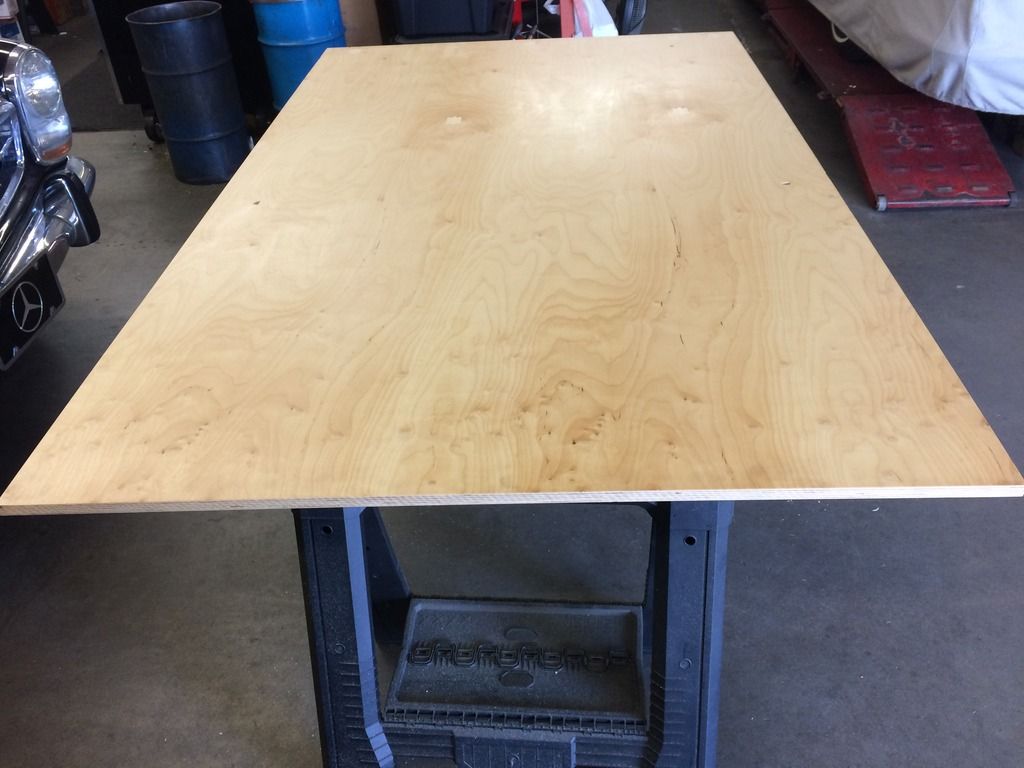
picked up 3 sheets of 3/4" baltic birch, this will be what is used in the interior build for the storage platform/bed. construction starts next weekend.

67D2CDD3-2179-41AA-BF2B-7CCB2FFBF864_zps1lfzogrb.jpg


this was all 3 weekends ago.


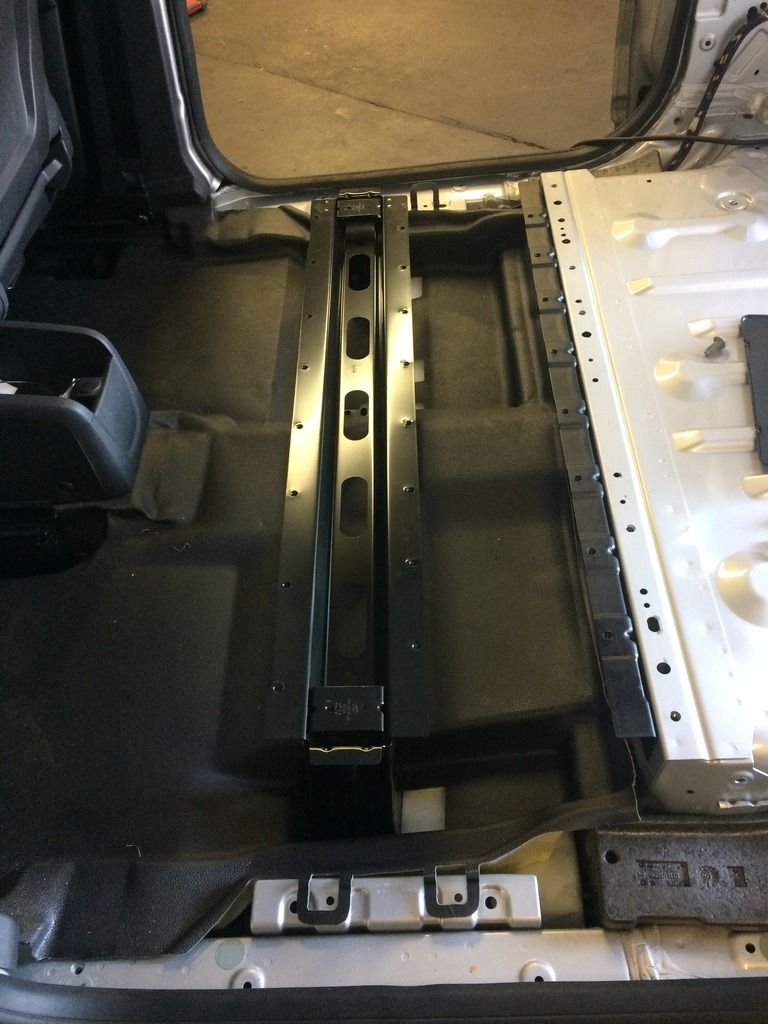
i started the "build" first with electrical, i am running a 6 circuit fuse box in the right rear corner of the van, so i had to pull the rubber floor and fish a wire thru the floor of the van into the engine compartment.

HARD STOP!!!

under the passenger front flooring it was SOAKED with water, so i took it straight to the dealer.

those ****ers had it 2 weeks and while they said "we took the floor out and dried it" when i picked it up, i went straight to the shop, lifted the flooring and it had been "dried" but it was still damp, not good.

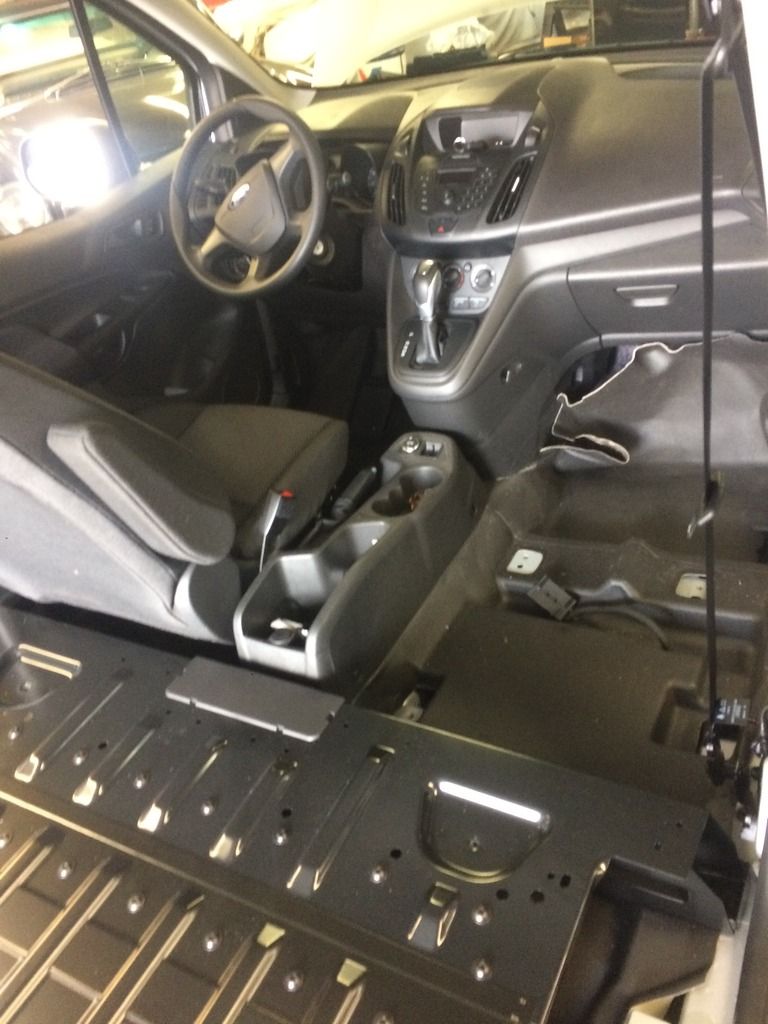
so this is up to date, saturday morning, i took the passenger seat up, the false rear floor out, and ran a fan inside while i worked on the electrical add on of the wire from battery junction box, to passenger rear corner.

F0749F24-1EA4-4CD6-8683-4B68B0D1BED0_zpsfr2zc12r.jpg


8D423104-1E03-4184-A4E5-A5F39371CC35_zpsrv3tc8yd.jpg


i took more out that that, but didnt take any pics

4210BA68-B789-44AE-800D-3C68A345B82D_zpsug2kqky6.jpg


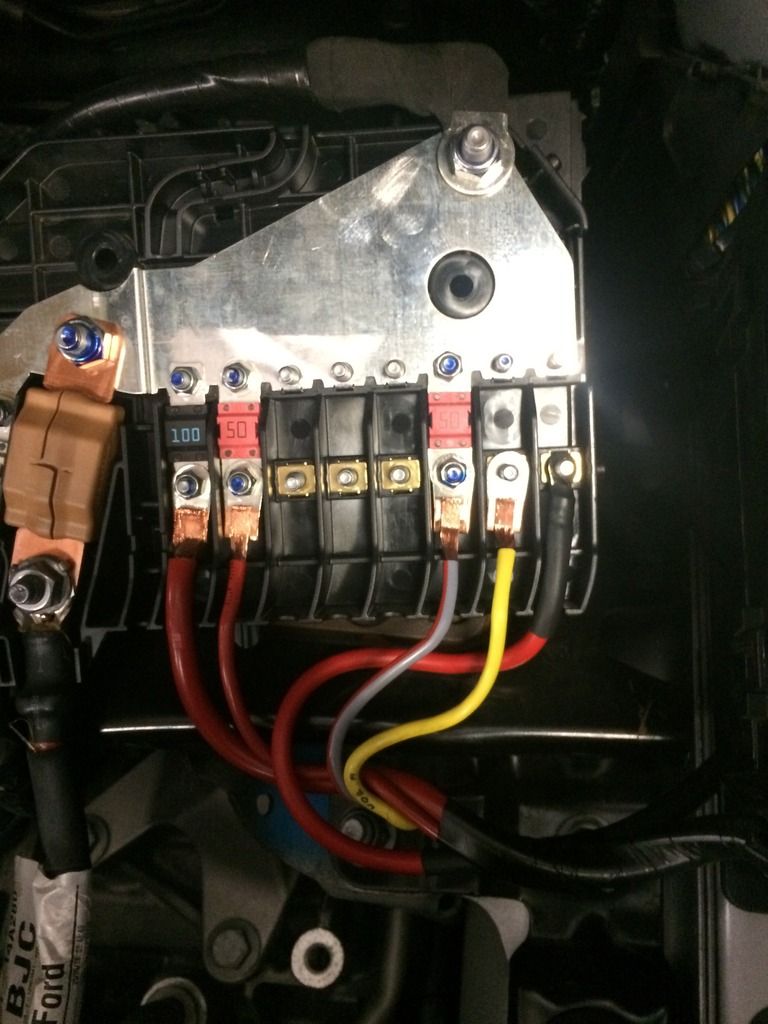
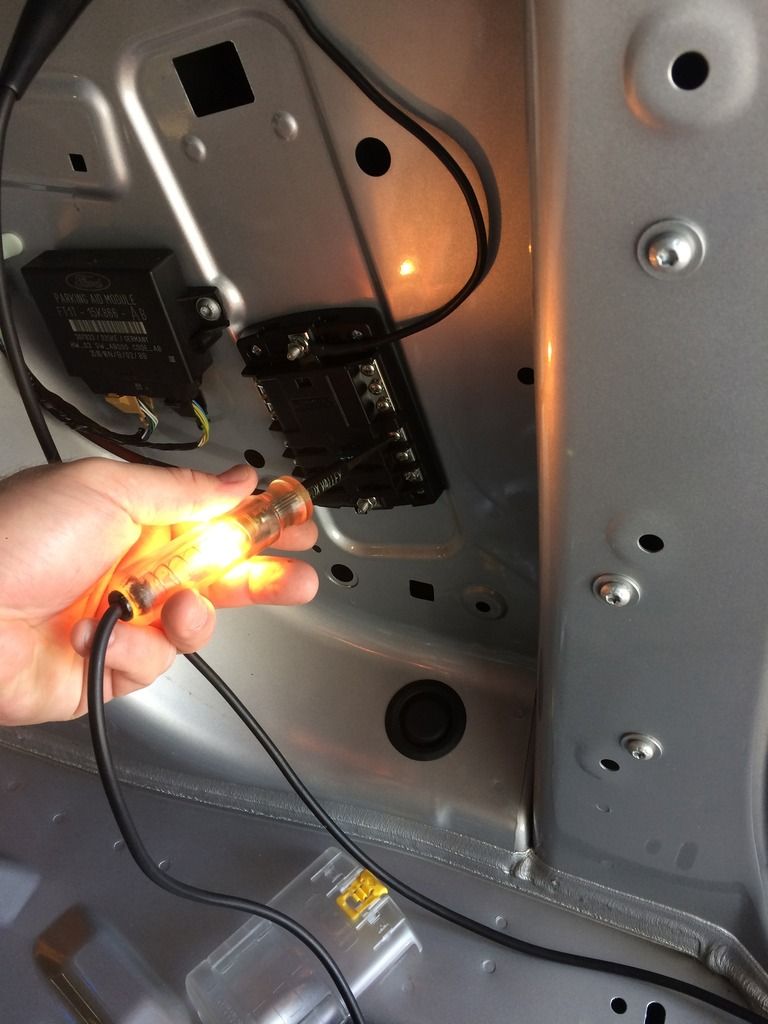
battery junction buss box, the upper nut/stud is the positive cable from the battery, so the top plate is 12v hot constant, my wire is the one all the way to the right, 10ga wire, the whole thing is in the "chinese finger trap" kind of loom, not plastic split loom, no splits, no seams, the whole wire is encased, except the ends (about 4-6")

i realize this pic doesn't show the fuses in the right 2 spots. on my van the BJB is pretty empty, but on a loaded passenger van, only the right one is available, its for a diesel glow plug circuit not used in US delivery vans. i fused my wire with a 30amp MIDI fuse, it matches the factory fuses, had to get em at West Marine, as none of the auto parts stores near the shop had them.


fuse box right rear

3E95F809-C375-4E70-A7BF-B2CC0B5E0BF9_zpsmrptrrx5.jpg


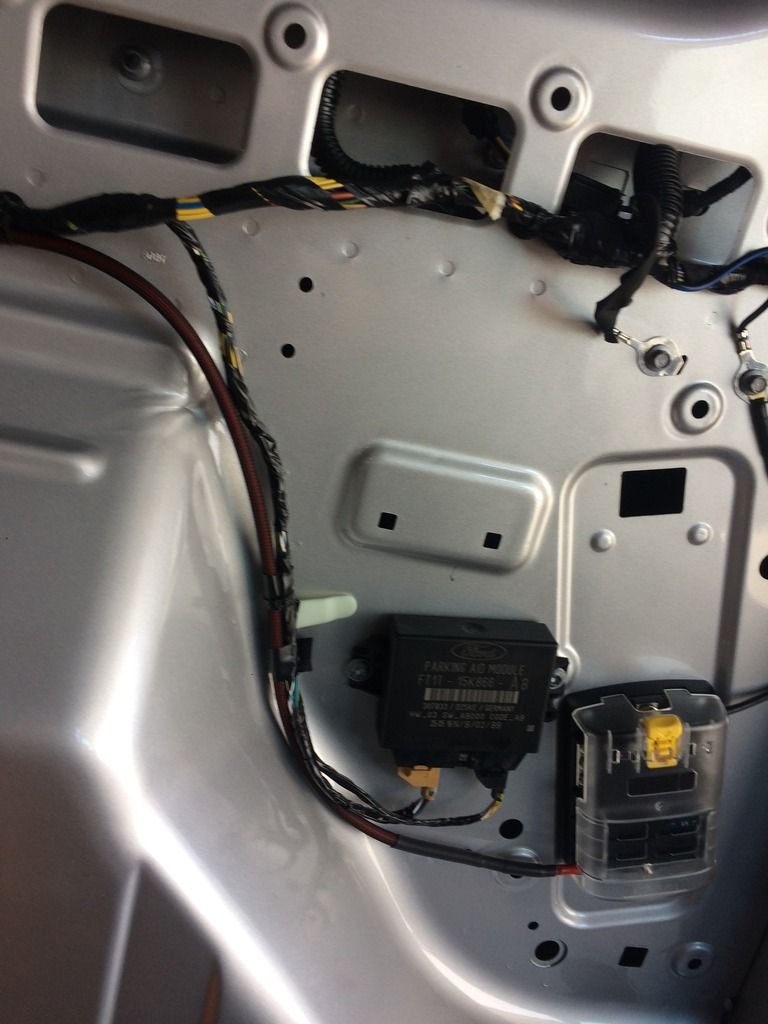
see the red wire inside the sheathing? thats the power cable i ran. it follows the vehicle harness all the way thru the firewall, across the firewall in the engine compartment, and over to the battery junction box

2ACFC8B6-066C-475E-9C86-17CF8DEE013D_zpsonxwucht.jpg


i got the power!! 6 fused outputs, and a ground buss build into the Bluesea 6 circuit box.


that brings me current. next weekend we will start the interior build.
 
Last edited:
So, why was it wet? Leaking?


Sent from my iPad using Tapatalk

Shane,

best I can tell is the fitting for the AC drain thru the passenger side footwell was loose.

Dealer told me they checked the ac drains and they were not leaking, however, when I was under the flooring drying it out and running the wire alonge the harness, I wiggled the AC drain and it was loose, so I popped it out, gooped it up with permatex utra grey and put it back in the hole. it shouldn't be possible for it to leak from there now.

I will check up on it later this week, as it only takes me about 5 minutes to get under the floor well enough to check the area for wet.
 
Is this one going to have a rack for a Moto too?

Sadly, no.

transit connect is only rated for 200 lbs tongue weight, and though my "new" 250 dual sport is much lighter than my former 650, its still too much for the wee little connect. I'm gunna have to go the trailer route. The interior build will not allow a bike inside anyways, and I even tried to fit my bike inside and its too tall, so that's out regardless. I also need a trailer for the business so I can haul product to/from manufacturers and to shows etc. Steel is heavy.

yes, this may turn into a trailer build thread as well at some point in the near future.
 
Hope that sorts it... Good ol quality control, eh?

yeah, I mean, I have no way of knowing what they did/tested etc, but I'm hopeful that the issue is resolved. the chicken**** rubber/foam seal on a clip in part is just that, chicken****. little bit of ultra grey goes a long way to seal things up.
 
ok, so a (work) week has passed.

friday after work i pulled up the passenger side flooring to check on the leak...... dryzabone. that meant i could move forward with the build out of the rear compartment.

ok. first things first, gotta start out with a flat floor. the transit connect, like all of the other vans, is not regularly shaped, and has a horribly lumpy floor. why they can't make a van floor like the back of a pickup truck with like 2" ribs running straight is beyond me. but this build is a simple build, so lets use the rubber floor/foam underneath that came factory in the van. the hell with all the insulation/deadener on the floor. the floor insulation is about 5/8"+ thick, and has a nice thick rubber on top.

floor piece cut, its full sheet width, and like 78.5" long

1F2C8D6D-305E-4EBF-B80B-1345174D0731_zpsvbjeeyvq.jpg


took a bit to figure out how to get the holes into the plywood, but eventually, we measured. the floor piece is going in with 4 10mm bolts into factory threaded holes, it won't go anywhere, its not like its gunna fall UP!

31D05CC7-06B3-4627-938E-07C011F63B44_zps2ocgar1z.jpg


DC9CDC5C-03BA-4488-A245-260ACF256F4D_zpspfzuwt0r.jpg


once i knew the floor fit, we pulled it out and set it on some sawhorses, much easier to work at waist high than it is to work crawling in and out of the van. since this whole "module" will be less than 3 sheets of plywood, were gunna build it out of the van, then put it in when its done.

so here goes, start with the long wall.

8CE52C28-E6A8-4494-A69C-892ECB098A32_zpsrqj150bu.jpg


add in the other sides short rear wall and the bulkhead from the rear compartment to the front.

0ECB8397-573E-4C4D-A323-16E27EF6F207_zpsz1kpbbzn.jpg


3C096864-ED5D-4B25-BB20-14D33493014F_zpsrwwuquw7.jpg


now we started to add in the front compartment.

93FCFEBE-FD35-4BF0-836C-9443BB66F589_zpsmdegznse.jpg


if you look at the front of the floor, theres about 6" of open space, the top deck will be biased to the rear as it can't go all the way flush to the front floor because the seat will interfere. the "deck will overhang the rear of the box by 5" in the rear.

9BFB062A-E6EF-471C-909F-B19D38EA1775_zpspcpoctla.jpg


03535D21-545B-430E-AA49-64EEA13BC3F2_zpsz1vybfbh.jpg


the front compartment overall is 42" x 30" and it will be split into 2 sections, one 12" x 42, the other 18"x 42 we made the divider piece, but forgot a pic of it. the left side of the compartment will be accessed only by the outside, it'll be sort of a "stuff it" compartment, stuff like tools, first aid, fire extinguisher etc etc, i didnt want one giant compartment and figured a little compartment to just stuff things in would be good.

heres the Q&D template to router out the opening.

0955EF16-1DFC-4CDF-B77C-7938E2912B0F_zpsdo9lptje.jpg


after the main base was all laid out, we knocked it apart, flipped the floor piece over, and gave it a quick sand, and hit it with some Poly. first coat tonight, second coat in the morning.

112E3EEE-B27F-4C7C-B687-41C088DEF843_zpsy5opns44.jpg
 
Last edited:

Forum statistics

Threads
185,782
Messages
2,878,175
Members
225,329
Latest member
FranklinDufresne
Top