'00 Silverado AKA Lil' Rusty

Colorado_Outback

Adventurer
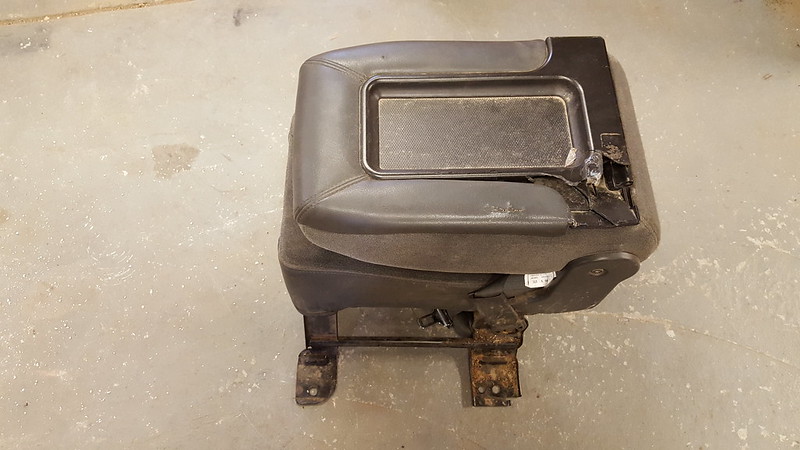
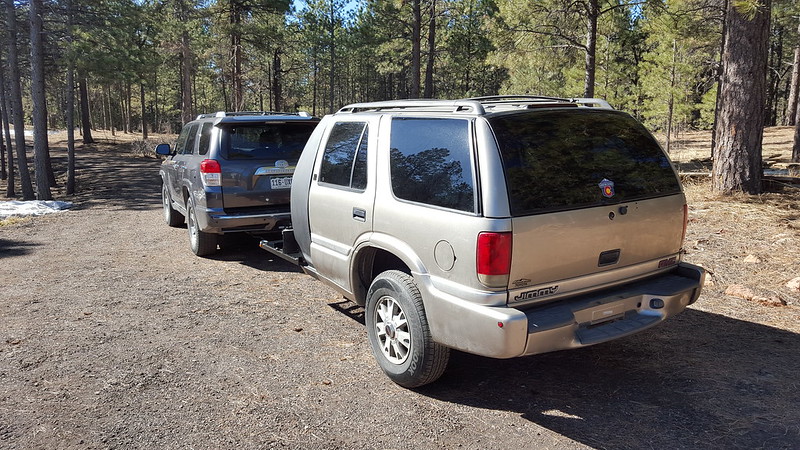
Managed to remove what was left of the trailer hitch today.

20151229_125815 by colorado_baja, on Flickr

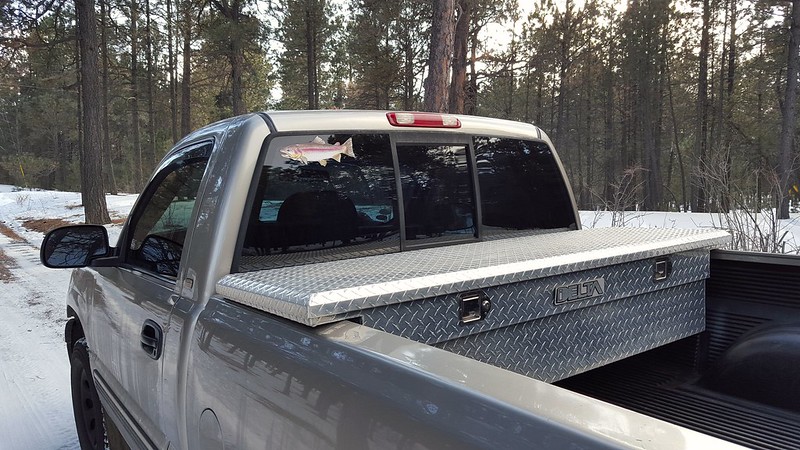
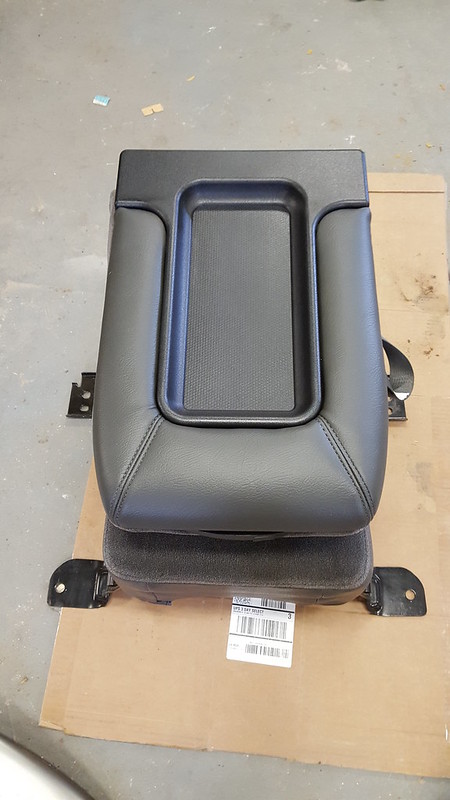
I think I got pretty lucky, couldn't find any cracks or major structural damage in the areas you indicated bushcoat.

20151229_125837 by colorado_baja, on Flickr

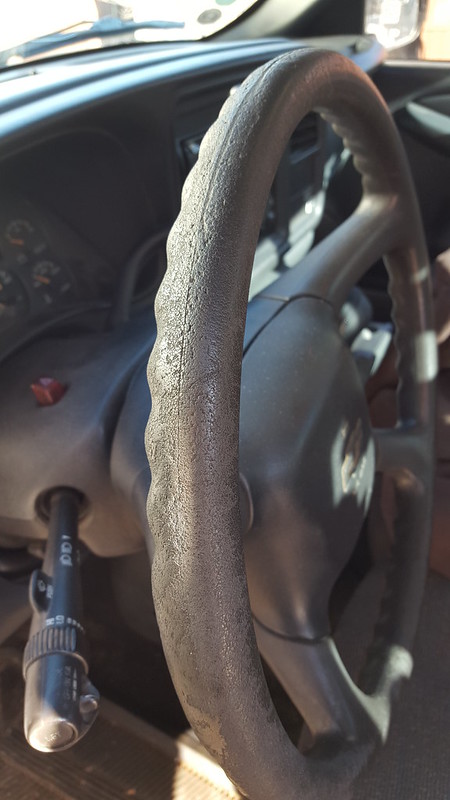
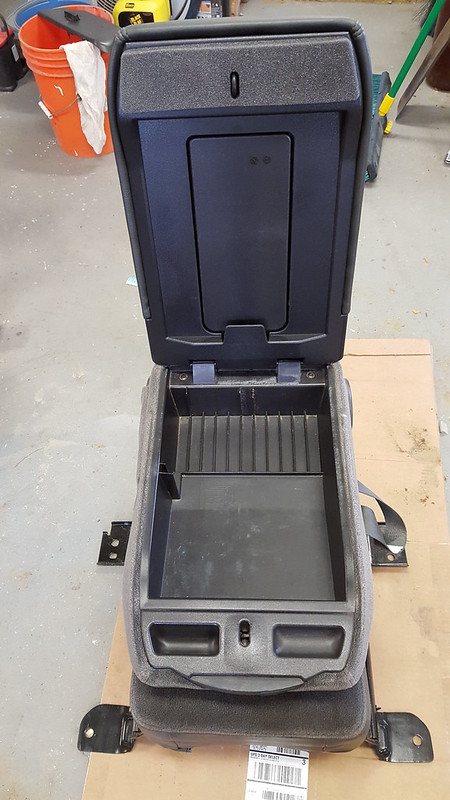
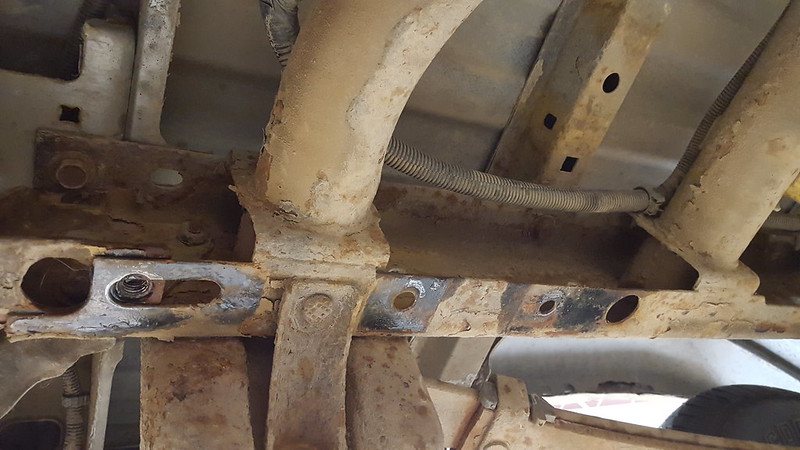
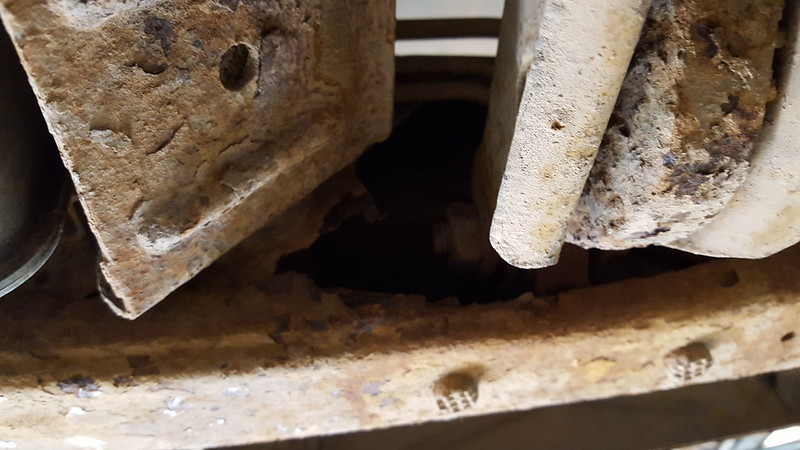
There is a nickel sized hole on the drivers side about a foot behind the front cab mount.

20151229_130108 by colorado_baja, on Flickr

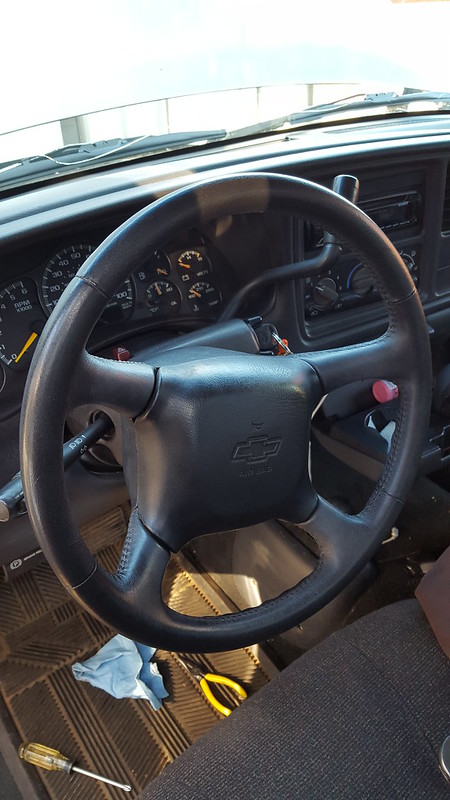
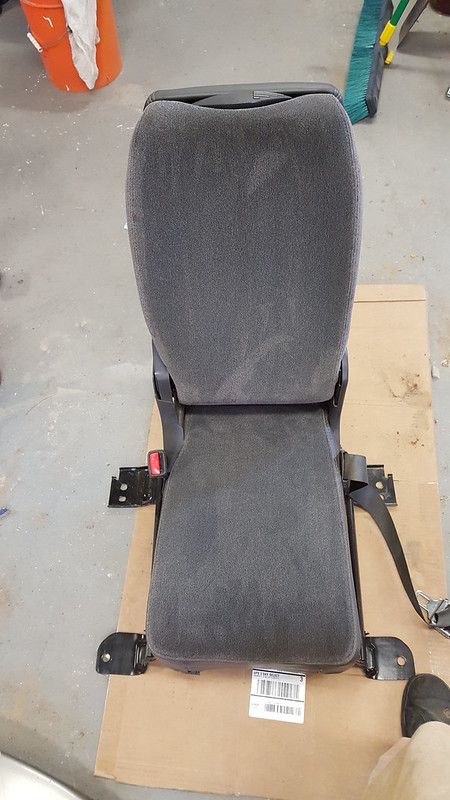
A little rough on the edge of this mount right behind that but its all solid in the rail around the T bar X member.

20151229_130036 by colorado_baja, on Flickr

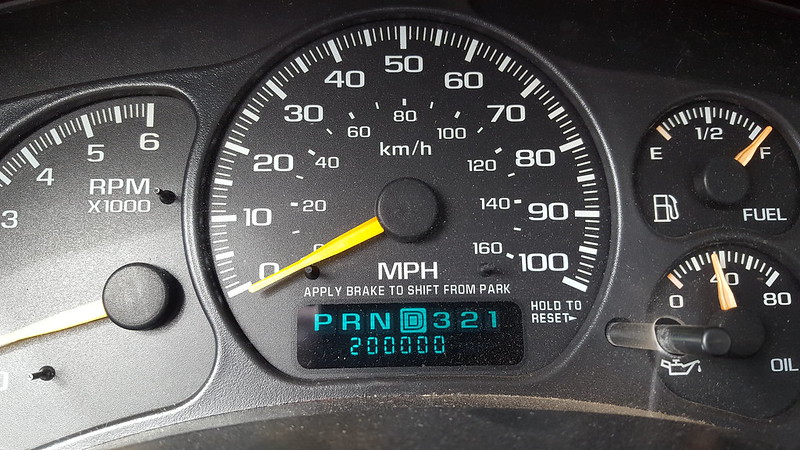
I'm going to knock off all the scale I can and find way to try to neutralize whats left.

Its not going to last for ever but I think its got another 10 years in it.
 
Last edited:

Bushcoat

one trail at a time
Can't complain about another 10 years out of a $500 truck. Obviously you are making some investment in, labor and parts but a spare truck and the gas saving this thing will land you will certainly pay itself off pretty quick.
 

Colorado_Outback

Adventurer
Can't complain about another 10 years out of a $500 truck. Obviously you are making some investment in, labor and parts but a spare truck and the gas saving this thing will land you will certainly pay itself off pretty quick.

I'm self employed so even though I earn nobody wants to lend to me. Even if I put 5K in it and it only last 5 years its still worth it in my opinion. If I could get a loan right now my monthly payment on anything I want to drive plus the insurance increase on something newer is way more then a grand a year.

Plus I like working on junk.. When it goes my way. :)
 

chilliwak

Expedition Leader
Well even if it is a little rusty:Wow1: I am sure you will get a good usable truck out of that rig Mr Colorado...:)
 

Colorado_Outback

Adventurer
I've got about 200 miles on it so far and its running good. Ive gotten a couple P0171 and P0174 codes, lean on bank 1/2.

Yesterday I pulled it in and double checked the evap, pcv and brake booster connections That's all the vac stuff I touched when I swapped it. I also double checked all the exhaust manifold to head bolts and the collector bolts to make sure I didn't have any leaks before the first 02 sensors. Everything was tight so I'm going to drive it around some more and see if it returns.
Seems like a vac leak to me since its popped up on both banks but ill do some live data checks with the scan tool if it comes back to check the 02's and fuel trims.
This article is pretty informative on the subject.
http://troubleshootmyvehicle.com/gm/4.3L-5.0L-5.7L/how-to-test-a-lean-condition-2

Oh and I tinted the back window yesterday while I had it in the shop. Used the autoparts store stuff so we'll see how it holds up.. For 30 bucks it looks pretty good.
2015-12-31_04-14-40 by colorado_baja, on Flickr
 

chilliwak

Expedition Leader
Well glad to see you out wheeling that rig Colorado.... Good looking tint job you did there. Cheers Chilli..:)
 

Colorado_Outback

Adventurer
Well glad to see you out wheeling that rig Colorado.... Good looking tint job you did there. Cheers Chilli..:)

Unfortunately between the work and weather I haven't been able to take it out, fortunately though that's my dad's driveway, nice scenery.

I got a chance to swap out the steering wheel yesterday, the Silverado had a molded foam wheel that's seen better days.

20160117_132731 by colorado_baja, on Flickr

I replaced it with the leather wrapped wheel from the Jimmy. Much nicer feel :)

20160117_143009 by colorado_baja, on Flickr
 

chilliwak

Expedition Leader
Unfortunately between the work and weather I haven't been able to take it out, fortunately though that's my dad's driveway, nice scenery.

I got a chance to swap out the steering wheel yesterday, the Silverado had a molded foam wheel that's seen better days.

20160117_132731 by colorado_baja, on Flickr

I replaced it with the leather wrapped wheel from the Jimmy. Much nicer feel :)

20160117_143009 by colorado_baja, on Flickr

Sweet upgrade Mr Colorado!:wings:
 

Colorado_Outback

Adventurer
Special day for Lil' Rusty! Ive got about 3500 miles on the swap and all is well. Check light stopped coming on and I've been getting about 16.5mpg mixed driving.

20160312_094205 by colorado_baja, on Flickr

I scored a charcoal fold down center console to replace my jump seat, it needs a little TLC but having a center arm rest in this truck will be really nice. More on that soon.
 

Colorado_Outback

Adventurer
Changed the oil, cabin, air and fuel filter the other day. Cabin filters hadn't been changed in a long time.

20160314_093559 by colorado_baja, on Flickr

The driver rear axle seal had been leaking for a long time so I got it swapped out, bearing looked good so I left it.

20160321_114452 by colorado_baja, on Flickr

Cover and bolts were super rusty, glad to see no rust inside.

20160321_141447 by colorado_baja, on Flickr

20160321_171053 by colorado_baja, on Flickr

Drained and refilled the front diff as well, it was super nasty and a lot of fines on the mag. Oh well, if it takes a dump it'll be SAS time :sombrero:

Heres the console I got, If you've ever looked for one especially in charcoal you know how hard they are to find. Obviously this one had seen better days.

20160322_151252 by colorado_baja, on Flickr

Cleaned it up and got a new Dorman lid kit for it. I normally don't like aftermarket plastic anything but you cant buy an oem one anymore, it looks and feels really nice right out of the box, hopefully it lasts.

20160326_115132 by colorado_baja, on Flickr

20160326_115139 by colorado_baja, on Flickr

20160326_115203 by colorado_baja, on Flickr

Soo excited to have an arm rest and the extra storage in this truck!

My junkyard mojo has been pretty good lately. I found an 03 1500 in the junk yard that was Silverbirch and managed to score a matching set of fender flares! Now when I chase the rust out of the wheel arches ill be able to cover the work with these and be color matched and lookin good :D

20160324_103109 by colorado_baja, on Flickr

Ive been wanting to add an auto dim rear view with compass and temp display, this truck had the harness I needed to do it. Plugs in to a junction box under the dash and runs up the A pillar and under the head liner.

20160326_103931 by colorado_baja, on Flickr

20160326_085444 by colorado_baja, on Flickr

This harness also lets me plug in the map lights on the short console.

20160326_115721 by colorado_baja, on Flickr

I'm going to have to pull the seats and headliner to get it all installed and trim for the new over head console so it should be fun.
 

ZMagic97

Explorer
I'm curious how time consuming the overhead console addition and mirror swap is: I would LOVE that on my 05...
 

Colorado_Outback

Adventurer
I'm curious how time consuming the overhead console addition and mirror swap is: I would LOVE that on my 05...

From what I have read online its plug and play minus 2 wires. The harness goes from a junction box by the brake pedal up the A pillar to the map lights, rear view mirror, dome light and 3rd brake/cargo light. The only wires its missing are the signal wires for the temp display on the mirror. I believe you could keep it totally plug and play by getting the headlight harness and what ever else is intermingled with the temp sensor in front of the radiator in the grill. For all the work it would be to pull that harness un install mine and re install ill just run 2 extra wires and tap in at the junction box under the dash for the temp signal.
As far as mounting the console if you just want to add the short console like this one all you need besides the wiring is to drop the headliner and trim it. the screw and clip locations are all ready on the roof. Guys do different things to mount the long consoles from crew cabs and suburbans in single cabs but I didnt read up on that too much since all I wanted was the map lights.
 

Forum statistics

Threads
185,919
Messages
2,879,671
Members
225,497
Latest member
WonaWarrior
Top