Blender, My LX450/FZJ80 + FJ45esk + GM + Land Rover crazy concoction

Bojak

Adventurer
More questions than answers....


Should the plate go here?


Should I make this hole into the air cleaner inlet?
Incredible work. As far as tag location, i ask where are you mounting spare tire? In bed? Swing away?

Sent from my SM-T810 using Tapatalk
 

Metcalf

Expedition Leader
Killed the afternoon making this....


Now I have a place to stick the battery. Formed from one piece, lots of dimples, tig welding, and welds to three existing surfaces in the chassis. The weight is nice and low, but still forward of the rear axle. I built the tray a little larger than I needed so it could fit any group 34 battery, not just the Optima.

I need to find a little scrap of aluminum bar stock to make a hold down out of....
 

Metcalf

Expedition Leader
Incredible work. As far as tag location, i ask where are you mounting spare tire? In bed? Swing away?

Sent from my SM-T810 using Tapatalk

The spare tire will be laid down flat in the bed most of the time. One big thing I wanted with this project was better 'over the shoulder' visibility when doing dump stuff. I am also not a fan of hanging lots of weight off the rear bumper. I will be taking the same approach to gear as I do with my flat fender, just on a different scale. I take only the spare TIRE without a wheel. I then pack waterproof gear bags into the tire. I also found a round cooler ( that will double as a seat ) that can fit in the middle of the tire. There will also be space in front for some extra gear since the the bed is 51" long vs a 40" tire. There will also be some space around the other two corners for some tool bags or something. I may also be adding some pioneer tools on the front wall of the bed....
 

Metcalf

Expedition Leader
On Board Air brackets....


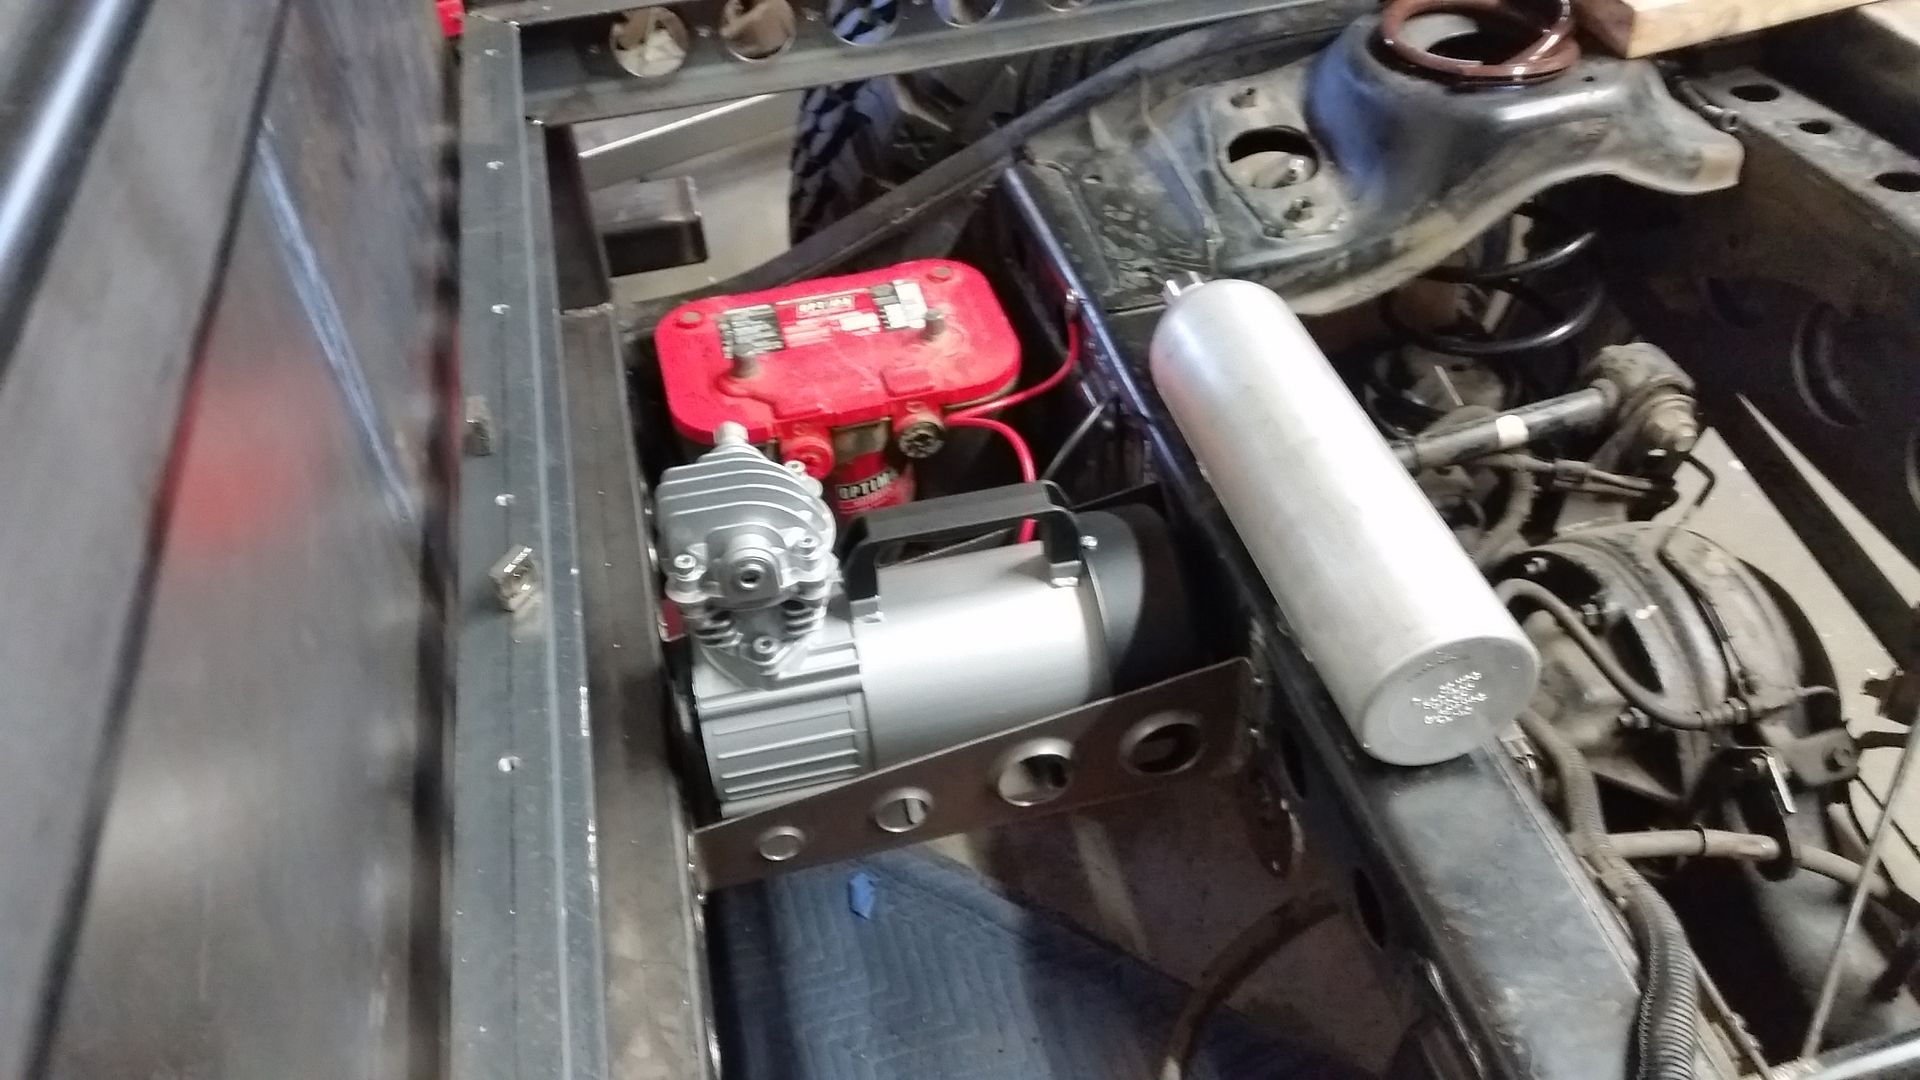
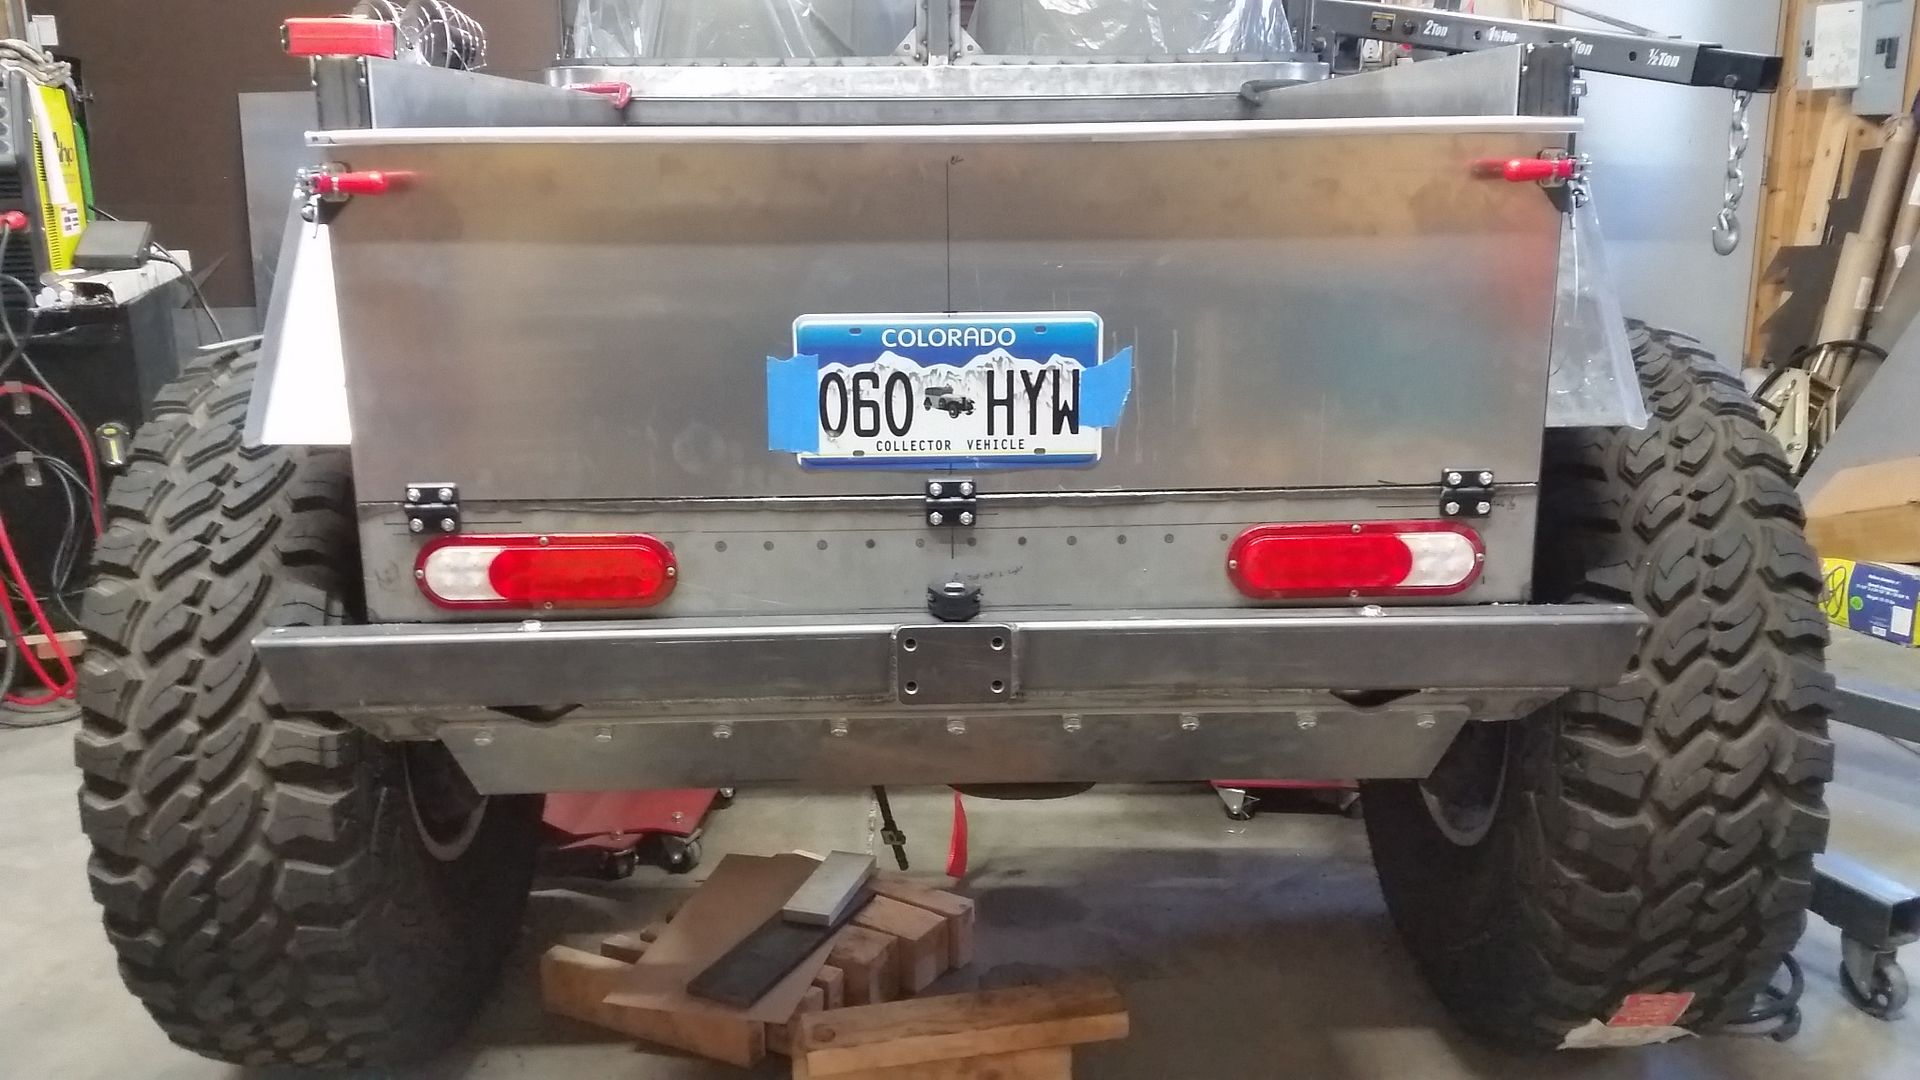
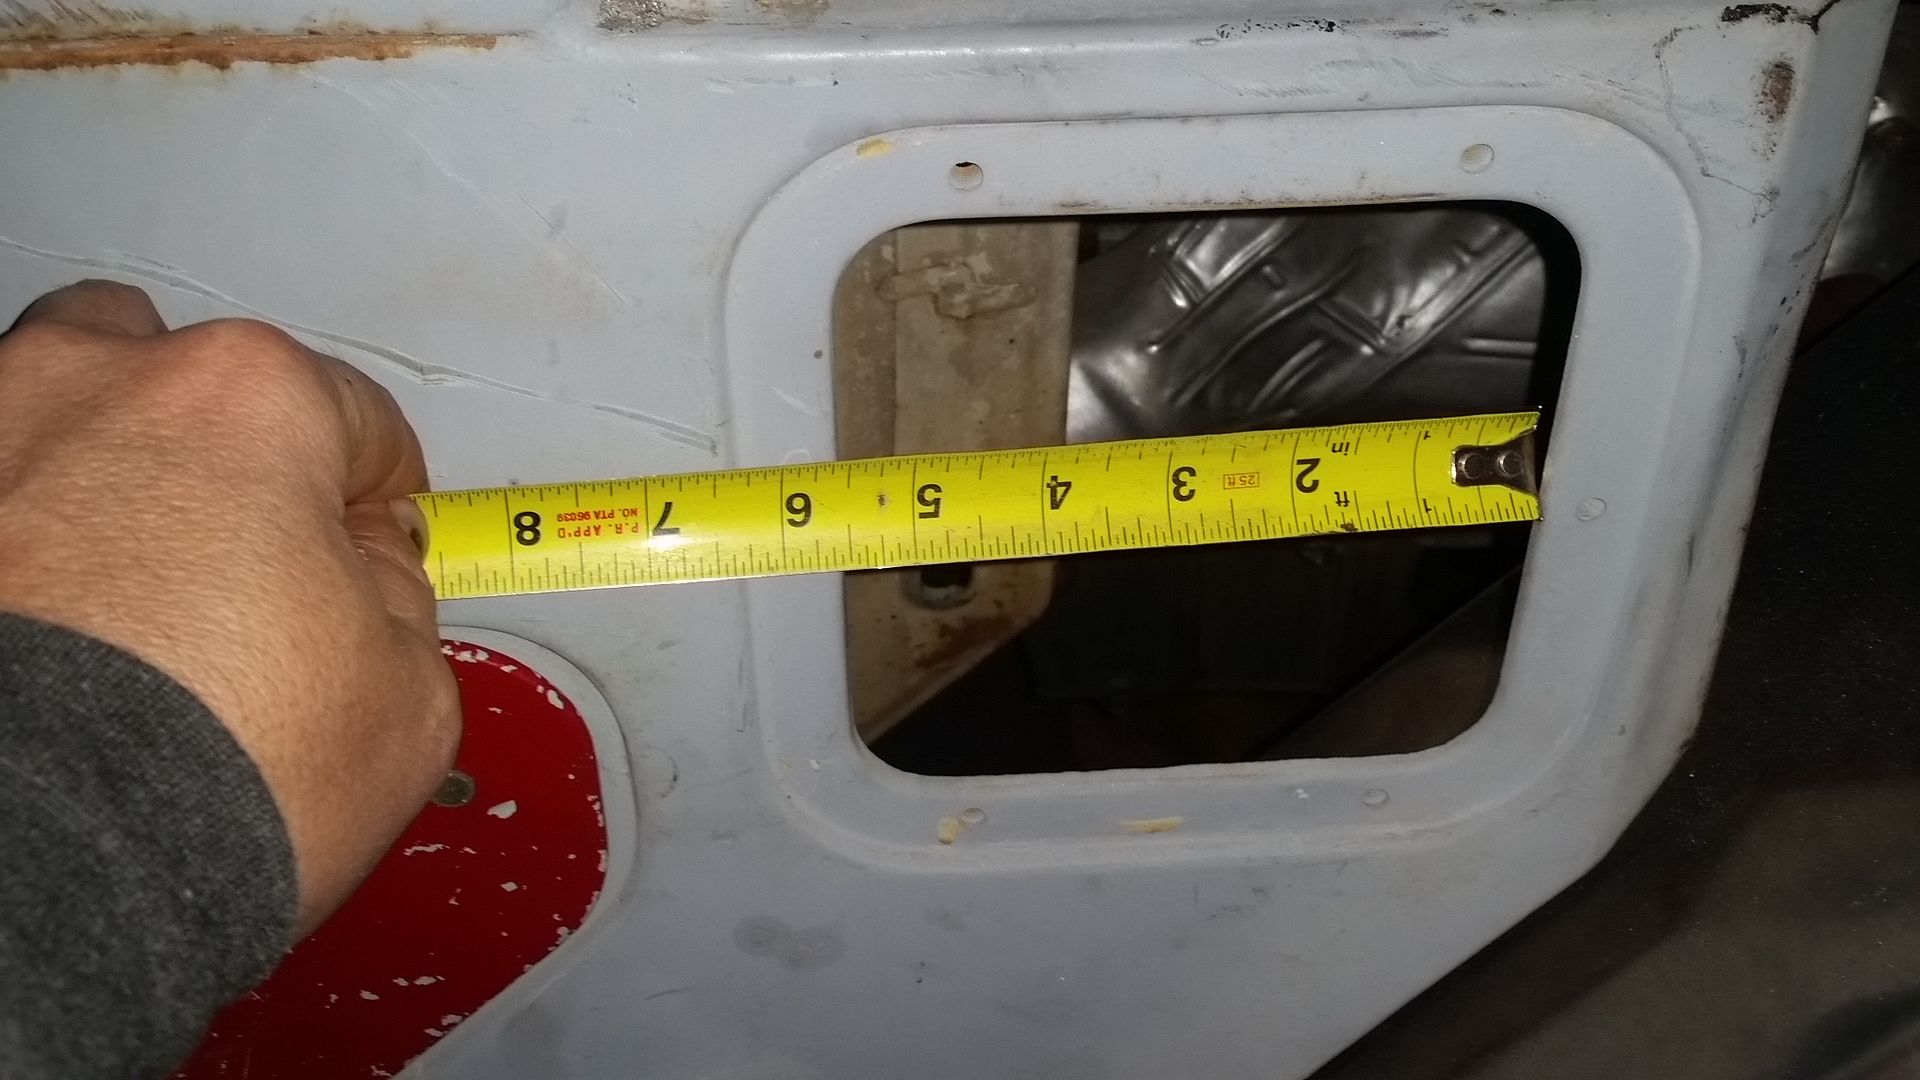
This is my On Board Air system for the LX45. It is based on a 12V Puma Compressor and has a small aluminum tank I scavenged from the dumpster at work. This area is wasted space under the bed drawer area. I think trying to mount all this stuff in the engine compartment would have made things really crowded.


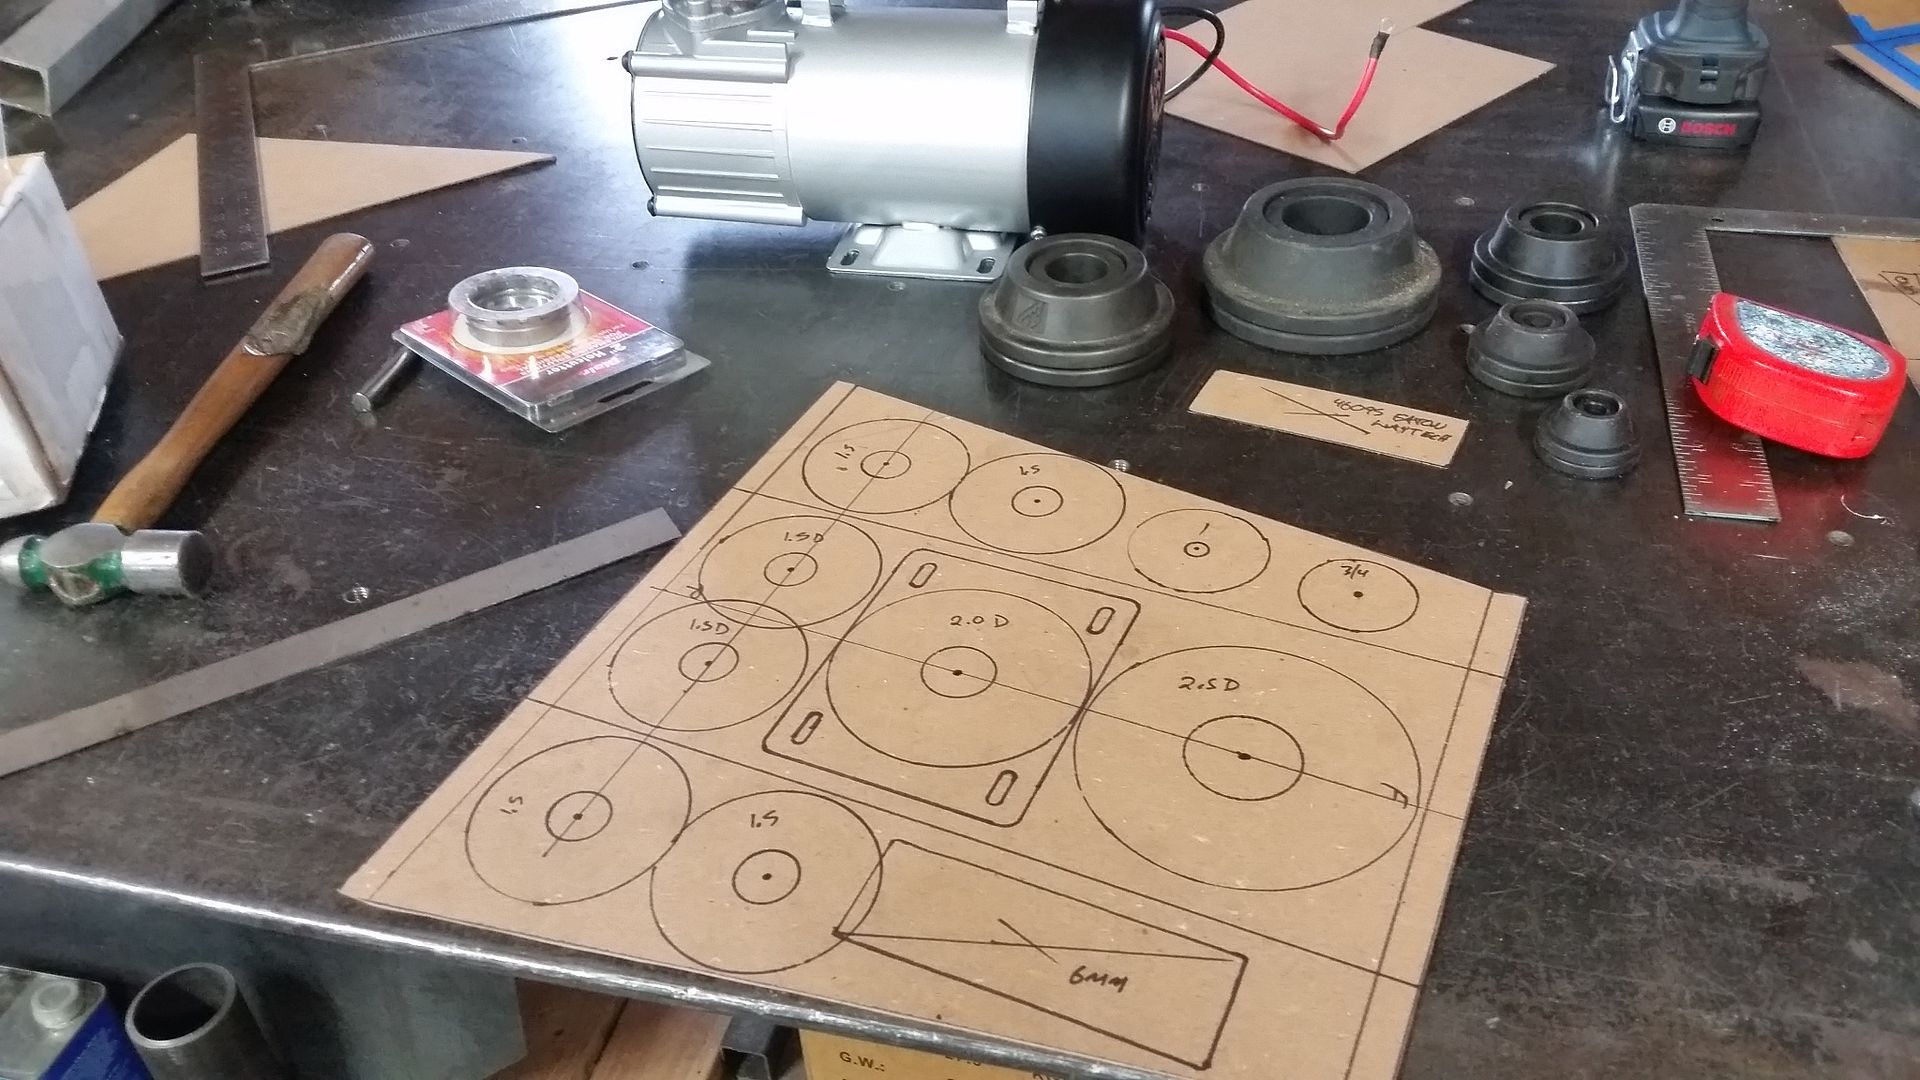
This started as a chip board template where I laid out the design for the bracket. I try and do this for all the brackets I make. The template is then transfer to some fresh sheetmetal. I really try not to make everything out of material that is needlessly thick. That adds up over the coarse of the build to pounds and mounts of extra weight.


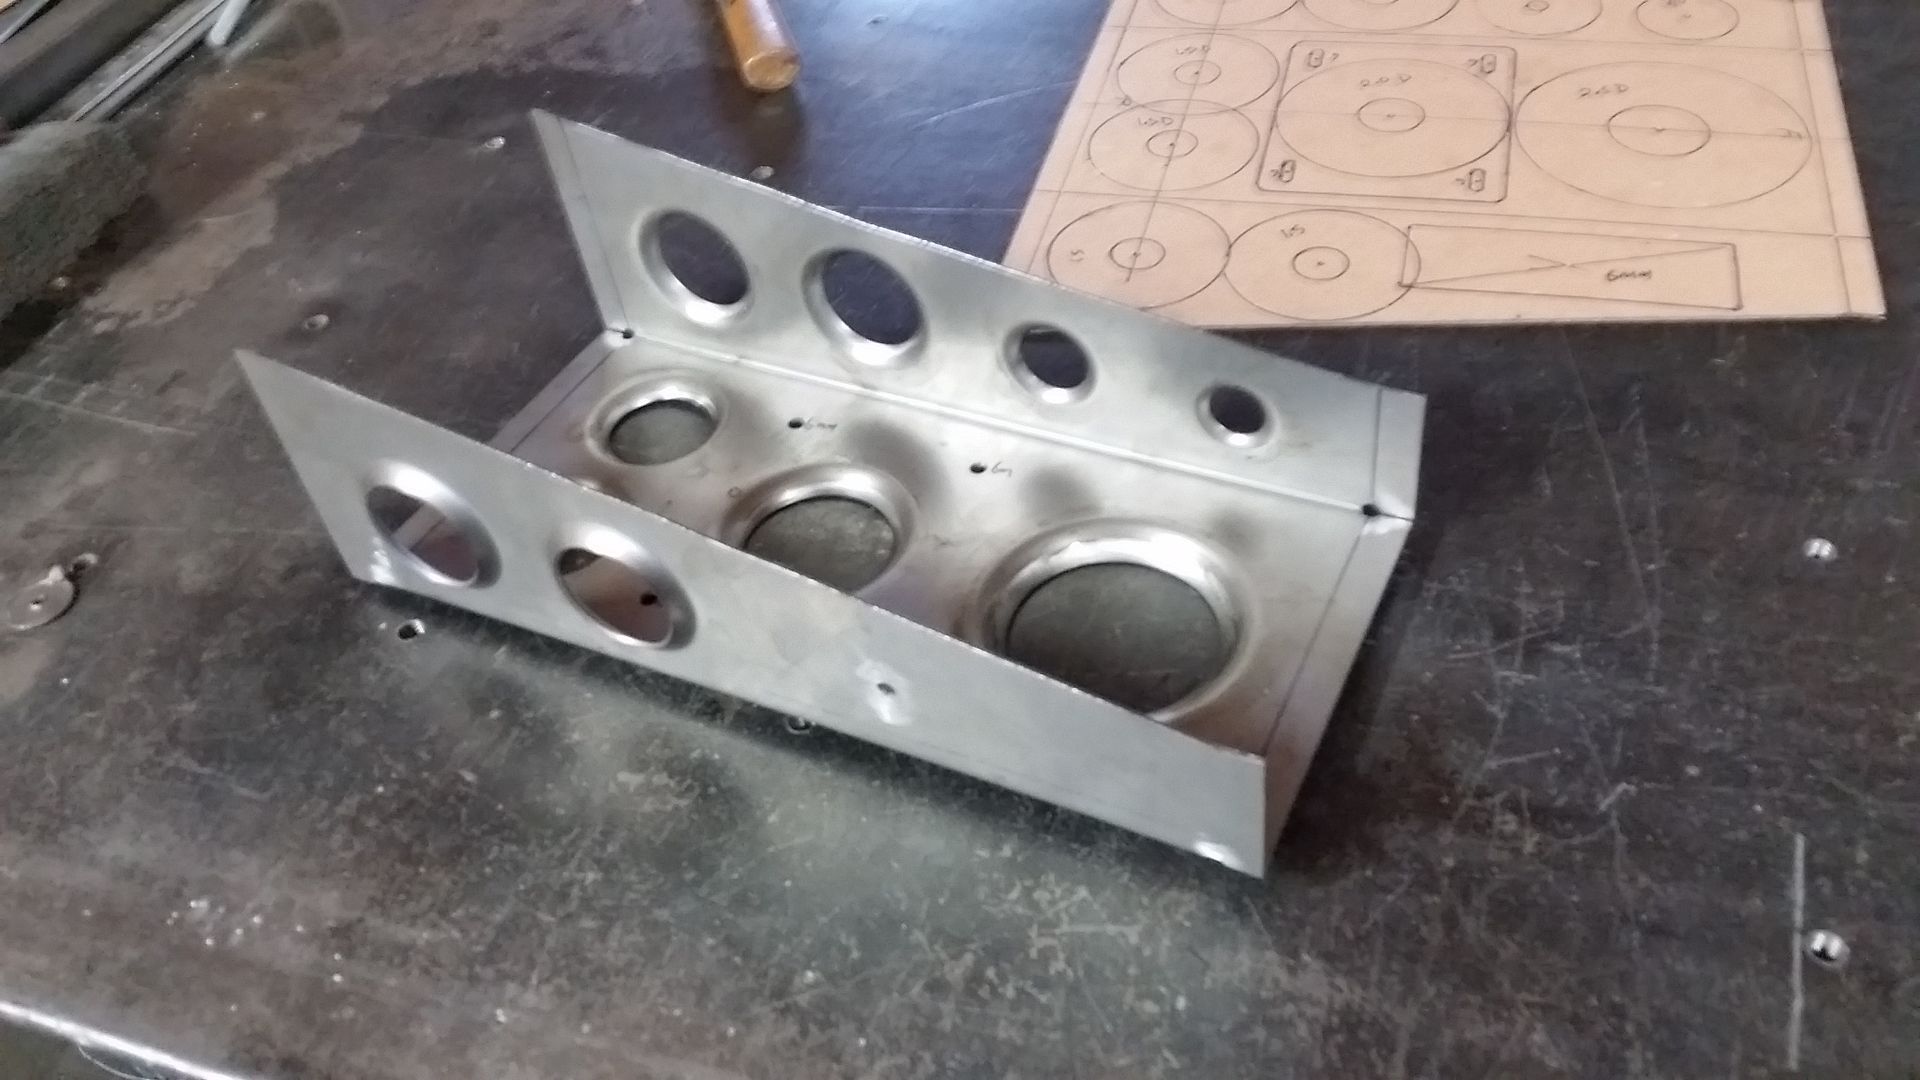
After much drilling, dimpling, and bending you end up with this. I decided it was a great idea to use every size of dimple die I have on this one part. Super smart use of time....


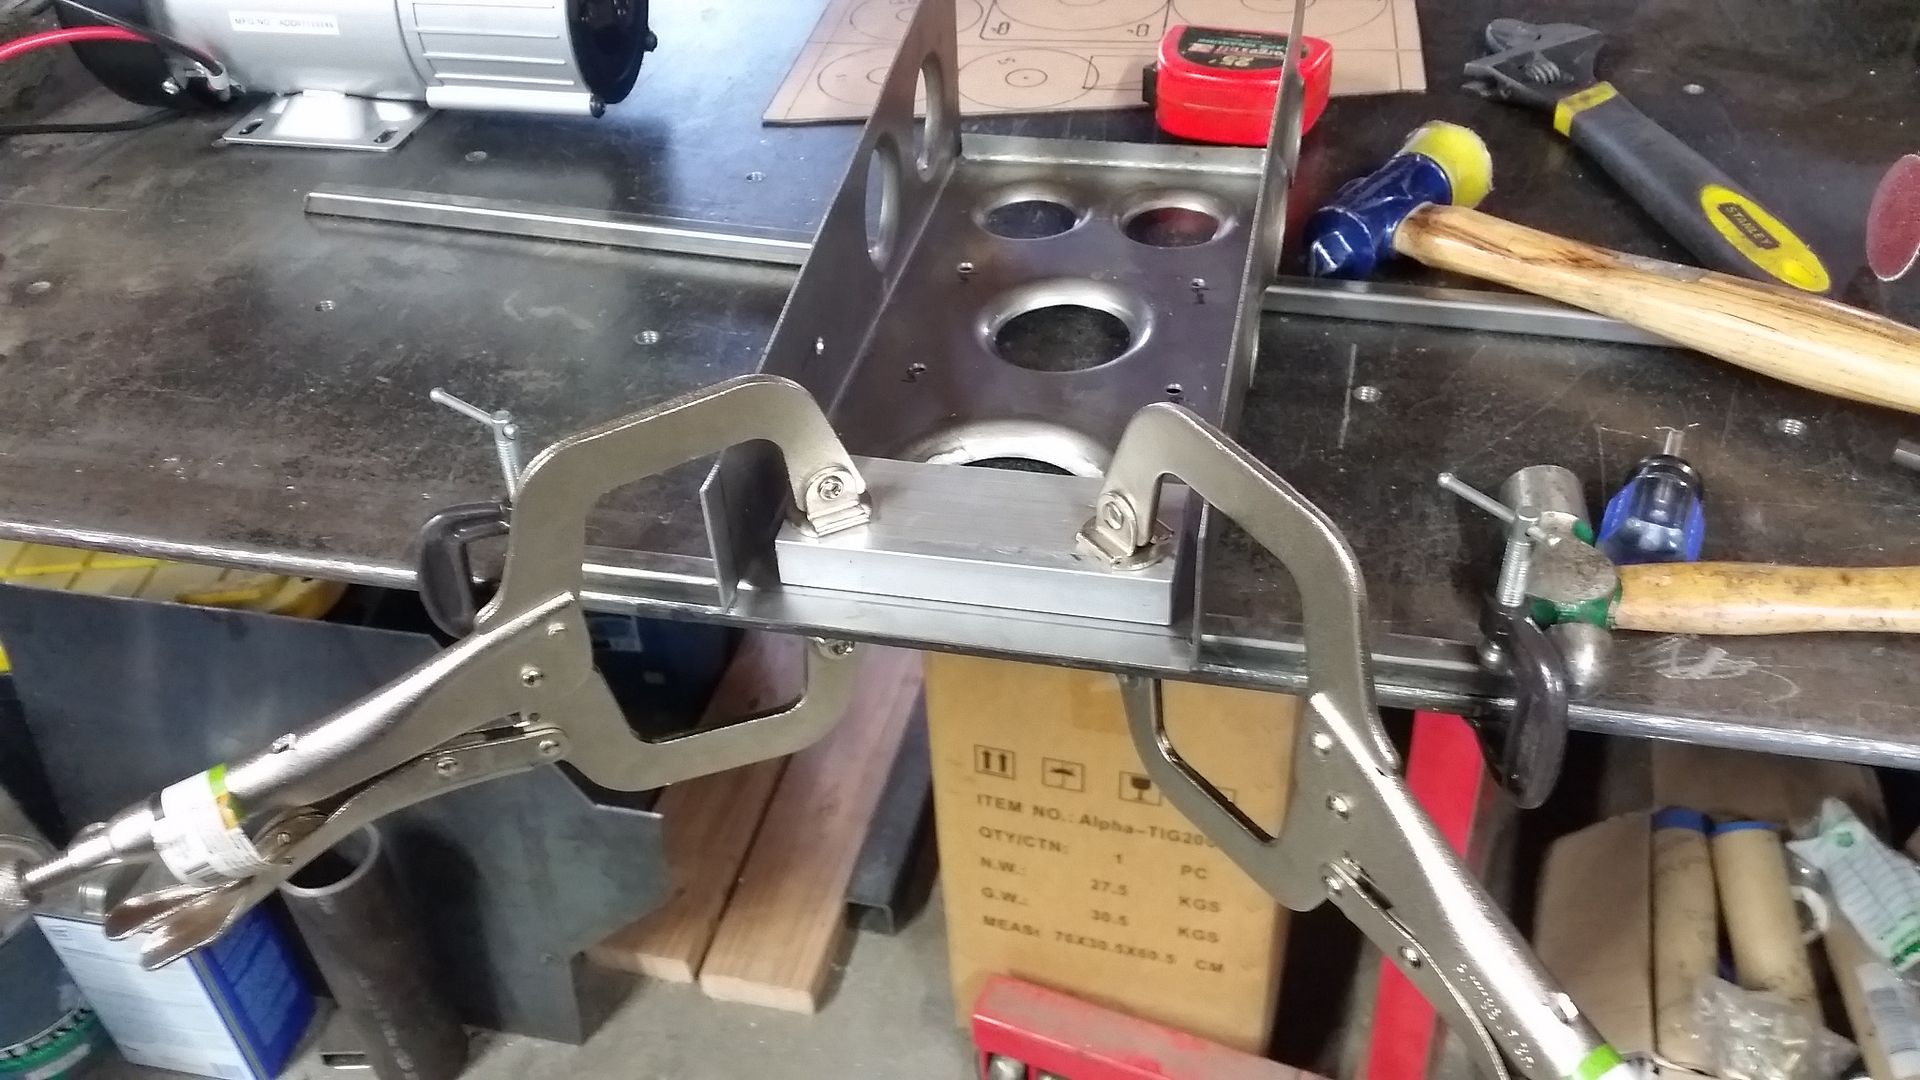
This is my super high tech flange bending machine. These 1/2" flanges are really nice to stiffing up the edge of panels and changing the weld orientation.


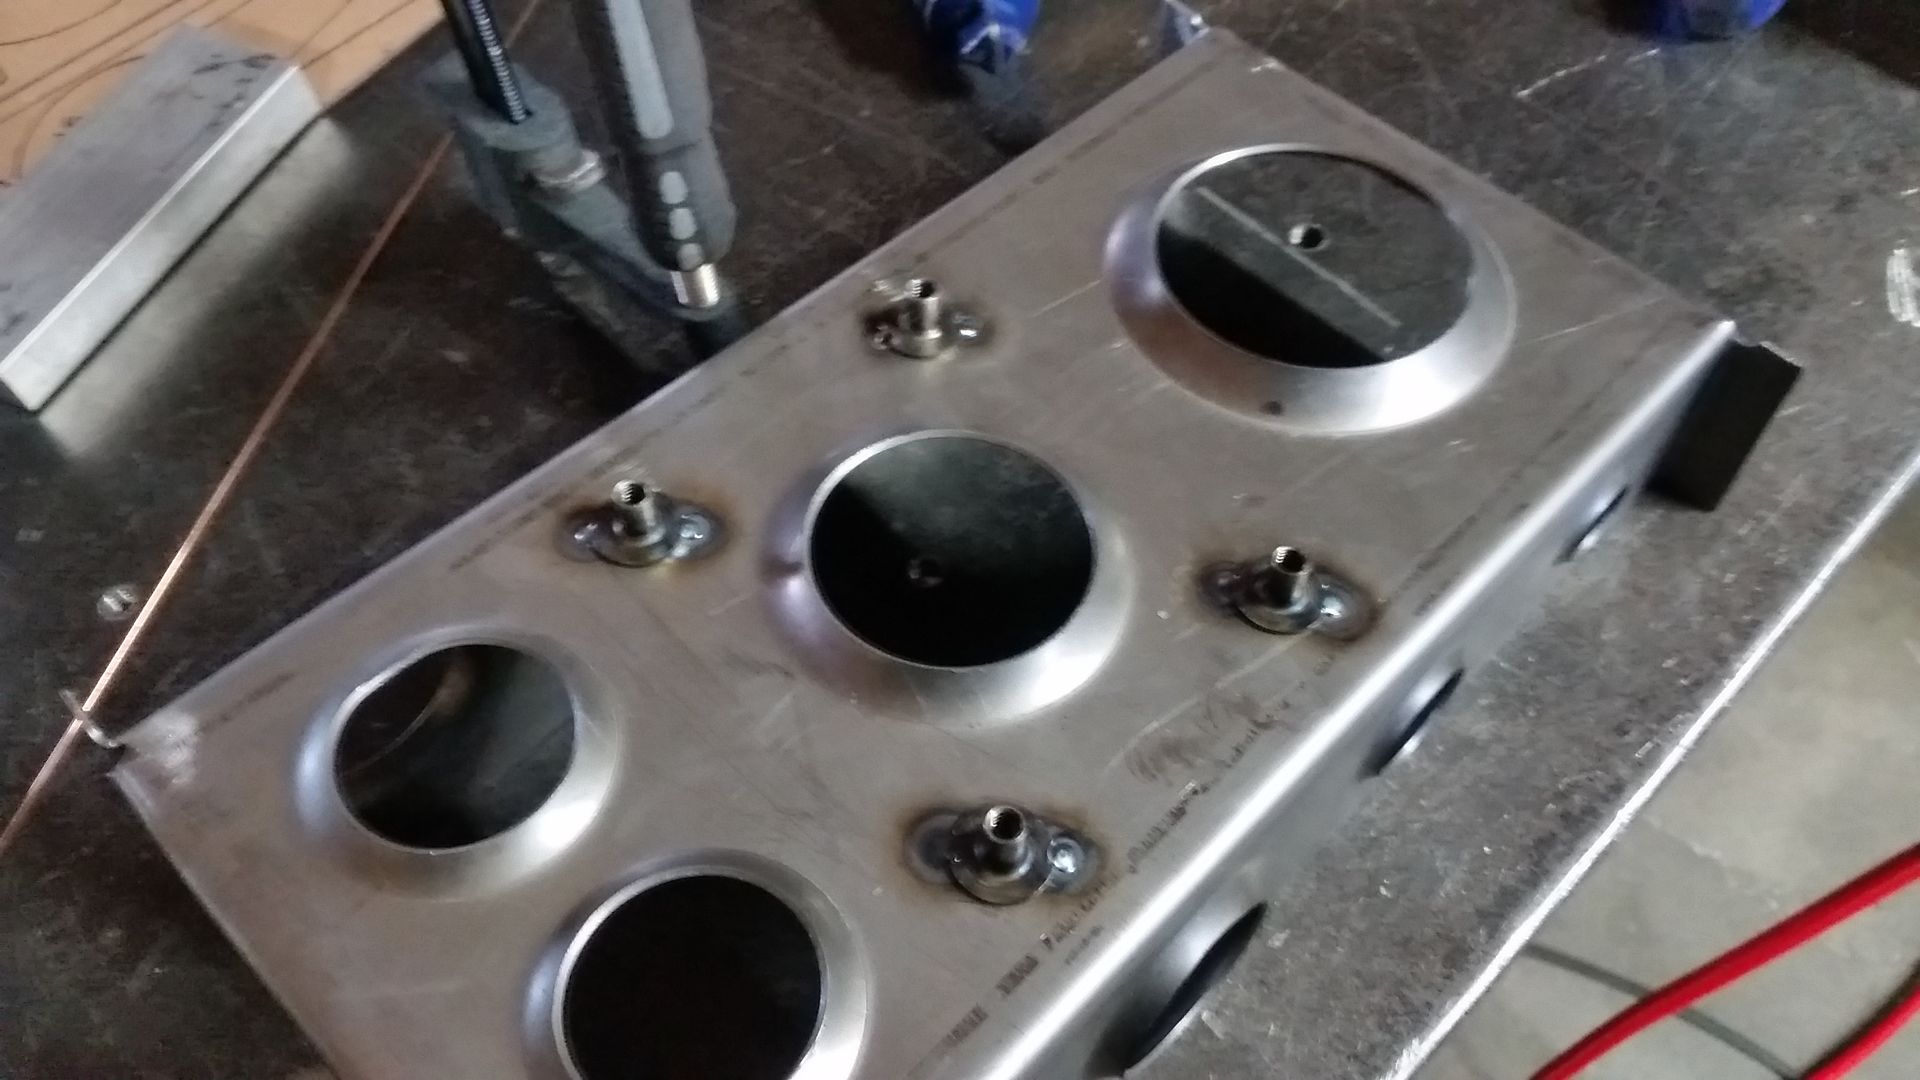
All the mounting holes got weld nuts TIG'd in place. I really like these things. They are affordable and have a lot of thread engagement.


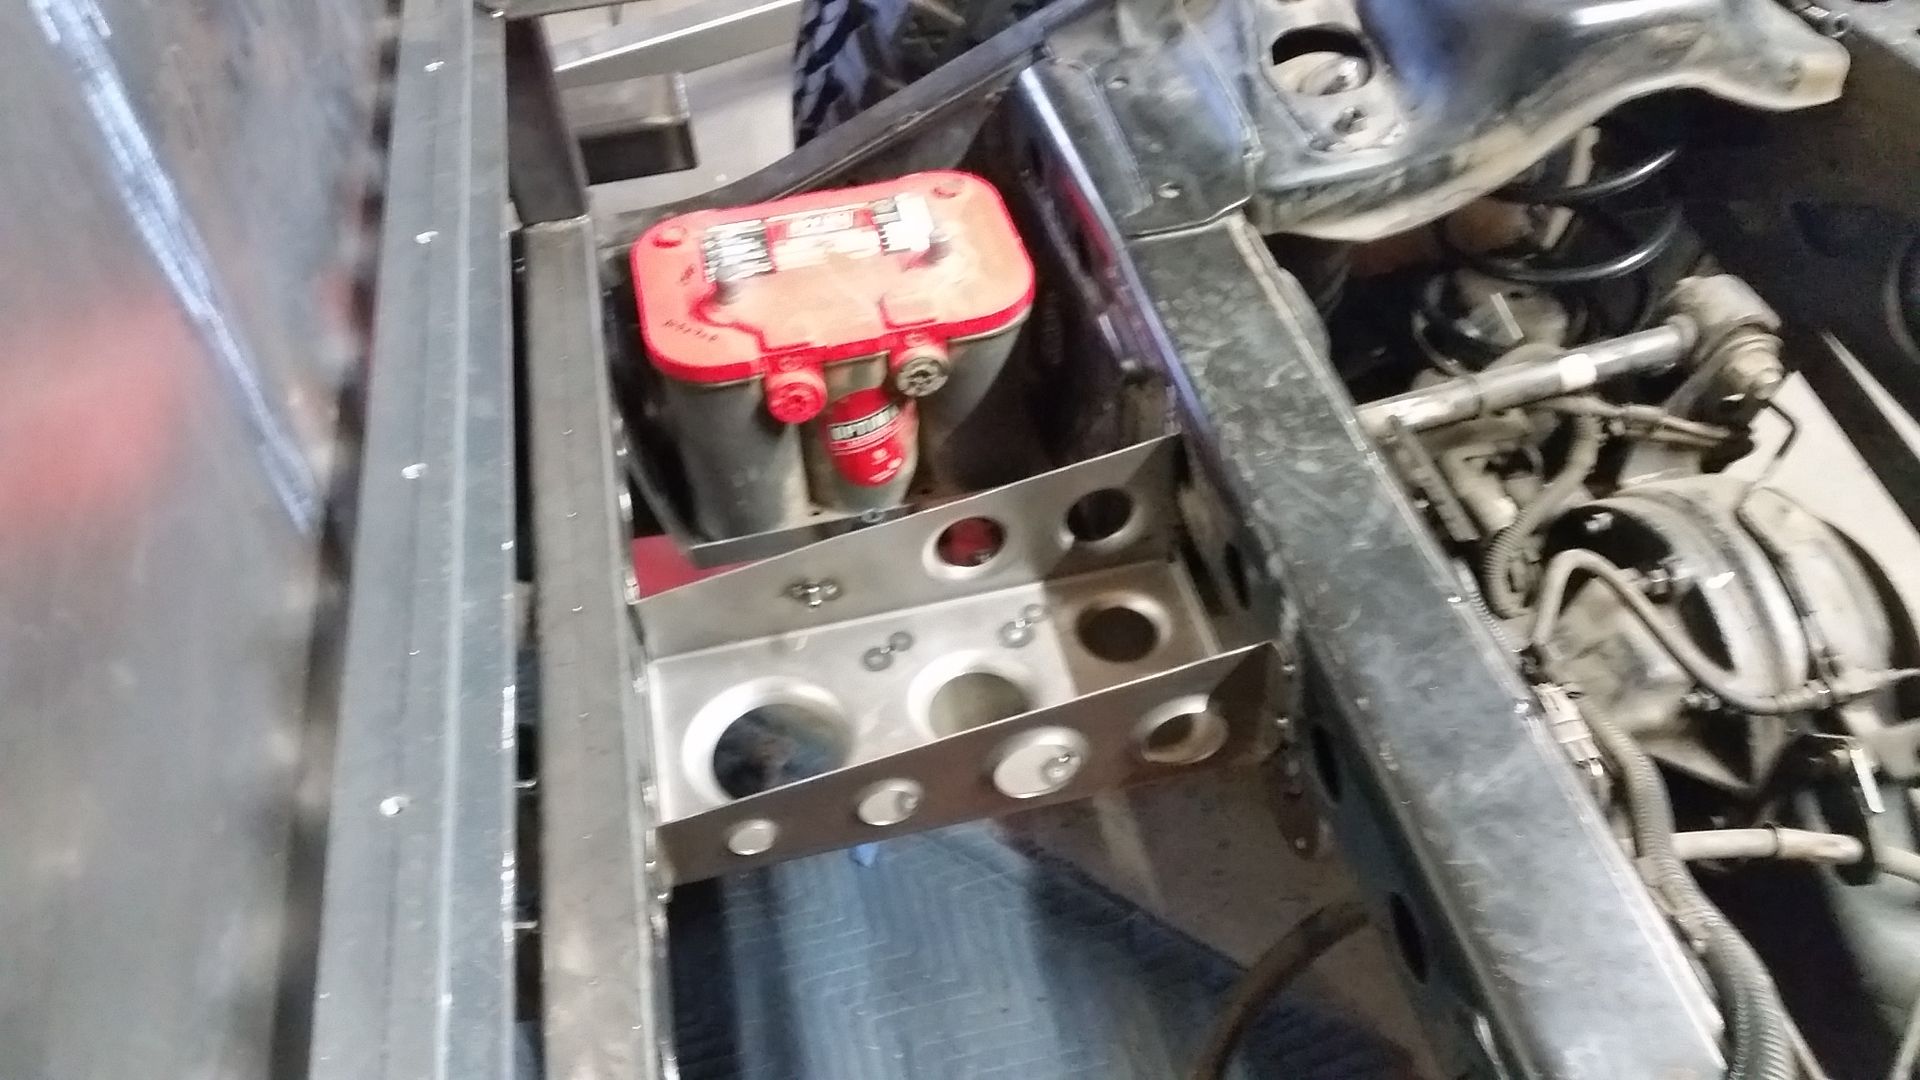
Tack welded in place on the chassis.


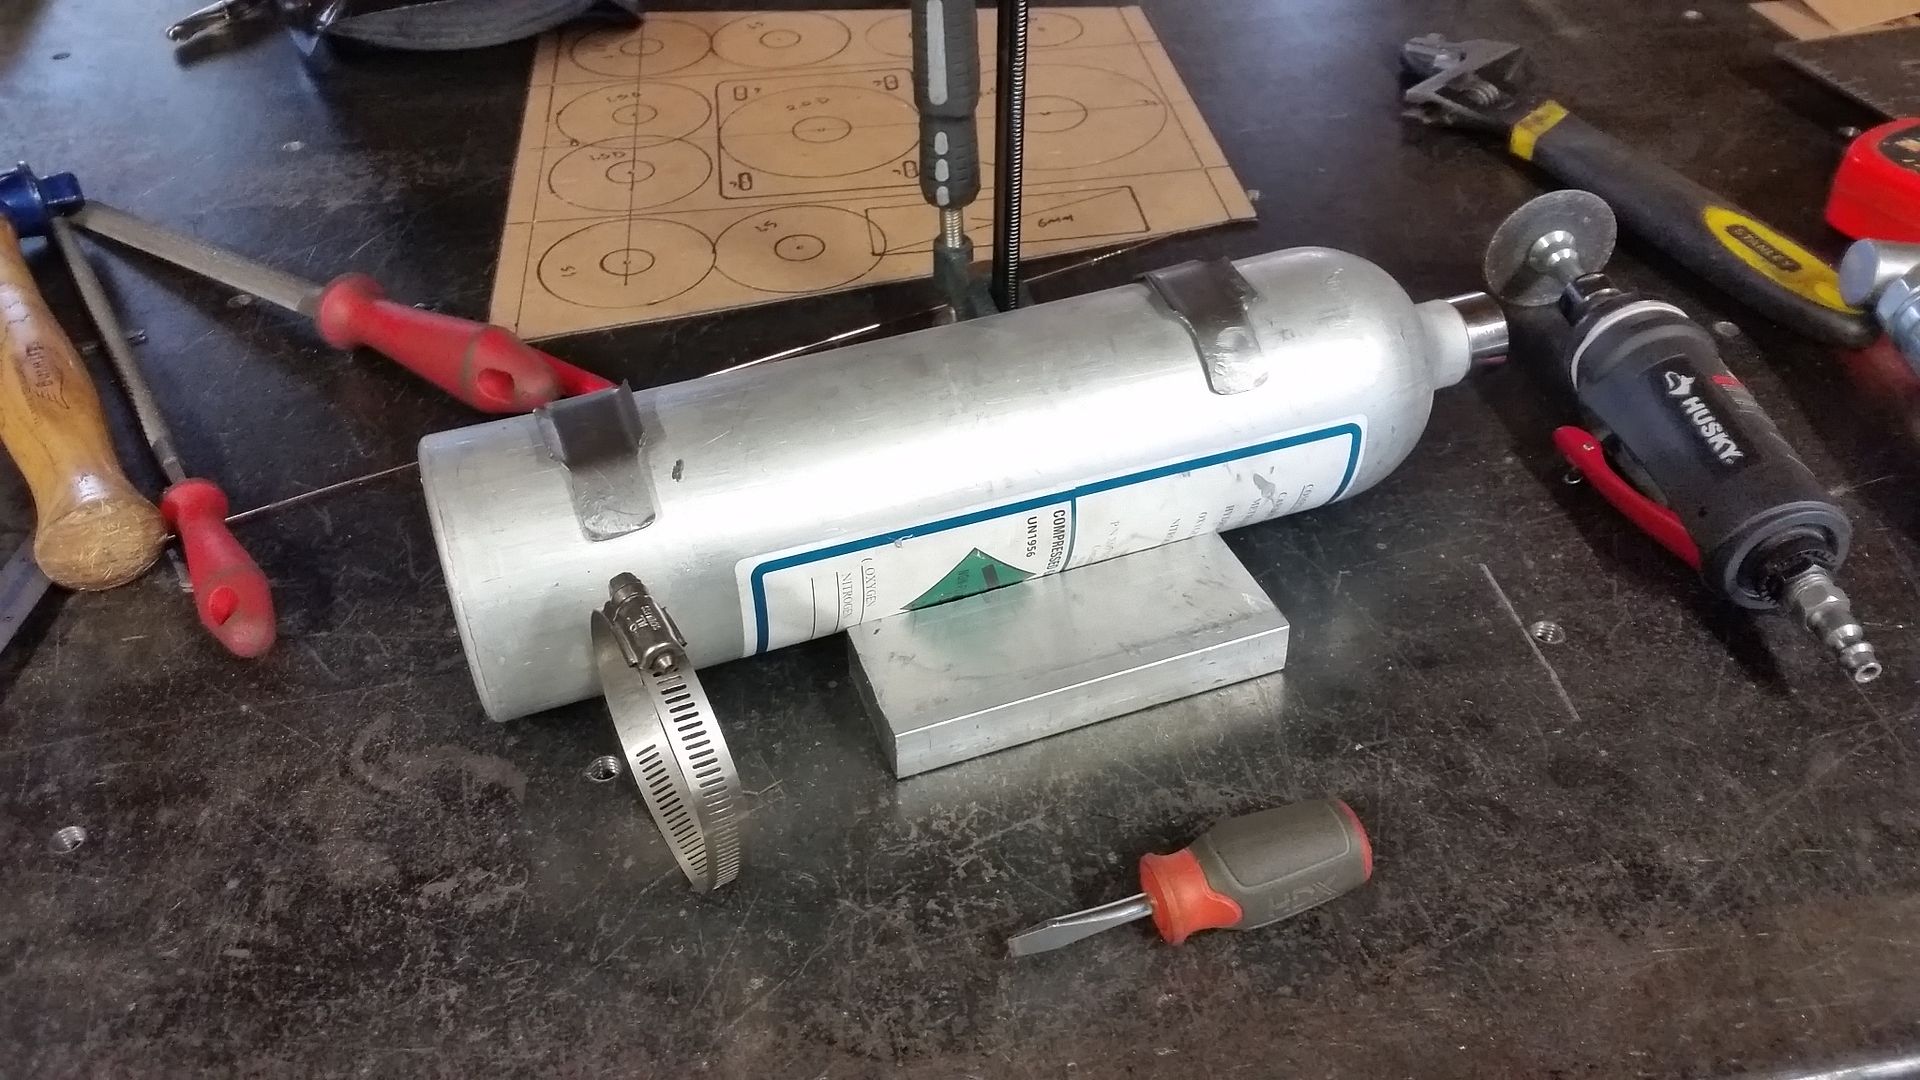
These are the little mounts I made for the tank mount. They are just formed 16 gauge steel and are welded to the frame. They trap a hose clamp which holds the tank into place.

Cheers.
 

Metcalf

Expedition Leader


I guess it's time to tackle the doors on this thing.

In broad strokes, I will be making a set of aluminum 2pc doors that have a sliding upper window similar to a series Land Rover. The upper part of the door will store in the false floor of the bed when not being used. I also need a latch system and a mirror.....
 

Metcalf

Expedition Leader
Doors.....


After playing around with the chipboard for a bit I ended up here....


The chipboard is really good template material up to a point, but it becomes kinda 'floppy' in big panels. I decided to up my template game and use some thin plywood for the doors. I found this stuff at home depot for a few bucks. It is very close in thickness to the 3/16" aluminum plate I plan on using for the doors. It is MUCH stiffer and is pretty flat.

I also decided to make the entire door in one piece for the template. I think this is the way I will fabricate the door eventually also. Make the entire door and then eventually cut it at the seam between the upper and lower. This should make the parts match up very well even if the cut isn't perfect.


The complete door was very interesting to play with. I also started laying out the window....

It feels odd to sit in the vehicle now with the door. It doesn't feel as small as I thought it would with the 56" wide tub. I do like the new door height with the raised body line. It feels really good. The stock body line would have felt very low. Keeping the door thin will help interior space. I am going to go pretty basic on the door. I ordered some Jeep TJ mirrors to use along with a locking paddle latch. I think I will be building the door hinges from scratch so I can have FJ40 on the body side but the TJ bolt pattern on the door to make the mirror work. I should also make them lift off, but then I have to make them a mirror left to right. Fun.
 

Forum statistics

Threads
185,835
Messages
2,878,710
Members
225,393
Latest member
jgrillz94
Top