Blender, My LX450/FZJ80 + FJ45esk + GM + Land Rover crazy concoction

Metcalf

Expedition Leader
Details Details


With the tub sitting up on its back I was able to weld up all the holes on the bottom of the dash lip. These would have been near impossible for me to get access to in the vehicle. With the tub in this position it was easy to just sit in the tunnel hole and use the TIG. I never would have thought about that really. I still have a few new ones from the inside bracket removal on the face ( now pointing down ) that I will need to get later...


My steering box came back from West Texas Offroad promptly after being ported for hydro assist. I will probably need at least one swivel 90 npt adapter, but I knew that going in. I did have much to work with for clearance to the grill.


I also took a pass over the bottom with the flap wheel to knock down the high spots a little bit on all the weld seams, then I hit everything with a wire brush.

That is all for tonight....
 

Metcalf

Expedition Leader
Weekend weather window mission accomplished on the #LX45 tub. I was able to get the bottom and firewall of the tub sprayed in some epoxy primer on this fine day.


If you are spraying paint, roll up a little masking tape and stick it in all the threaded holes so you don't have to clean them up later. The only problem was I had about 50 of these buggers.....
 

Metcalf

Expedition Leader
Nothing crazy....


I've been trying to button things up on the frame before I stick the tub back on. I think for everything I do, I think of something else that I should be done. I did manage to get a few things going...

-Lots of final welding on the rocker and motor mount frame pads.
-I built and tuned the linkage for the transmission shift lever.
-Started painting some of the front bumper and crossmember.
-Started on the pattern for the belly pan skidplate.
 

Metcalf

Expedition Leader
Trying to do something every day ( and not slack at thread updates!)


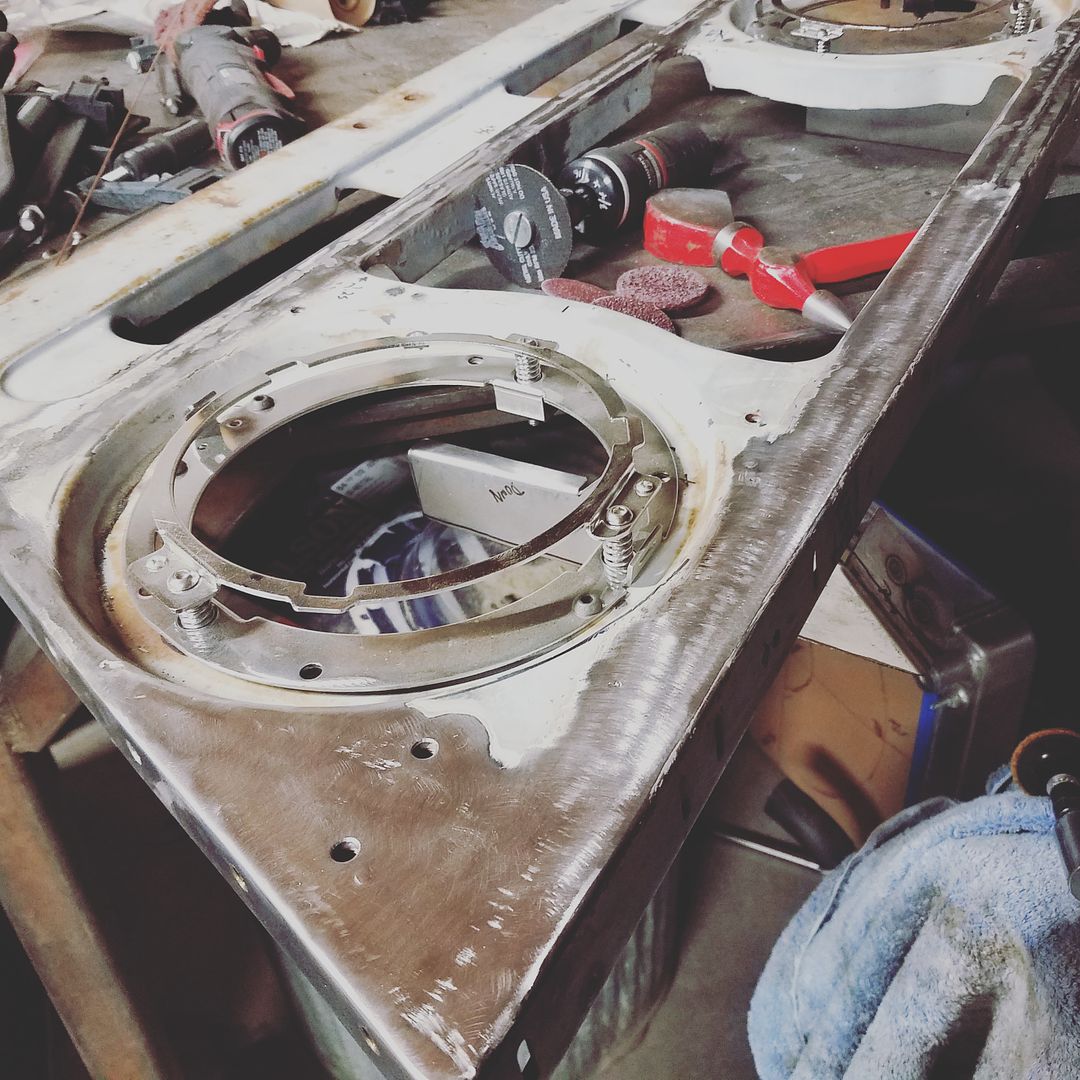
I cleaned up a few things on the grille and bezel. I'd like to at least get these parts painted before assembly so I don't have to remove them later. With the grill mounted I can have the entire cooling system all closed up and working for the engine, trans, and steering.

There are a still a few things to do. I need to make a mount for the grille 'screen' on the bottom edge....and make a screen


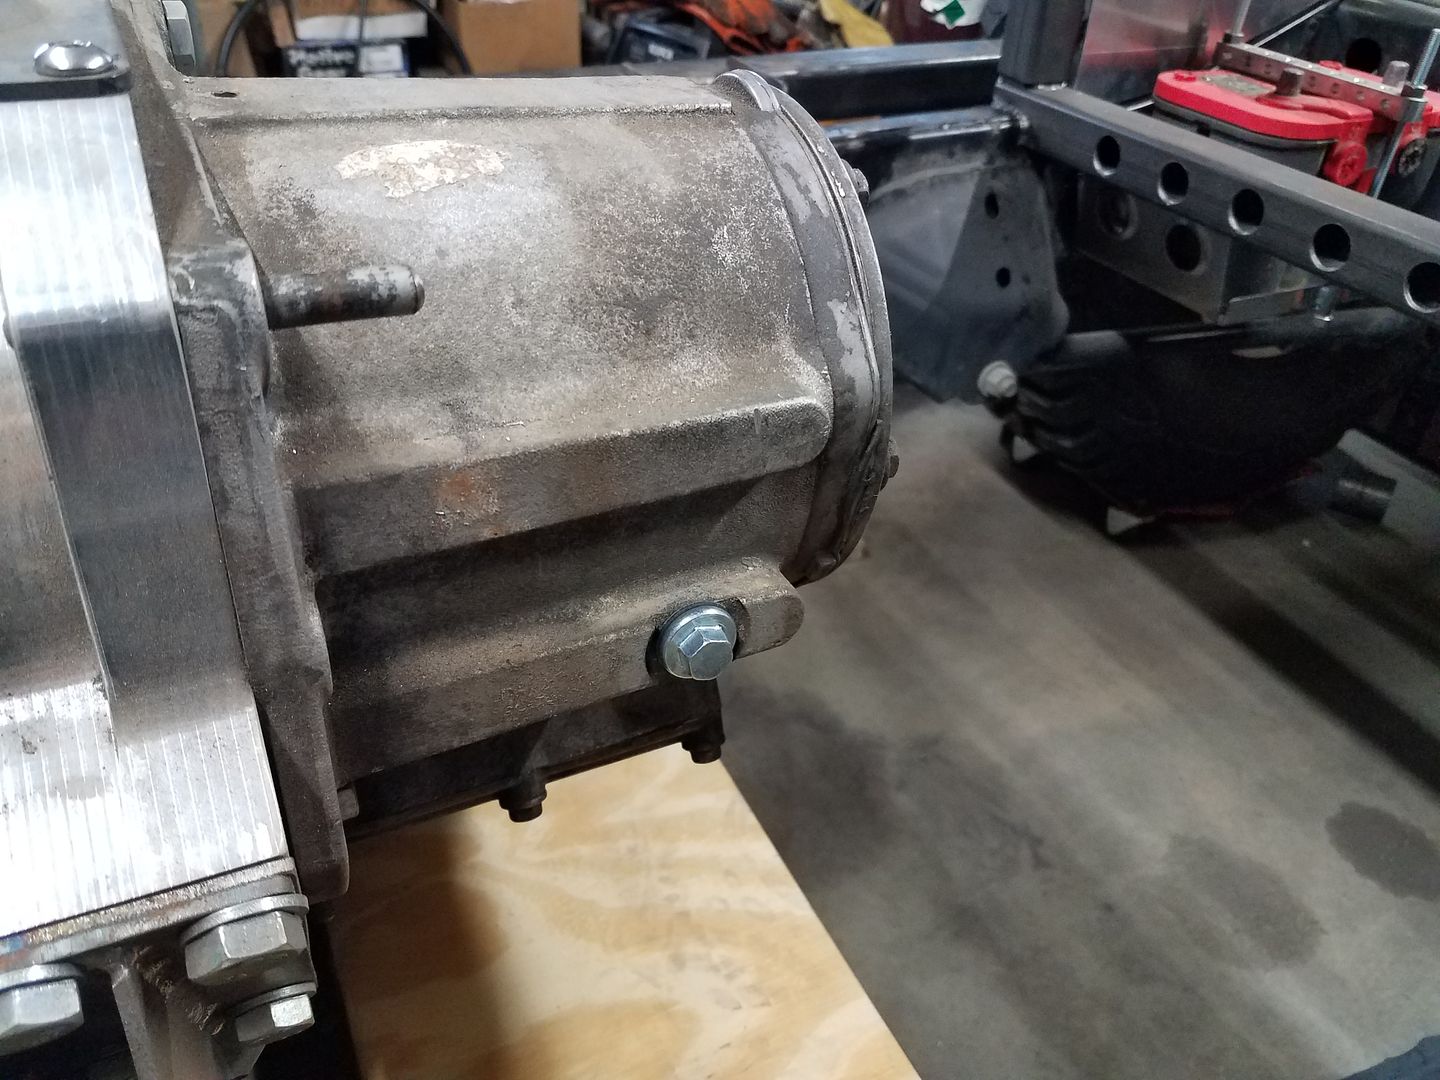
I was able to find the perfect little 'delete' plug for this sensor hole in the LT230 case. It is a 14mm fine thread replacement drain plug with gasket that has been set in place with Loctite 242 blue.


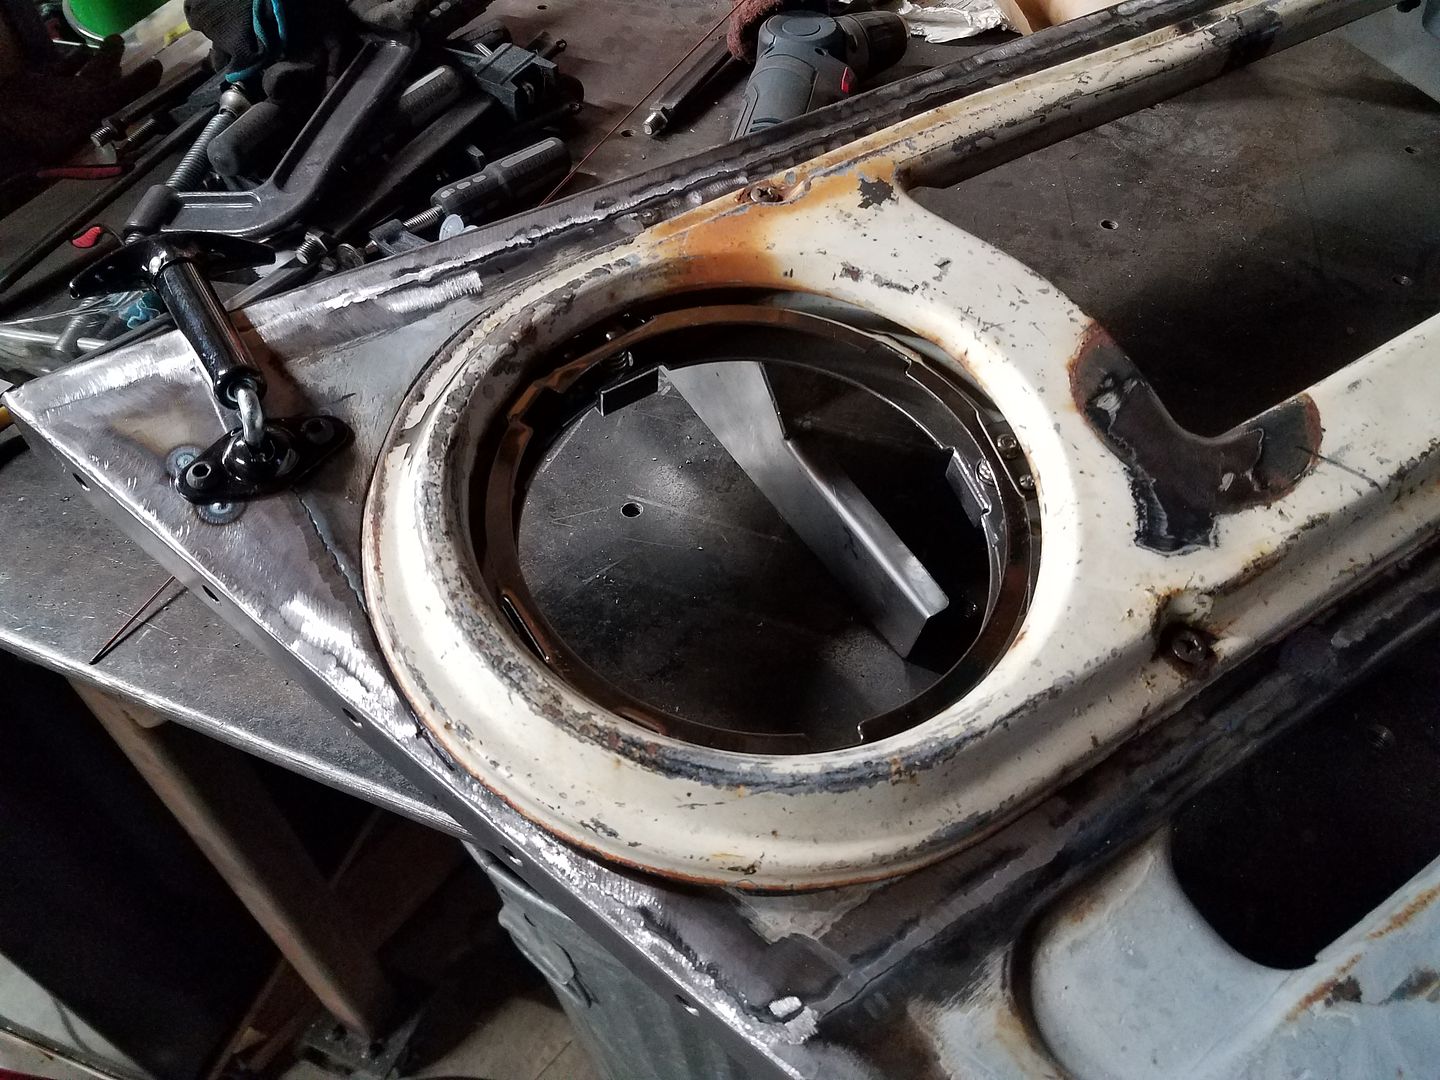
I spent the rest of the night working on my magic skills. I started making the weld seams disappear on the grill. I have a pretty good system worked out now I think. I need to document it on the other half.

I also noticed something interesting about hole filling. Filling the hole from the BACK side of the panel if possible is much easier to clean up typically. I am finally at the point where I can fill about a 3/16 hole with out a plug on 18-20 gauge steel. I basically build up a bead of filler with low amps till it connects, then I collapse the bulge with with a bit more heat. This seams to only give a little bit of overfill on the visible side that is easy to clean up.
 

Metcalf

Expedition Leader
This evening I made a big expensive piece of 1/4 inch thick 6061-t651 aluminum into a belly pan for the #LX45 using some common hand tools and a little wax. Weight is 30lbs so far but I need to add a few ribs to it. Overall not terrible for oil pan to past the transfer case coverage.


Metcalf

Expedition Leader
Panel seam dressing how to....


This is what the seam stared out as. This seam was tacked with the MIG way back when and then TIG welded between tacks. I then dressed the seam down with a 4" flap wheel just to knock the top off the high spots. As soon as I see the flap start to touch the sides anywhere I stop.


The next thing I do is hit the seam with a 3" cut off wheel in this orientation. I think the crown of the wheel helps get JUST the proudness of the weld down. I just go light on pressure and stop right when the plateau disappears. This leaves a bit of a rough finish, but not that bad really. This seems to make the most progress in the quickest time.


Next I hit things with a 36 grit 2" rol-loc disc on an air powered angle grinder. This gives things a nice consistent finish. At this point I will usually start trying to make sure things are as level as possible with a little hammer/dolly work if anything has pulled.


A follow up with 80 grit.


I stop with a brown scotchbrite rol-loc pad.
 

Metcalf

Expedition Leader
Today was a challenge on the #LX45. I haven't done much exhaust tubing work, but I put my ducks in a row and made it happen. This is all 2.25 inch mandrel bent cut to fit and tig welded. The astute will notice my 3d printed layout cheater blocks with the top secret mailing tube straight section simulation option. The flanges where off eBay. Overall I am pretty happy with how it turned out even though it killed most of the day. I need my engine harness to show up so I can measure for the o2 bung placement. Tomorrow I will start on the passenger side....


That's one of my favorite parts of any build. Building a well engineered exhaust system that looks good, flows properly, is easy to remove and vibration free is something that most guys overlook. Muffler shop exhaust systems can be nice, but nothing beats a hand crafted, individual mandrel bend exhaust. Well I guess a custom machine built mandrel bent exhaust would beat it, but I don't have access to that million dollar machine.

Looks nice Brennan.
 

Metcalf

Expedition Leader
It was like groundhog day on the #LX45. Got up and worked on the exhaust all day. Passenger side is now done other than the o2 bung.


One note....

The aluminum belly pan is working out nice. I had to pull it to remove the passenger side of the Y-pipe. This was pretty easy by myself while laying on my back and just using my knee to hold up the panel. Pretty simple, I hope I can keep it that way.

Hopefully my aluminum square stock shows up for the skidplate ribs soon. I also need to make the front support arm by the oil pan.

Never a shortage of things to do.
 

Bojak

Adventurer
Sooooo, what is it you do for a living? I'm sure its in this thread somewhere but its a pretty long thread at this point. If its not fabricating then u r missing ur calling. Just wow. I wish i knew someone with your talent around my neck of the woods.

Sent from my SM-T810 using Tapatalk
 

Forum statistics

Threads
185,826
Messages
2,878,611
Members
225,393
Latest member
jgrillz94
Top