Blender, My LX450/FZJ80 + FJ45esk + GM + Land Rover crazy concoction

Metcalf

Expedition Leader
Progress yes, updates not too much. The forum traffic and questions have decreased a lot sadly since the photobucket thing. I share a lot on facebook(Brennan Metcalf) and instagram (brennanmetcalf) now if you need a quick fix....
 

redthies

Renaissance Redneck
Progress yes, updates not too much. The forum traffic and questions have decreased a lot sadly since the photobucket thing. I share a lot on facebook(Brennan Metcalf) and instagram (brennanmetcalf) now if you need a quick fix....

Photosucket has ruined so many threads on so many forums. It absolutely trashed the internet. They should be ashamed of themselves, but I somehow doubt they give a rats backside .

The roof looks great!
 

Metcalf

Expedition Leader
Lets try to get back into the mini-update habit.


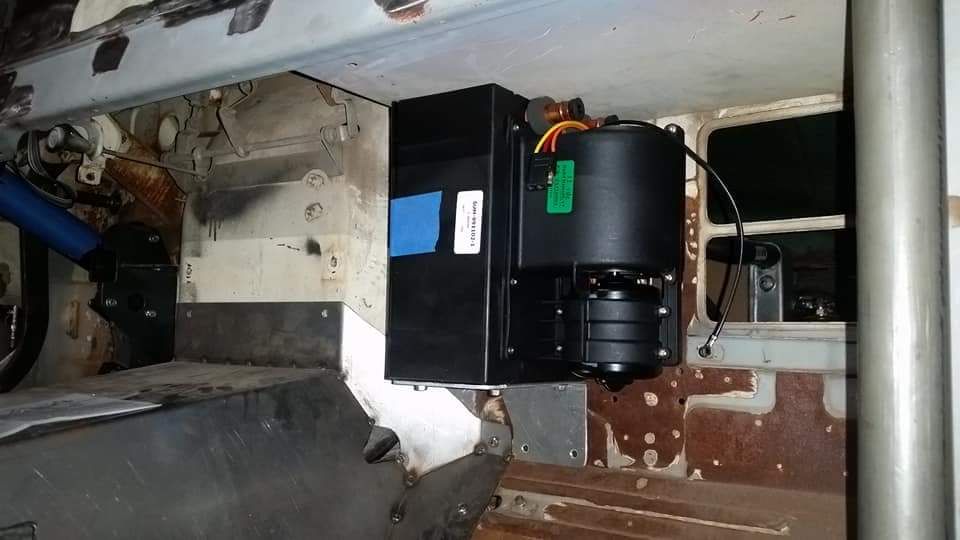
When I was messing around in the cabin space I decided to mount a heater. I decided to use the Summit Universal 30,000btu unit.

https://www.summitracing.com/parts/...svxoGv20CfjYfEj4tgg8ThnMVwMAr0x8aAv7KEALw_wcB

It is a nice little unit. It comes with rotary switch for the fan control. For $150 not a bad little unit.

I fought back and forth on where to mount it. I REALLY want to be able to tie into the factory defrost ducting AND have floor heat. I will be dedicating one output to each function. I am thinking about making some kind of tube duct system to do that, something that would look kind older/retro.
 

Metcalf

Expedition Leader
Next up is going to be front fenders....


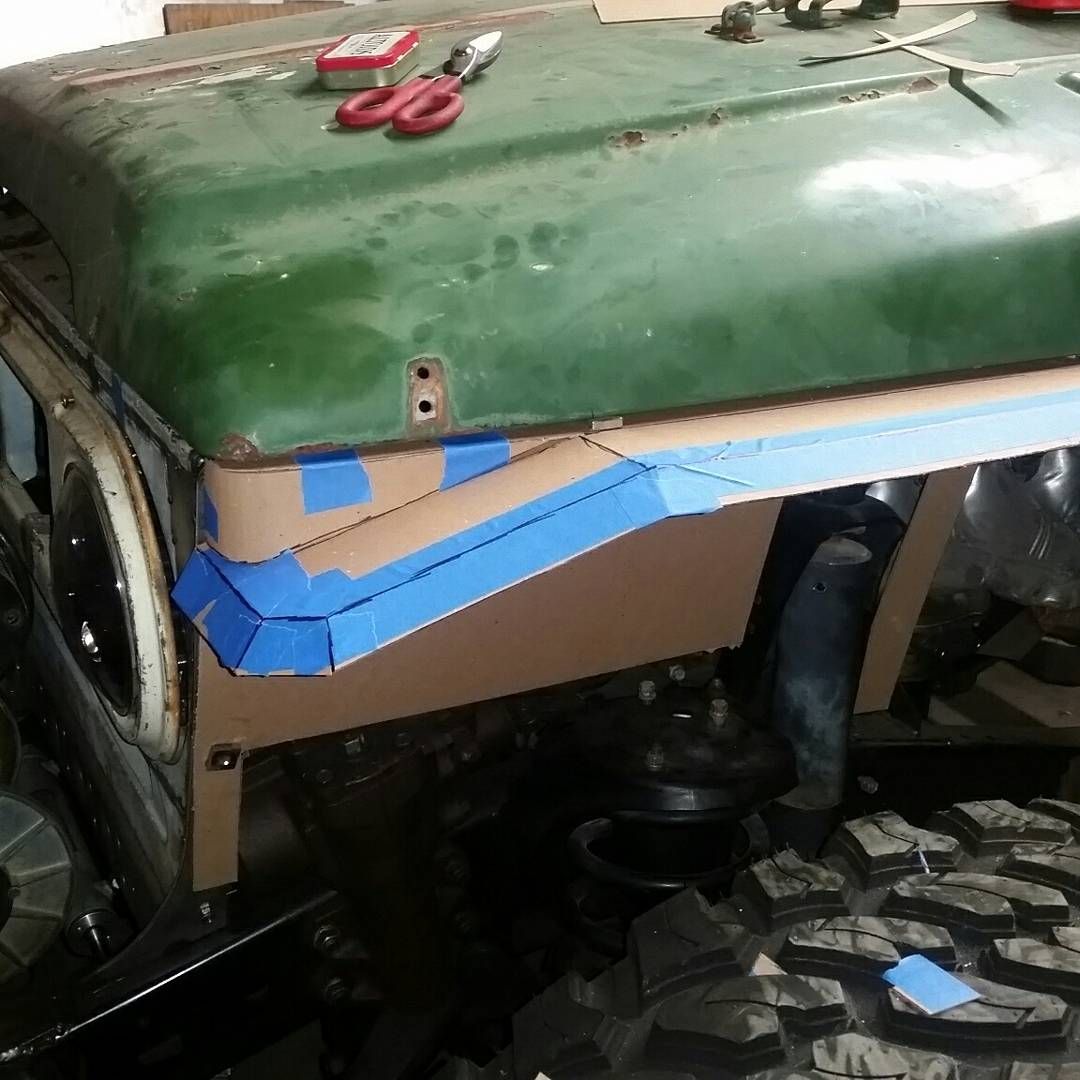
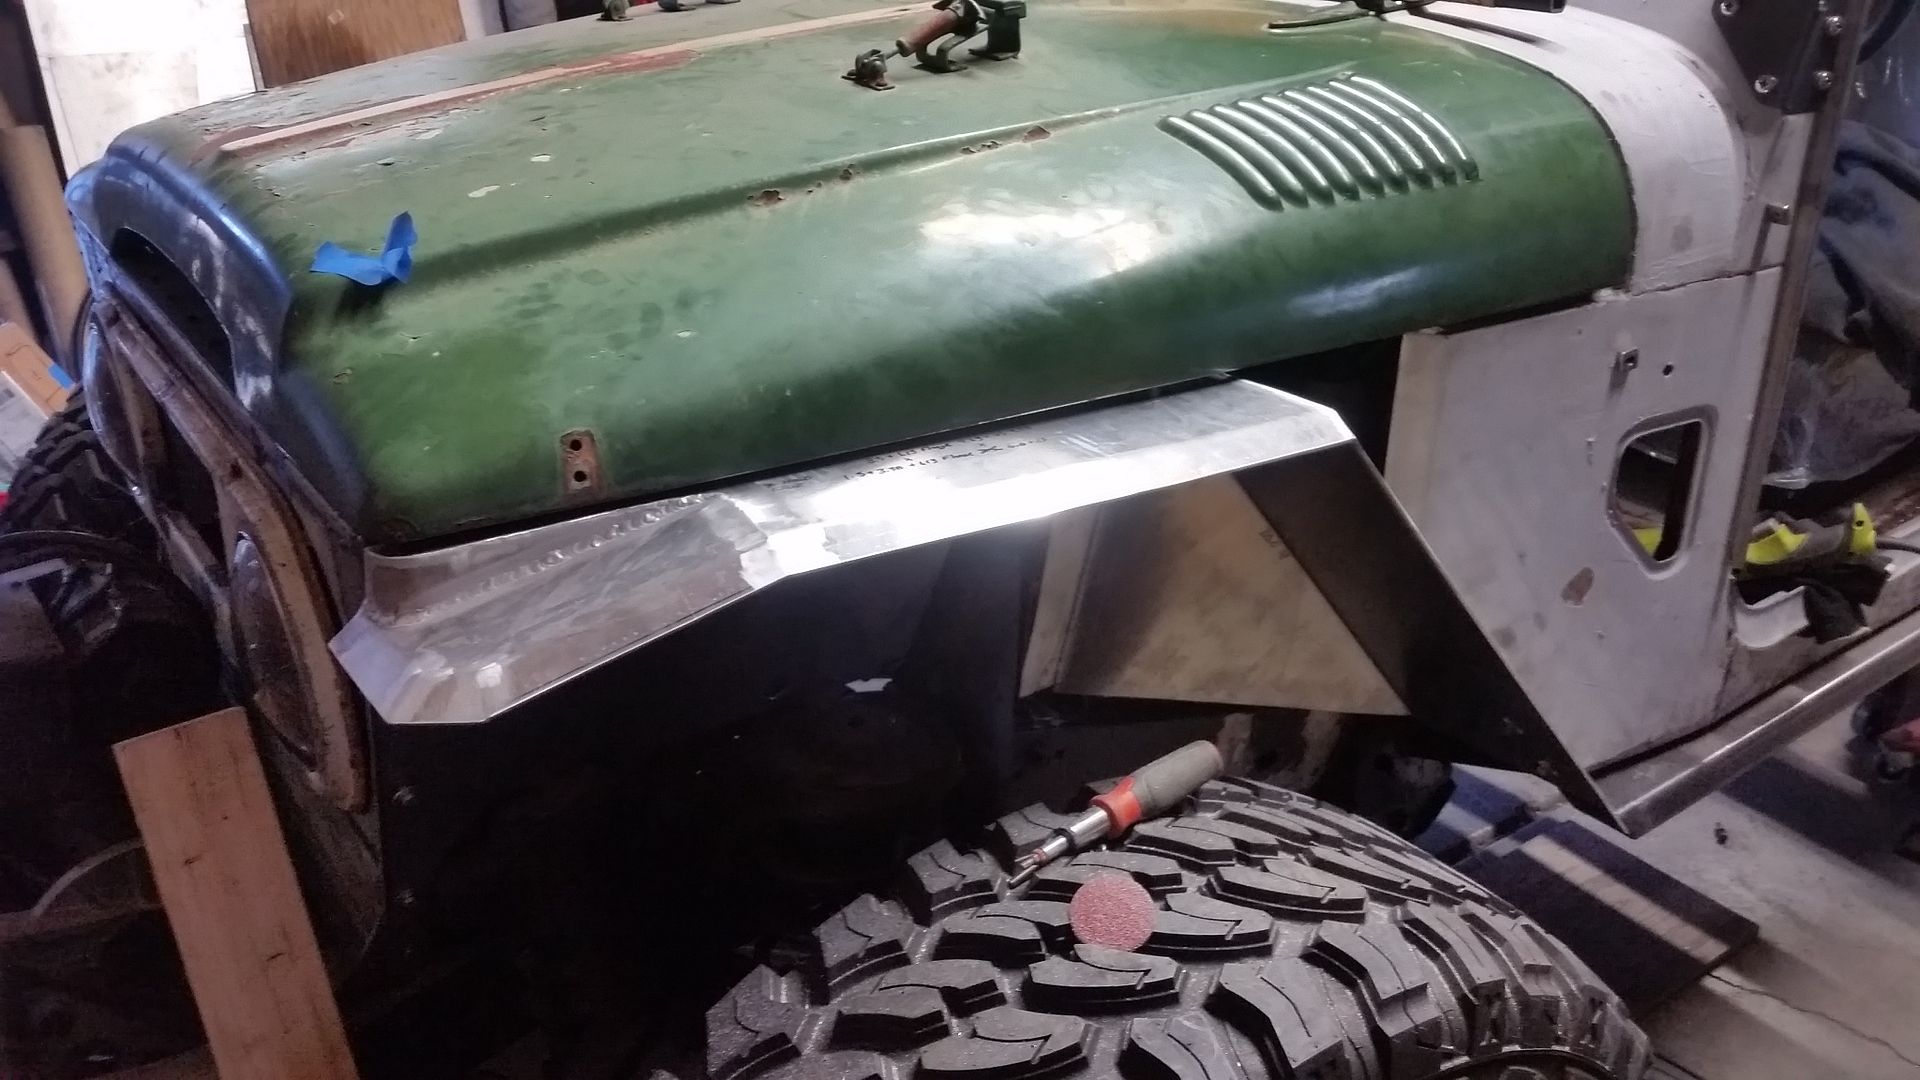
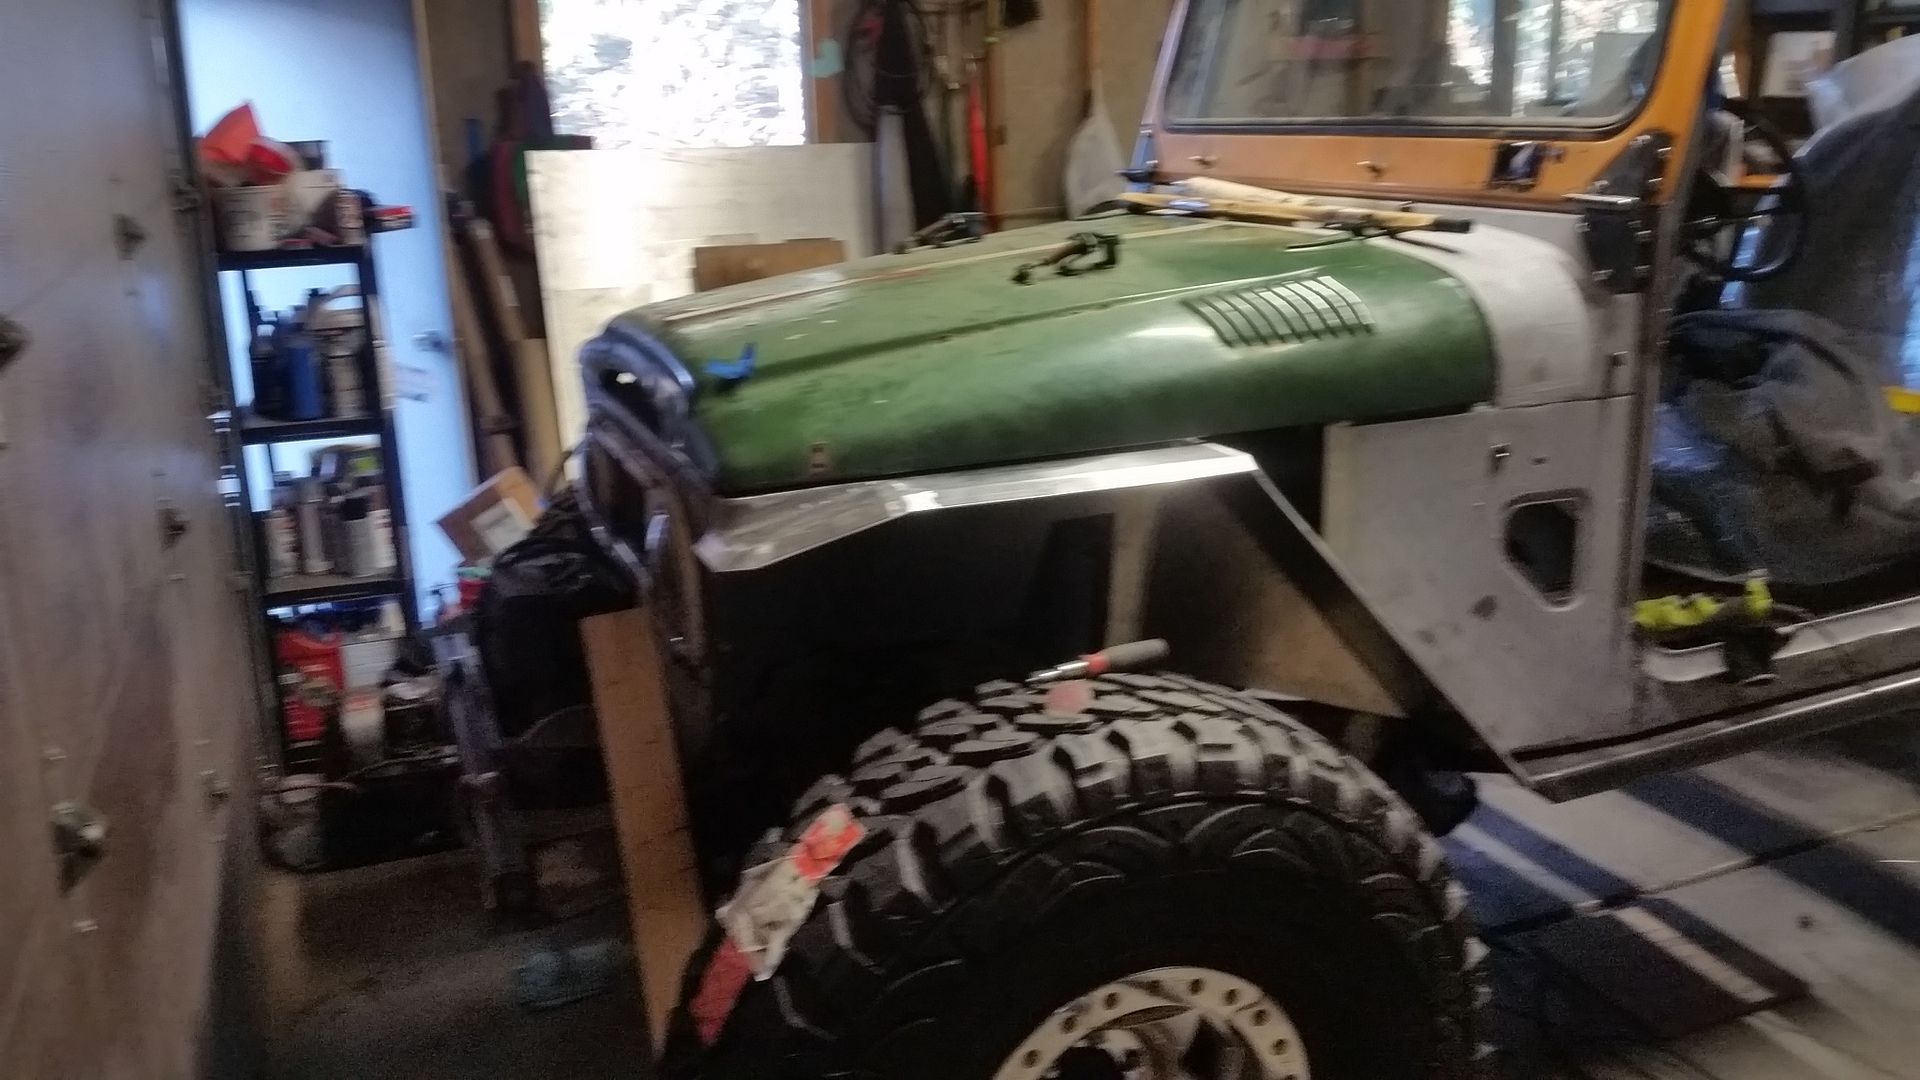
Here is the chip board mock-up. I had to try a few different things to make it look NOT like a Jeep. I think the little front dip 'bill' helps that. These fenders are pretty small overall to stay out of the way. They only stick out about 1" past the body. The tops are also tapered to match the hood profile.


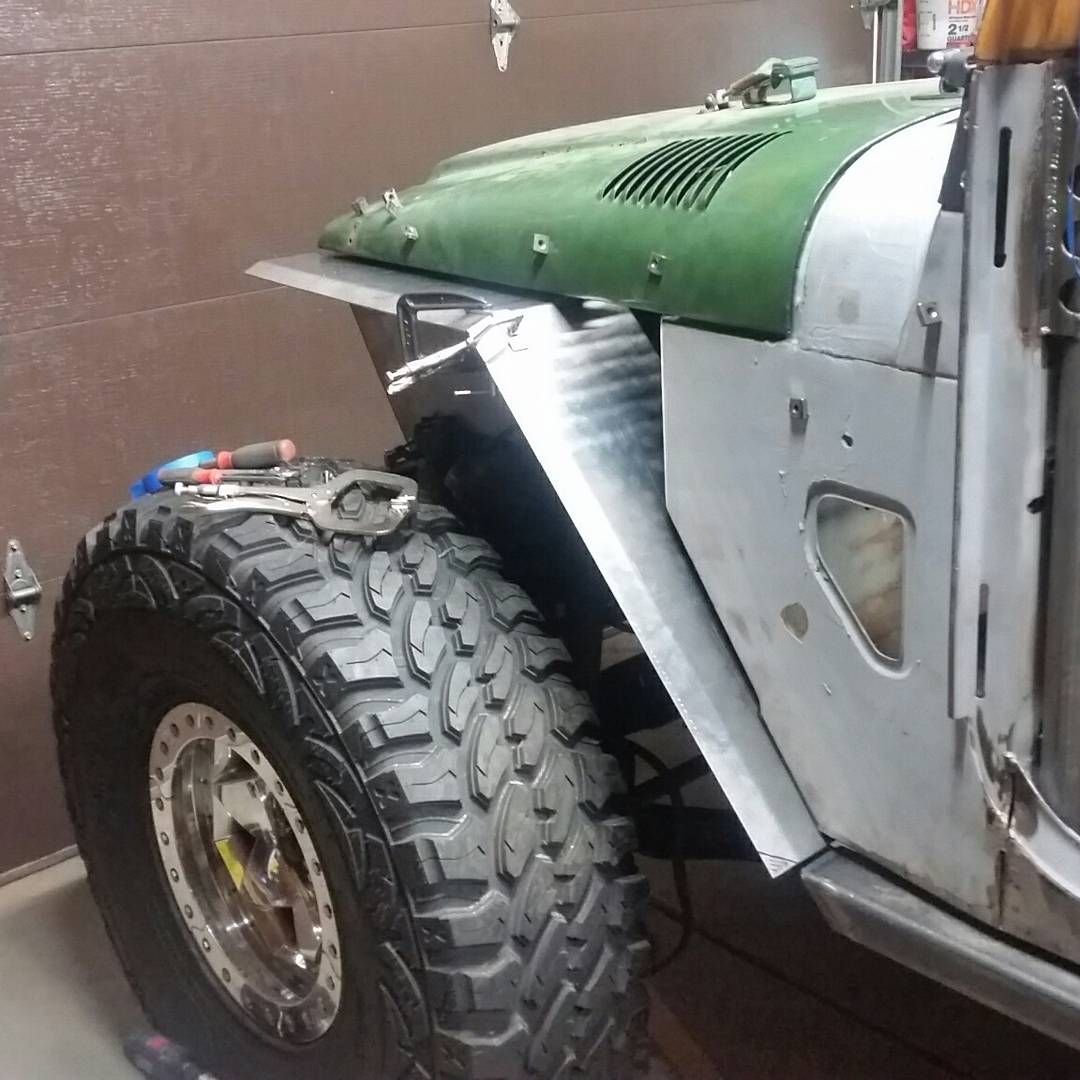
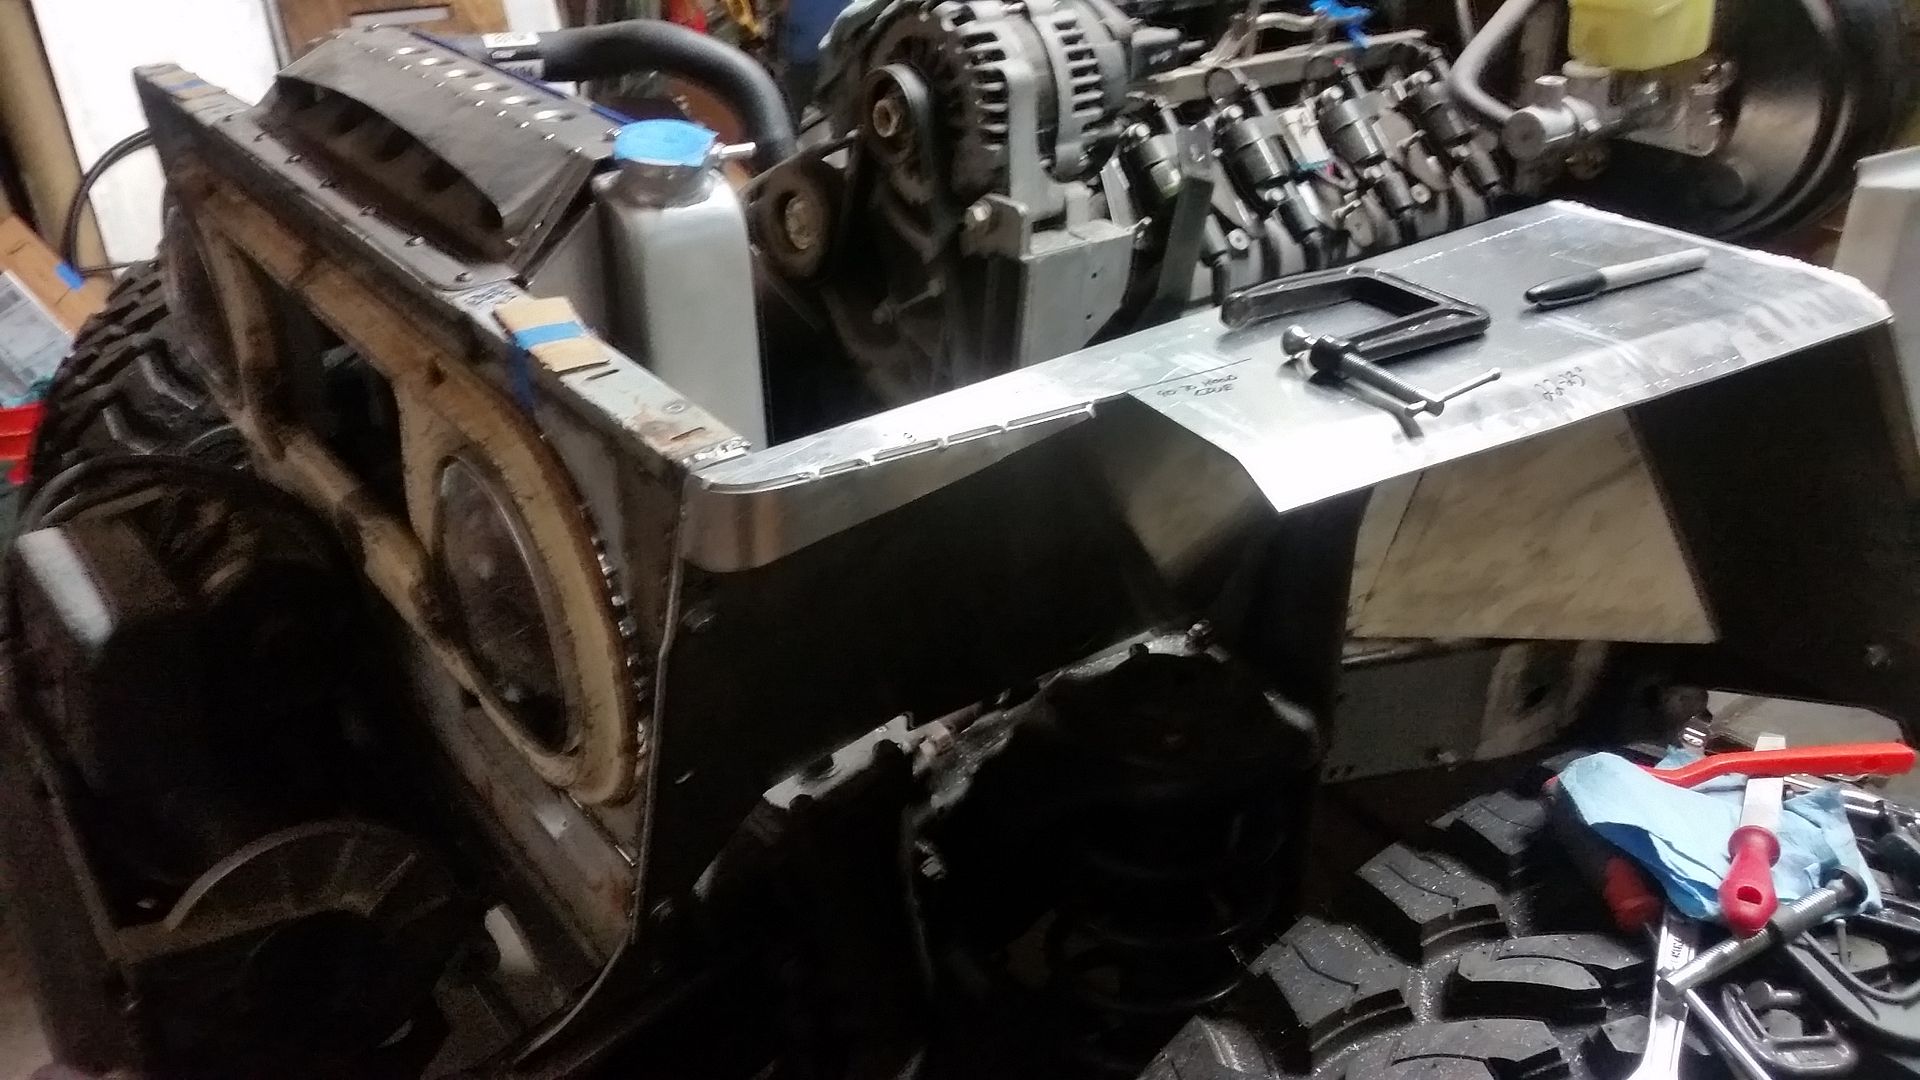
Here is the start of the fender in 1/8" 5052-H32 aluminum. The majority of the fender is made in two parts. These will bolt onto the modified grill shell and the rear lower flange of the tub/cowl.

I used my custom press brake to bend everything so far.

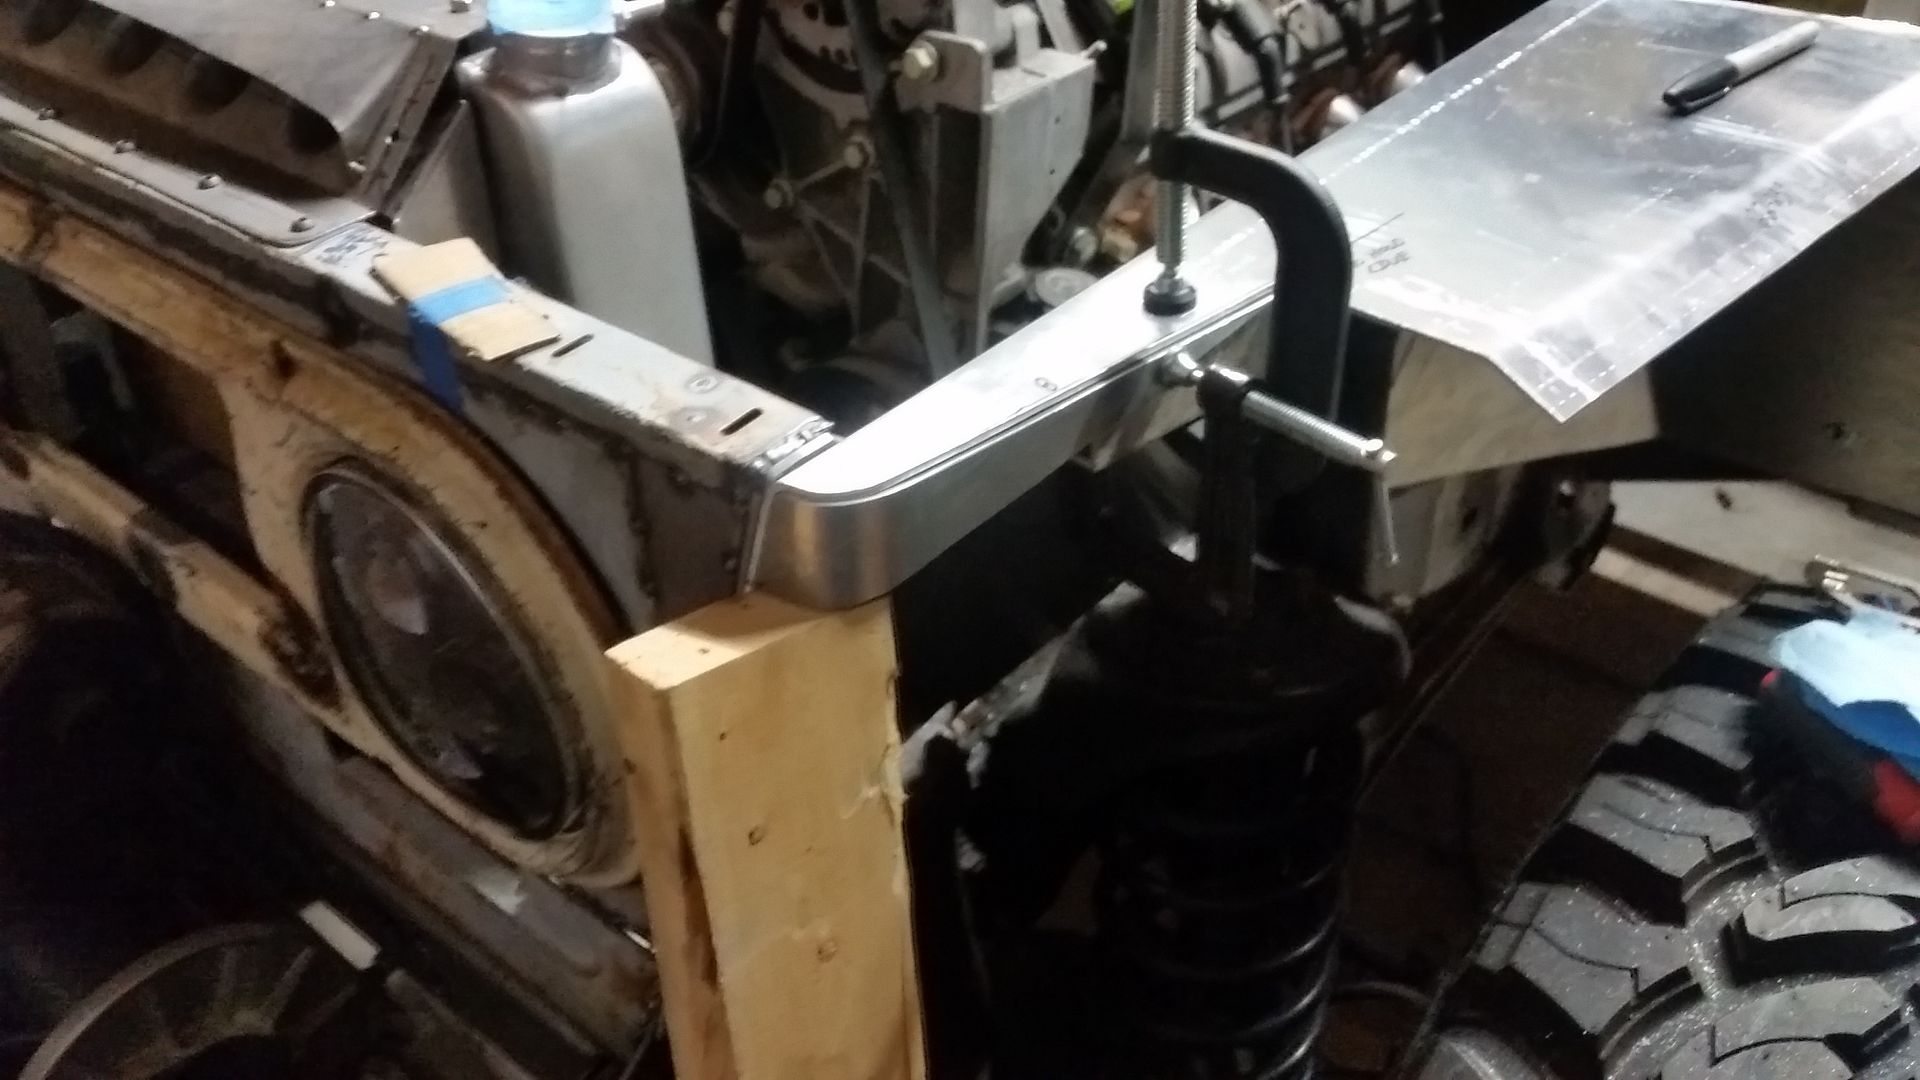
The lip flanges are about 1" wide and 22 degrees. That really stiffened up the panel and gave it a bit of style.


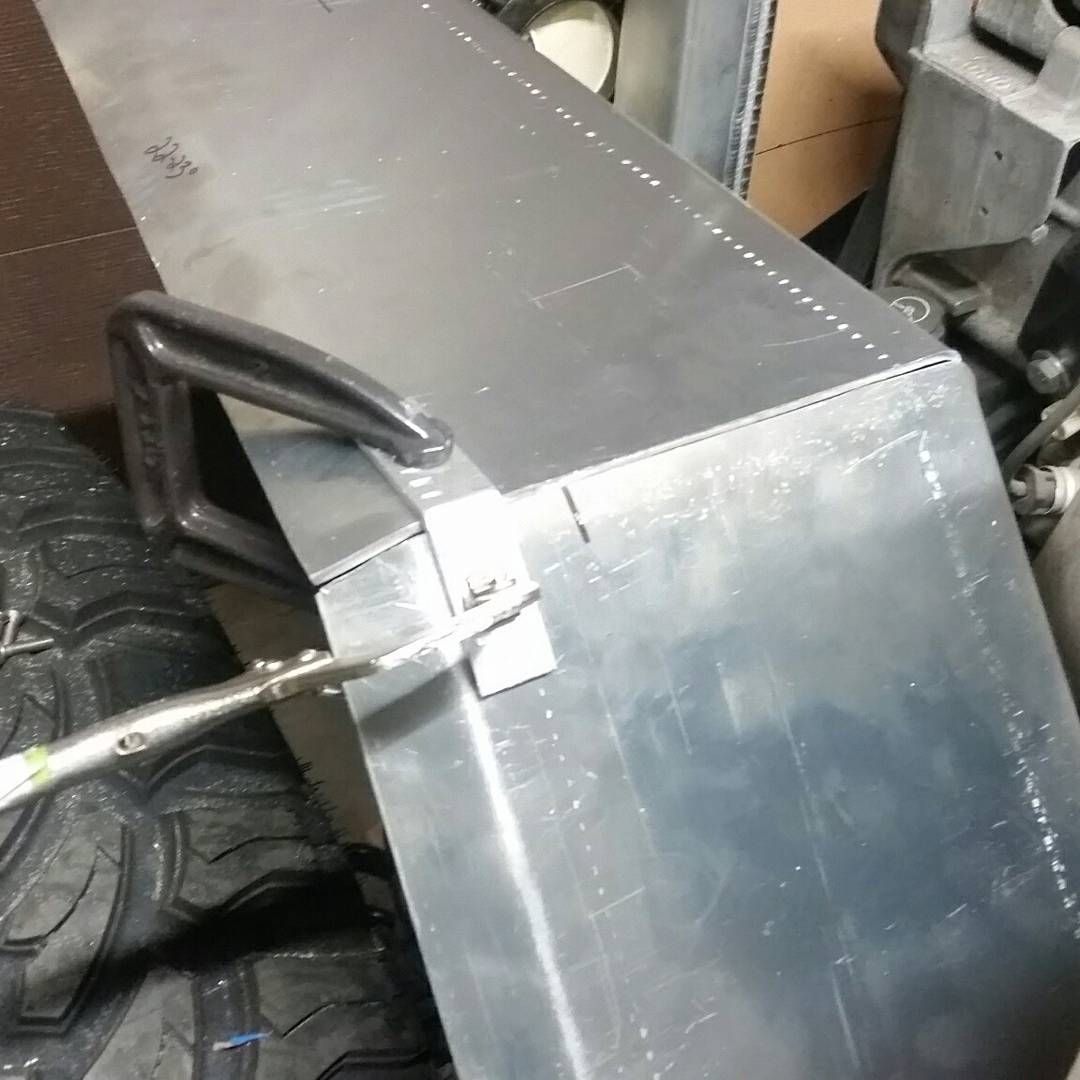
I handy way to hold aluminum panels together. The tab is bent from scrap to fit the angle you need. These really make alignment much easier.


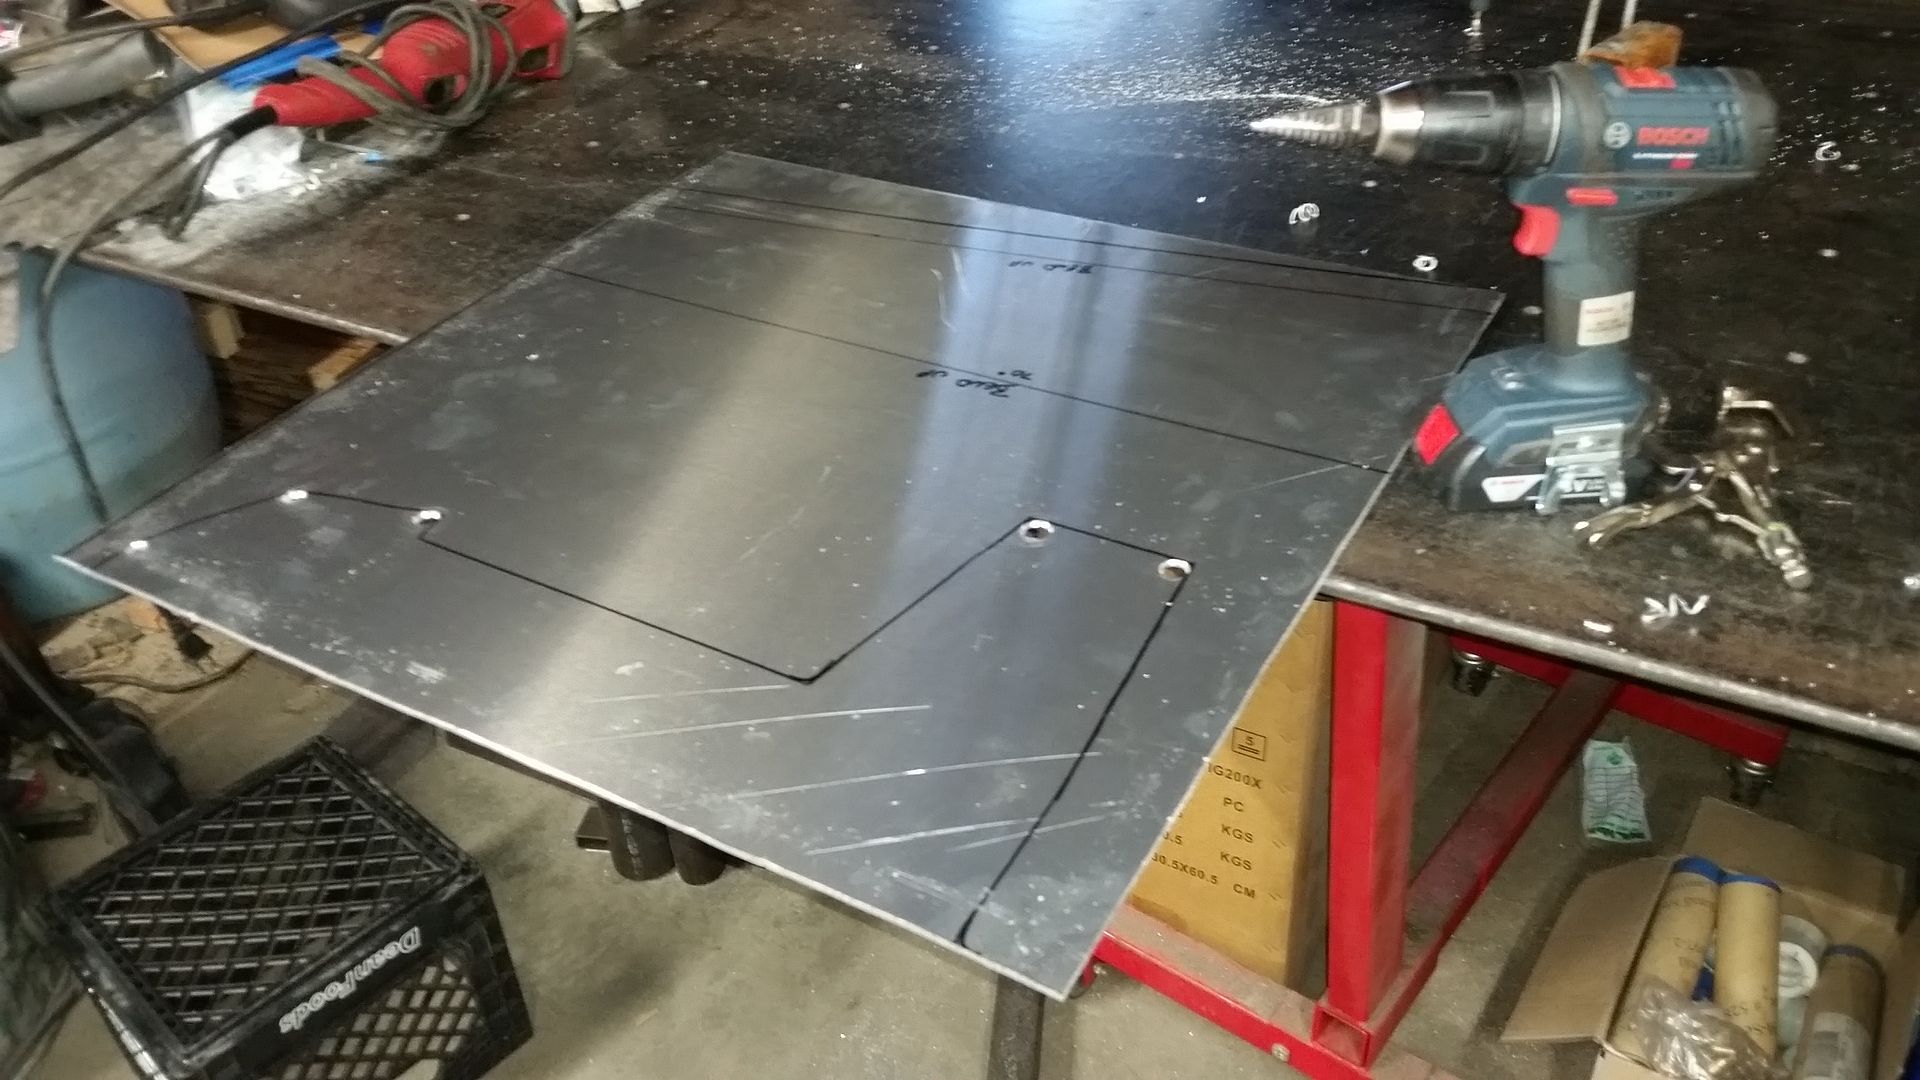
Drilling holes with a step bit before cutting out inside corners makes it possible to eliminate sharp 90 inside corners that may be weak points.


Welding the two big parts together on the vehicle was fun being all out of position and out of practice with the TIG.

I also marked ( from behind with a welding filler wire pick) all the mounting holes prior to pulling things apart.

Once welded and drilled for mounting I will trim the front for the 'bill' lip features.....
 

Metcalf

Expedition Leader
Part 3 of 4 for the front fender....


It felt like more of a step backwards cutting out a big chunk of my new fender. I was also able to drill the mounting holes so the fender holds itself in place! Mini-Win.

Forming this little panel wasn't too bad. I just used a drop of material that was a bit big to whittle down to the right shape. That is always easier than adding material.


Clamping the little panel into place for tack welding was the hardest part I think....


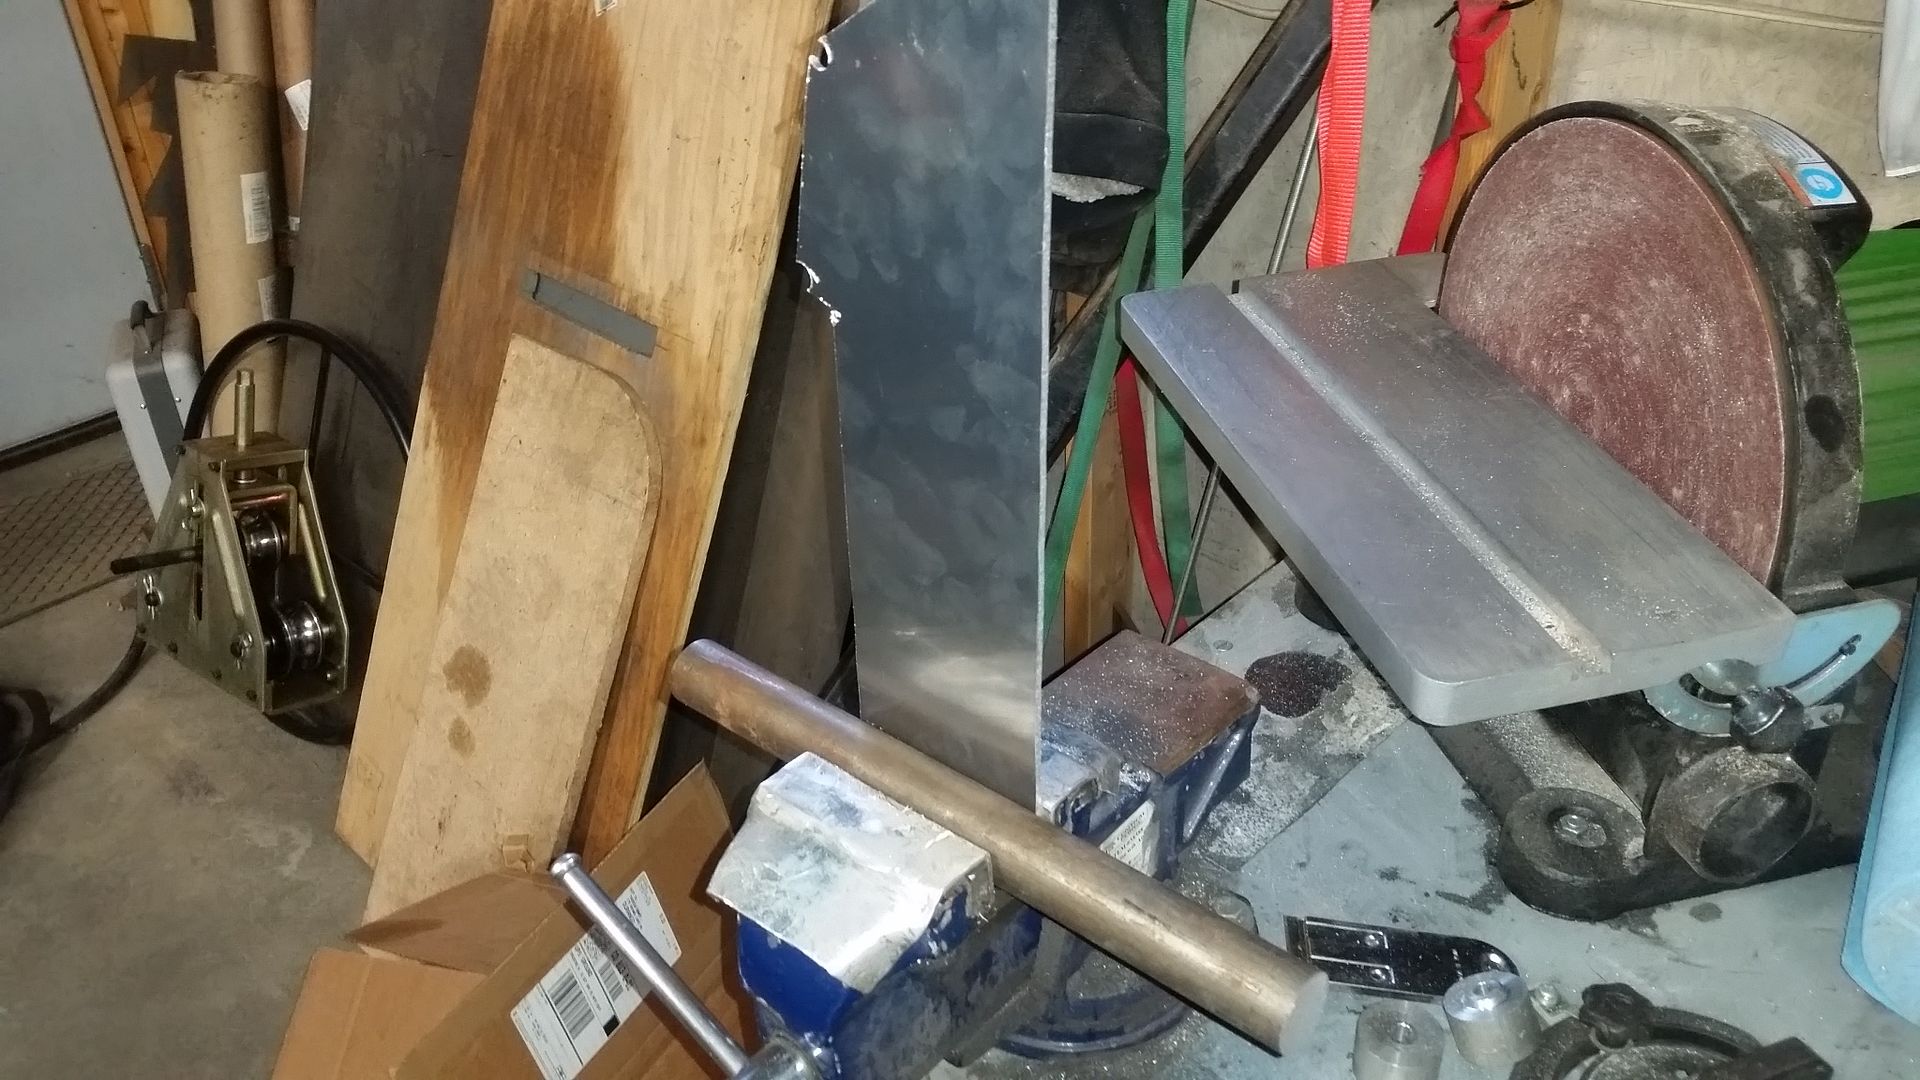
This was my super complicated bending jig for the radius I needed....
 

Metcalf

Expedition Leader
Tonight's update....
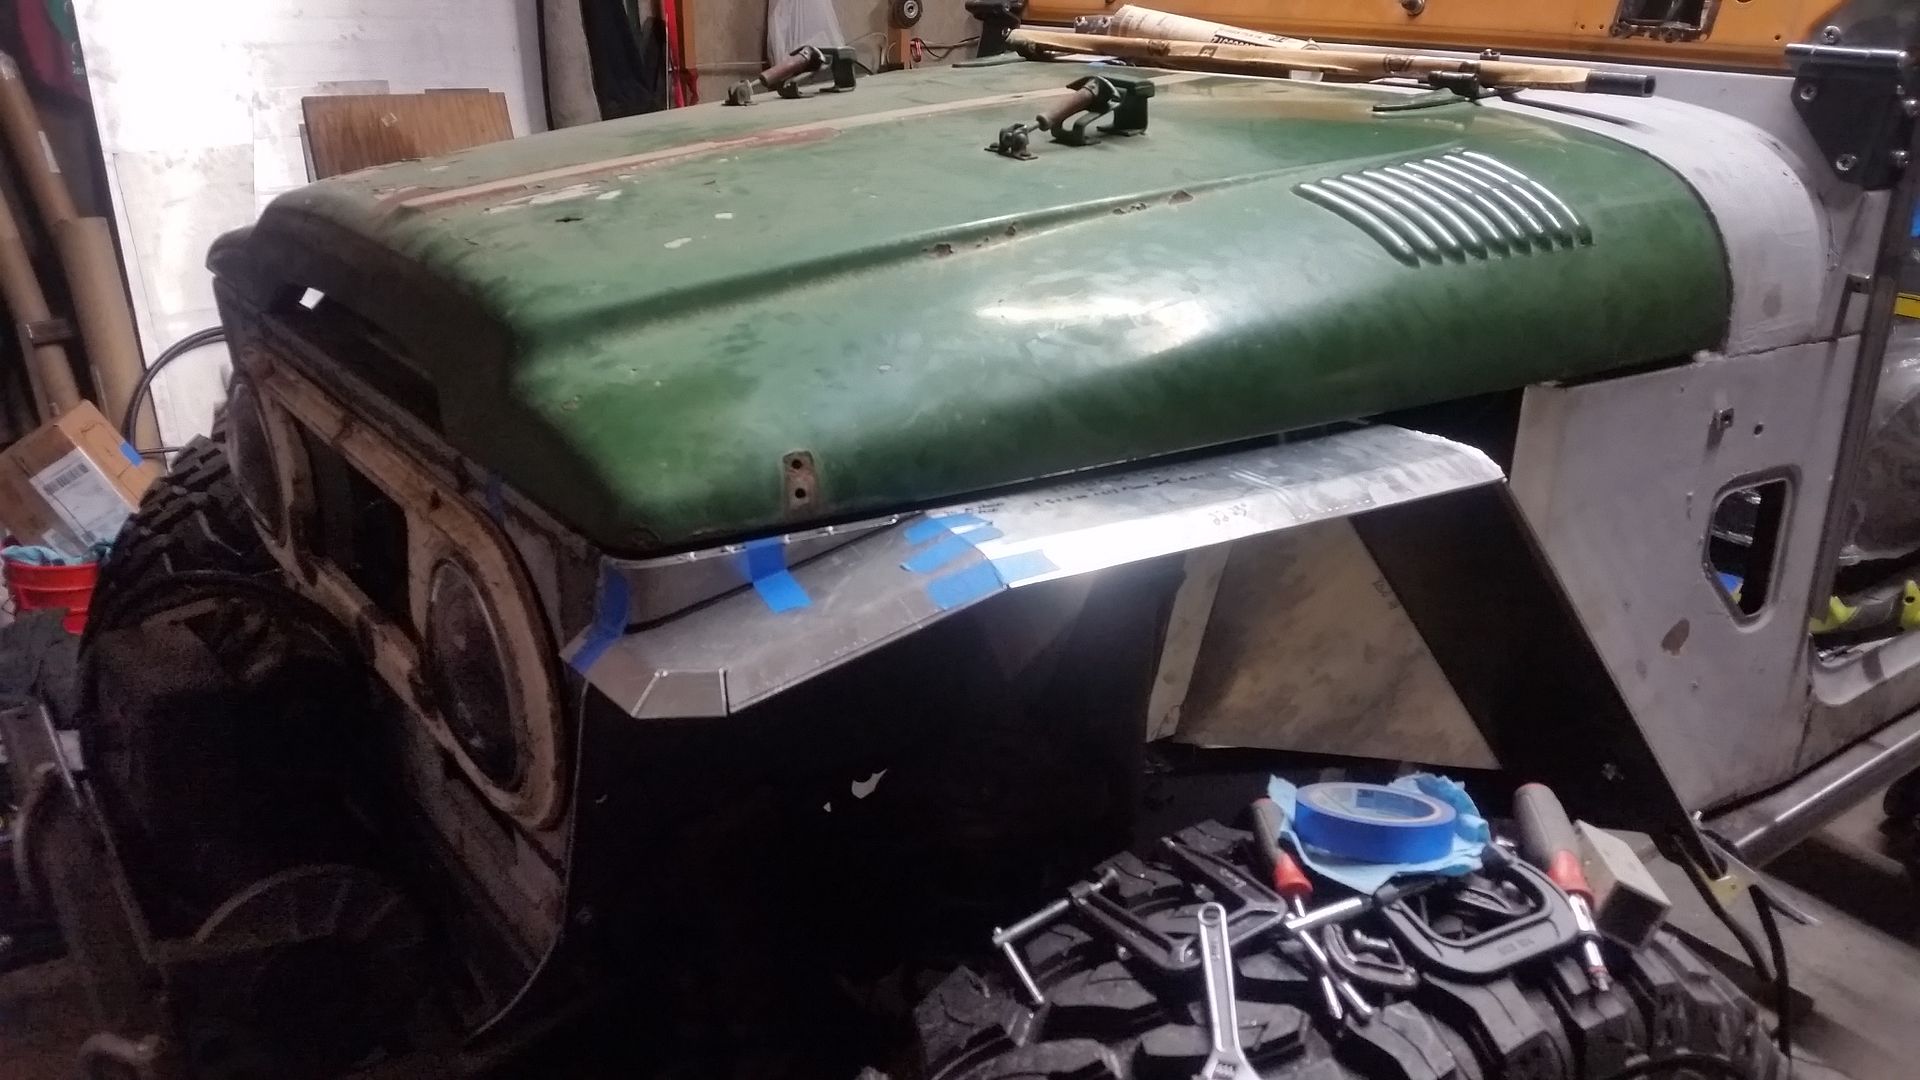


I made the last big part for the drivers front fender. Overall I am really happy with how it turned out so far. Now I just need to glue it all together and dress all the visible welds down.
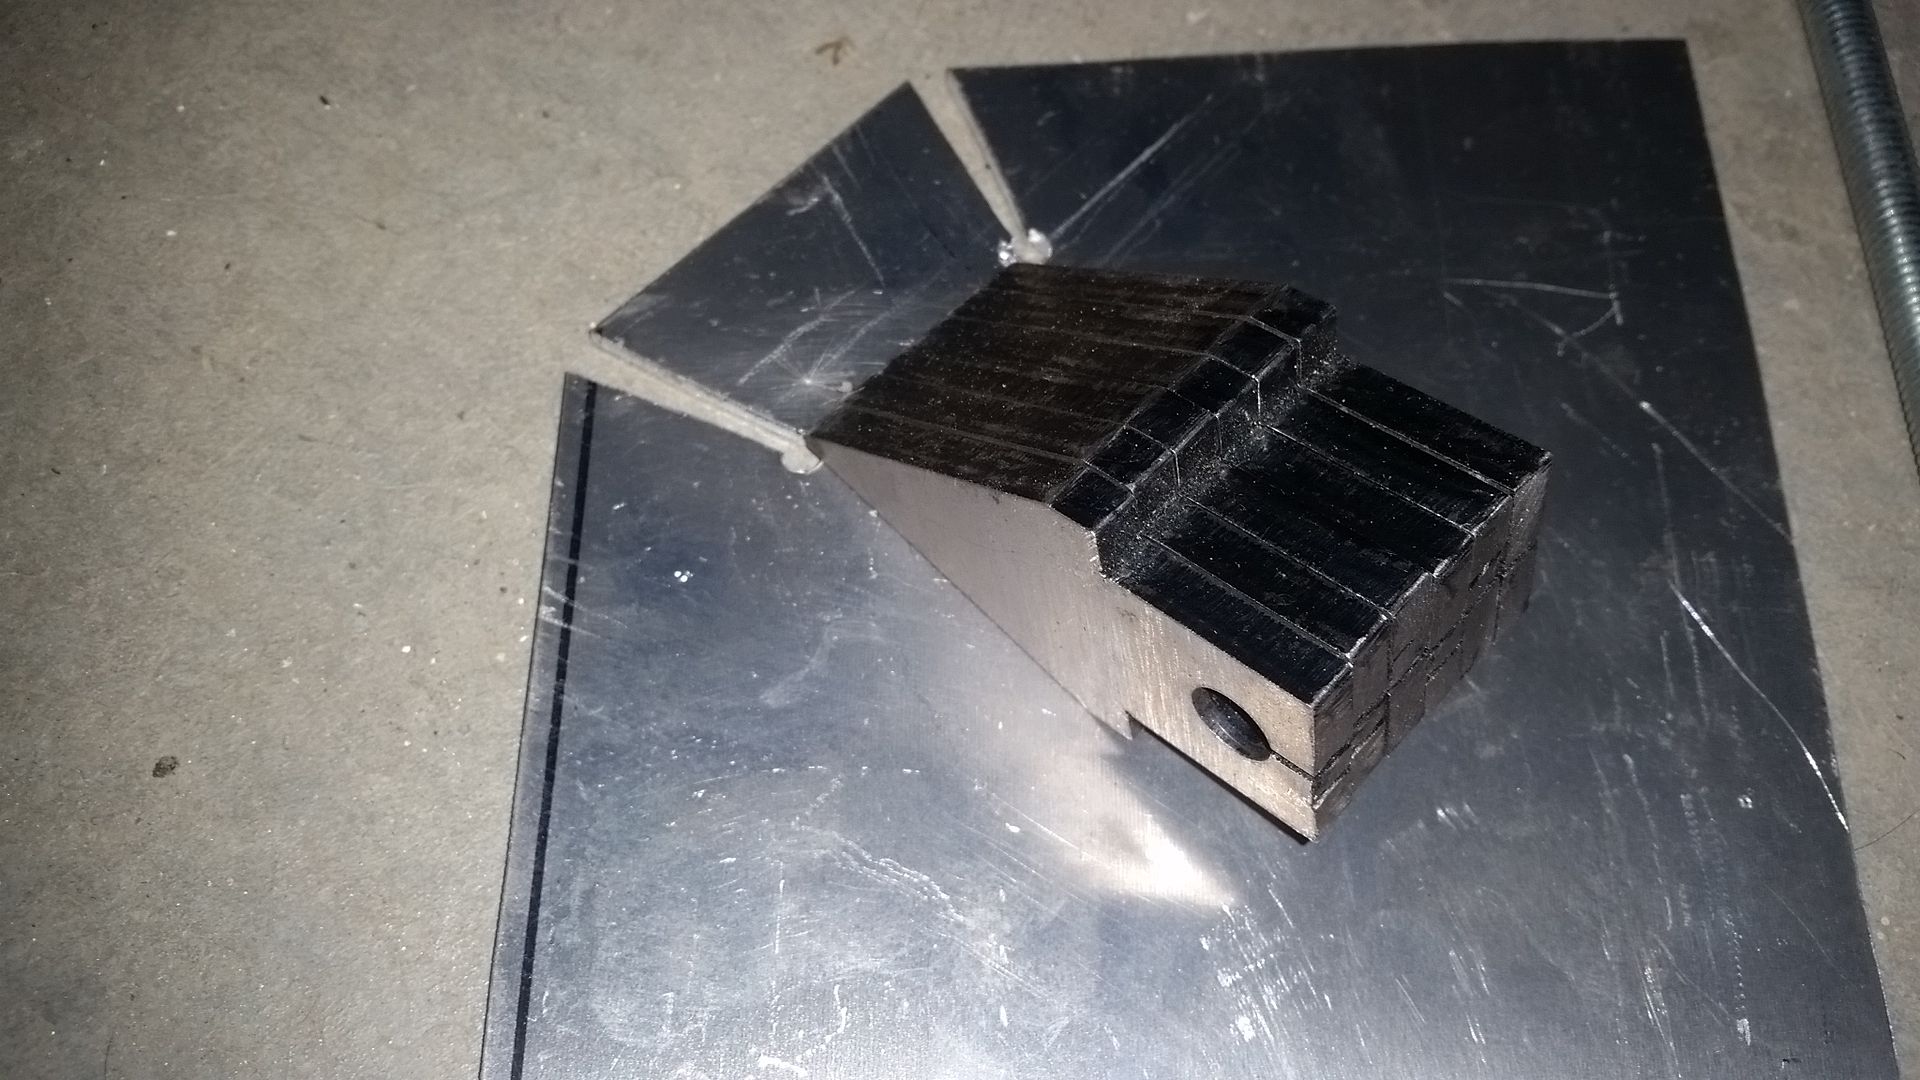


I was able to fold this forward 'bill' in one part using my homemade press brake with the laminated tooling. The 1/4" wide tools let me dial in the bend width. I am also make new tooling pretty easy if I have more crazy ideas in the future.

The part got root clearance holes at the corners. I saw cut the clearance for the multiple tabs to fold together.
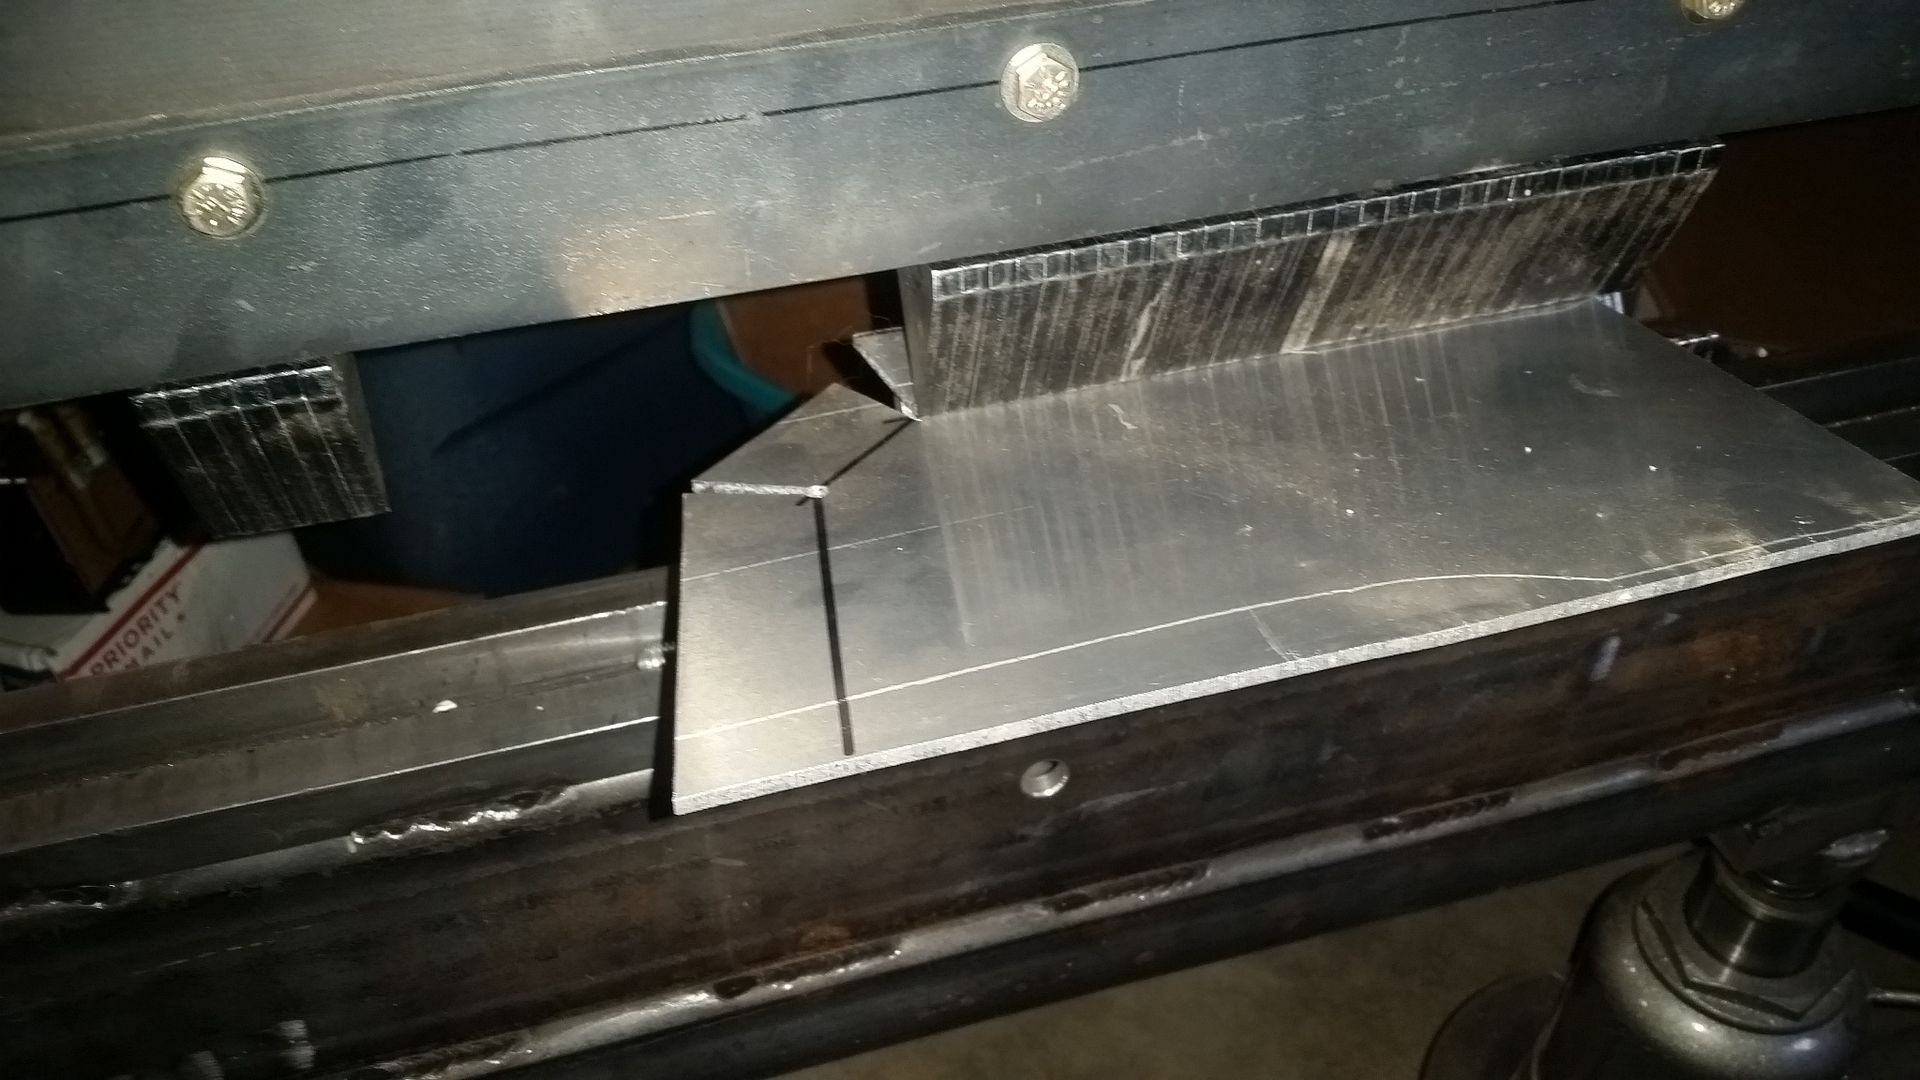


Not the best shot, but I also have a laminated bottom die. This lets me run the part off the end so the next tab didn't get in the way.
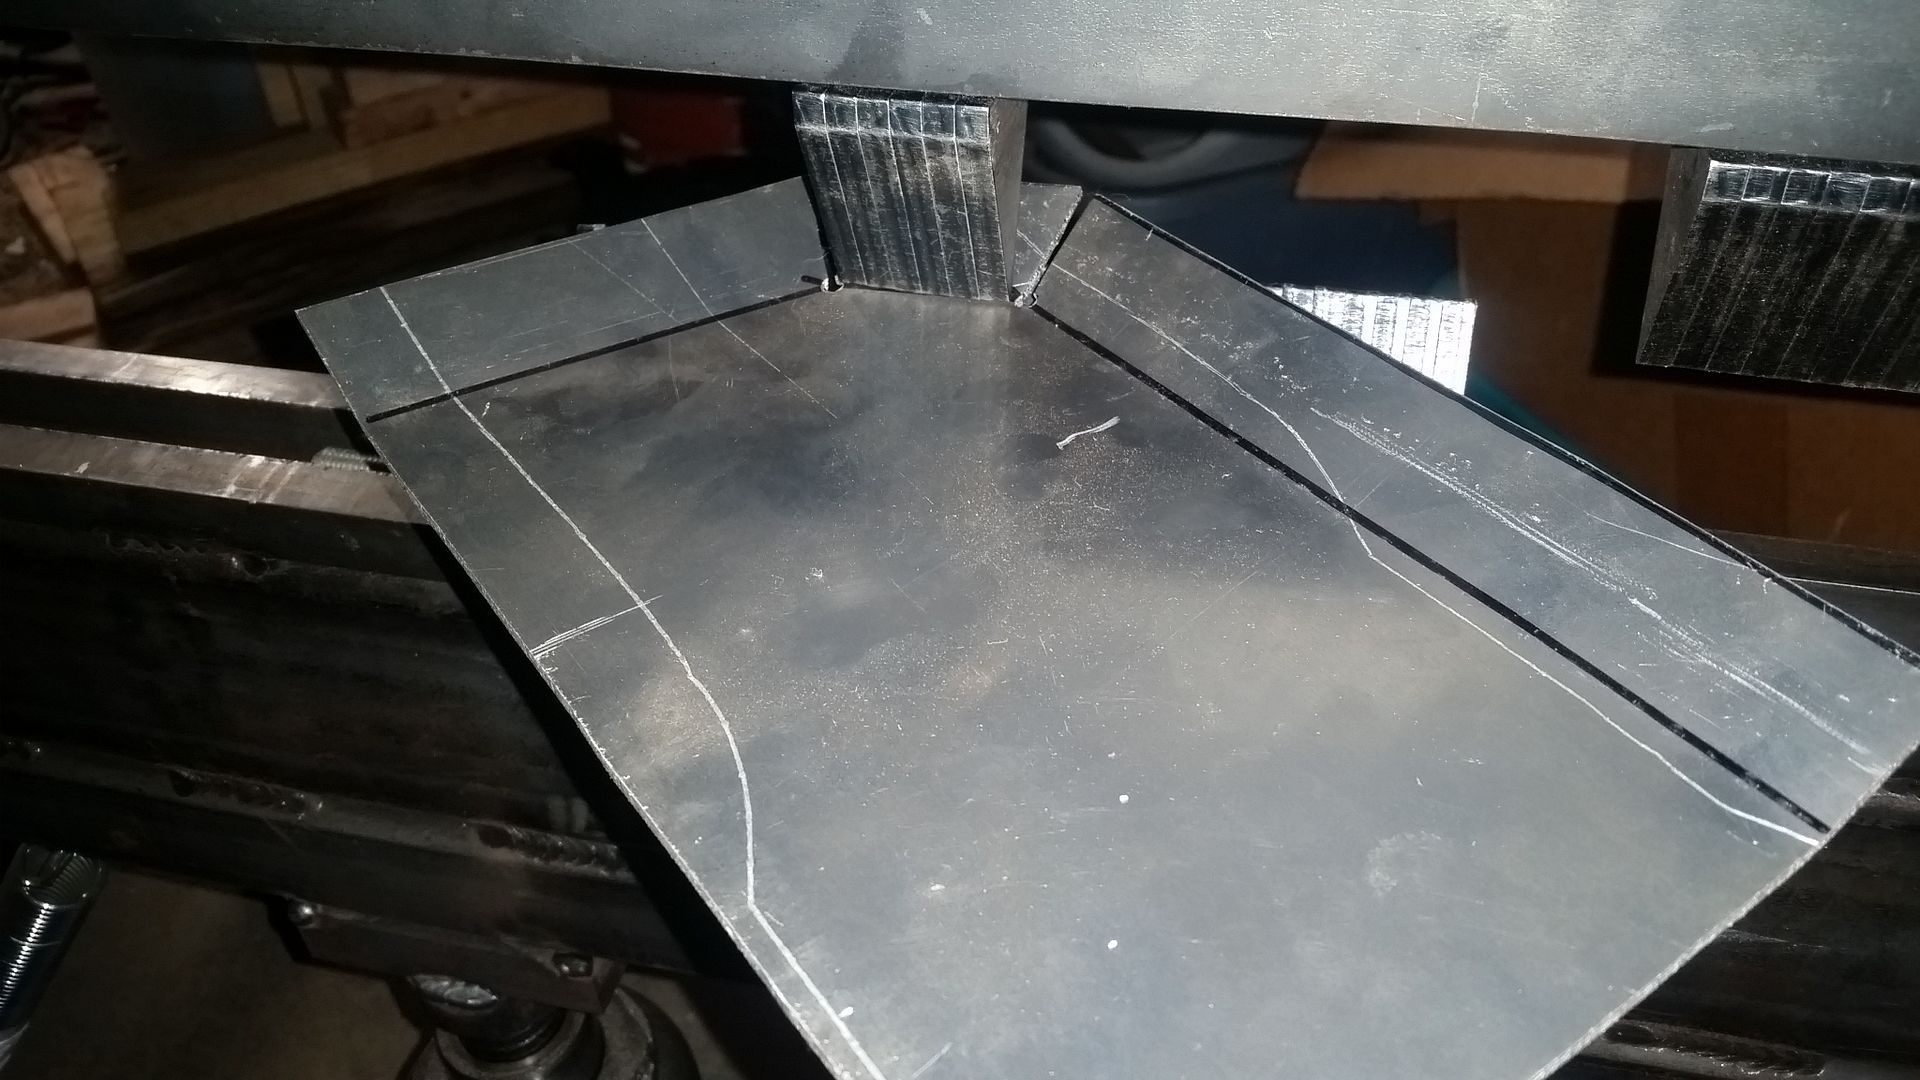


Here is the top die reset to the correct width for the final bend. It was basically done to match the other two folds. The machine also has a way to have a bend stop, but I haven't got that dialed in completely yet. I just usually bend with a small test part to match the angle.
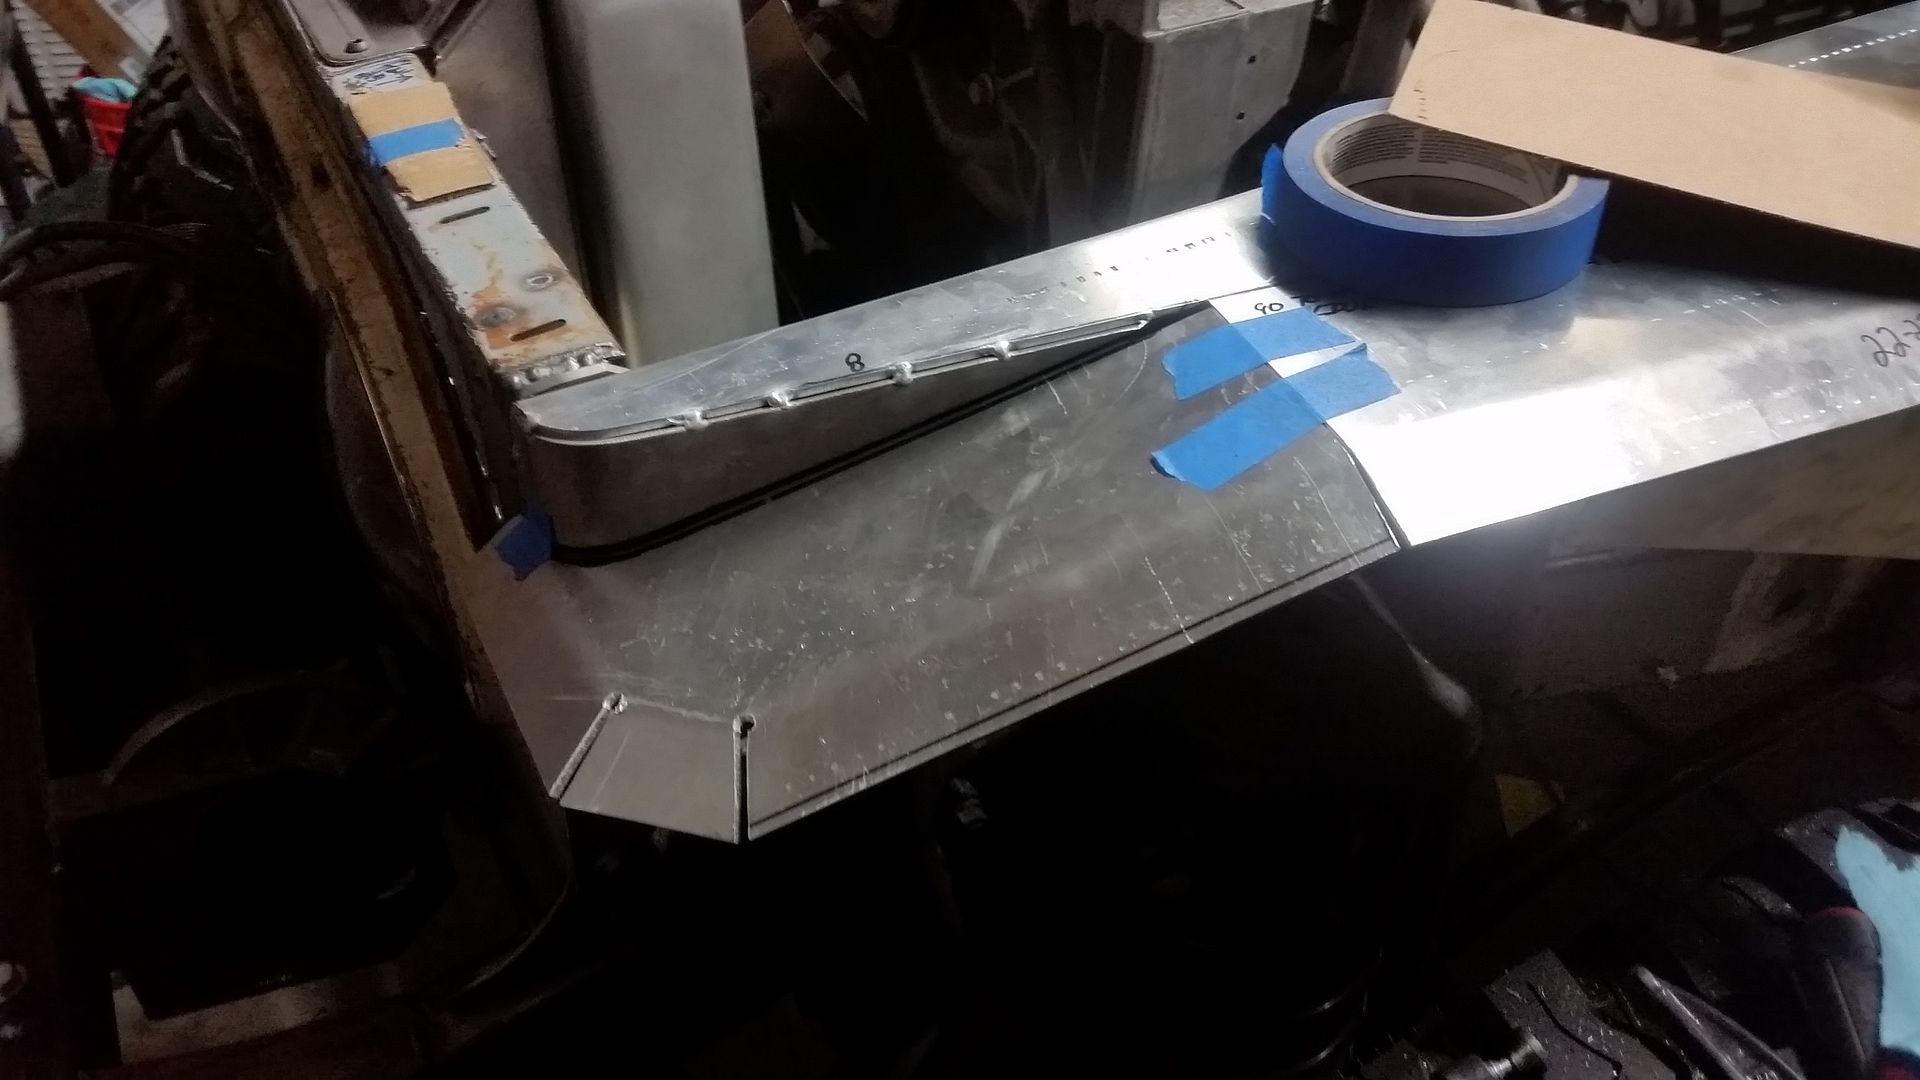


Fitting the 'bill' in place. Overall pretty happy! I will be able to weld a lot of the back seams also.
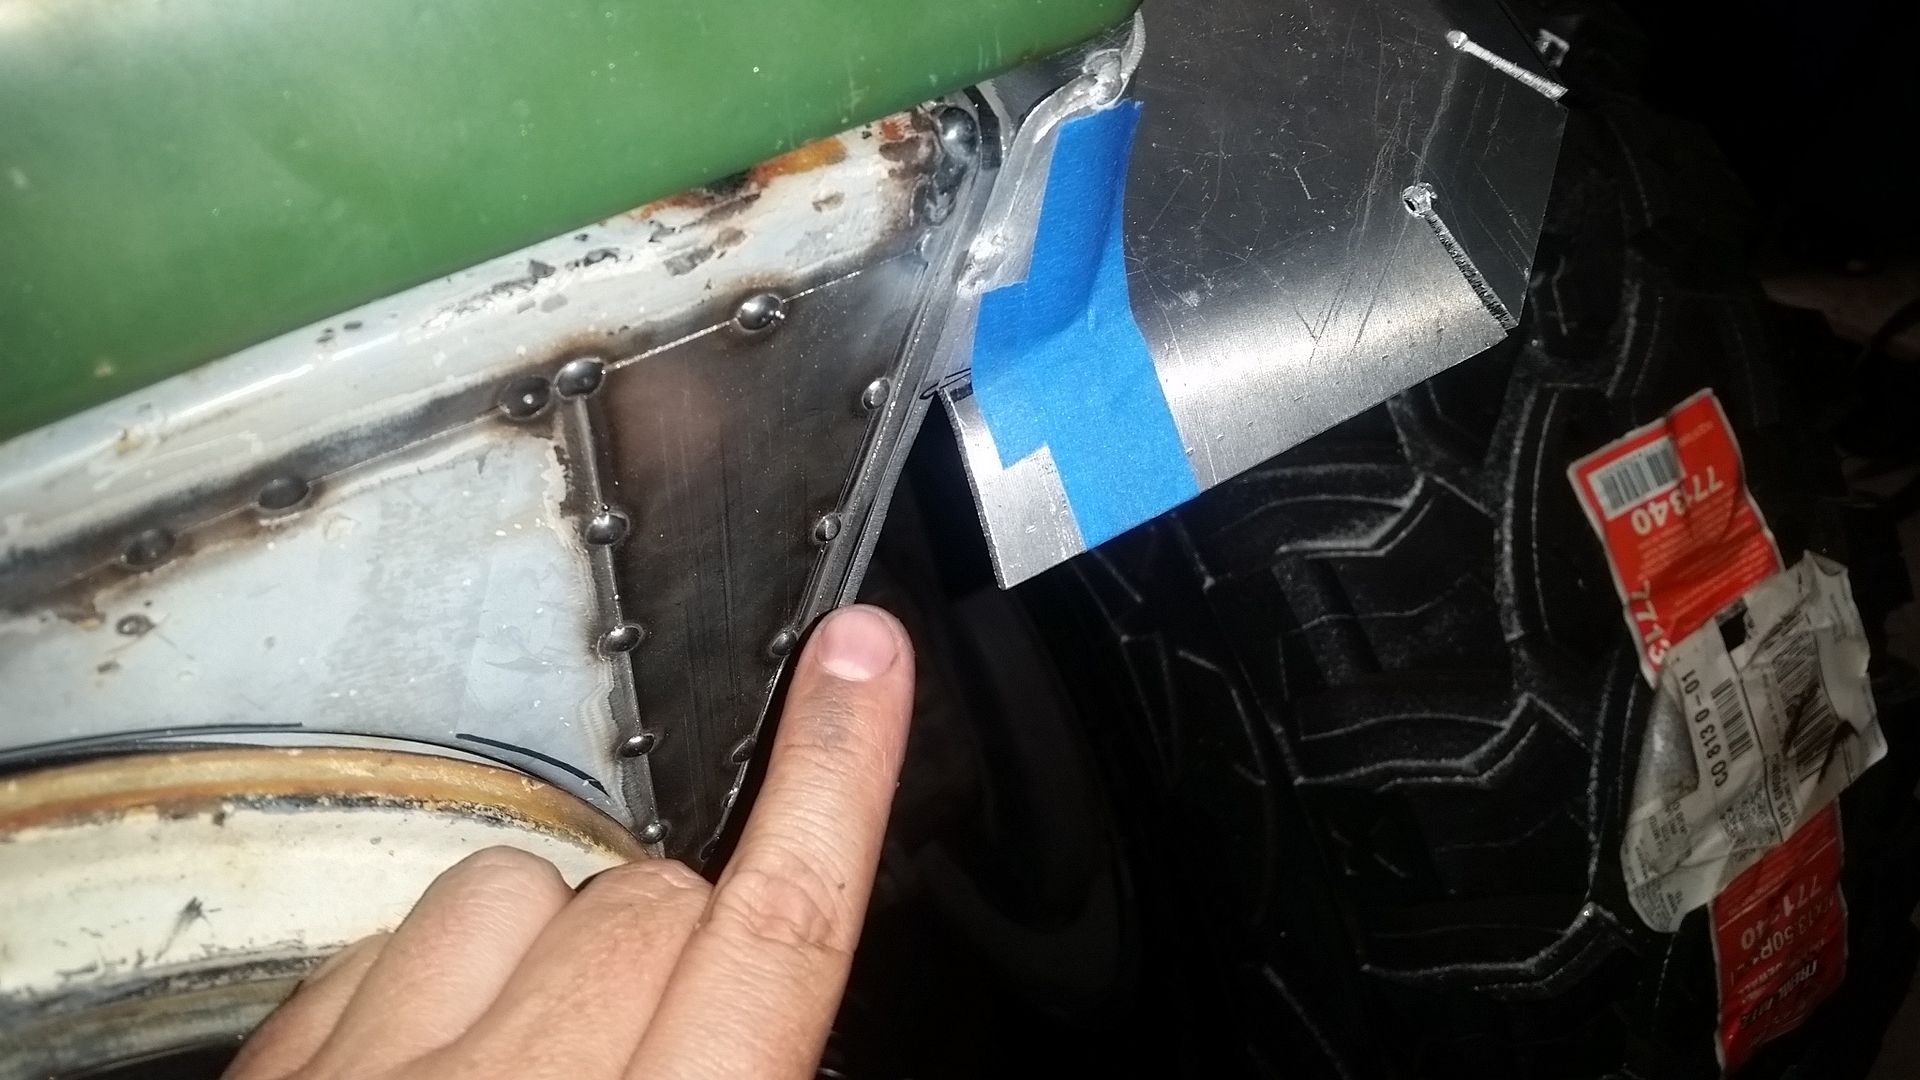


I do have to add one more little part here. It will just be a little triangle. I could have added it to the 4th part, the 'bill', but I just decided to weld it in later. I am going to pay with a few designs for that last triangle by changing the leg length on the grill side.....

Now to weld it all up, dress down the visible seams, and then start on the other side....
 

Metcalf

Expedition Leader
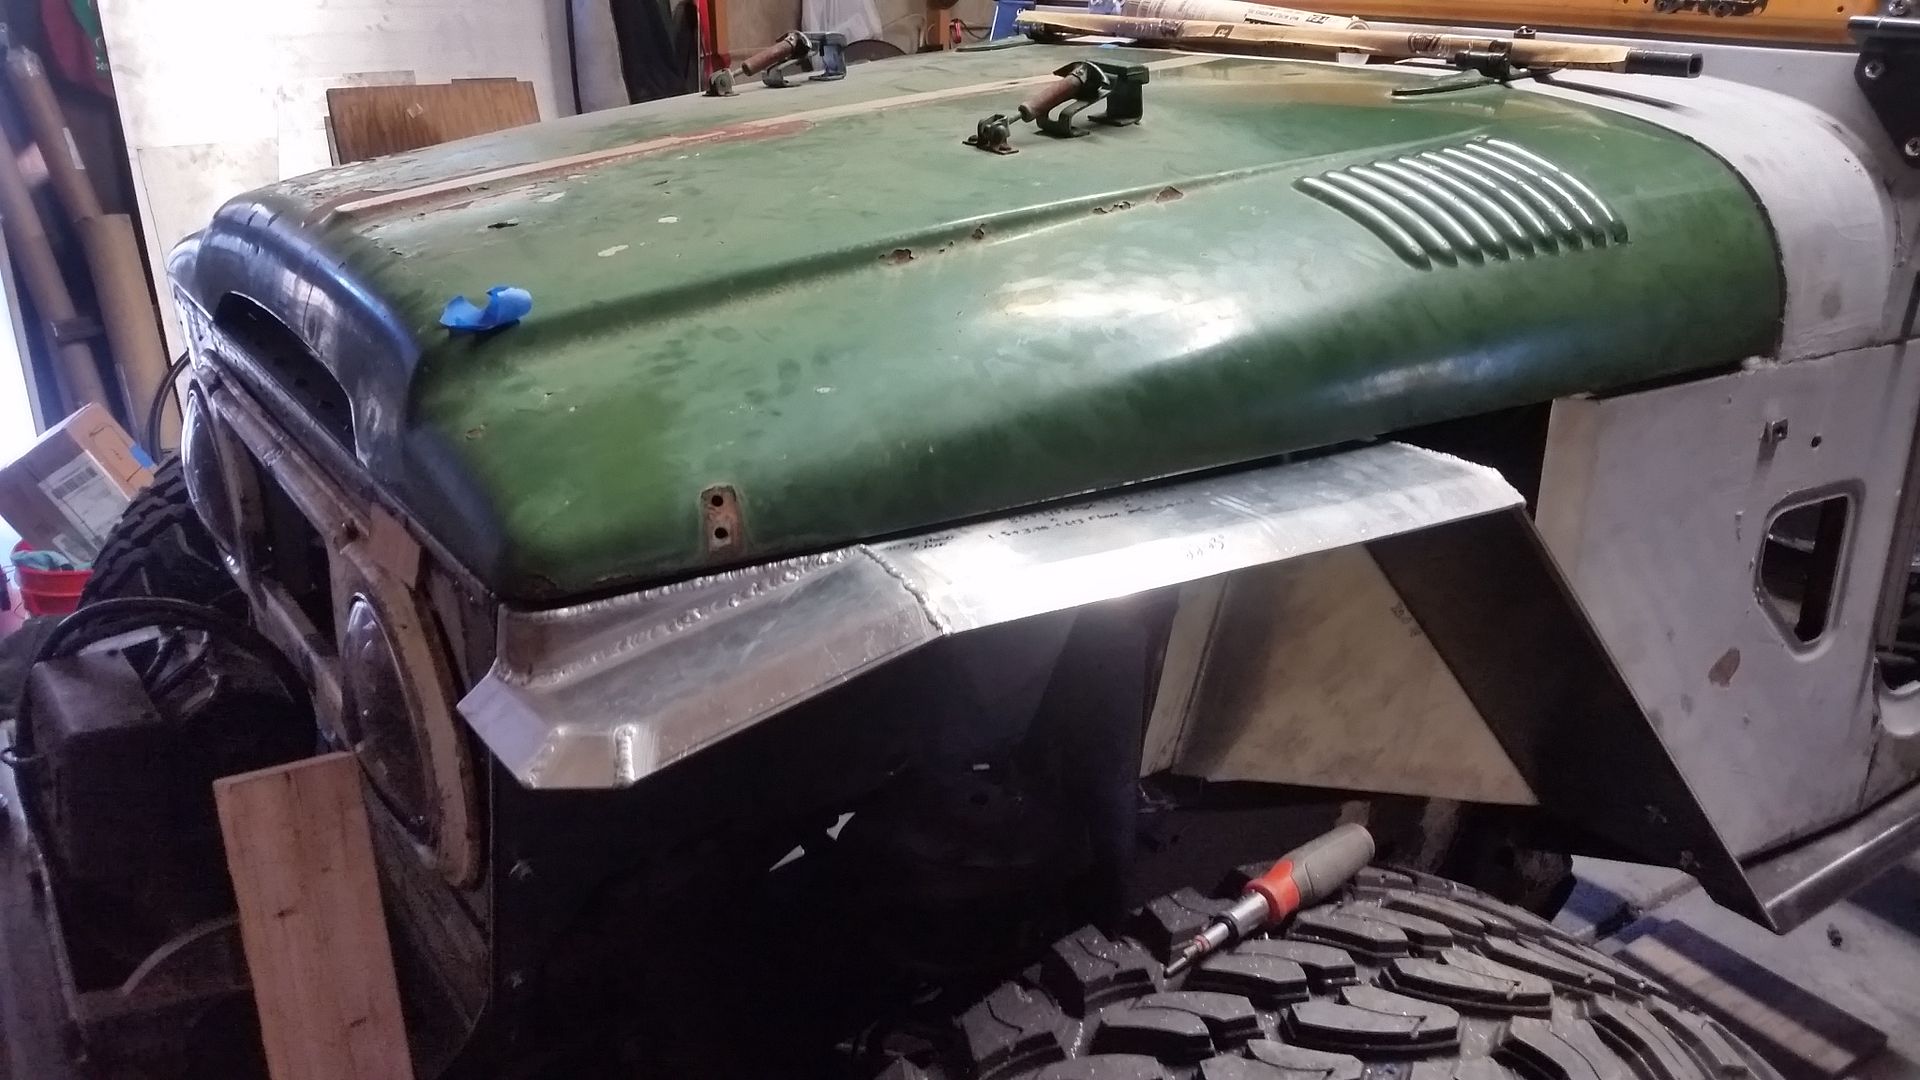
Much welding and sanding today...


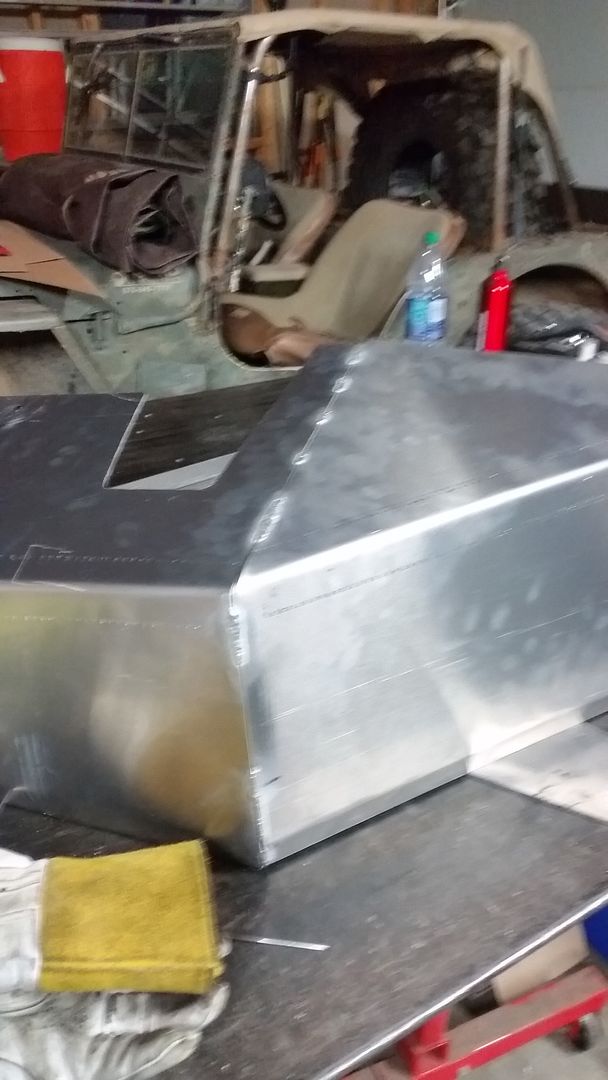
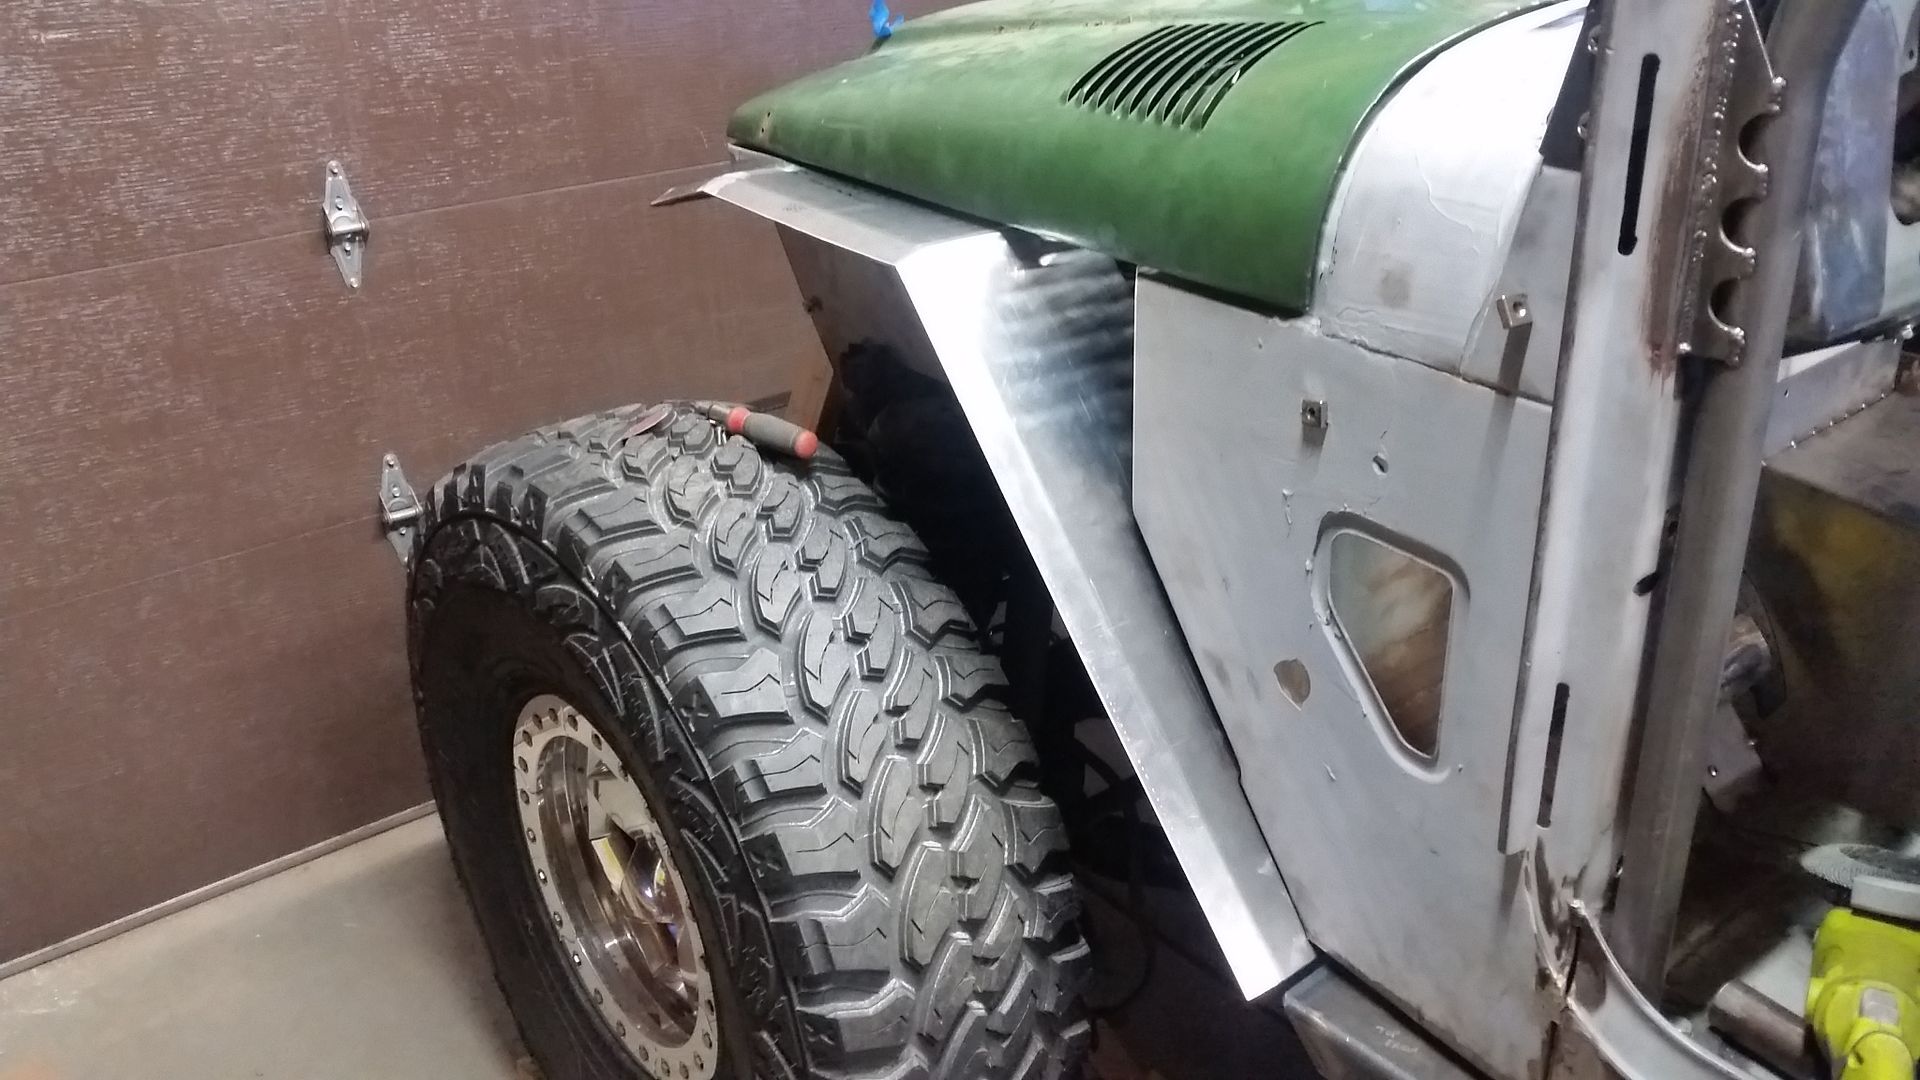
I still have a few details to button up, but overall the fender is basically done. I am still on the fence on what to do with the rear open corner between the cowl, fender, and hood. I think I will just do a basic fill panel that is welded to the fender, but I don't know for sure....


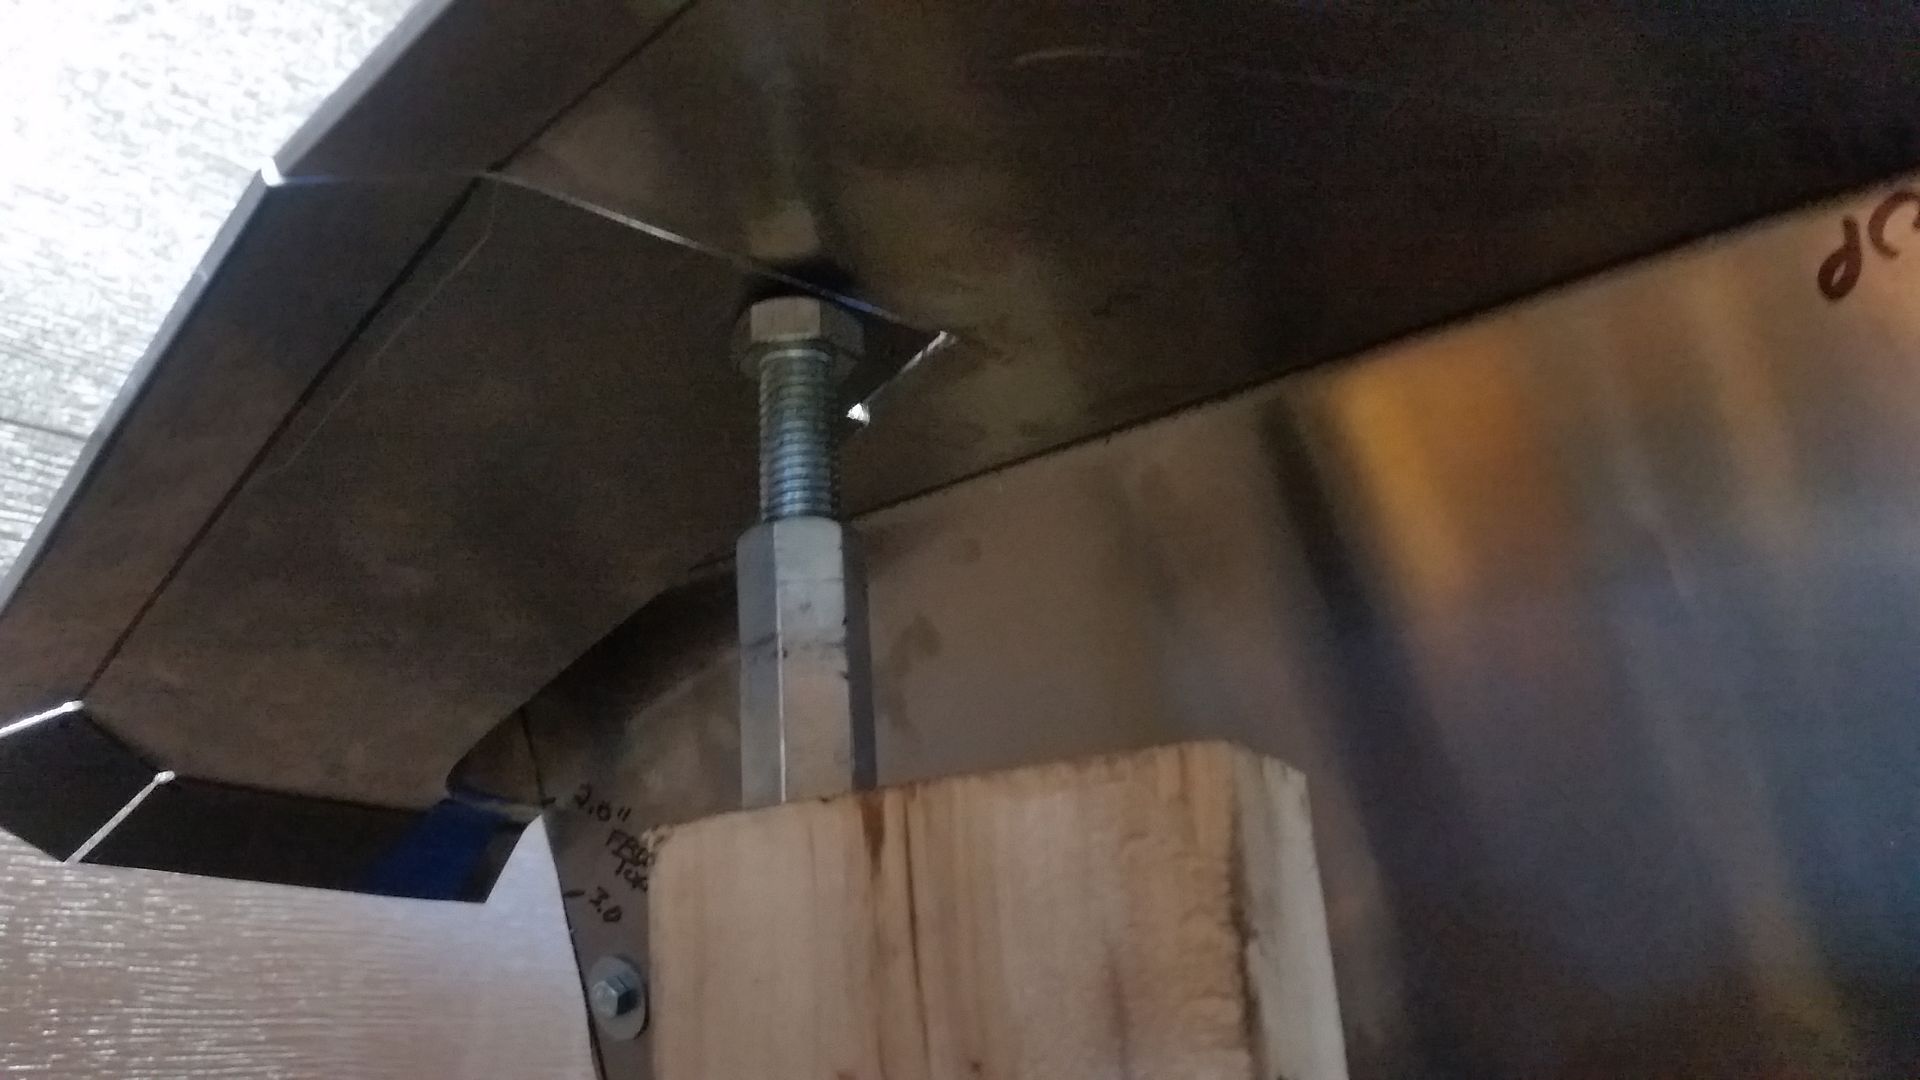
Sometimes you have to get a little creative to make a 5th or 6th hand. I use this little jack bolts for a few things. They are handy to make out of coupling nuts.


Shot from the rear. You can see the area I need to fill still.


Before I sanded down the welds. I think I had about two hours on the TIG to get this all welded up. I did both sides of all the seams I could. Only the outside seams got sanded to give the seams some extra strength.
 

Forum statistics

Threads
188,007
Messages
2,901,048
Members
229,355
Latest member
BDM66

Members online

Top