Blender, My LX450/FZJ80 + FJ45esk + GM + Land Rover crazy concoction

Metcalf

Expedition Leader
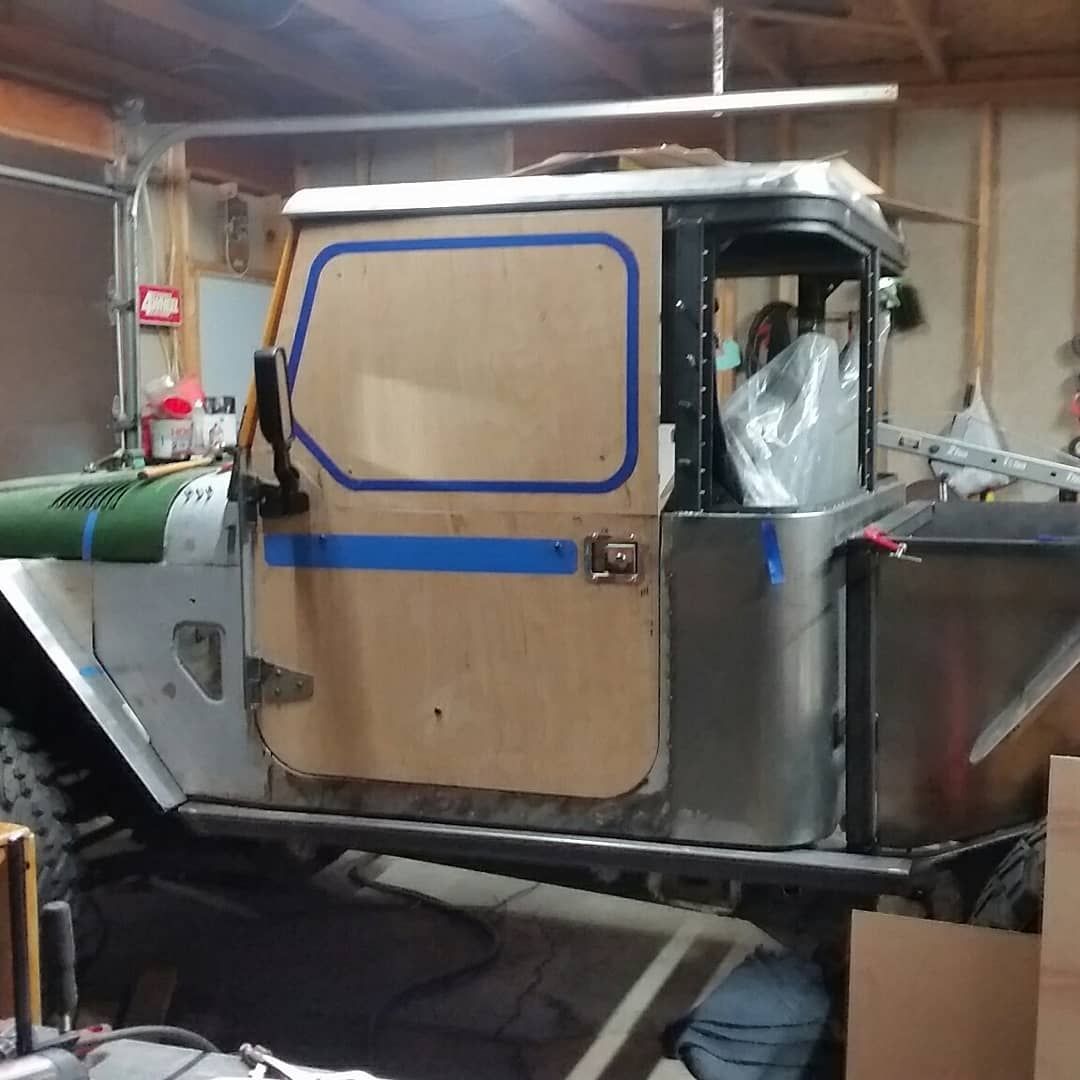
Option 3 - It's functional around the mirror, and looks like a design feature. The other two look like the rear of the cab doesn't line up with the front of the cab, so the door tapers to suit. Option 2 is worse than Option 1 at this.

Thanks for the thread, I've been watching this since the start and learnt a lot; mostly tool envy.

Thank you for the input. Option 3 is also my current favorite ( till I change my mind in two minutes ). I like that the angled section basically matches the rear of the front fender and the kick panel vent. I think option 3 will also be the only one that I can have a dual way sliding window. The others would only allow the window to slide in the rear section.

P.S. You know most of my tools are Harbor Freight right?
 

NCFJ

Adventurer
Snap On does not come with talent, that sir is something you either have or you don't. You have it in spades.

Ever notice how many Snap On tool boxes are for sale on CL at any one time? Most of the time they are priced at right about what the guy owes the Snap On man.
 

bkg

Explorer
I don’t see the differences between the three - other than camera angle. So I’ll say “option 3.”
 

Metcalf

Expedition Leader
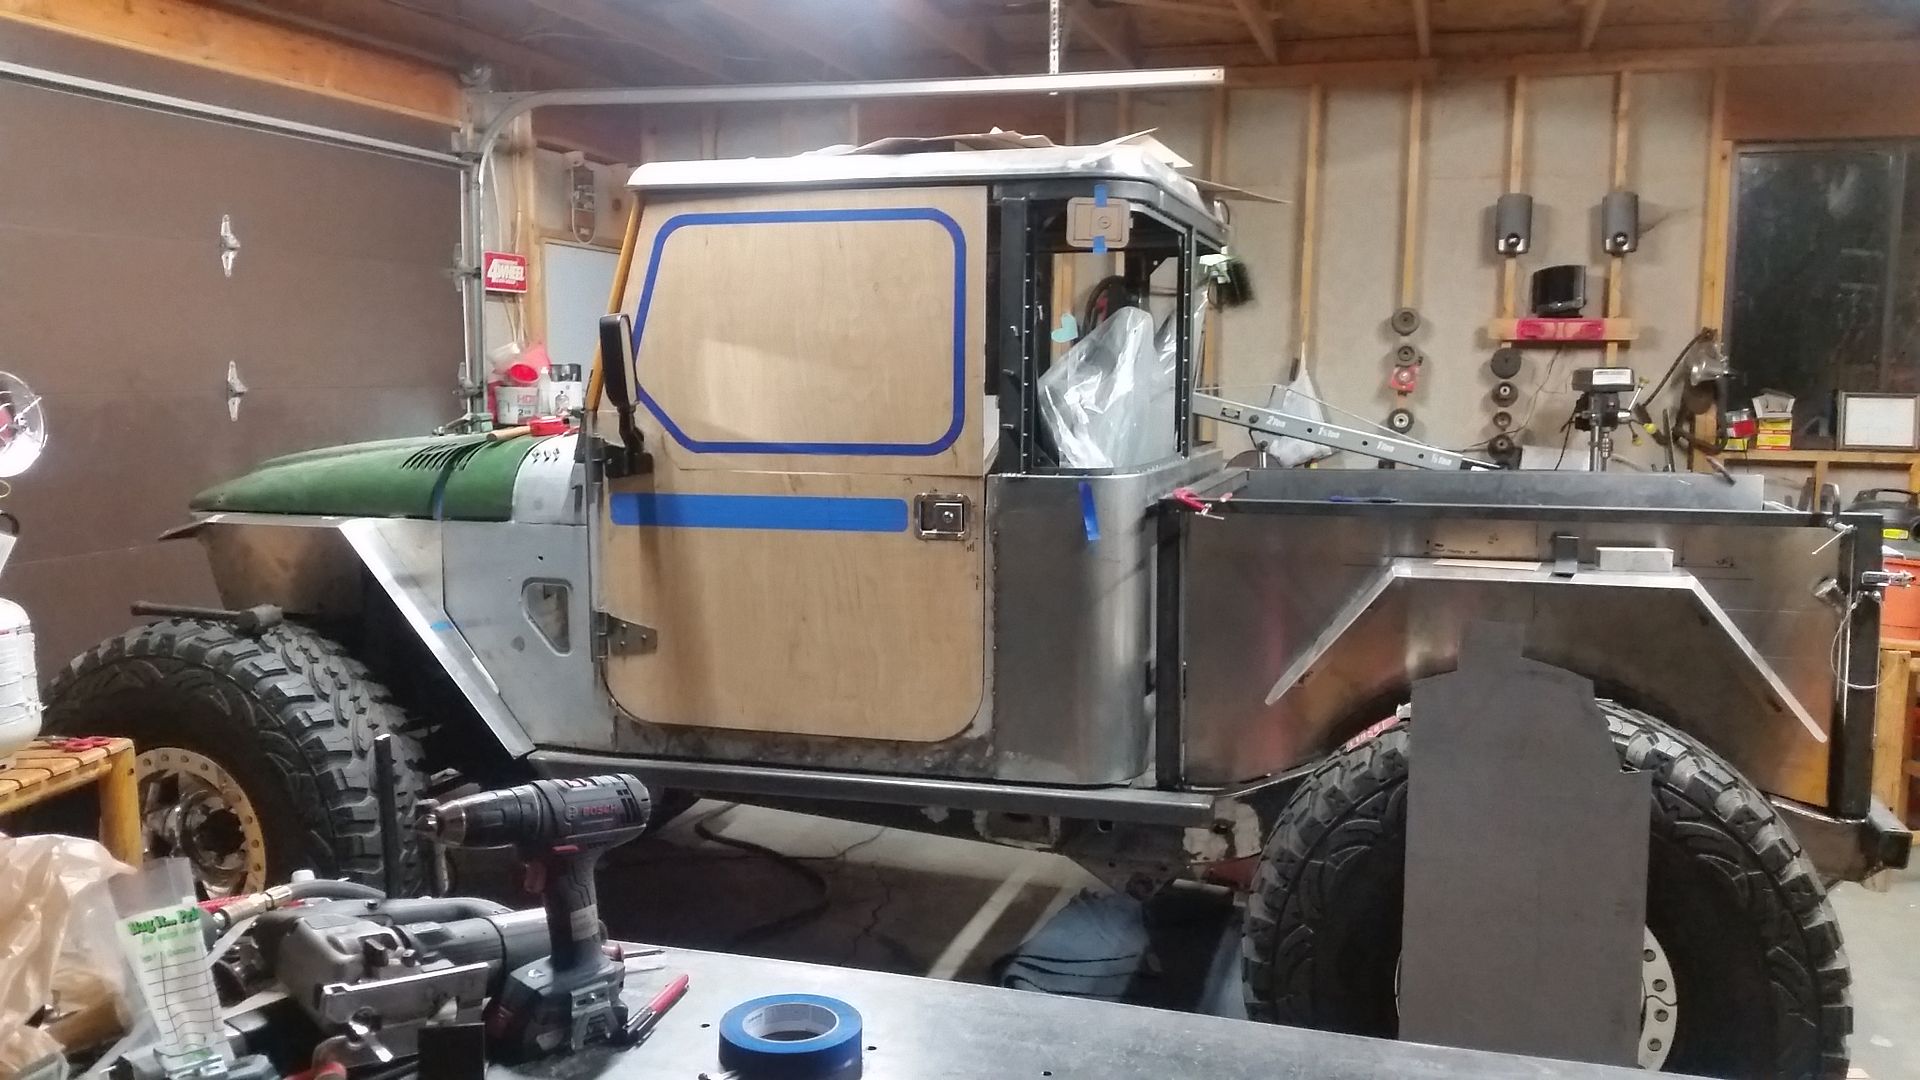
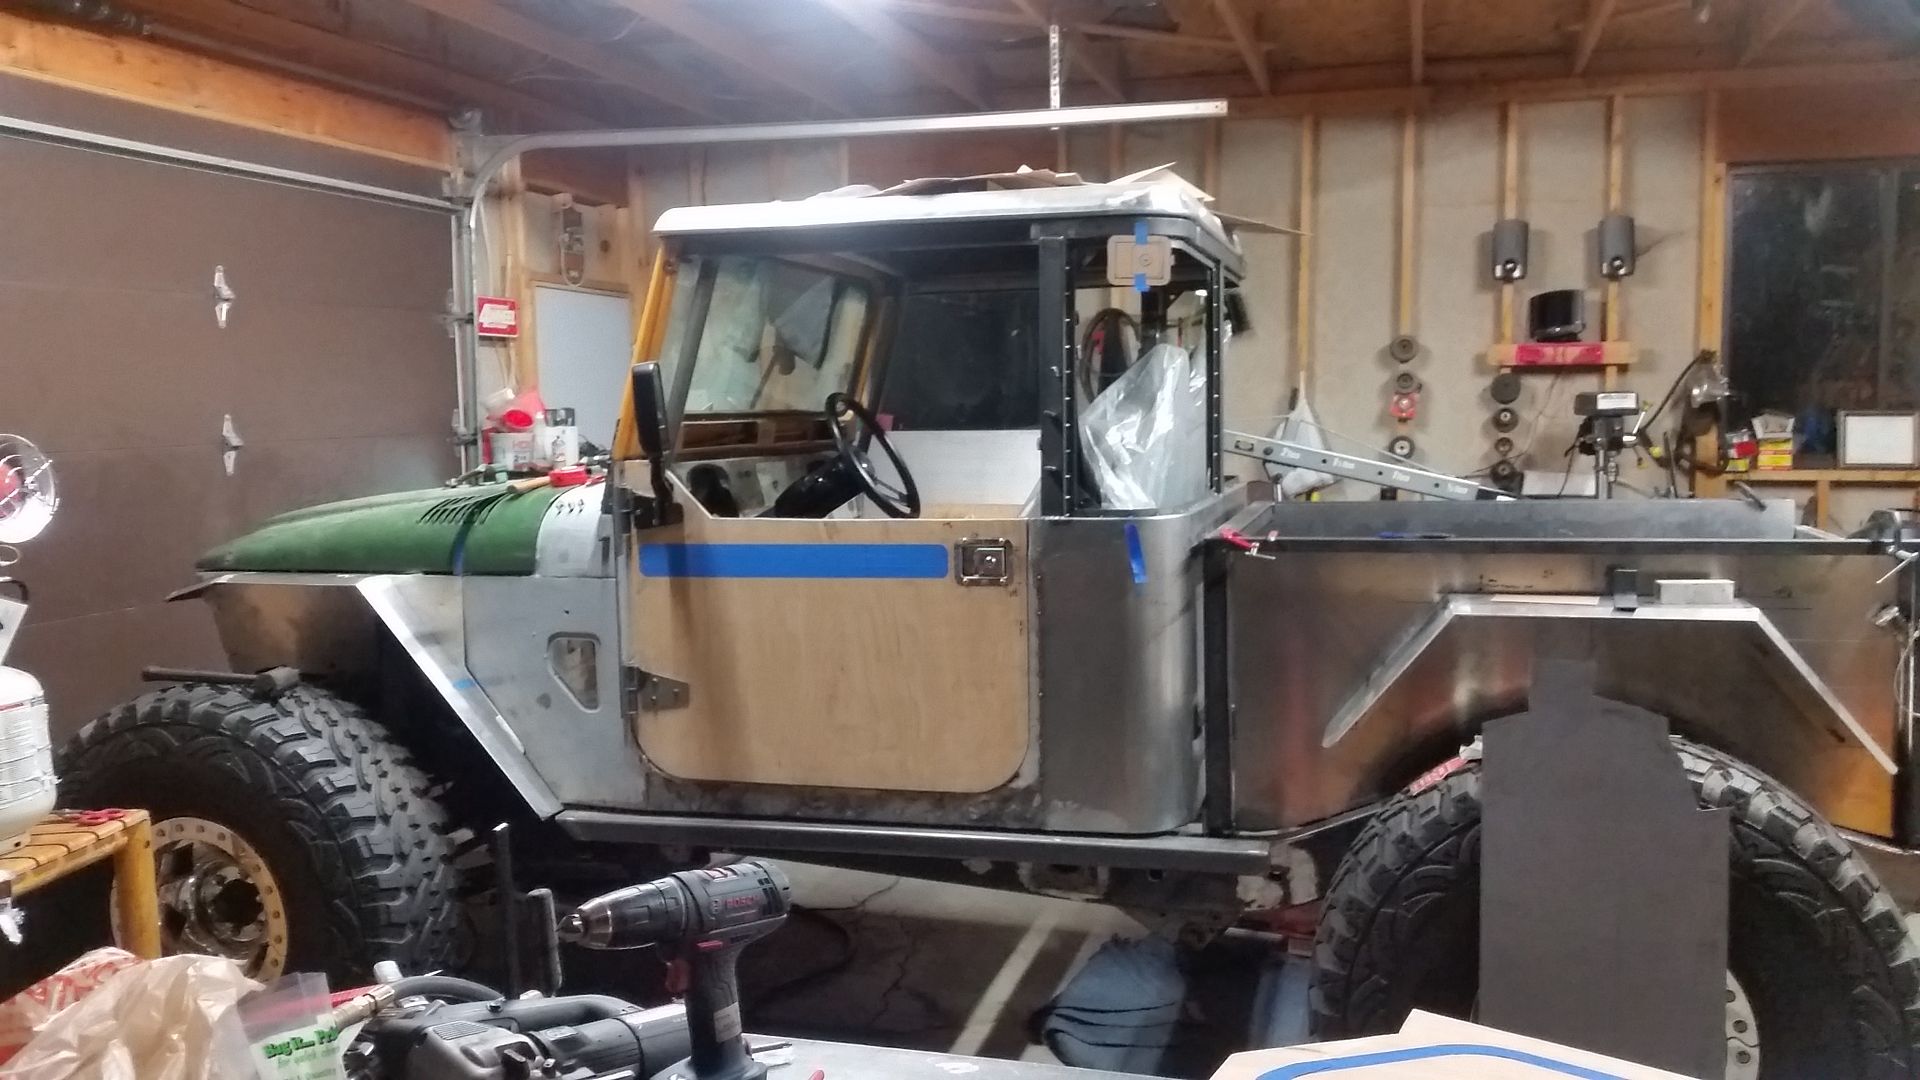
Tonight I decided on the door design and moved forward....


This version ended up being the best option for a few window based items. With this shape of the window, with the long bottom flat, I can have dual way slider. That slider will be able to open about 9" on either the front or the back of the window, or a combination.

The flat on the door is PLENTY long for my arm.

Now to model up this 2pc door split idea and then turn the templates into aluminum!
 

Metcalf

Expedition Leader


The #LX45 2pc door mockup is done. Hopefully my sheet of aluminum is ready tomorrow so I can turn this into metal! Overall I am very happy with how the concept turned out so far. I will be bonding the upper door sheets together with 3M panel bond adhesive along with clamping them with the window frame. Hopefully I can flush mount some tapered head fasteners into the door skin and hide the upper ones behind a detail panel. I will be using some neat cast aluminum knobs I fount on mcmaster to clamp the upper in place. Don't worry, I also have a neat plan for an armrest/handle that will work with or without the upper door.....
 

Metcalf

Expedition Leader
Good day....


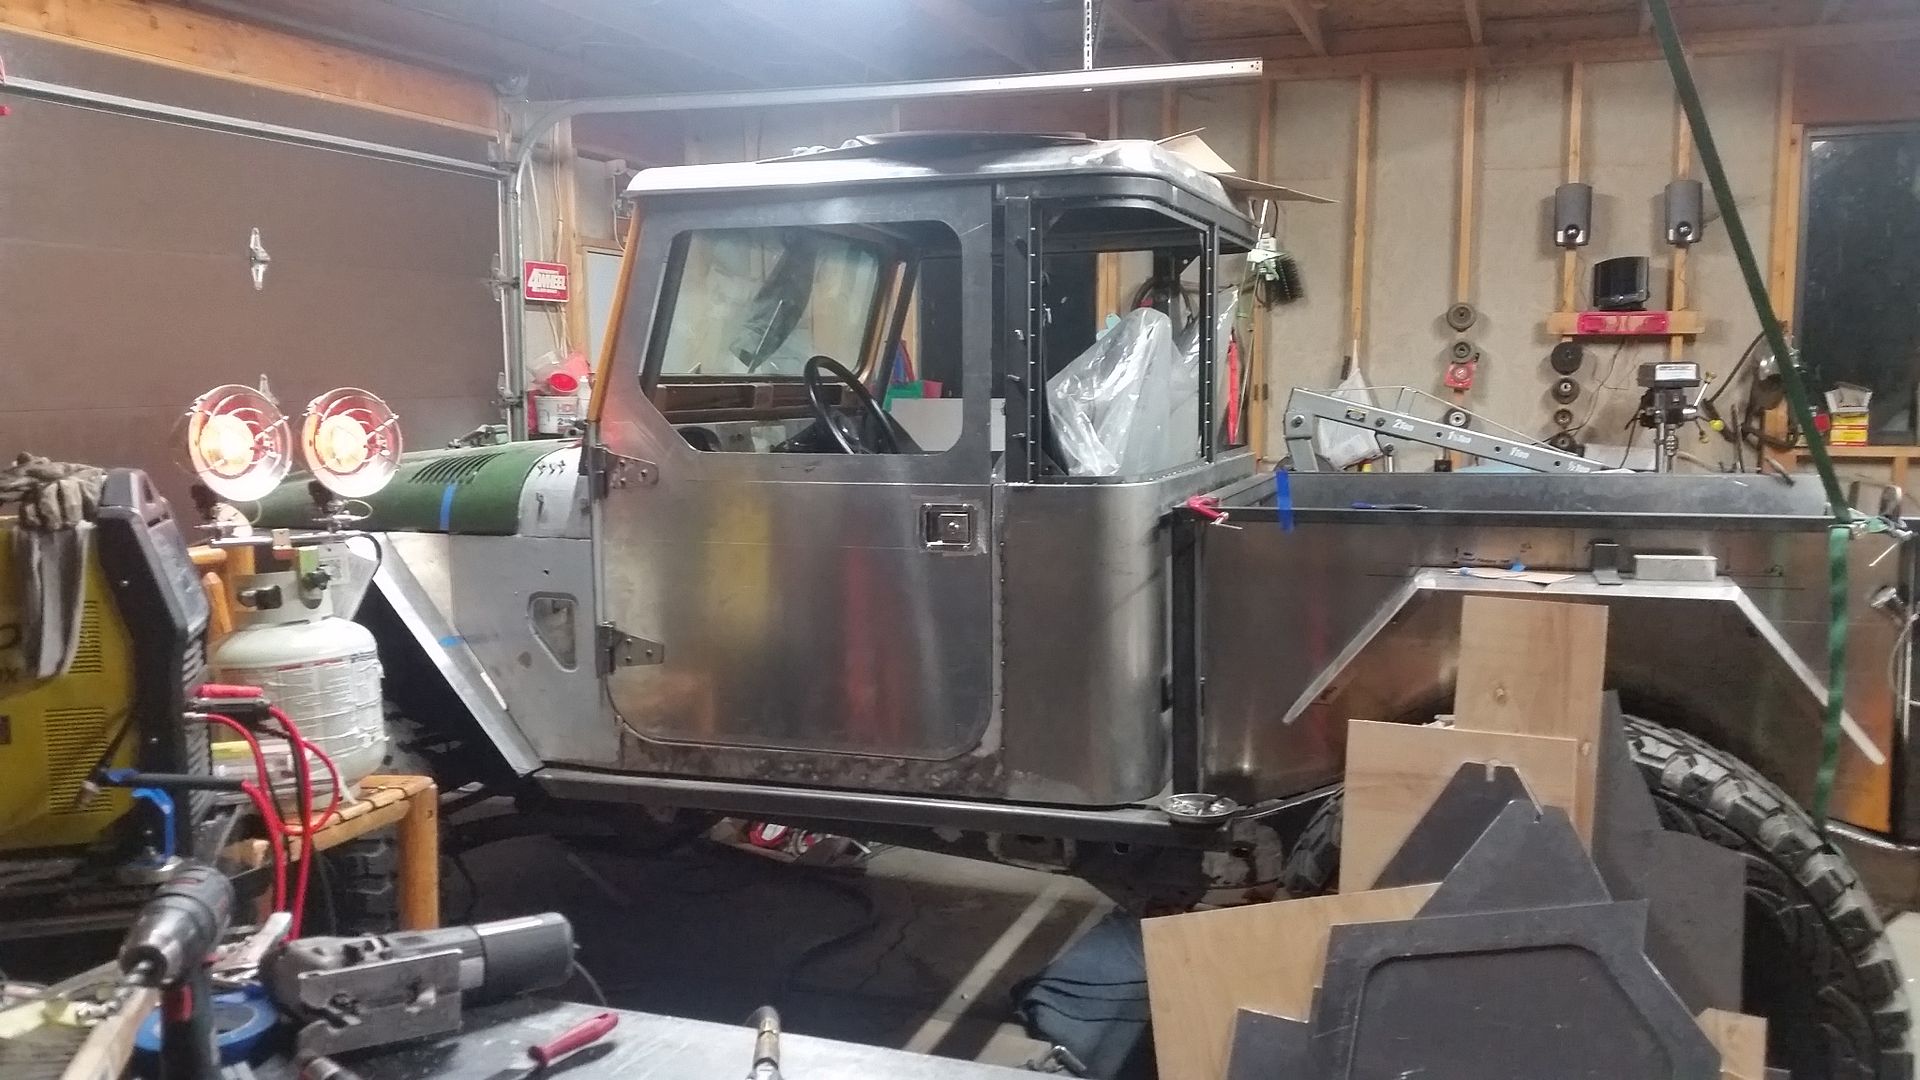
One more view of the mock up door system from outside. I don't open up the big door too often this time of year because 'winter'. It was really nice to be able to get more than a few feet away....
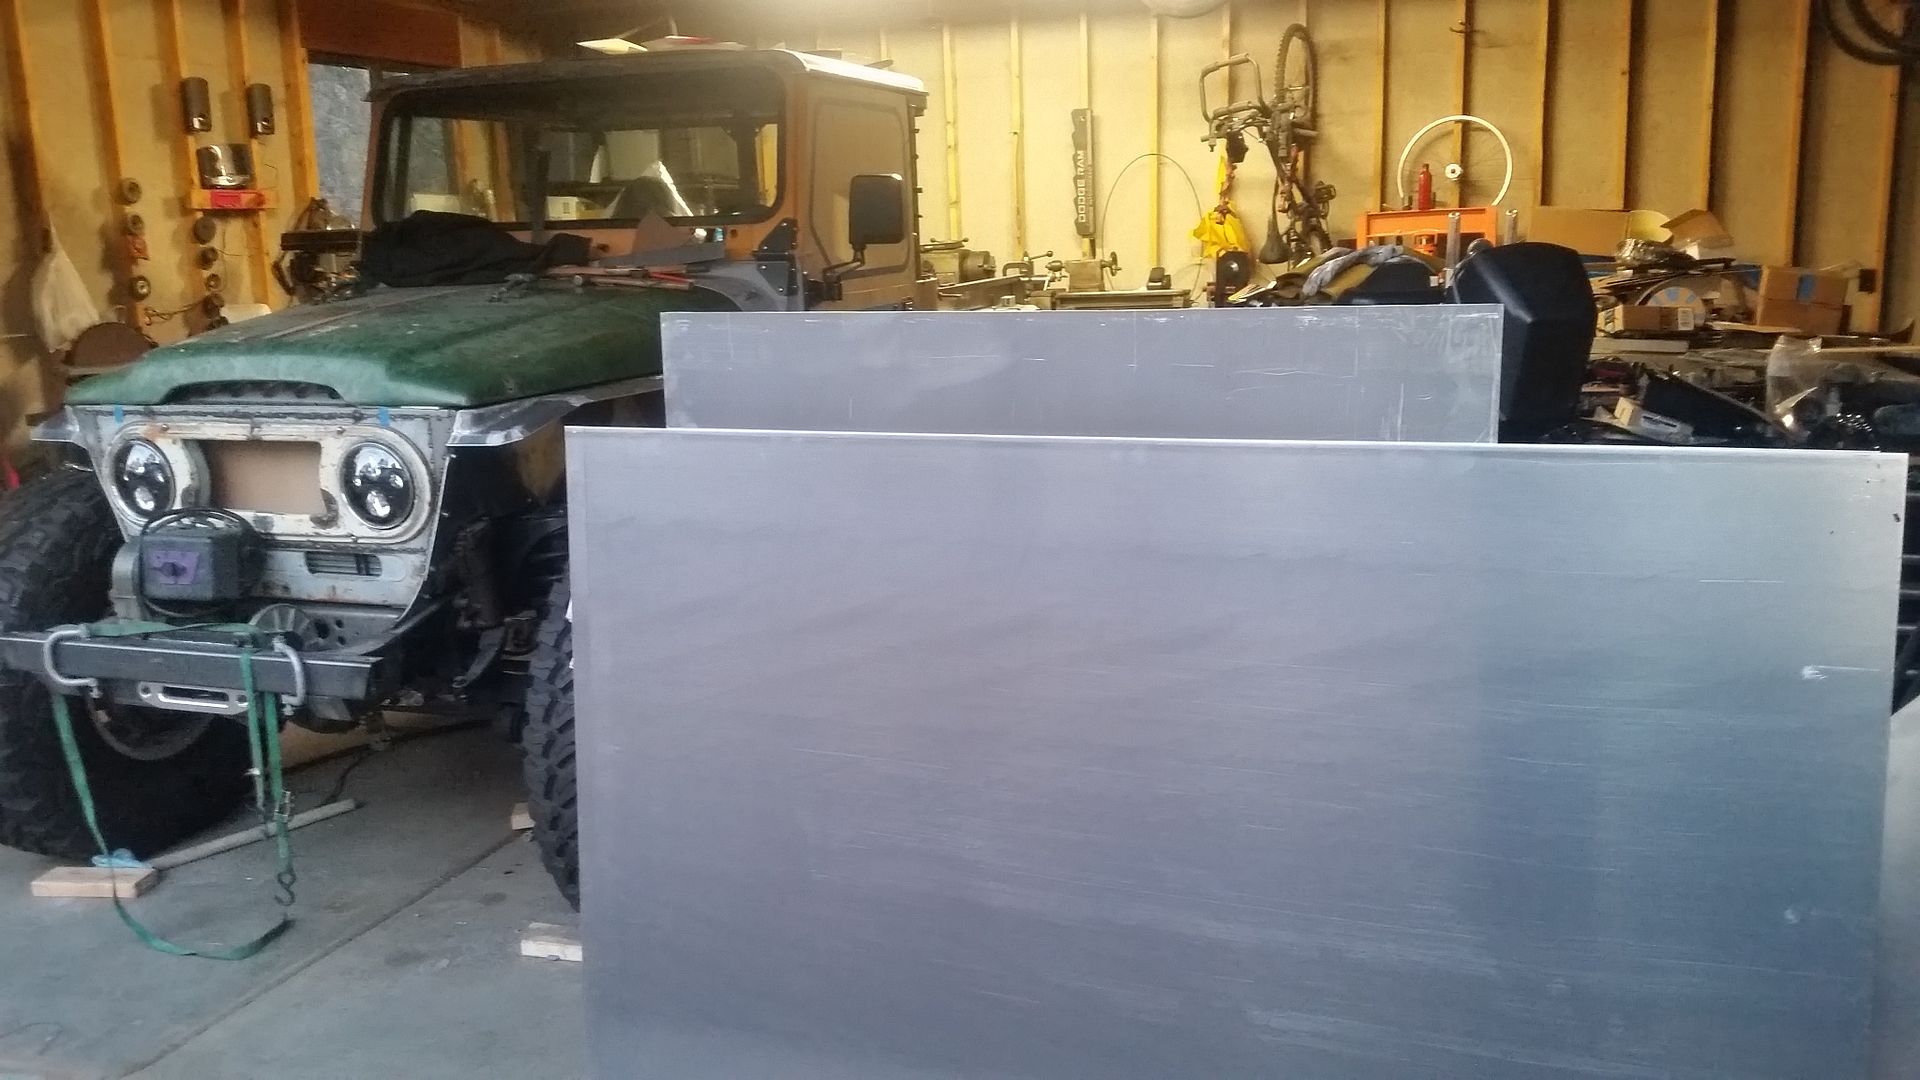


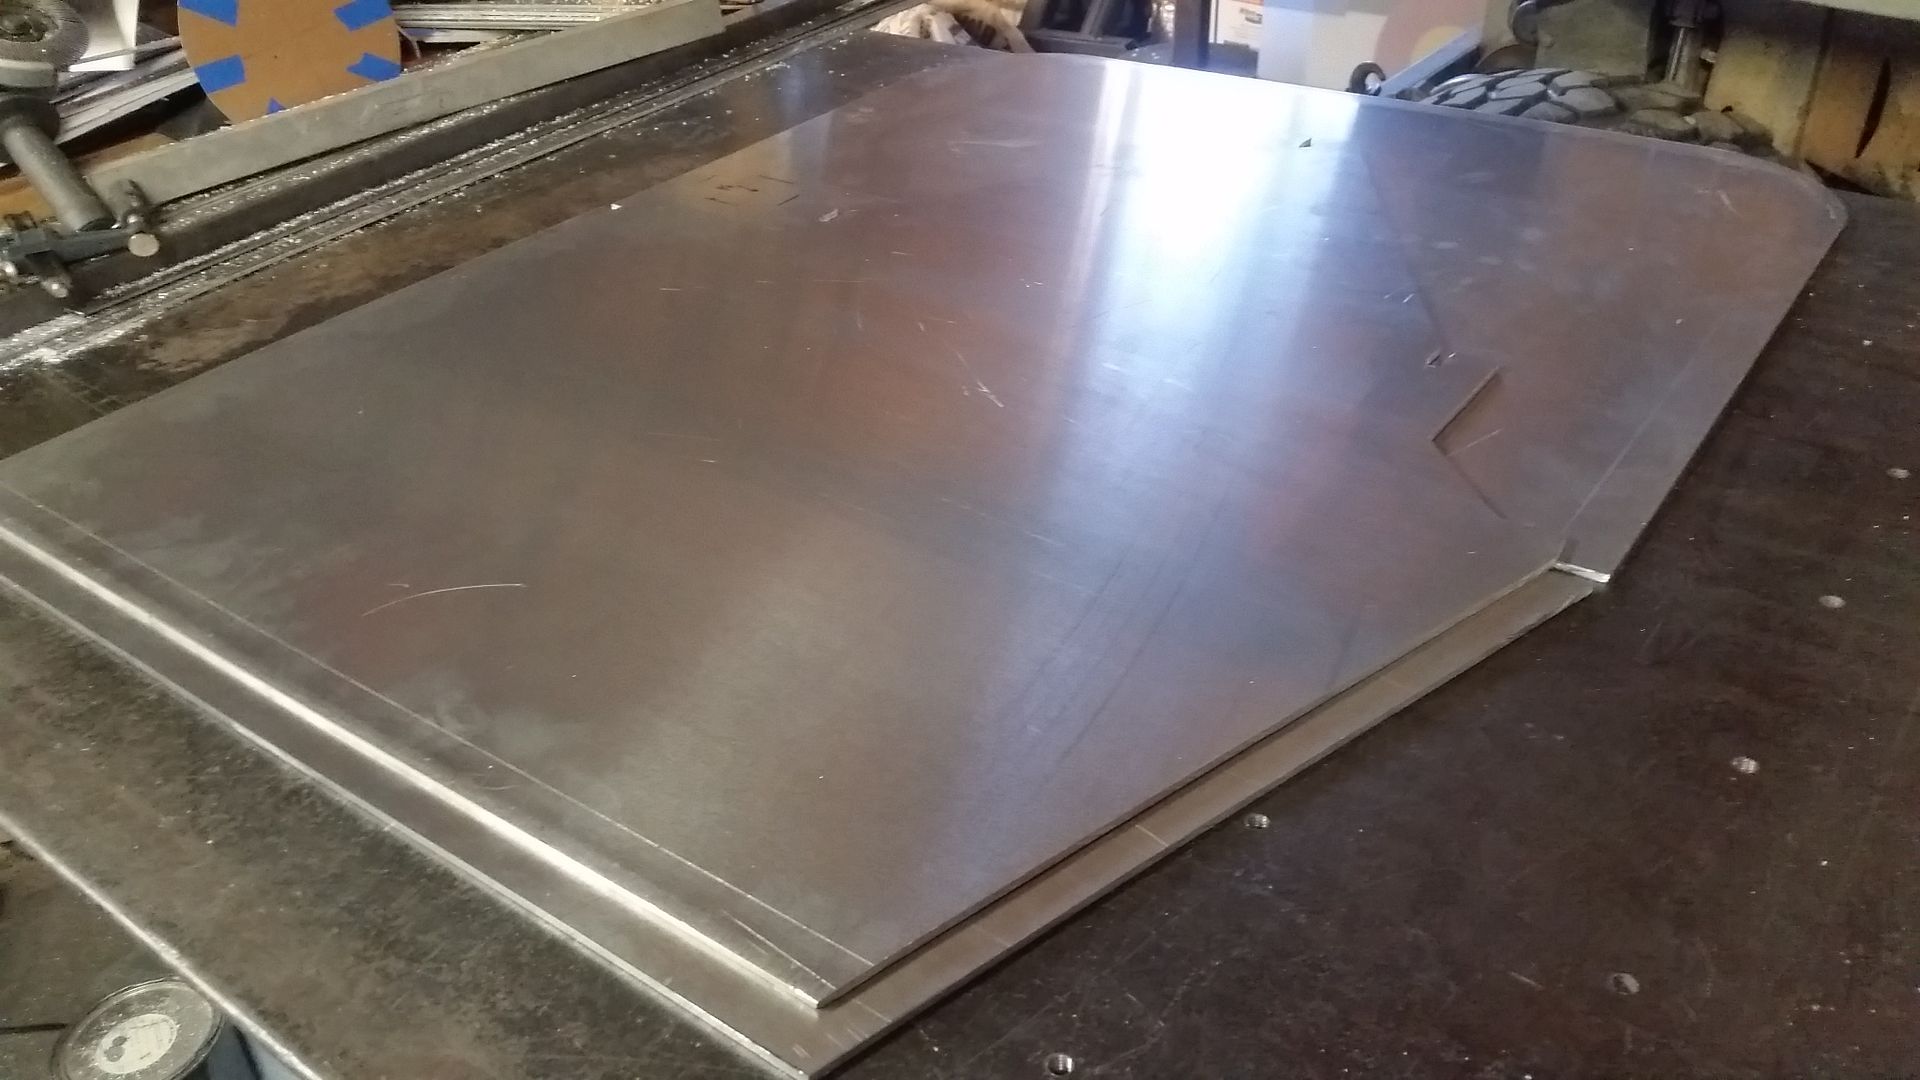
I had to open the door to bring in some nice fresh sheets of aluminum! This is 3/16 thick 5052-H32 that I will be building the doors out of.
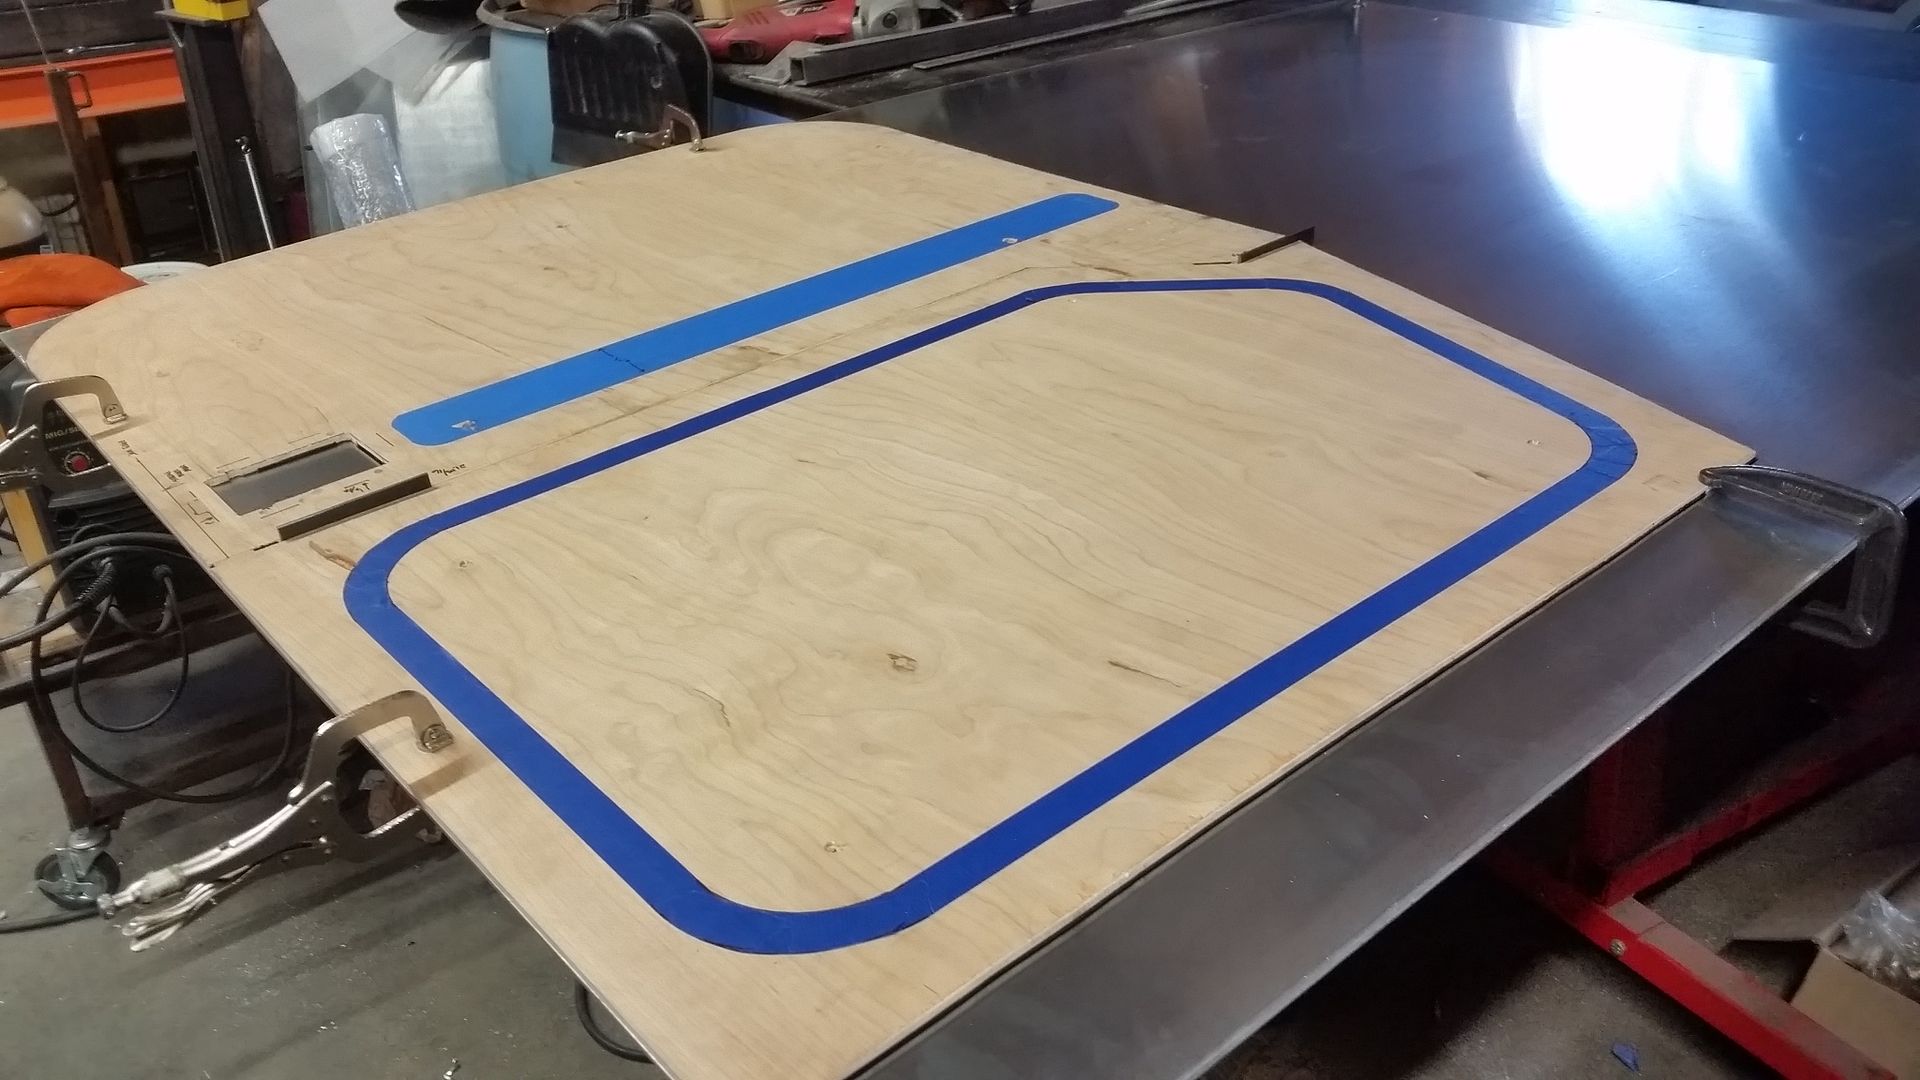


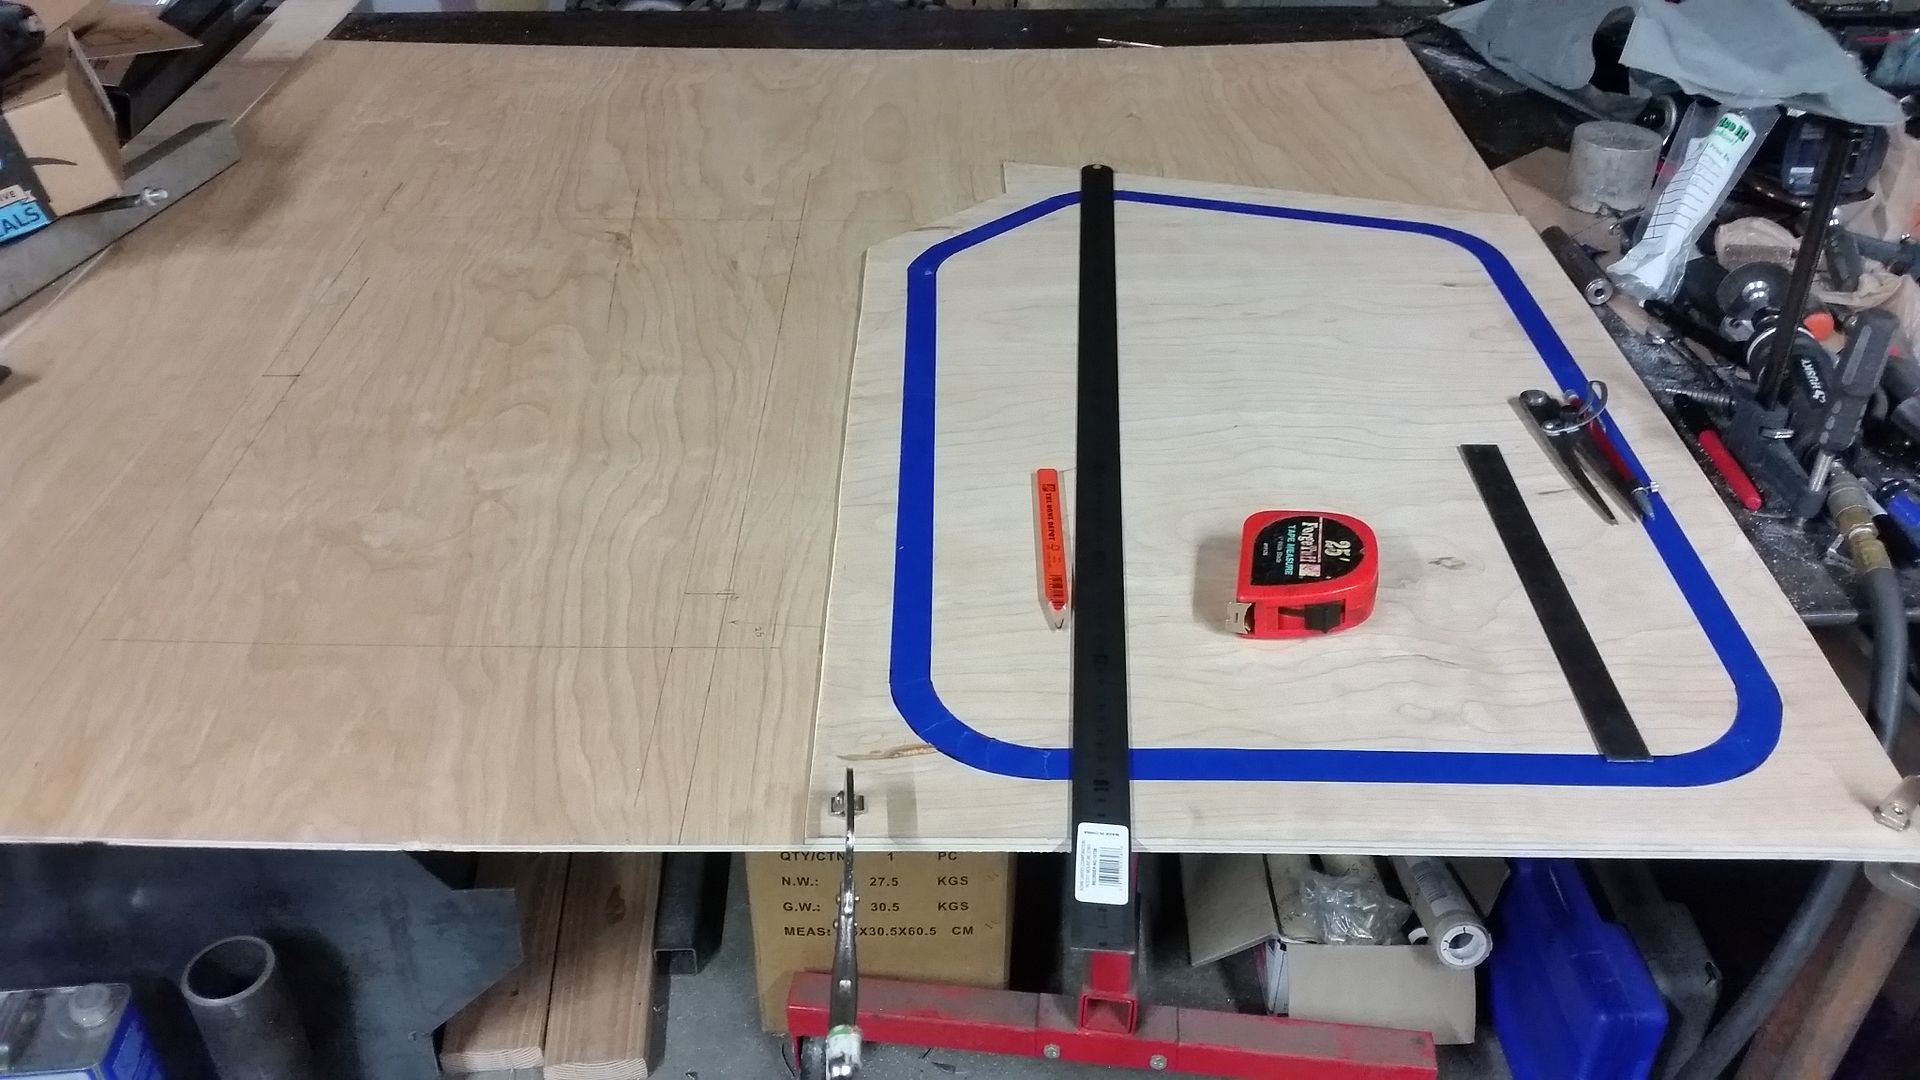
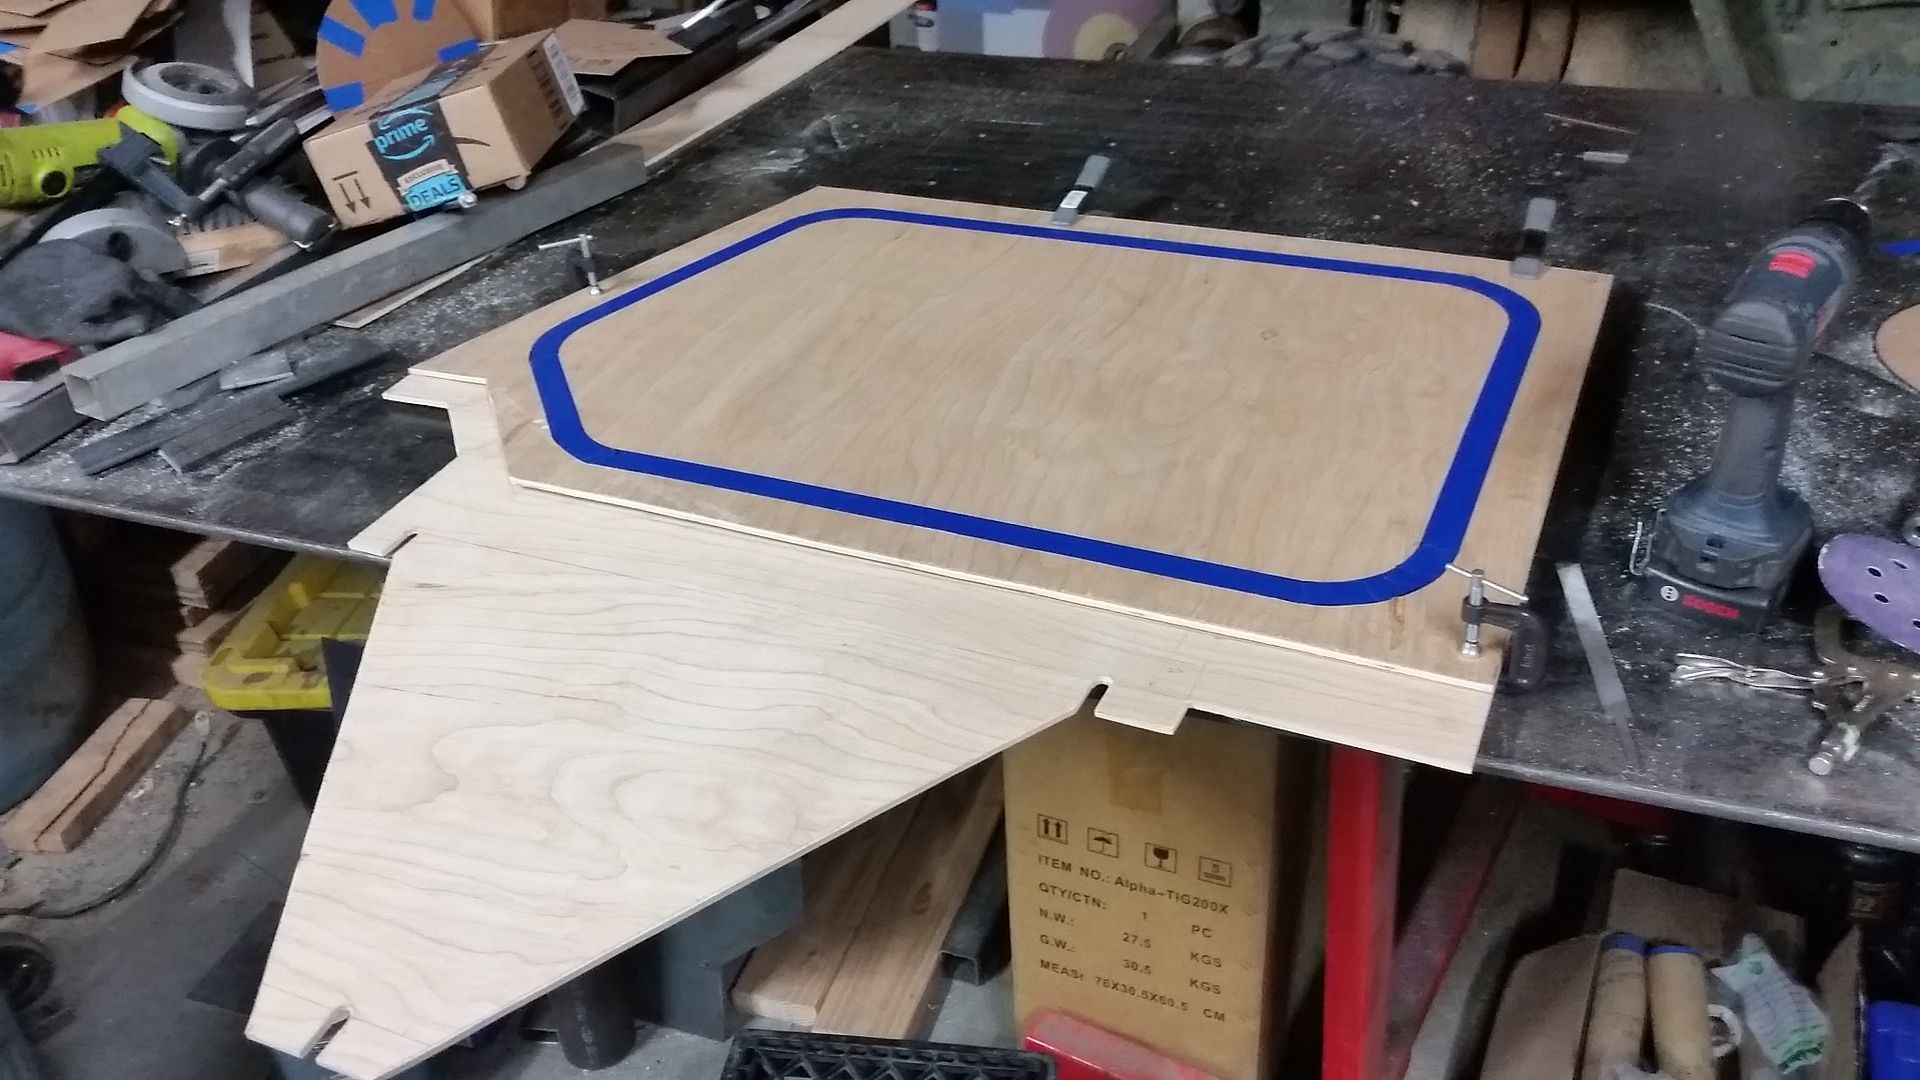
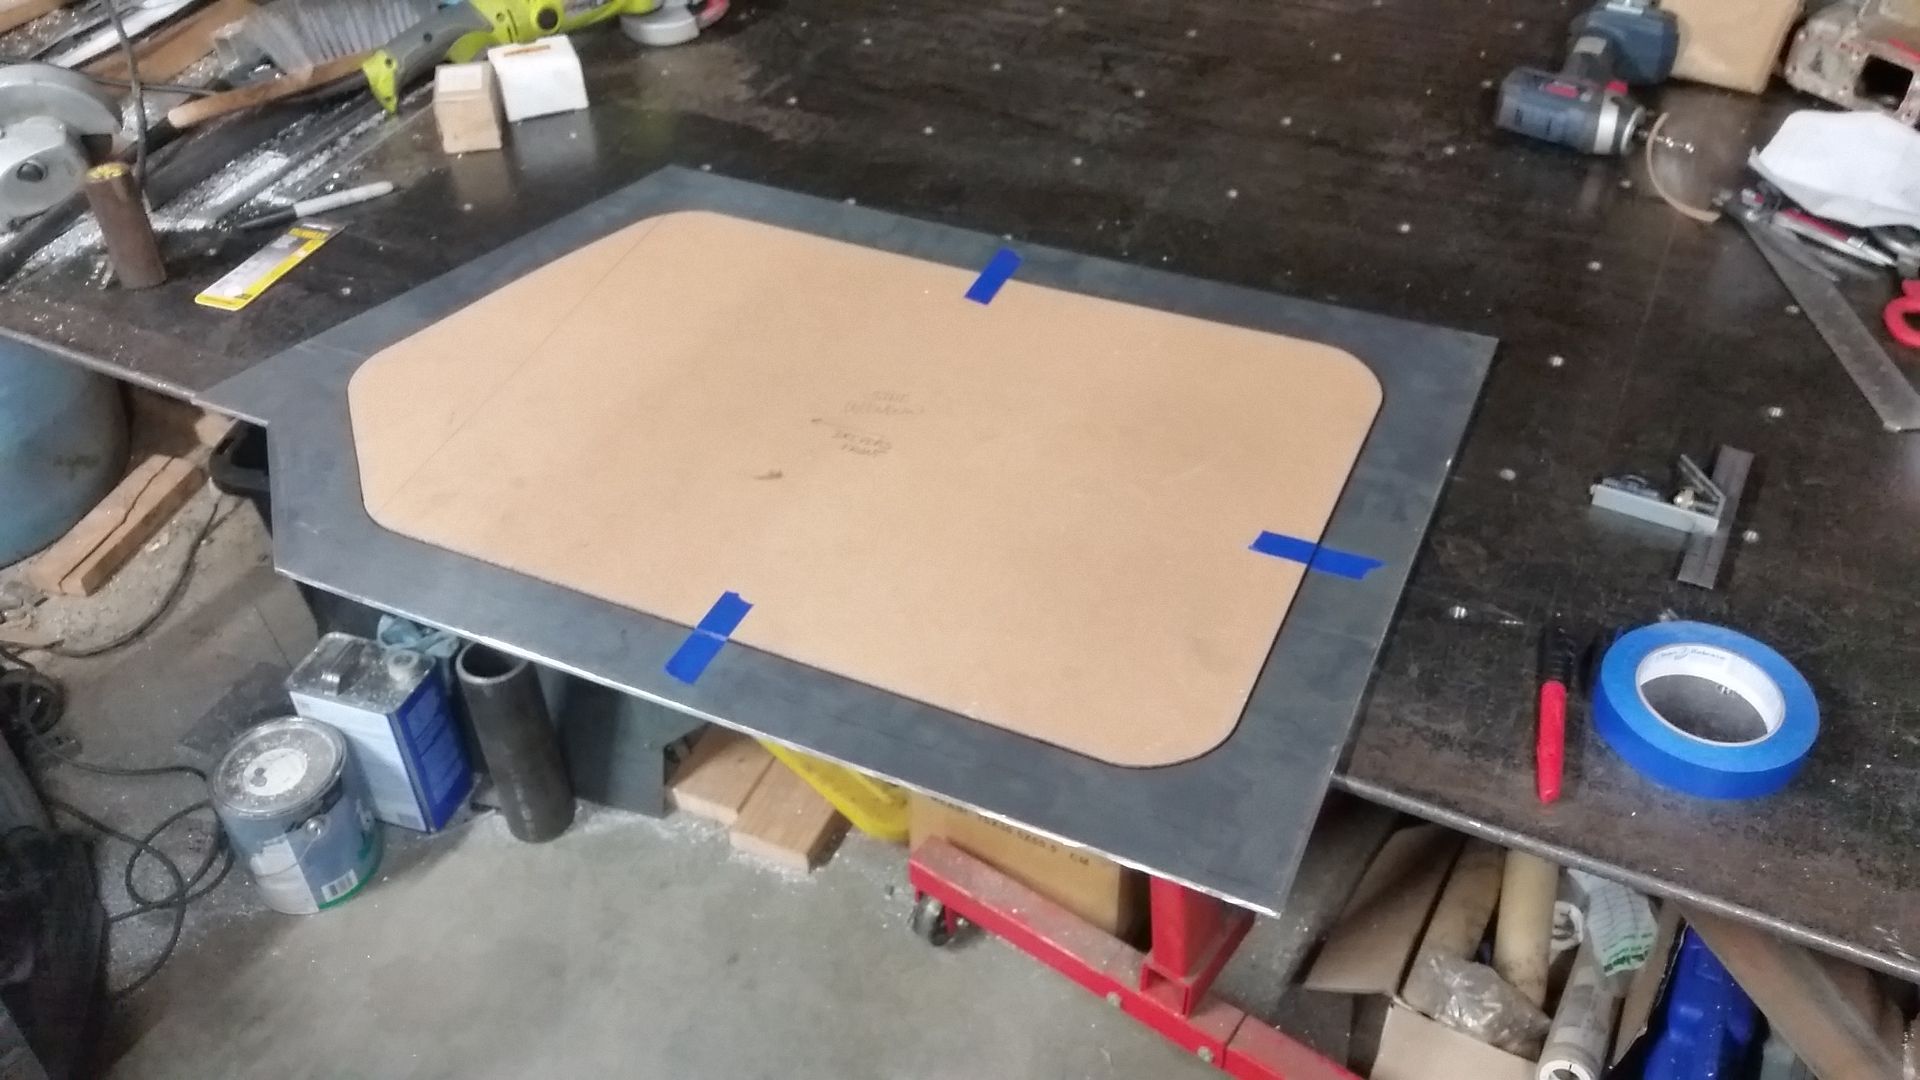
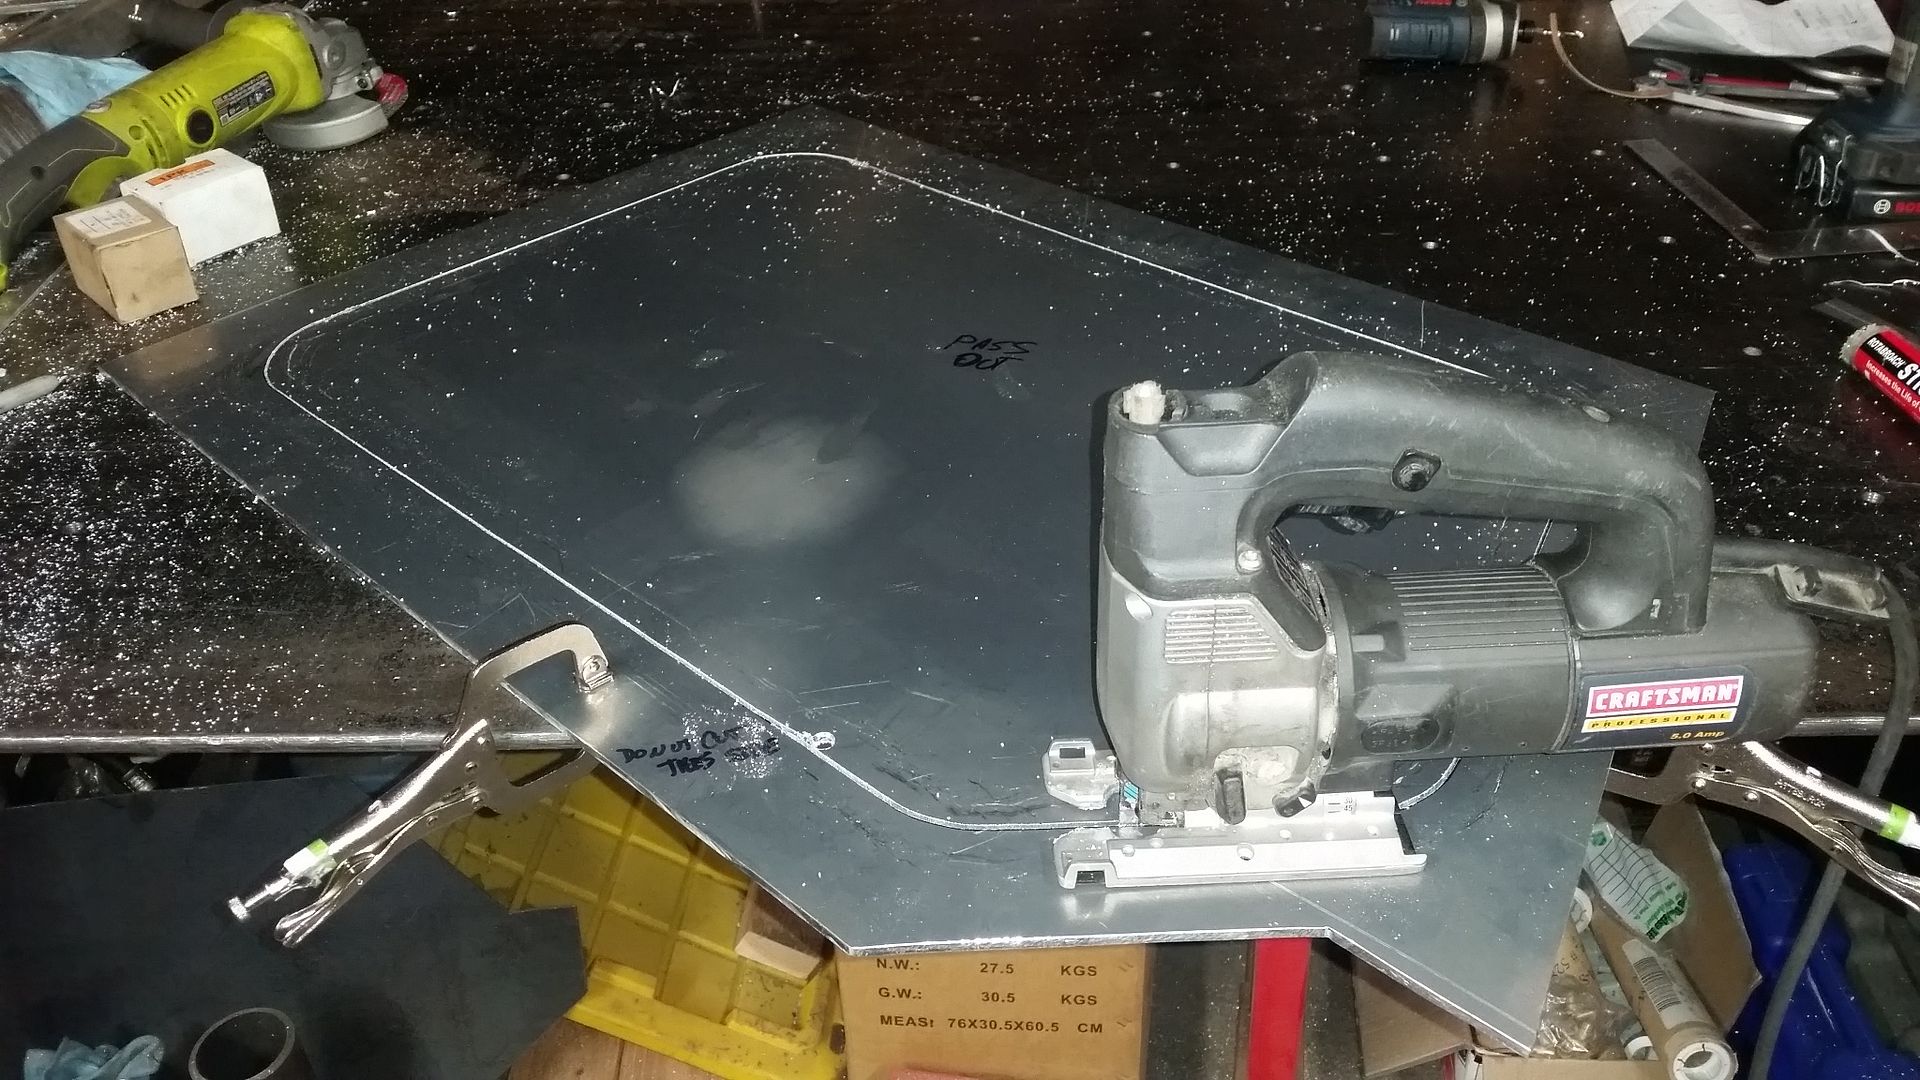
I took the mock up door apart to use for templates. This sure made things easy. Don't forget to account for the saw kerf during the layout. I wanted to cut the upper and lower door in one piece and THEN seperate them. That way the cut would match up well top to bottom.
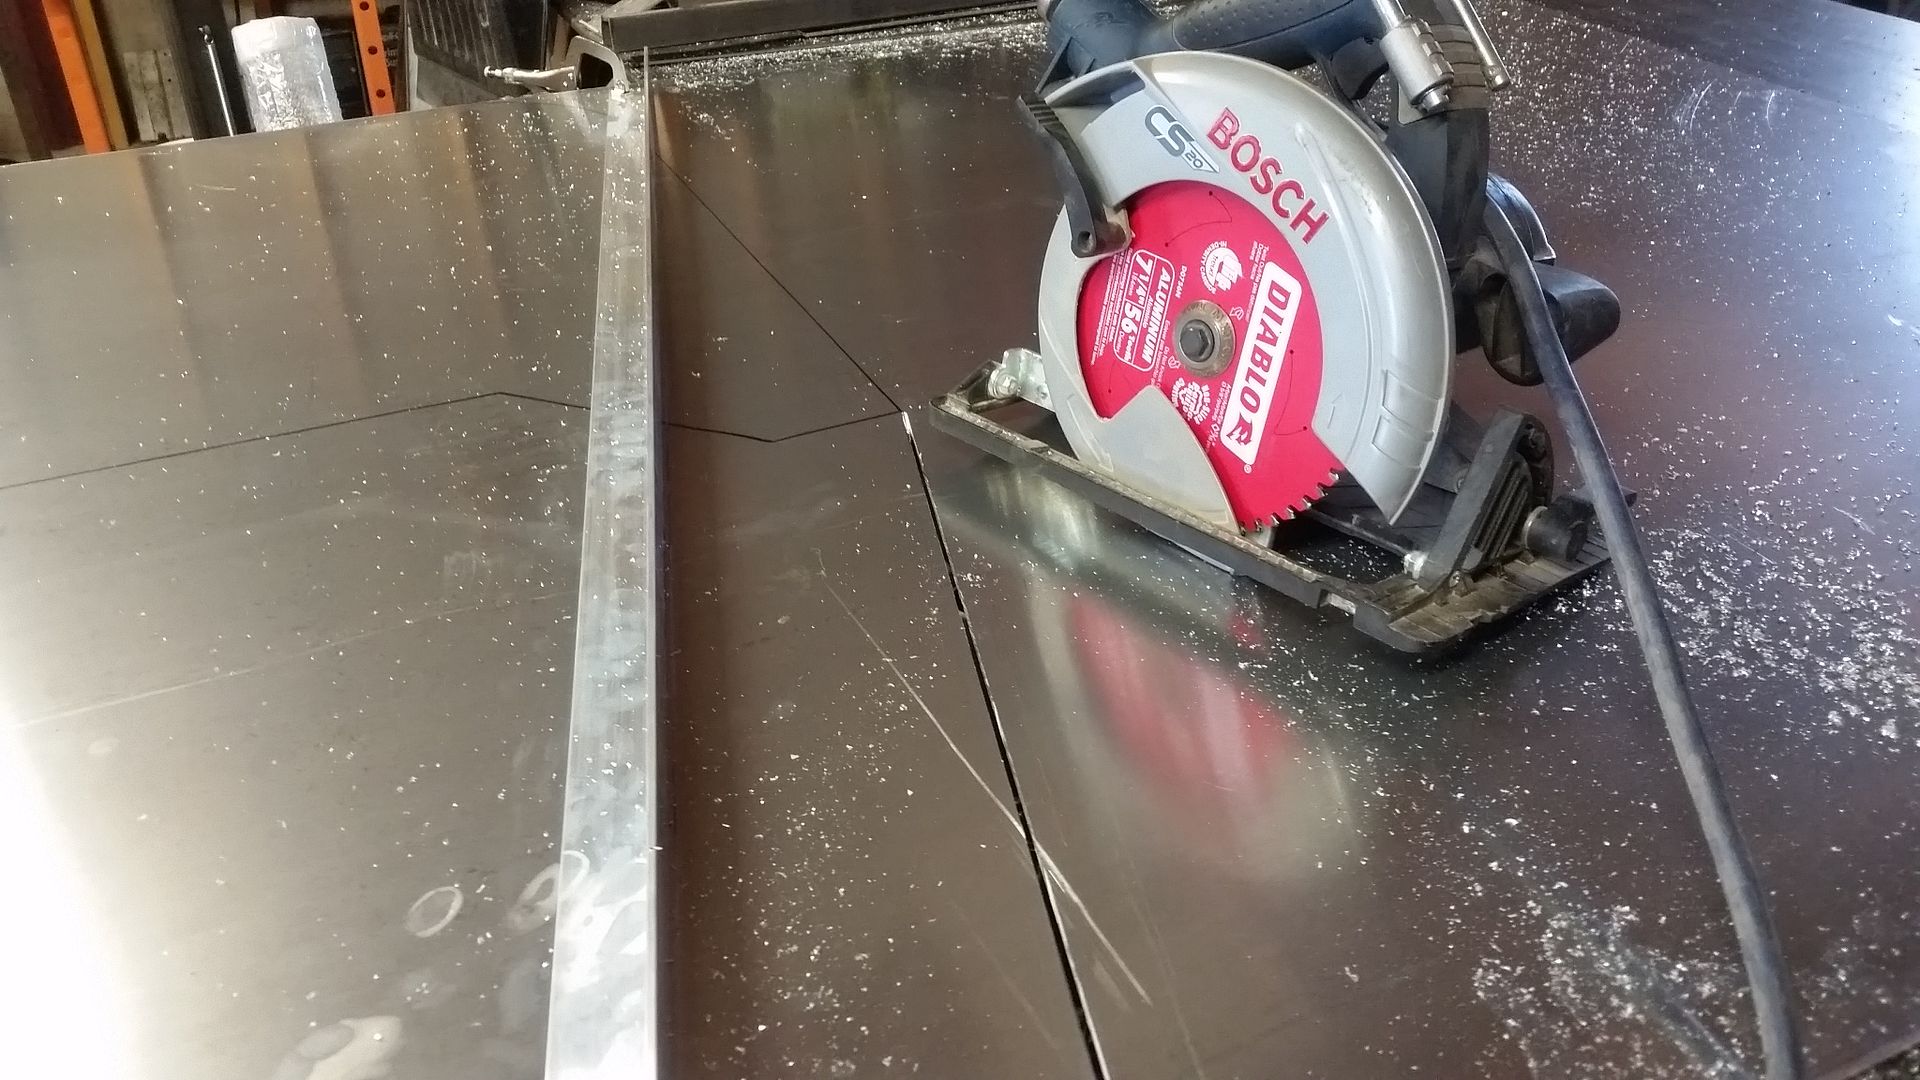


I have been looking for a better way to make LONG cuts in thicker aluminum sheet for a bit now. After much google-**** and Youtube this is where I stopped. While they aren't cheap, these blades work AMAZING! I was able to use a section of thick aluminum angle as a fence for the saw. This blade is specifically for aluminum according to the package. It cuts this 3/16" plate like BUTTER. This is what I used where ever possible. This method is so much cleaner and faster than anything else I have done.
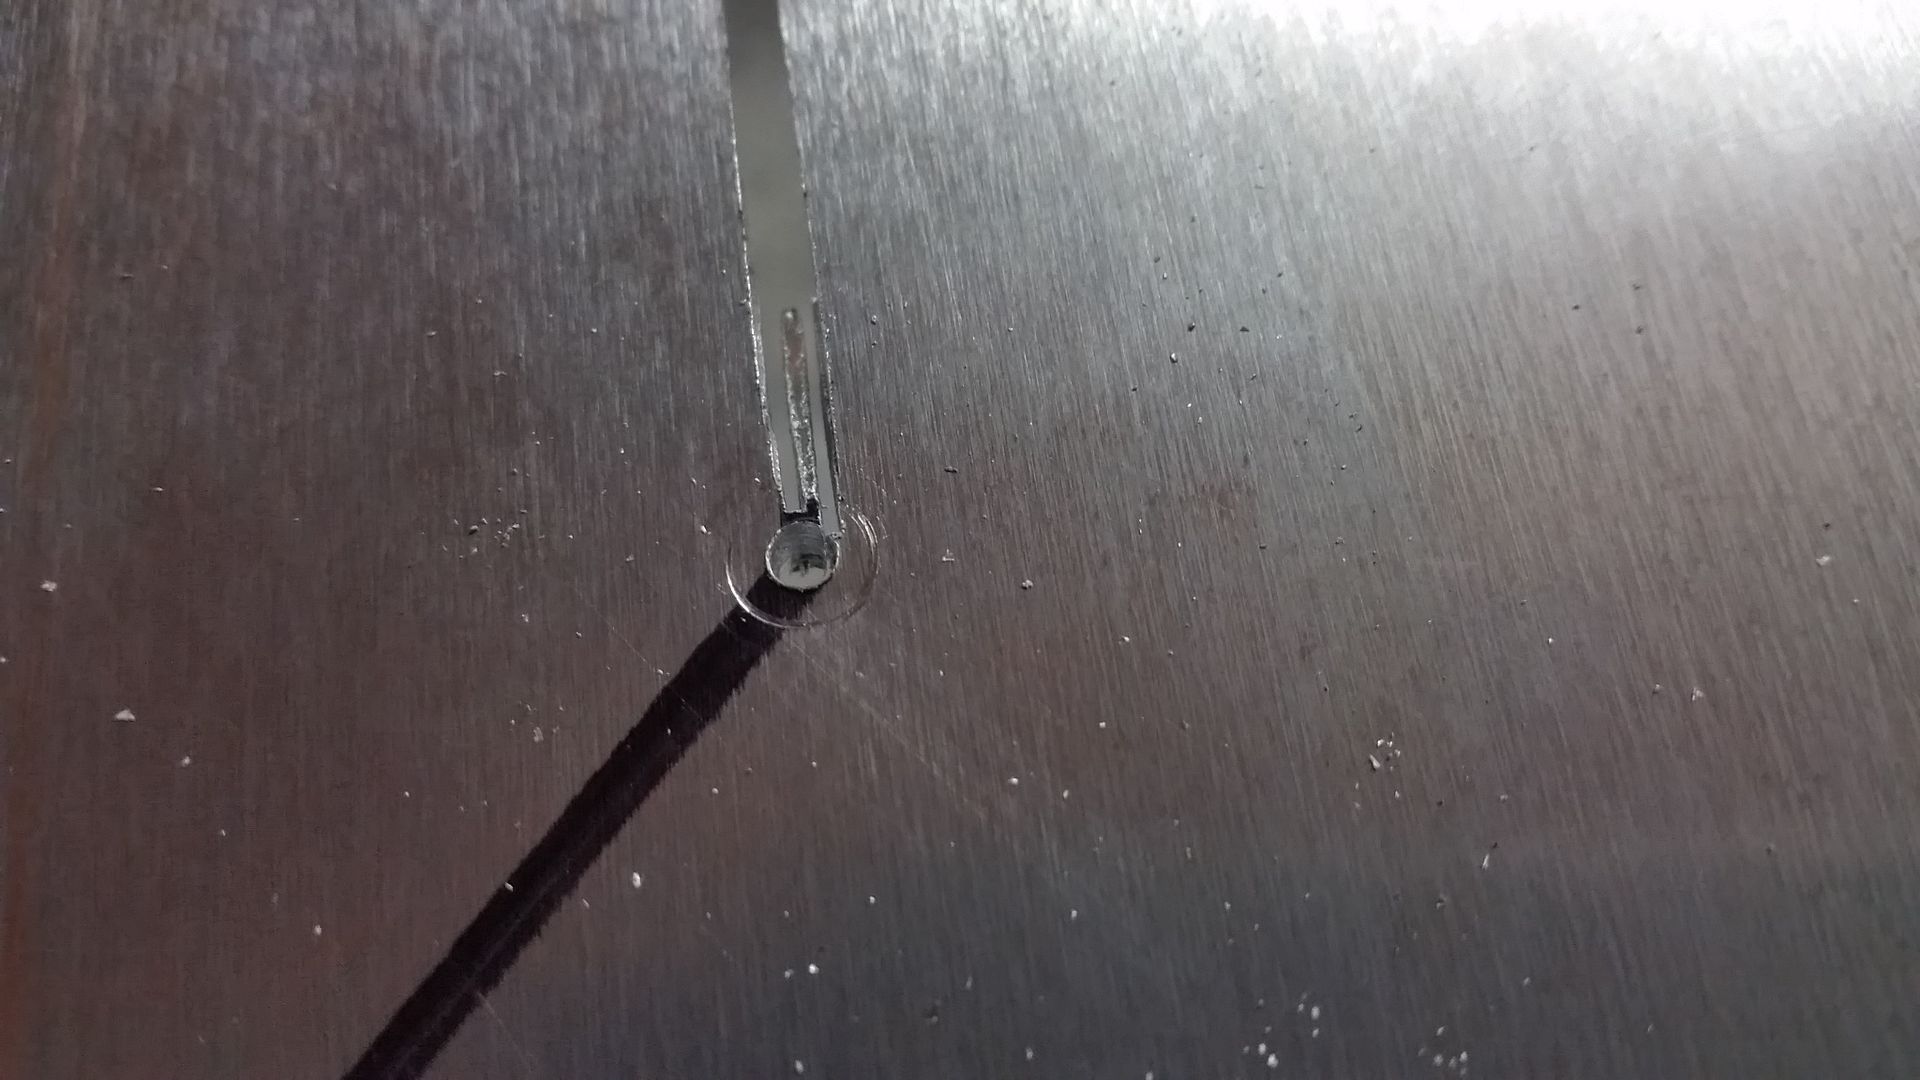


This is how I handled inside corners. I pilot drilled the corner with a small drill bit. I would run the big saw as close as possible. I then used a small body saw to finish the cut. All it takes is a little file work to clean up at the end.


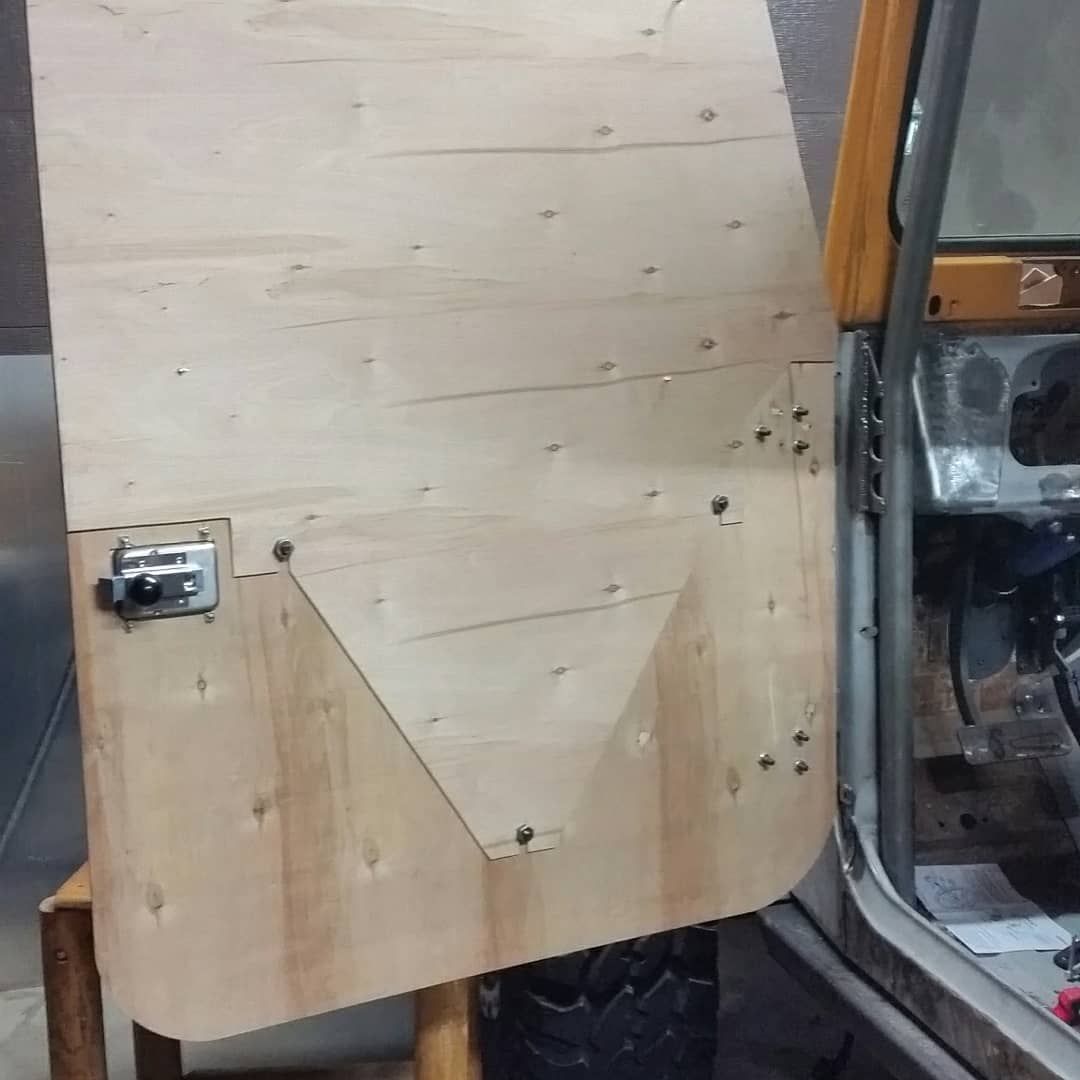
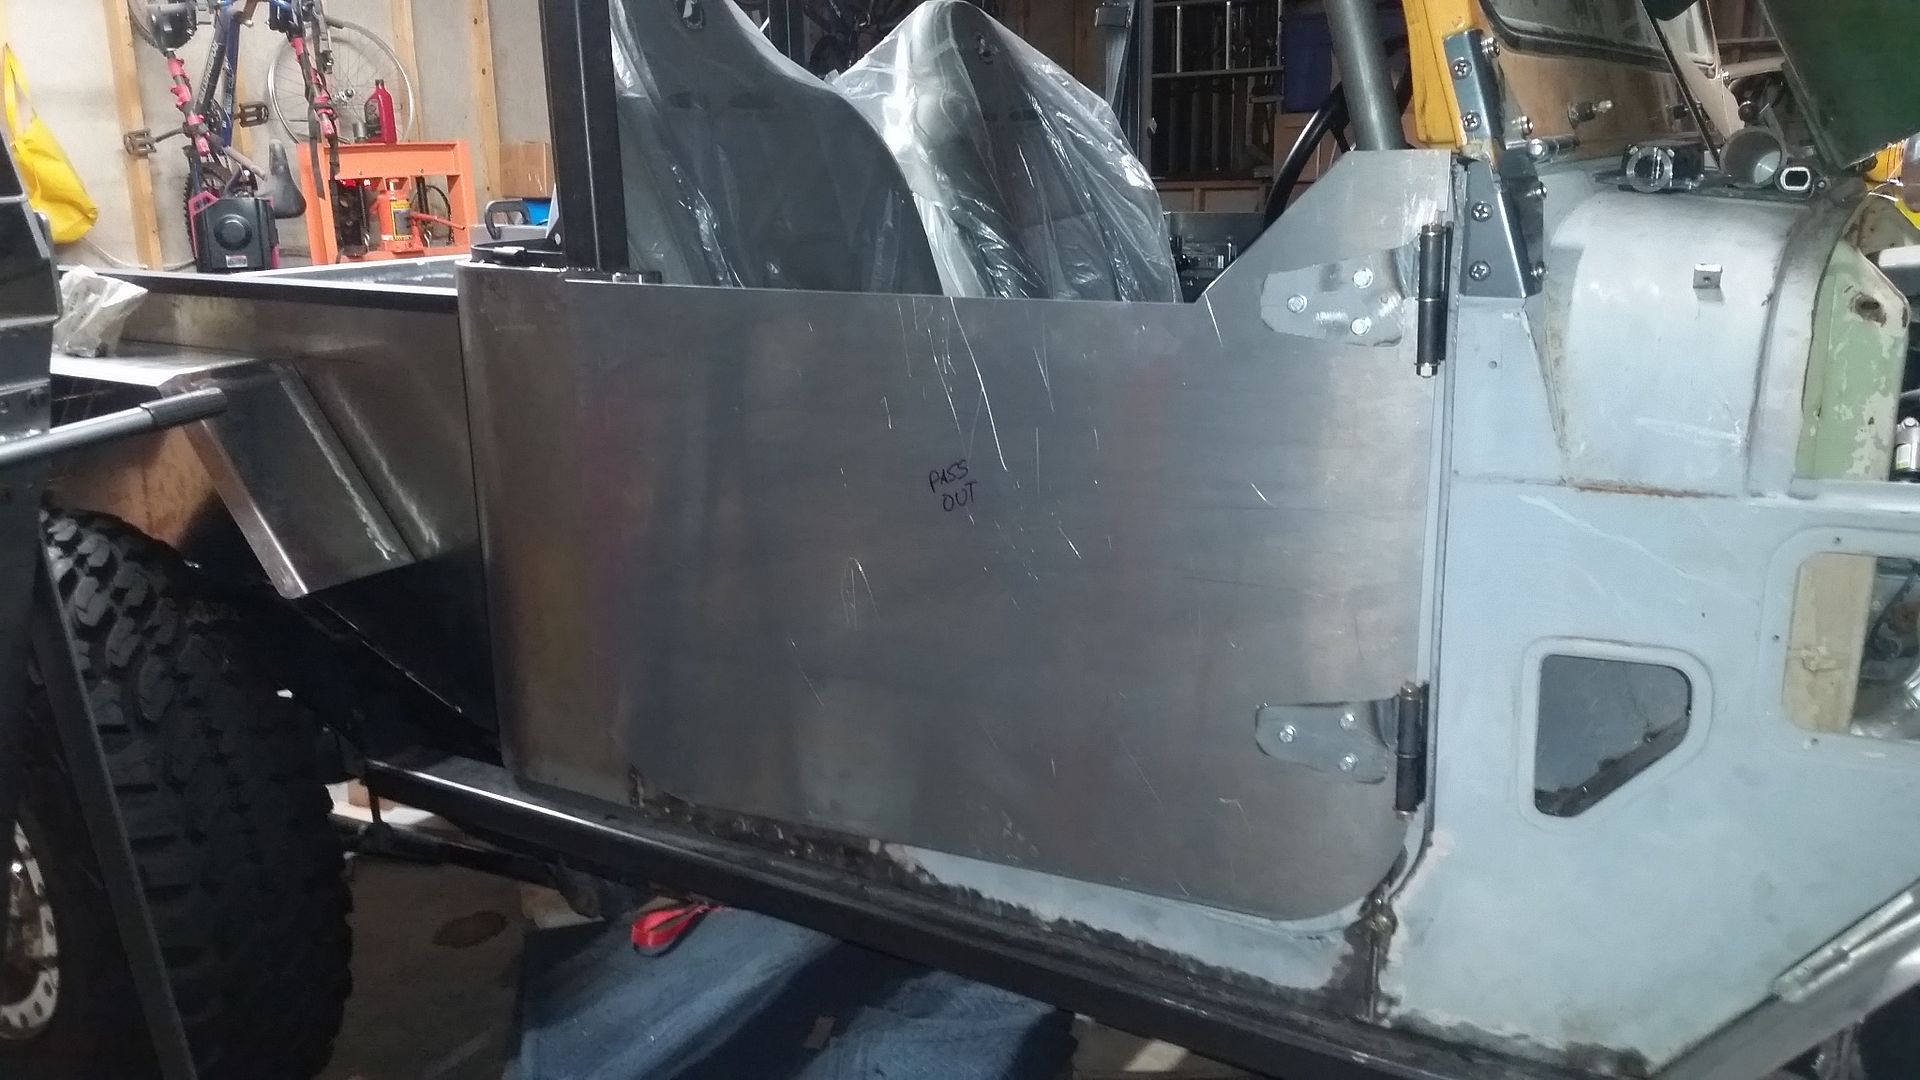
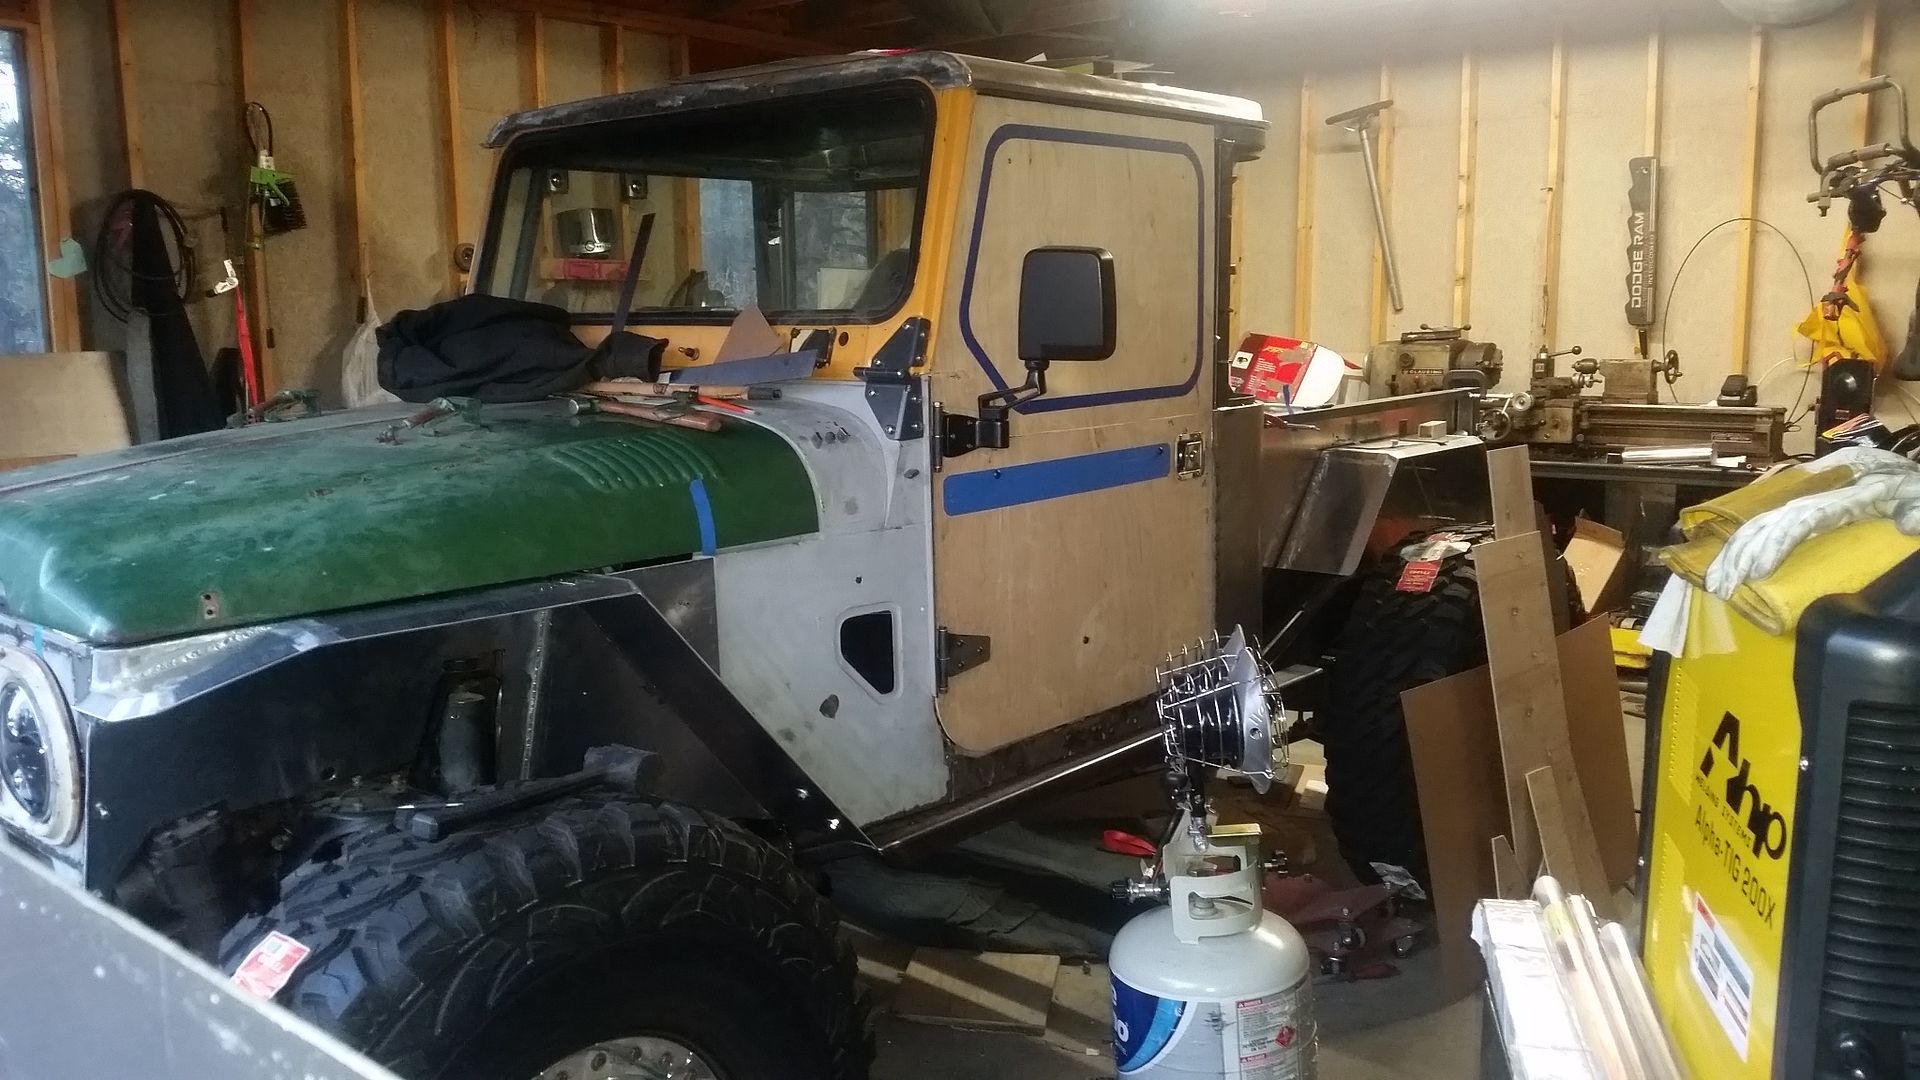
Here is the roughed in lower door. I will still be adding some details, but the hinges hinge and the latch latches.
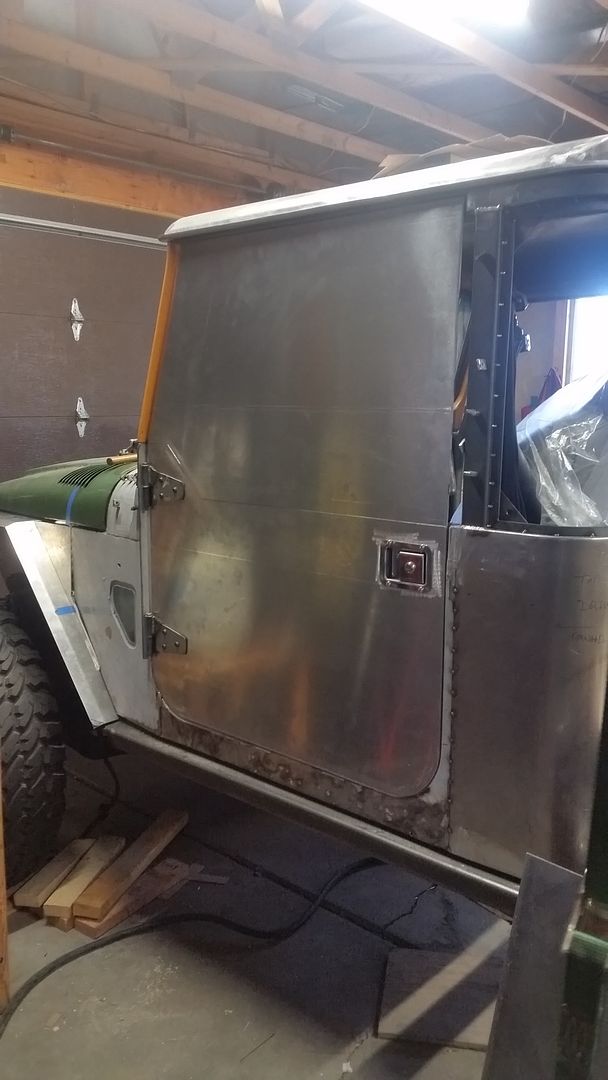


Upper door resting in its future home.
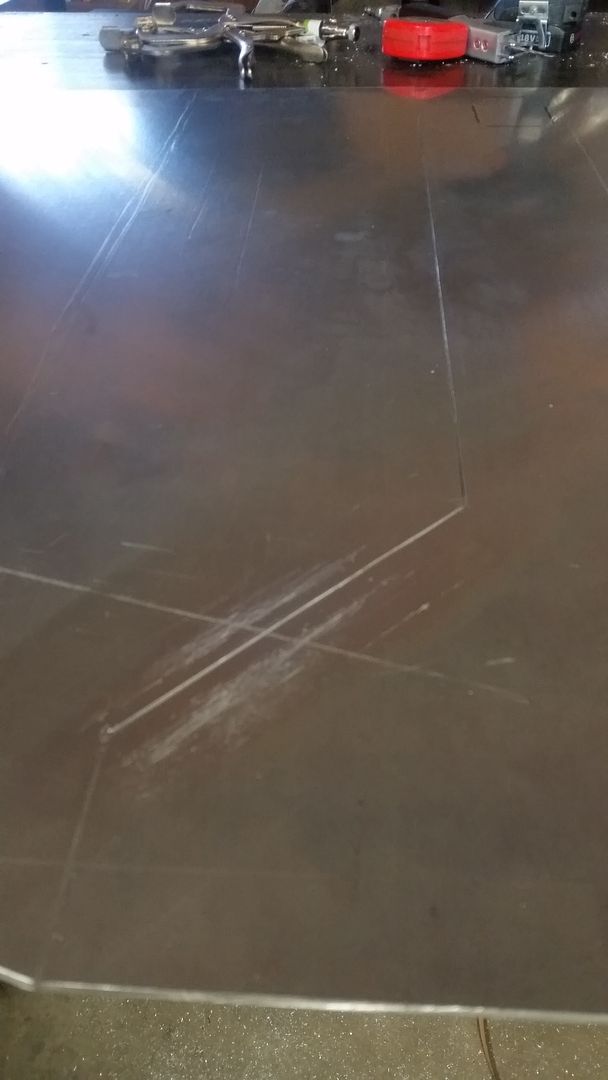


Seam between the upper and lower.....not too bad for just a guy in his garage I don't think.
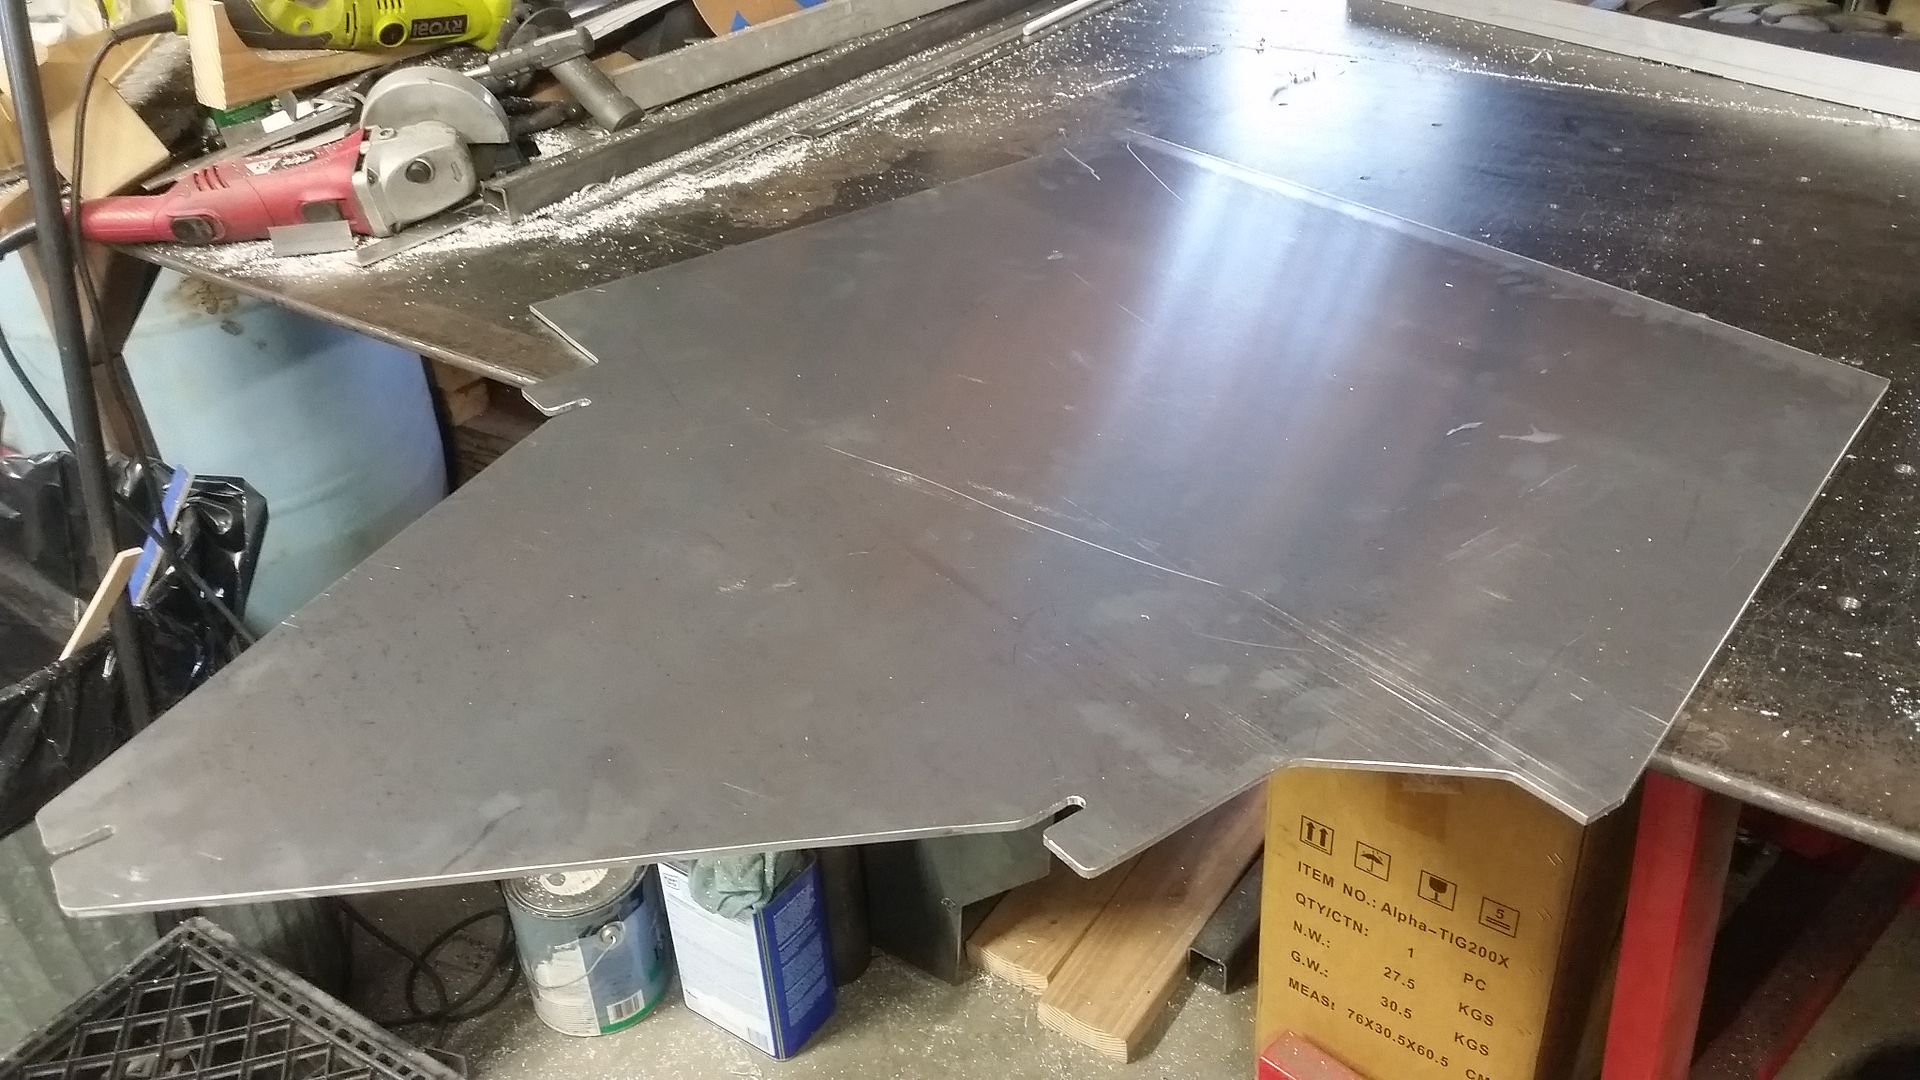


I also got the inner 'tongue' panel mostly cut out.

Next I need to cut the window hole in the top and tongue panel. Those two parts will be glued together with some 3M Panel Bond once finished ( which is still in the mail....ugh). I also need to build the arm rest bracket that will also have the interior door handle and perhaps a forward mounted door latch release. Still a decent bit of detail stuff....
 
D

Deleted member 9101

Guest
Diablo makes awesome blades. They are all I use for cutting wood.
 

Metcalf

Expedition Leader
Mostly just repeats tonight...


Passenger side door panels are all cut out.


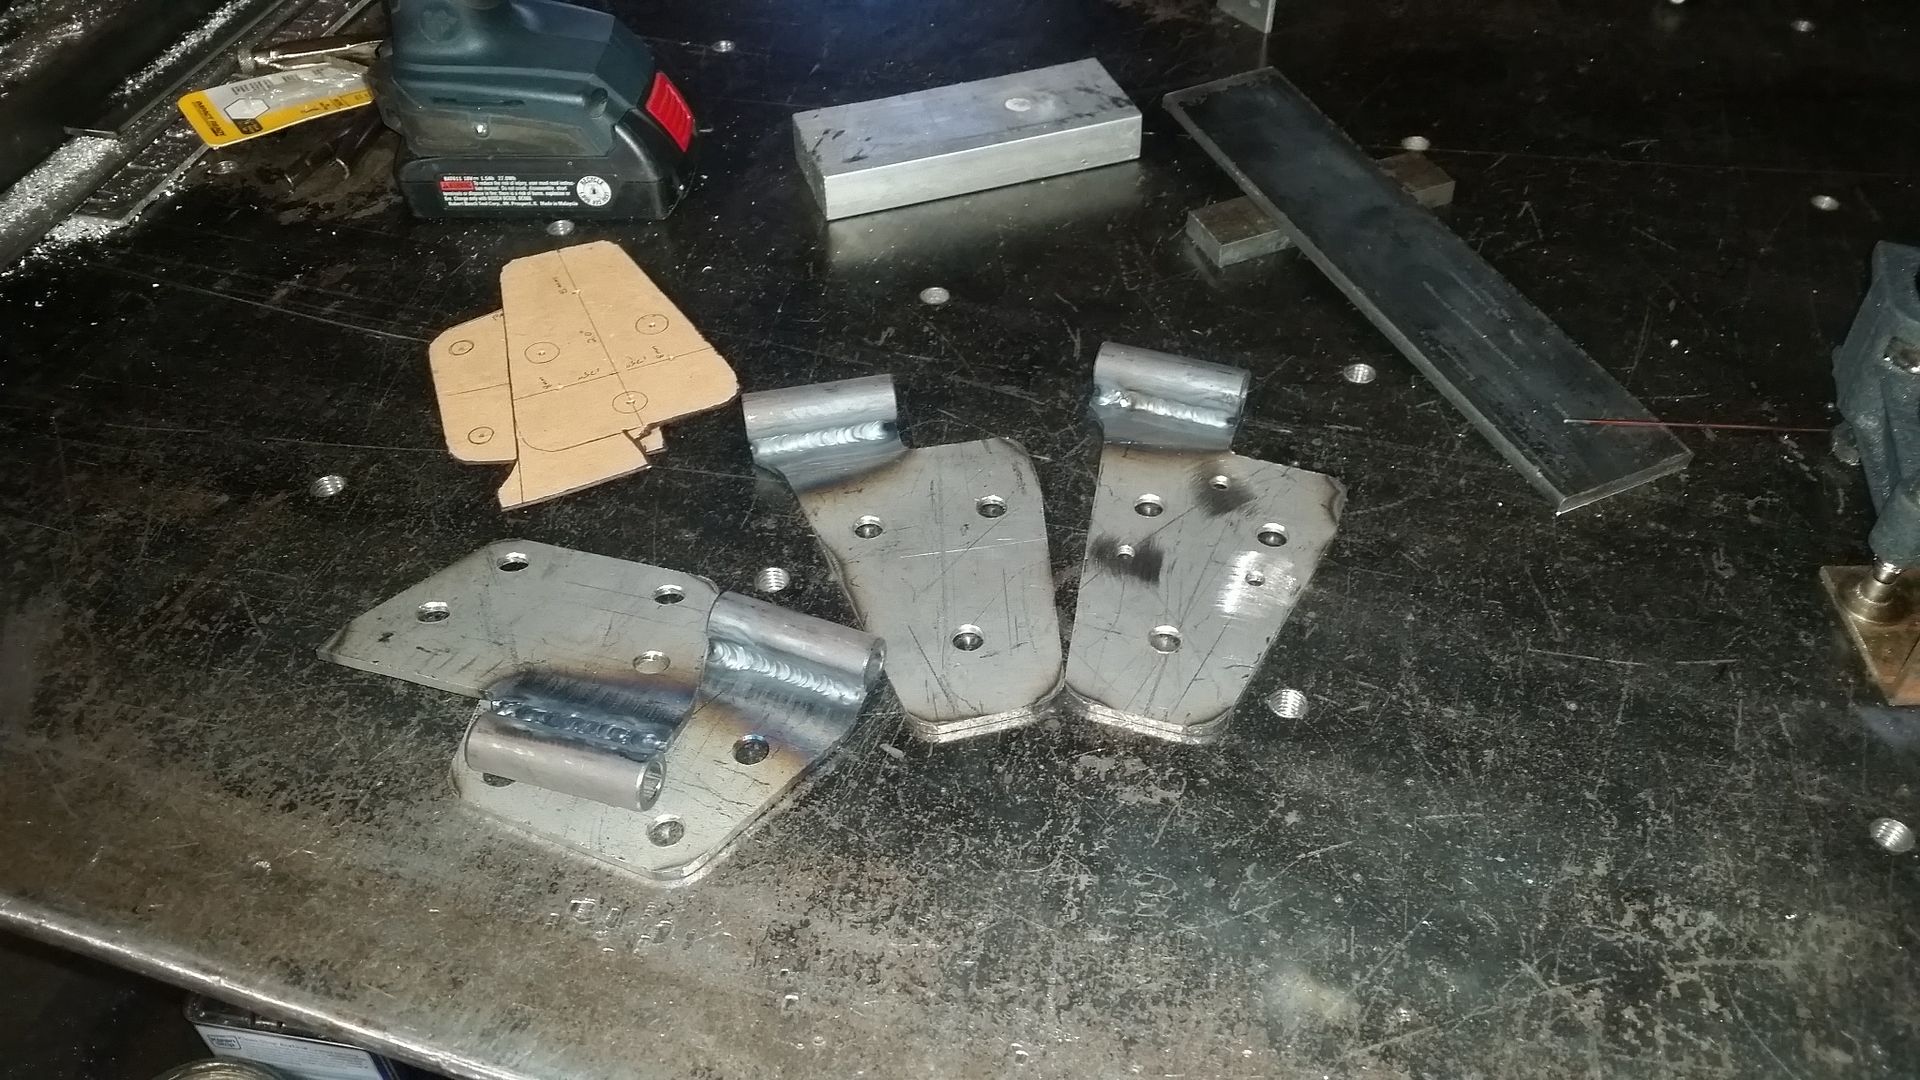
I also made the passenger side versions of the door hinges.

Shop tip....


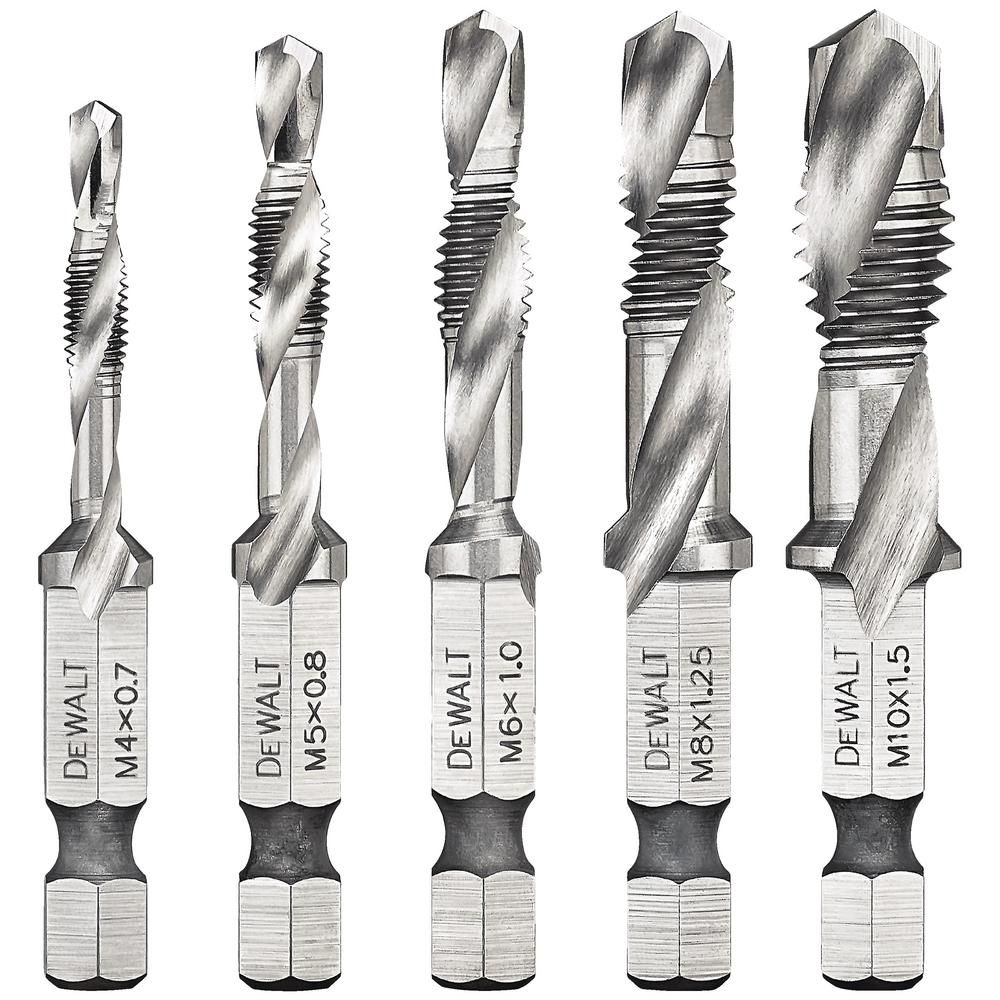
I tried these Dewalt Impact-ready drill-tap-countersink bits for the first time tonight. I did the 6mm threads for the TJ mirror mounting hardware in the hinges. These things work fantastic. They are designed to be used with a 1/4" impact driver ONLY. You don't want to use them in a powerful drill. They use the impact action to break and clear the chips away. I have to do a LOT of small tapped holes in the bed frame for the side panels. My hope is that these things really speed up the process.
 

kcernest

Observer
I only made it through the first page before jumping in here with a question, sorry if it's been covered but...can you give us a 1 1/2 year review on that Klutch 220? I've been eyeing that and an Everlast unit and it looks like you've been doing a ton of fab work so your input would be greatly appreciated. Thanks!
 

Metcalf

Expedition Leader
I only made it through the first page before jumping in here with a question, sorry if it's been covered but...can you give us a 1 1/2 year review on that Klutch 220? I've been eyeing that and an Everlast unit and it looks like you've been doing a ton of fab work so your input would be greatly appreciated. Thanks!

I have been very happy. I built my entire flat fender project with their 110v welder and my dodge too. The 220 seems like the same thing but more powerful. 3yr warranty also.
 

Metcalf

Expedition Leader
Tonight's tangent....


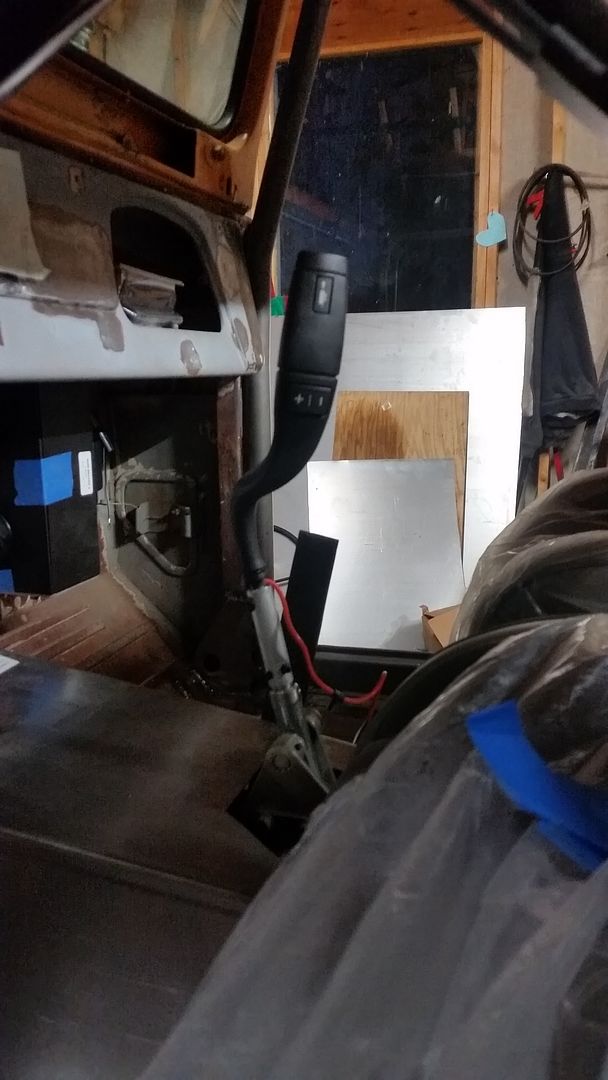
I've been wondering about what to do for a shifter for a long time now. I had a crazy idea the other day to combine a few different projects. I need to have the tap-shift and tow/haul buttons for my 6L80E transmission. I went back and forth on that for months.

I figured, why not start with what the factory used so that all the switches work well with the factory BCM module.

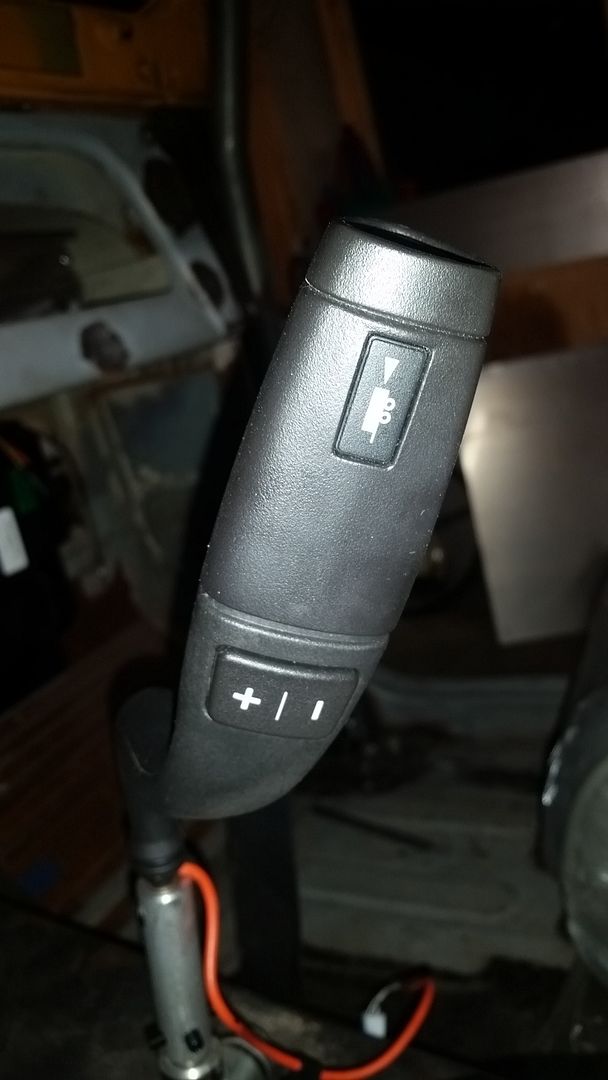
This is what I ended up with. I used a factory column shift cane for my floor shifter. It looks a little funny, but kind of reminds me of an old granny 4-spd shifter. The ergonomics worked out way better than I could have hoped for. The tap shift buttons fall into a location where it works well for more than one natural hand position. The shift 'knob' feels good. The tow/haul button doesn't look like it will get hit accidentally too often.

If I can pull off the wiring correctly, I think the buttons even light up?


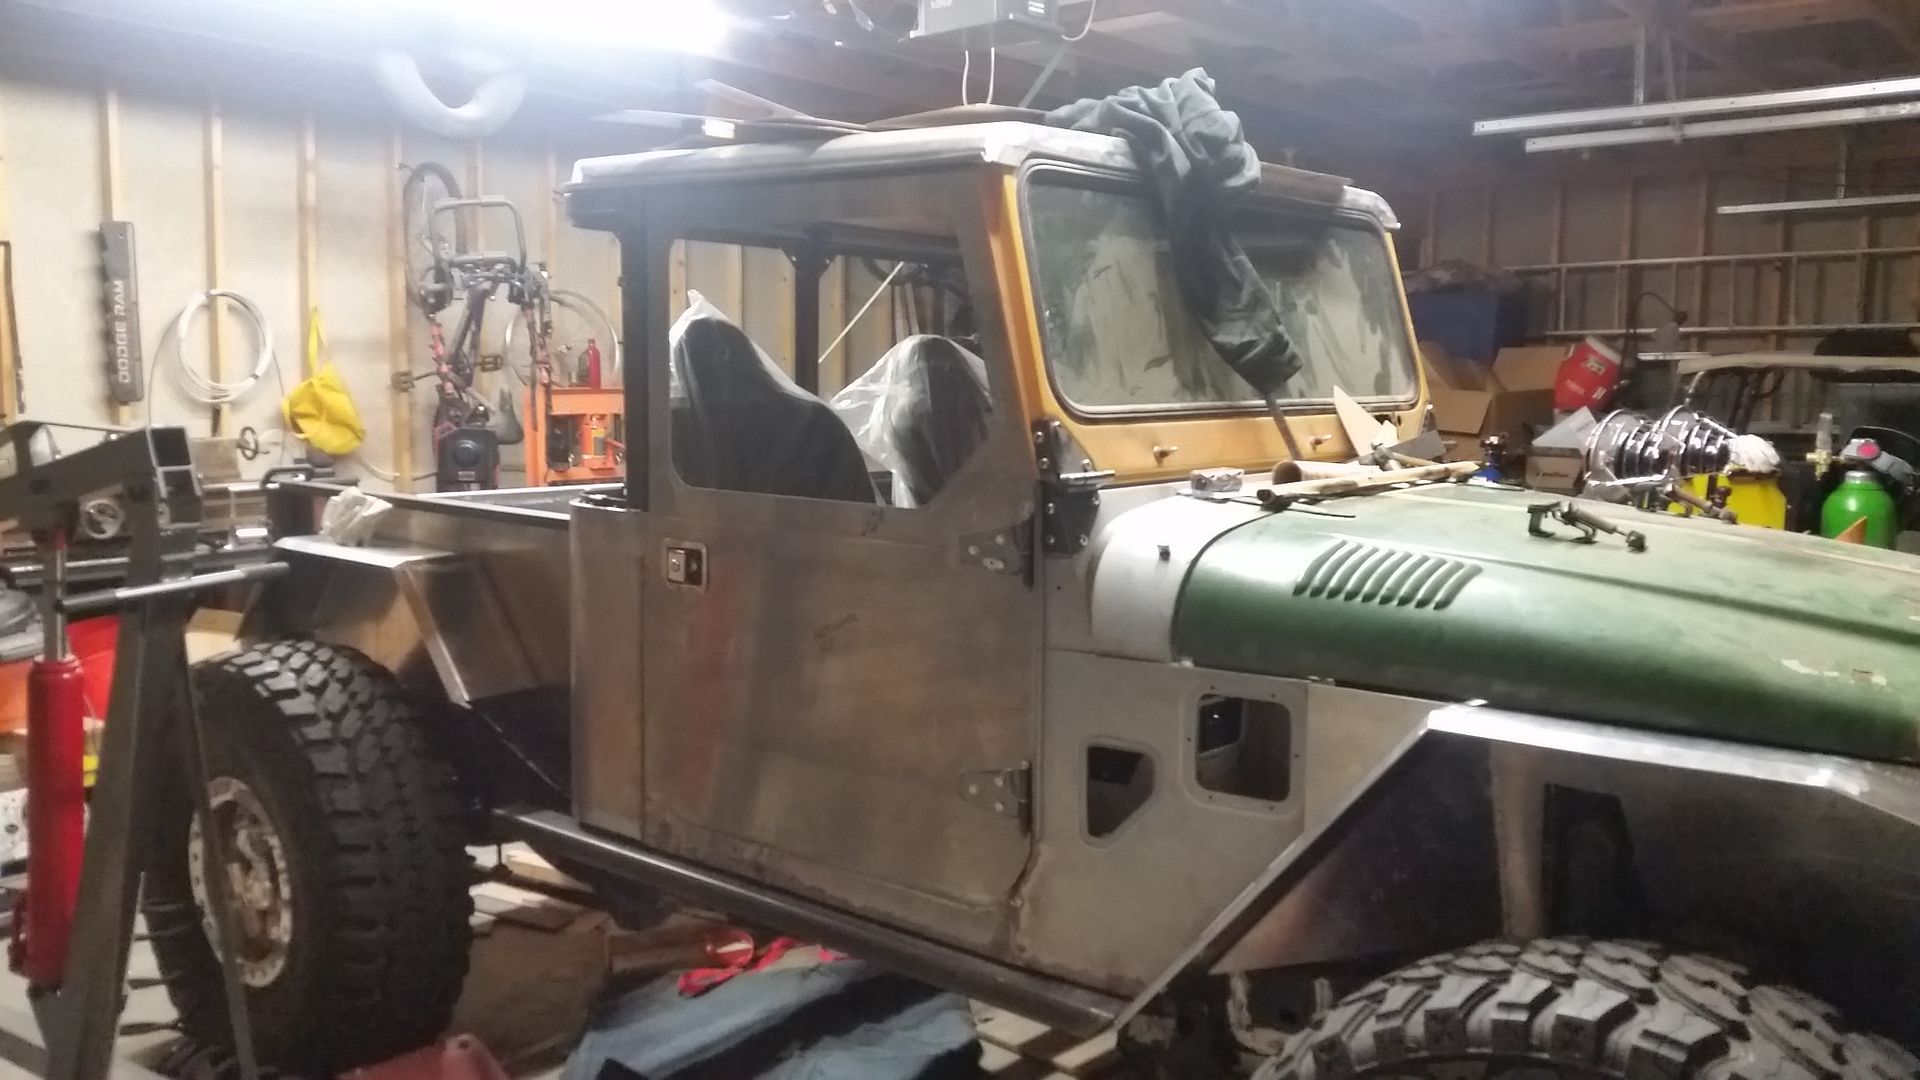
I also stared hanging the passenger side door.


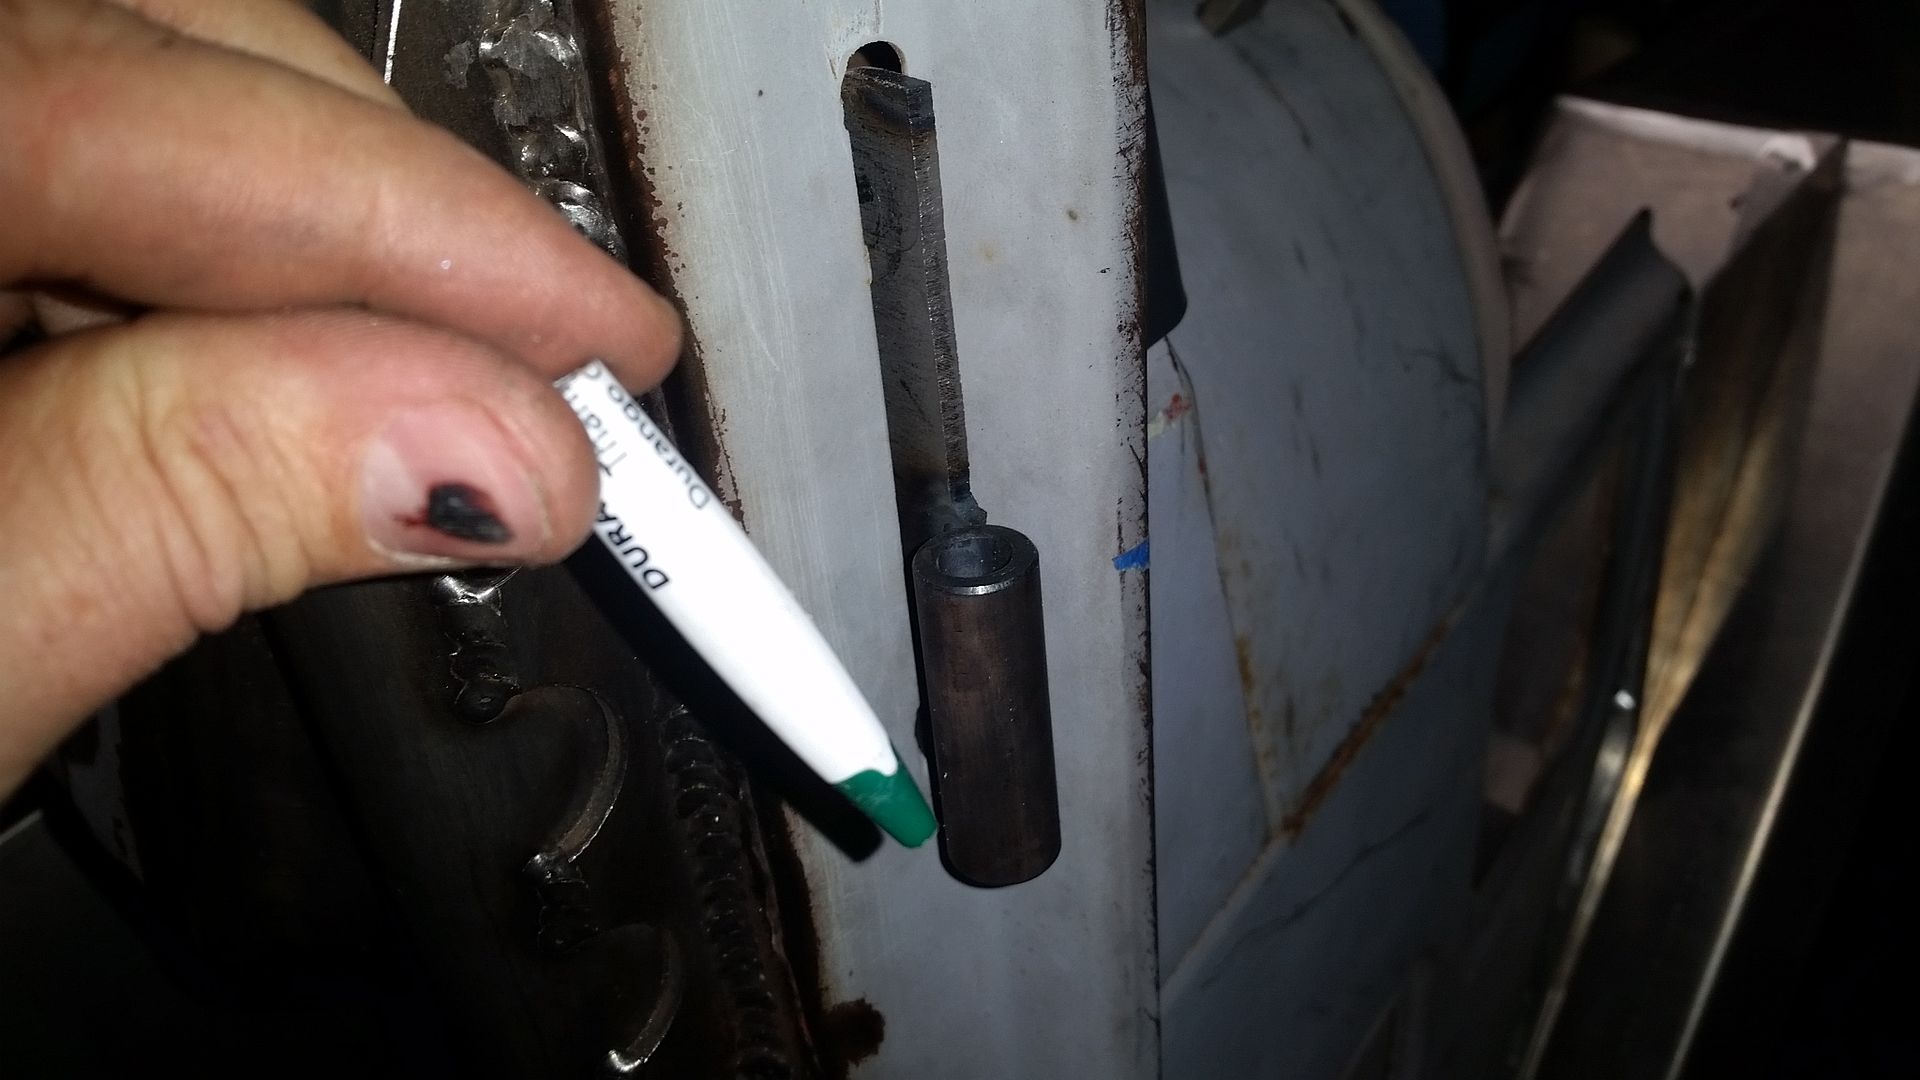
For those people who are unlucky enough to have to hang FJ40 door hinges on the body side, this is the miracle tool. A small cone made out of a cheap trashy pen ( or two ) can be jammed in the mounting bolt holds to help get things aligned while you cuss and swear to get the bolts behind the glove box started.
 

locrwln

Expedition Leader
Tonight's tangent....
If I can pull off the wiring correctly, I think the buttons even light up?

They don't on my '07 Duramax classic. That might have changed with later models. The Tow/Haul lights up an icon on the dash. The tap shift is a notch down from the normal drive position, then the area where your PRND section of the dash becomes "M" and displays the individual gears and highlights which one you have selected as the highest gear it will shift to. It will still downshift, if you chose "3", but won't shift into "4".
.
Jack
 

Metcalf

Expedition Leader
Seems like this is taking forever but....


I worked on cutting out the window holes in the outside window panels tonight. Last night I installed the door latch and made the strike plate for the passenger side.

Overall the plan is coming together....slowly. I am still waiting on my panel adhesive so I can bond the upper panel to inner tongue panel. That needs to happen before I can transfer the tab/pin locations to the main lower door panel.

It was really nice to be able to sit in it and look out the window. Overall the visibility seems really good, even though I will lose about 1/2-3/4 of an inch for the window frame.
 

Forum statistics

Threads
188,034
Messages
2,901,389
Members
229,411
Latest member
IvaBru
Top