Blender, My LX450/FZJ80 + FJ45esk + GM + Land Rover crazy concoction

Metcalf

Expedition Leader
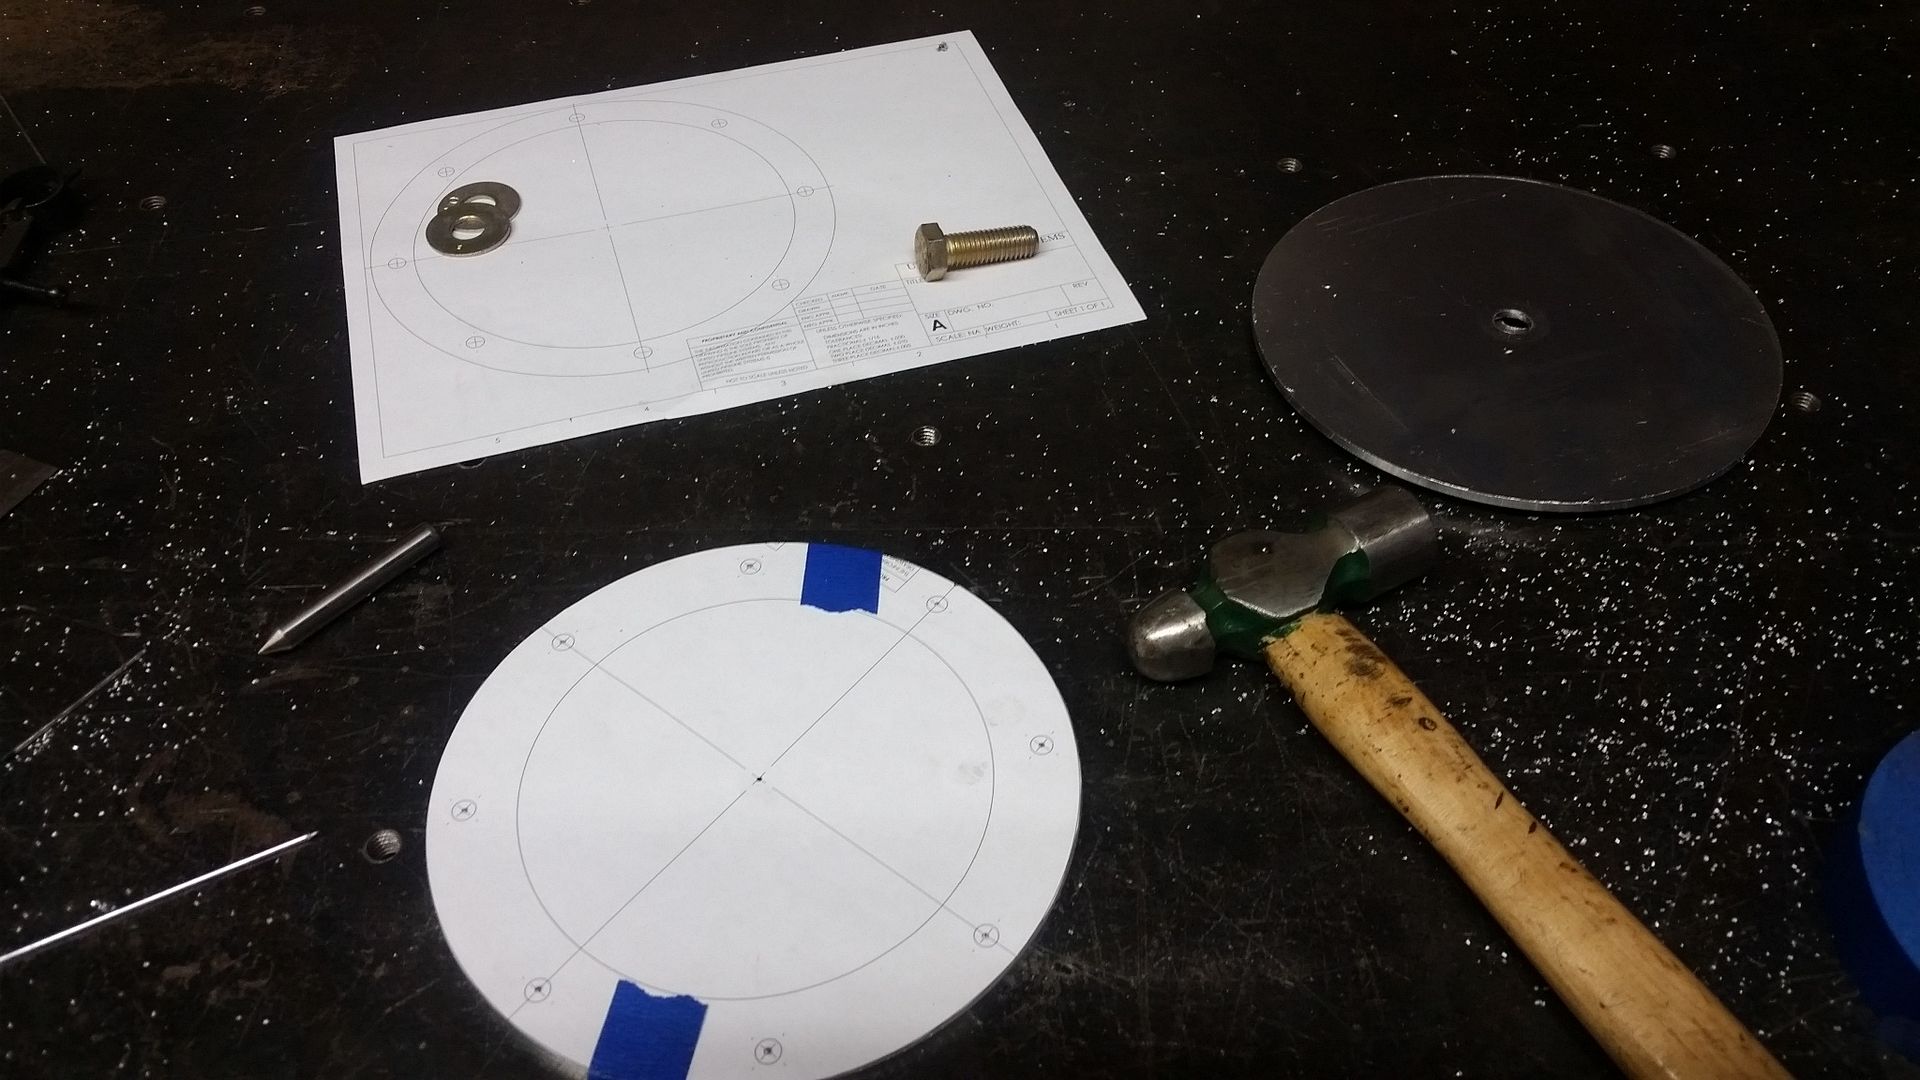
Spinning some aluminum this evening.


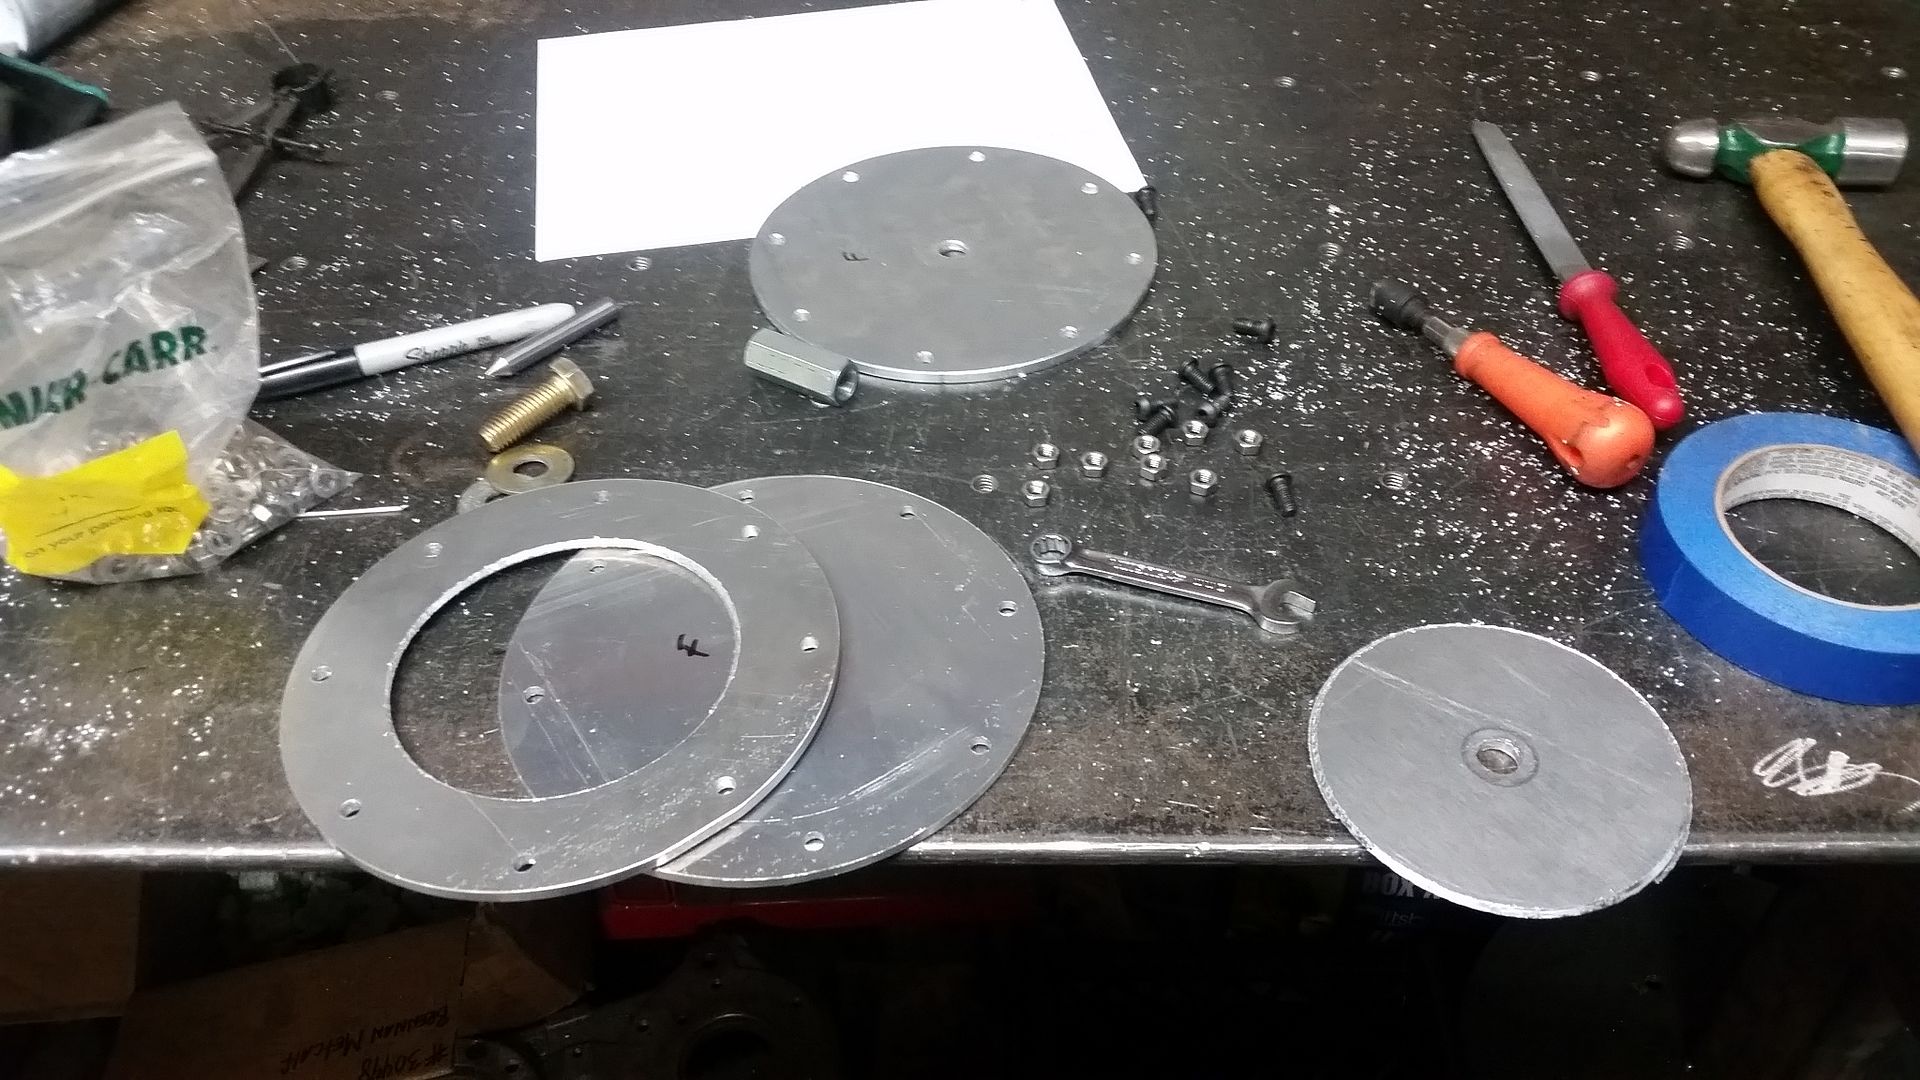
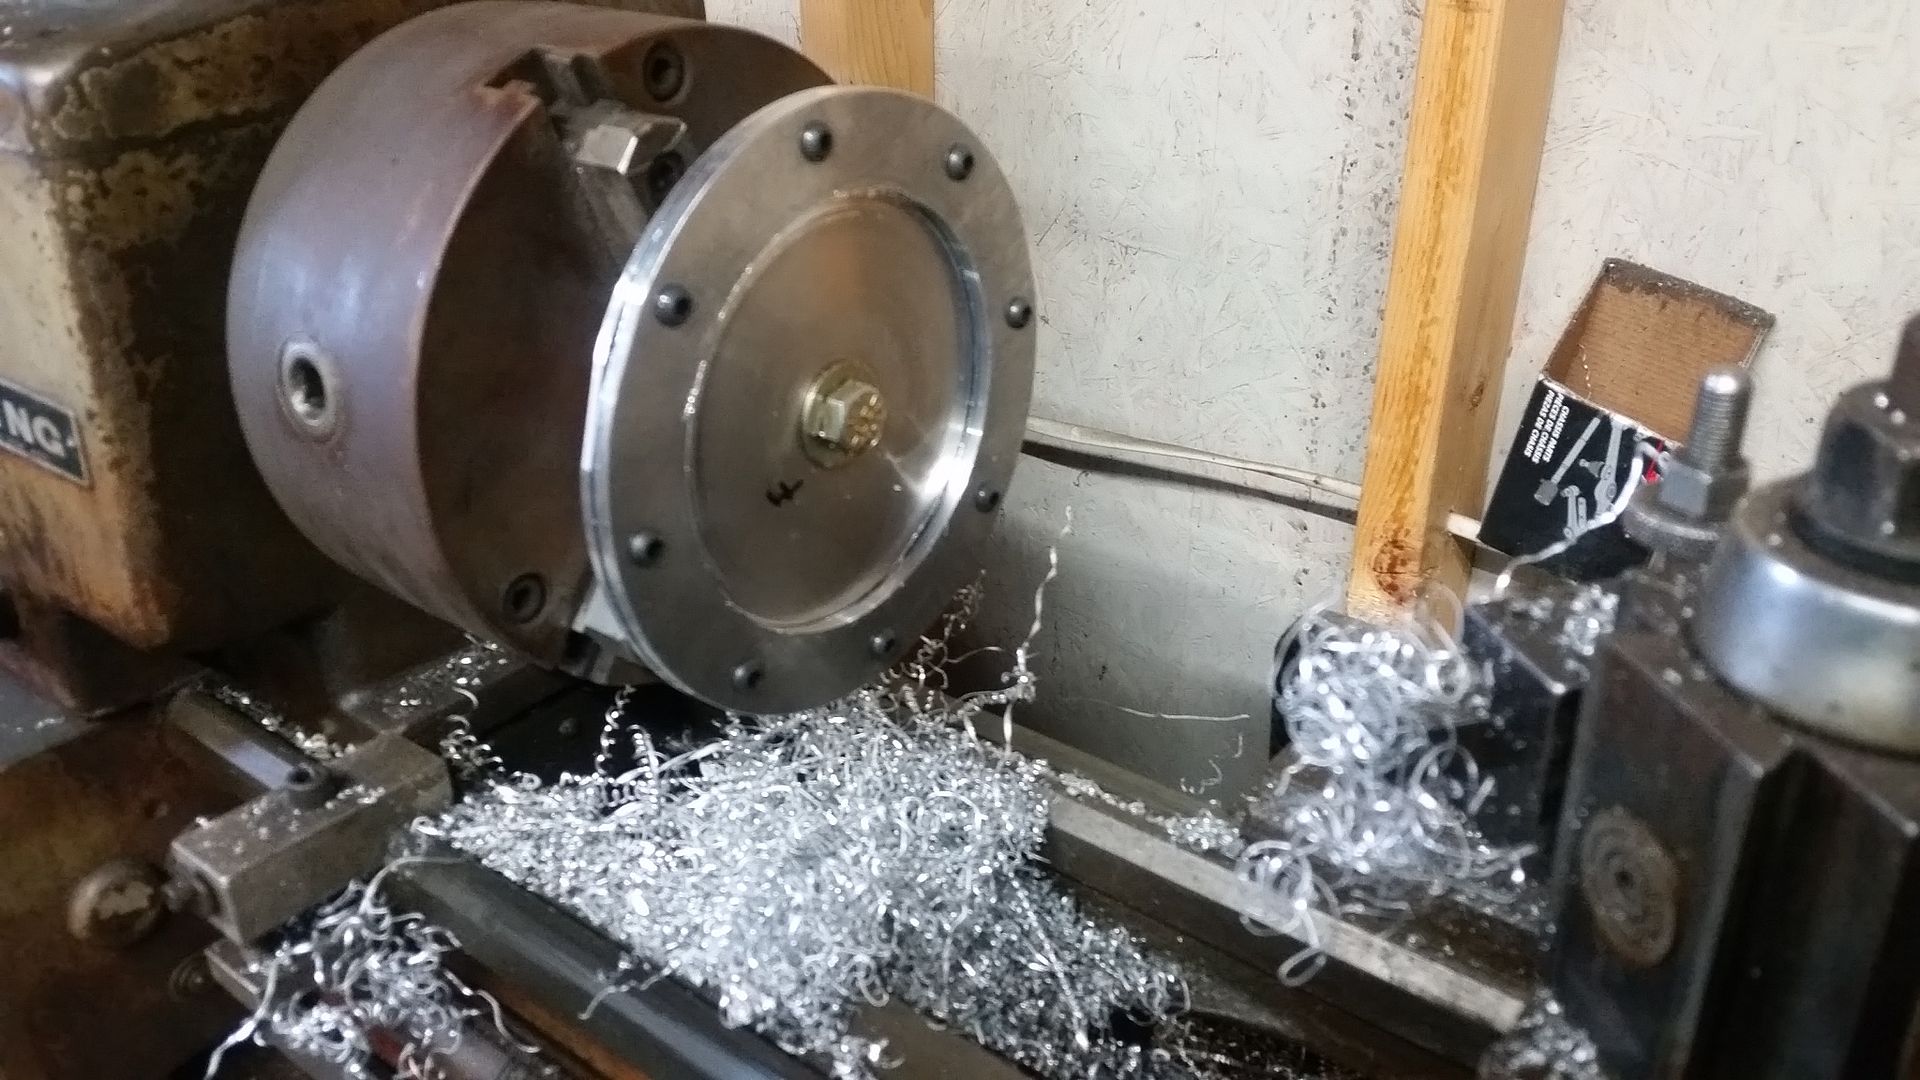
One down. This is the clamp ring for the GM fuel pump.

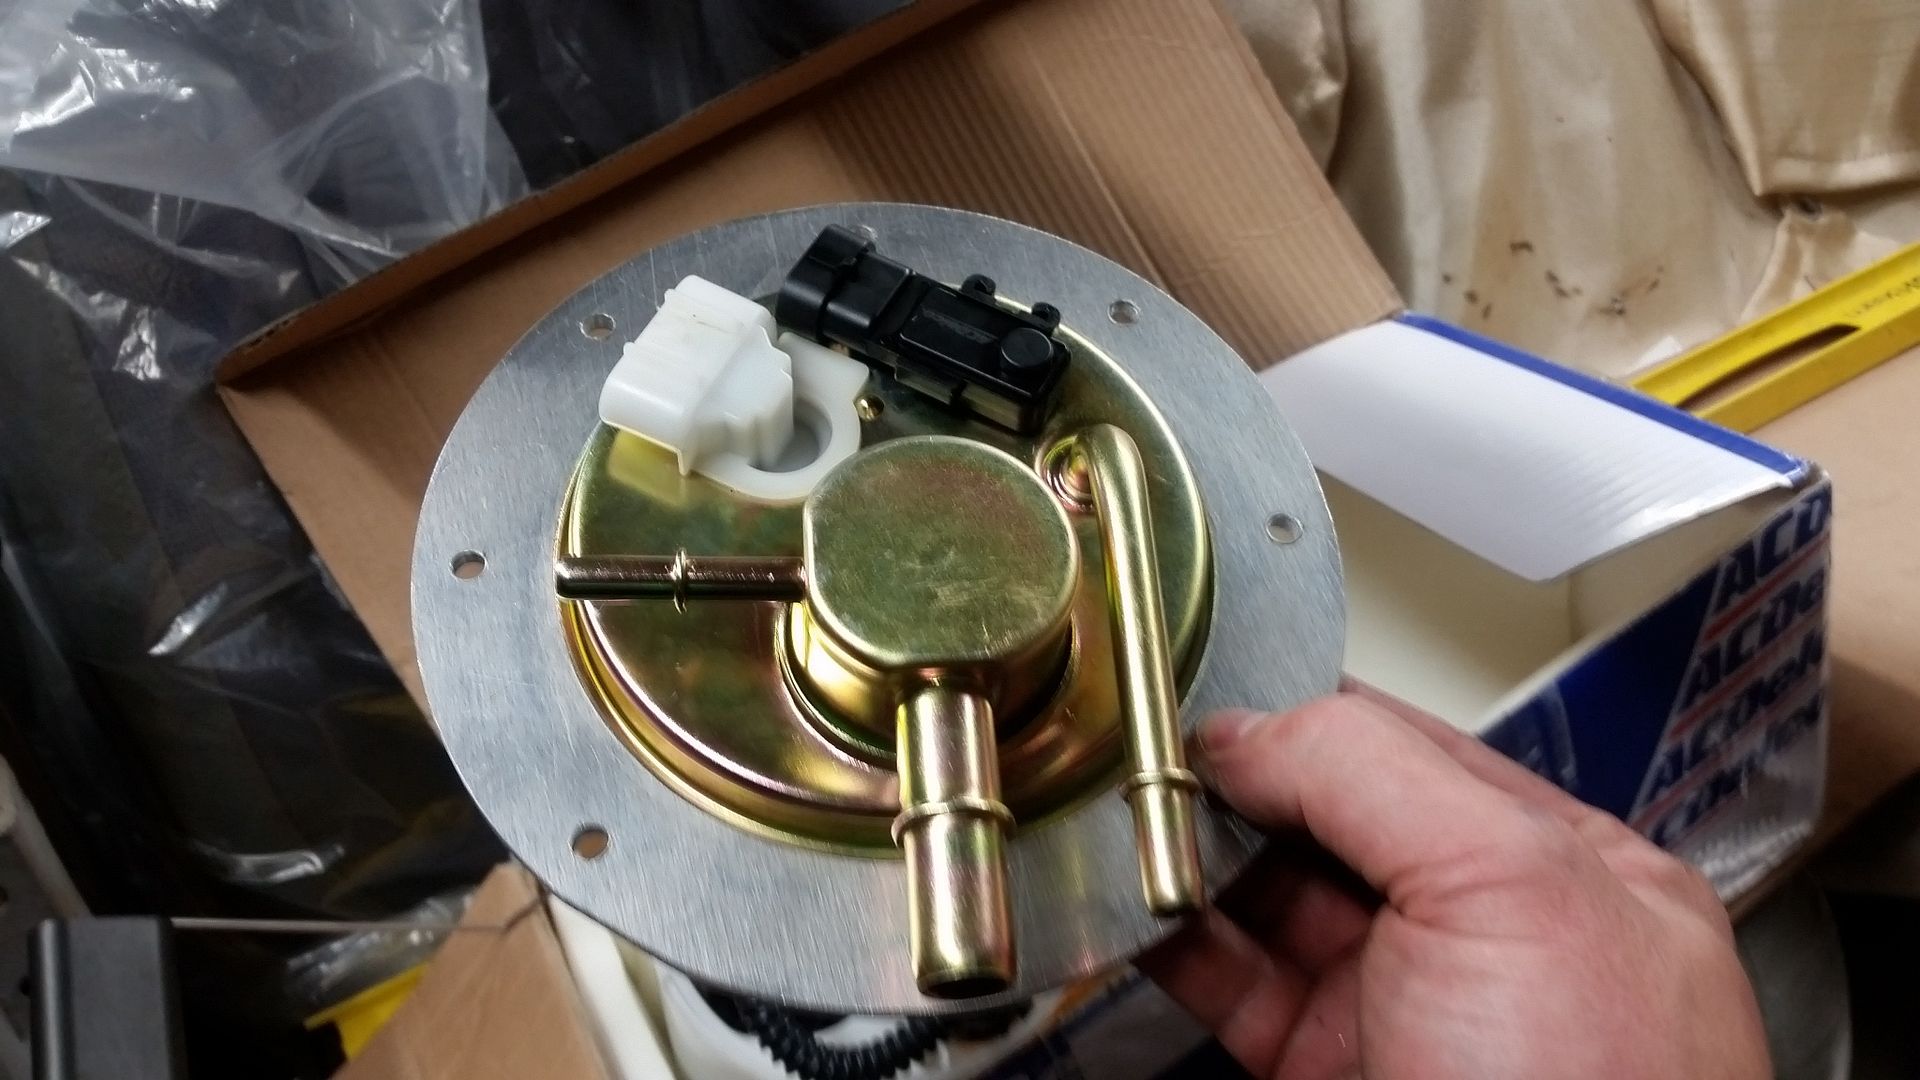
I still have to make one more that will act a shim under the fuel pump flange that will trap the o-ring seal. It will also be the right thickness for proper compression on the seal when everything snugged down.

Fun stuff.
 

Metcalf

Expedition Leader
Shiny stuff....


I finished off the parts for the fuel pump mount. There is basically a 3/16" thick ring that traps a standard 430 O-ring seal in Viton. The flange on the fuel pump in on the top of the o-ring. The bottom is the top of the fuel tank. The ring prevents extrusion to the outside. The pump unit traps it to the inside.

I need a few misc plumbing parts and then I can air test the tank. As a bonus, the little jig I used to turn the rings can be used as a block off plate for the test. I think I am going to stick a rubber tire valve in it for adding air and taking a pressure measurement. I only need like 3psi for the soap bubble test.
 

Metcalf

Expedition Leader
Time for the next thing....


The tank is done now. It went through an overnight 4psi air test process on the tank after a soap bubble test of all the seams along with the fuel pump mount. I found two small pinholes on the soap bubble test. I think it is where had stopped and started on the 1st long welds I attempted on the top front edge. Those where way enough to fix. The bigger issue was that my filler neck had a leak on the backside weld somewhere. I ended up having to weld completely around the outside also, and that was a complete pain because it was super cramped quarters.

Time for something else now...

A few misc pics.


Air test rig. Good thing I had that extra 1.5" radiator hose that didn't fit....


Turned the lathe turning plate jig into the air test cover for the fuel pump mount. I used a large hole valve stem for my air test port. That allowed me to add air and test pressure with my very low pressure tire gauge.


I bolted in the fuel pump assembly. This is a stock GM truck internally regulated assembly for a returnless engine. It also has the fuel level sender built in. It uses a factory style weatherproof wiring plug also which was pretty affordable.


I coated the inside of the fuel tank skidplate with strips of 1/4" thick closed cell medium density adhesive back foam. This should eliminate any wear between the two parts from vibration over time I hope.
 

Metcalf

Expedition Leader
A step forward?


I decided the next thing that needed to happen was to finish the custom section on the rear of the tub. I think it is best to go it now without the bed stuff in the way vs later. The short version is that I need to weld in the rear floor panel and rear body panels.

The long version is that I also need to finally work out the details on how I am going to fabricate the sealing and mounting system for the rear window panels. One of the original goals with this project was to have the 'top' be modular in design so I could easily remove panels when the weather was nice. An added challenge is that I want the panels that I would commonly remove, mainly the rear 'window' panels and the upper half of the doors, to be able to be stored in the vehicle without them getting in the way. I may also try a few different designs for the panels that bolt on....different materials, shapes, etc.


My basic idea for the rear 'window' panel is to have it bolt into the cage structure in the corners while having it sealed with a bulb gasket all the way around to keep the weather out and the heat inside during the winter. This is the profile for the bulb seal I will be using all the way around.

I will basically be installing a spine made of 3/4" wide x 1/8" thick flat bar around the entire opening on both sides. In order for that spine to be in the right place, I need to trim back the upper flange to allow that spine to be in the right spot. I'd like to be able to hide the spot welds for the spine under the bottom outside of the gasket where the bulb will cover them for a clean look. Then maybe run a bead of seam sealer on the inside to waterproof the corner.

Shop tip.


When trimming a flanged panel, sometimes it works best to clamp something under it to raise the flange. Then just move the clamps as you go along with the saw. I had to take a bit off the front to even up the flange to the B-pillar. When I pull the tub for final welding I will weld that seam to the tube and add another L-shaped filler to the flange on the rear of the old floor.
 

locrwln

Expedition Leader
Excellent progress. You are going to like the Pro-Comps, I have been very impressed so far.
IMG_1688-M.jpg

.
Jack
 

Metcalf

Expedition Leader
One more bite.


I was able to weld in the rear floor panel tonight along with finishing the trimming/prep on the passenger rear tub panel. That panel was then clamped into position. I think I need more clamps.....

I'm going to sleep on it and give it a good look tomorrow before I weld it in place.

Shop tip...


Body saws are really handy. How did I get by without one.....
 

Metcalf

Expedition Leader
Sticking stuff together with the metal glue gun....


One half the rear wall is welded into place. I used 3/16" holes through the 16 gauge panel material for plug welds with the mig welder. This seems like my favorite size hole for plugs with a mig. On 16th to 16th material the welds lay flat or even slightly negative. With the 16th over 8th the weld stands up a little more and needs to be cut down to be flush.

On that note. I have been trying to be a better metalsmith. Looking at the work of some of the others, I needed to step up my game a little bit. Being able to get that 'no-weld' or 'is that welded' sheetmetal look is a good challenge.

Some misc pics....


This shows the plug welds locations before metal prep.


Close up after metal prep.

This was done with a 2" air grinder ( note: I need a real compressor )

36 grit - 80 grit - Brown scotch - Red scotch - Green scotch.

That seems to be working pretty well. I also wend over each weld location with a body hammer a little bit to try and release any tension at the weld location and lower the material slightly.

That's all for now. Side D tomorrow. After that I think I can start forming the spine for the rear panel bulb seals. I am also going to need to make a few jigs to space things a consistent distance from the outside edge top to bottom with the 1/16 difference from the rear panel overlap.
 

Metcalf

Expedition Leader
.
4D's :ylsmoke:
.
Jack

Bang for the buck I think they will be a good tire. I've watched them work in comps aND was impressed. They aren't a sticky, but they seem to do better than most street compound stuff I see. They where also 40.3 mounted on a rim at 15psi.

In the end, I built the trucf to take larger tires on 17 inch rims so the options should be really broad.
 

Metcalf

Expedition Leader
It's starting to feel like a truck....


Side D is all trimmed, fitted, and clamped into place for welding tomorrow.

A few details...


Panel gaps like this take forever! I have to keep trying to be better.


Here was one issue I had to work though. I had a bit of an oil can on the rear wall after welding it into place. Looking back I probably should have pressed in some ribs, but I intend to store the rear window panels in that area and I don't want to give up the depth.

To fix the oil can I used a cheap MAP gas torch to heat one spot at a time and force cool it with air from a nozzle on the air compressor hose. This worked very well. You could actually watch the metal move with each heat/cool cycle. I don't think it is good to do the same area over and over. I tried to start on the edge of the area and work in an inward spiral pattern.

The heat marks come off with a scotchbrite, but I thought they looked kinda neat. You end up with marks on both sides you have to deal with. This area will be behind the front bed of the wall, but I didn't it to be able to move in-out or make strange noises. I will probably stick a layer of a dynamat type material over the wall also for extra insurance against odd noises. The floor will likely get a removeable mat type covering to keep noise down.

Tomorrow I hope to get the panel welded in and cleaned up. Then it will be time to make the little spines for the bulb seals! Progress.
 

Metcalf

Expedition Leader
A bit more this weekend....


Side D welded in. Nothing new with this side. It didn't have any oil can on the rear wall which was nice.


Prior to weld cleanup.


Rear seam weld.
 

Metcalf

Expedition Leader
Something a bit different....


Today I formed the ribs that will hold the bulb seals for upper rear panels. Overall it was pretty easy, it just took some time to find sound the right amount of round to form over....and getting the radius in the right spot. This was just 1/8 x 3/4 flat bar. It was pretty easy to bend by hand....and a little help from a rubber mallet at times.

Details Details


Close up of the bulb seal I will be using and how it fits on the rib. This is just universal stuff from the McMaster catalog. Not super cheap, but not terrible.


Trying to make two of these bends match exactly is a bit of a challenge.


Both sides all bent up. I need a little more material for the last vertical. Then a little trimming in the corners and some welding. I am going to weld on the outside so that the seal hides the weld.
 

Forum statistics

Threads
185,840
Messages
2,878,752
Members
225,393
Latest member
jgrillz94
Top