rayra
Expedition Leader
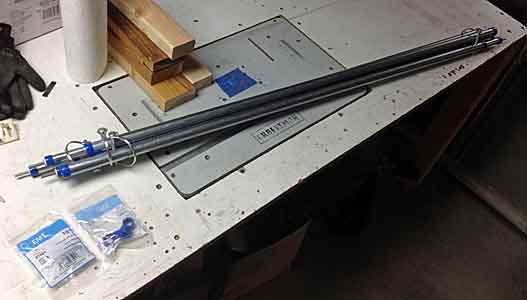
So last night and today I built a new set of tent / awning poles, using EMT metal conduit. I'd previously made a set out of PVC -
http://www.expeditionportal.com/for...compact-flexible-design?p=1864380#post1864380
and while those worked great, their overall volume was more than I wanted. I'd only made the PVC set because I couldn't find an affordable set of the old Coleman-style metal poles. I found some online but their pricing + shipping etc was just ridiculous.
The other day while cleaning up and re-arranging my garage workspaces I was messing with some conduit scrap and a subsequent discussion with my electrician-neighbor gelled the idea to make a set out of EMT.
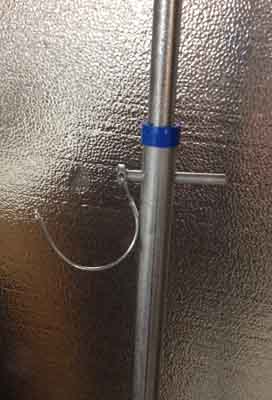
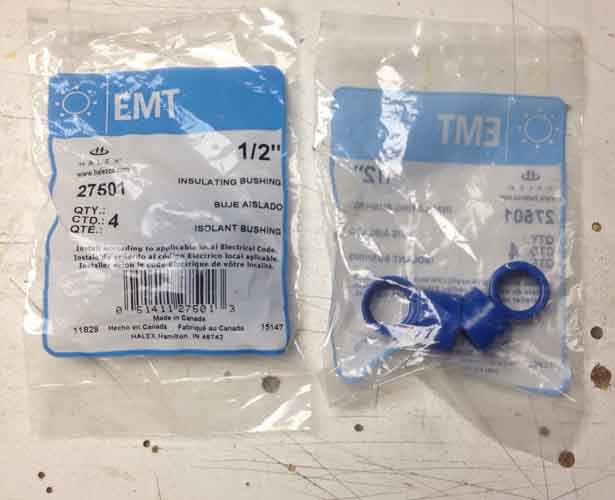
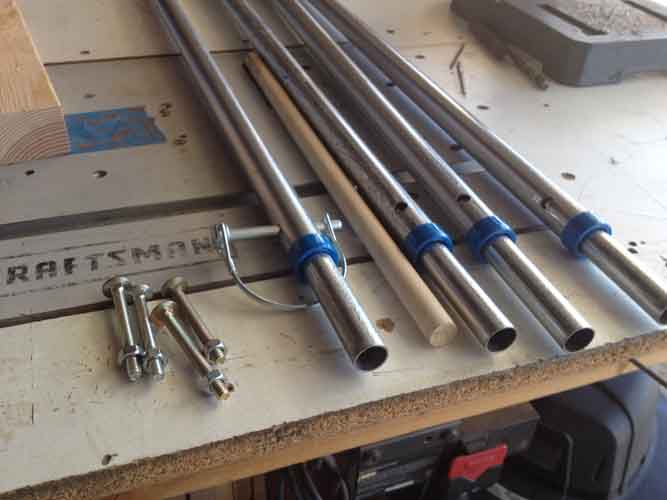
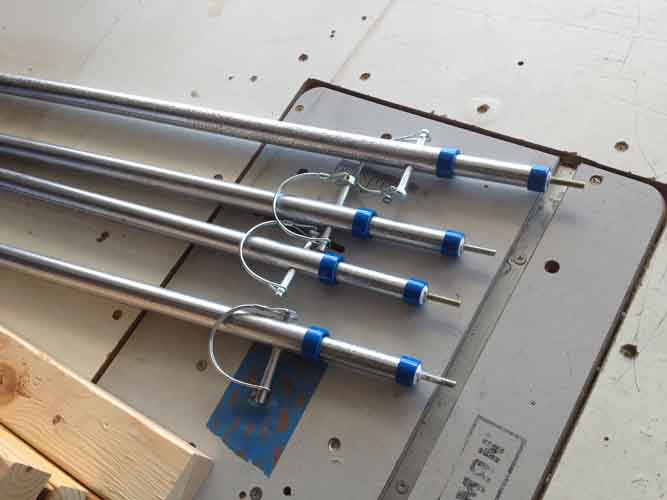
The idea uses 3/4" ID EMT for the lower / outer half and 1/2" ID EMT as the upper / inner half, the riser. I found a variety of pipe-end plastic guard (meant to keep the raw pipe from chewing thru wiring) which fit close with the inner pipe in place. This was mostly to limit rattle and noise. The nice finished look is a happy byproduct.
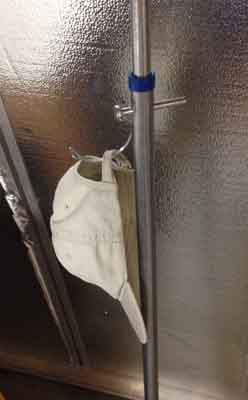
I swiped the link-pins from the fatter PVC set mostly as a cost savings, but the larger size also provides a big hoop you can hang things from, like a wet towel, etc. They have a 5/16" dia steel pin, so I drilled all the holes at 11/32" to give me a little play for misalignments and such.
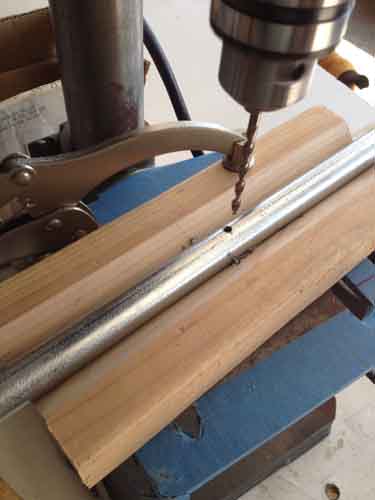
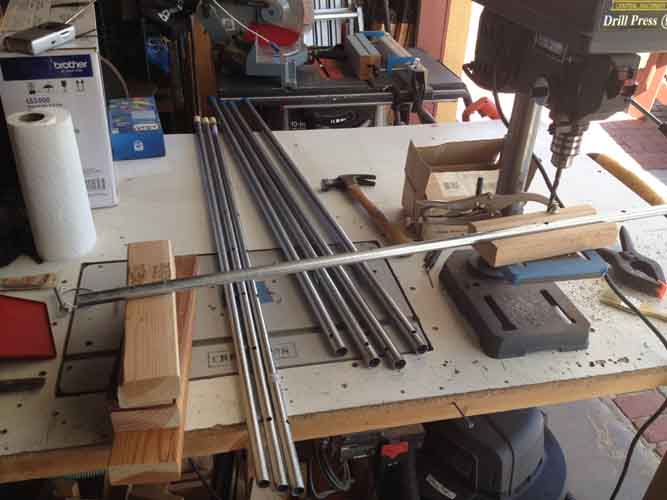
I used a V-notch block in my cheap drill press to help me center the holes in the pipes. I also center-punched the drilling locations to help start the 1/8" pilot holes. Stacked up some scrap to support the other ends of the poles as I did the drilling. Took some work with a bastard file afterwards to clean up all the flash and raised lips in the drilled holes.
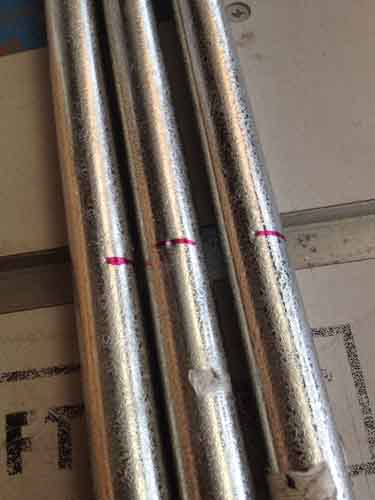
To make a protruding pin at the top of the pole, I used some 1/2" OD wood dowel in 1" lengths to fashion end plugs and drilled their centers to pass thru a 1/4"-20 carriage bolt, 2-1/2" long. Gives me a pin that sticks up about 1-3/8". These were glued in place w/ caulk. I was going to use epoxy, but held off in case I figure something better to use for a pin. All manner of things would work.
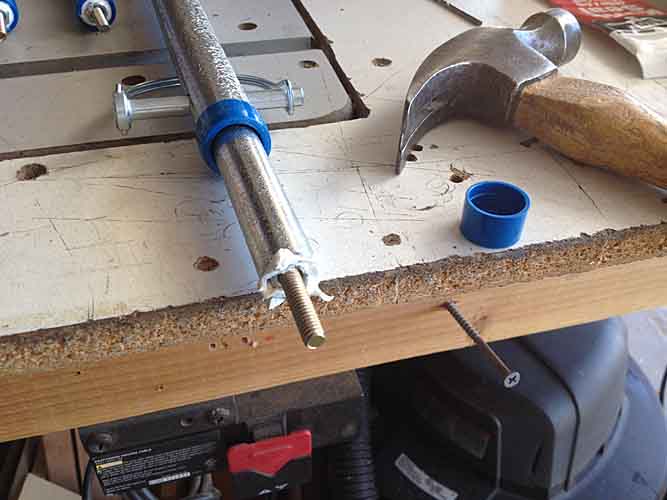
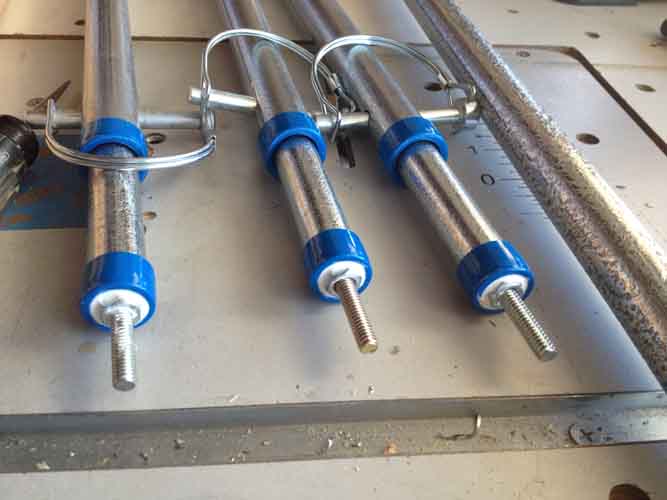
Then ends of the 1/2" pipes were wrapped in masking tape to bring them up to the inner diameter of the 3/4" pipe. Also to control rattle / noise.
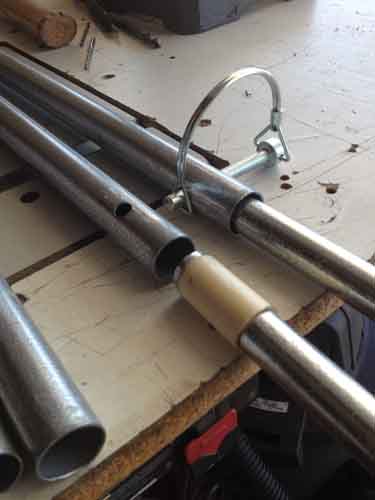
The 1/2" pipes were drilled with a hole near the top, as were the 3/4" pipes, so the sets can be pinned in the 'closed' position. Then the 1/2" pipes were drilled in 6" increments for variable height settings for the poles. Down to about 9" from the bottom.
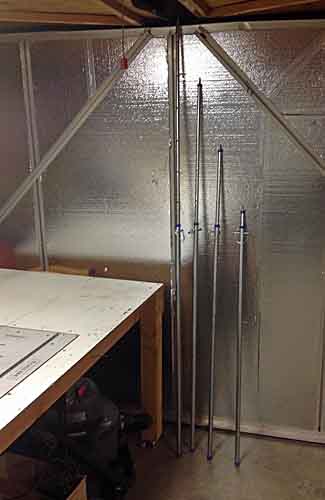
I sized my sets to 48" for the 3/4" pipe and 51" for the 1/2". About 52-1/2" overall, collapsed. Which will fit fine in my future 54" drawer platform. Fully extended they're a little over 7' tall, just fine for my vehicle awning project. Total cost for this set of 4 poles is about $33 and half a day of fooling around.
http://www.expeditionportal.com/for...compact-flexible-design?p=1864380#post1864380
and while those worked great, their overall volume was more than I wanted. I'd only made the PVC set because I couldn't find an affordable set of the old Coleman-style metal poles. I found some online but their pricing + shipping etc was just ridiculous.
The other day while cleaning up and re-arranging my garage workspaces I was messing with some conduit scrap and a subsequent discussion with my electrician-neighbor gelled the idea to make a set out of EMT.
The idea uses 3/4" ID EMT for the lower / outer half and 1/2" ID EMT as the upper / inner half, the riser. I found a variety of pipe-end plastic guard (meant to keep the raw pipe from chewing thru wiring) which fit close with the inner pipe in place. This was mostly to limit rattle and noise. The nice finished look is a happy byproduct.

I swiped the link-pins from the fatter PVC set mostly as a cost savings, but the larger size also provides a big hoop you can hang things from, like a wet towel, etc. They have a 5/16" dia steel pin, so I drilled all the holes at 11/32" to give me a little play for misalignments and such.
I used a V-notch block in my cheap drill press to help me center the holes in the pipes. I also center-punched the drilling locations to help start the 1/8" pilot holes. Stacked up some scrap to support the other ends of the poles as I did the drilling. Took some work with a bastard file afterwards to clean up all the flash and raised lips in the drilled holes.


To make a protruding pin at the top of the pole, I used some 1/2" OD wood dowel in 1" lengths to fashion end plugs and drilled their centers to pass thru a 1/4"-20 carriage bolt, 2-1/2" long. Gives me a pin that sticks up about 1-3/8". These were glued in place w/ caulk. I was going to use epoxy, but held off in case I figure something better to use for a pin. All manner of things would work.


Then ends of the 1/2" pipes were wrapped in masking tape to bring them up to the inner diameter of the 3/4" pipe. Also to control rattle / noise.

The 1/2" pipes were drilled with a hole near the top, as were the 3/4" pipes, so the sets can be pinned in the 'closed' position. Then the 1/2" pipes were drilled in 6" increments for variable height settings for the poles. Down to about 9" from the bottom.
I sized my sets to 48" for the 3/4" pipe and 51" for the 1/2". About 52-1/2" overall, collapsed. Which will fit fine in my future 54" drawer platform. Fully extended they're a little over 7' tall, just fine for my vehicle awning project. Total cost for this set of 4 poles is about $33 and half a day of fooling around.


Last edited:


