Imnosaint
Adventurer
Trail Tech Equinox Lights
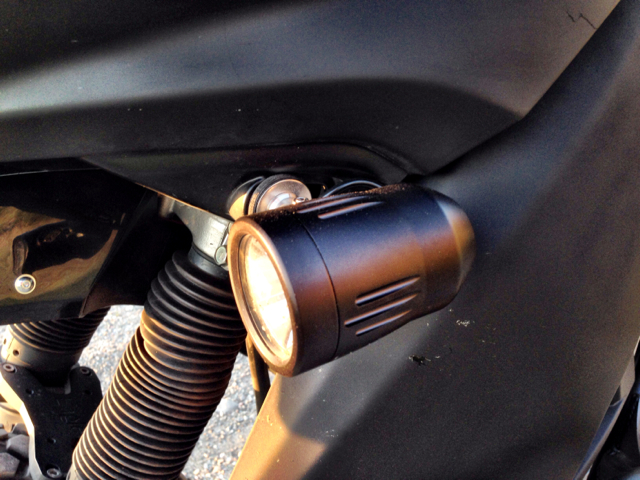
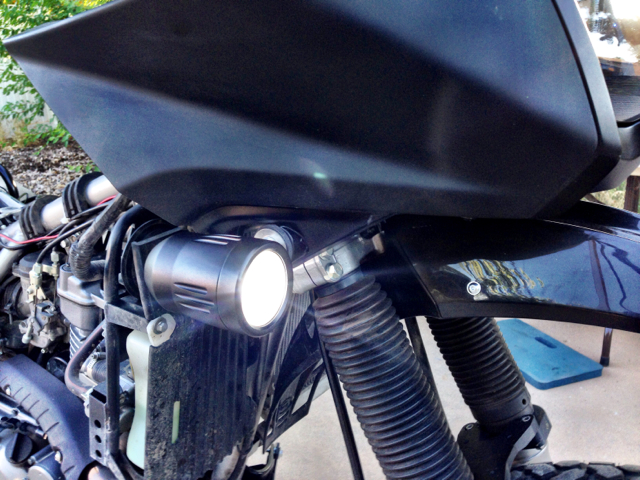
These lamps added a whopping 1052 lumens to the KLR's illumination, with 10 degree spot angles and adjustable output for each fixture. They burn at 6000 kelvin, making my stock head and high beam look like they belong on an old French scooter.
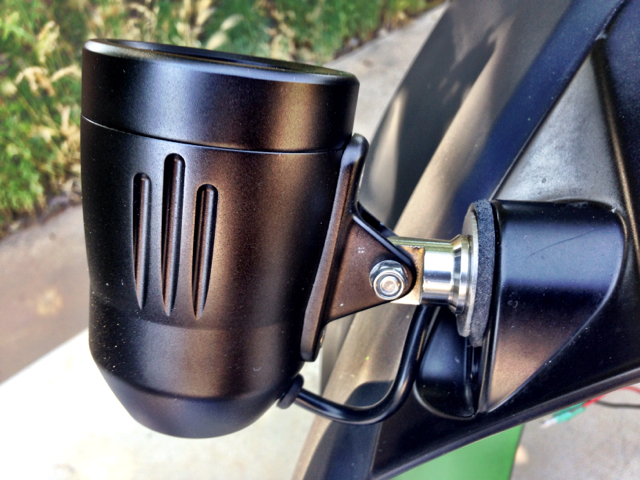
Wanting to avoid any extra holes or hardware, I eliminated the stock turn signals and replaced them with SW-Motech indicators on the hand guards, freeing up the space to mount these lamps. I wanted to maintain the break-away engineering of the stock signal posts but couldn't come up with anything that would be rigid enough to keep the housings from bouncing around, so I put together some hardware that fit perfectly into the turn signal post recess on the fairing.
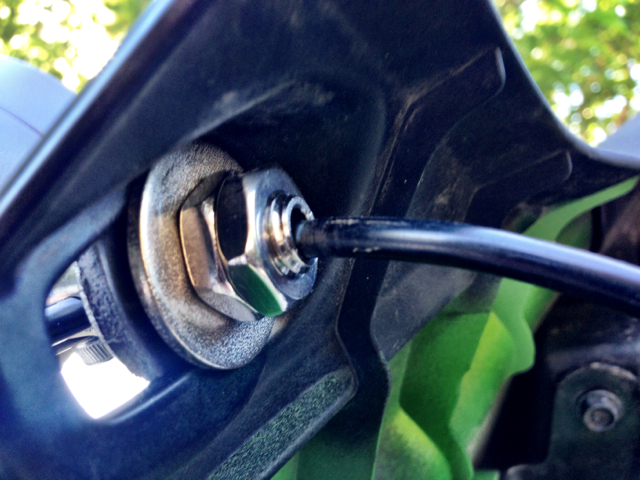
The hardware used includes two stainless 1" fender washers with 3/8" centers, a smaller diameter stainless washer that works as a spacer in between, and a rubber 1" washer to allow adjustment while maintaining tightness.
I installed the Trail Tech wire harness and mounted the switch to the LH side of the instrument cluster.
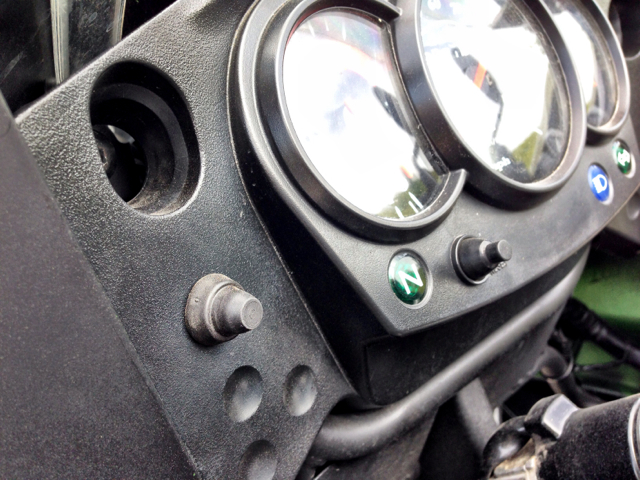
Plane-Jane, waterproof switch, but I like how it integrates into the design of the rest of the cluster. The problem is I keep resetting my mileage when I think I'm turning off the lamps.
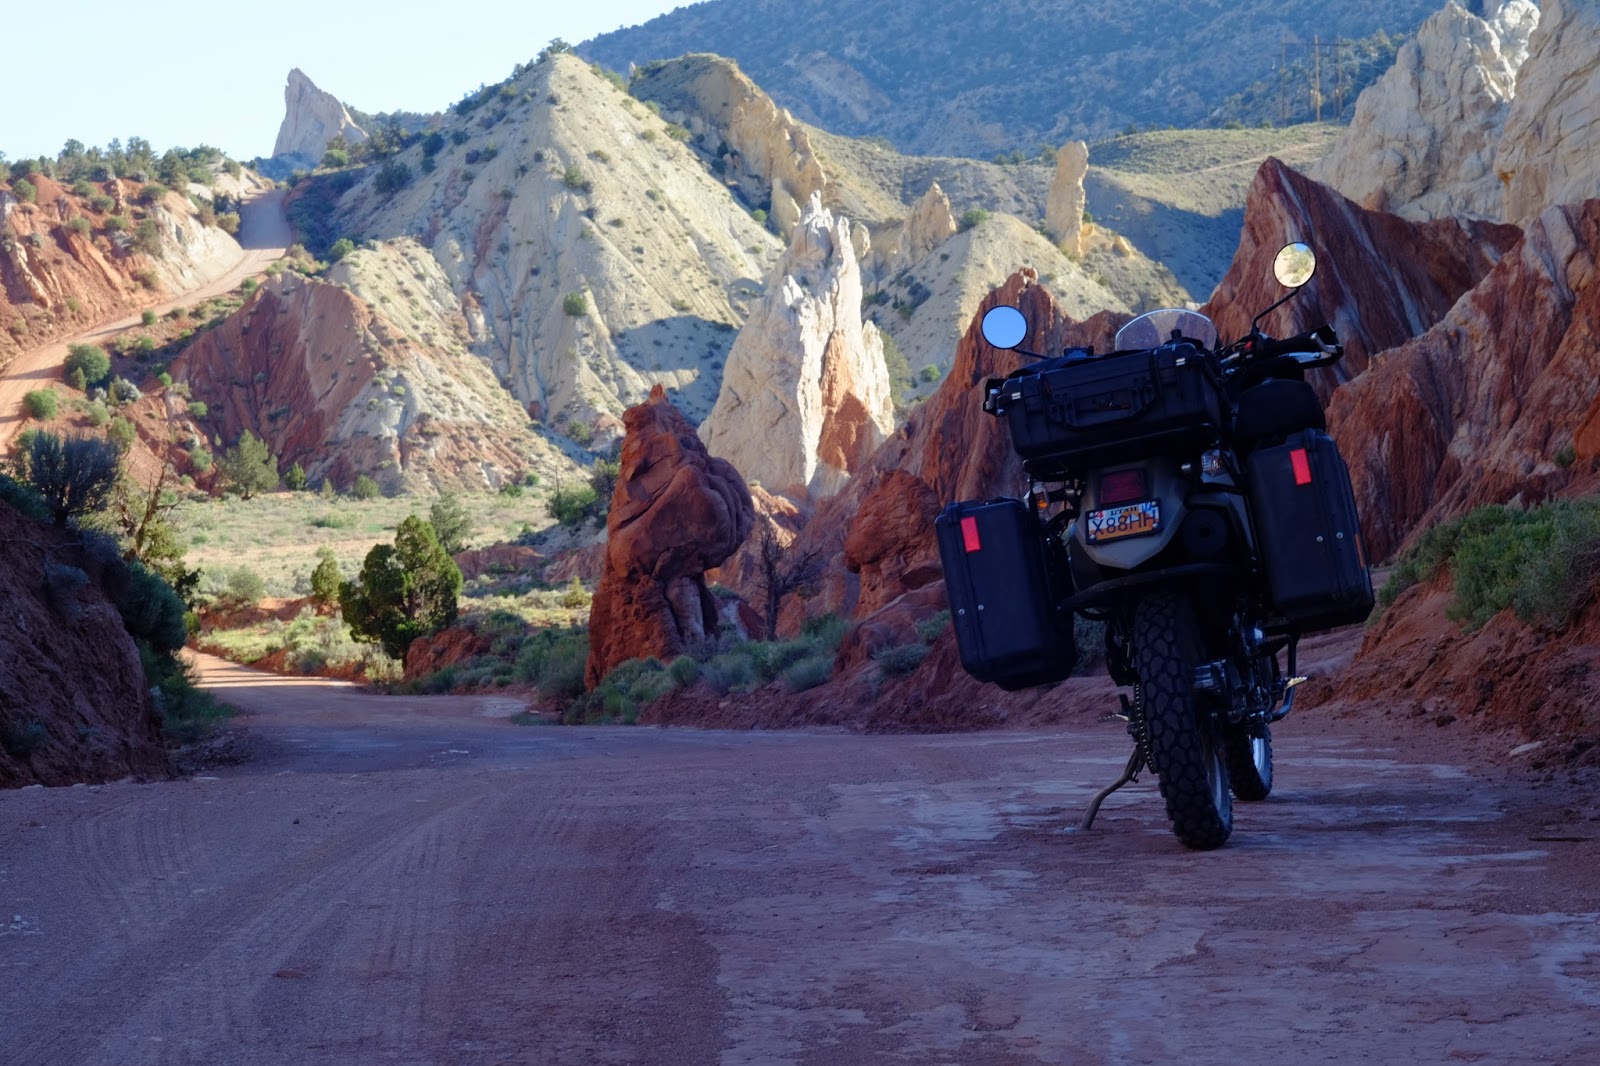
The lamps have three power settings that toggle through via a switch on the back of the housing. Once I got them mounted and aimed I was amazed at the output and depth of the illumination. My early morning trip through the mile-long tunnel at Zion Canyon showed their efficacy, reaching way beyond the headlamps. I'll have to set up my GoPro for a shot of that.
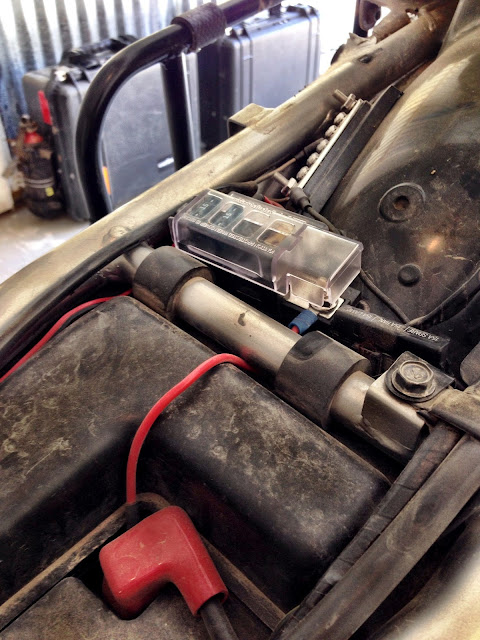
Everything installed without a hitch, the wiring connected to a Blue Sea ST Blade four-circuit common source and a Blue Sea 5-gang ground bus. Pics forthcoming next time I remove the seat.

These lamps added a whopping 1052 lumens to the KLR's illumination, with 10 degree spot angles and adjustable output for each fixture. They burn at 6000 kelvin, making my stock head and high beam look like they belong on an old French scooter.
Wanting to avoid any extra holes or hardware, I eliminated the stock turn signals and replaced them with SW-Motech indicators on the hand guards, freeing up the space to mount these lamps. I wanted to maintain the break-away engineering of the stock signal posts but couldn't come up with anything that would be rigid enough to keep the housings from bouncing around, so I put together some hardware that fit perfectly into the turn signal post recess on the fairing.
The hardware used includes two stainless 1" fender washers with 3/8" centers, a smaller diameter stainless washer that works as a spacer in between, and a rubber 1" washer to allow adjustment while maintaining tightness.
I installed the Trail Tech wire harness and mounted the switch to the LH side of the instrument cluster.
Plane-Jane, waterproof switch, but I like how it integrates into the design of the rest of the cluster. The problem is I keep resetting my mileage when I think I'm turning off the lamps.
The lamps have three power settings that toggle through via a switch on the back of the housing. Once I got them mounted and aimed I was amazed at the output and depth of the illumination. My early morning trip through the mile-long tunnel at Zion Canyon showed their efficacy, reaching way beyond the headlamps. I'll have to set up my GoPro for a shot of that.
Everything installed without a hitch, the wiring connected to a Blue Sea ST Blade four-circuit common source and a Blue Sea 5-gang ground bus. Pics forthcoming next time I remove the seat.
")