You are using an out of date browser. It may not display this or other websites correctly.
You should upgrade or use an alternative browser.
You should upgrade or use an alternative browser.
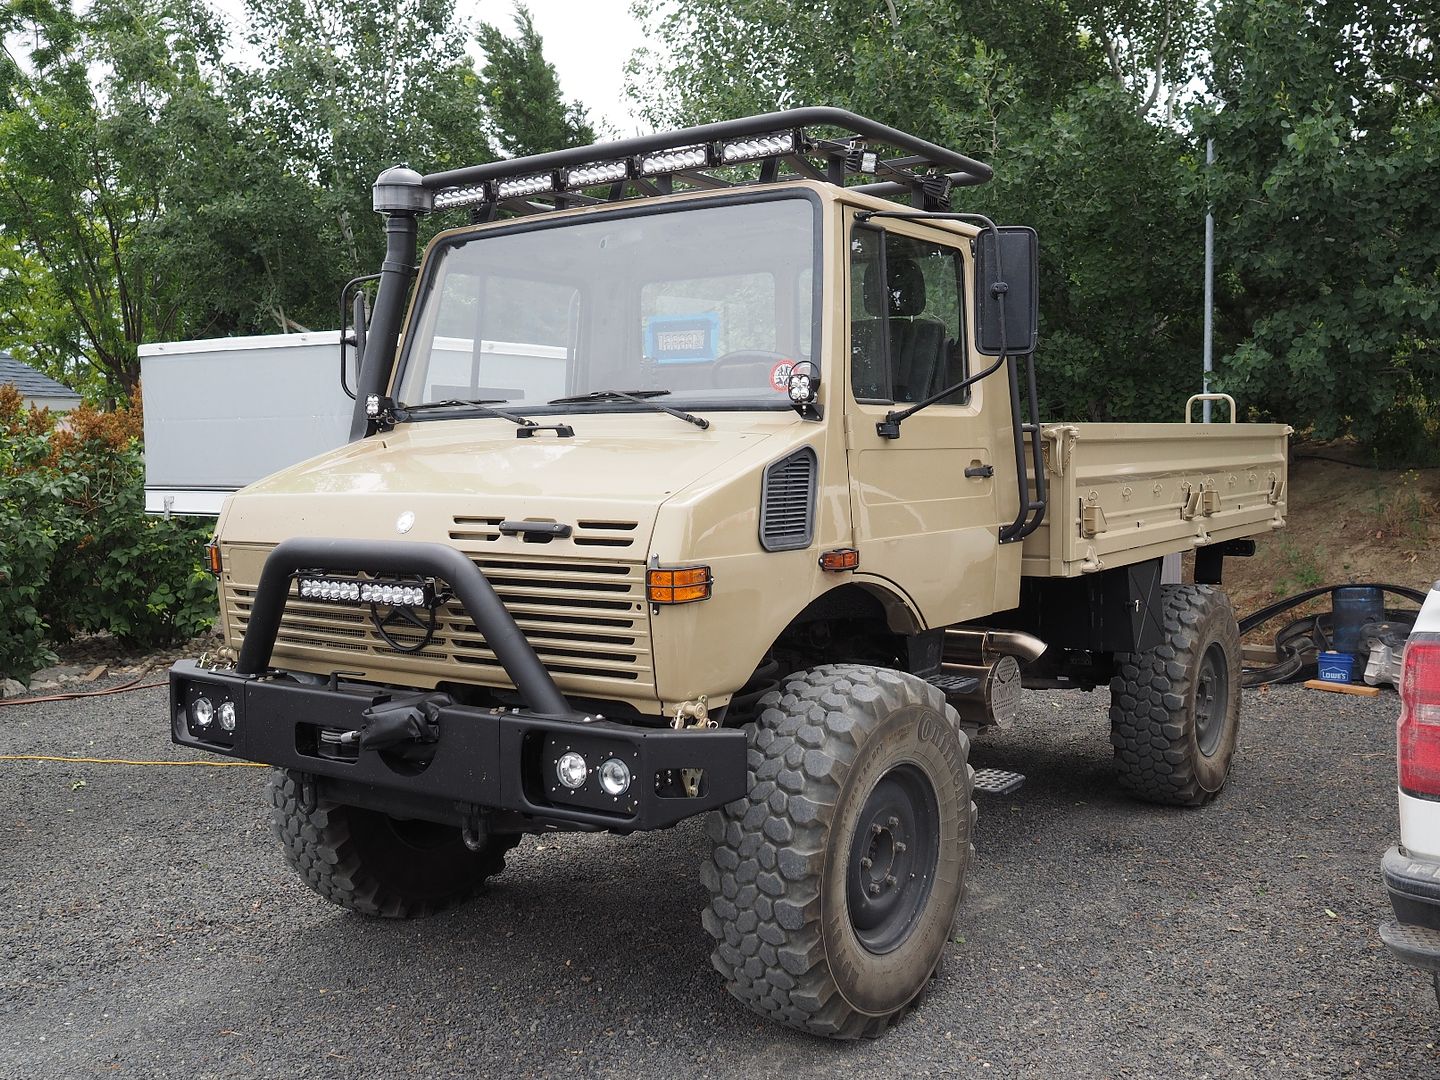
Meet the Trot'n Turtle - Unimog U1300L Build
- Thread starter Hodakaguy
- Start date

Hodakaguy
Adventurer
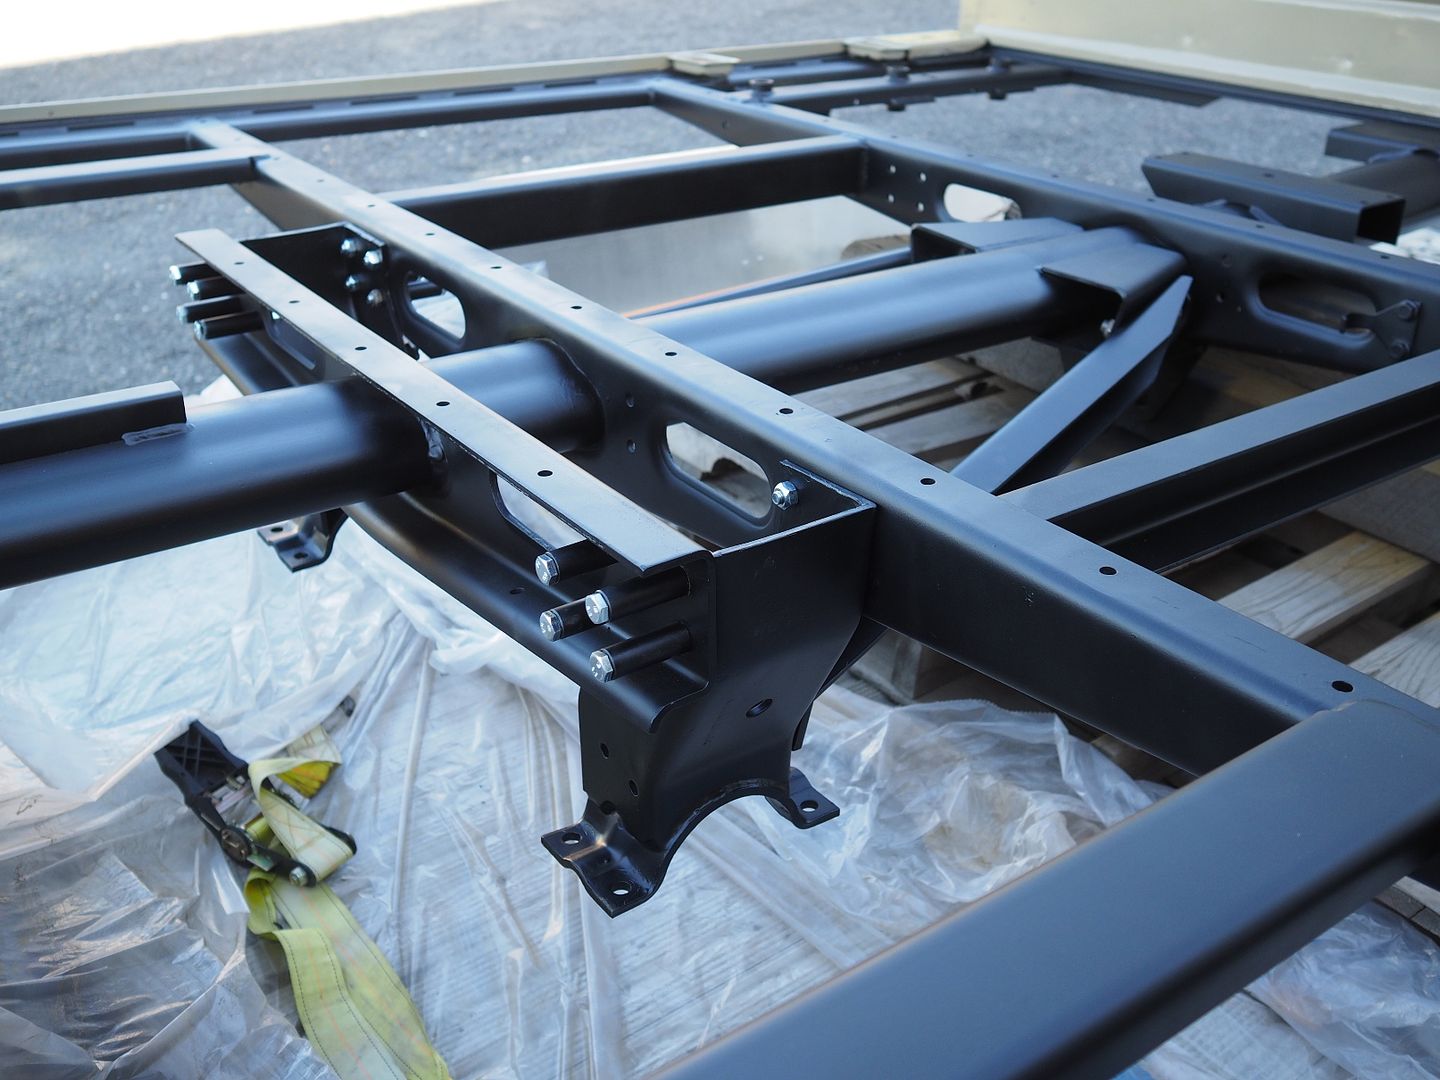
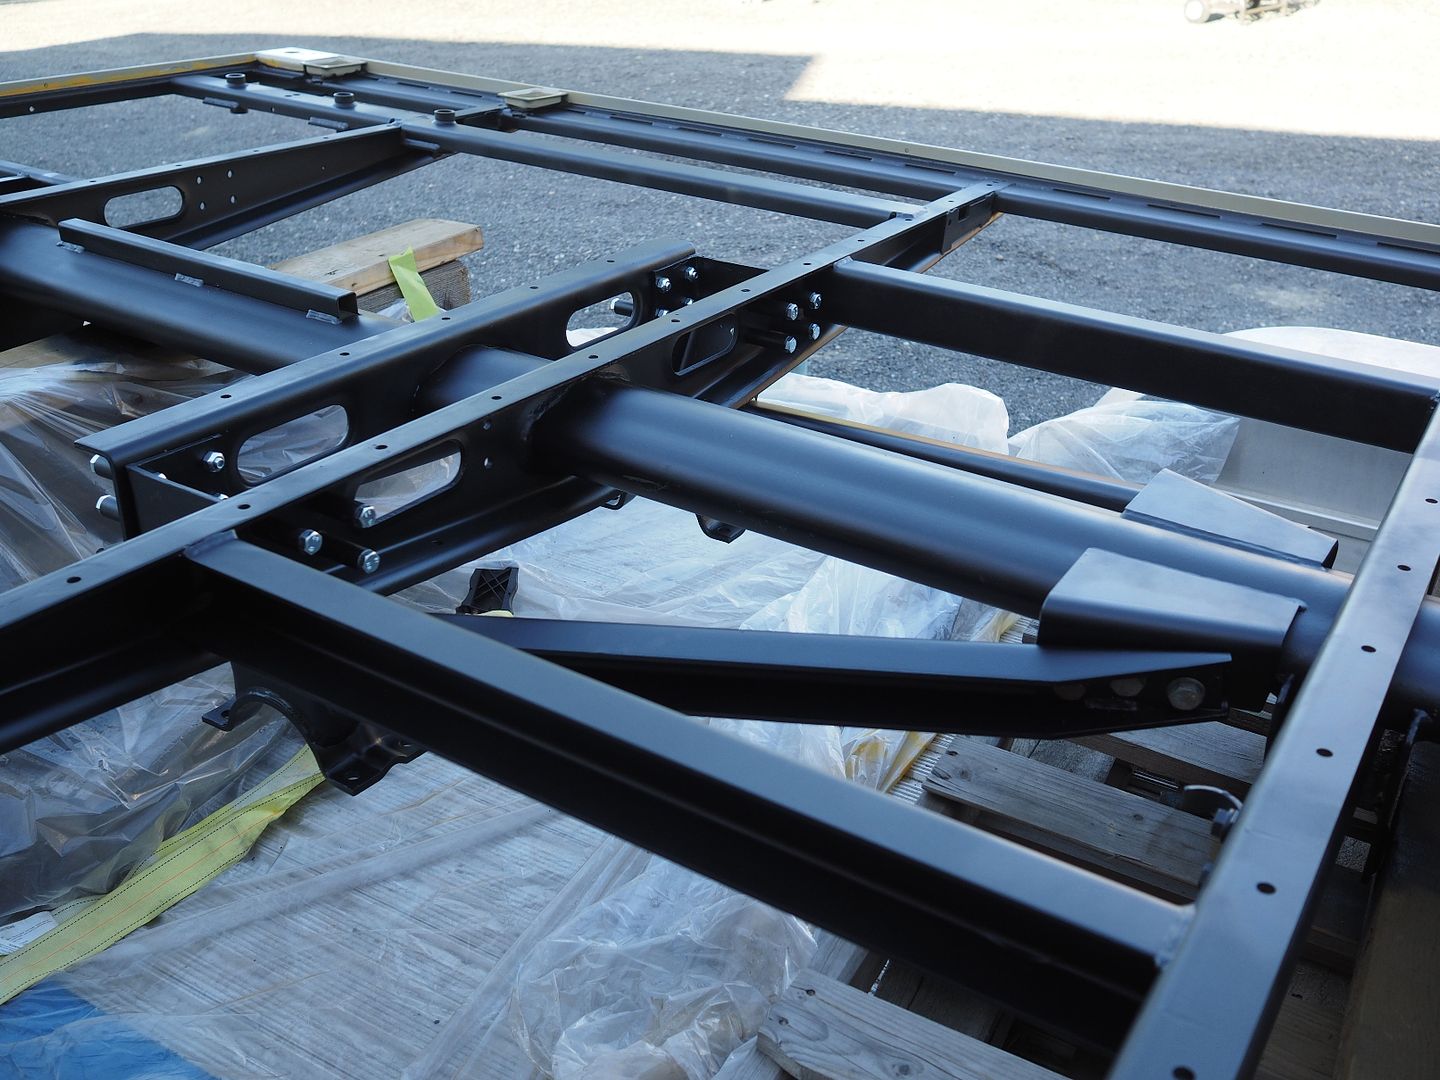
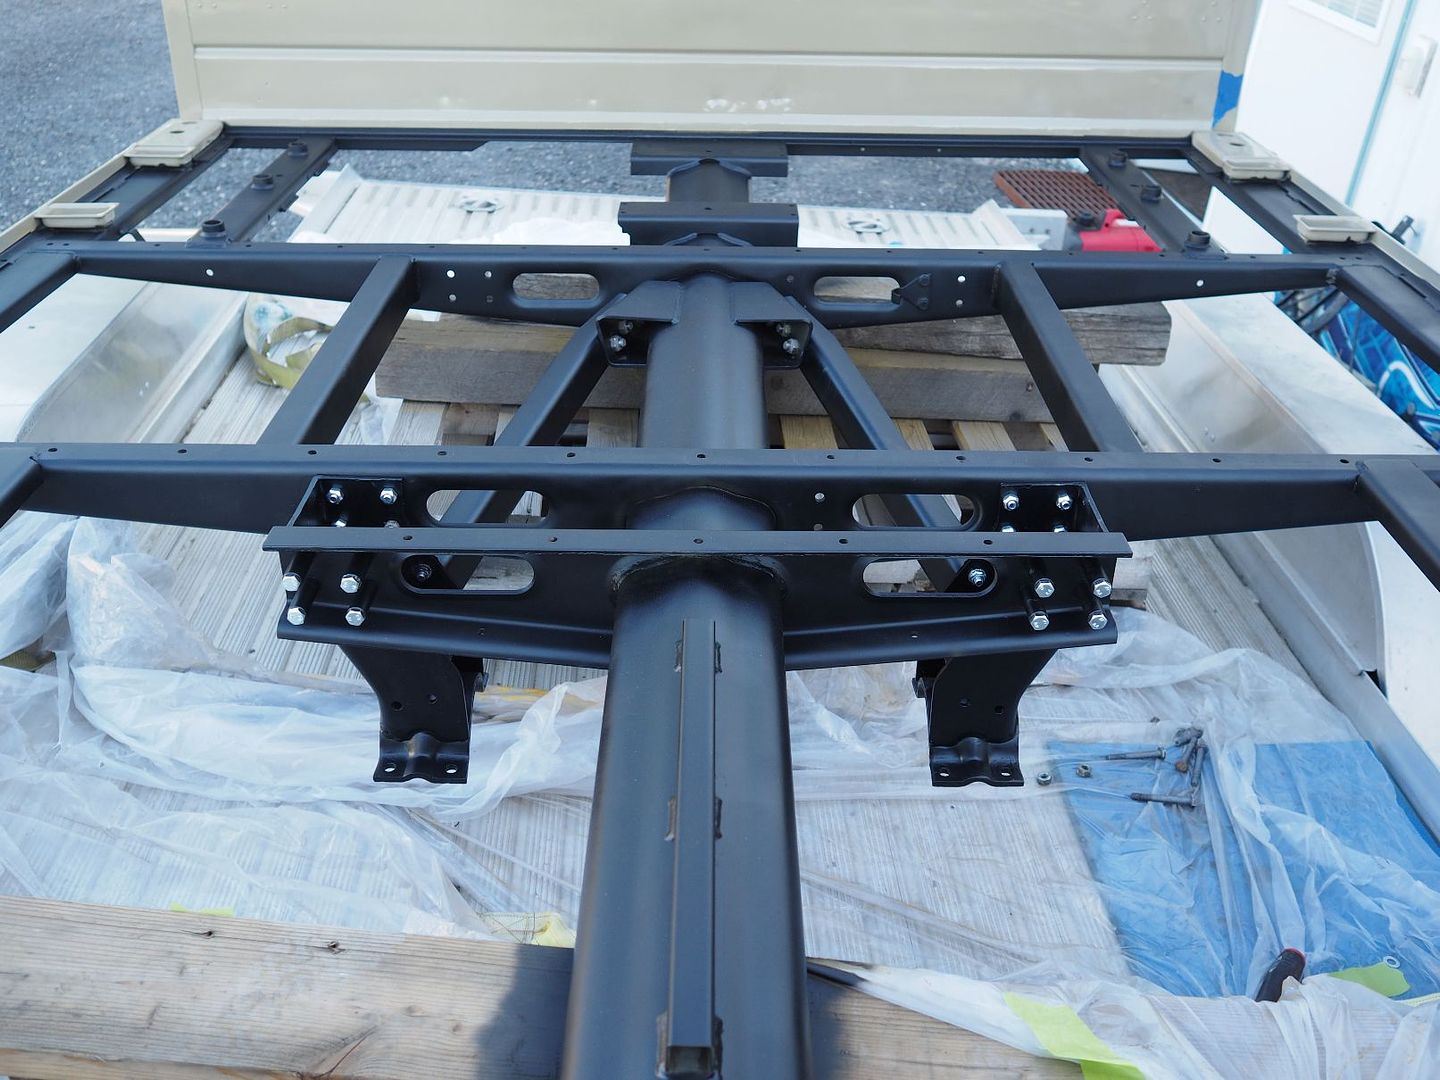
More Work.....
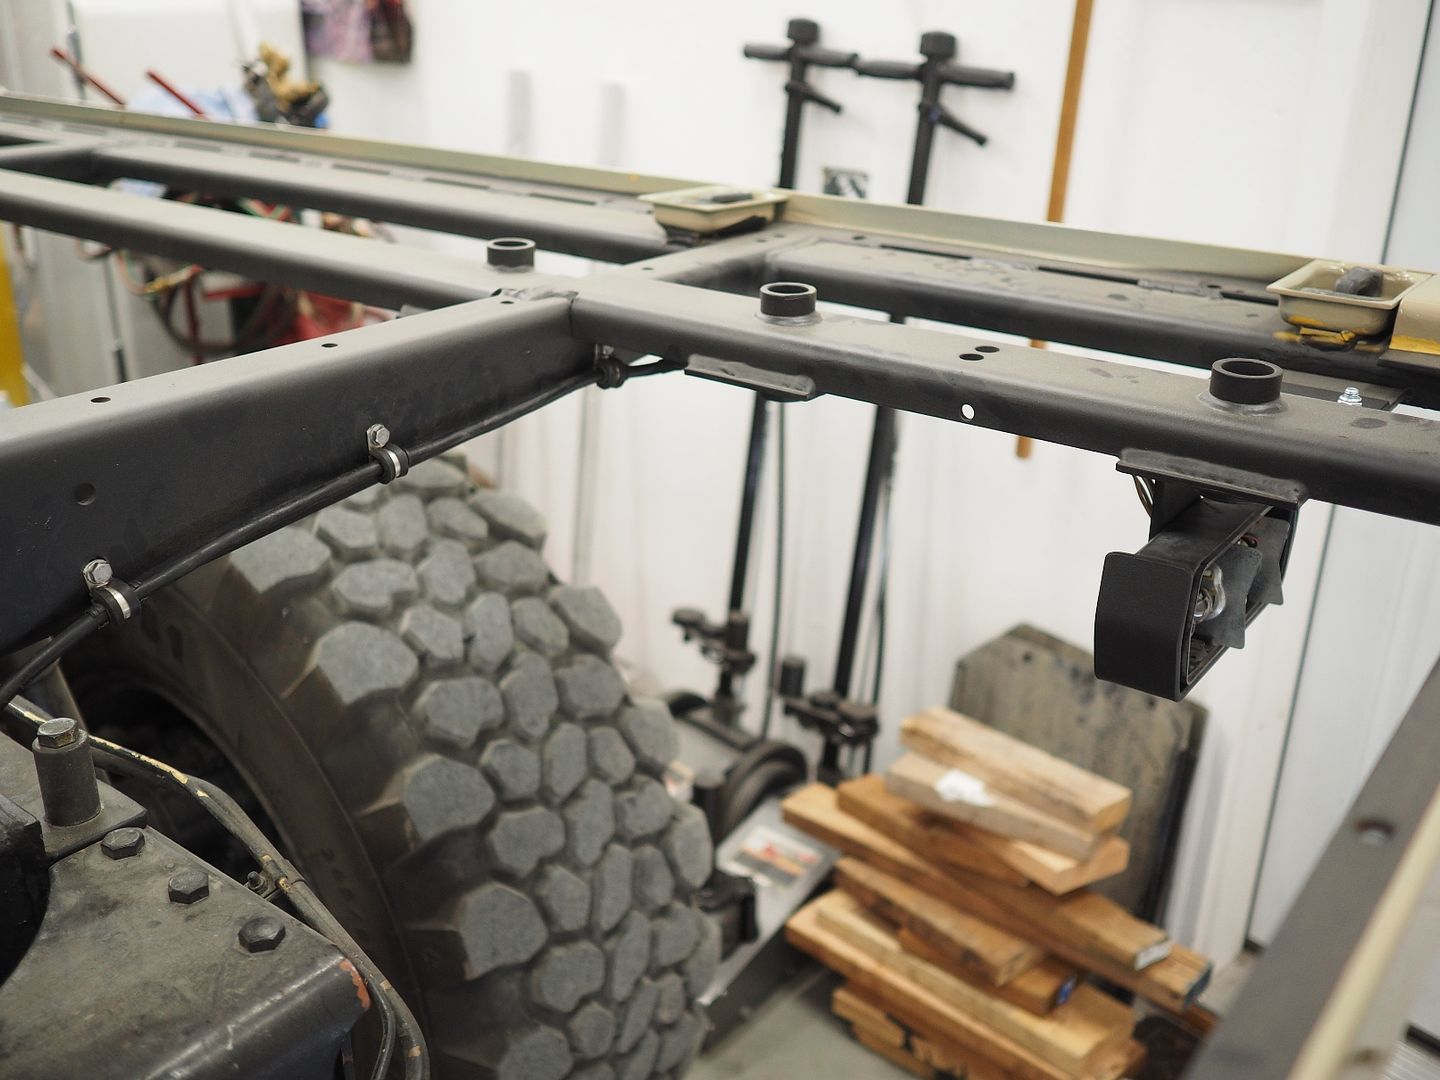
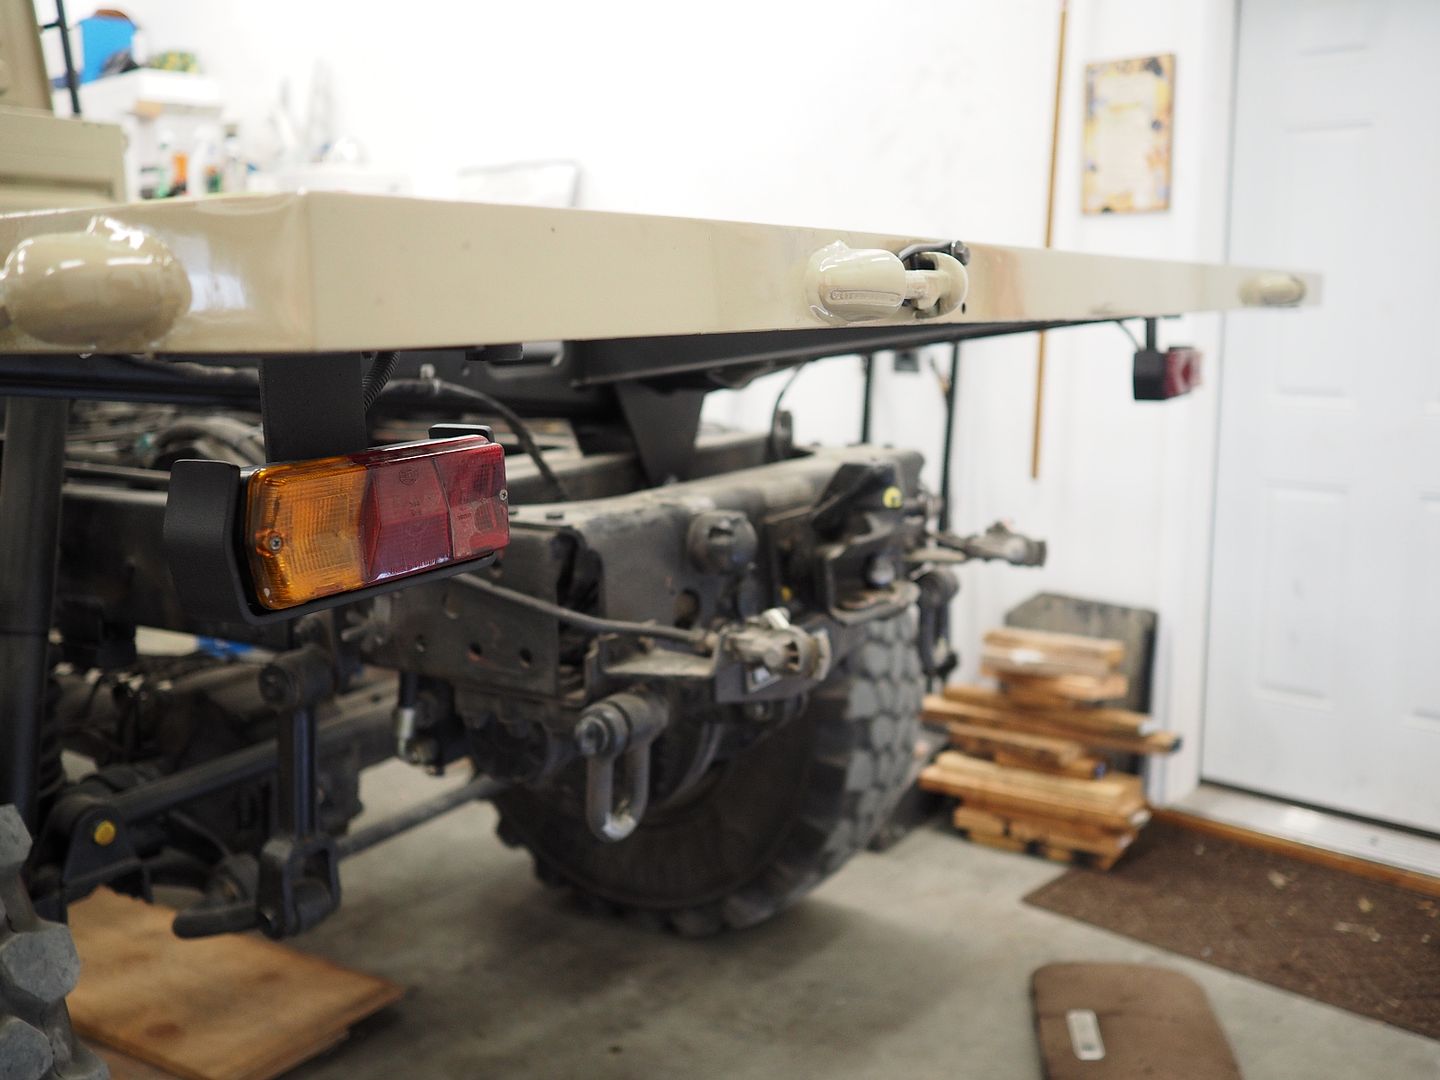
Installing the tail light mounts.
Wiring the tail lights
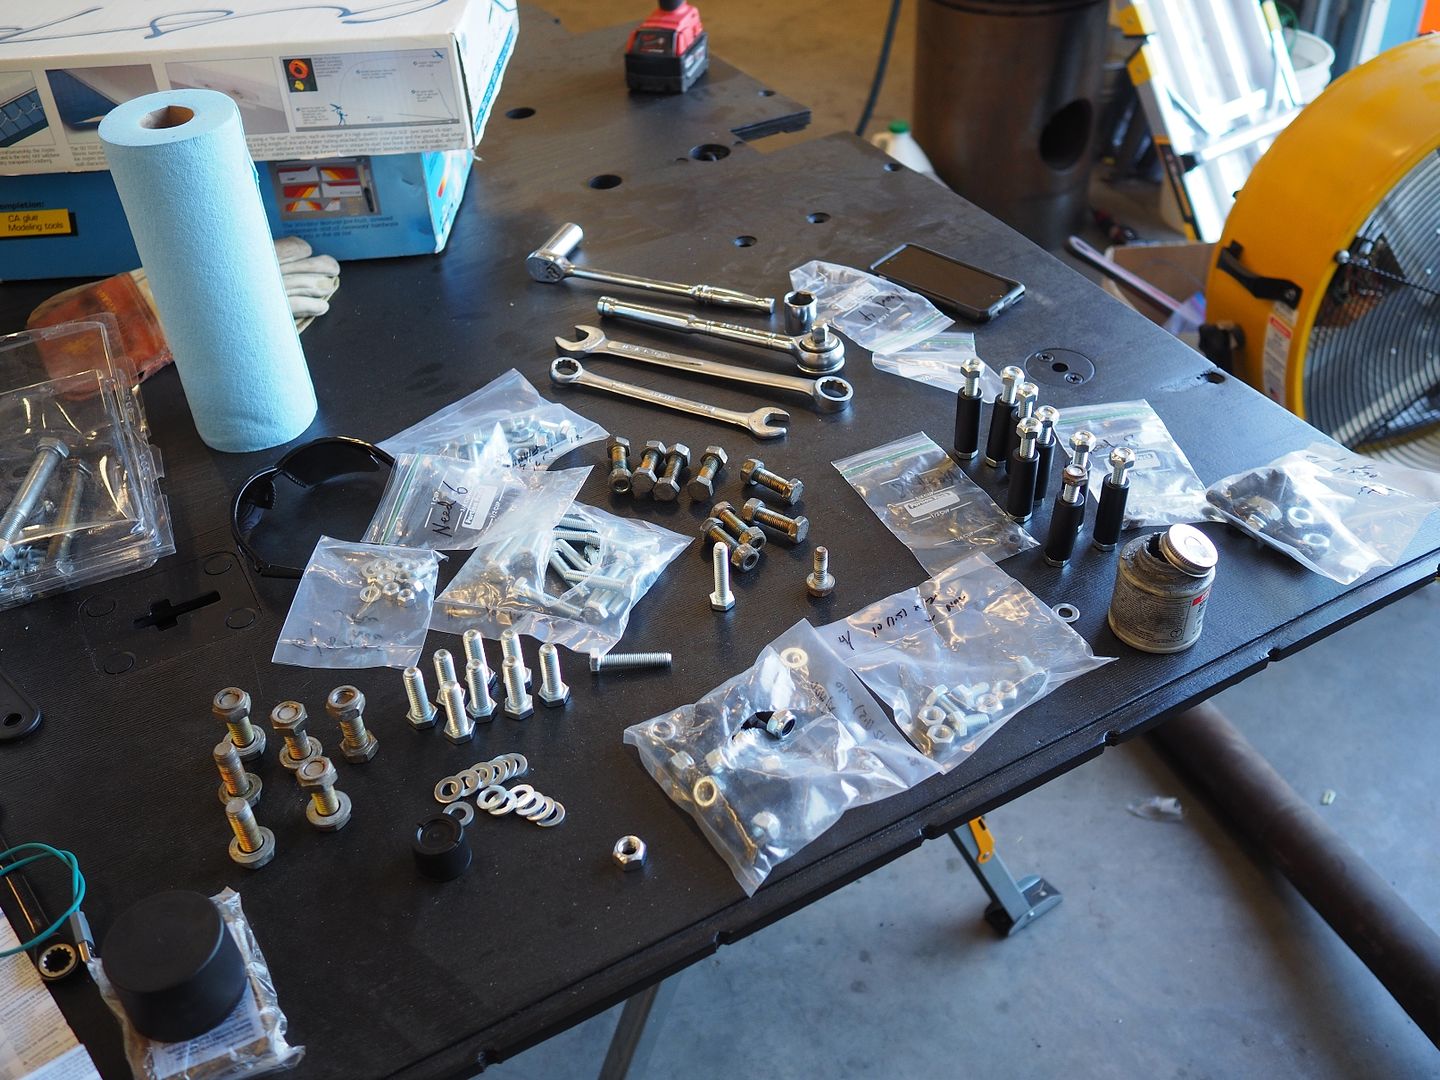
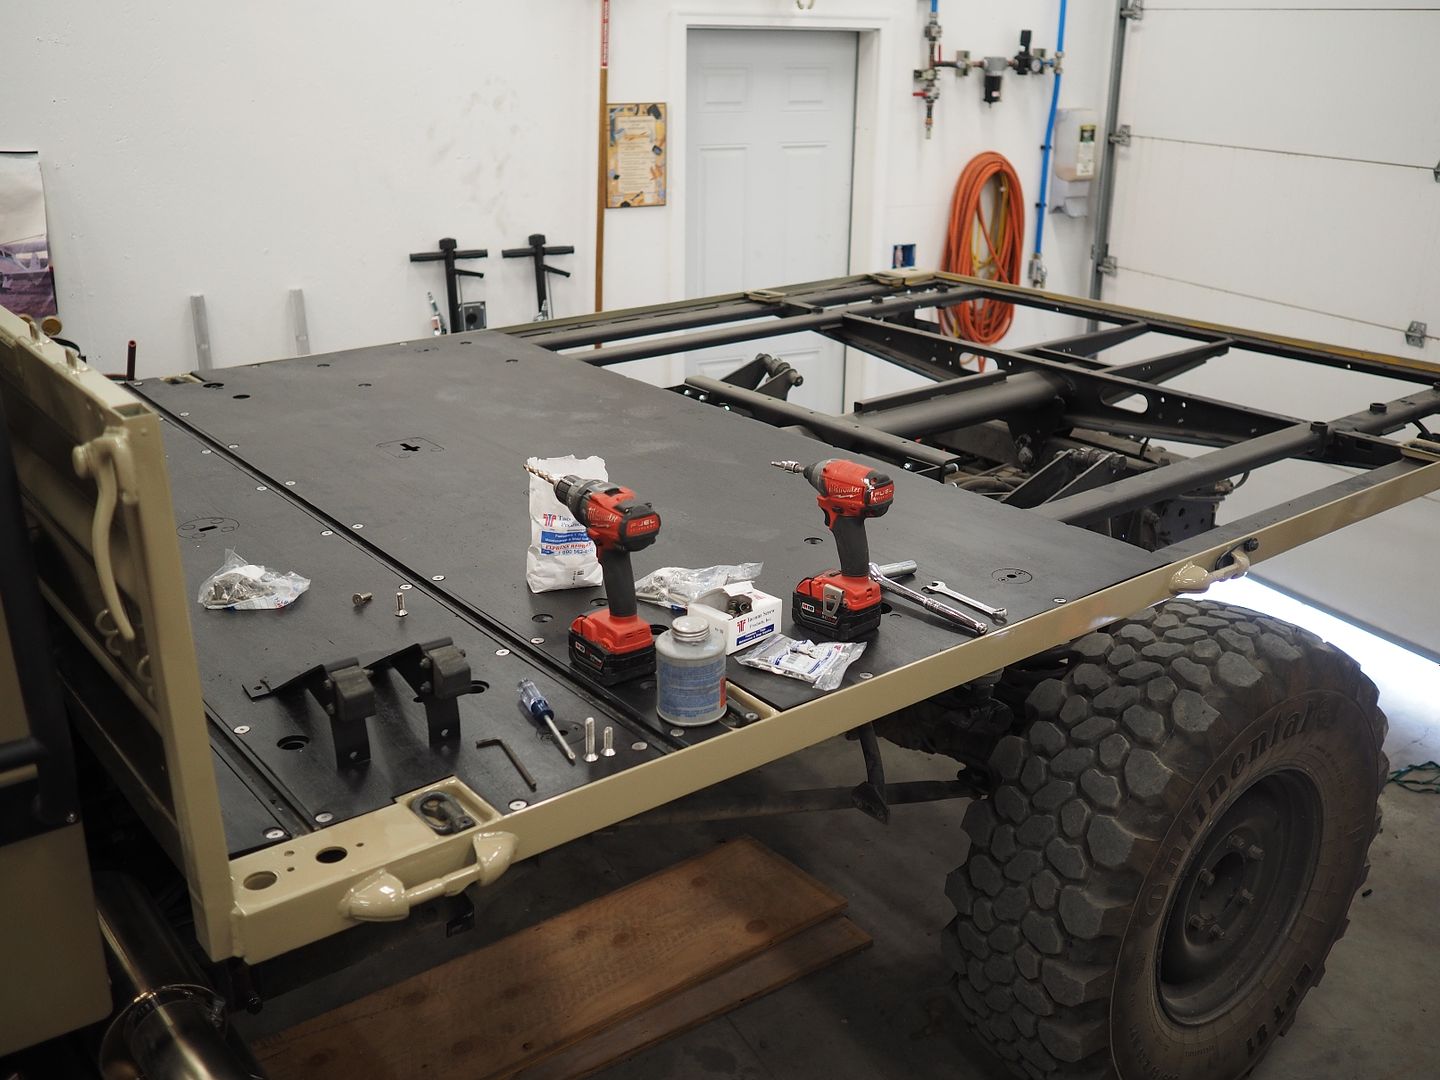
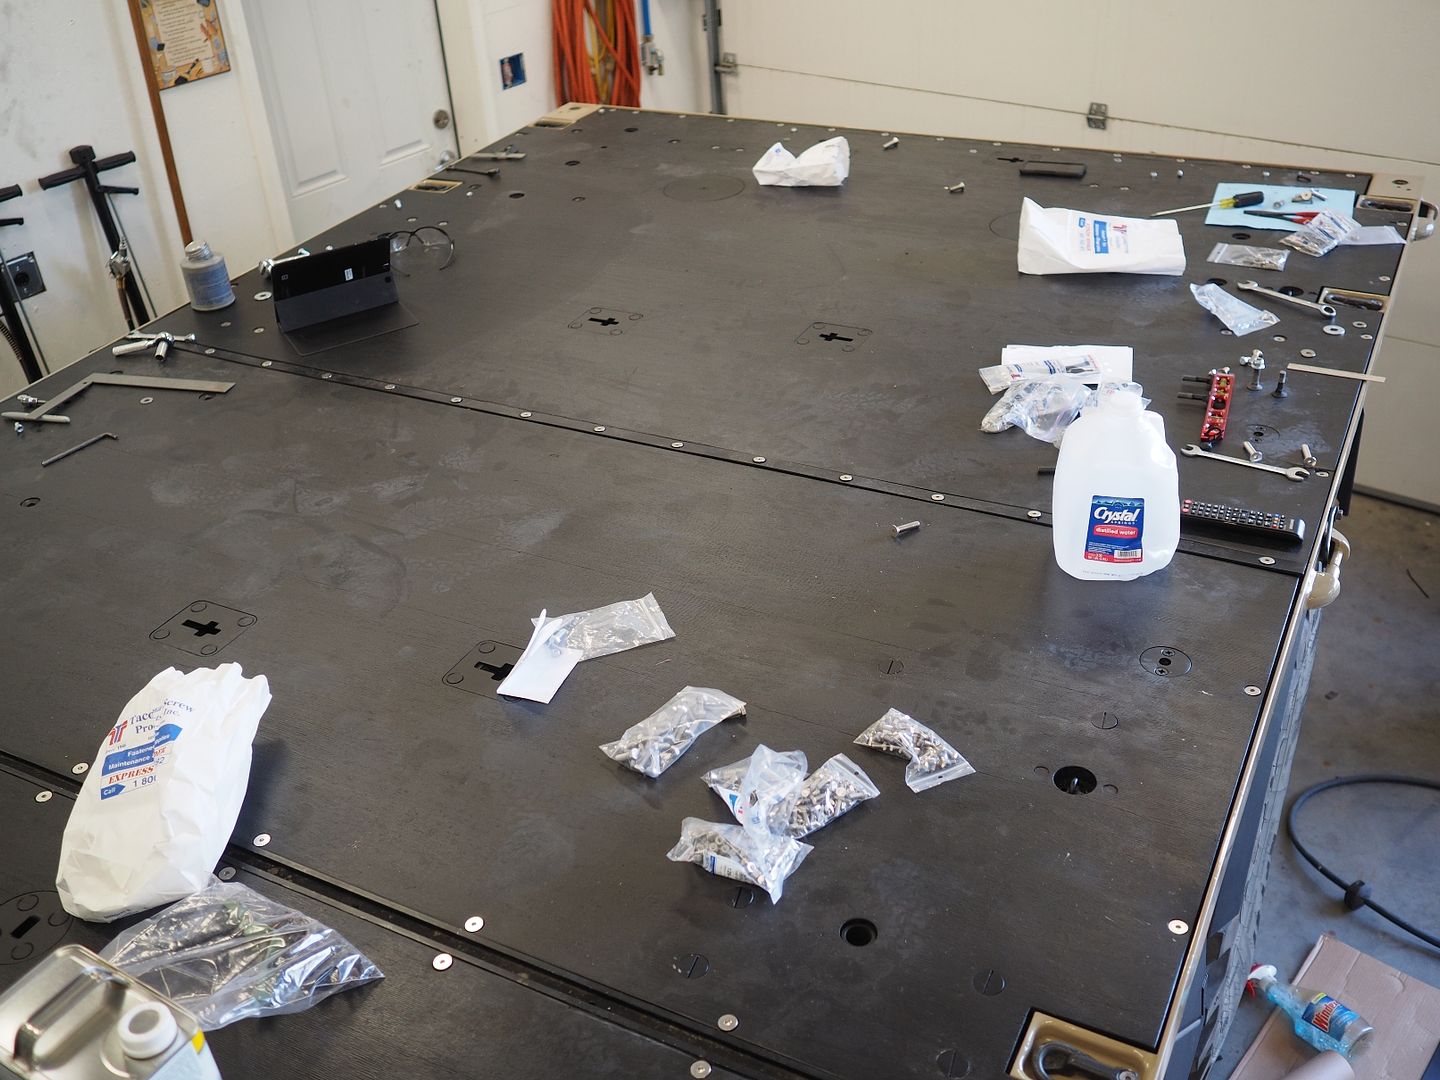
Starting to install the bed boards. Using new stainless steel hardware. Not all the bolts have been tightened yet.
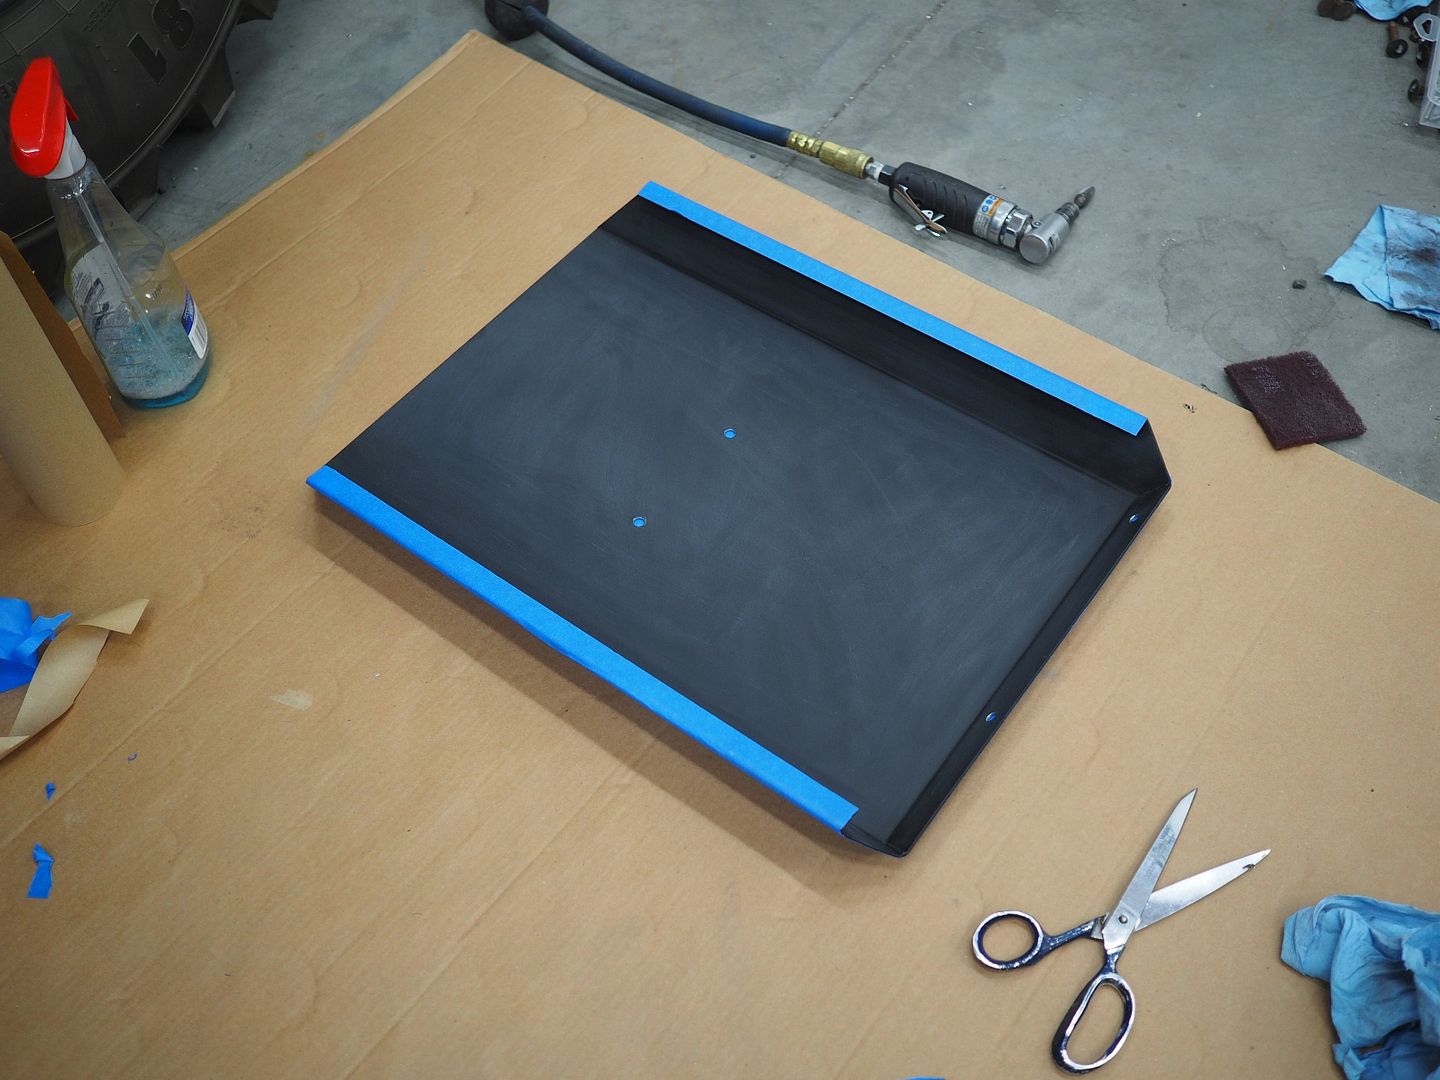
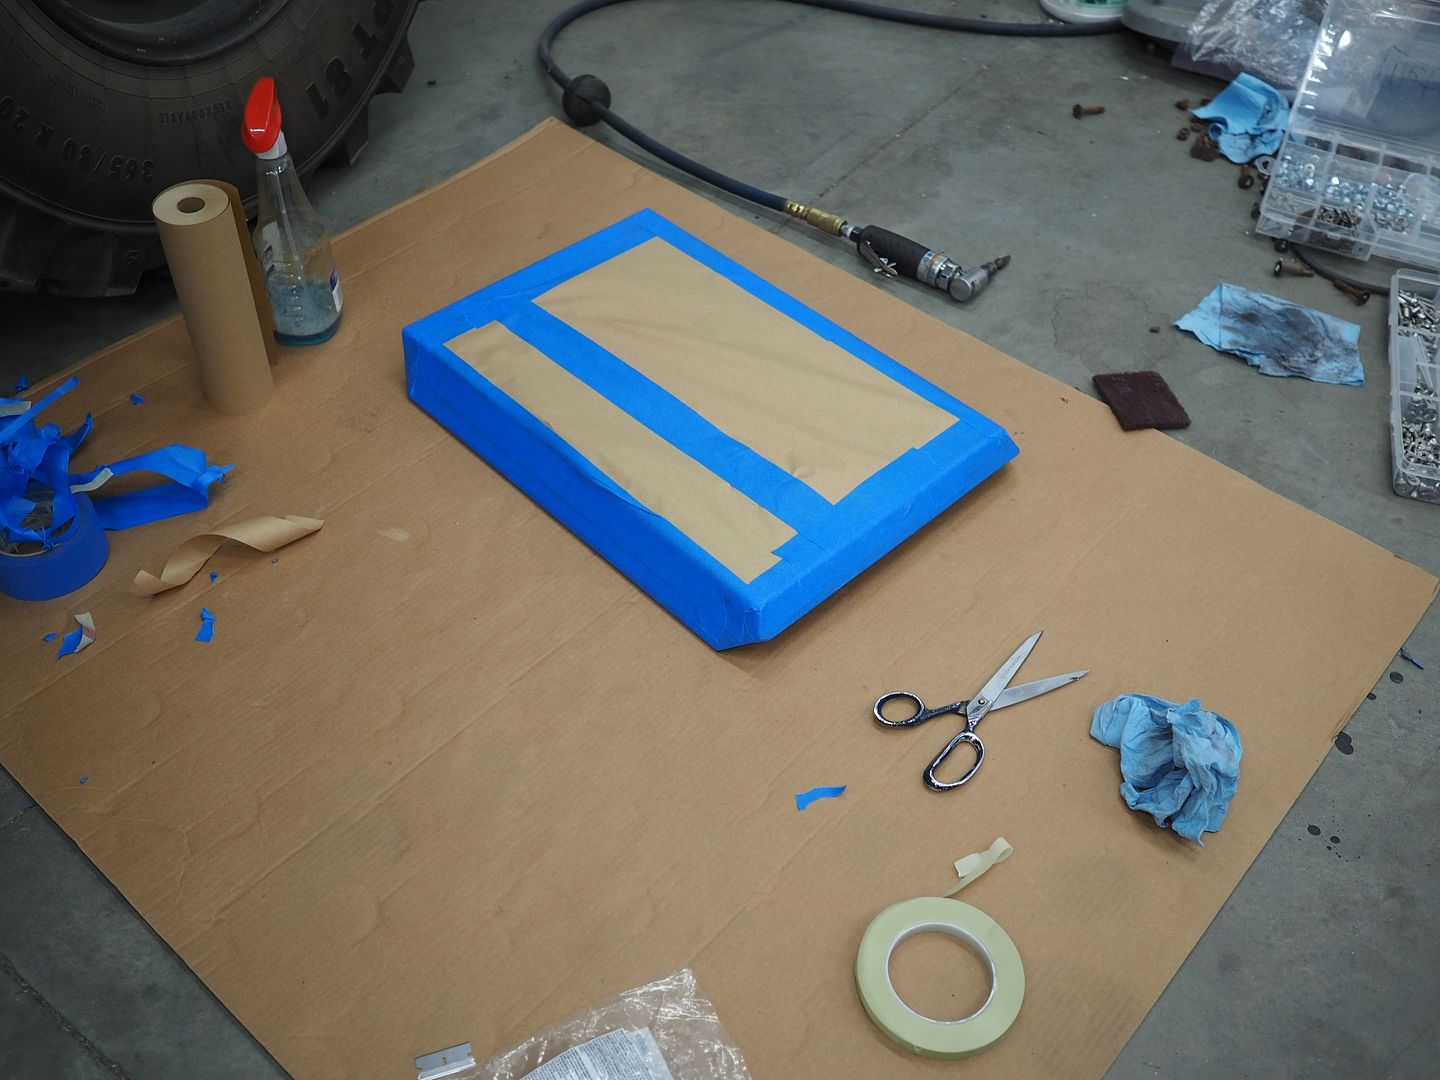
Masking the fenders, I'll be applying bed liner on the underside of the fenders. The bed liner helps for noise reduction when rocks hit the fenders, plus helps prevent denting.
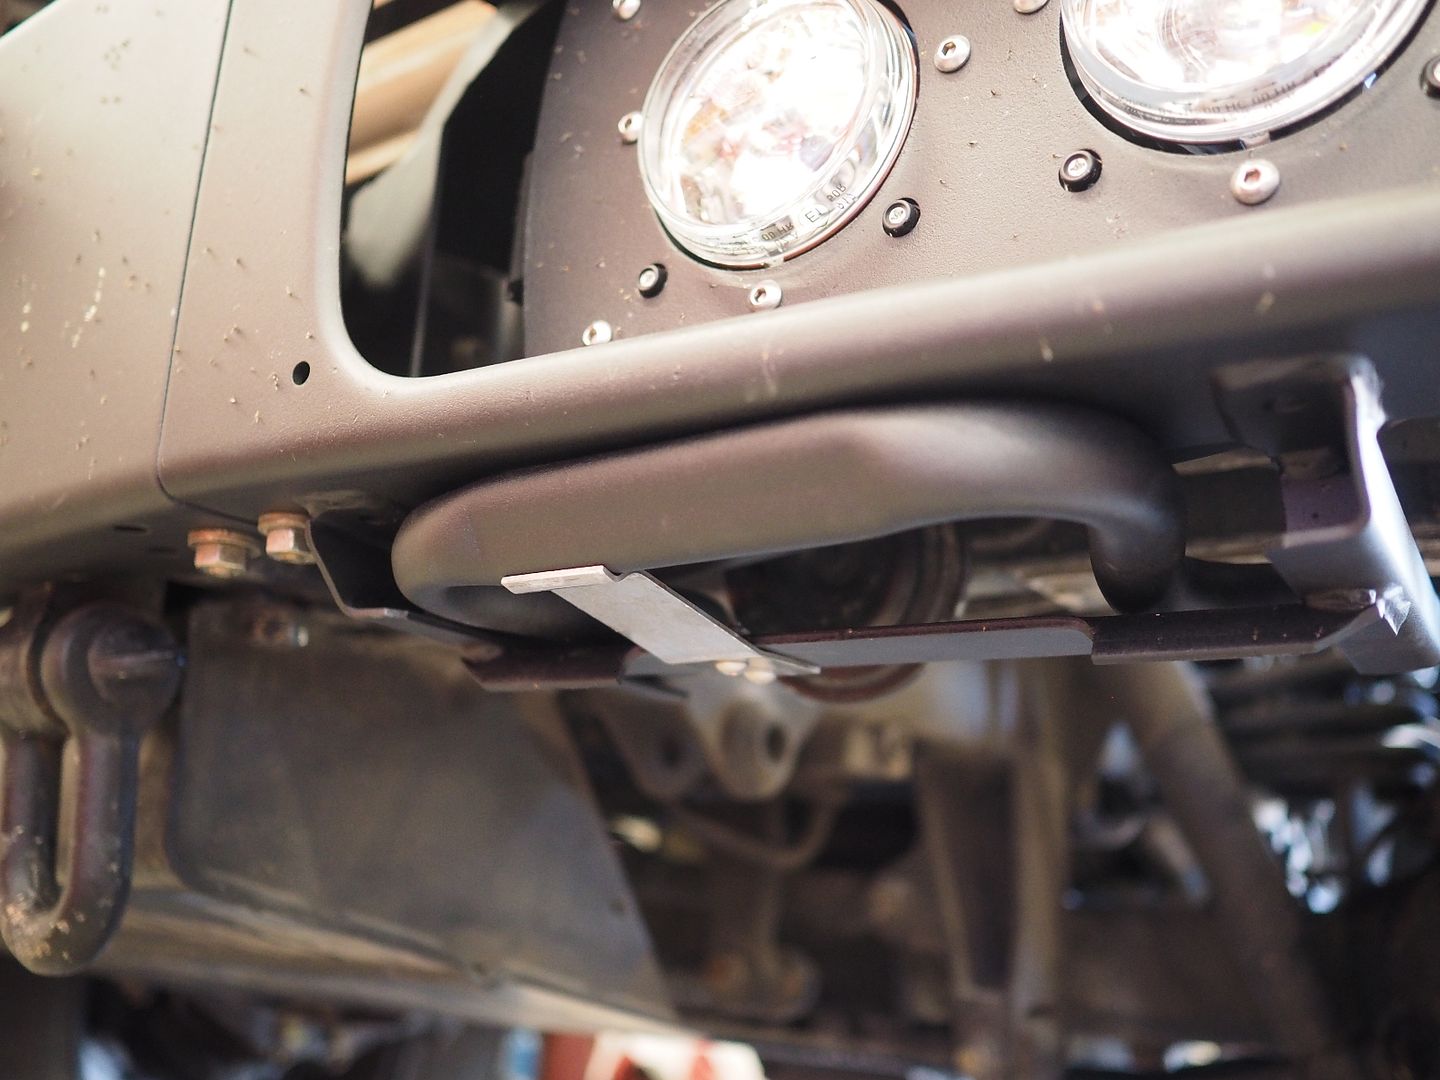
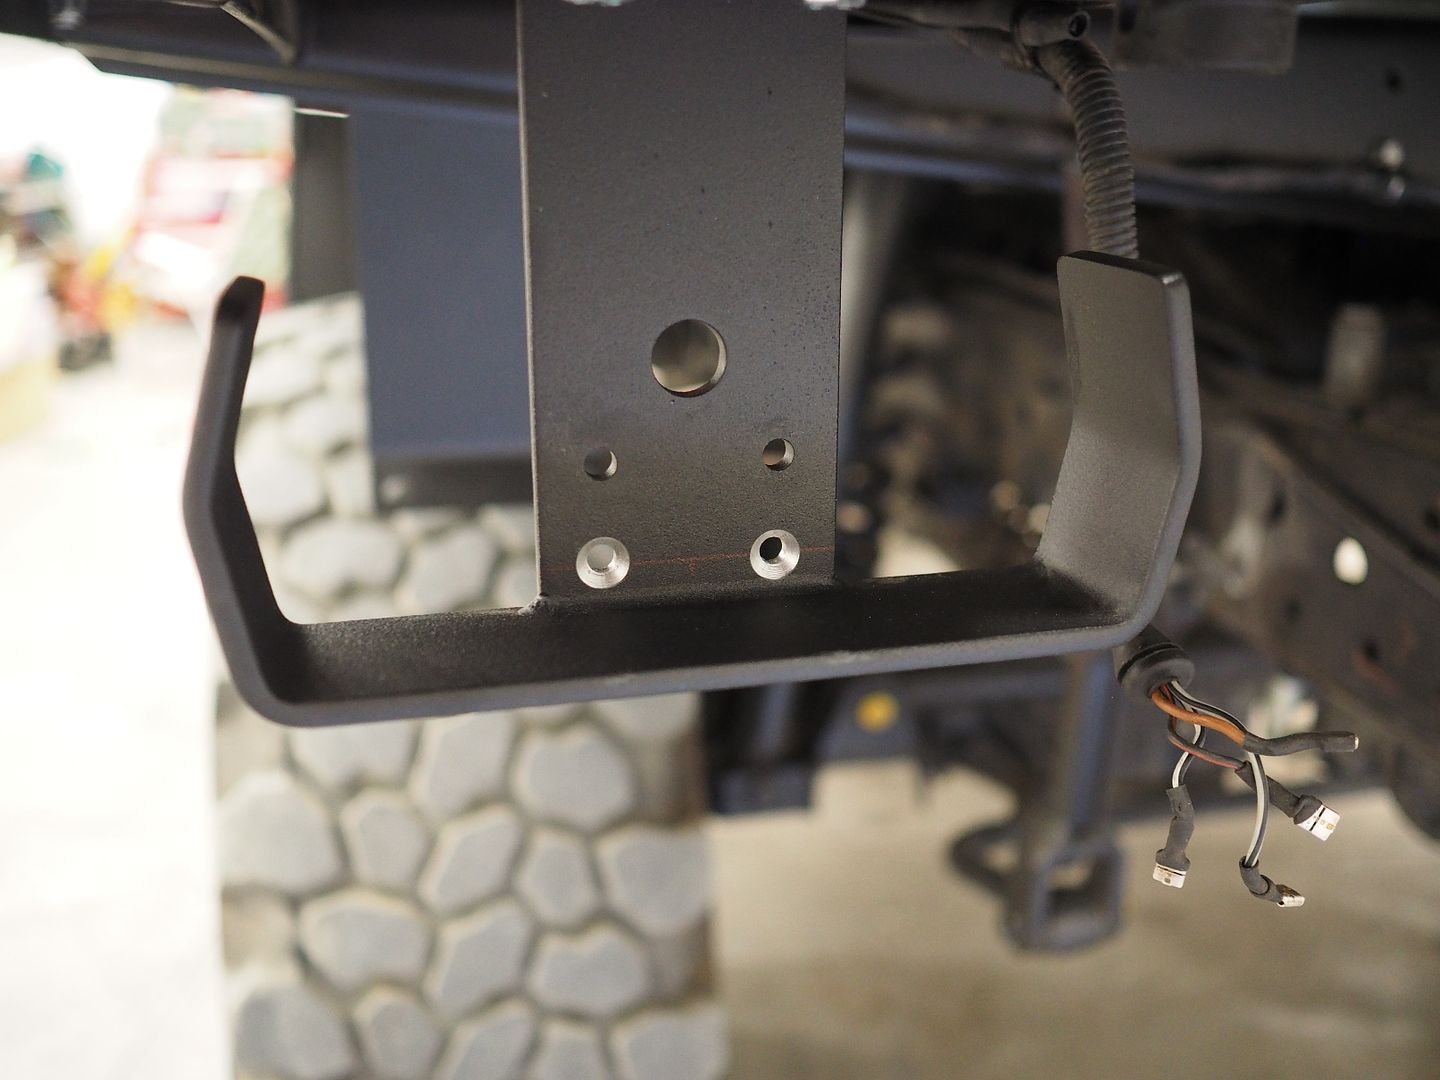
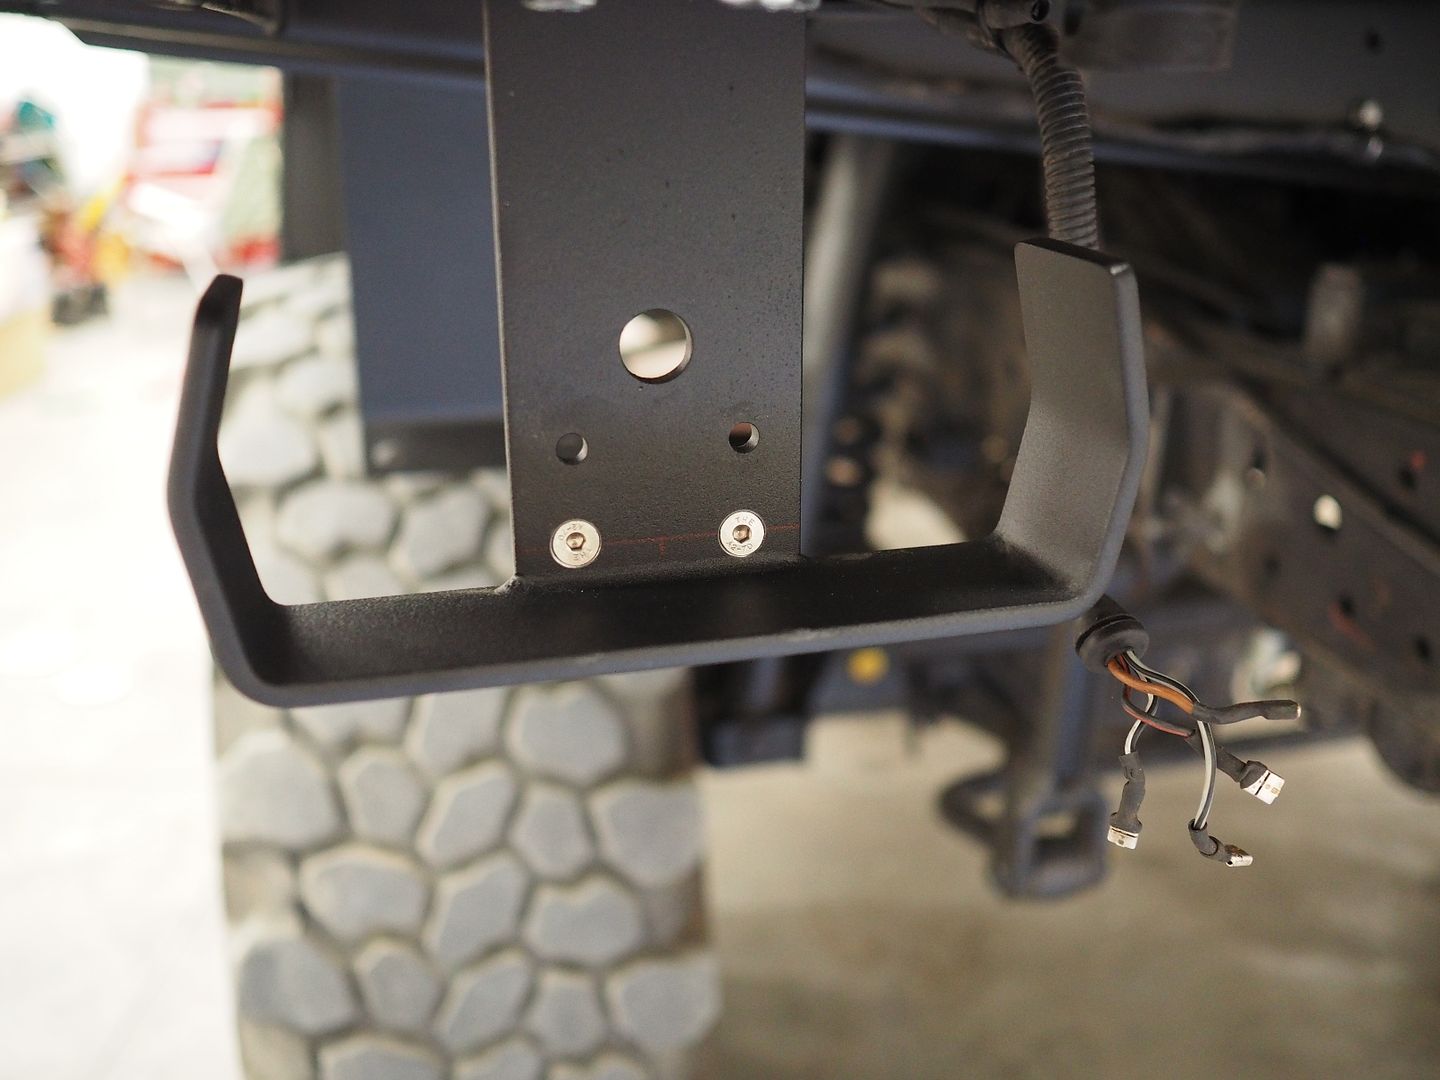
Front step installed with new hardware.
Driver and passenger side door seals installed

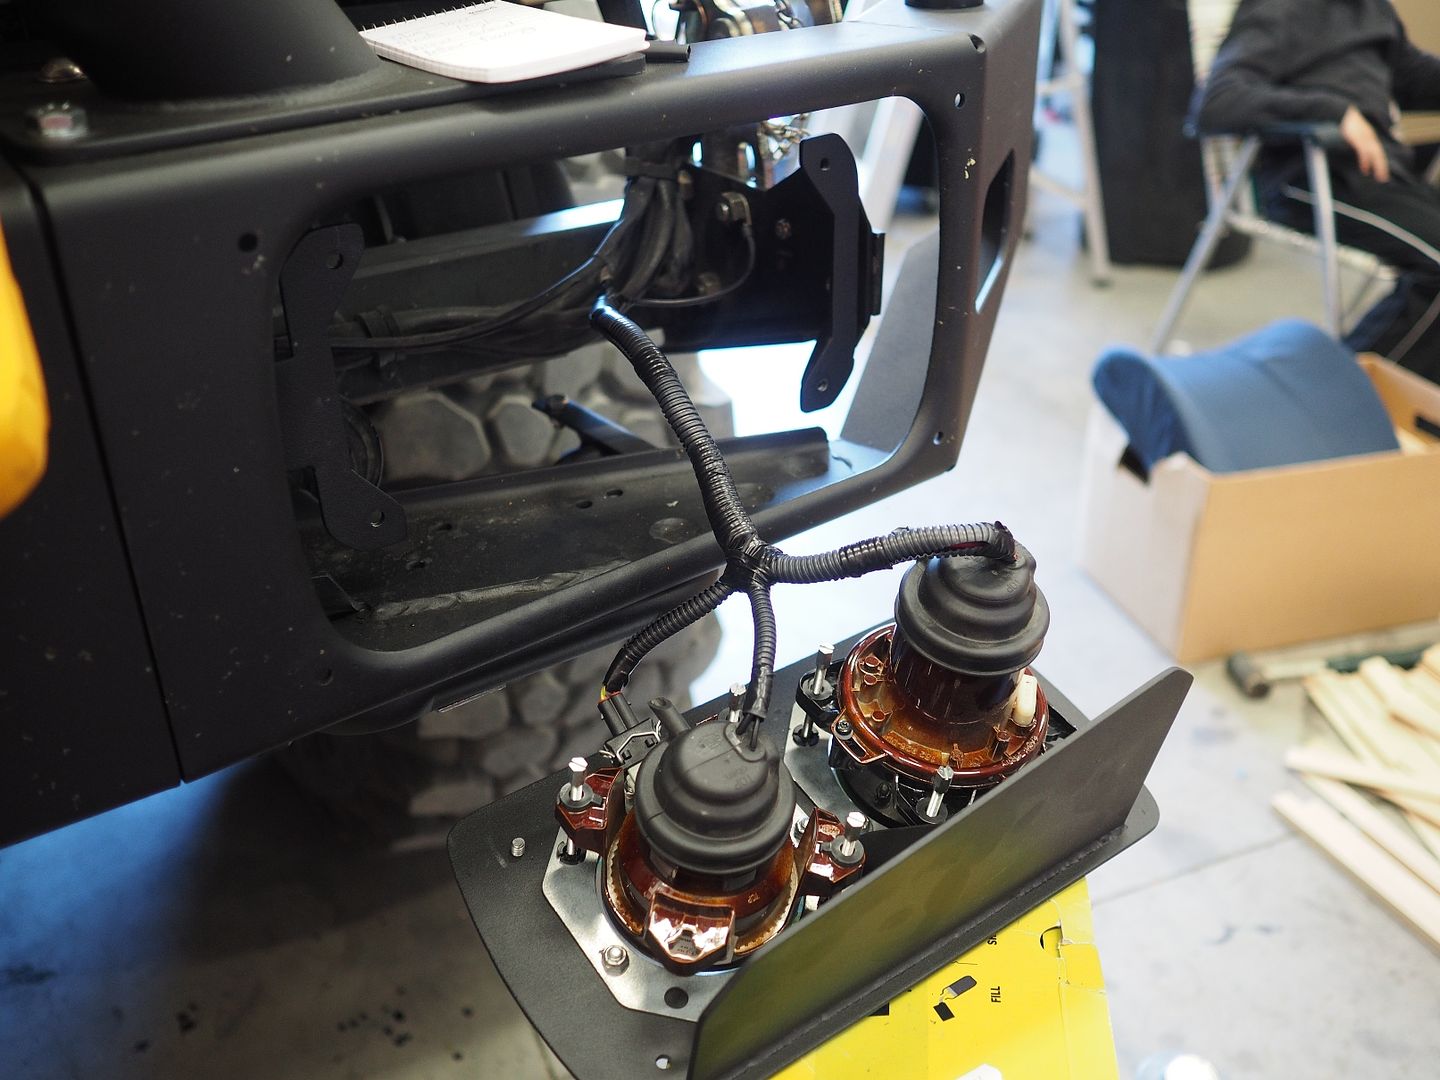
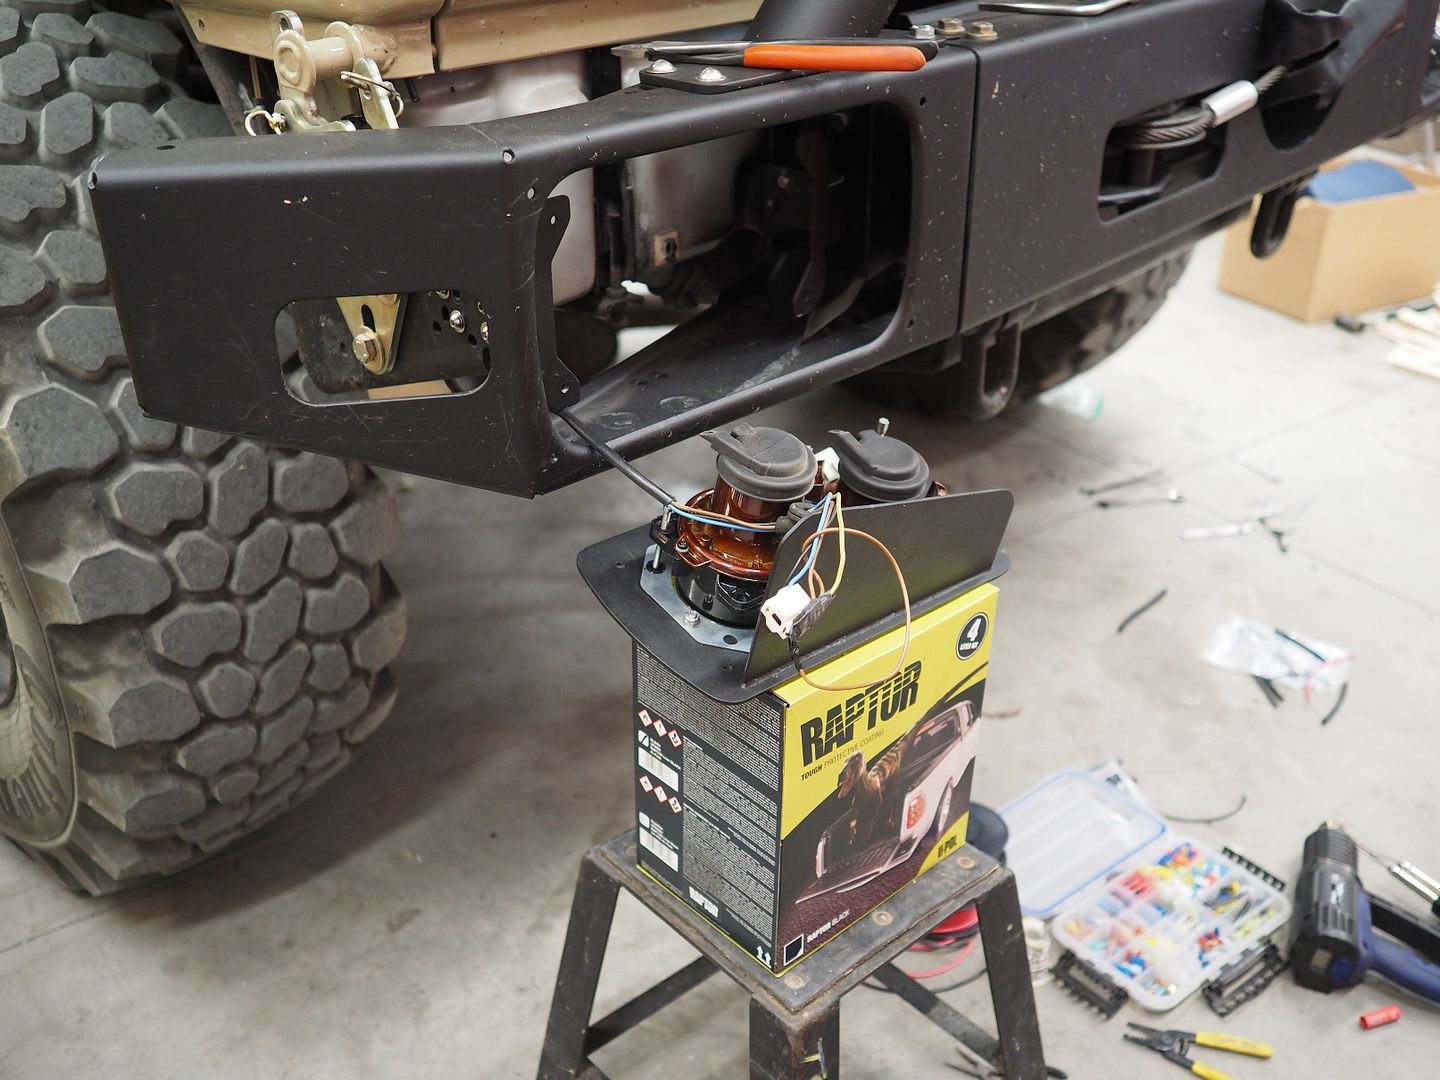
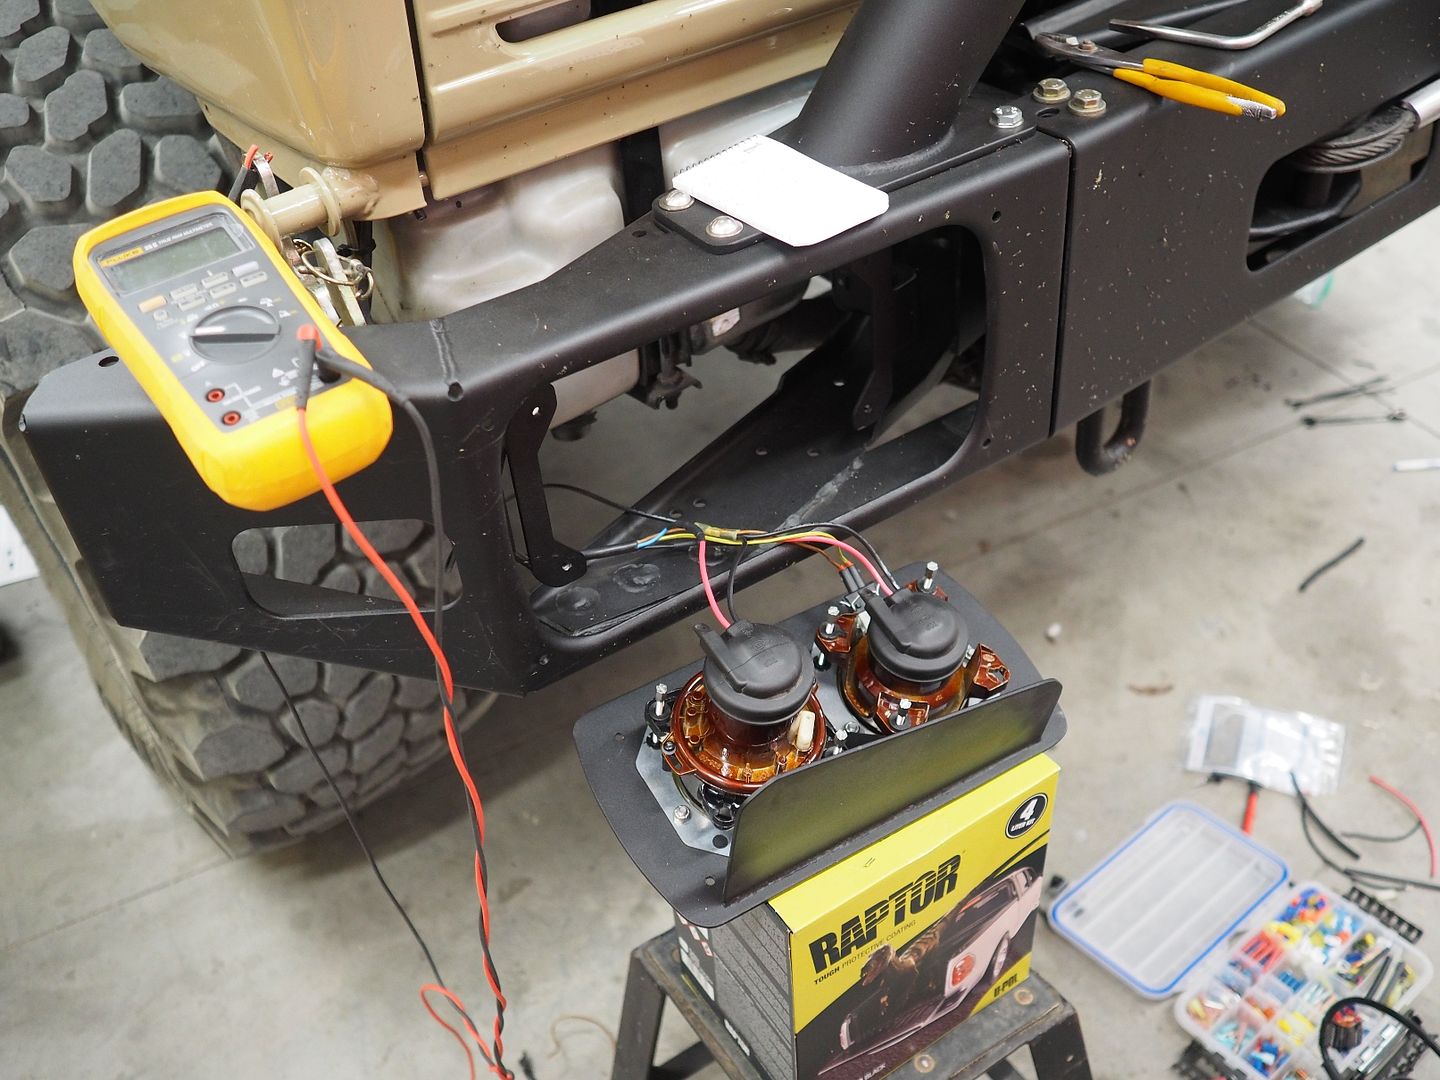
Time to wire the headlights, There is a big local car show coming up soon that I'll be attending and I usually head home after dark so the lights need to be functioning.
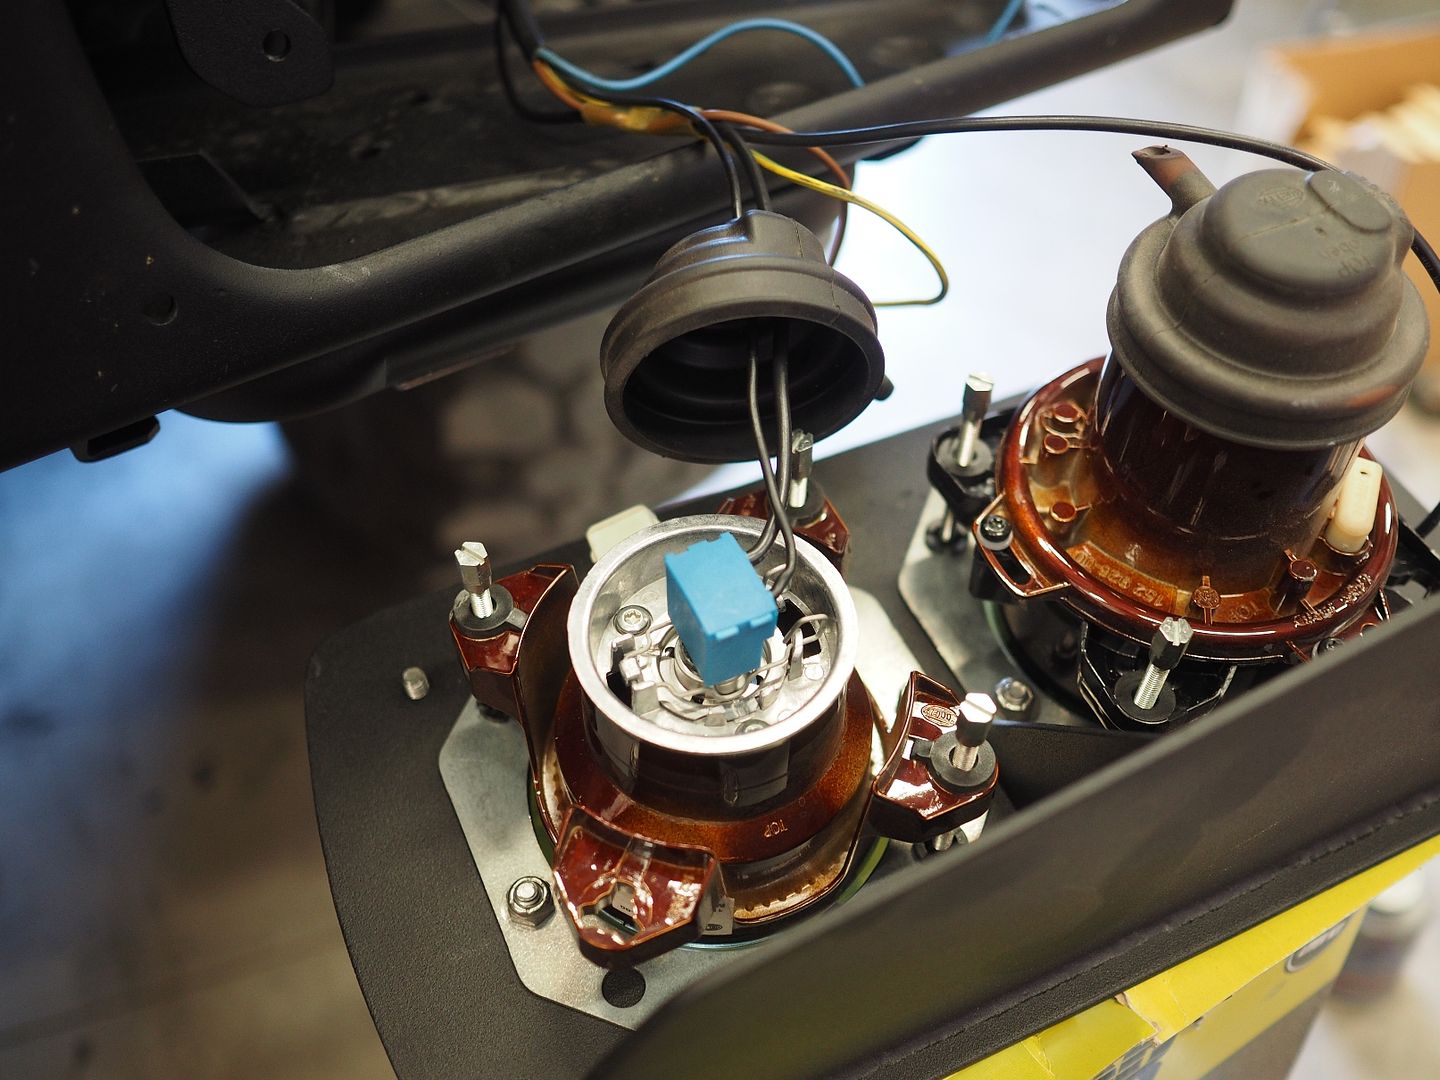
Figuring out which wires go to what
Fabricating a local ground wire, this wire will tie into the existing ground wire and give a local connection as well ensuring a good ground.
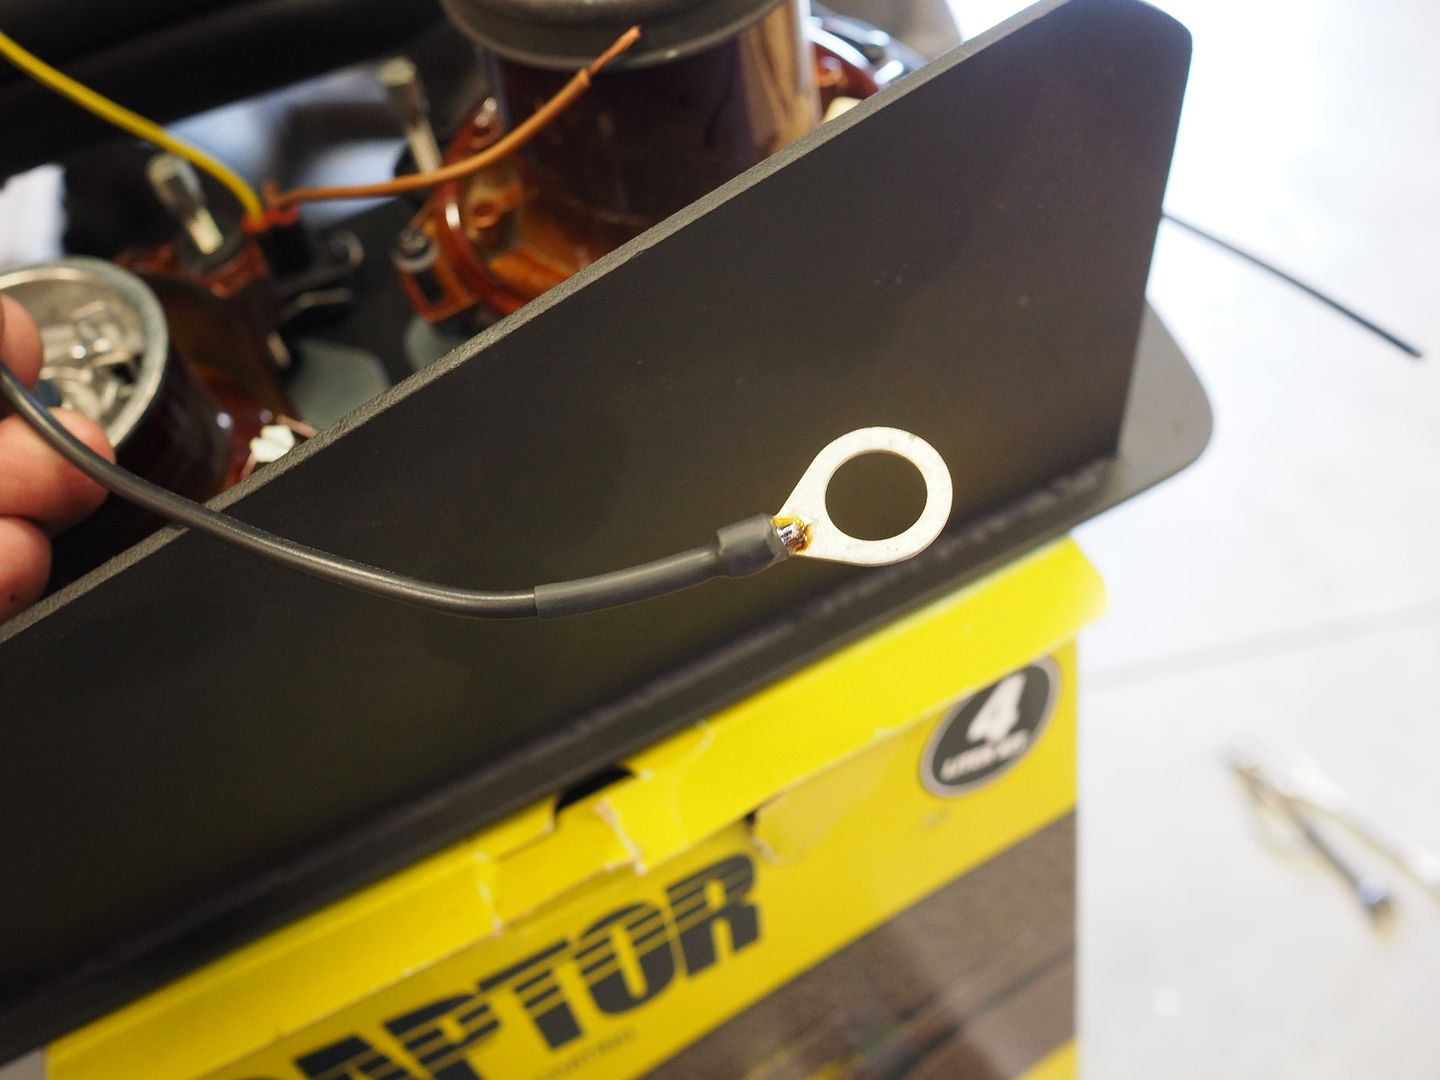
Local ground connection point
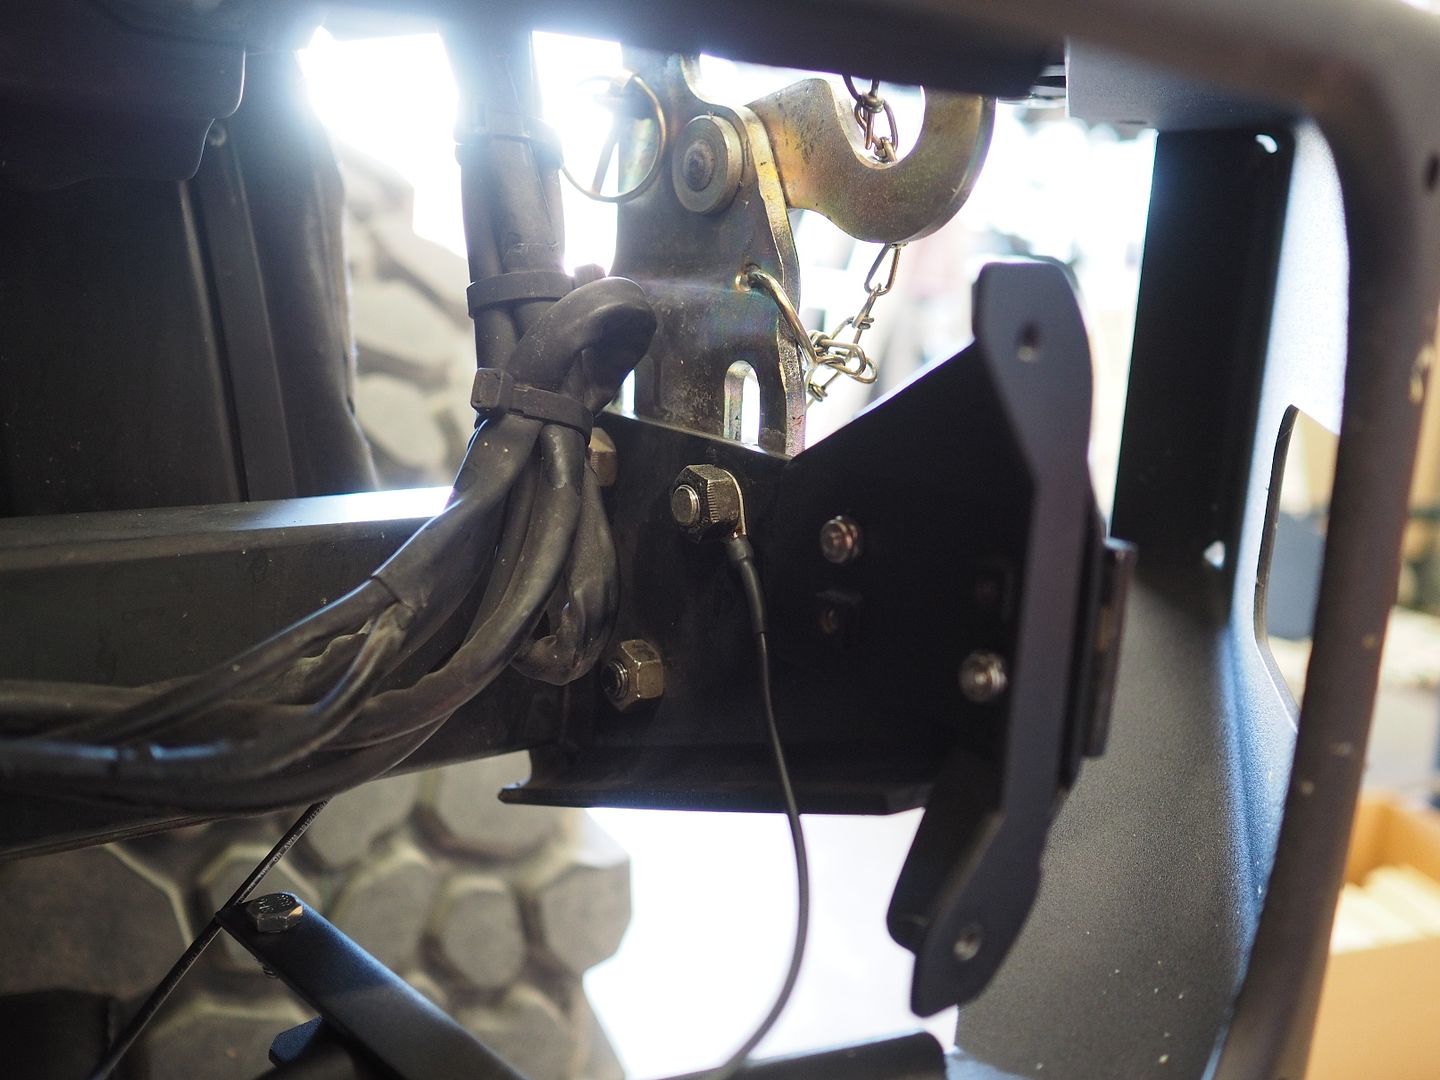
Testing the local ground connection to ensure a good connection
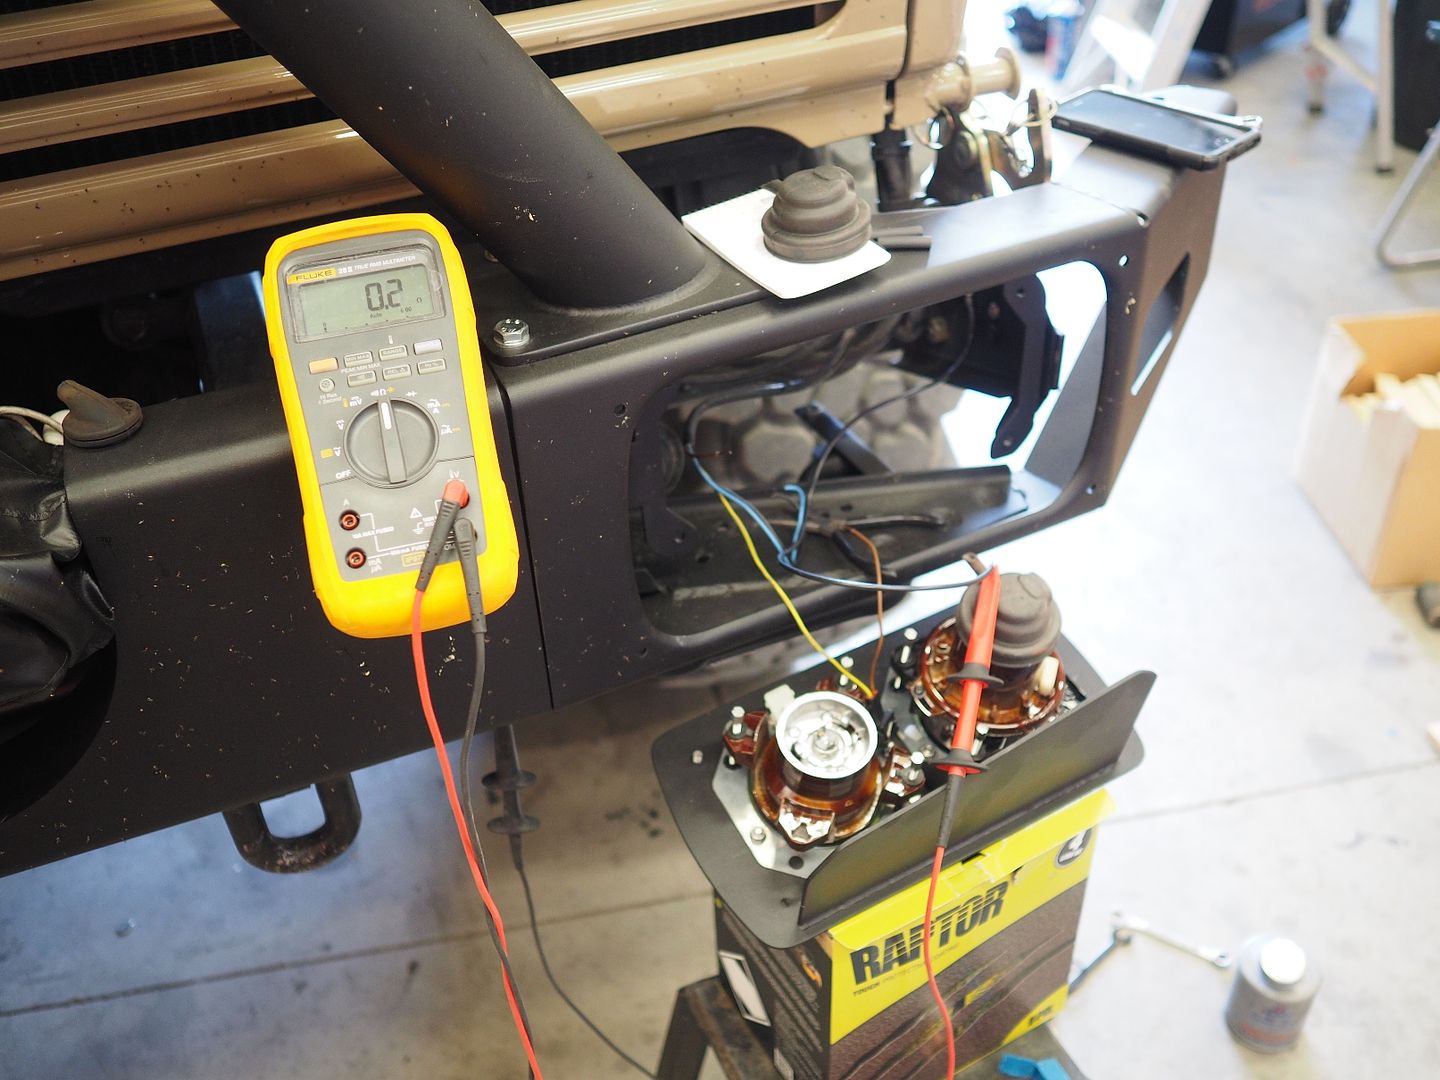
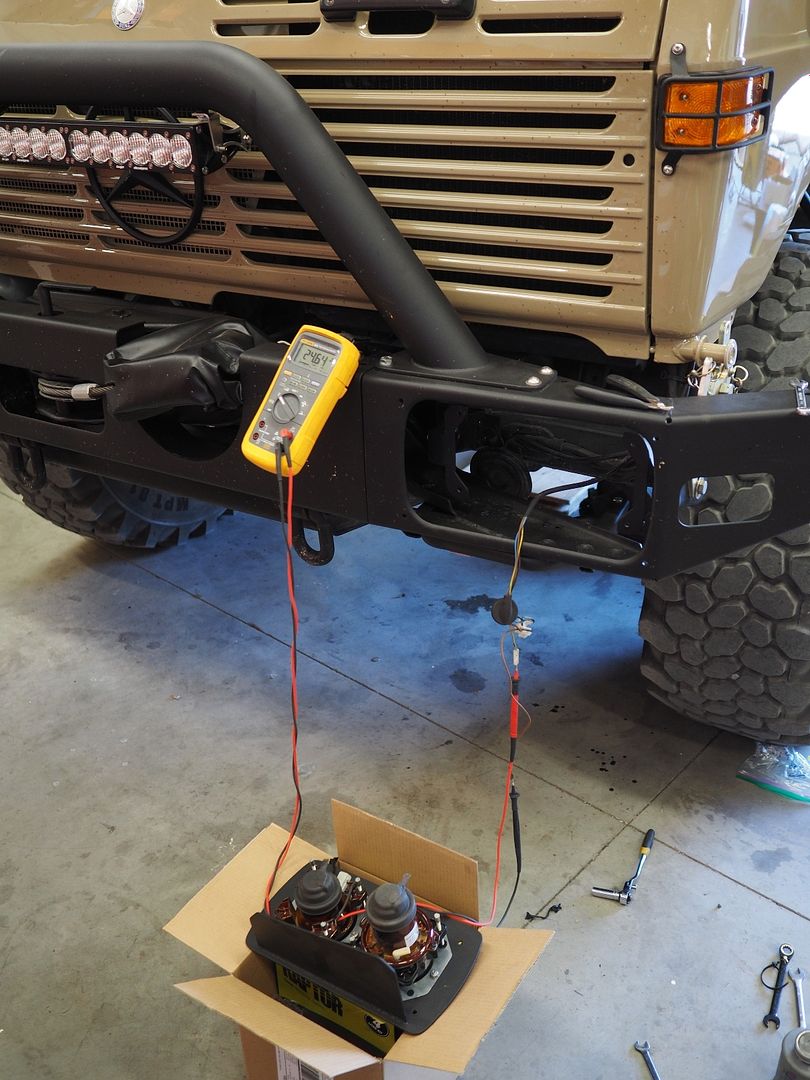
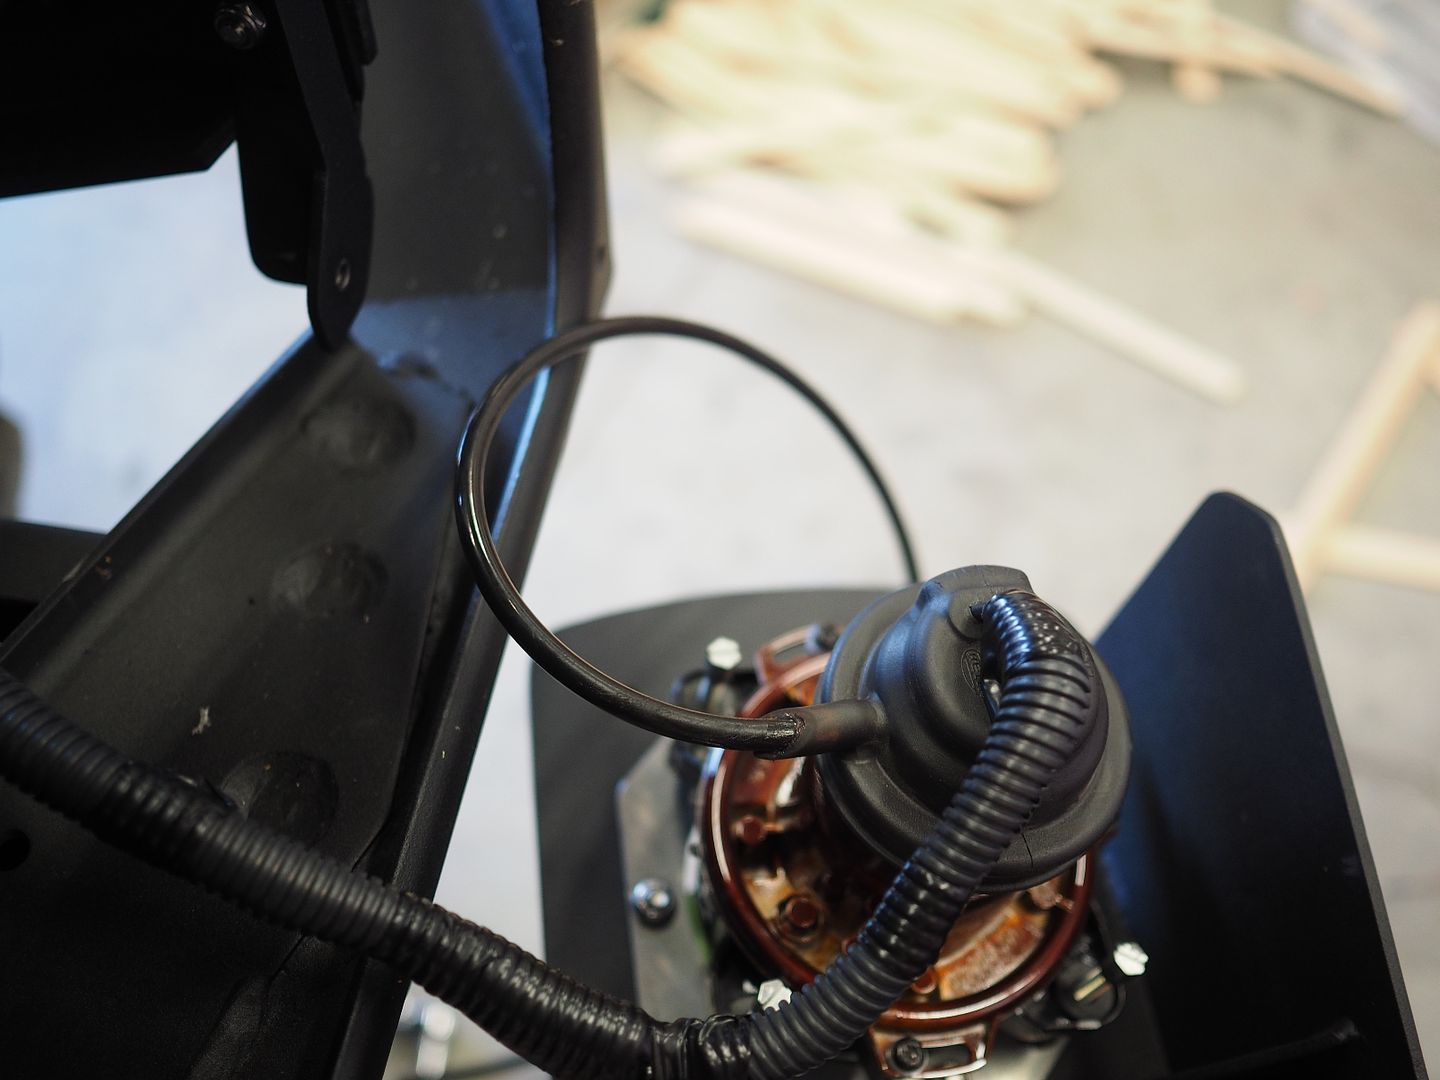
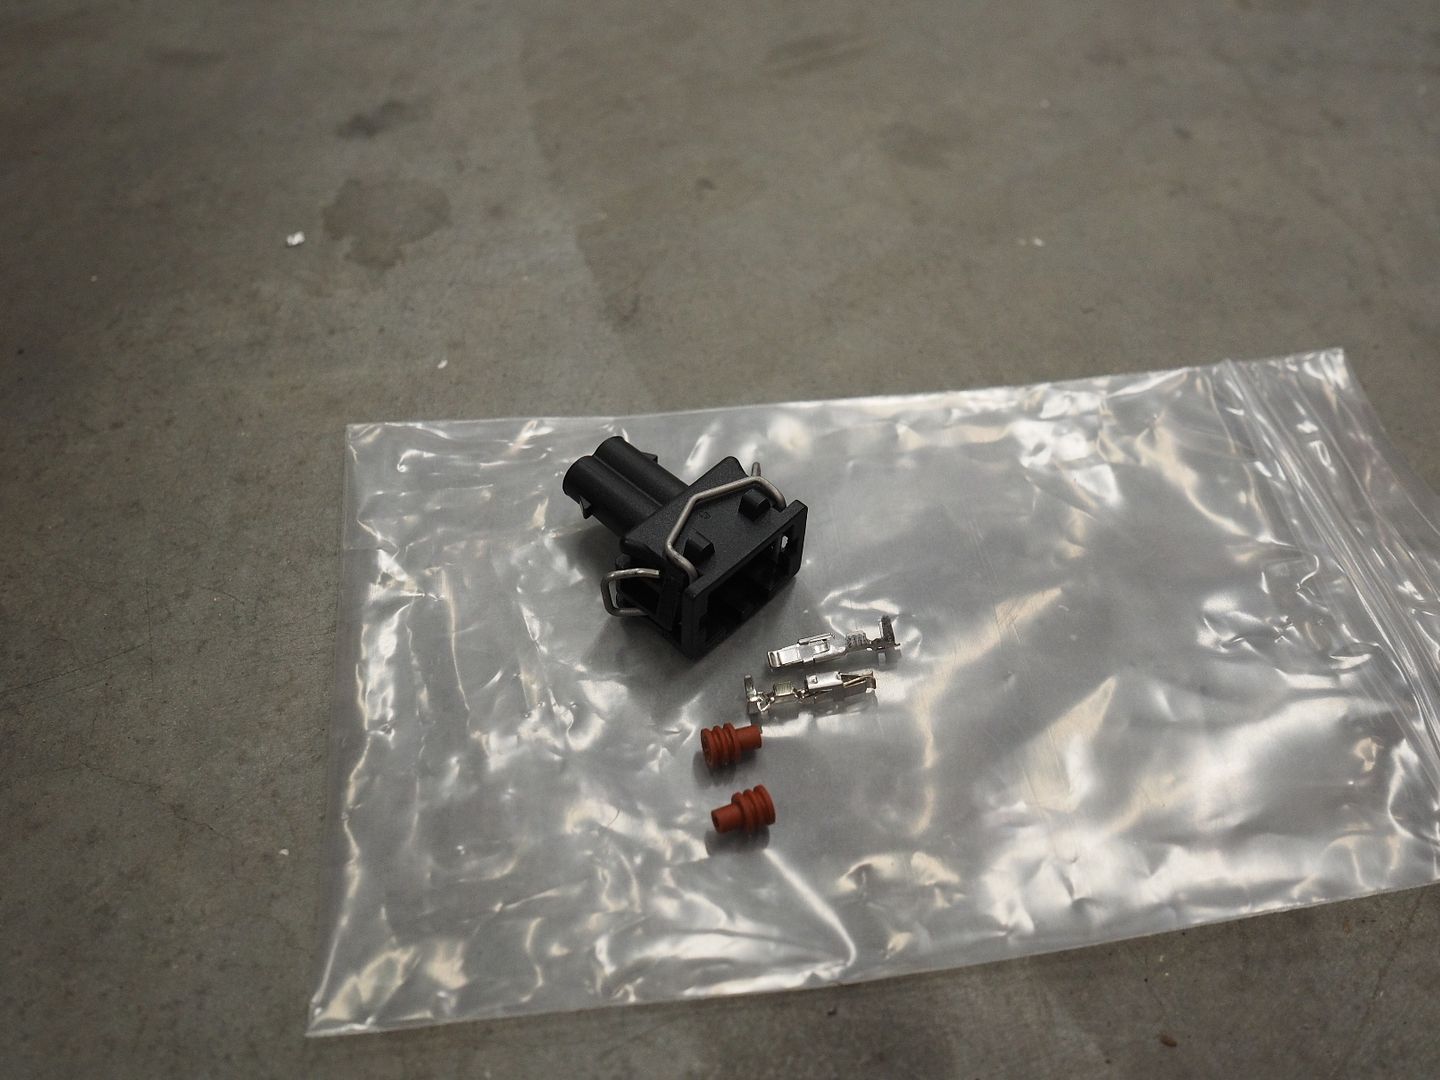
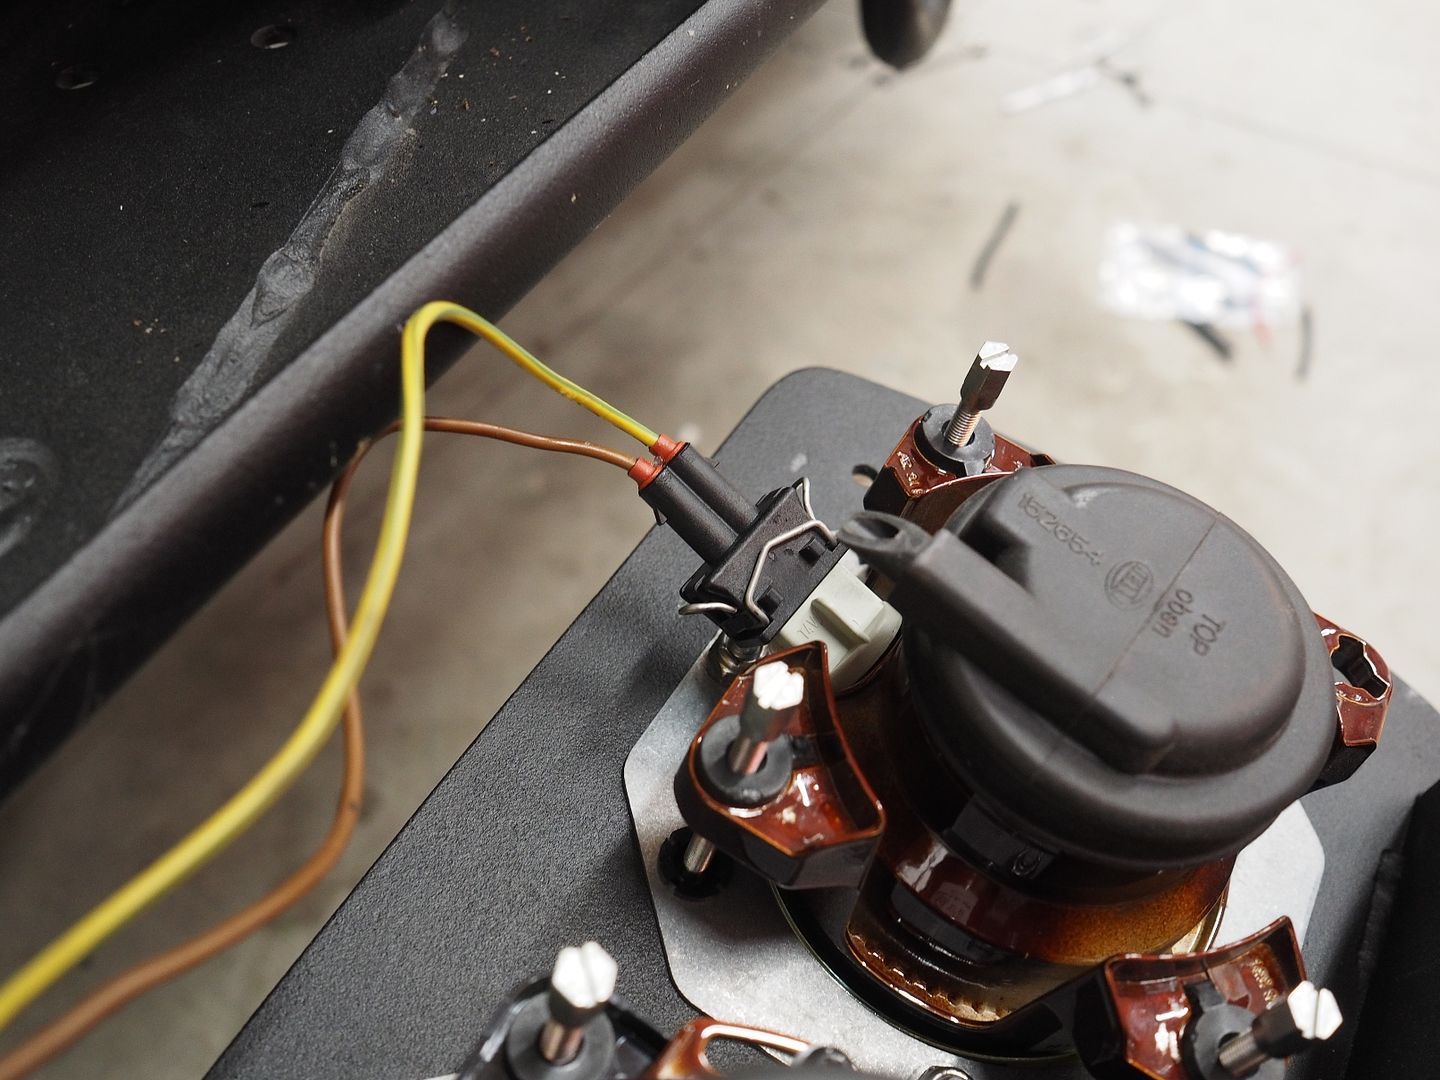
Testing the high beam before assembling the connector
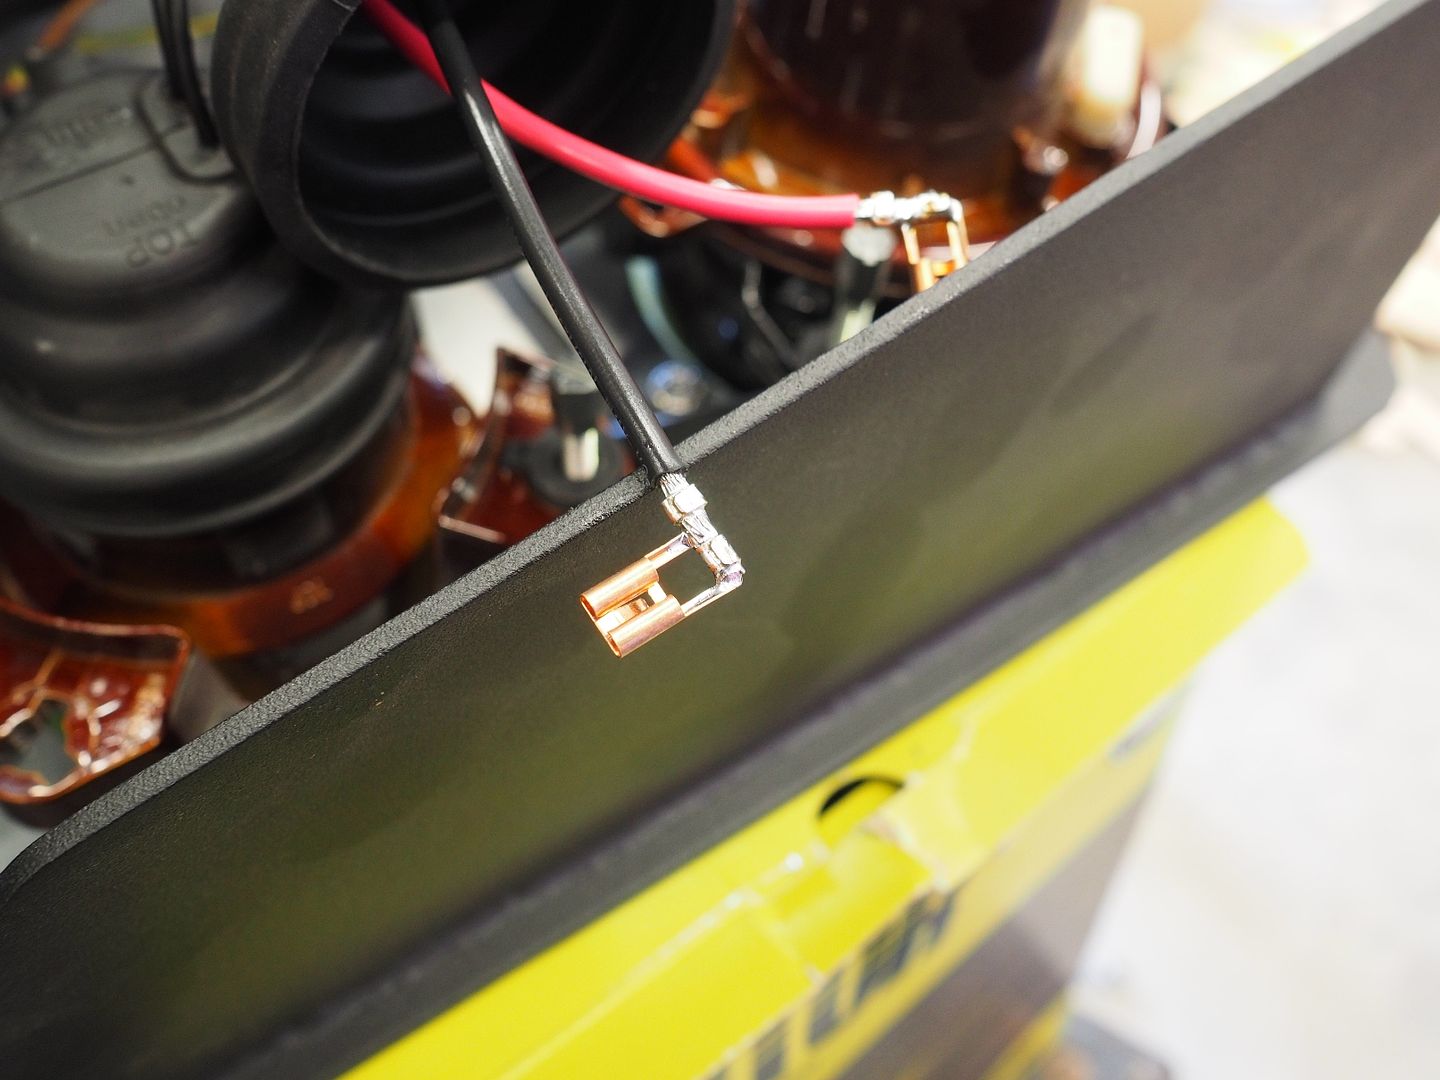
New connector installed
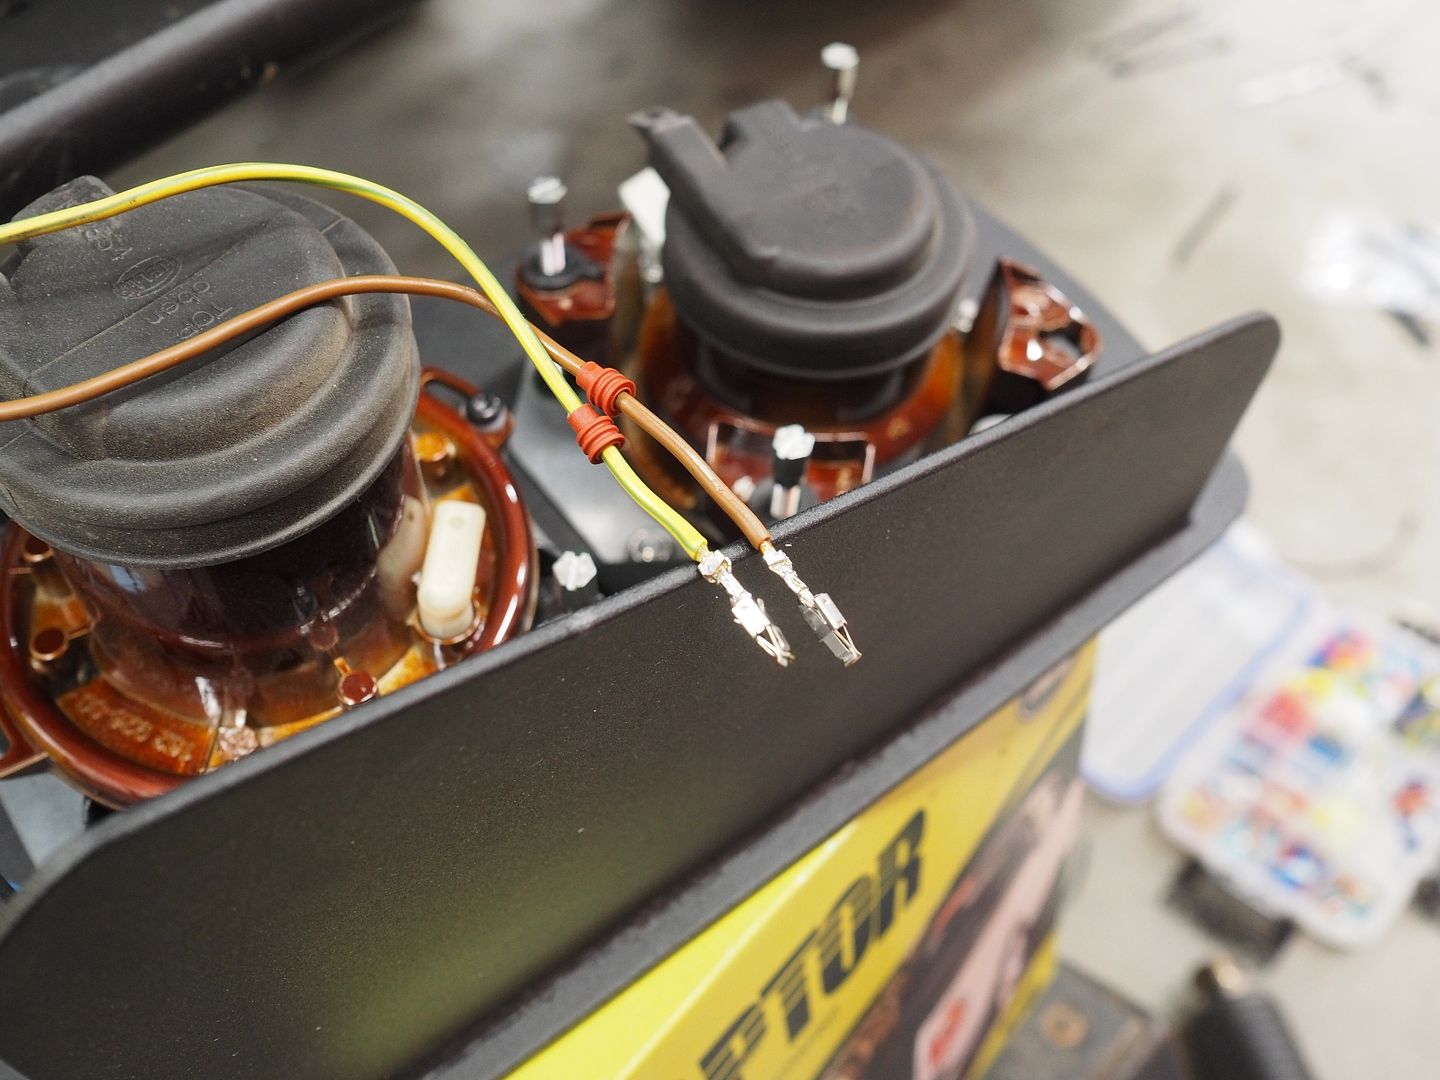
Connectors Soldered onto the wiring
Wiring almost complete on the drivers side
I installed silicone tubing into the vent connections on the rubber caps. These hoses run up into the engine bay and allow the headlights to breath while keeping water out during deep water crossings.
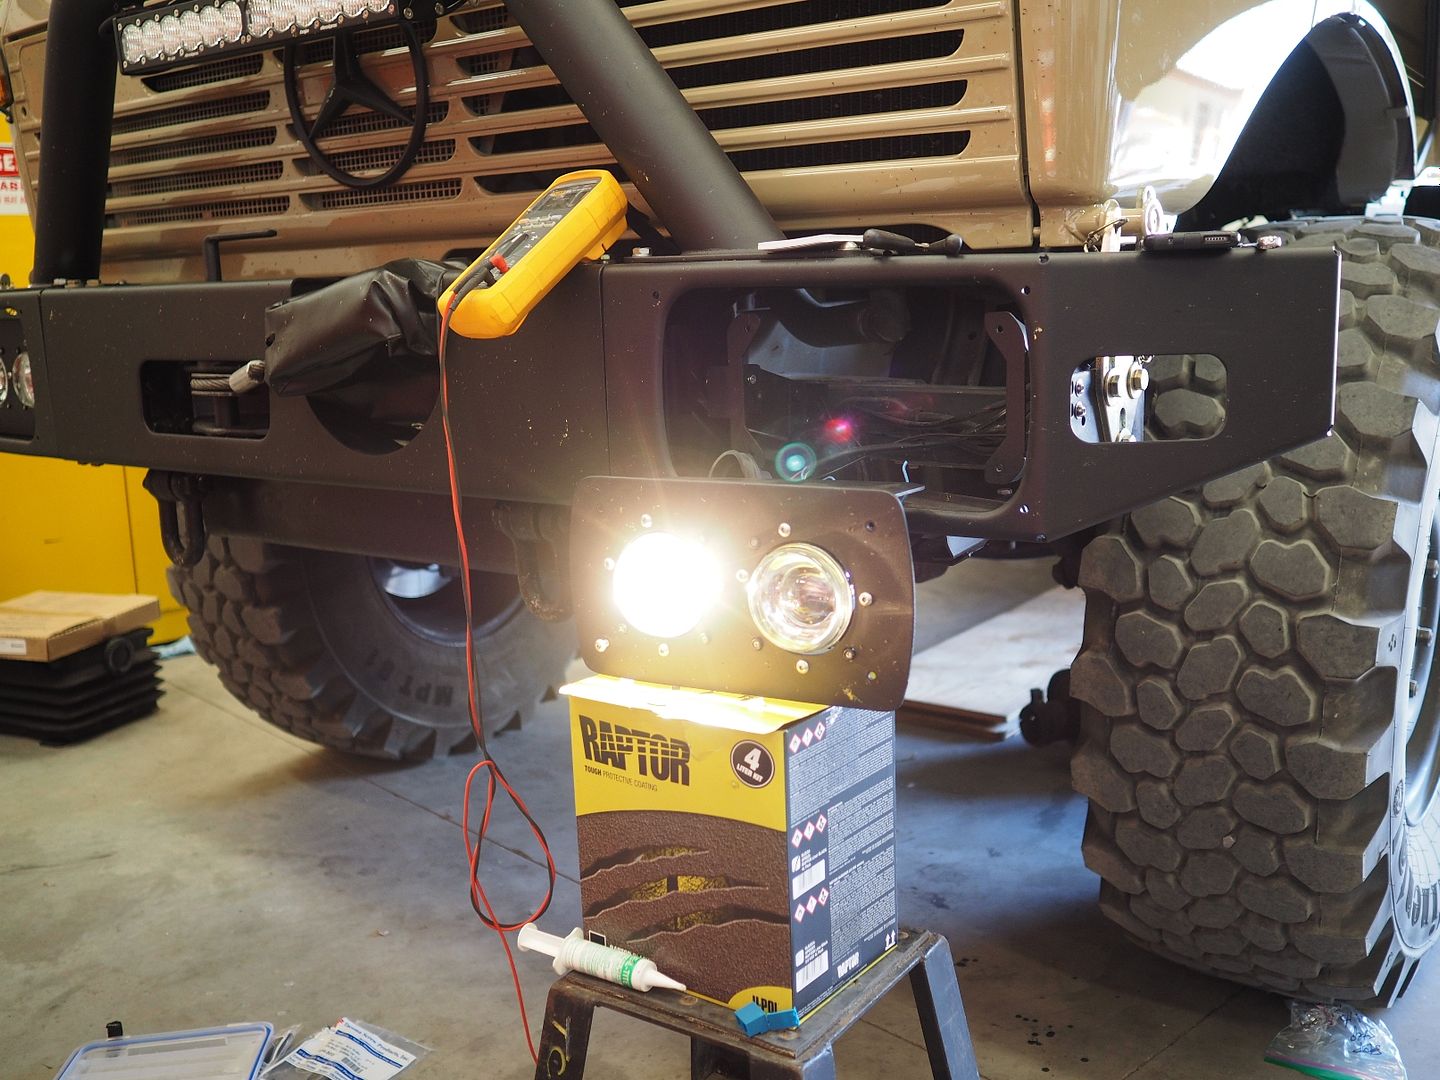
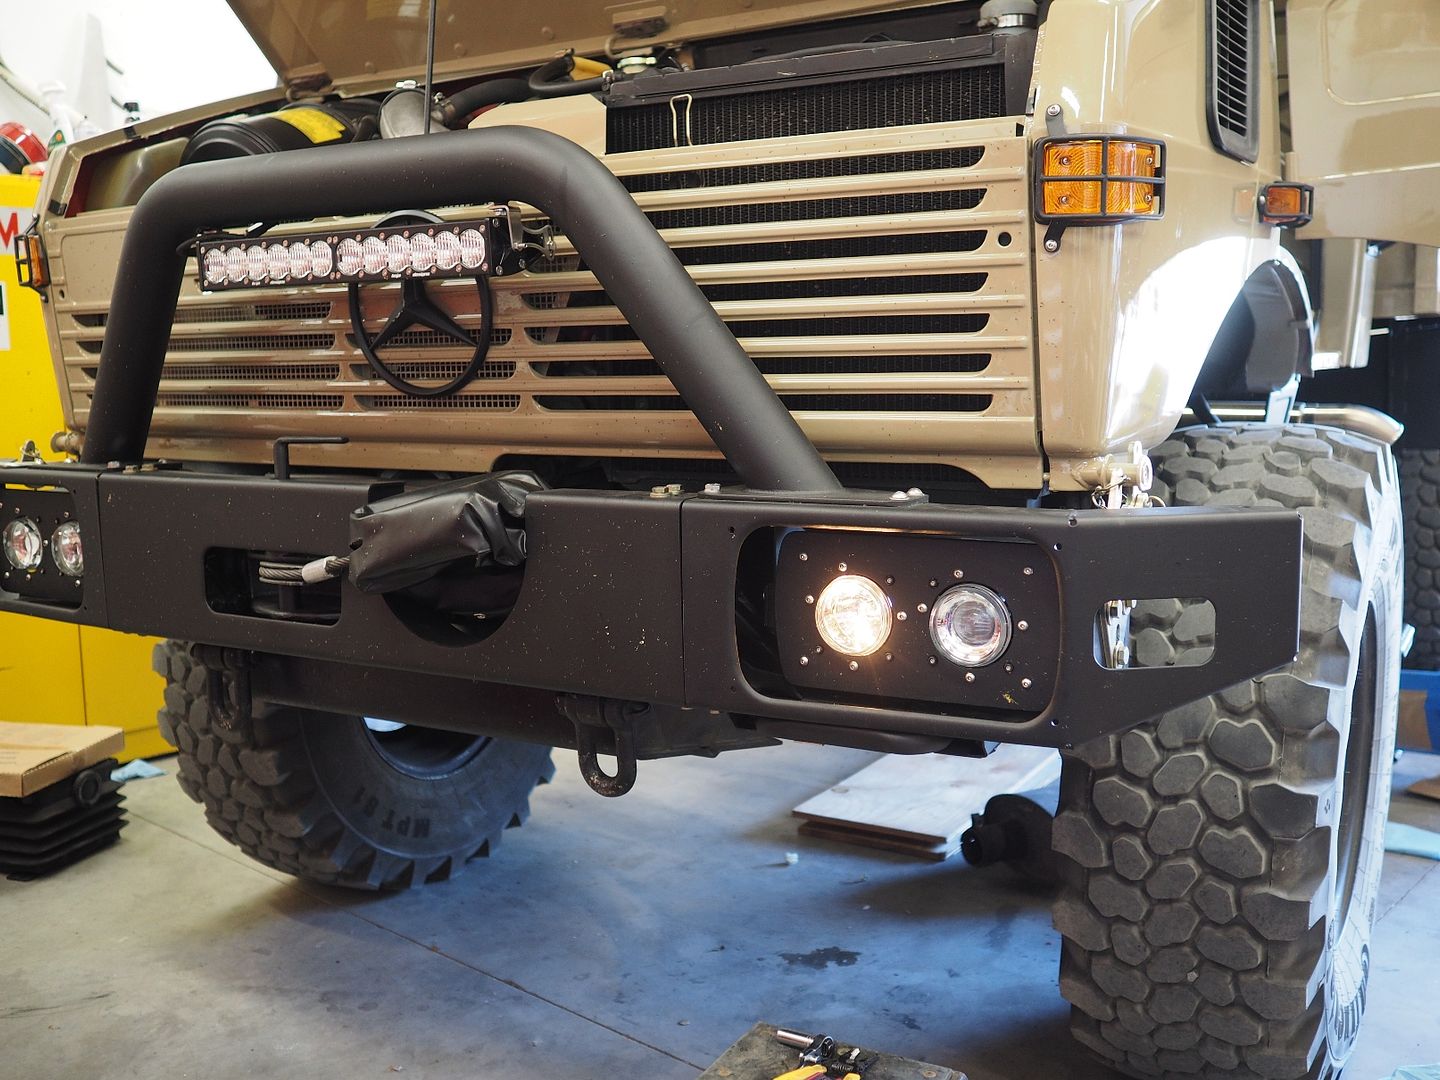
Testing the headlights with the units re-installed in the truck. 70W bulbs installed in both high and low beams.
City Light
Low Beam

High Beam
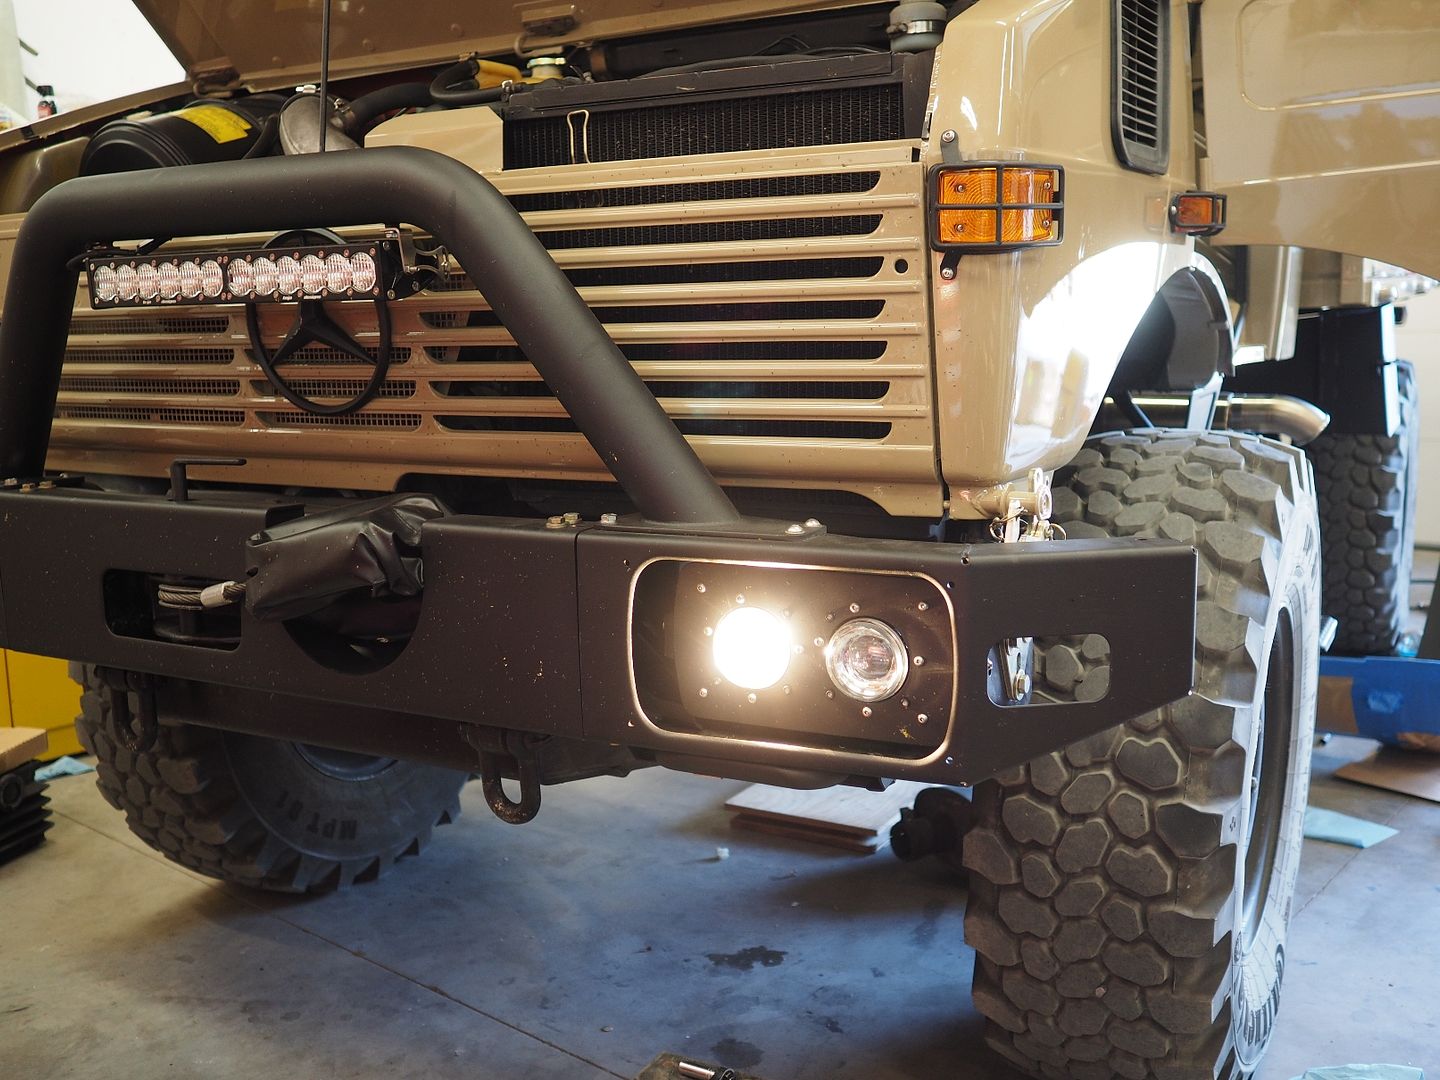
Should work a lot better than the crappy OEM units.
Hodakaguy
Installing the tail light mounts.
Wiring the tail lights
Starting to install the bed boards. Using new stainless steel hardware. Not all the bolts have been tightened yet.
Masking the fenders, I'll be applying bed liner on the underside of the fenders. The bed liner helps for noise reduction when rocks hit the fenders, plus helps prevent denting.
Front step installed with new hardware.
Driver and passenger side door seals installed
Time to wire the headlights, There is a big local car show coming up soon that I'll be attending and I usually head home after dark so the lights need to be functioning.
Figuring out which wires go to what
Fabricating a local ground wire, this wire will tie into the existing ground wire and give a local connection as well ensuring a good ground.
Local ground connection point
Testing the local ground connection to ensure a good connection
Testing the high beam before assembling the connector
New connector installed
Connectors Soldered onto the wiring
Wiring almost complete on the drivers side
I installed silicone tubing into the vent connections on the rubber caps. These hoses run up into the engine bay and allow the headlights to breath while keeping water out during deep water crossings.
Testing the headlights with the units re-installed in the truck. 70W bulbs installed in both high and low beams.
City Light
Low Beam
High Beam
Should work a lot better than the crappy OEM units.
Hodakaguy
Nashorn101
Observer
More Work.....
Installing the tail light mounts.
Wiring the tail lights
Starting to install the bed boards. Using new stainless steel hardware. Not all the bolts have been tightened yet.
Masking the fenders, I'll be applying bed liner on the underside of the fenders. The bed liner helps for noise reduction when rocks hit the fenders, plus helps prevent denting.
Front step installed with new hardware.
Driver and passenger side door seals installed
Time to wire the headlights, There is a big local car show coming up soon that I'll be attending and I usually head home after dark so the lights need to be functioning.
Figuring out which wires go to what
Fabricating a local ground wire, this wire will tie into the existing ground wire and give a local connection as well ensuring a good ground.
Local ground connection point
Testing the local ground connection to ensure a good connection
Testing the high beam before assembling the connector
New connector installed
Connectors Soldered onto the wiring
Wiring almost complete on the drivers side
I installed silicone tubing into the vent connections on the rubber caps. These hoses run up into the engine bay and allow the headlights to breath while keeping water out during deep water crossings.
Testing the headlights with the units re-installed in the truck. 70W bulbs installed in both high and low beams.
City Light
Low Beam
High Beam
Should work a lot better than the crappy OEM units.
Hodakaguy
This is the sickest build. It's nice to see a Unimog that was completely rebuilt with thoughtful design, class, and with the help of your father. So freaking cool. This is what I want to do with my Jeep and, possibly, a Unimog when I retire.
Cannot wait to see it finished. I laugh at those $50,000 Ford Raptors or the even Chevy 2500's with all the bling and big chrome rims on them, because they are NOTHING compared to a vehicle like this.
Sent from my iPhone using Tapatalk
ambulancemonkee
Observer
Nice work, and great photos. Fortunately I got to look at them twice, since your entire post was quoted. 
dwh
Tail-End Charlie
Fortunately I got to look at them twice, since your entire post was quoted.
Yea, but at least the guy didn't quote the whole frigging post just so could add a lousy little one-liner reply.
Hodakaguy
Adventurer
Today's Progress....
Wiring the passenger side headlights, same process as the drivers side.
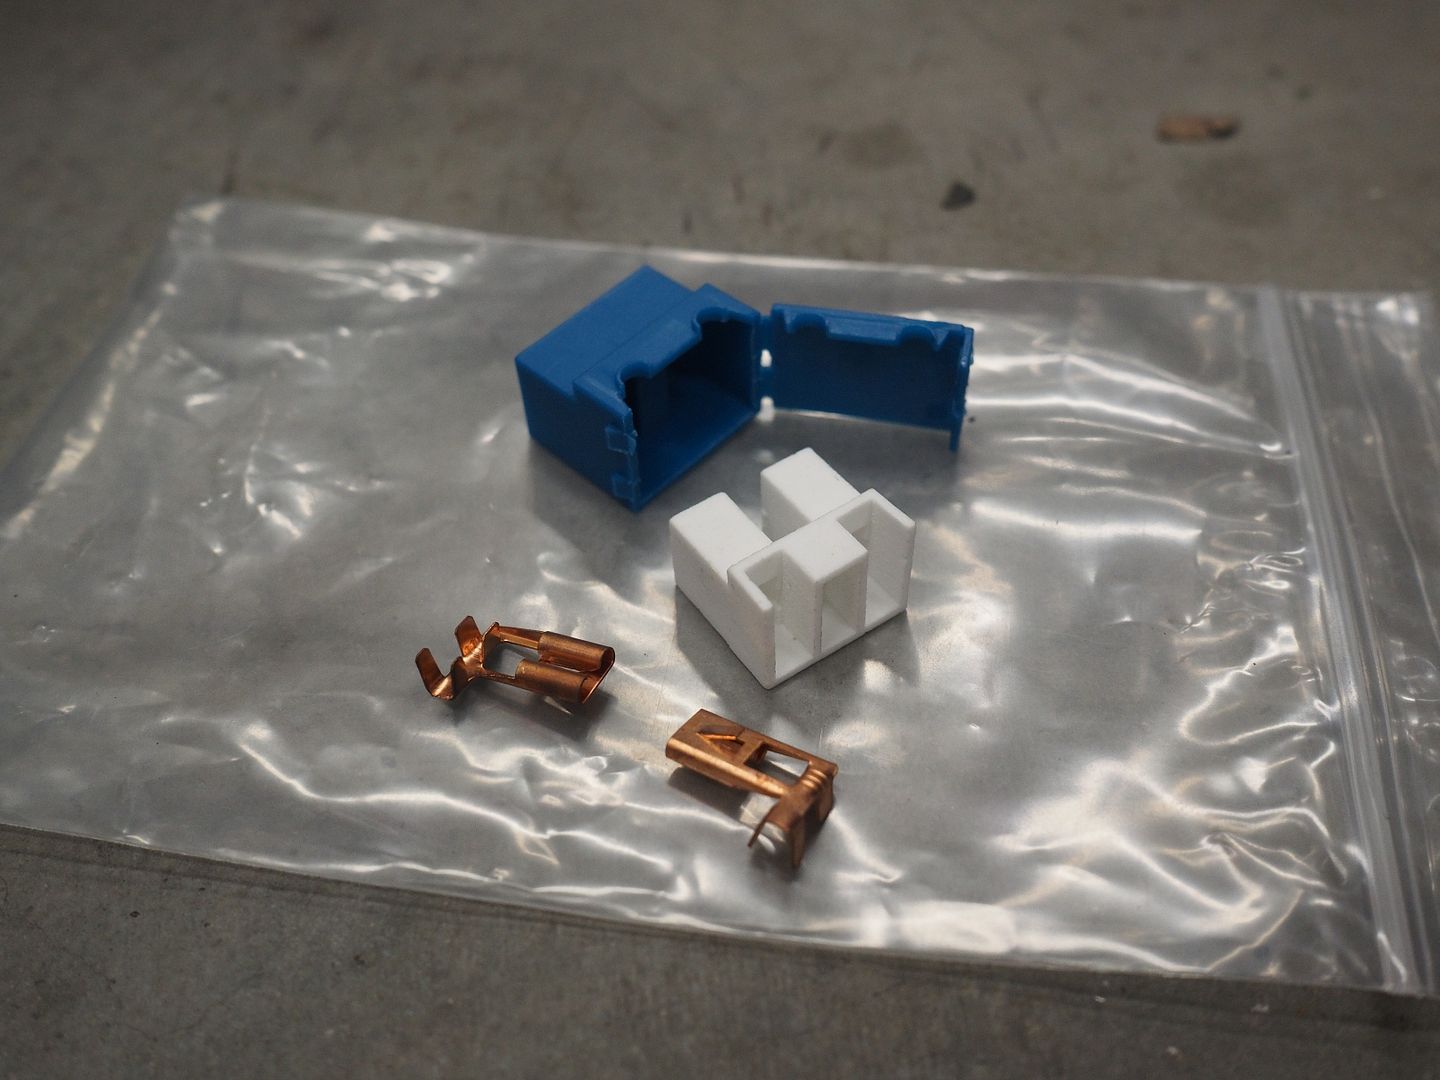
Connector for the city light (parking or running light)
City light connector terminals crimped and soldered
City light connector installed. Dielectric grease installed on the rubber sealing washers.
H7 headlight connector getting ready to be installed
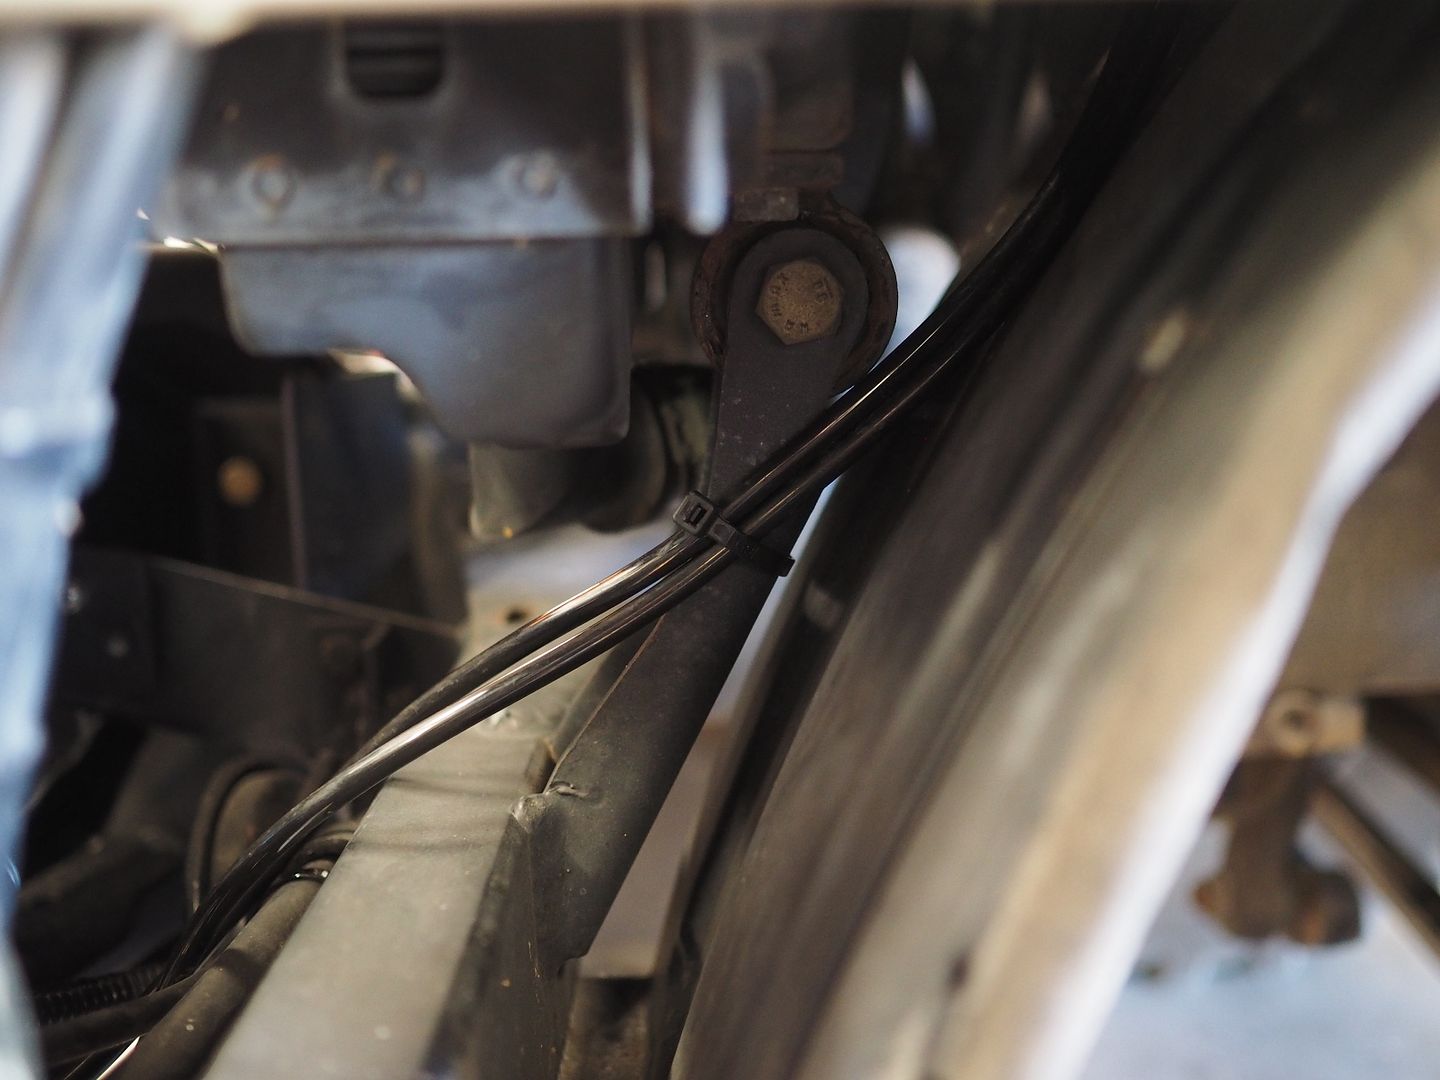
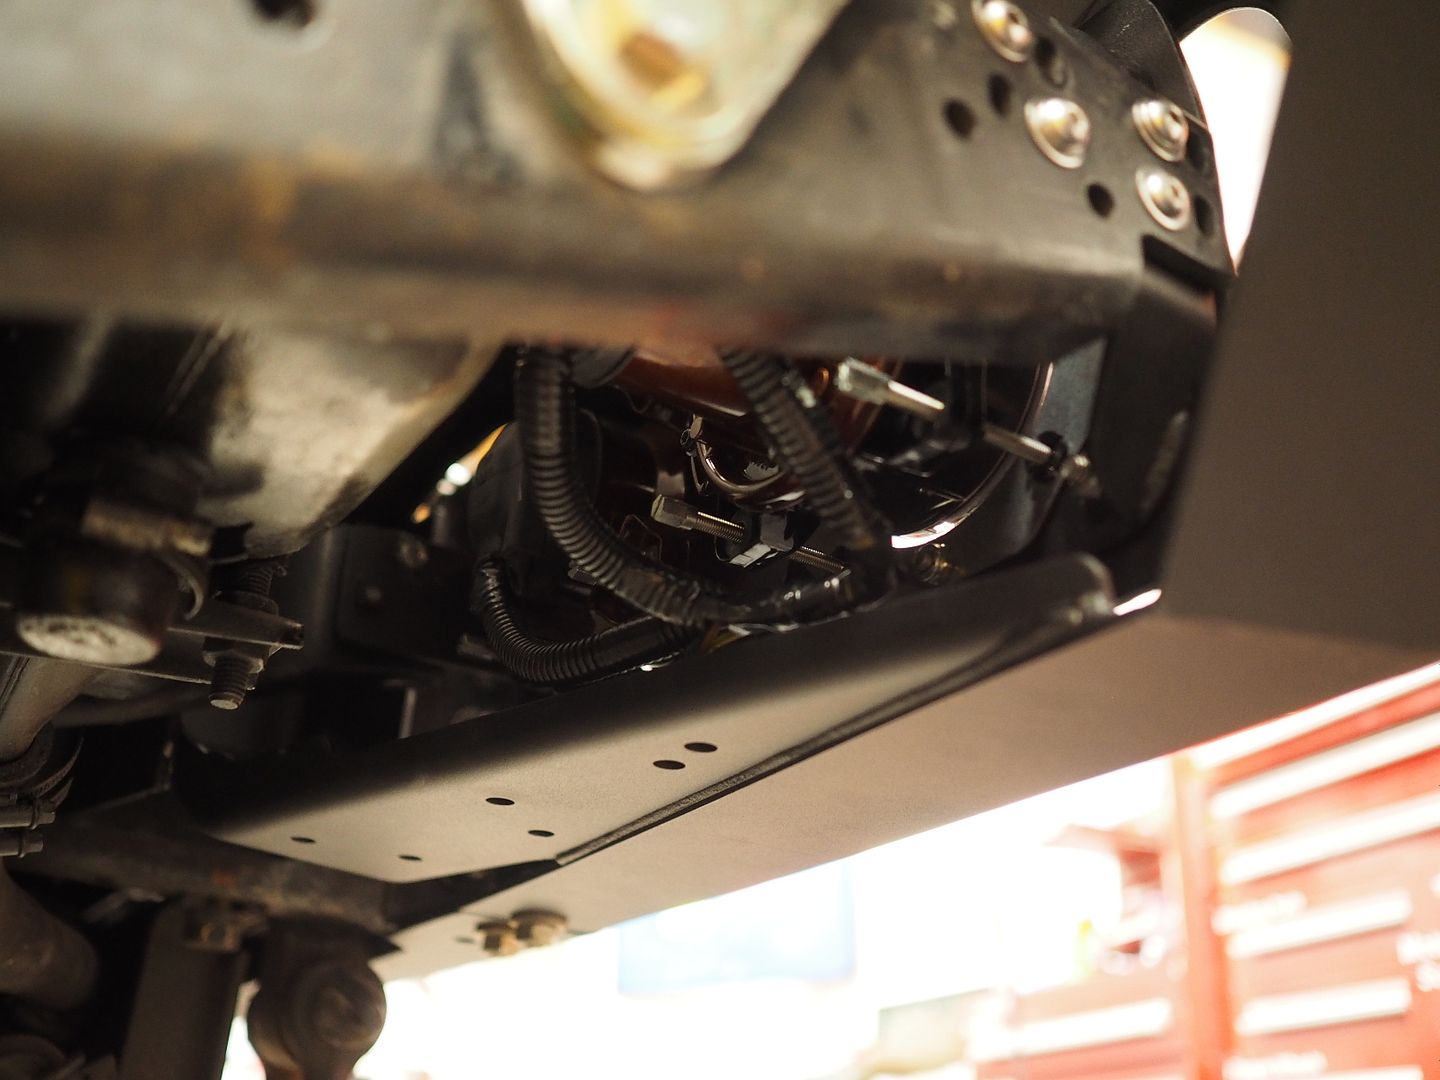
Wired up with local ground installed, loom installed for abrasion resistance. Out of the silicone hose for the vent lines so I'll have to pick some up.
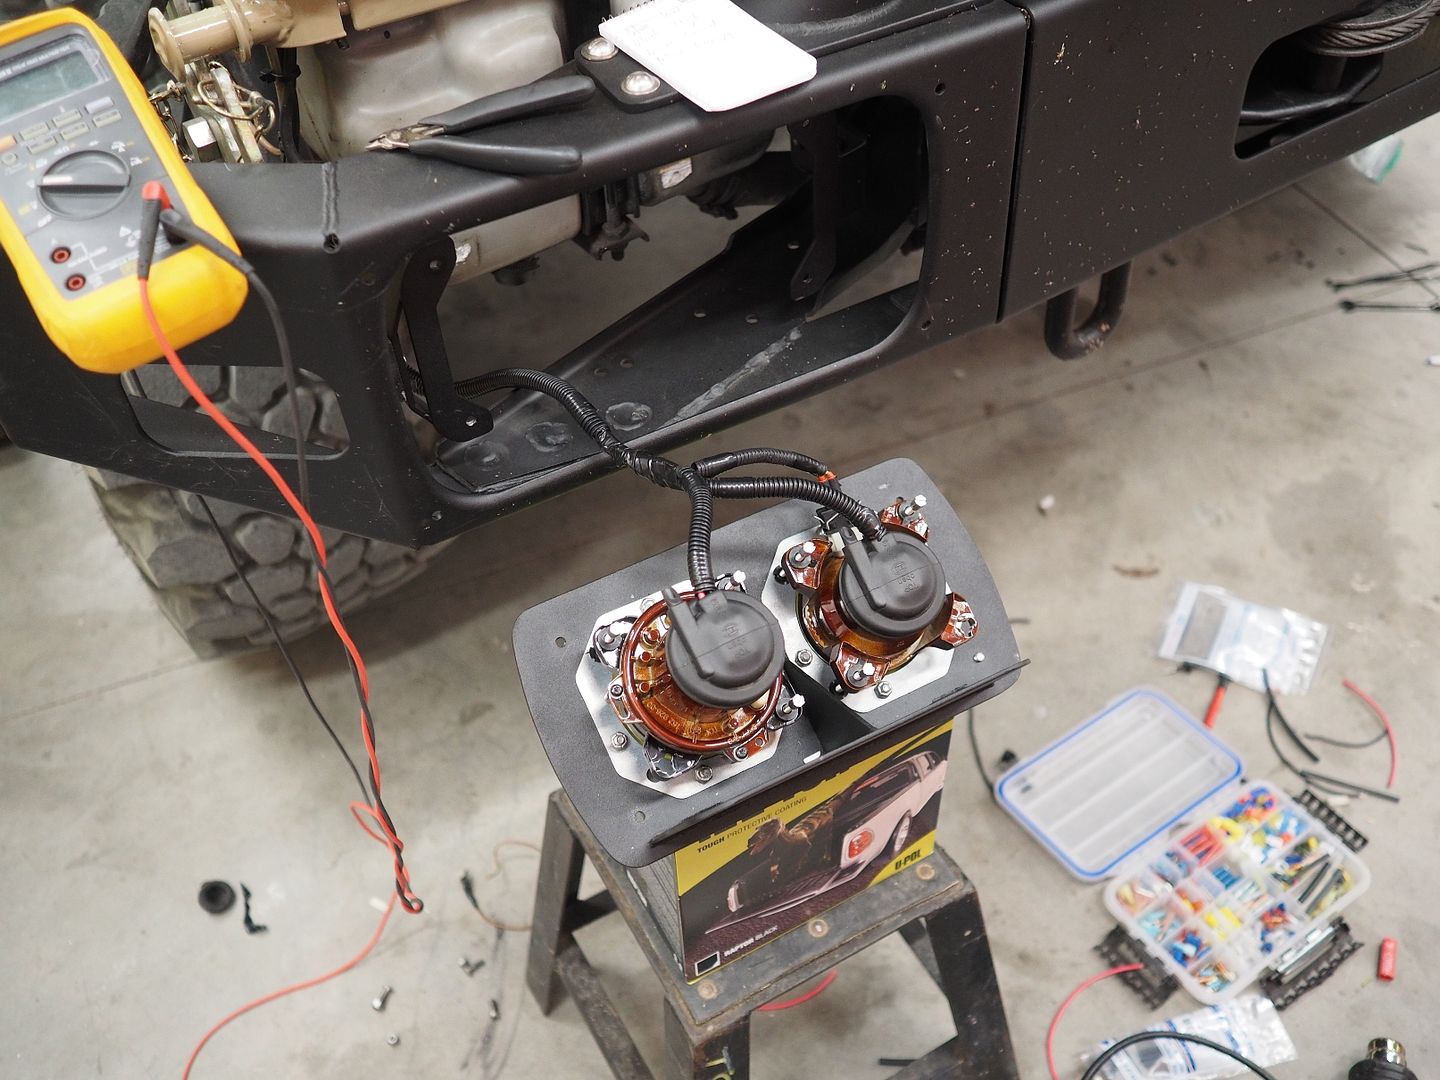
Wiring all tucked in
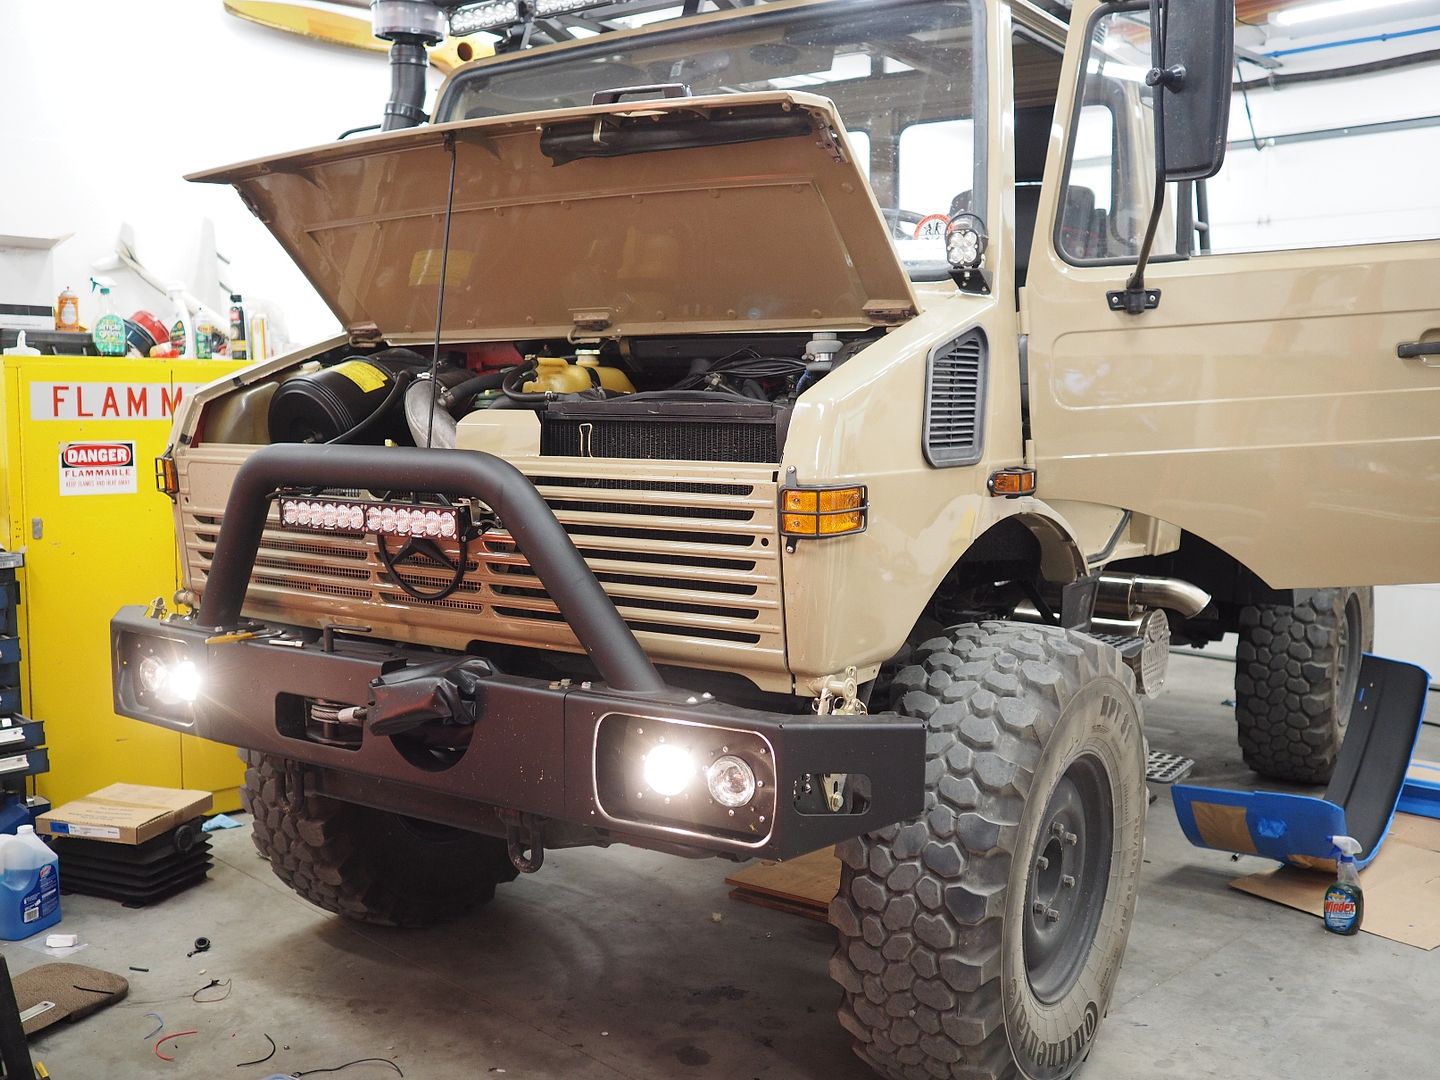
Headlights!
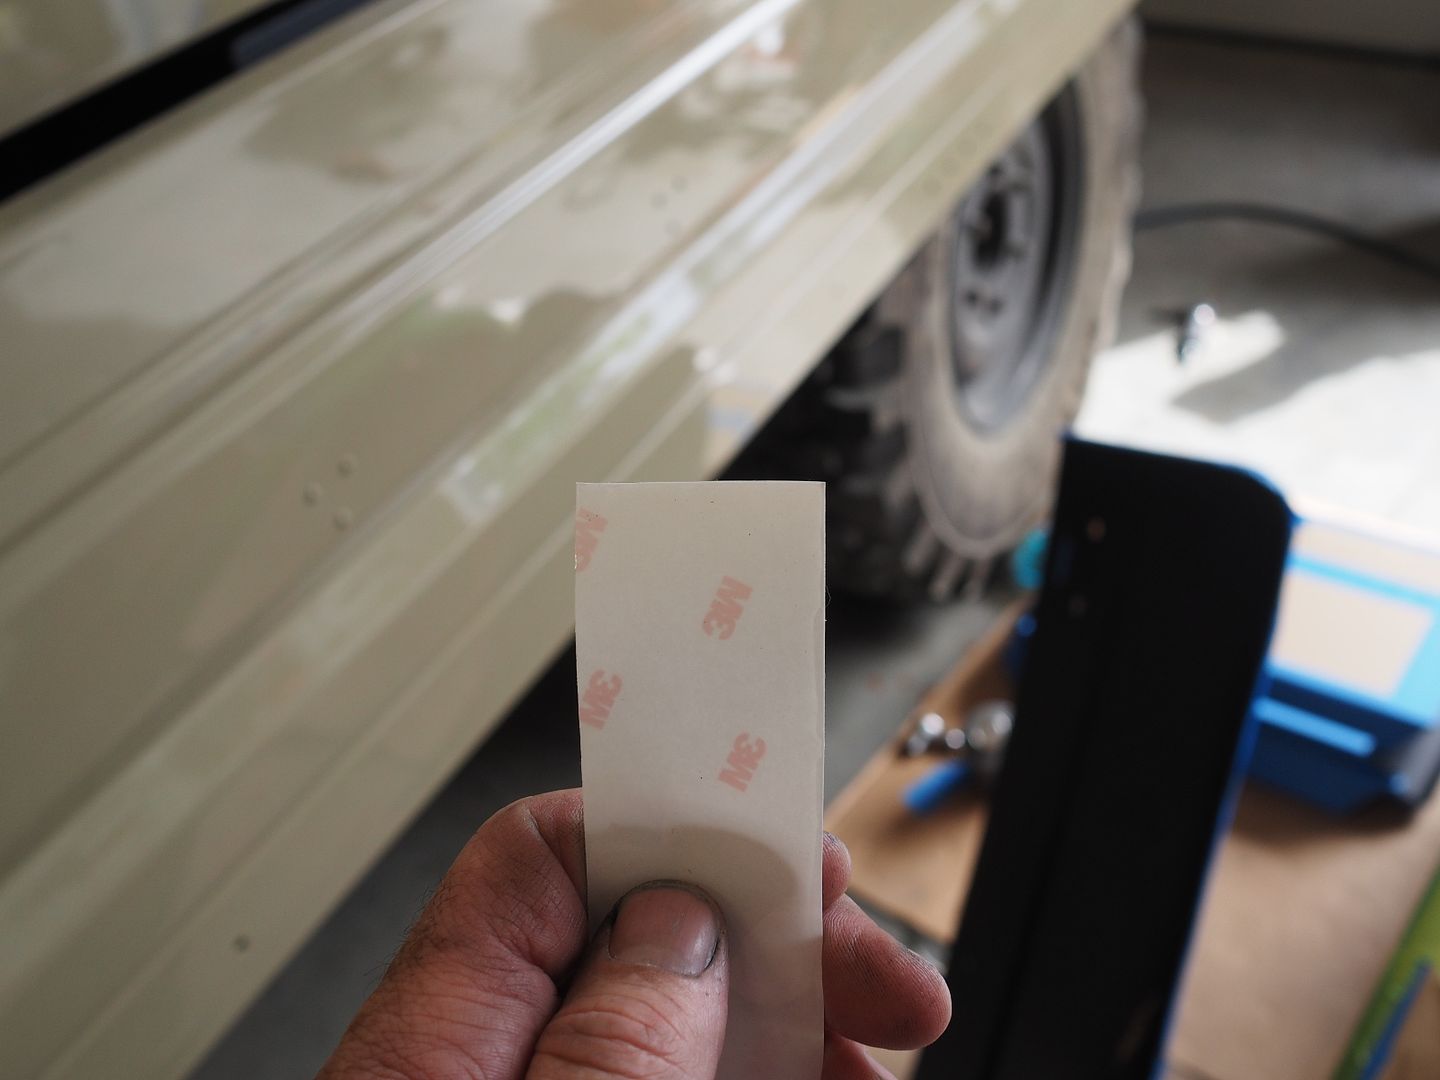
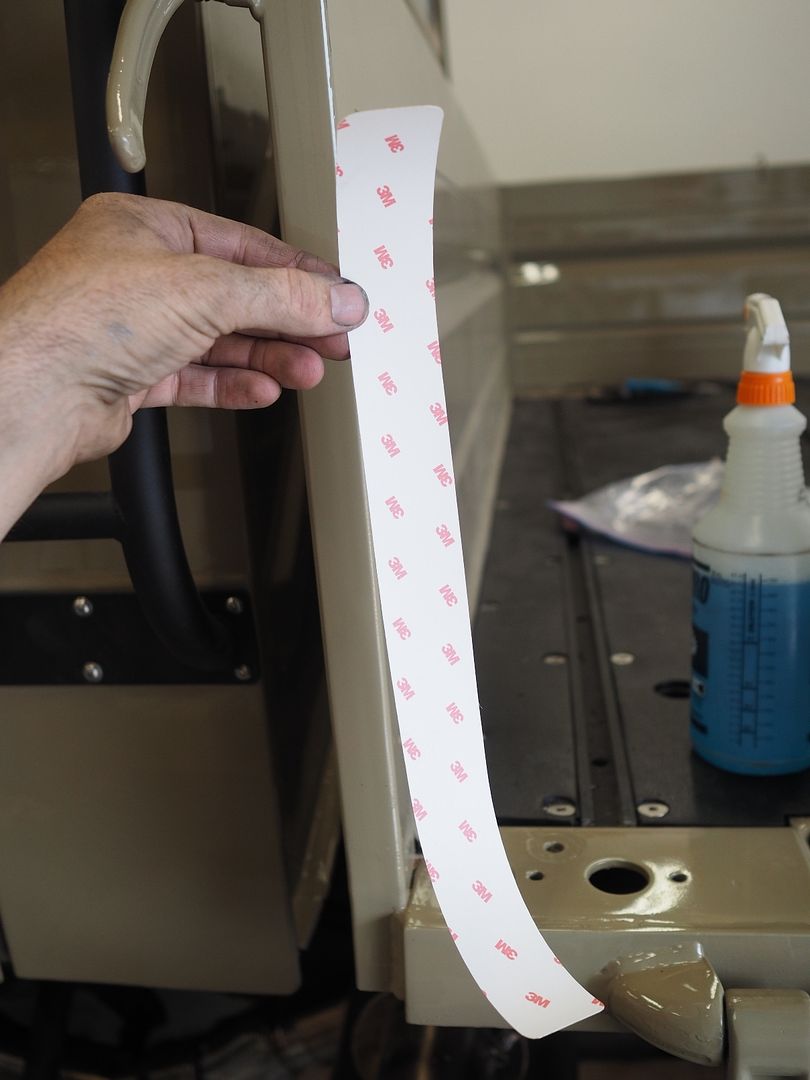
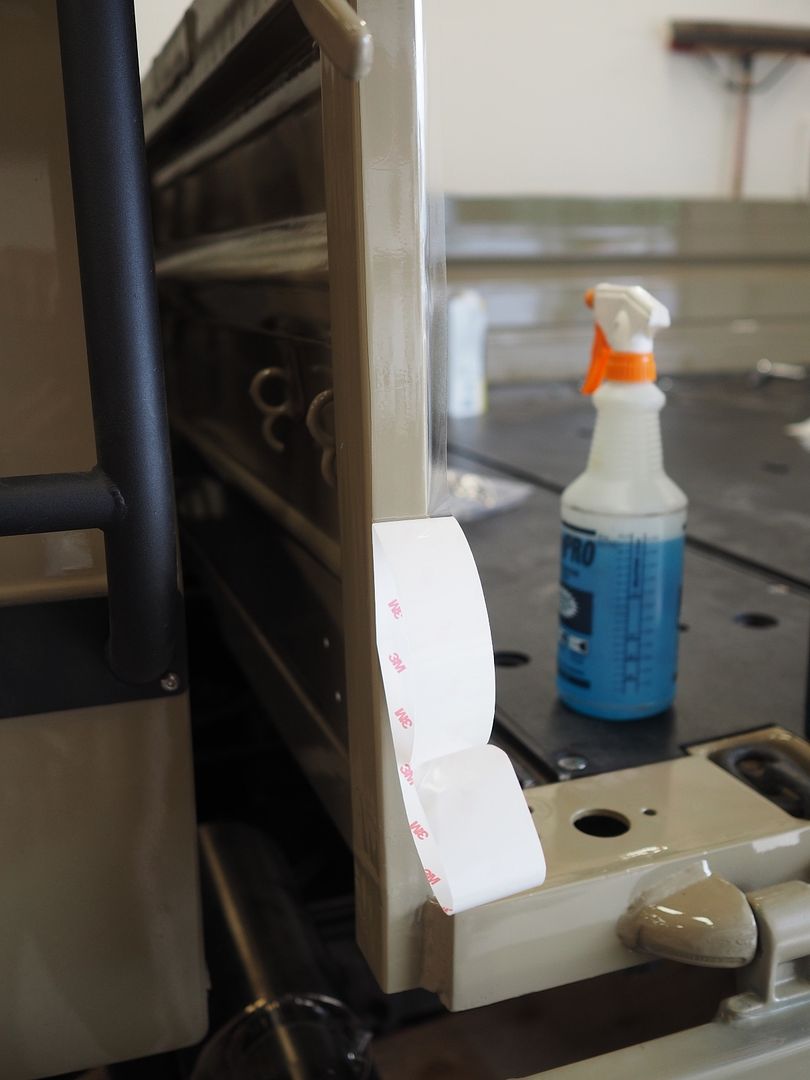
Getting ready to install 3M paint/rock guard material. This stuff is great at protecting paint from chips and abrasion. You want to round the corners off before install so it won't lift from use.
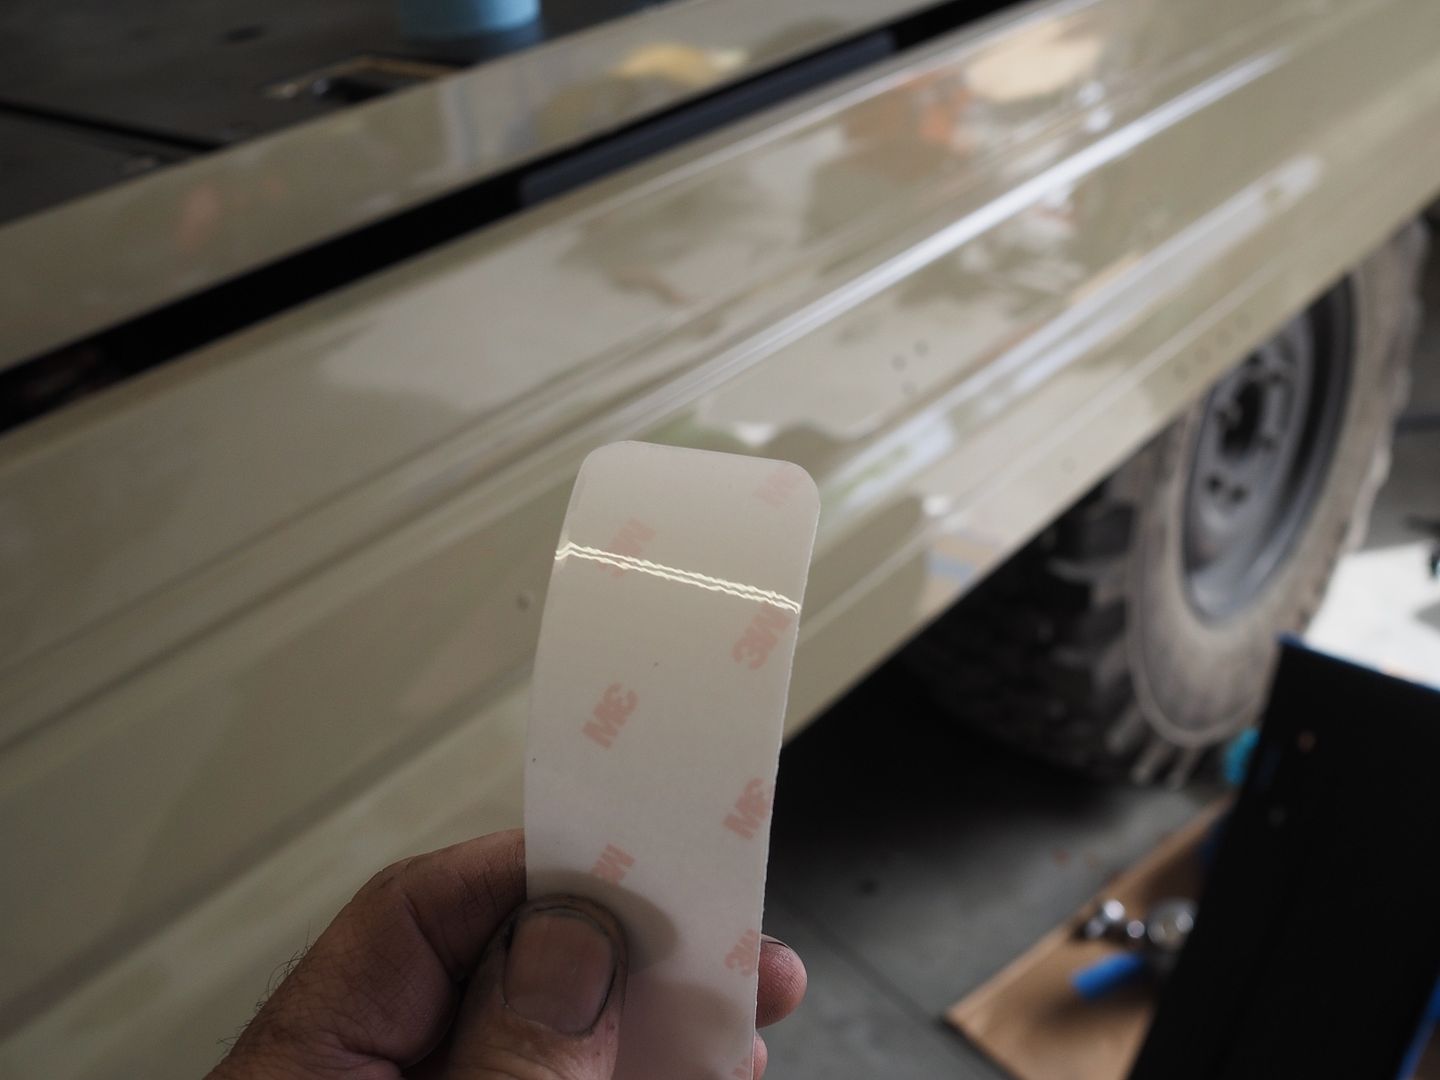
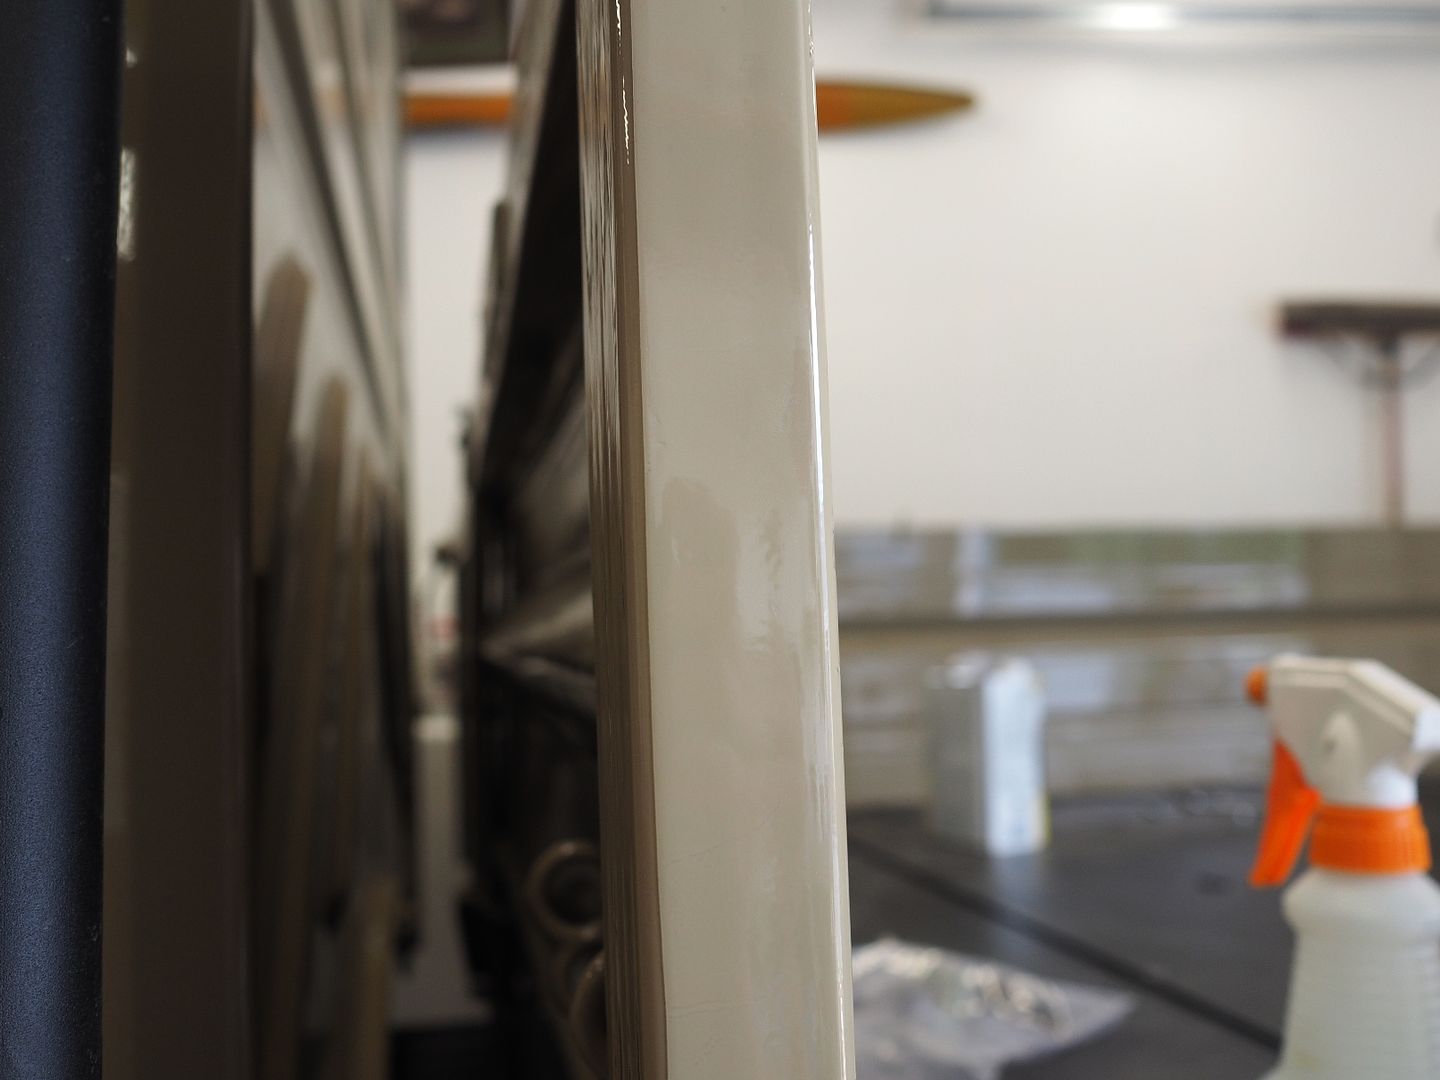
Installing the 3M paint guard material on the edges of the gates where the two gates come in contact with each other. Also installed it where the gate latch chains will rub.
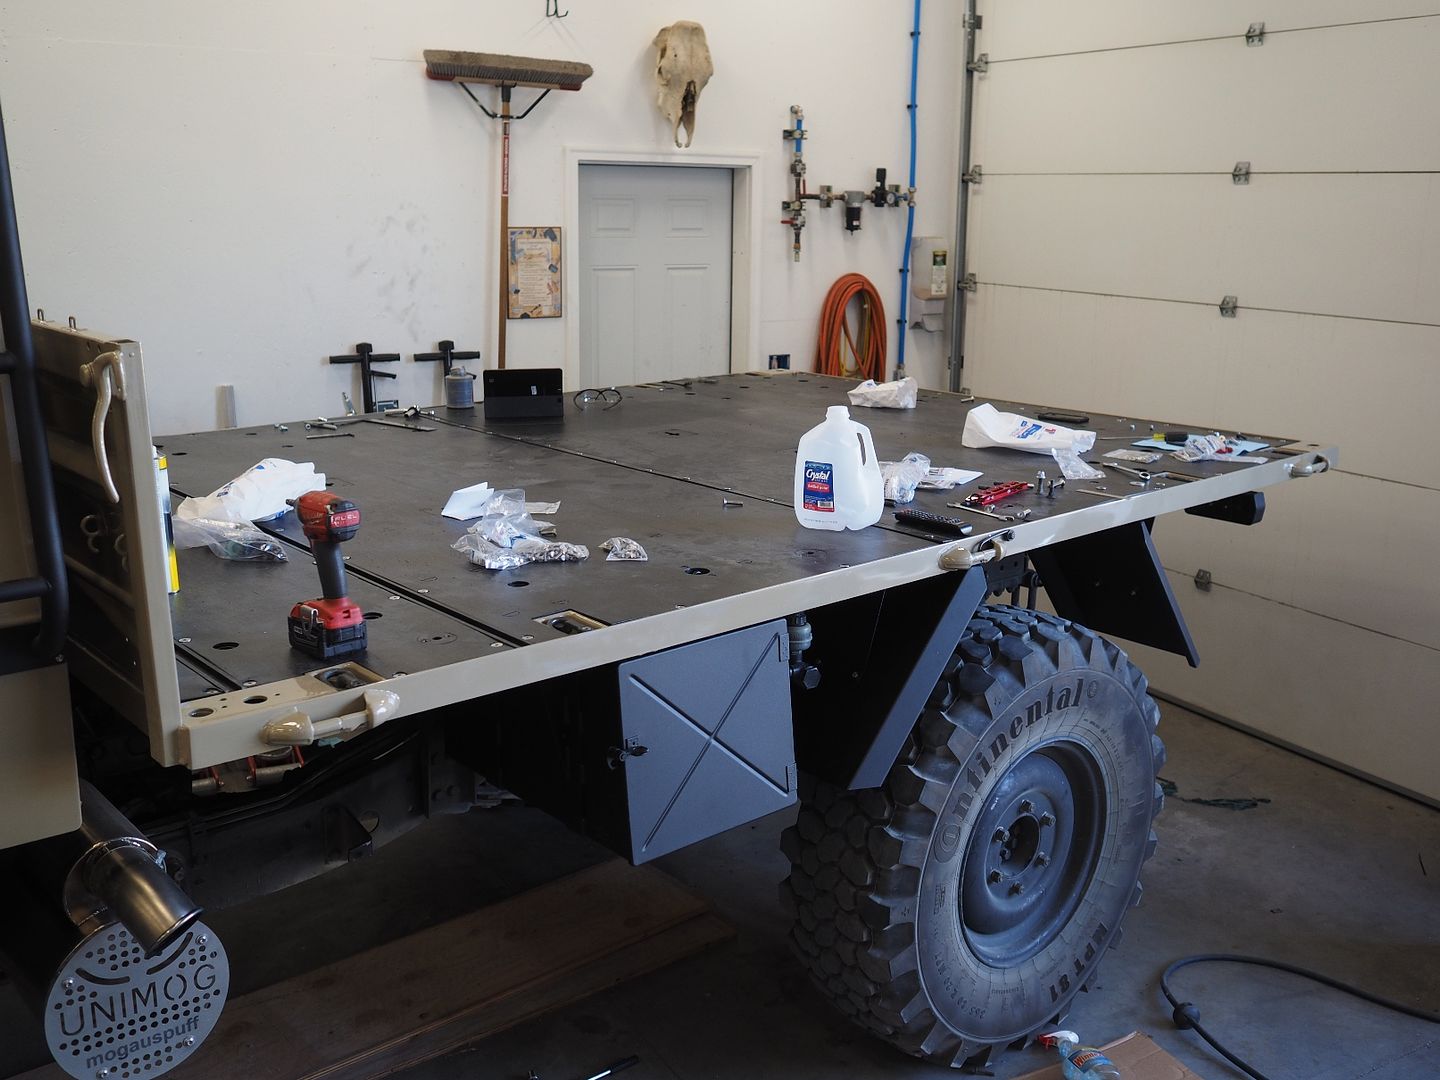
Bed boards all tightened down
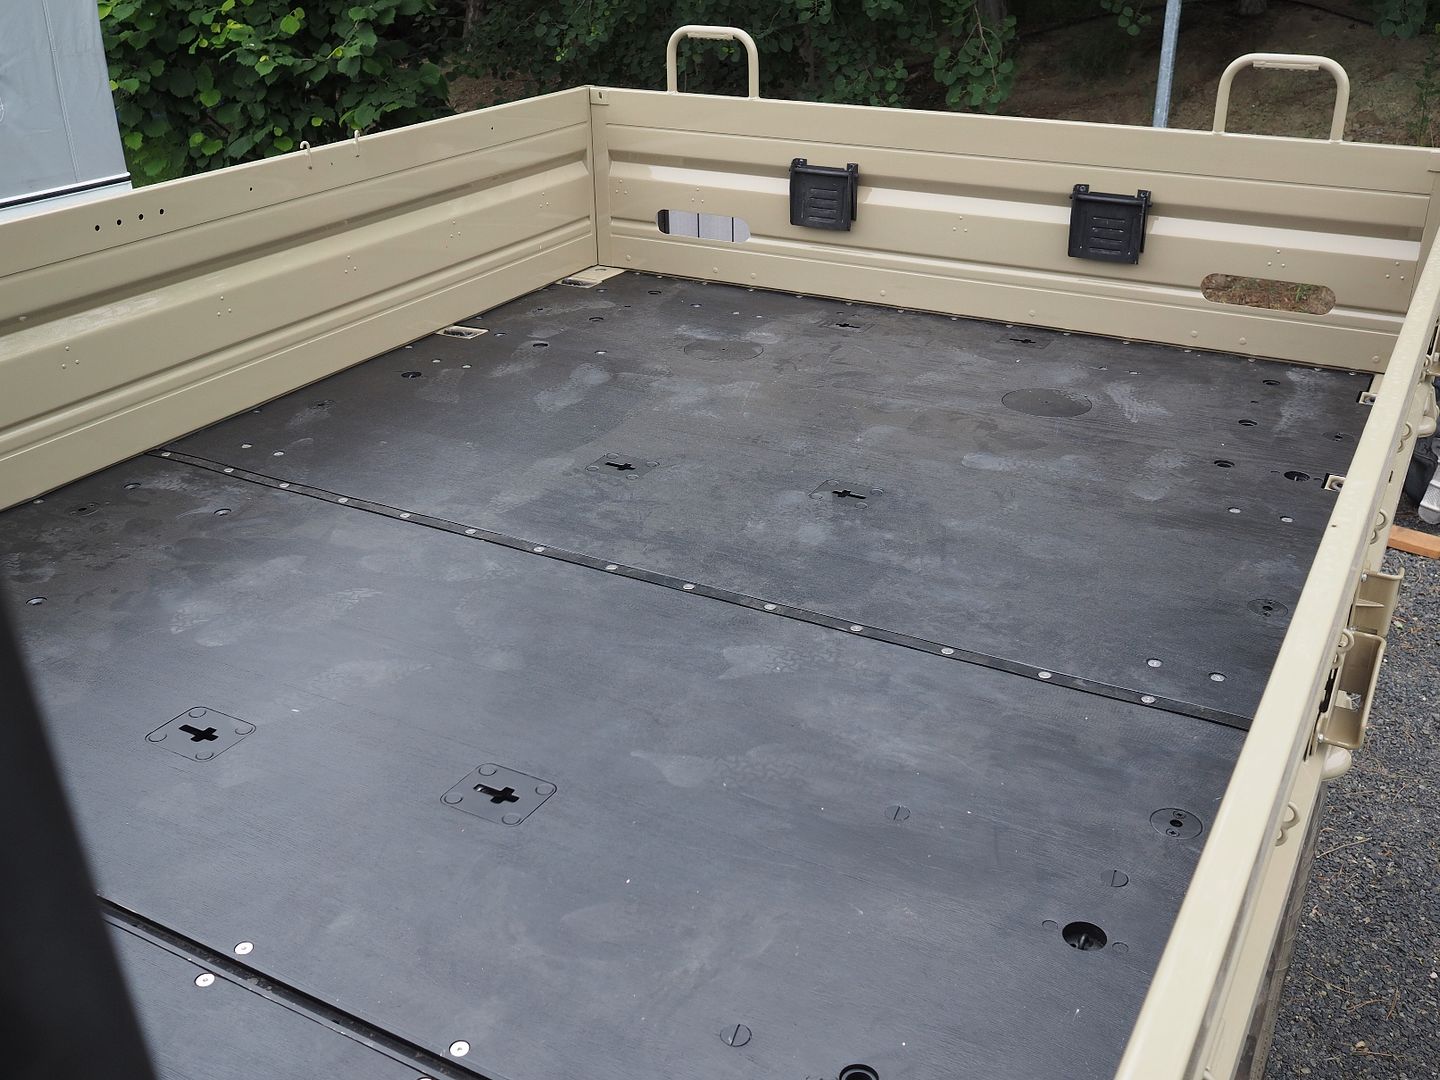
Coming together! The fenders are still off the truck waiting to be undercoated.
More to come soon..
Hodakaguy
Wiring the passenger side headlights, same process as the drivers side.
Connector for the city light (parking or running light)
City light connector terminals crimped and soldered
City light connector installed. Dielectric grease installed on the rubber sealing washers.
H7 headlight connector getting ready to be installed
Wired up with local ground installed, loom installed for abrasion resistance. Out of the silicone hose for the vent lines so I'll have to pick some up.
Wiring all tucked in
Headlights!
Getting ready to install 3M paint/rock guard material. This stuff is great at protecting paint from chips and abrasion. You want to round the corners off before install so it won't lift from use.
Installing the 3M paint guard material on the edges of the gates where the two gates come in contact with each other. Also installed it where the gate latch chains will rub.
Bed boards all tightened down
Coming together! The fenders are still off the truck waiting to be undercoated.
More to come soon..
Hodakaguy
Nashorn101
Observer
Me every time I read one of your updates:

X2
Sent from my iPhone using Tapatalk
Hodakaguy
Adventurer
Me every time I read one of your updates:
Lol....I love that movie!
Hodakaguy
Hodakaguy
Adventurer
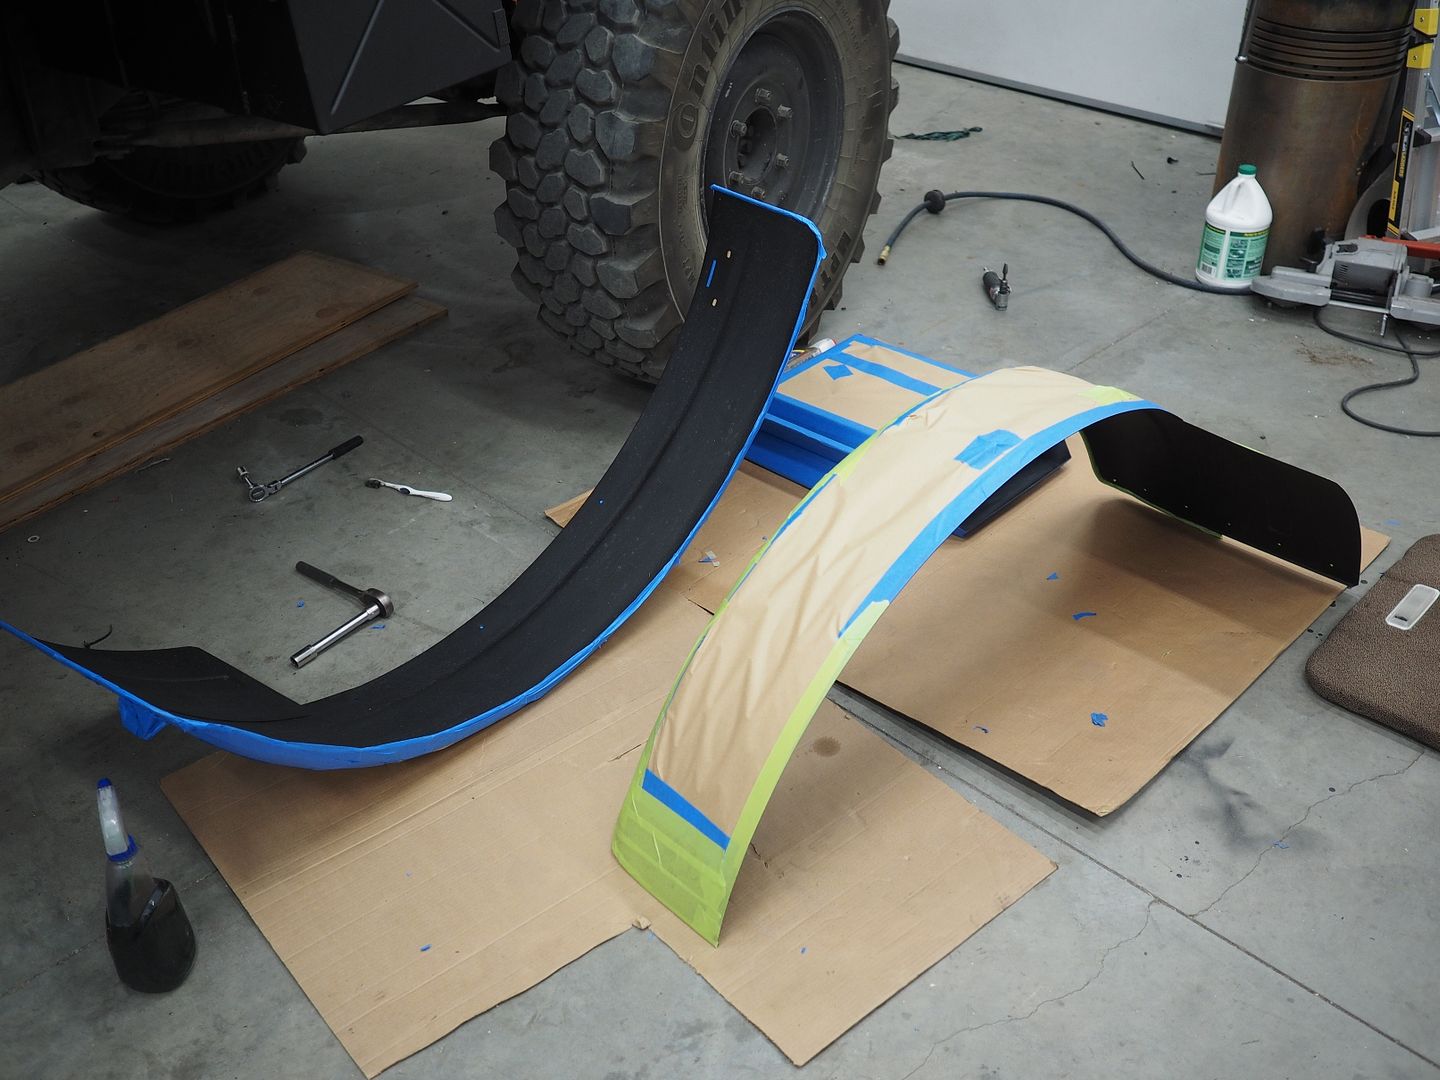
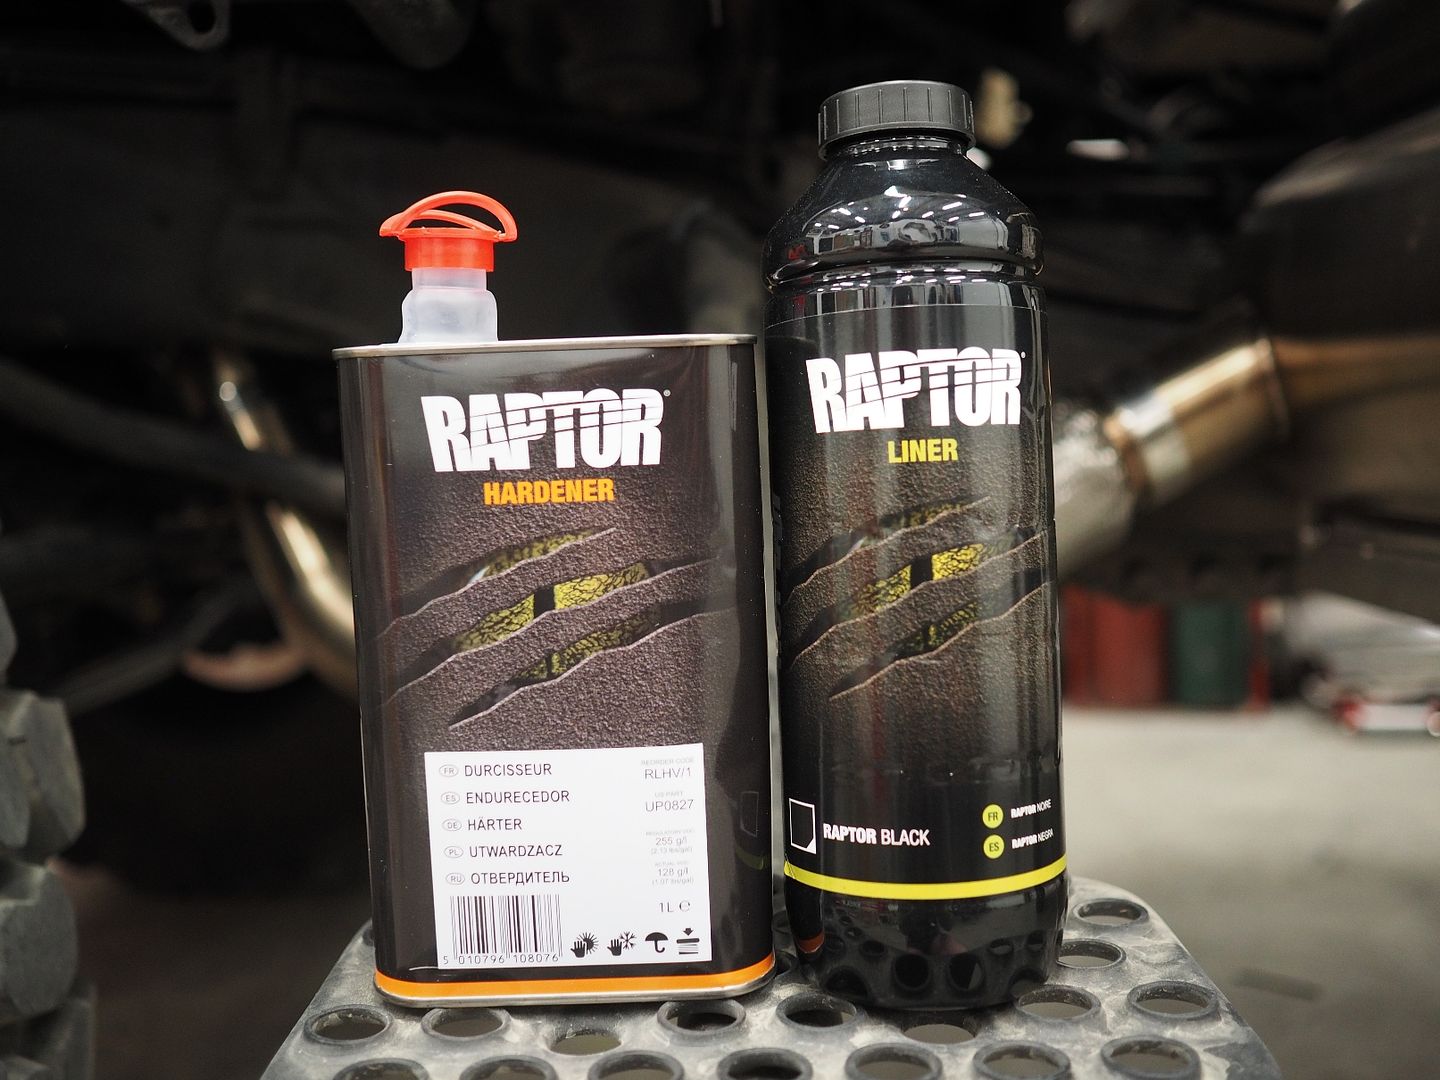
Applied the bed liner to the under side of the fenders tonight.
I'm using U-Pol Raptor Liner, it's a two part liner that hold up well to time and UV. Having the bed liner under the fenders helps against corrosion, chips/dings on the fenders and dampens noise from rocks hitting the fenders when going down gravel roads.
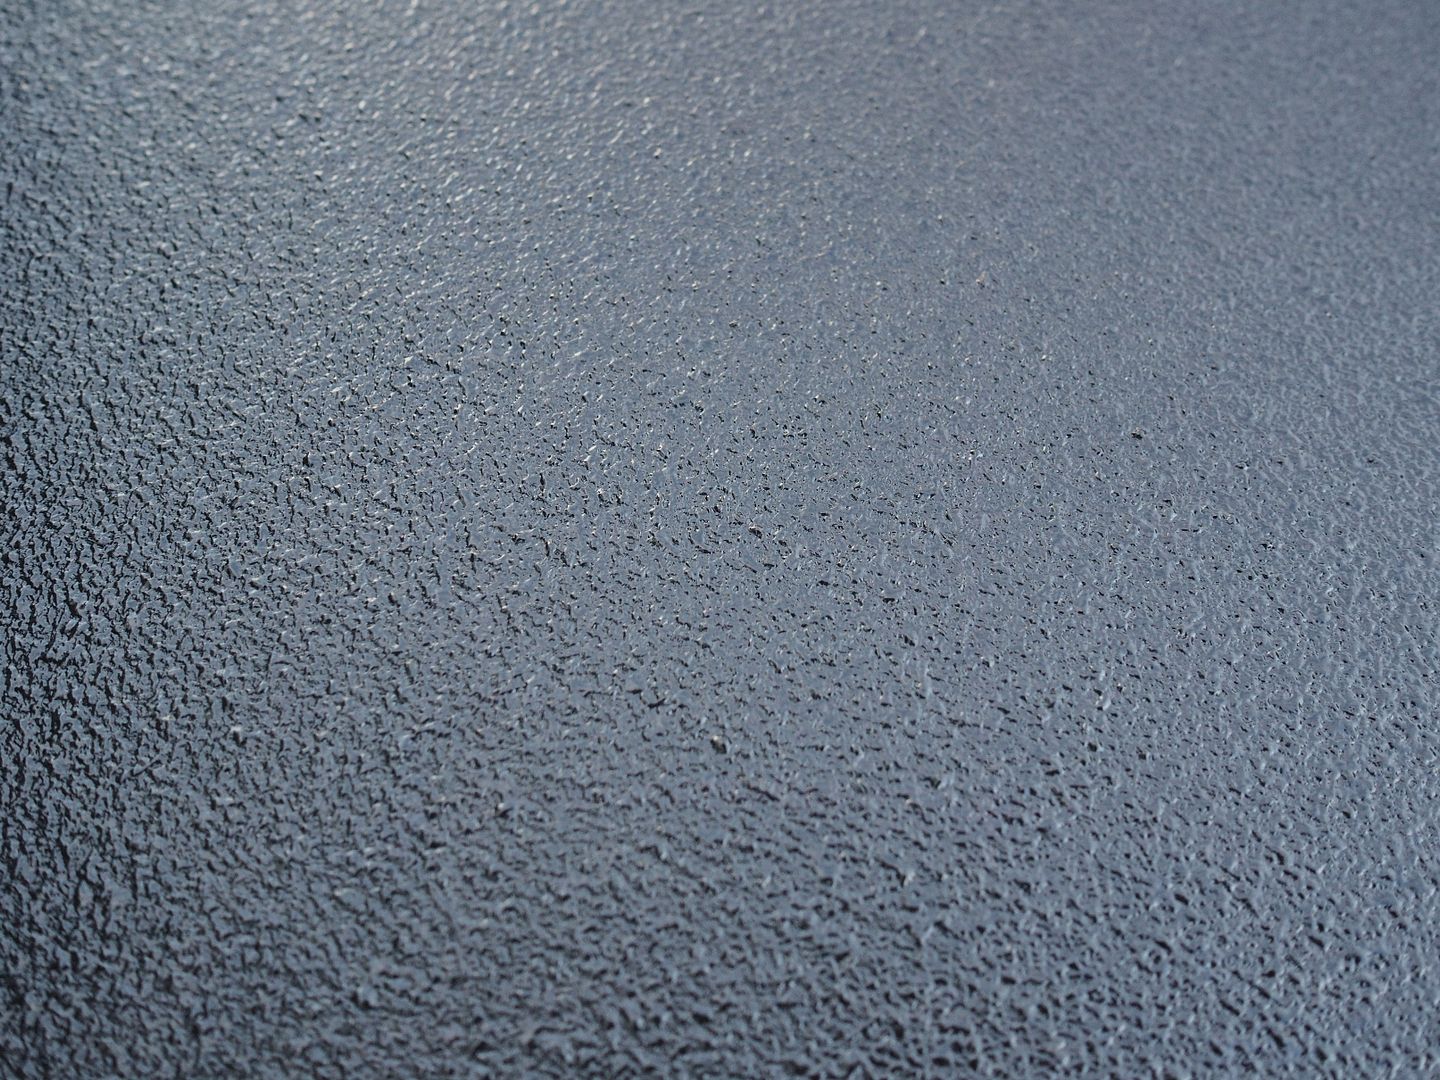
Raptor Liner
Getting ready to shoot the first coat. For prep you need to clean the area with wax/de-greaser, sand the area to rough up the surface then clean again with wax/de-greaser. I'm using the U-Pol gun set to 55 psi to give a finer textured finish.

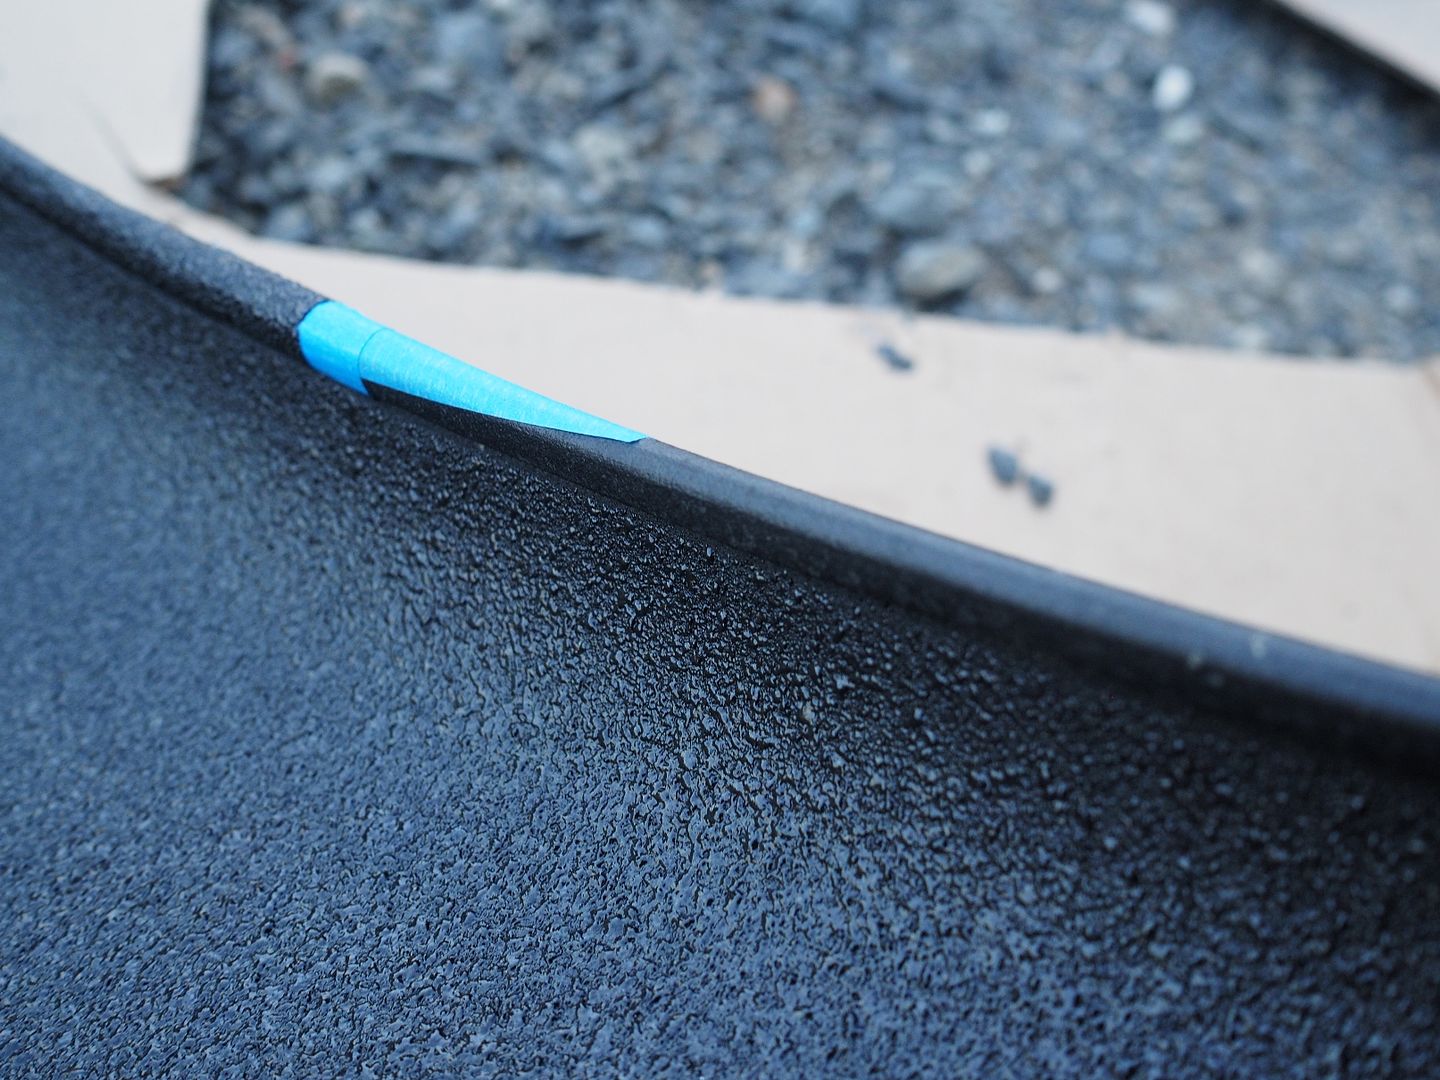
You have to wait 1hr between coats for the Urethane to flash. You remove the tape 15 minutes after applying the last coat, takes way more time to mask everything than to actually shoot it.
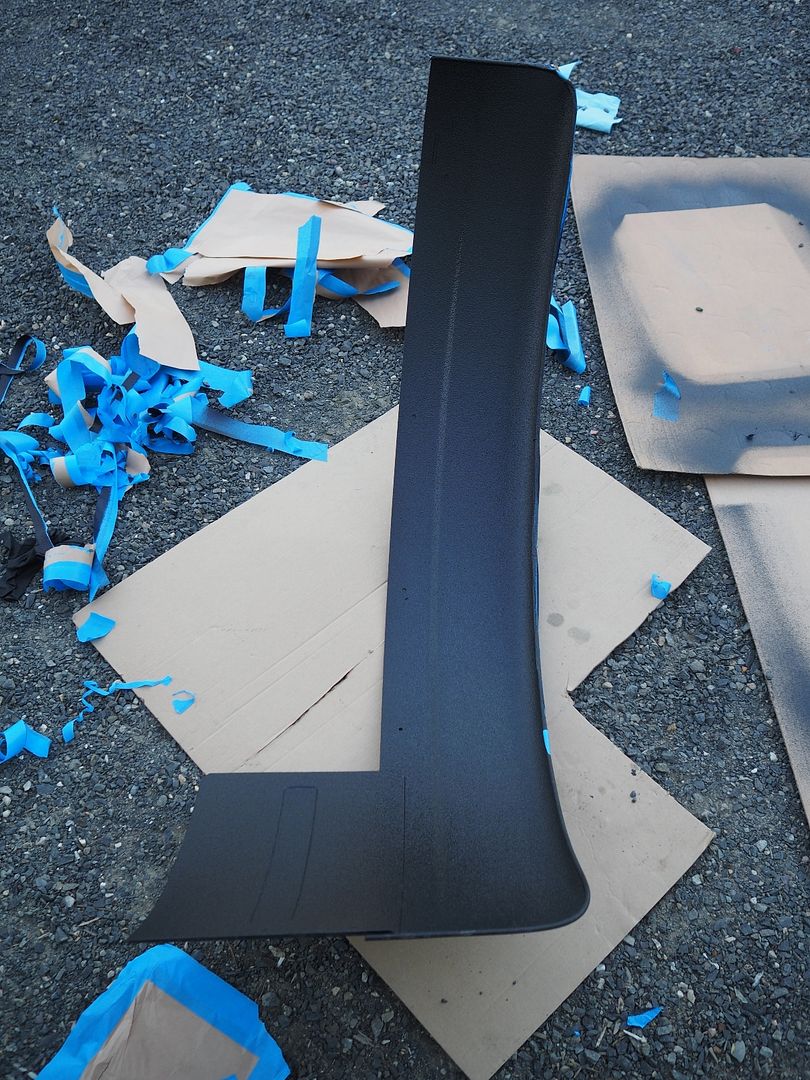
Came out pretty nice, now I'll set them to the side for a few days to cure.
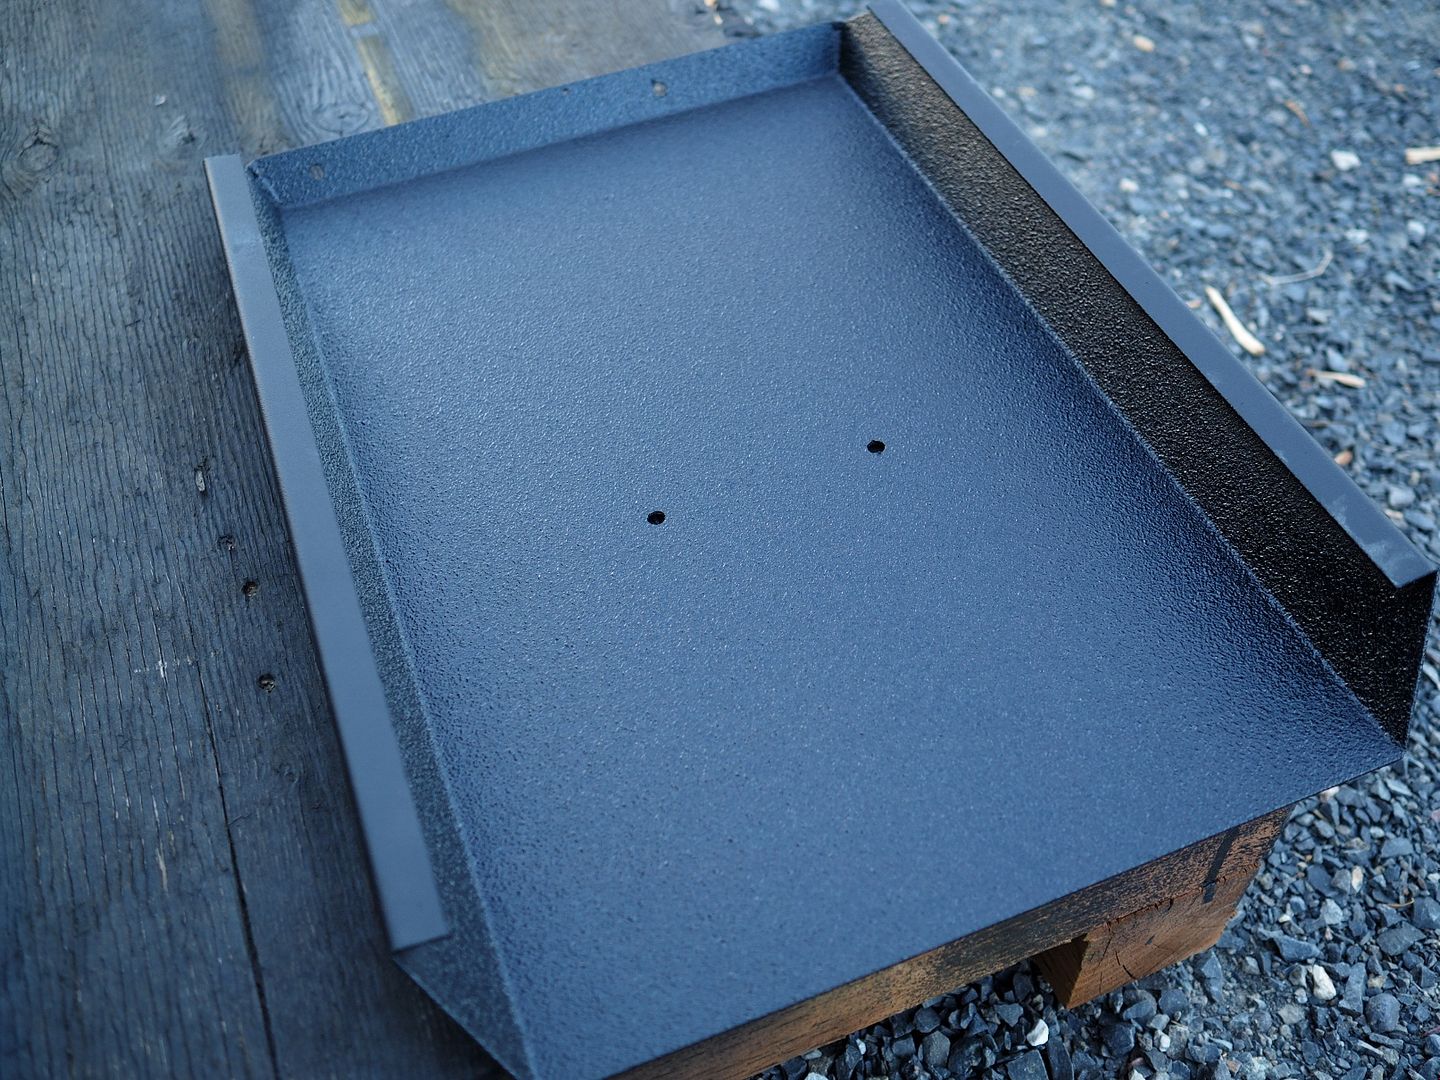
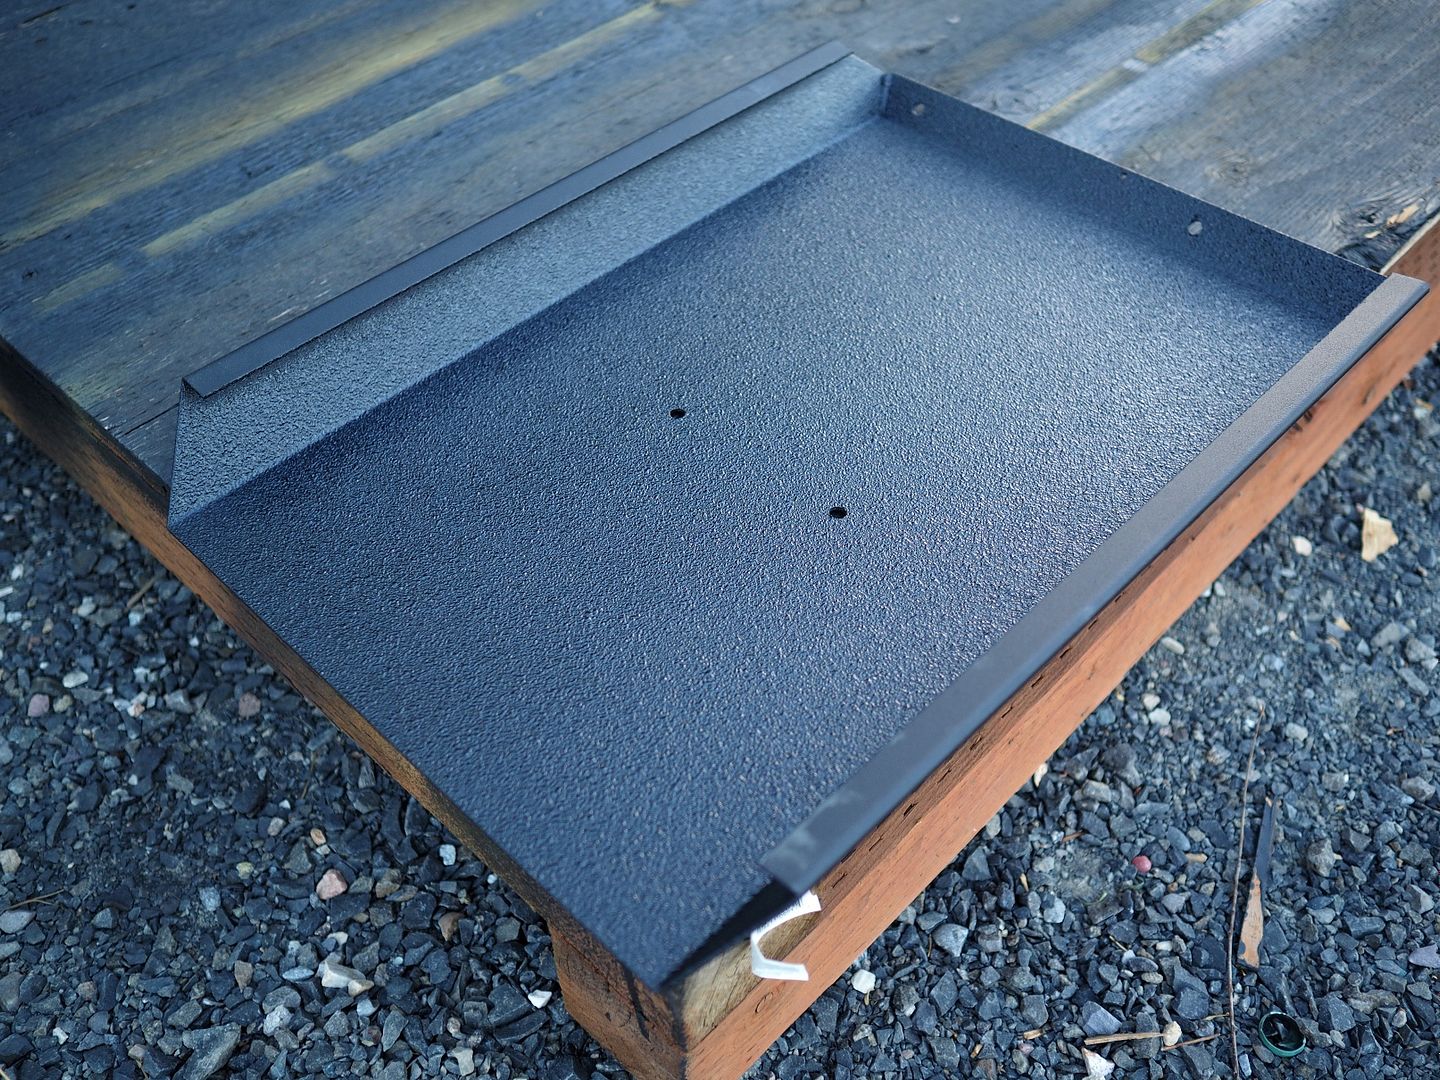
Removing the tape
I'll be using the same product on the floors in the cab soon.
Hodakaguy
I'm using U-Pol Raptor Liner, it's a two part liner that hold up well to time and UV. Having the bed liner under the fenders helps against corrosion, chips/dings on the fenders and dampens noise from rocks hitting the fenders when going down gravel roads.
Raptor Liner
Getting ready to shoot the first coat. For prep you need to clean the area with wax/de-greaser, sand the area to rough up the surface then clean again with wax/de-greaser. I'm using the U-Pol gun set to 55 psi to give a finer textured finish.
You have to wait 1hr between coats for the Urethane to flash. You remove the tape 15 minutes after applying the last coat, takes way more time to mask everything than to actually shoot it.
Came out pretty nice, now I'll set them to the side for a few days to cure.
Removing the tape
I'll be using the same product on the floors in the cab soon.
Hodakaguy
Hodakaguy
Adventurer
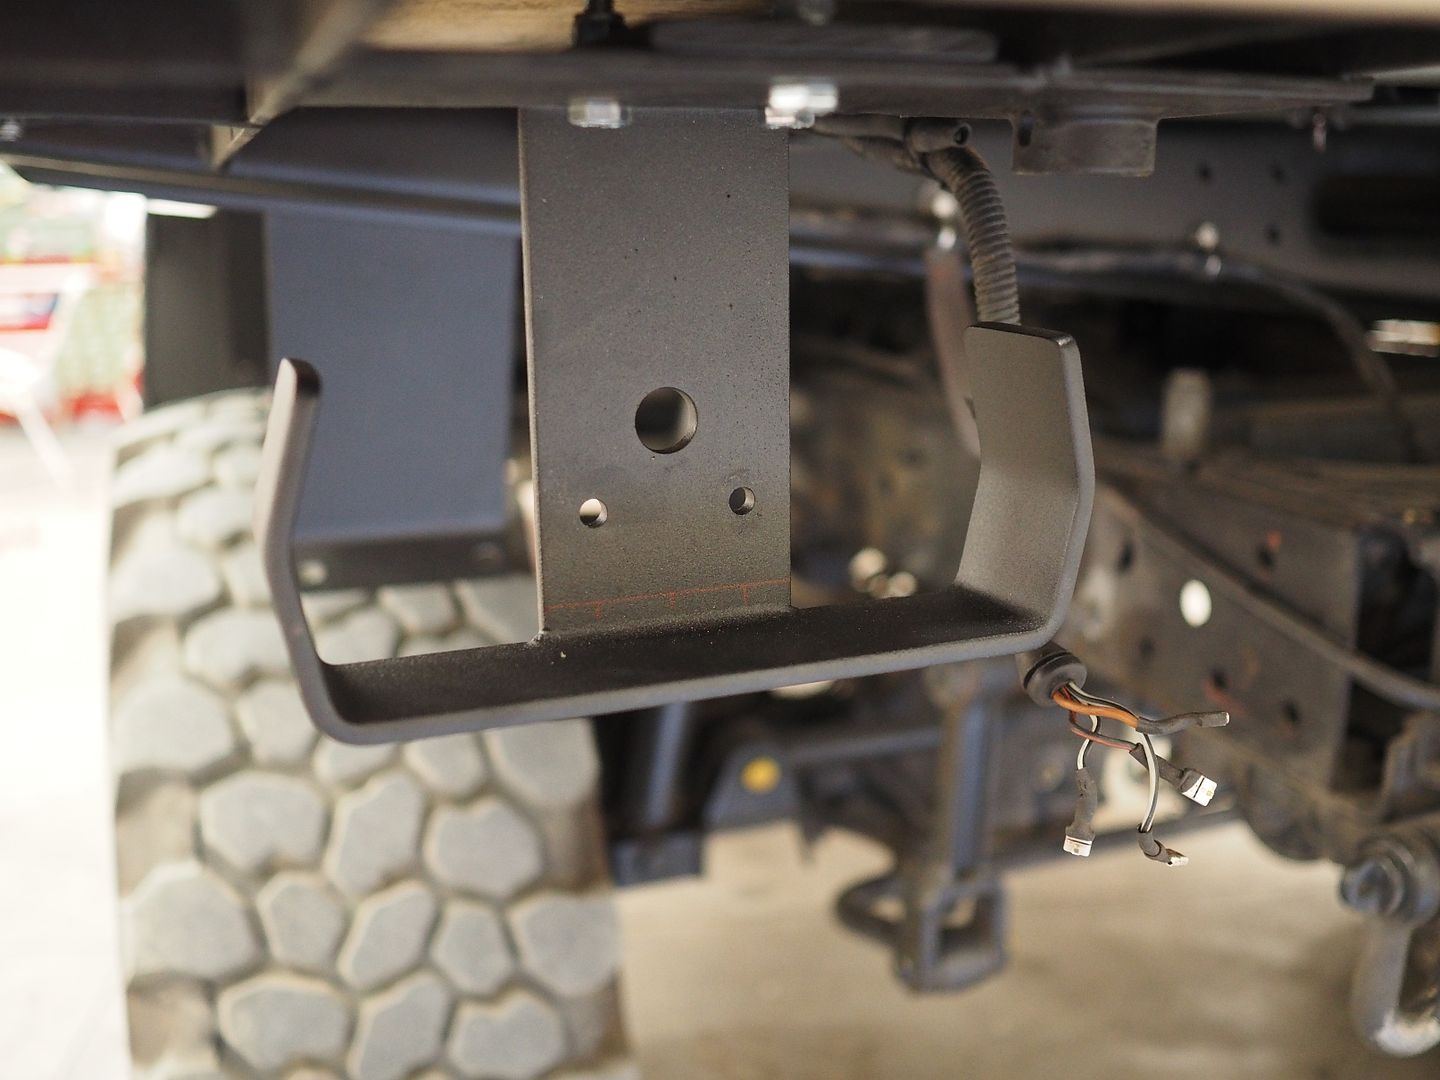
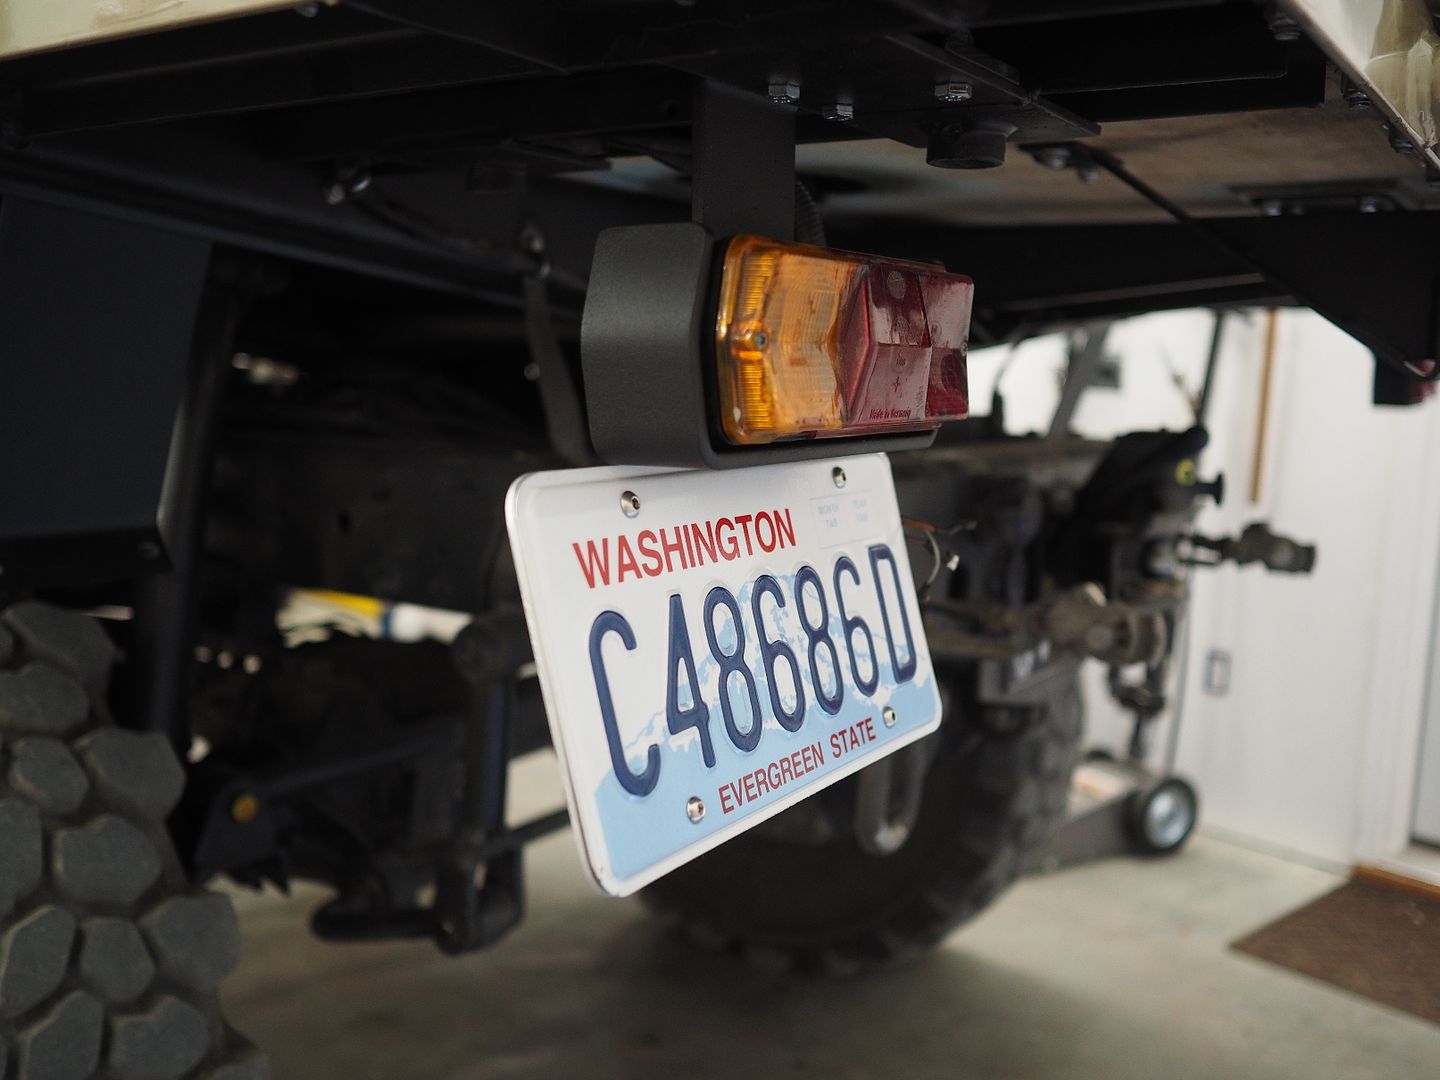
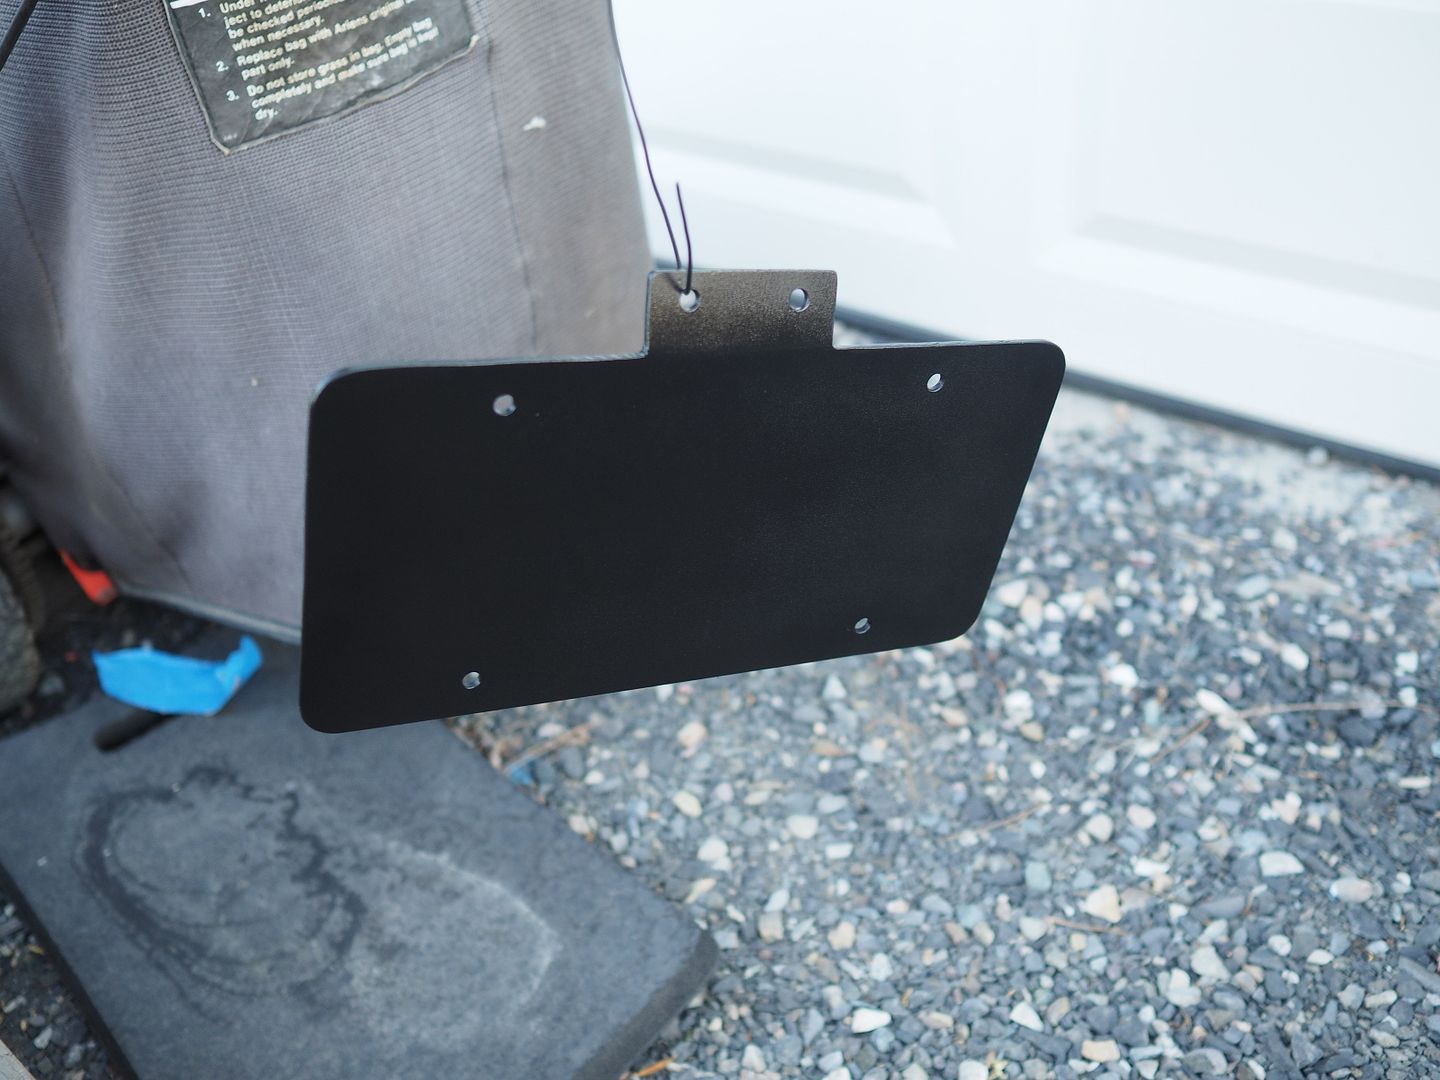
After work project tonight...fabricate a rear plate holder.
Since installation of the troop bed I've been running the plate attached to the rear drivers side fender. I'll soon be fabricating some fuel can racks that will be located behind the drivers side tail light and will block the plate if installed on the fender...time to re-locate the plate.
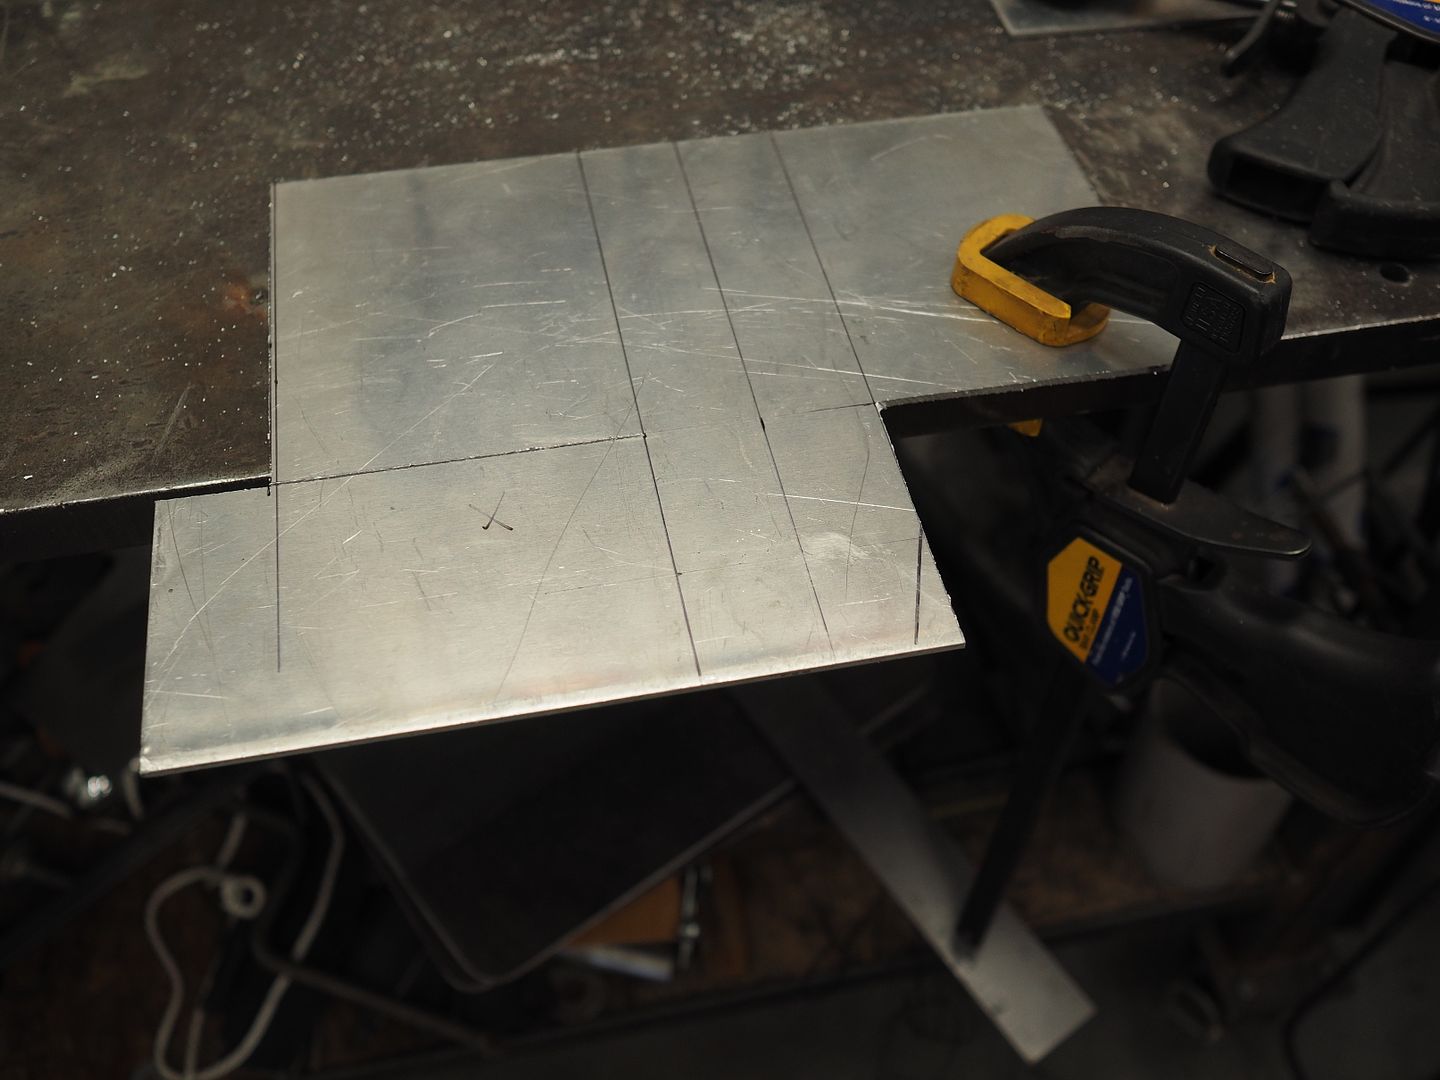
I used a piece of thick scrap aluminum I had laying around the shop. Here the plate is marked up and ready to cut.
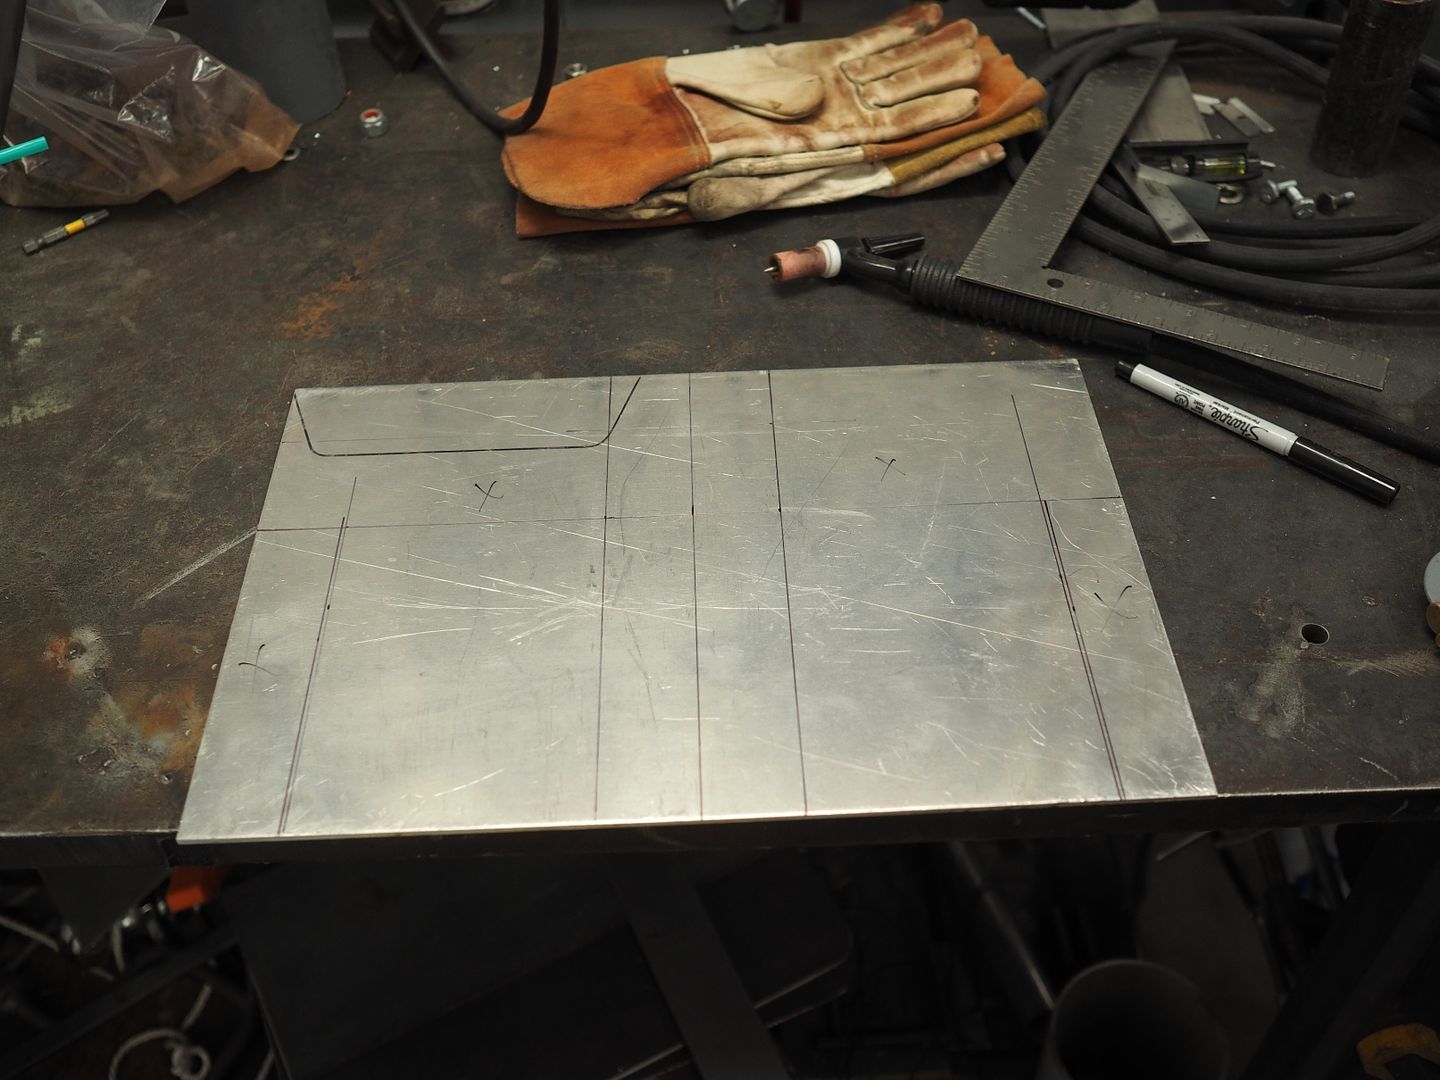
Cutting out the needed shape.
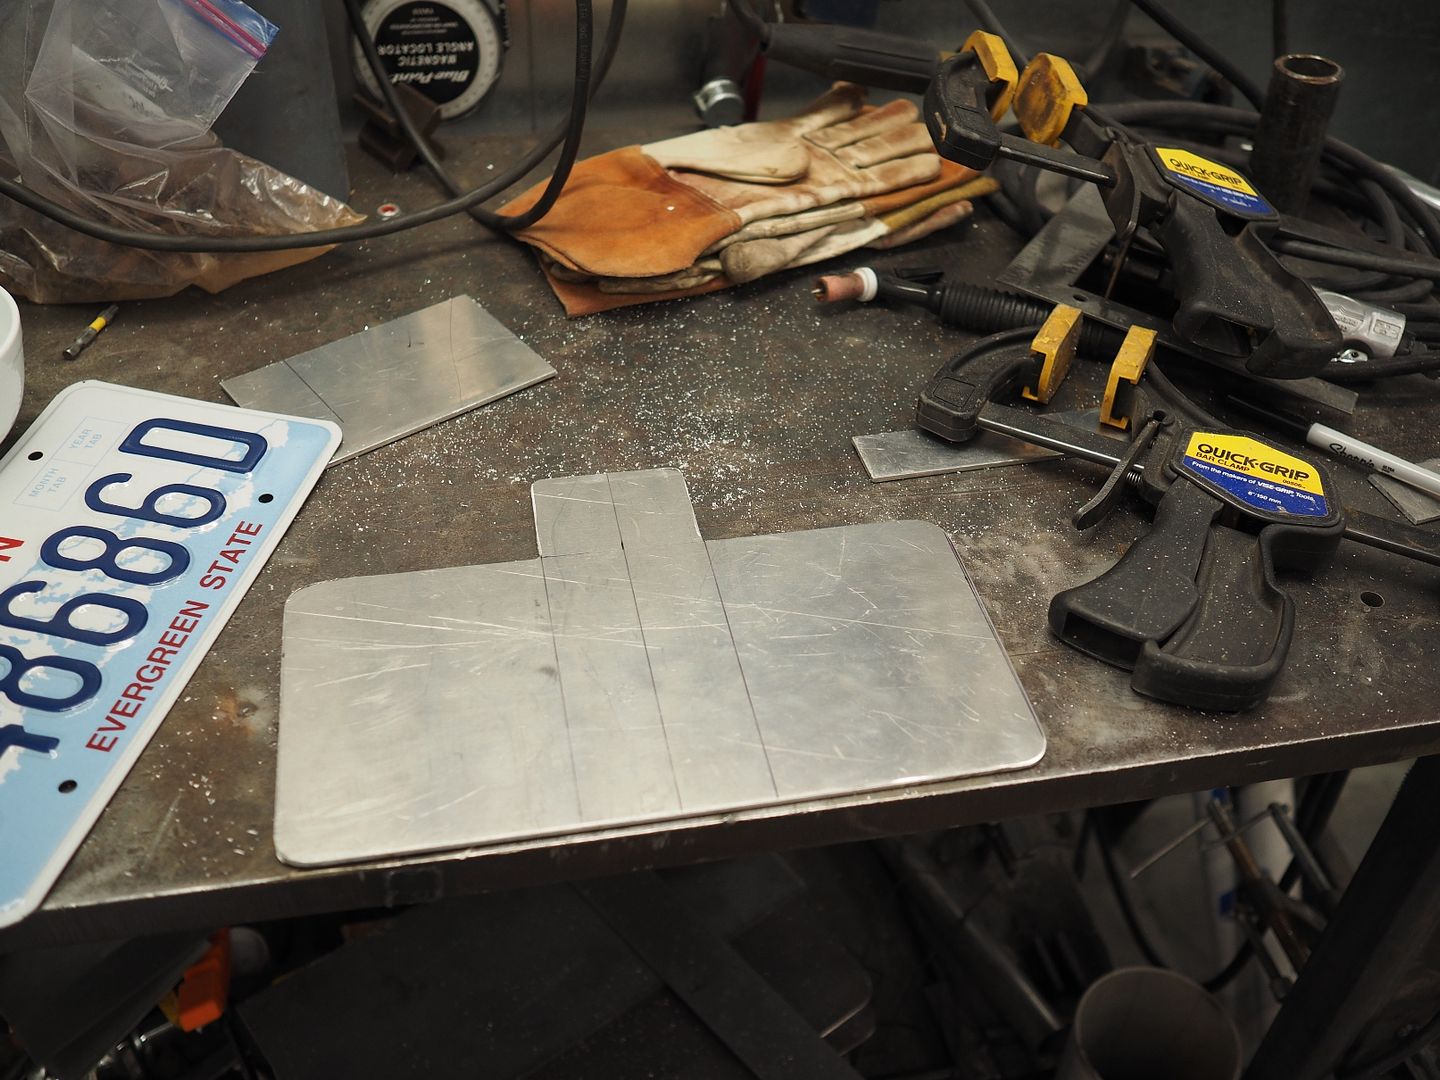
Holes drilled and deburred, mount bent to shape.
Tail light removed and mount locations marked out
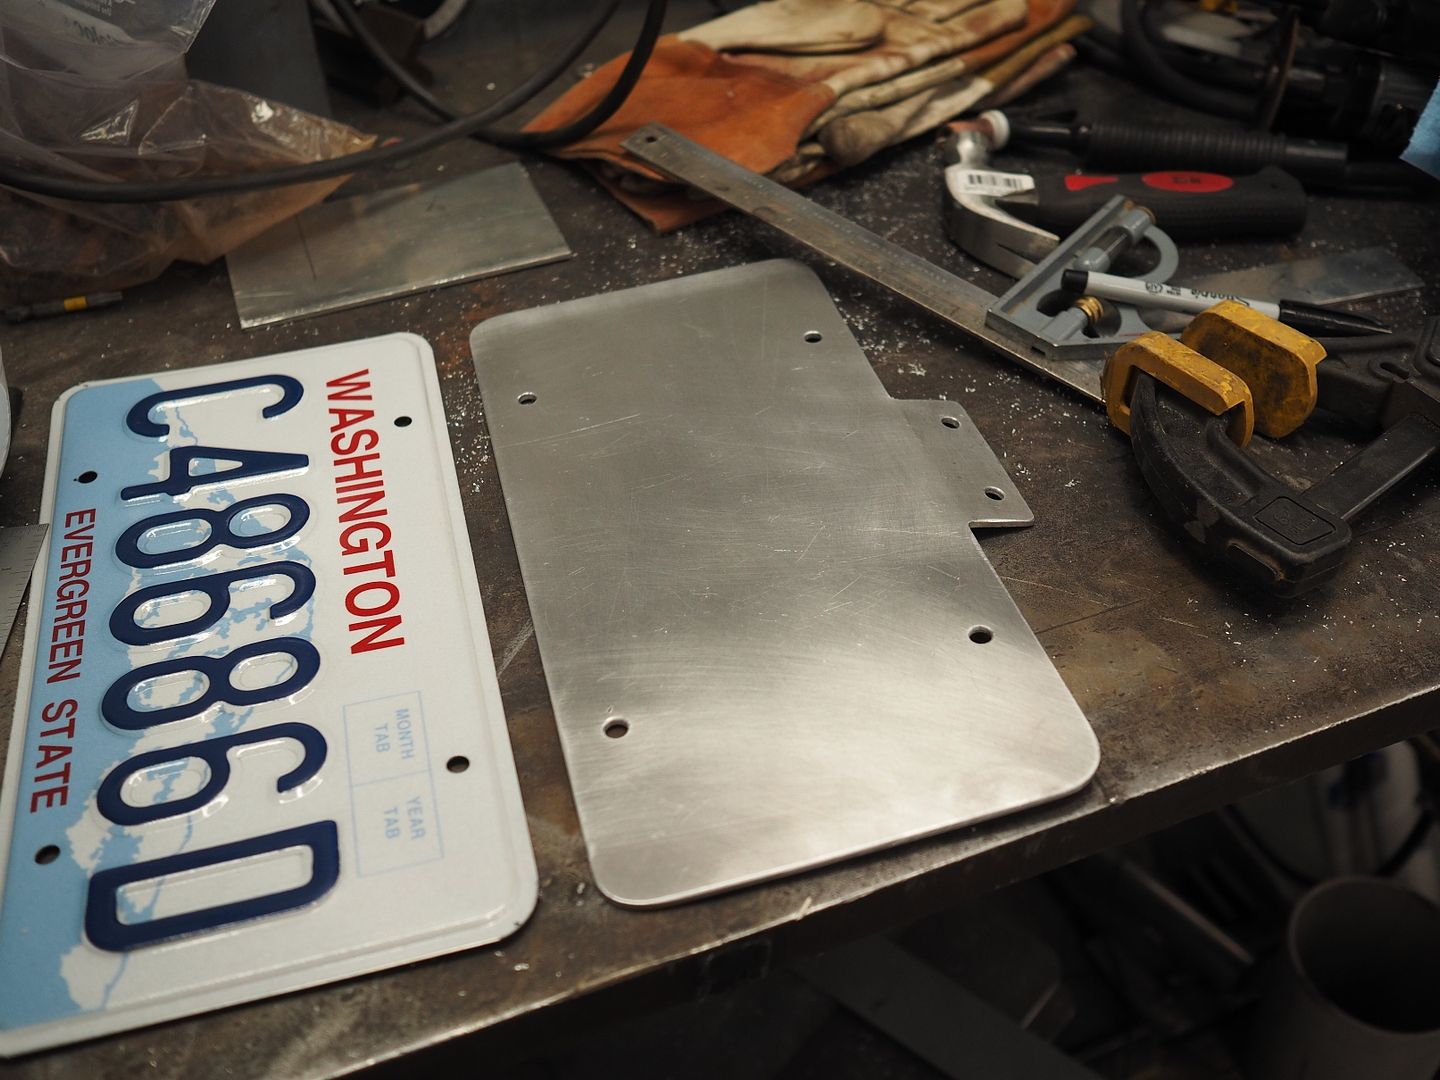
Holes drilled and counter sunk, the bolts need to be flush to clear the tail light assembly.
Test fitting the plate. This location should work out perfect, up out of the way and will be protected further by the fuel can racks once installed.
Temporary textured paint installed, I'll powder coat it later when I have the rear storage box done.
Hodakaguy
Since installation of the troop bed I've been running the plate attached to the rear drivers side fender. I'll soon be fabricating some fuel can racks that will be located behind the drivers side tail light and will block the plate if installed on the fender...time to re-locate the plate.
I used a piece of thick scrap aluminum I had laying around the shop. Here the plate is marked up and ready to cut.
Cutting out the needed shape.
Holes drilled and deburred, mount bent to shape.
Tail light removed and mount locations marked out
Holes drilled and counter sunk, the bolts need to be flush to clear the tail light assembly.
Test fitting the plate. This location should work out perfect, up out of the way and will be protected further by the fuel can racks once installed.
Temporary textured paint installed, I'll powder coat it later when I have the rear storage box done.
Hodakaguy
Anton2k3
Adventurer
Lol....I love that movie!
Hodakaguy
What movie is it?
I just ordered some UPOL Raptor based on your results, looks great...as does the whole truck!
Sitec
Adventurer
Rego plate mounting..
Hi fella. You're Mog is looking fantastic! Keep up the good work! Re the plate, on one of my last vehicles, I made up an adaptor that carried the plate, and fitted snugly into the Towbar Receiver. They're always in a place where they're unlikely to meet the ground, and when towing, the pin is pulled, the plate carrying adaptor is stowed and the towbar is used.... Just a thought if you're planning to do a lot of off road work. Looking forward to the next instalment!!!
Hi fella. You're Mog is looking fantastic! Keep up the good work! Re the plate, on one of my last vehicles, I made up an adaptor that carried the plate, and fitted snugly into the Towbar Receiver. They're always in a place where they're unlikely to meet the ground, and when towing, the pin is pulled, the plate carrying adaptor is stowed and the towbar is used.... Just a thought if you're planning to do a lot of off road work. Looking forward to the next instalment!!!