rayra
Expedition Leader
Been a few general electrical Q&As lately and I was on the cusp of this work anyway, so I figured I'd document it somewhat. And it doesn't quite rise to the 'power system' nature of our other subforum, so I put it here in General Mods.
I'm in the middle of making several small tweaks and additions to my Sub, for a variety of uses. Overall I'm trying to keep the changes low-key, make things blend in with the factory look as much as possible, while still adding capabilities.
I'll also be adding lights in front, top and rear, as well as CB and HAM radios. All on new circuits and using dash switches and relays. The work in this topic is being spliced into / added to the existing factory wiring, as the loads are small and an expansion of features already in the vehicle.
Here's the stuff I did today -
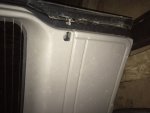
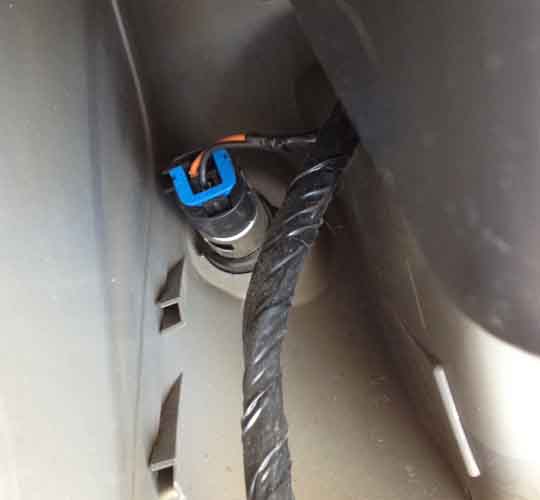
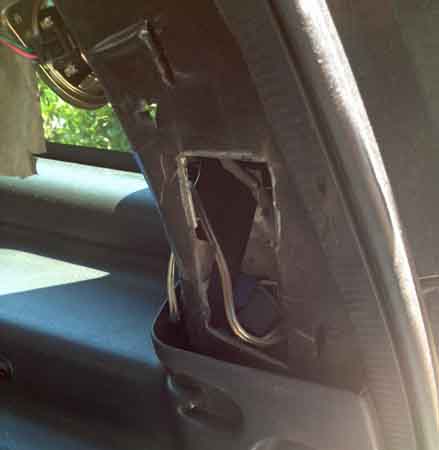
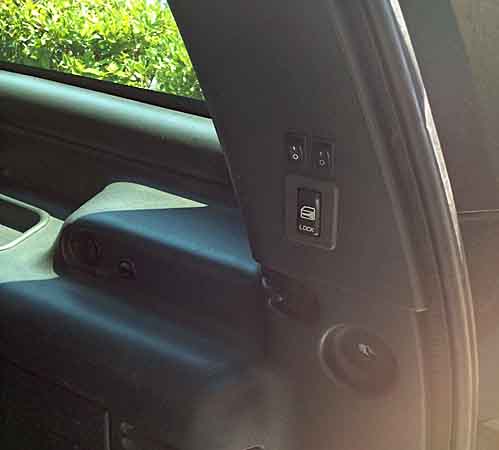
First it was some troubleshooting and fuse replacement, to get my cig lighter / power port sockets functional again. Then I got to work enlarging a hole in the rear 'D' pillar by the hatch, where a factory door lock button is located, to make room for the switches I was adding for the LED light strings (mentioned and pictured in previous topics, I've rimmed the rear hatch with LED light strips. I'm altering that and adding both white and red lights to serve different purposes).
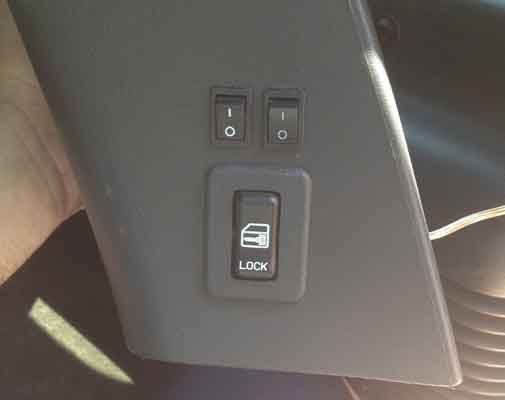
Having too many hobbies over the years, I have a few plastic shoeboxes full of spare wiring, switches, micro fans, etc, material cadged from long years of building and cannibalizing small electronics and PCs. I used a couple external hard drive / CD power switches, much more confident in those than the recent cheap chicom crap I bought and put in the dash. I originally planned to put a switch on each side, driver side for the white LEDs, passenger side for the red, so they wouldn't get mixed up. But there's no hole there and didn't want to be chopping stuff up twice, or messing with the other wiring or dismantling much of the rear trim just to get to that spot over and over (still don't have the 'final' LED strips in hand, yet.
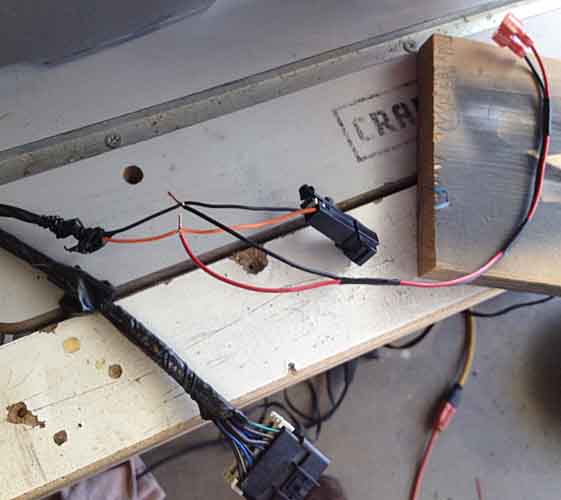
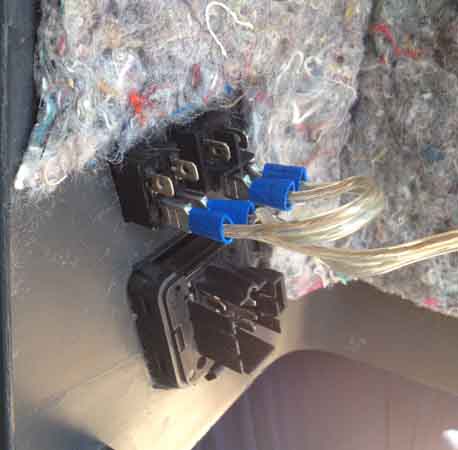
So instead I re-worked the power and ground taps I'd done months ago on the rear power port (always hot) and extended that power and ground to the rear lock location AND split it into two ends each, to provide both power and ground to each of the new switches. When I add the LED strips later I'll rig them to the switches and be done. The rearmost switch will be red, an easy mnemonic, rear/red.
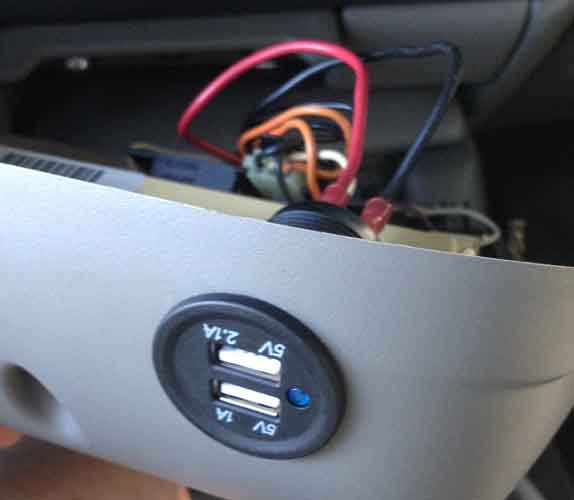
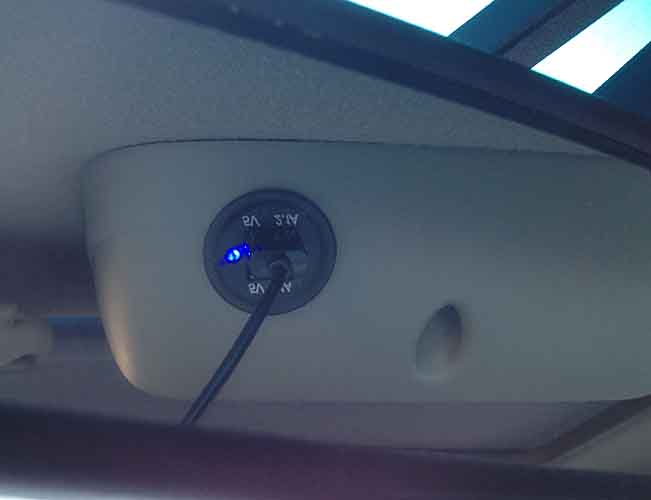
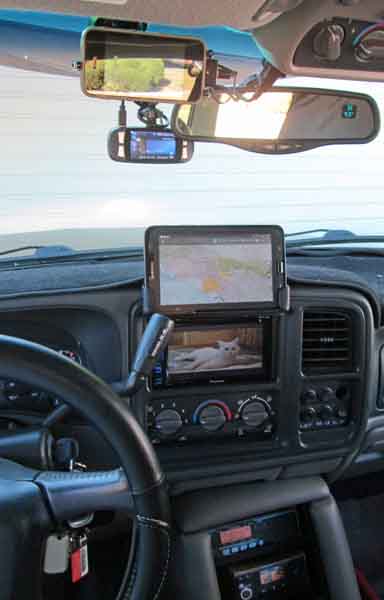
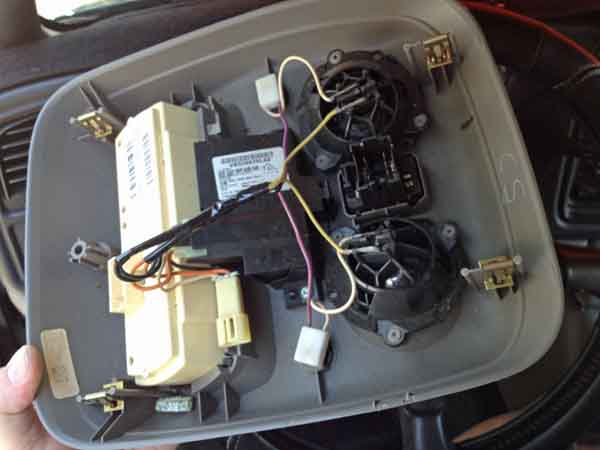
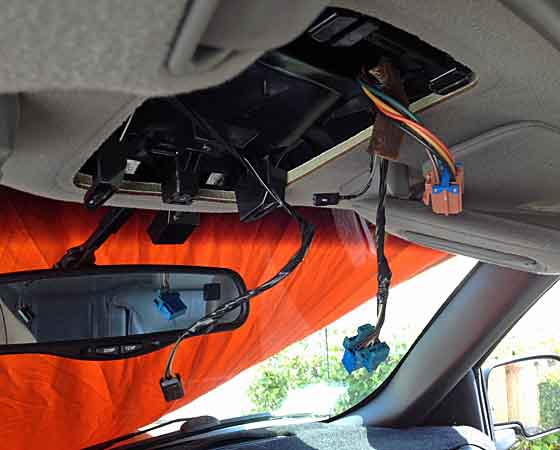
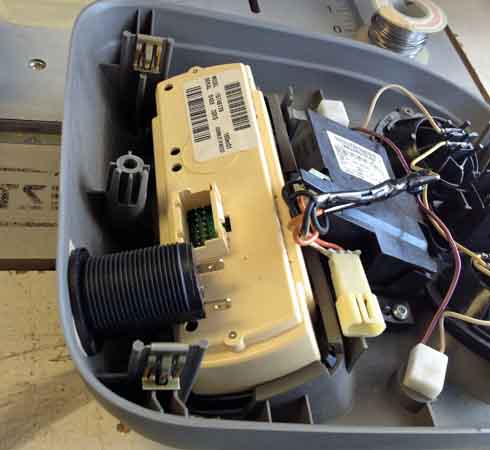
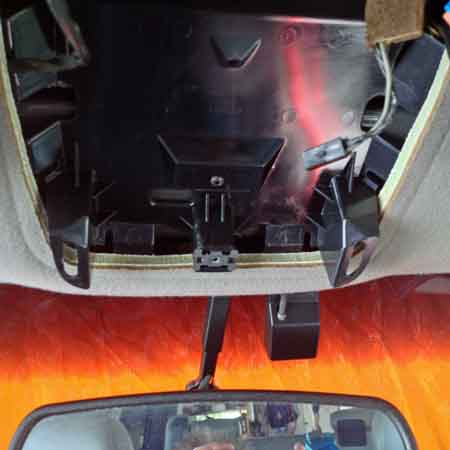
Then it was on to adding a USB power connection in the front upper console. That console's a bit crowded, as it holds rear A/C controls, garage door opener, sunroof control switch and two independent interior lamps and their switches. And the mounting brackets / metal clips that hold the console also intrude into the console.
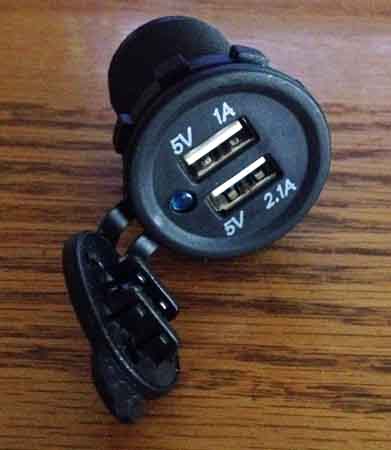
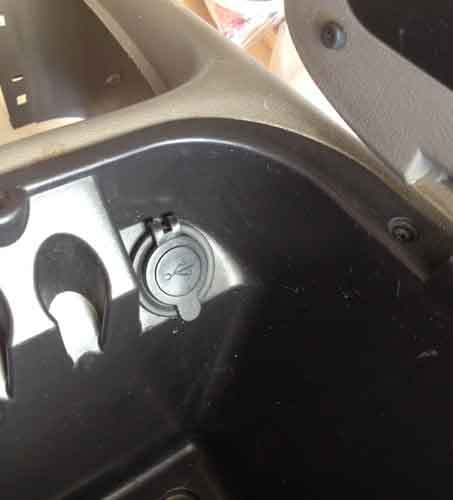
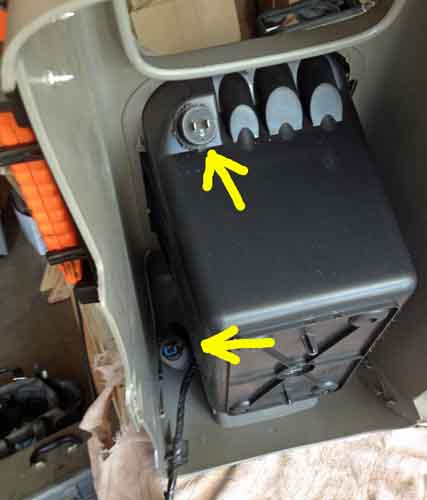
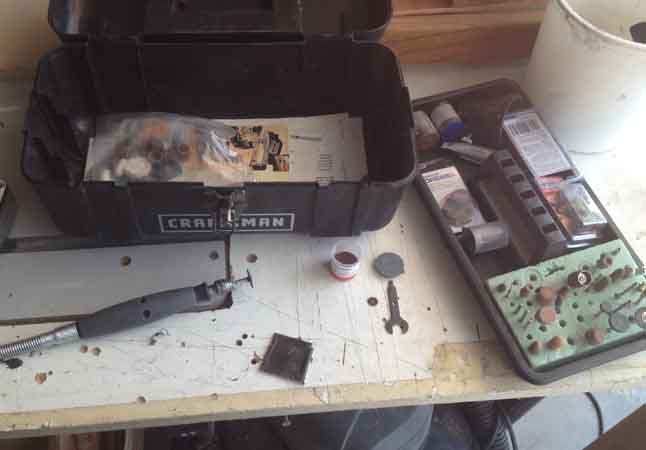
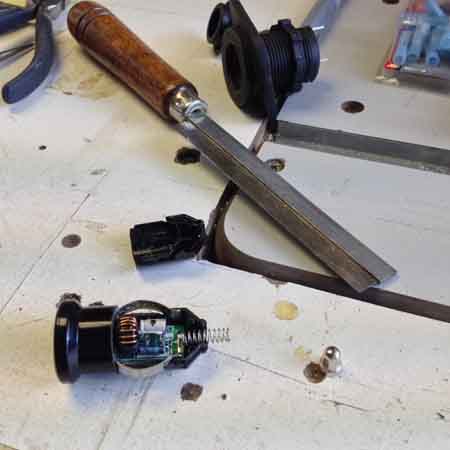
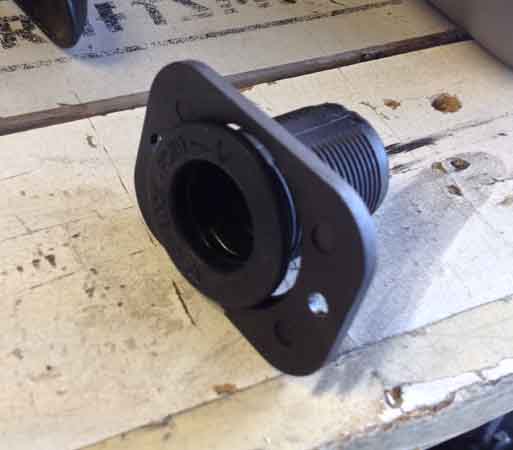
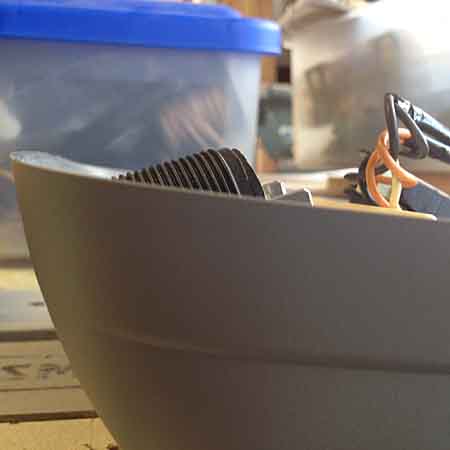
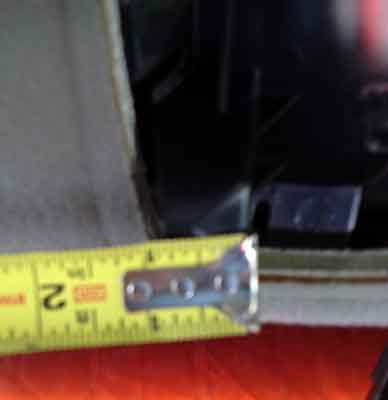
I was intending to use a small dual USB plug cig lighter insert that I had, for its small size. I planned to do some surgery on it, add some wire leads which I could splice into the interior lamp circuit (also always hot). But after cutting that insert open and preparing to solder some wires in it, I changed my mind. I have a couple boat / RV -style dual USB power ports inbound (slow plane from China) which have higher amp ratings than the flimsy thing I was chopping up. And in fully removing and disconnecting all the wiring harnesses in the upper console I got a better appreciation of the spaces available. And I already possessed an boat/RV style 12v port. Seeing I could fit it down in the foremost portion of the console, I elected to integrate it instead. And transfer the dash USB adapter I currently use to its location for the interim. That 12v port is the same barrel shape as the inbound adapter, it will be a simple swap when it arrives.
So I identified the various plugs and splits in the console, identified the power and ground leads I wanted to tie into and did so, adding 'normal' red & black wires for my work and spade connectors on their ends.
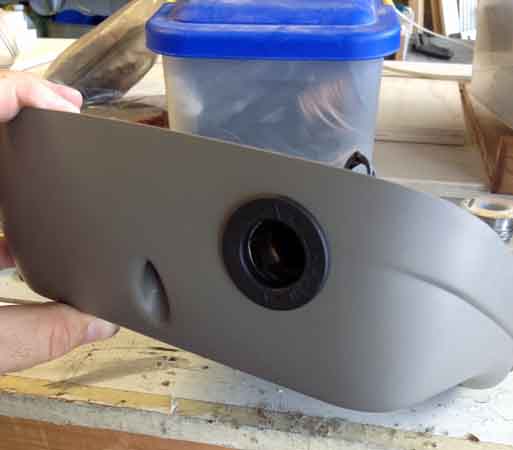
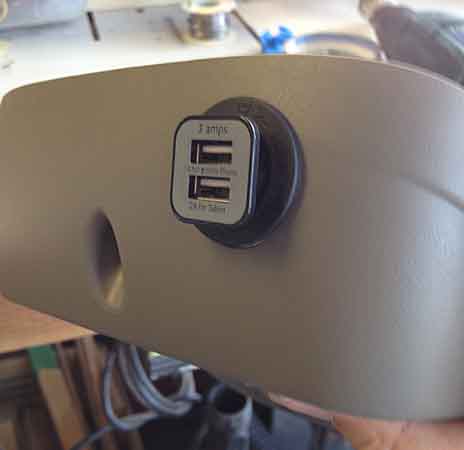
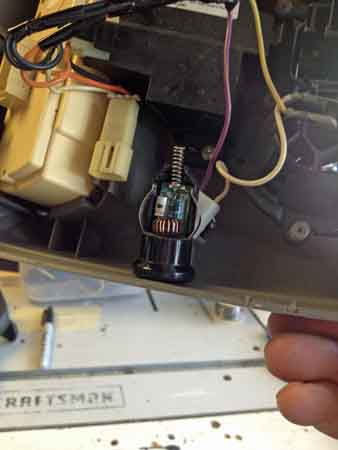
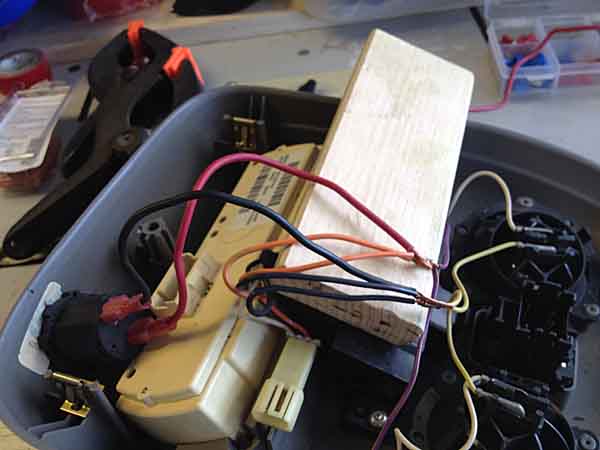
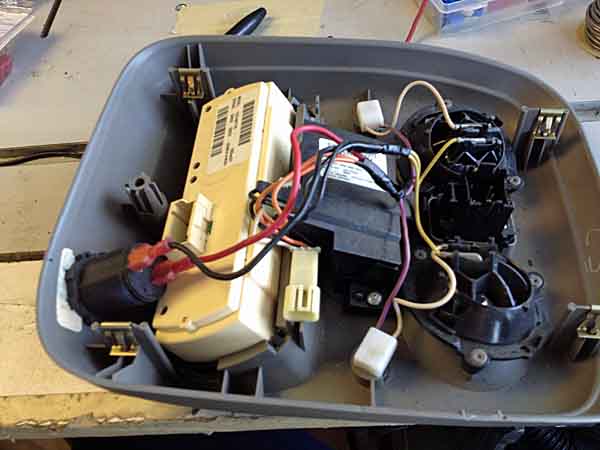
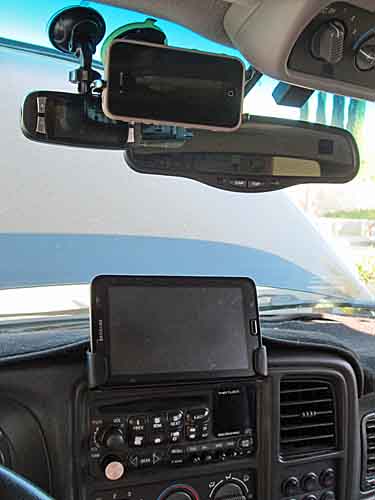
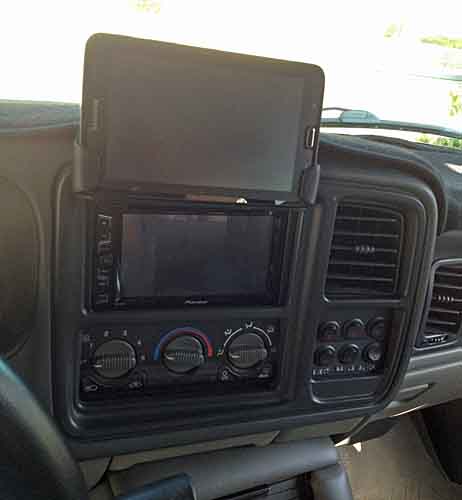
Then I got it all back together and started fiddling with layout and too-long USB cables. I need to shop for some short cabling, once I decide where everything is staying. It's a random mess of standards. My old iPhone 4s uses the old 30pin connection, and I power it already with a dual-use USB cable which has a normal / current skinny micro-USB connector on the equipment end, and a 30pin adapter that's leashed to it. The new dashcam uses the old / original / fat 'mini'-USB connection on the equipment end.
Then there's the Samsung 7" tablet, which uses a micro-USB.
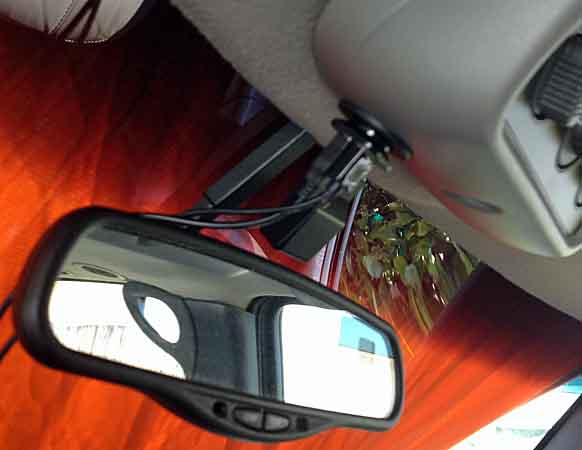
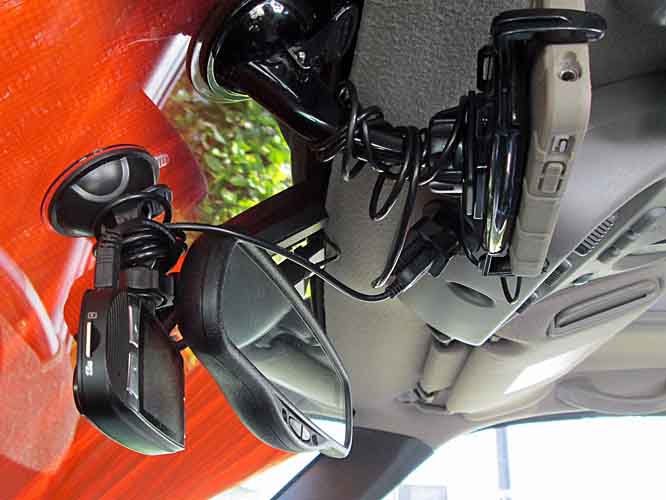
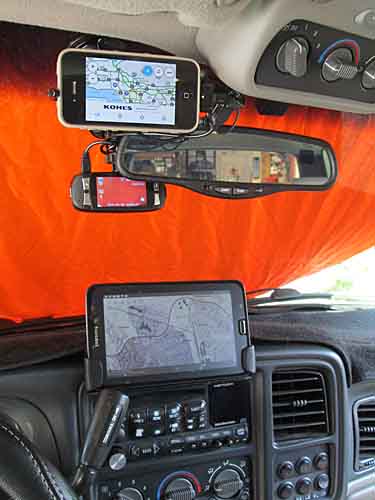
With multiple apps and traffic updates going on the phone, it needs more than 1A to maintain its battery level. Likewise the tablet when both bluetooth and GPS are enabled. The camera only came with a 1A cig lighter cord (in addition to other cables), so it's safe to assume a 1A source will do for it.
The factory aux power / power port circuit is fused at 20A and powers the rightmost dash port, the port on the rear of the front center console and the port at the rear of the cargo bay. And now also my rear hatch LED light strings and soon another USB port inside the center console. The factory cig lighter (and middle power port) circuit and the interior courtesy light circuit (which also powers the garage door opener) are both fused at 15A. So I'm fairly confident I can 'get away with' adding on these other loads without coming near any limits of wire gauge or fuses.
And my future heavier electrical loads will be connected to entirely new and aptly sized circuits.
I'm in the middle of making several small tweaks and additions to my Sub, for a variety of uses. Overall I'm trying to keep the changes low-key, make things blend in with the factory look as much as possible, while still adding capabilities.
I'll also be adding lights in front, top and rear, as well as CB and HAM radios. All on new circuits and using dash switches and relays. The work in this topic is being spliced into / added to the existing factory wiring, as the loads are small and an expansion of features already in the vehicle.
Here's the stuff I did today -
First it was some troubleshooting and fuse replacement, to get my cig lighter / power port sockets functional again. Then I got to work enlarging a hole in the rear 'D' pillar by the hatch, where a factory door lock button is located, to make room for the switches I was adding for the LED light strings (mentioned and pictured in previous topics, I've rimmed the rear hatch with LED light strips. I'm altering that and adding both white and red lights to serve different purposes).
Having too many hobbies over the years, I have a few plastic shoeboxes full of spare wiring, switches, micro fans, etc, material cadged from long years of building and cannibalizing small electronics and PCs. I used a couple external hard drive / CD power switches, much more confident in those than the recent cheap chicom crap I bought and put in the dash. I originally planned to put a switch on each side, driver side for the white LEDs, passenger side for the red, so they wouldn't get mixed up. But there's no hole there and didn't want to be chopping stuff up twice, or messing with the other wiring or dismantling much of the rear trim just to get to that spot over and over (still don't have the 'final' LED strips in hand, yet.
So instead I re-worked the power and ground taps I'd done months ago on the rear power port (always hot) and extended that power and ground to the rear lock location AND split it into two ends each, to provide both power and ground to each of the new switches. When I add the LED strips later I'll rig them to the switches and be done. The rearmost switch will be red, an easy mnemonic, rear/red.


Then it was on to adding a USB power connection in the front upper console. That console's a bit crowded, as it holds rear A/C controls, garage door opener, sunroof control switch and two independent interior lamps and their switches. And the mounting brackets / metal clips that hold the console also intrude into the console.
I was intending to use a small dual USB plug cig lighter insert that I had, for its small size. I planned to do some surgery on it, add some wire leads which I could splice into the interior lamp circuit (also always hot). But after cutting that insert open and preparing to solder some wires in it, I changed my mind. I have a couple boat / RV -style dual USB power ports inbound (slow plane from China) which have higher amp ratings than the flimsy thing I was chopping up. And in fully removing and disconnecting all the wiring harnesses in the upper console I got a better appreciation of the spaces available. And I already possessed an boat/RV style 12v port. Seeing I could fit it down in the foremost portion of the console, I elected to integrate it instead. And transfer the dash USB adapter I currently use to its location for the interim. That 12v port is the same barrel shape as the inbound adapter, it will be a simple swap when it arrives.
So I identified the various plugs and splits in the console, identified the power and ground leads I wanted to tie into and did so, adding 'normal' red & black wires for my work and spade connectors on their ends.


Then I got it all back together and started fiddling with layout and too-long USB cables. I need to shop for some short cabling, once I decide where everything is staying. It's a random mess of standards. My old iPhone 4s uses the old 30pin connection, and I power it already with a dual-use USB cable which has a normal / current skinny micro-USB connector on the equipment end, and a 30pin adapter that's leashed to it. The new dashcam uses the old / original / fat 'mini'-USB connection on the equipment end.
Then there's the Samsung 7" tablet, which uses a micro-USB.


With multiple apps and traffic updates going on the phone, it needs more than 1A to maintain its battery level. Likewise the tablet when both bluetooth and GPS are enabled. The camera only came with a 1A cig lighter cord (in addition to other cables), so it's safe to assume a 1A source will do for it.
The factory aux power / power port circuit is fused at 20A and powers the rightmost dash port, the port on the rear of the front center console and the port at the rear of the cargo bay. And now also my rear hatch LED light strings and soon another USB port inside the center console. The factory cig lighter (and middle power port) circuit and the interior courtesy light circuit (which also powers the garage door opener) are both fused at 15A. So I'm fairly confident I can 'get away with' adding on these other loads without coming near any limits of wire gauge or fuses.
And my future heavier electrical loads will be connected to entirely new and aptly sized circuits.
Last edited:

