kantidesai
New member
jscherb.
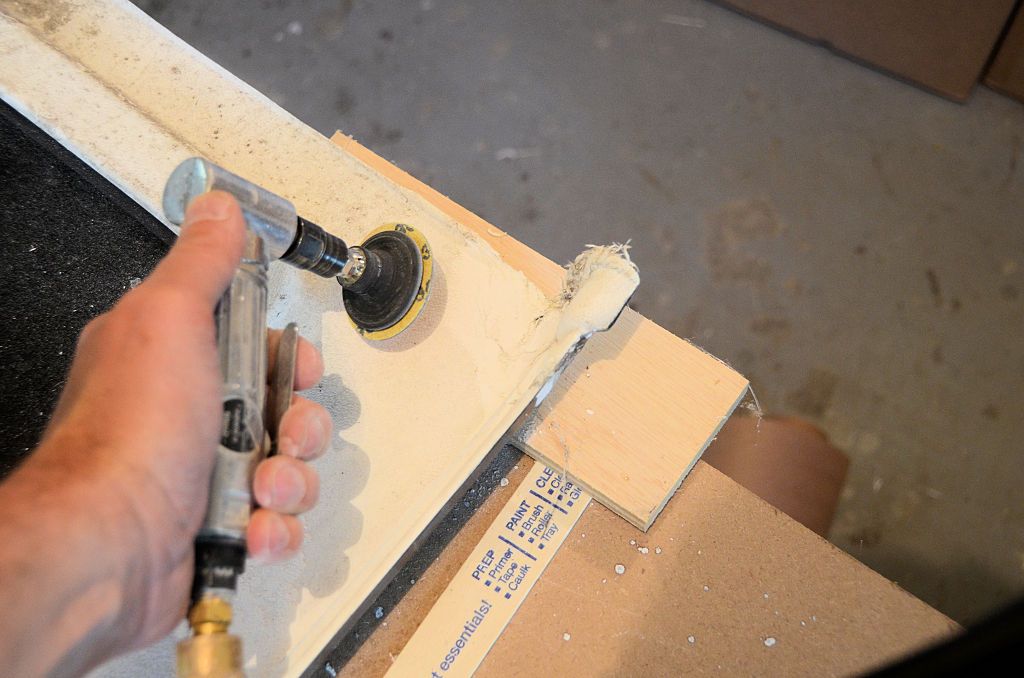
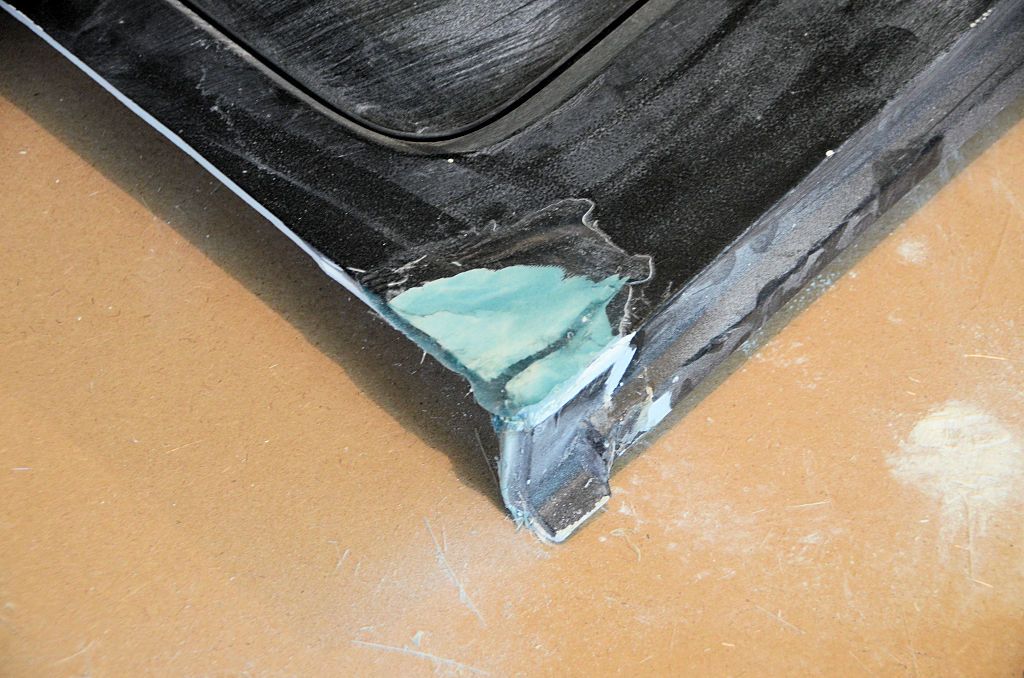
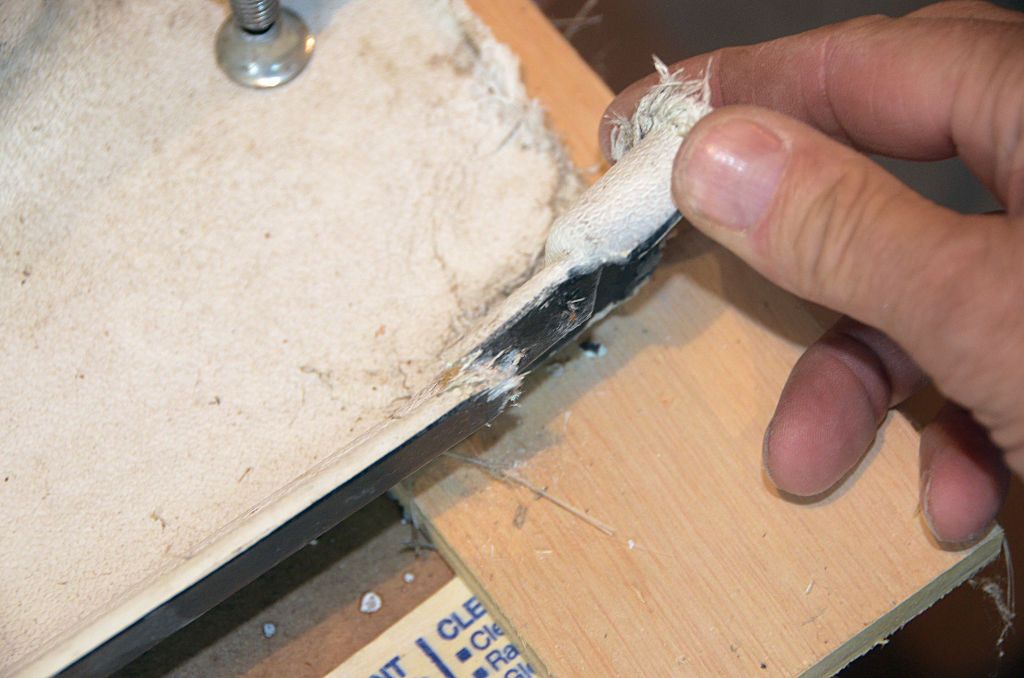
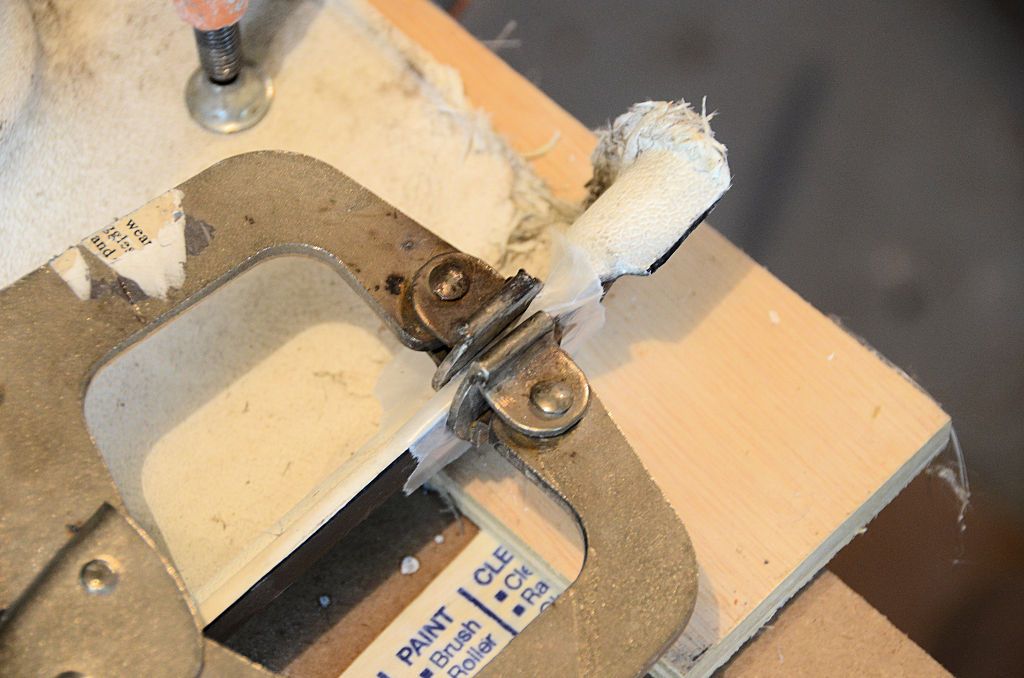
i am talking about material to make hard bonding like this in picture


i am talking about material to make hard bonding like this in picture
jscherb.
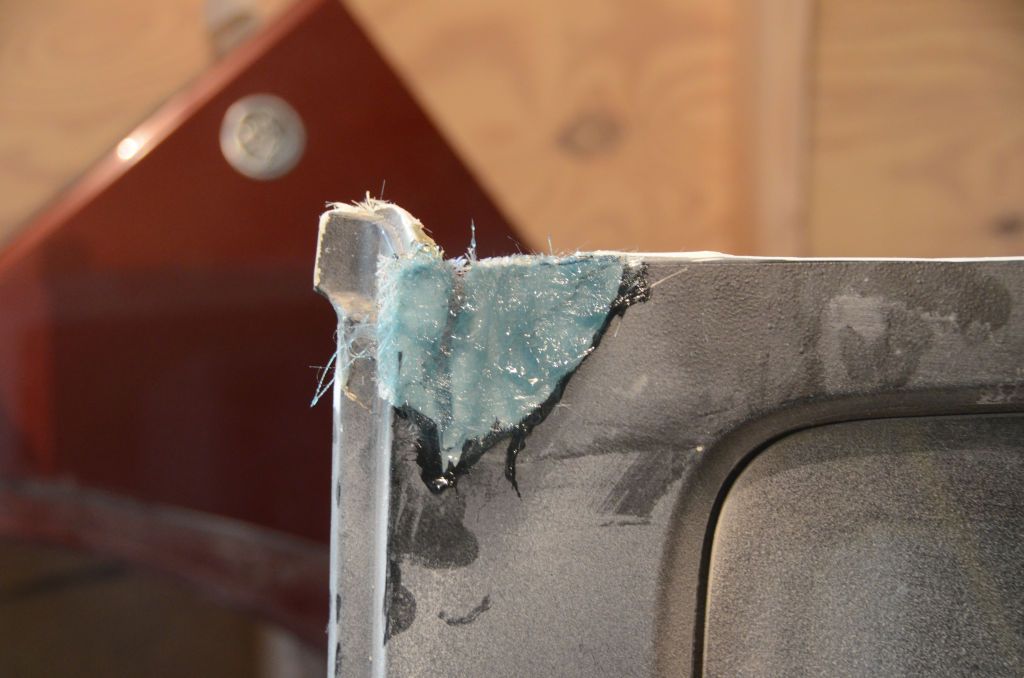
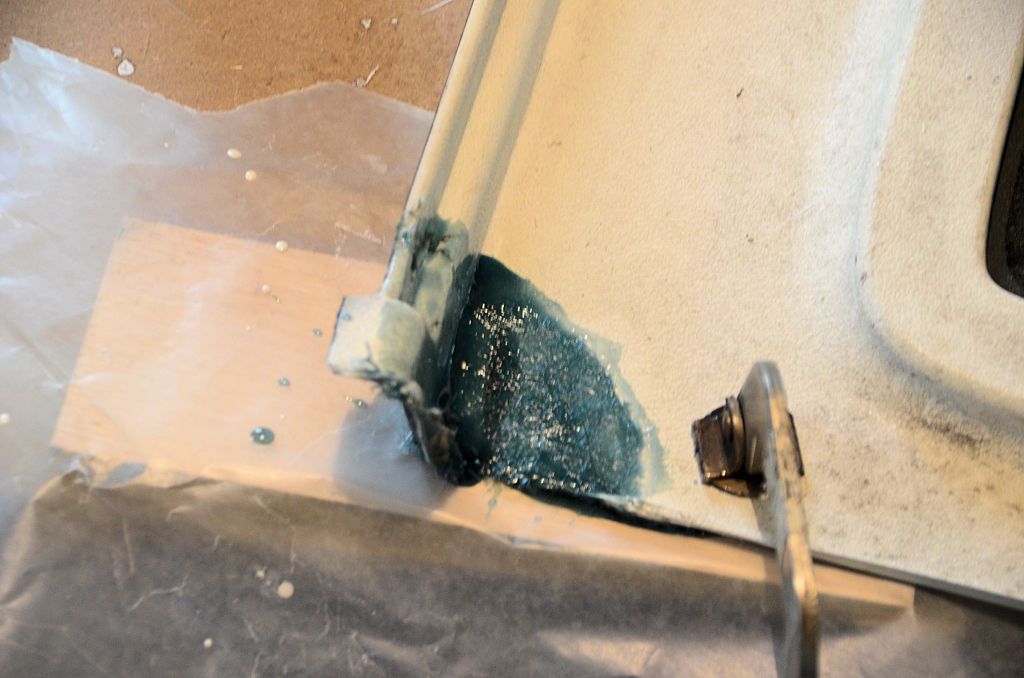
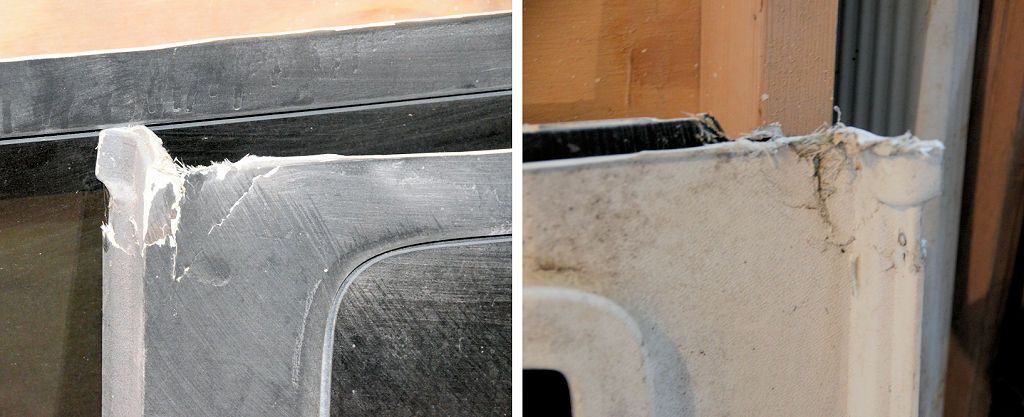
If you see attached image on last image you can see ir-regular black rubber type adhesive dried on factory made corvette.
What is this material is, its a solid like hard material stuck with walls like hard to remove.
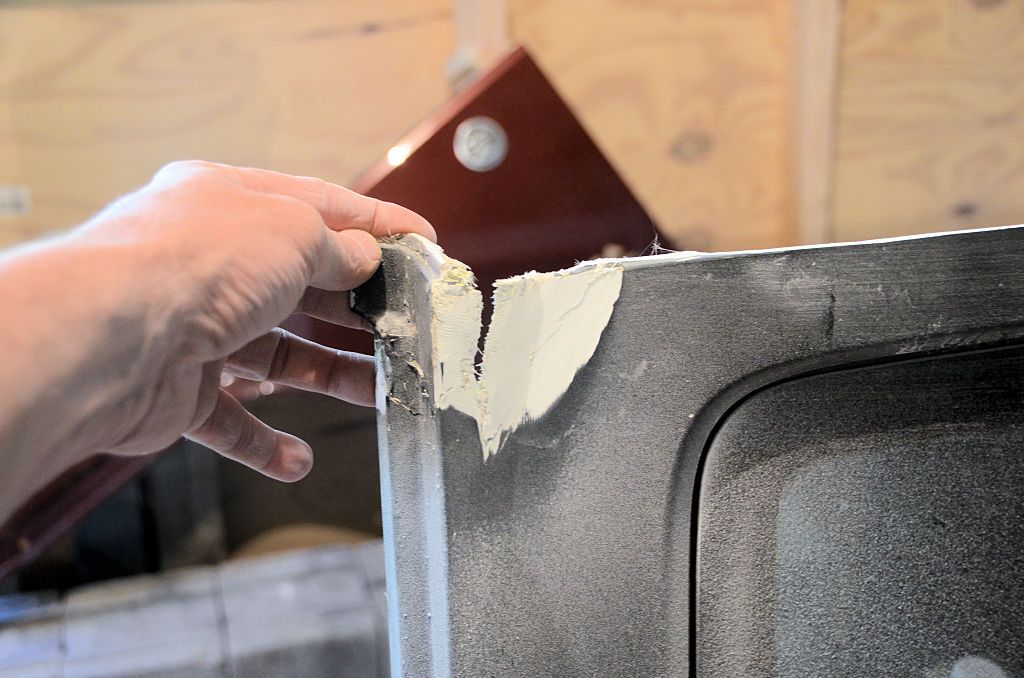
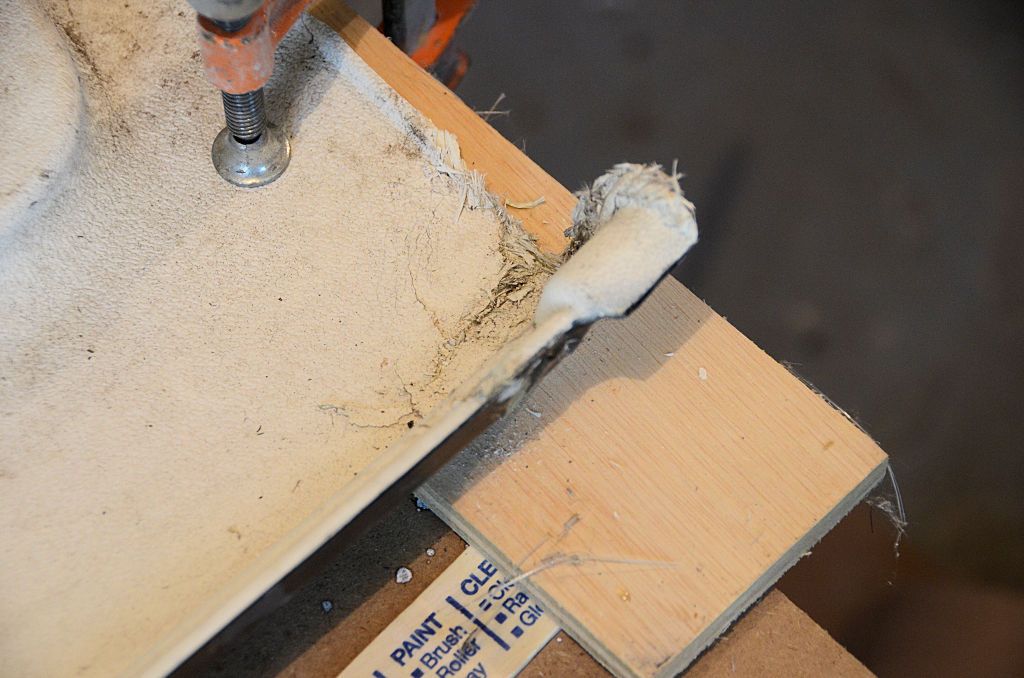
also if you see metal extension i attached to the floor with just flat metal angle between gas tank and floor sruface and other end of the angle has hole to clamp bolt of the 2 support plate..
i am expecting that black type of very hard glue can be solid in shape to hold those 2 vertical or i can attach horizontal plate with holes to mount. solid.
please advice me

@Jeff I wasn't sure if my question should be posted in the barn door or this thread.
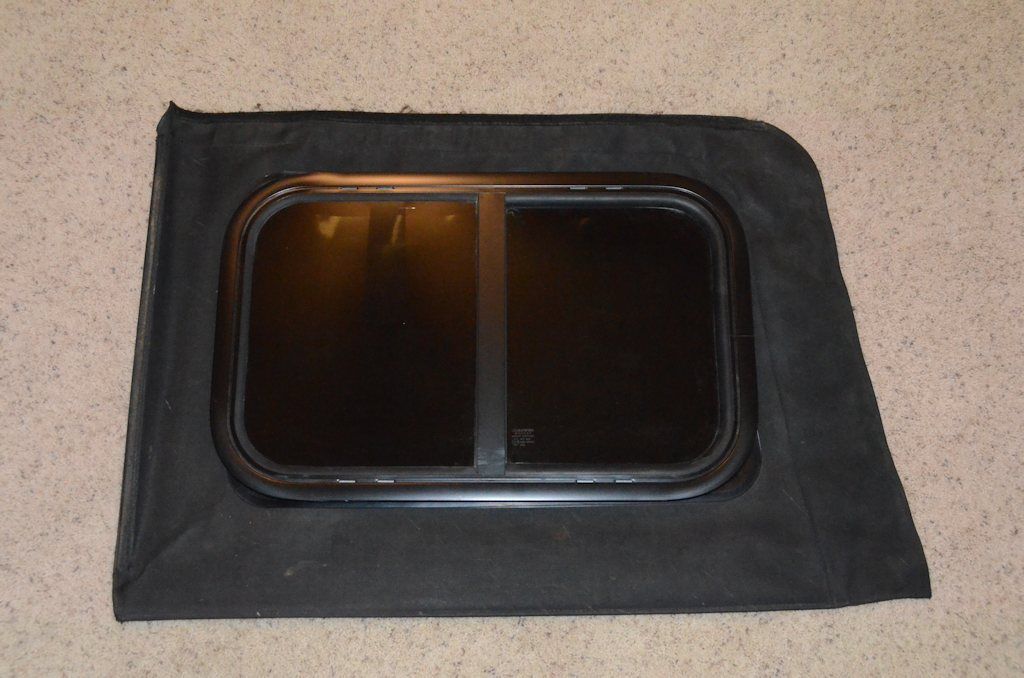
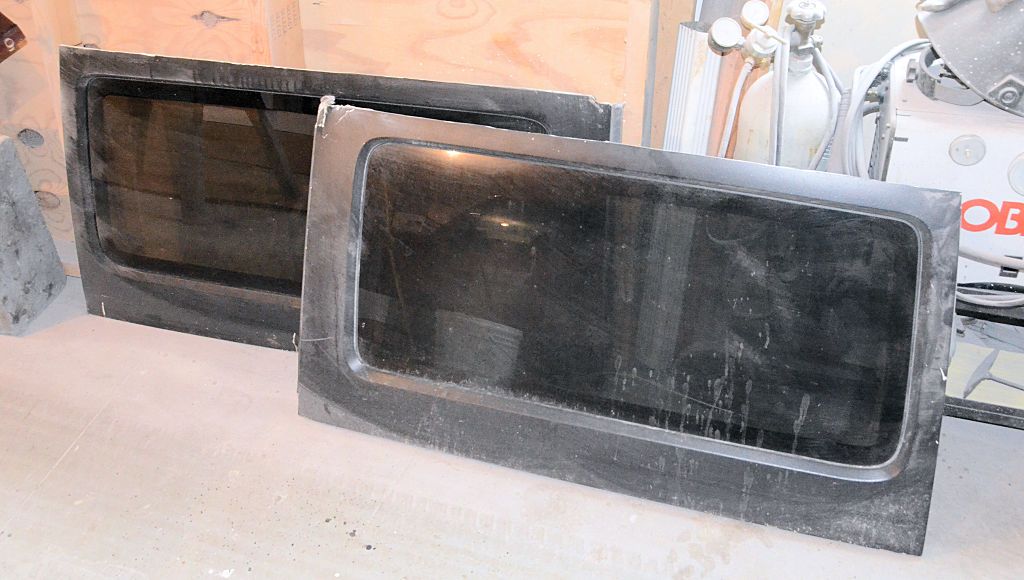
Is there any chance that you'll design the sliding window for the 2 door soft top (left and right side/rear) windows?.
@jscherb, I may have missed this but I've read through quite a few pages and the entire safari cab thread but is anyone currently producing these besides you? Did your design ever make it to production? Thanks!
The JK Safari Cab is not in production. I don't believe there would be enough interest in the JK Safari Cab to make it worthwhile to become a commercial product.
Yes, I designed the Safari Cab for the LJ and TJ that Gr8tops sells. I designed it to fit the CJ and YJ as well but Gr8tops doesn't support those models.I guess I meant any safari cab. Are yours the ones over at gr8tops for the lj tj yj and cj?
Sent from my iPhone using Tapatalk
Greg and I haven't been in touch in a while.@Jeff have you spoke with Greg lately?. he's having troubles locating a seamstress to continue production of his Safari soft tops. http://www.americanconvoy.com