wvracer821
Observer
I'm glad I stumbled on this thread. I have been dreaming up an idea to build a setup like this for moving air in my roof top tent.


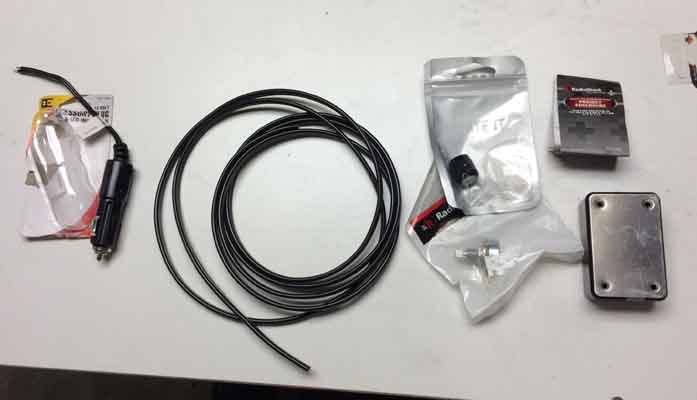
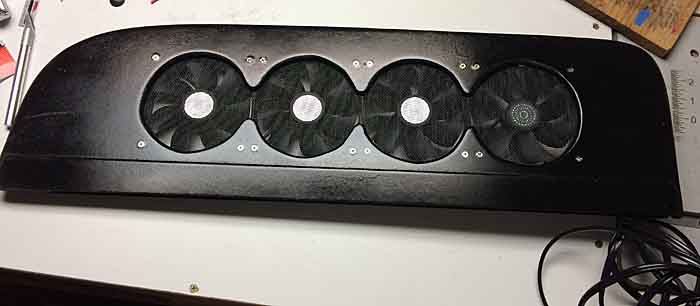
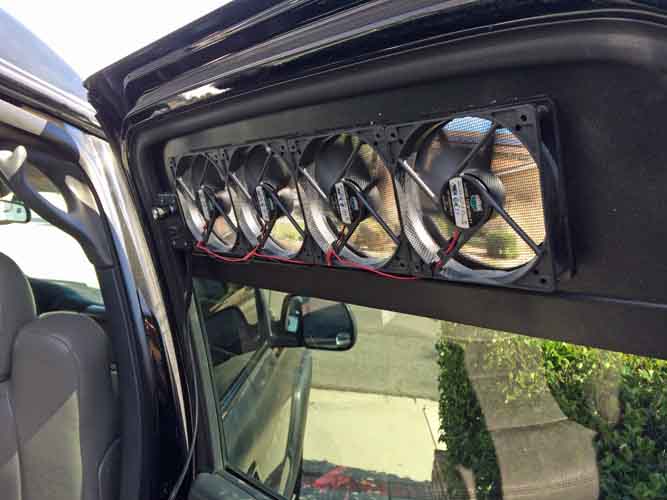
Screwed around yesterday and today a bit and got the window fan insert assembled and tested. Got lazy and said f it and put the rheostat control knob jutting out the front face of the job box instead of the top or side. The fit of the rheostat inside the box for those side orientations was going to be very close and I didn't want to put that much effort into it. I'll probably wind up regretting it later.
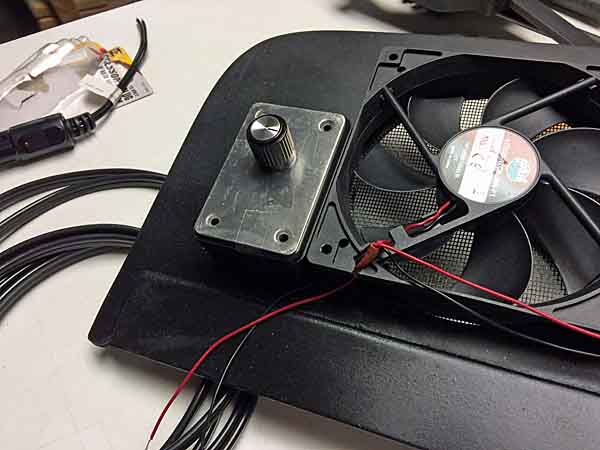
You can see how I came up short on the wire splicing. That wire run should have been long enough to tuck into the bottom side of the fan bodies. I cut down each fan wiring loom with the intent of soldering them together in a way that made them wired in parallel, sort of like old school side pipes where each pipe flows into the next. I cut them about 1/2" too short for how I wanted to fit them.

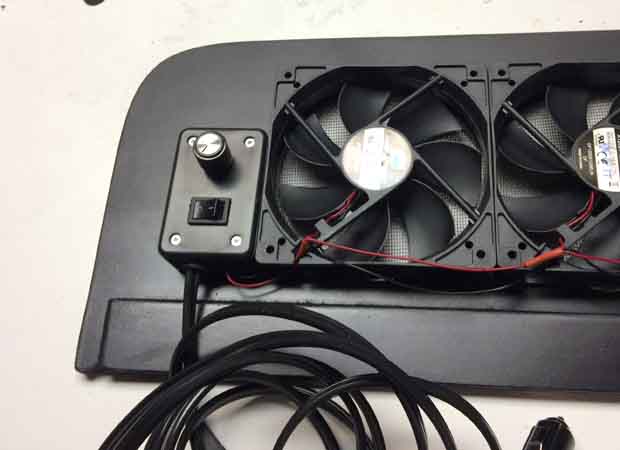
Aligned the small job box with the bottom of the fans. This placement would have worked great with the knob on the top. Put in a small on/off switch as well.
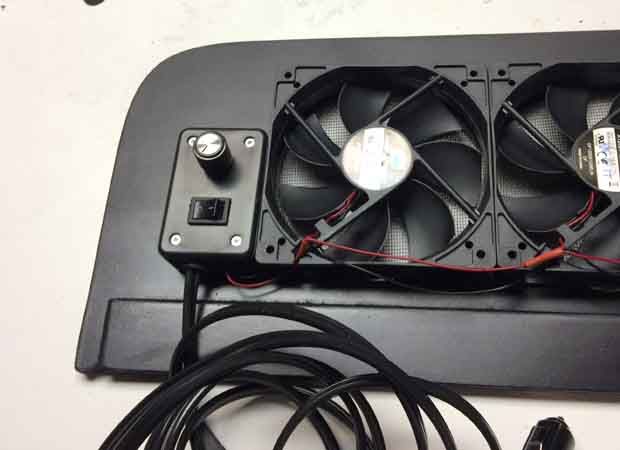
And the outer face. Also with a minimum effort paint job. Just couldn't be arsed with making it super pretty. This was more about finishing up a bunch of unfinished projects, than making it super nice.

3540
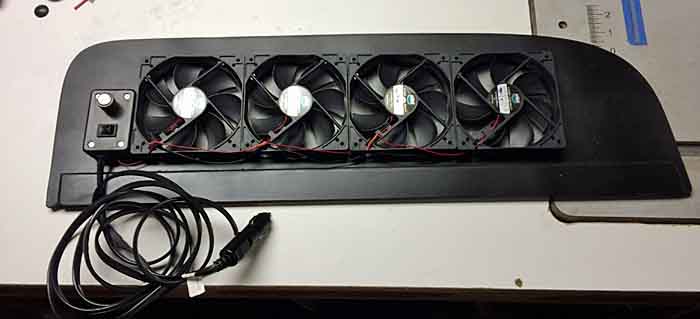
OMG IT SPINS!

No strong force to it and very quiet, even at full blow.Just quietly moving the full vehicle volume of air, every minute.
Pretty much done with it. I'll sew up a sturdy bag for it and put it in my storage drawers, keep it with the vehicle. If I get motivated I might clean up the fan wiring, maybe put it in some split loom and fasten it to the sides of the fans in a more protected position. If I get supermotivated, I might re-do the job box so the control knob sticks out the top, in a more protected position. Maybe I'll get it all right on Geron's build.