Kingsize24
Well-known member
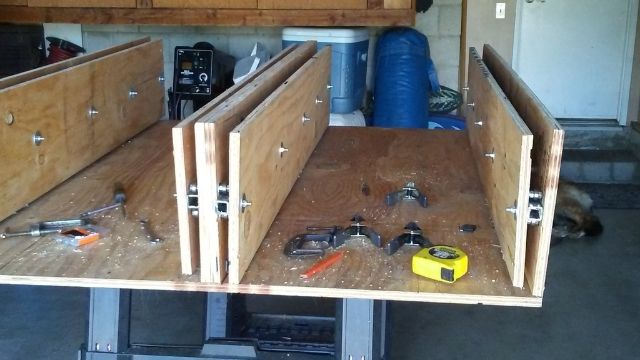
Looks like a damn good start. I like it!


.jpg")
")


Thx guys, Not that I built them to hold a body but ya, guess that is an option
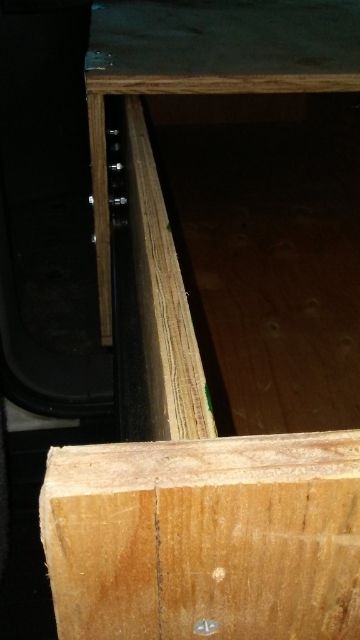
Did some finishing work this weekend. HD had a roll of carpet for $20 that was perfect. The wife helped with the corners since I had not idea how to do that stuff. I then put a redwood sheet over the drawers to clean it up. Found that for $12 at HD. Still need to find latches but will need to go to a wood working shop for that. Nothing found at HD
View attachment 394505
View attachment 394506
View attachment 394507
.The next project will be the 2nd battery and solar panel to run the refrig. I will also install an inverter and outlets in the back. If anyone has a good link for that project please share. I've found a few throughout this forum but no need to reinvent a system.
View attachment 394508
Getting close! Just a few more things then time to load it up and get out for that first tripNow all you have to do is get out in the bush and have some fun..