Front end Refreshing:
Igor has a good 183k or so on him. Which means its time for some major maintenace. I started with LBJs, Tie rod ends, and steering bushings.
My driver side outer tie rod was fused to the inner as i found out last time i tried getting an alignment. So figured may as well replace them all.
And since i was there i figured why not do LBJs since i have no idea if they are original or what. We all know my reputation with those so I didn't want to risk it.
For parts I went OEM for LBJs as i have felt aftermarket ones vs OEM and its night and day difference. OEMs are worth it. I also went OEM outer tie rods. But for inners I settled for 555 as toyota wants $136 for each inner.
No that is not a typo.
I went through Camelback for all my OEM parts and used the TW discount.
LBJ Right side:
https://parts.camelbacktoyota.com/parts/2003/Toyota/Tacoma/DLX/index.cfm?action=partDetail§ion=FRONT SUSPENSION&group=FRONT SUSPENSION&subgroup=SUSPENSION COMPONENTS&component=Lower ball joint&partnumber=4333039556&vehicleid=78972&siteid=214329
LBJ Left Side:
https://parts.camelbacktoyota.com/parts/2003/Toyota/Tacoma/DLX/index.cfm?action=partDetail§ion=FRONT SUSPENSION&group=FRONT SUSPENSION&subgroup=SUSPENSION COMPONENTS&component=Lower ball joint&partnumber=4334039436&vehicleid=78972&siteid=214329
Outer Tie Rod, Left side:
https://parts.camelbacktoyota.com/parts/2003/Toyota/Tacoma/index.cfm?action=partDetail§ion=STEERING&group=STEERING GEAR & LINKAGE&subgroup=STEERING GEAR & LINKAGE&component=OUTER TIE ROD&partnumber=4504739175&vehicleid=78972&siteid=214329
Outer Tie Rod, Right side:
https://parts.camelbacktoyota.com/parts/2003/Toyota/Tacoma/index.cfm?action=partDetail§ion=STEERING&group=STEERING GEAR & LINKAGE&subgroup=STEERING GEAR & LINKAGE&component=OUTER TIE ROD&partnumber=4504639295&vehicleid=78972&siteid=214329
I got my inners from LowRange Offroad:
http://www.lowrangeoffroad.com/toyo...a-tacoma-inner-tie-rod-end-left-or-right.html
For bushings I went with Total Chaos Poly bushings from Wheelers:
https://wheelersoffroad.com/product...chaos-polyurethane-steering-rack-bushing-kit/
The inner's were of course on back order. took 6 weeks to get them. But finally did!
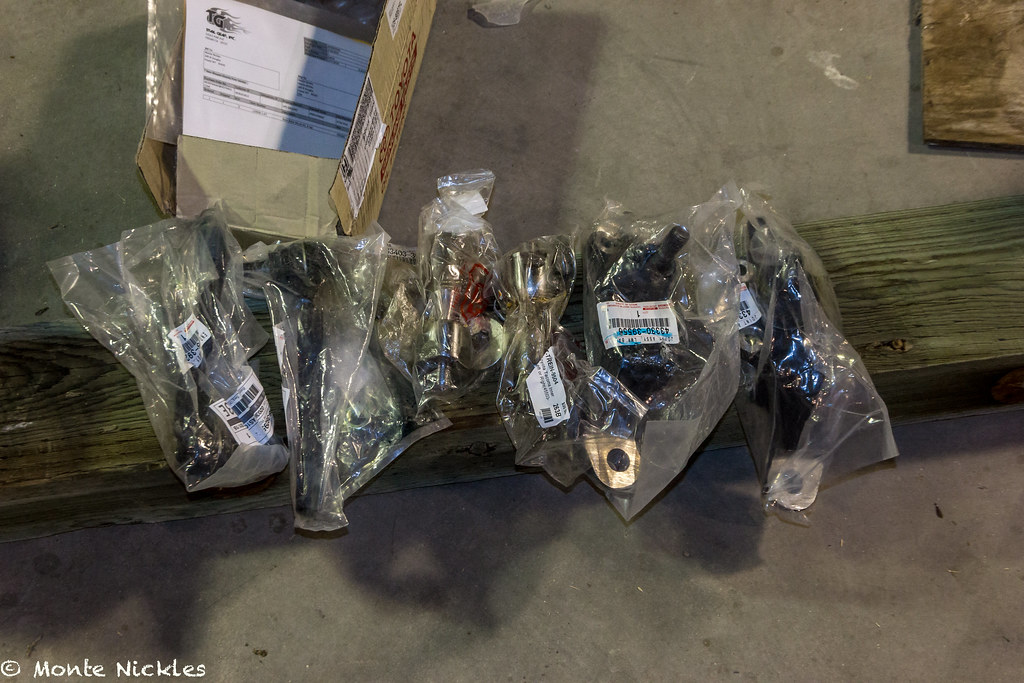 ManyMods.jpg
 by
Monte Nickles Photos, on Flickr
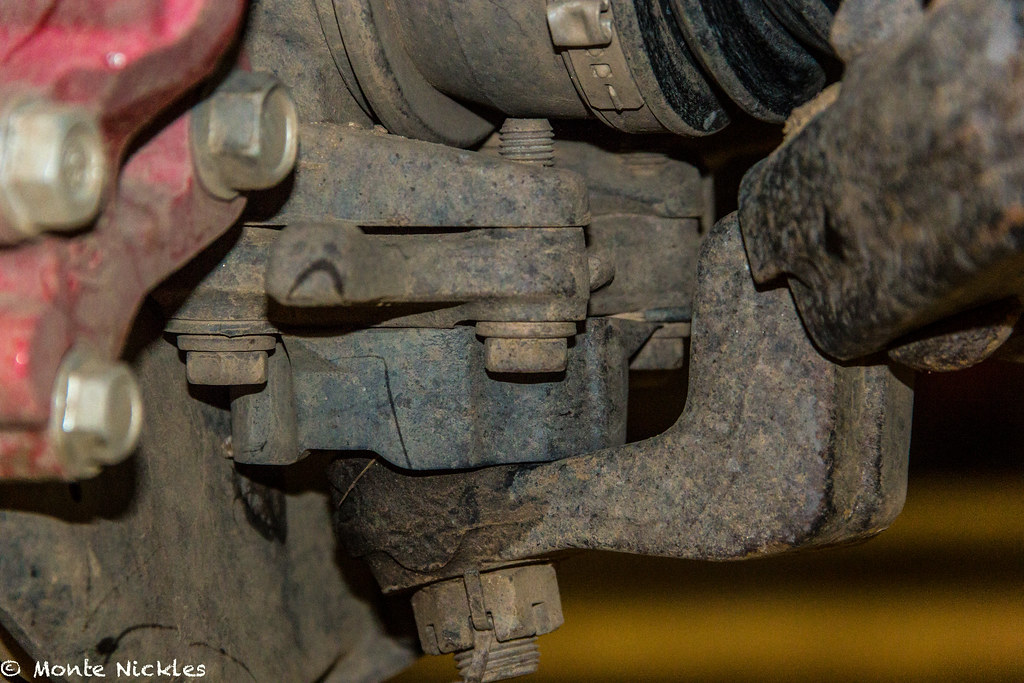
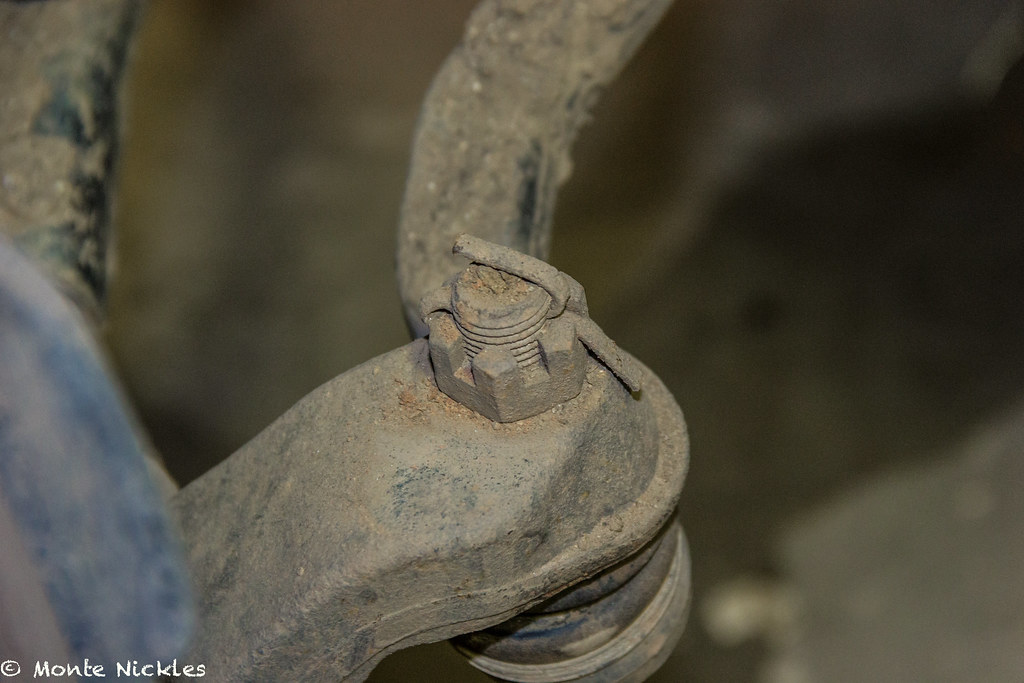
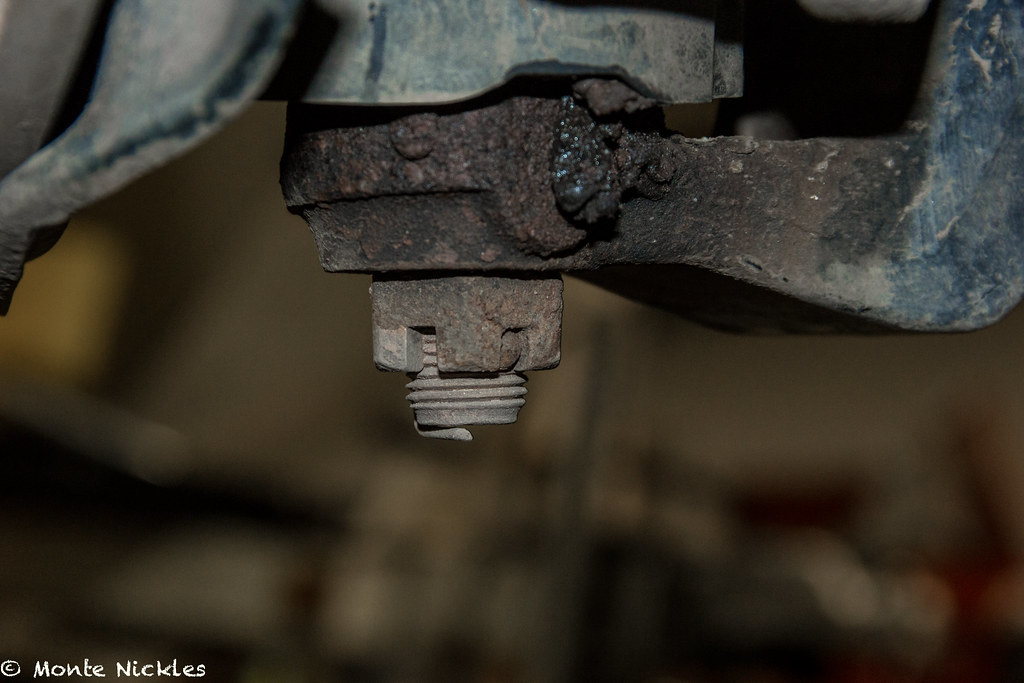
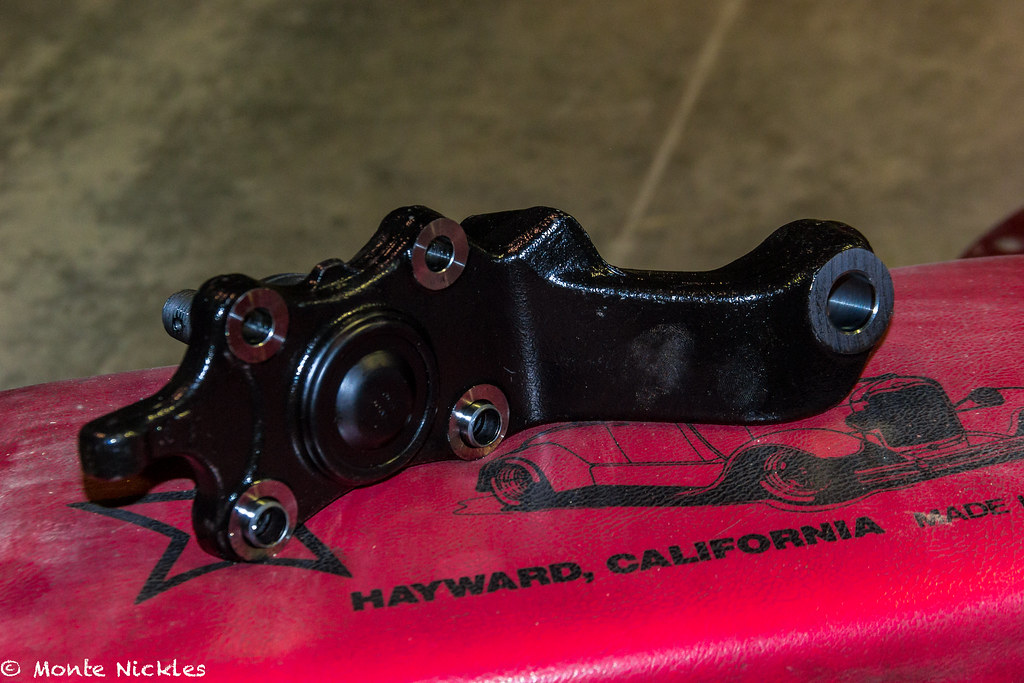
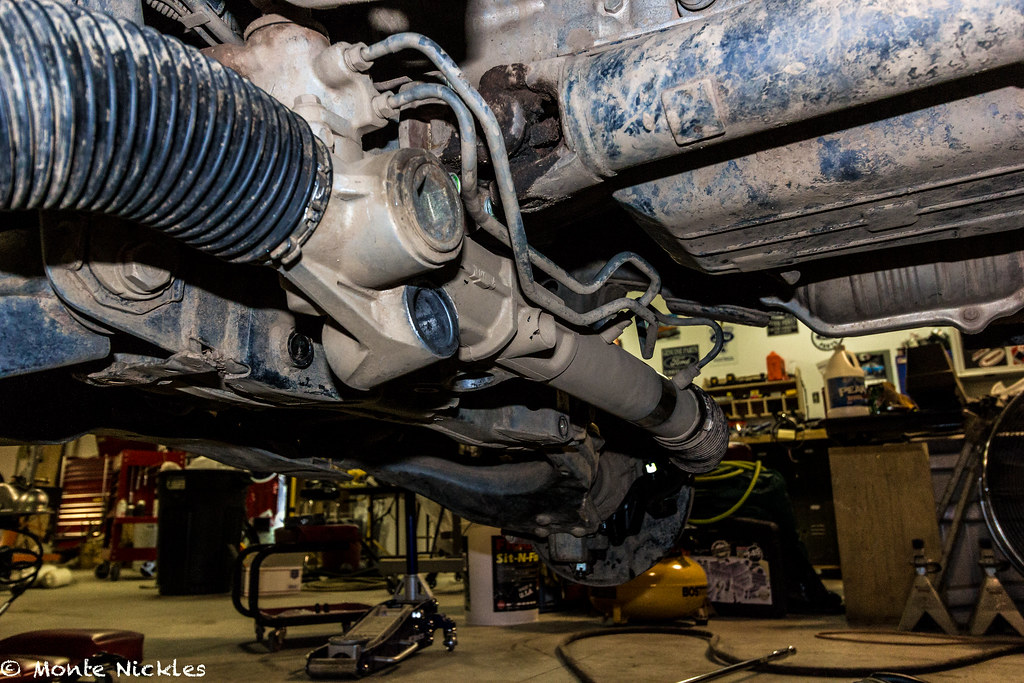
I started with the LBJs as they are connected to the steering. Just need to remove the 4 bolts.
 ManyMods-2.jpg
 by
Monte Nickles Photos, on Flickr
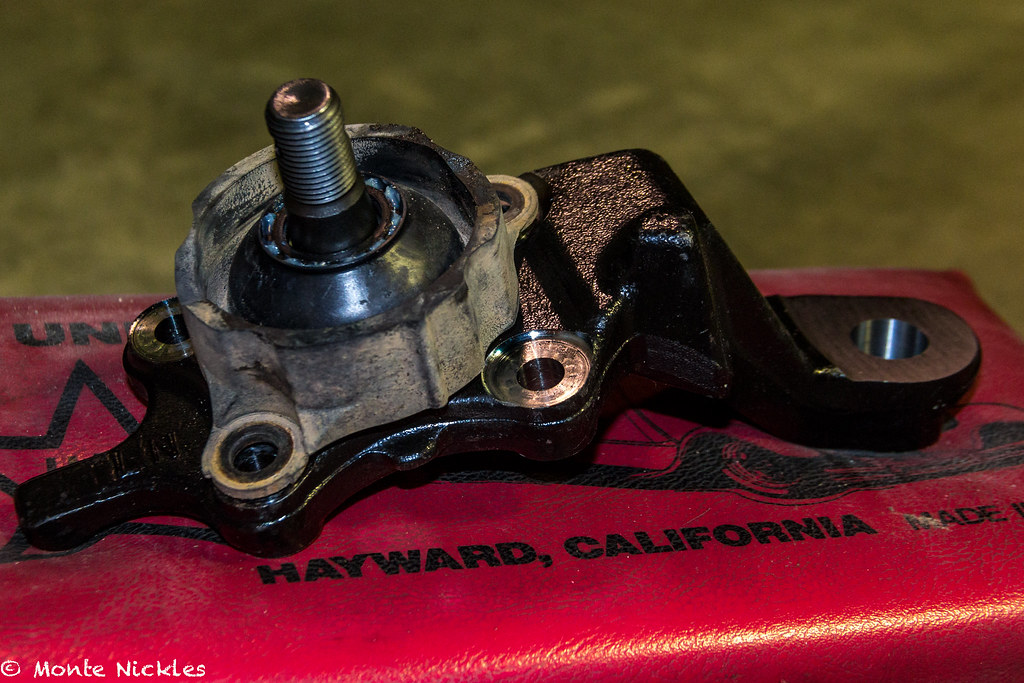
I couldn't figure out and convenient way to hold the UCA and spindle up out of the way, but it still worked fine just had to lift it as needed.
 ManyMods-3.jpg
 by
Monte Nickles Photos, on Flickr
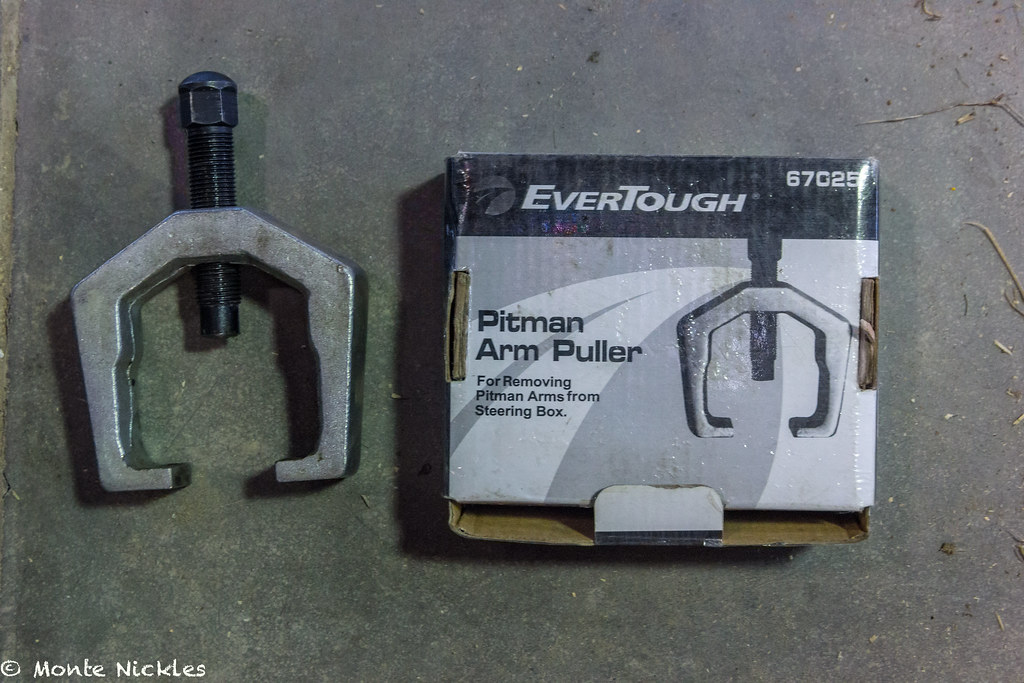
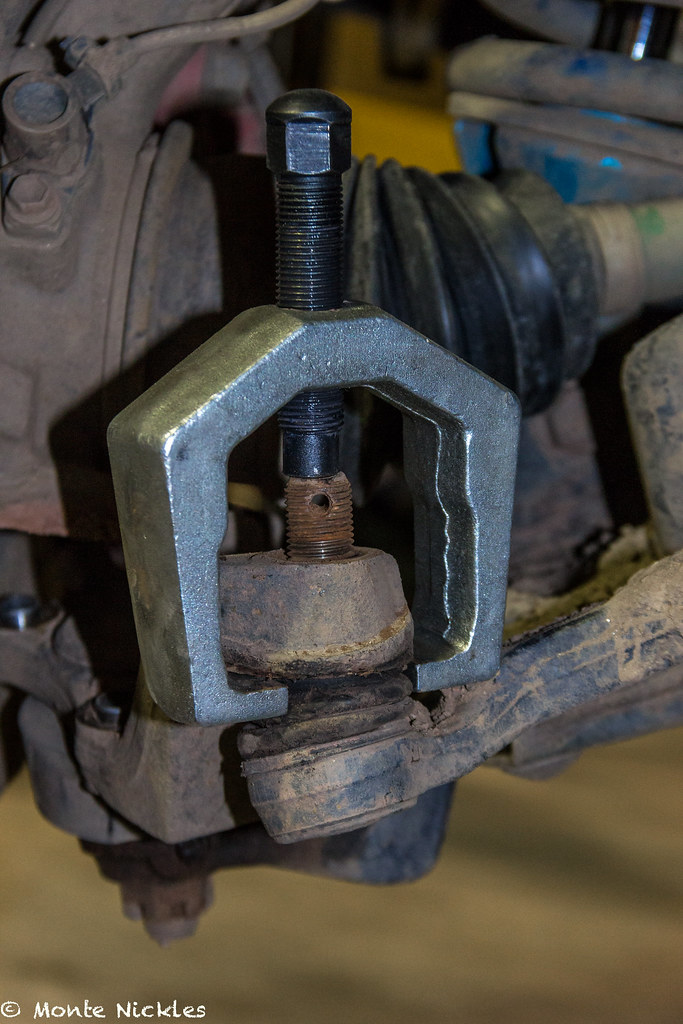
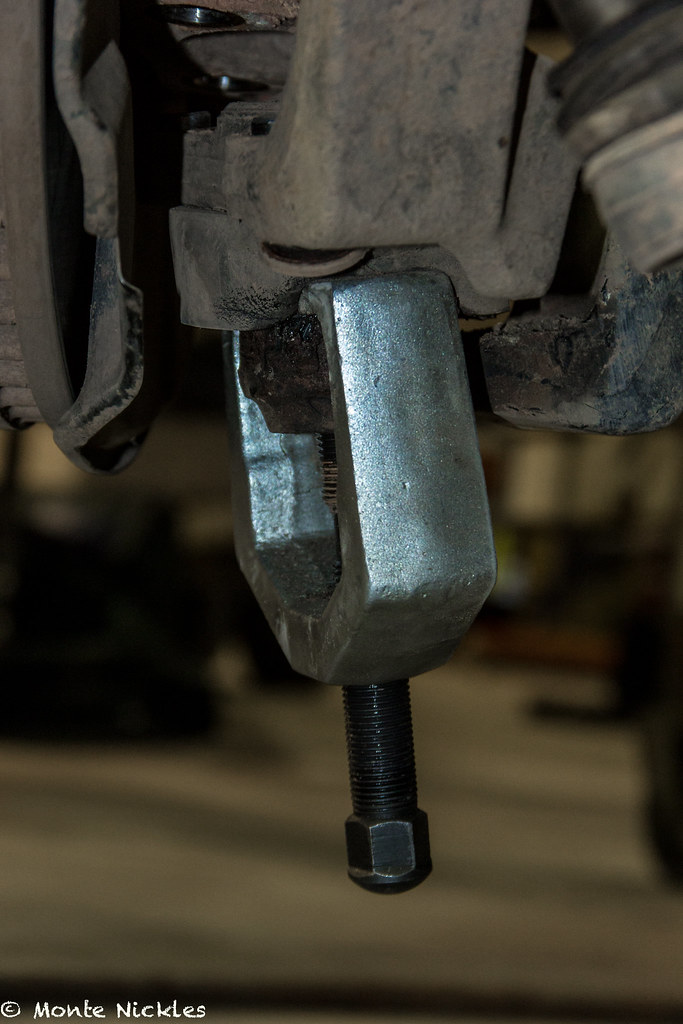
And this is a tool that in my humble opinion EVERYONE with a 1st gen Tacoma should own. Easily. If you can't afford the $15 price tag to keep this thing in your OSK. You can rent it for free. But its only $15...
 ManyMods-4.jpg
 by
Monte Nickles Photos, on Flickr
This is a Pitman puller. And makes this job very easy. Low Range Offroad has a great video on doing the inner and outer tie rods, which I agree with most of the techniques used. The one i don't is beating the **** out of your tie rods and LBJs to get them out.
This is where the pitman puller is worth it.
We will do the Outer Tie rod first, so take the cotter pin out and take the nut off first
 ManyMods-5.jpg
 by
Monte Nickles Photos, on Flickr
Now grab the Pitman puller back the bolt out, slide it on then crank down the bolt.
 ManyMods-6.jpg
 by
Monte Nickles Photos, on Flickr
Grab a large wrench, I like to use a 12'' or larger crescent wrench for more leverage, which you will really want. And start tightening it down.
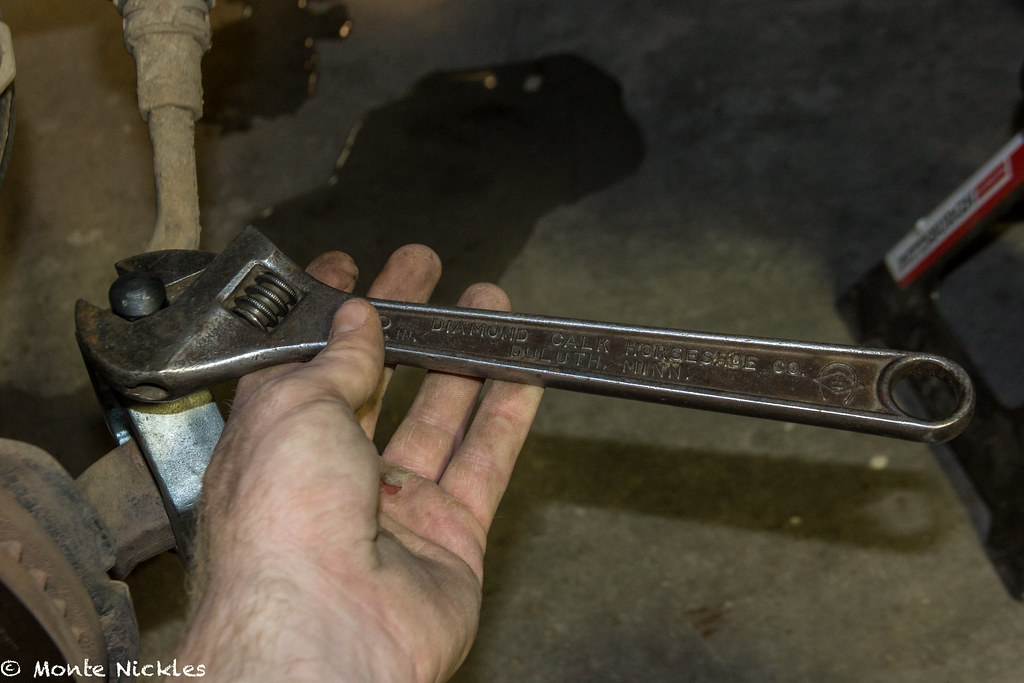 ManyMods-7.jpg
 by
Monte Nickles Photos, on Flickr
I HIGHLY recommend wearing earmuff or ear plugs as this next part can be loud. Continue tightening down until you can't or it get very hard. Usually then a light tap on the pitman will send it home with a bang.
Literally.
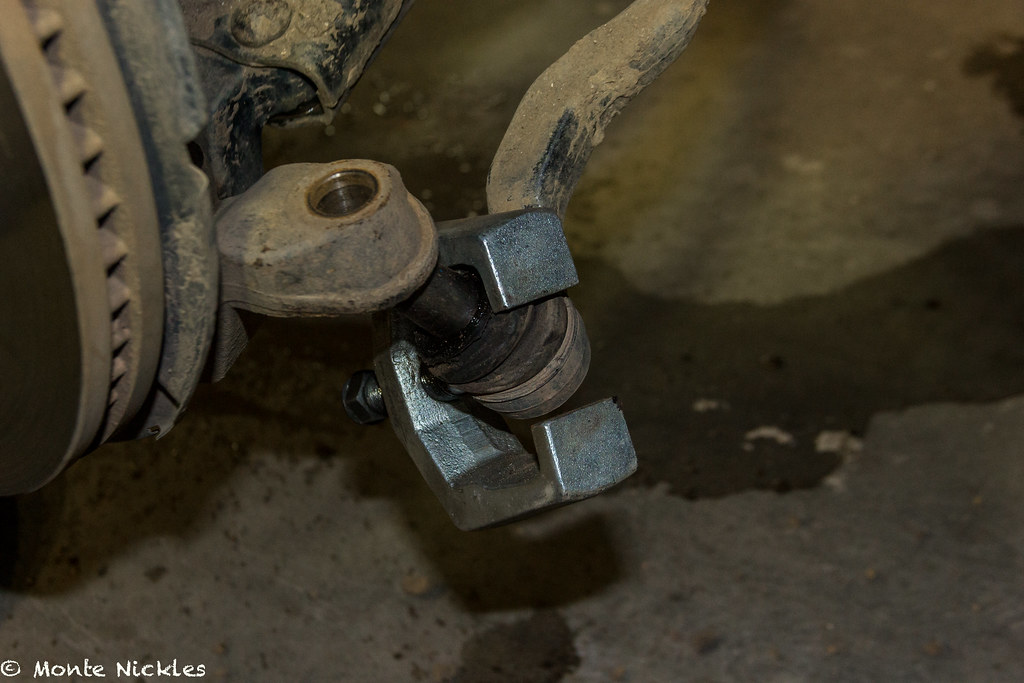 ManyMods-8.jpg
 by
Monte Nickles Photos, on Flickr
The pop can be pretty damn loud so seriously consider ear protection. But as you can see it pops right out no issues and the boot is not torn like a pickle fork would do and the threads are all beautiful if you wanted to reuse the tie rod.
Which I'm not but still. Very nice tool.
Repeat for the LBJ, can be a bit tricky if you have the dust boots to get the pitman on, but it will go on.
My LBJs definitely seem due..thank god we didn't find that out the hard way again eh Mike? lol
@Digiratus
 ManyMods-9.jpg
 by
Monte Nickles Photos, on Flickr
 ManyMods-10.jpg
 by
Monte Nickles Photos, on Flickr
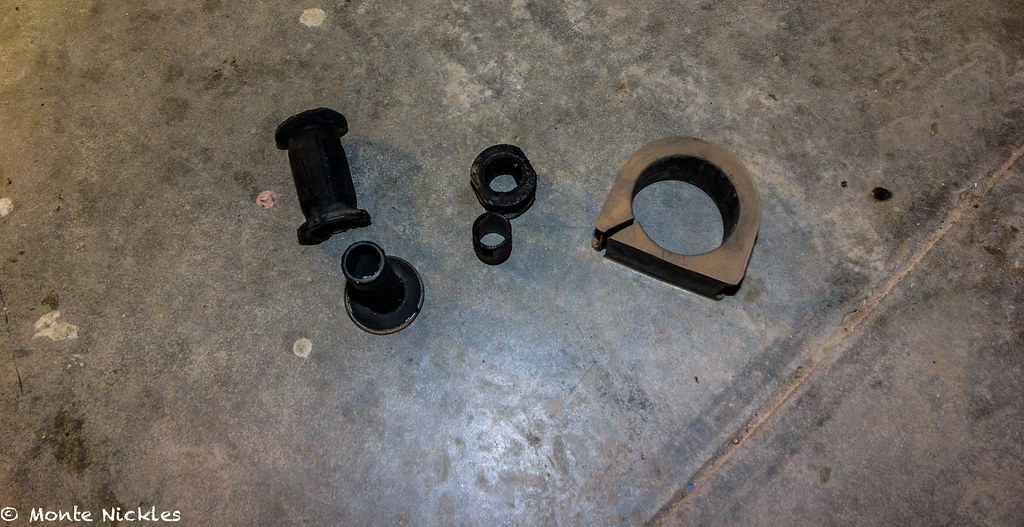
once off, remove the dust boot as you'll want them on the new LBJs.
 ManyMods-11.jpg
 by
Monte Nickles Photos, on Flickr
 ManyMods-12.jpg
 by
Monte Nickles Photos, on Flickr
So fresh and clean
")
 ManyMods-13.jpg
 by
Monte Nickles Photos, on Flickr
Dirty *** boot..lol hard life ahead for this LBJ.
 ManyMods-14.jpg
 by
Monte Nickles Photos, on Flickr
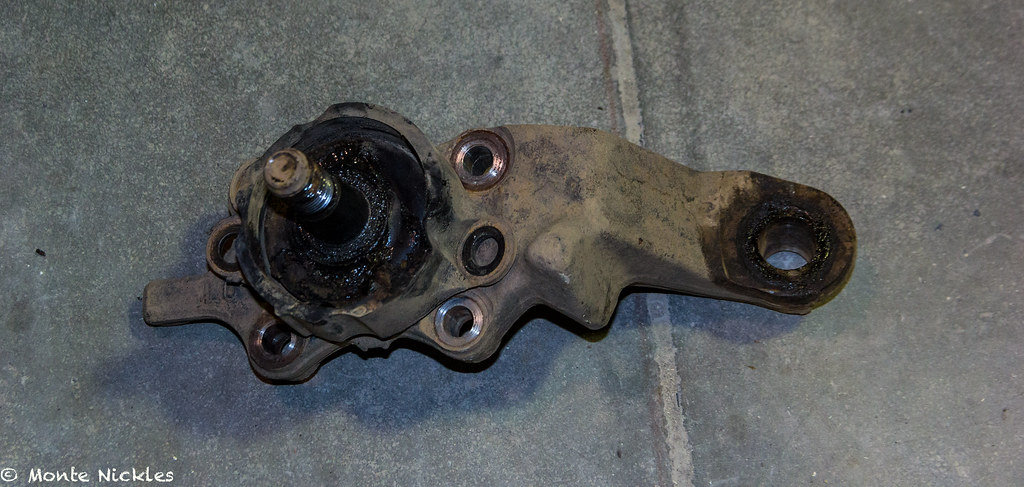
Set the LBJ back in the LCA hole and put the bolts back in. Now i didn't put in new bolts YET. But you SHOULD. I didn't realize my PN for the LBjs didn't come with new bolts as some do. So if you order from my parts list above, GET NEW BOLTS TOO!
I settled to clean them and will replace later this spring. Added Blue locktite and torqued to 55ft/lbs. Will use Red next time but didn't have red at the shop this go around.
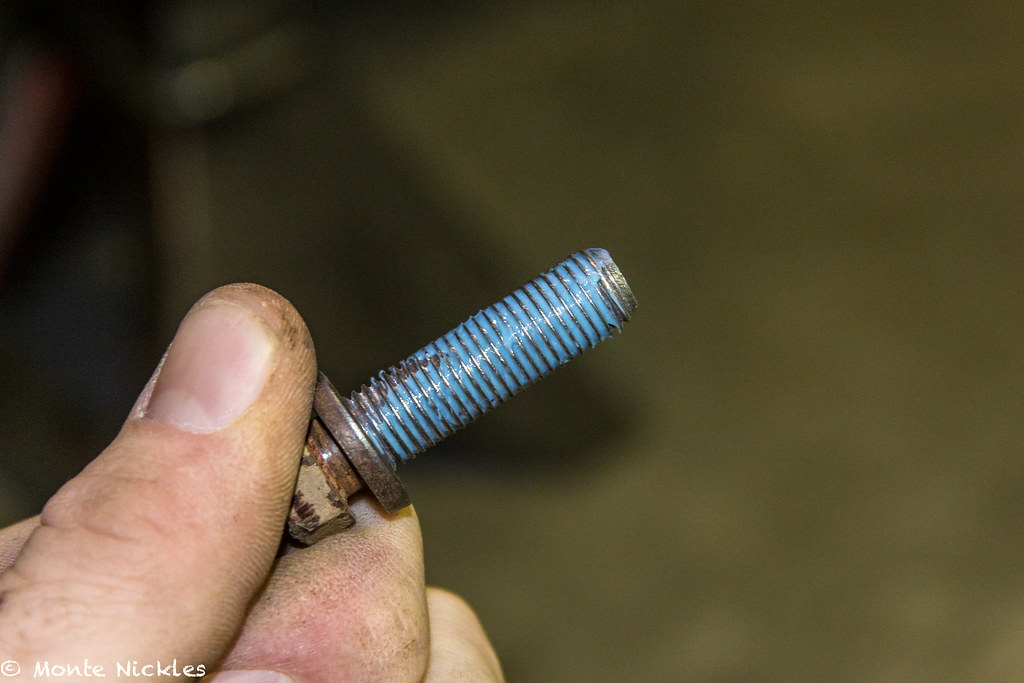 ManyMods-15.jpg
 by
Monte Nickles Photos, on Flickr
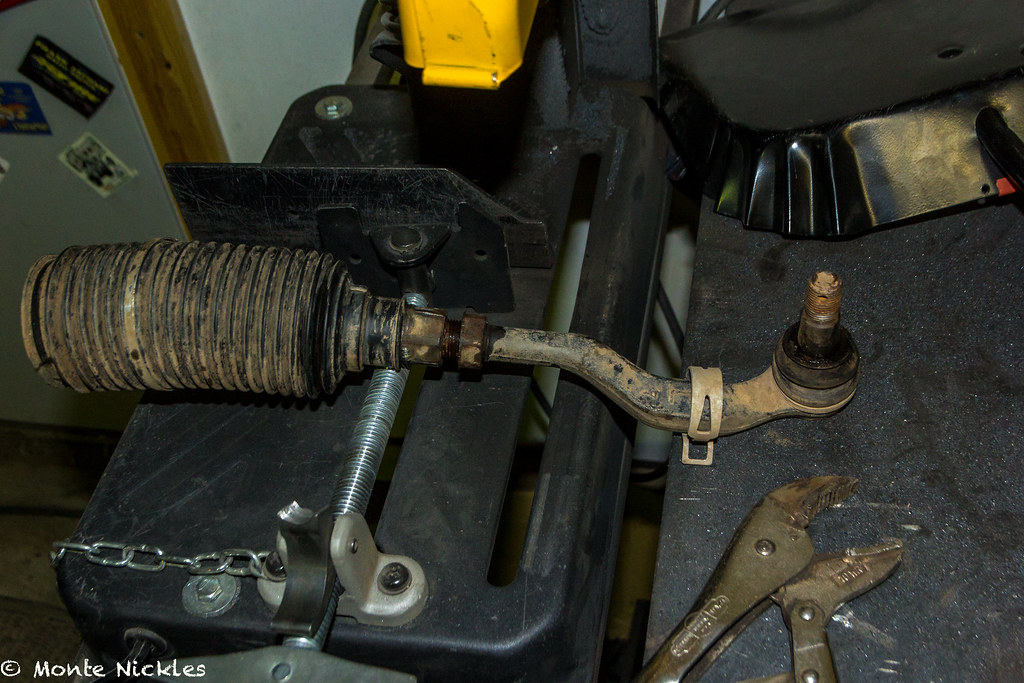
Time for the Tie rods.
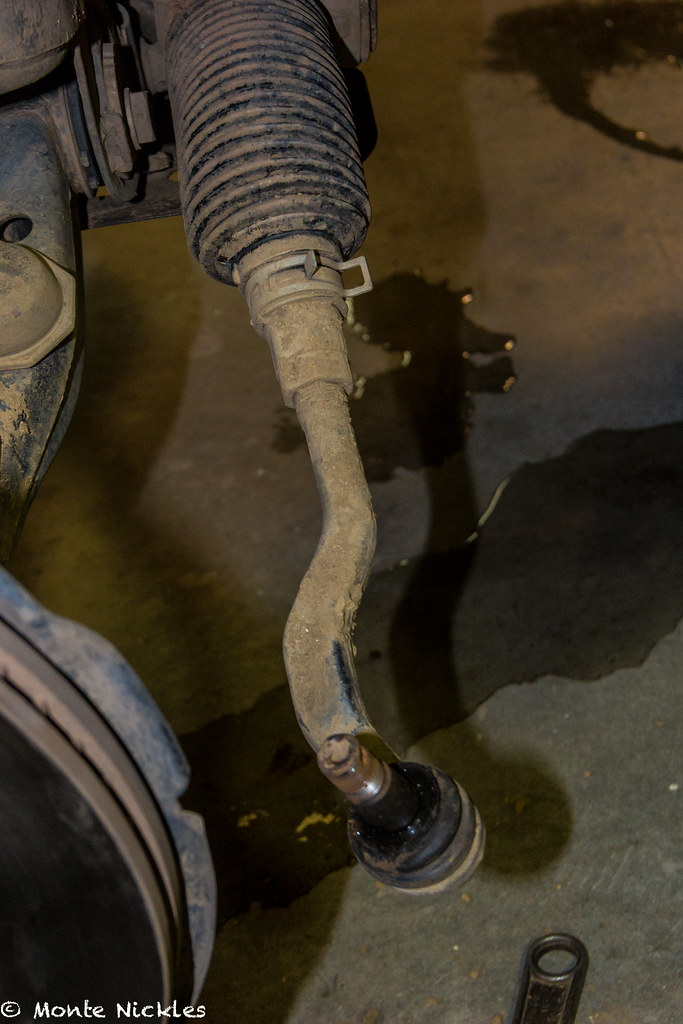 ManyMods-16.jpg
 by
Monte Nickles Photos, on Flickr
Id recommend watching this video for the sole reason to see how to undo the boot clamps. I couldn't take photos of it as it takes two hands and tools so if anything watch it for that part. Should have it linked to start right at that part.
https://youtu.be/AVQHgcXEhpE?t=4m28s
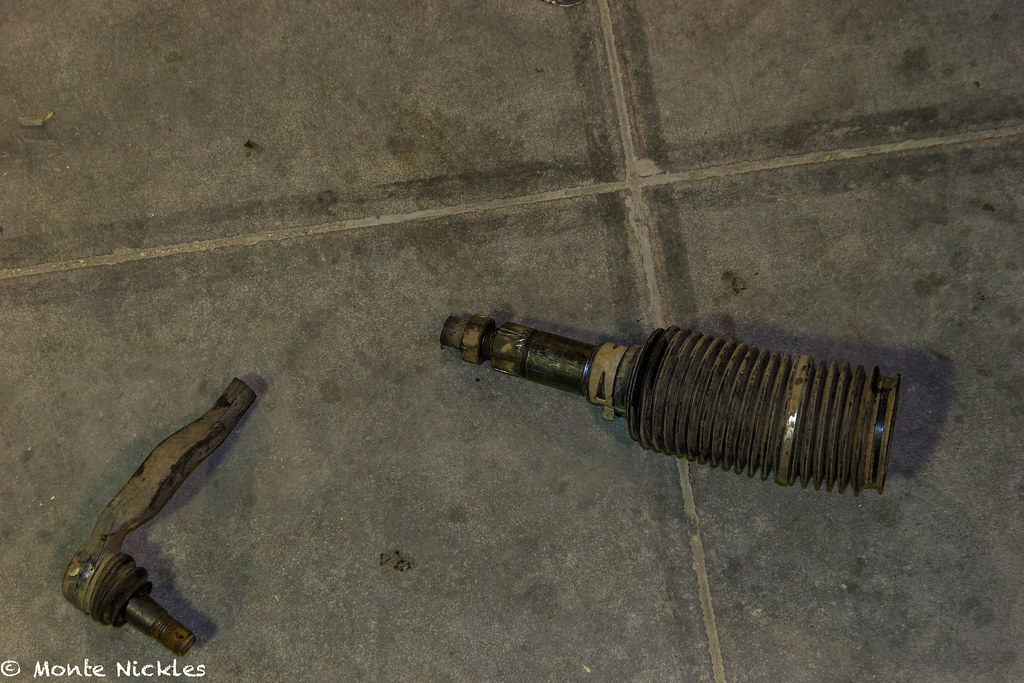
Now my drive side was fused together so i took the main boot off and removed the Inner tie rod from the rack.
This is a problem as there is no way to get the boot off or the smaller clamp without seperating the two tie rods. Well after trying I said **** it
 ManyMods-17.jpg
 by
Monte Nickles Photos, on Flickr
And cut it in half.
 ManyMods-18.jpg
 by
Monte Nickles Photos, on Flickr
this allowed me to get off the Nut which i needed as well and the boot and clamp.
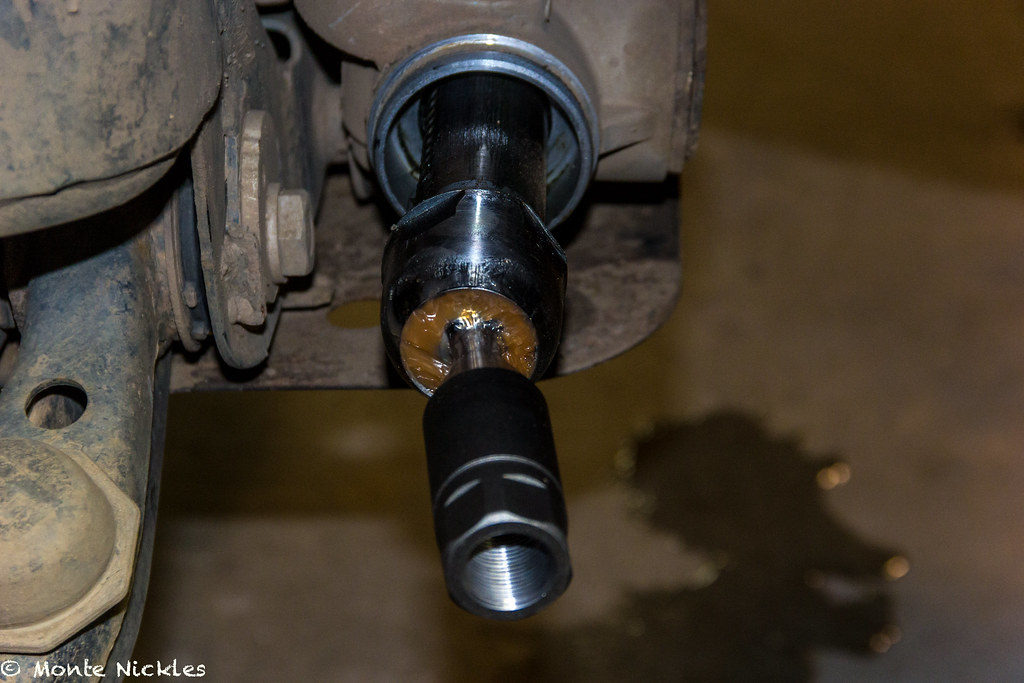
Installed the new inner
 ManyMods-20.jpg
 by
Monte Nickles Photos, on Flickr
The grabbed the new outer.
 ManyMods-19.jpg
 by
Monte Nickles Photos, on Flickr
Once again i was surprised to find no hardware came with it. Something that was going to be an underlying problem with this whole install. I got no new nut for the tie rod. But my old ones where in good shape and I had no issues with using them.
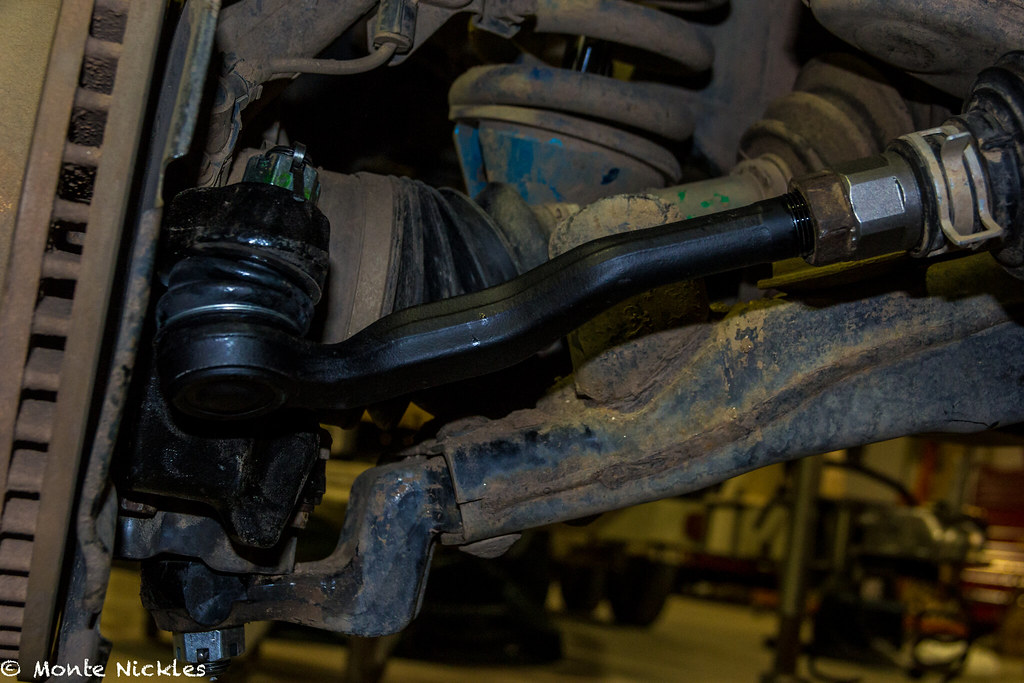
Bolted everything back up, make sure you put the boot on and clamp first, and was done!
 ManyMods-21.jpg
 by
Monte Nickles Photos, on Flickr
Repeated on the other side.
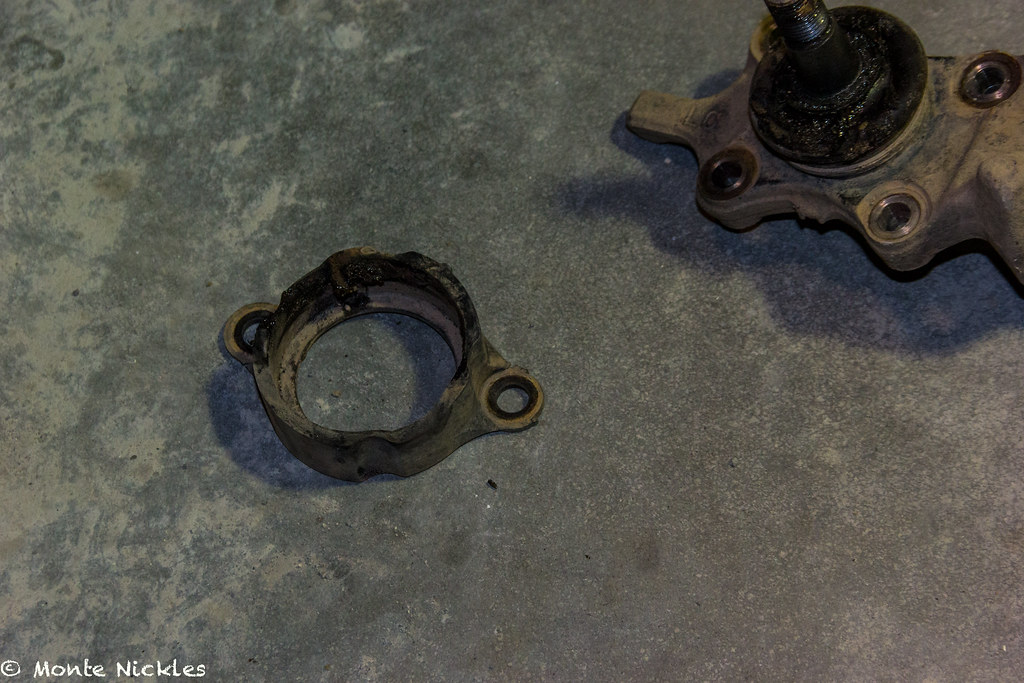
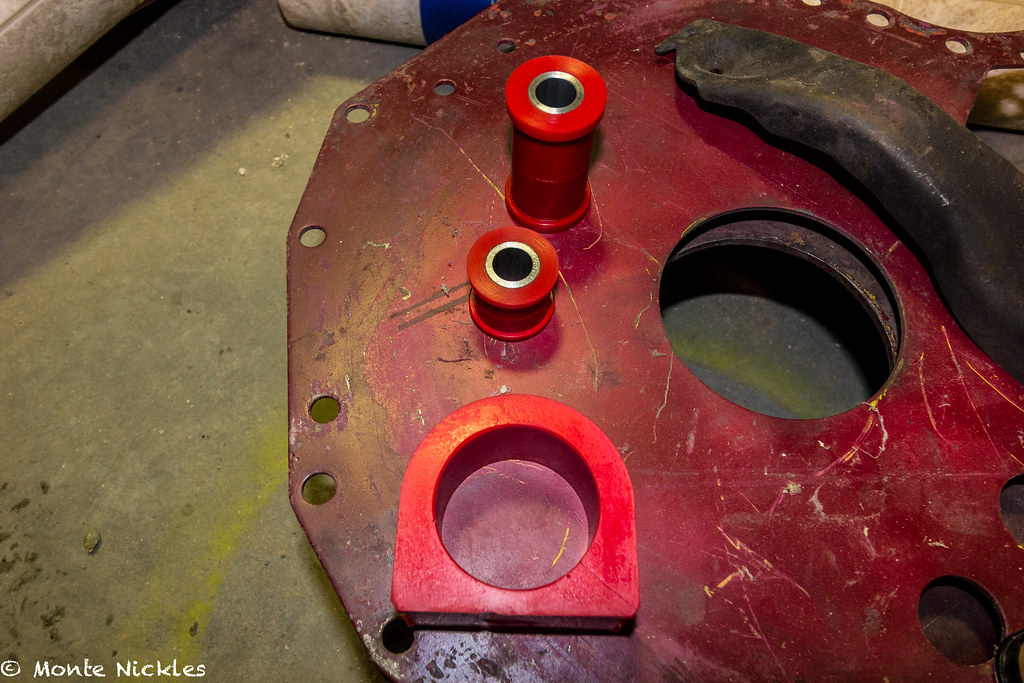
Then i moved to the bushings.
TC includes some nice instructions. Not a lot too this. 4 bolts and then you have to pry the rack away which can be a bit hard. Using a torch i headed the bushings centers out till they smoked or caught fire. Pushed right out no problem.
 ManyMods-55.jpg
 by
Monte Nickles Photos, on Flickr
 ManyMods-54.jpg
 by
Monte Nickles Photos, on Flickr
to be replaced with these.
 ManyMods-53.jpg
 by
Monte Nickles Photos, on Flickr
I was amazed at how well this was going for me and usually the dealing with the rack sucks ***. I lubbed up everything with lithium grease and everything went in great.
 TundraBrakes.jpg
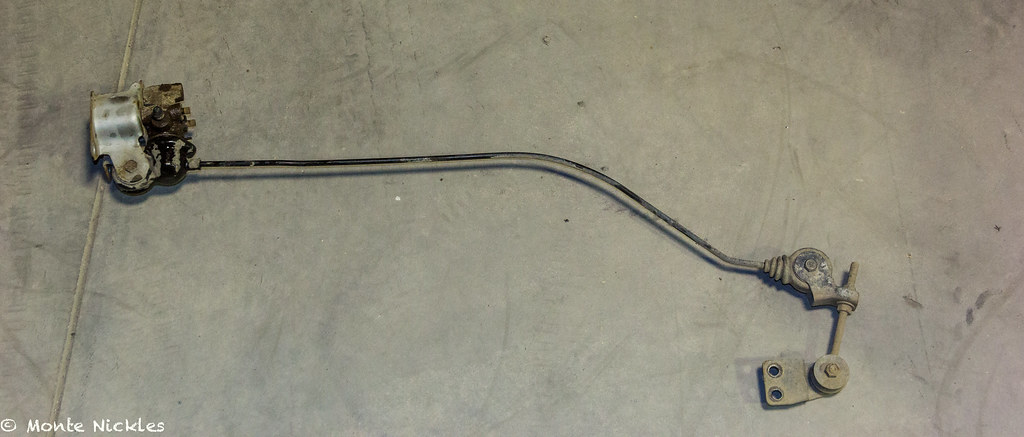 ManyMods.jpg
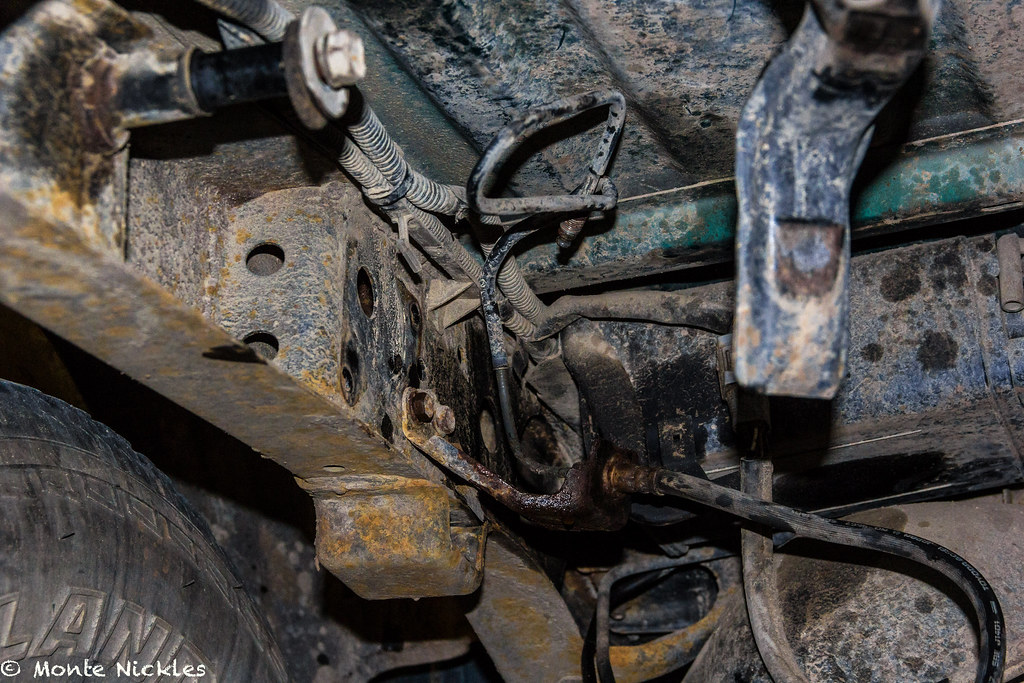 TundraBrakes-2.jpg
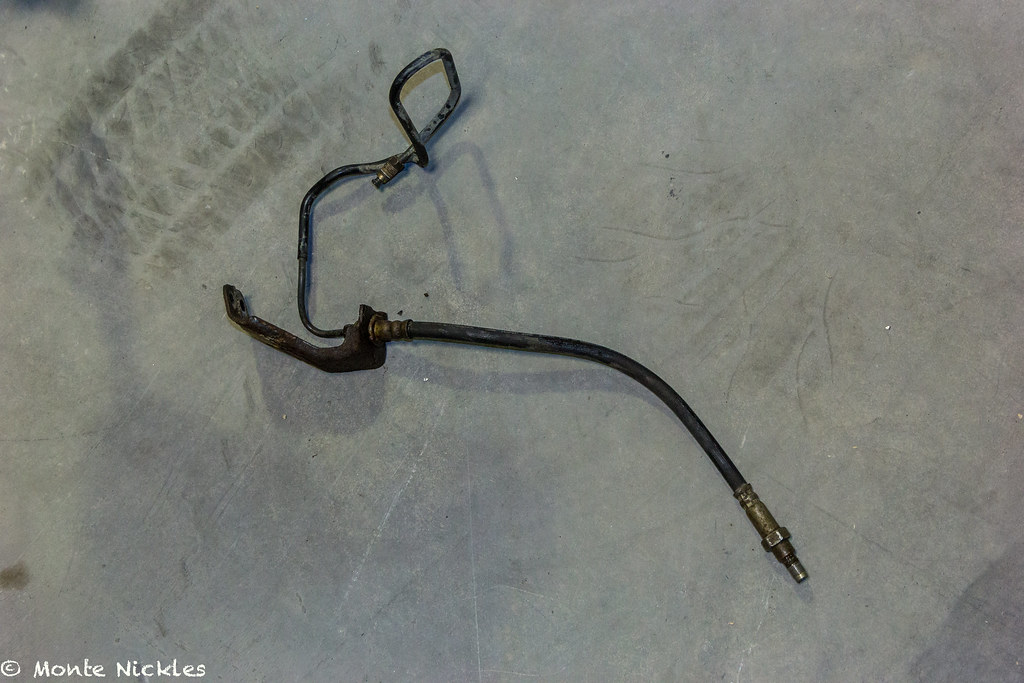 TundraBrakes-3.jpg
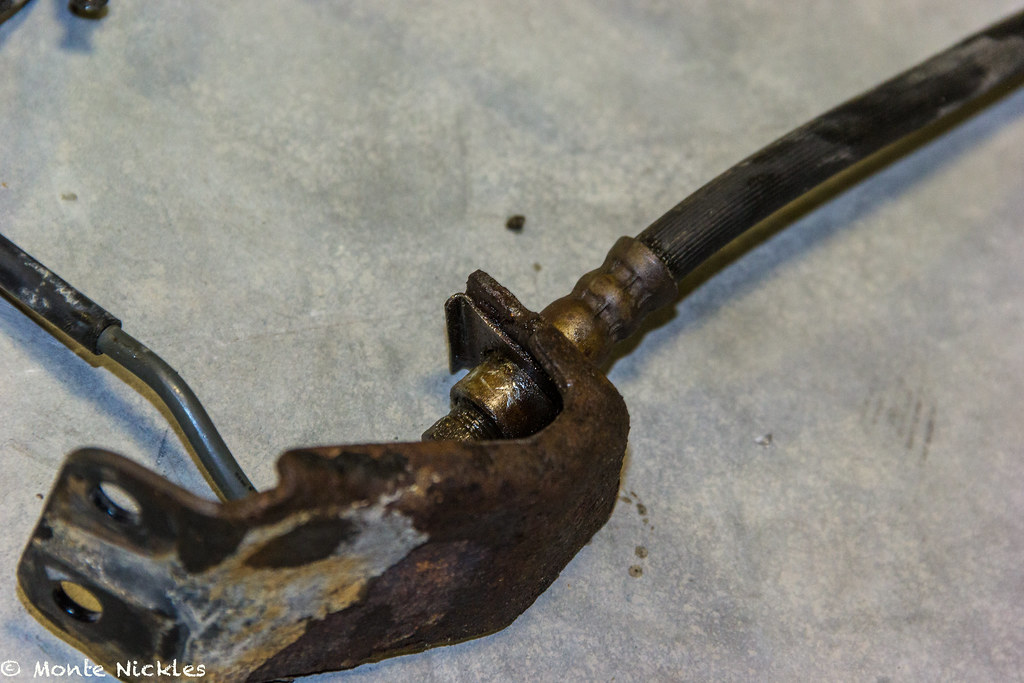 TundraBrakes-4.jpg
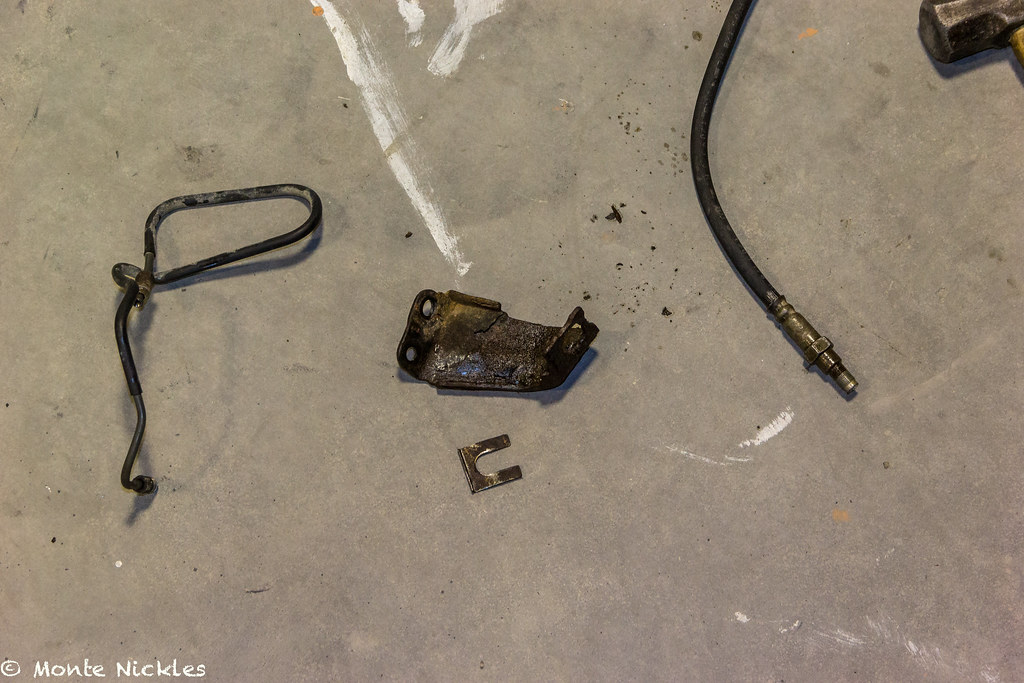 TundraBrakes-5.jpg
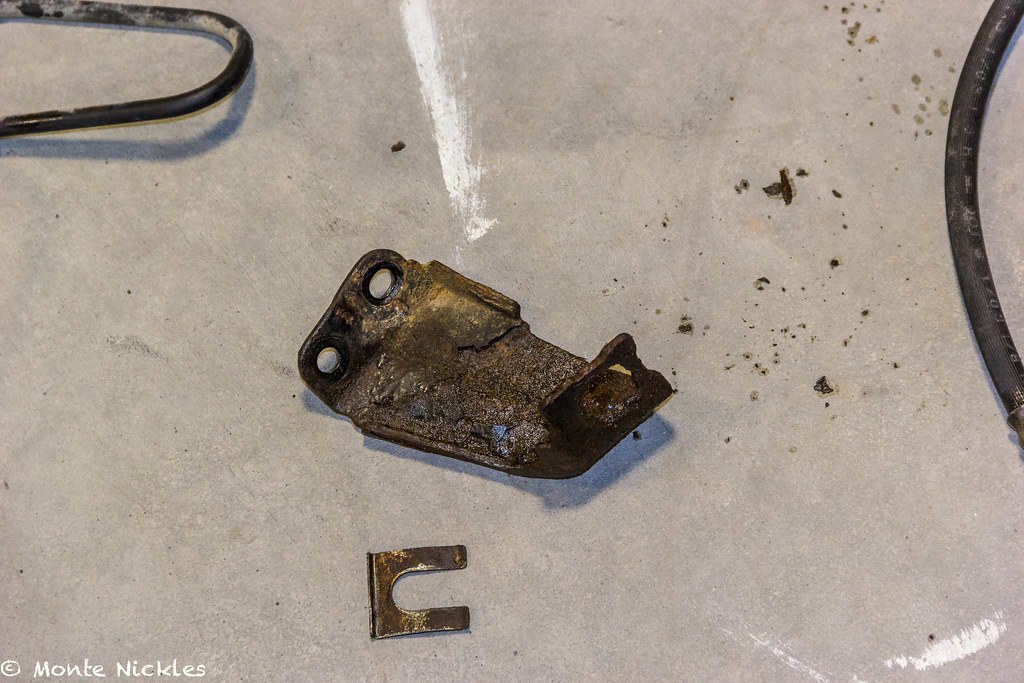 TundraBrakes-6.jpg
 TundraBrakes-48.jpg
 TundraBrakes-61.jpg
 TundraBrakes-7.jpg
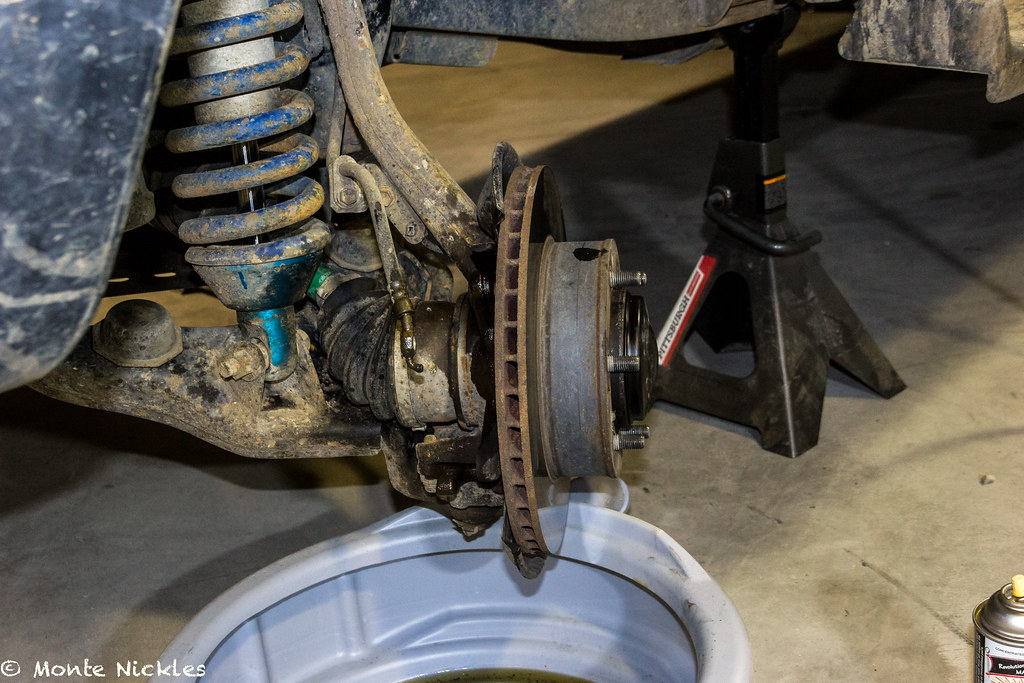 TundraBrakes-8.jpg
 TundraBrakes-9.jpg
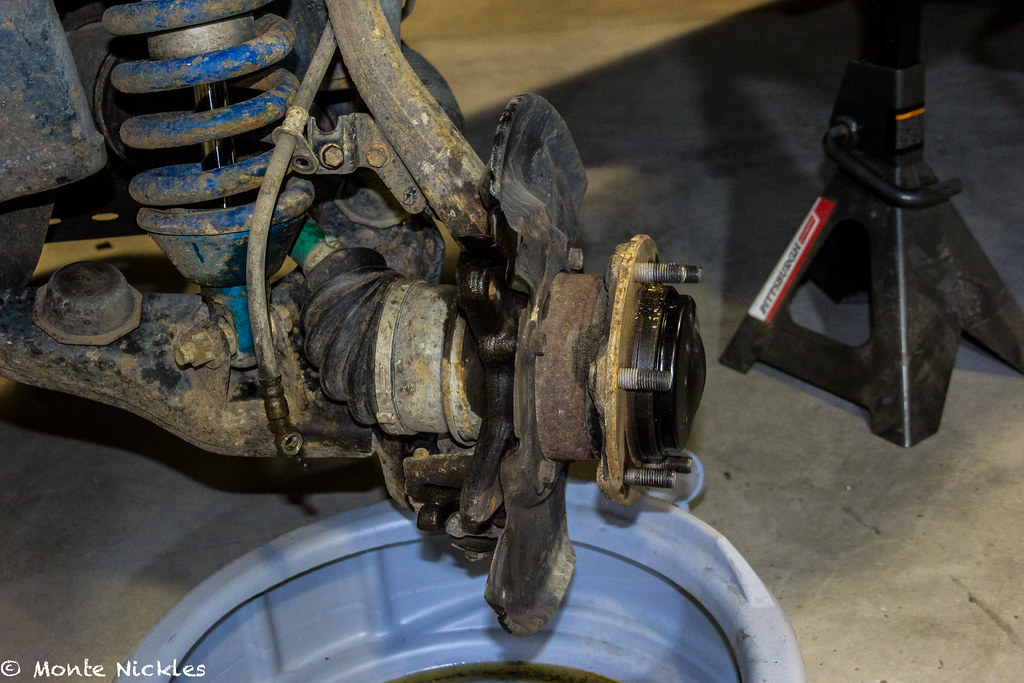 TundraBrakes-10.jpg
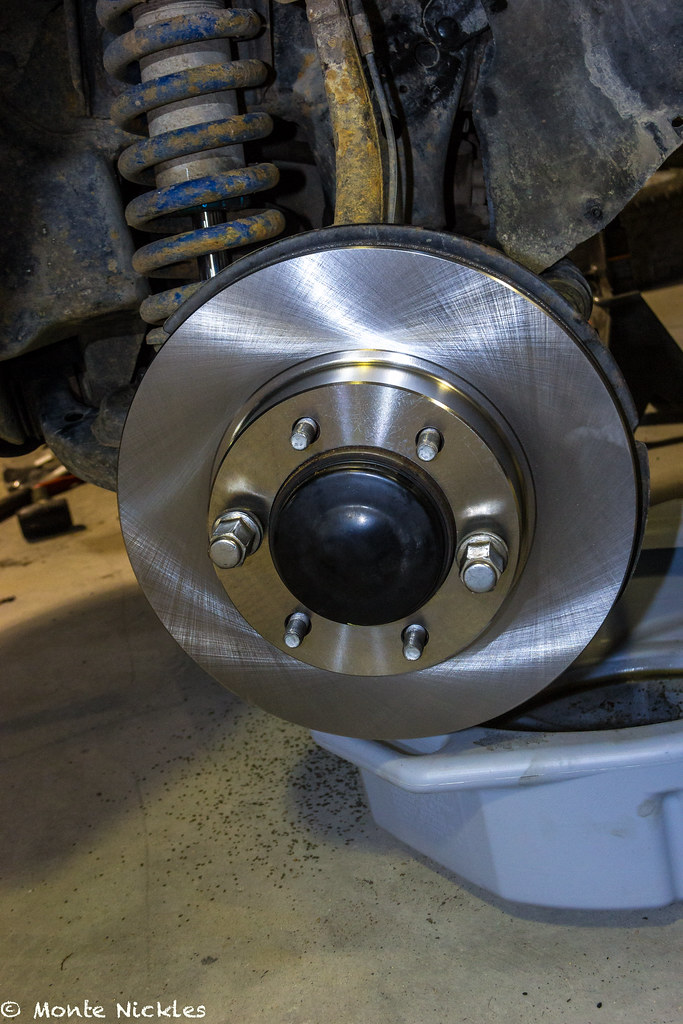 TundraBrakes-35.jpg
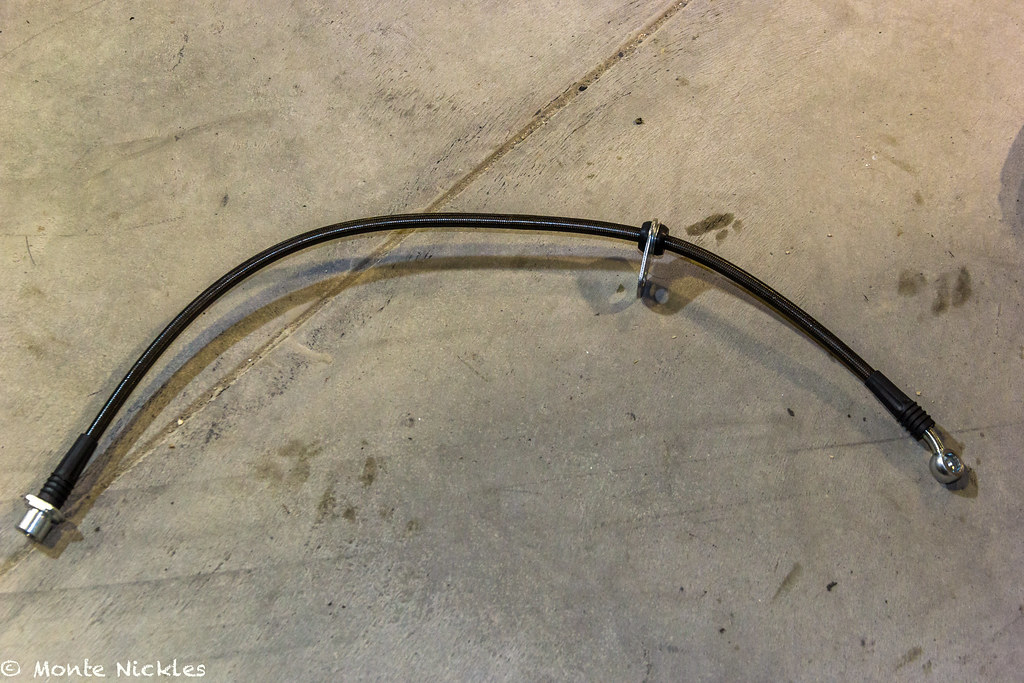 TundraBrakes-40.jpg
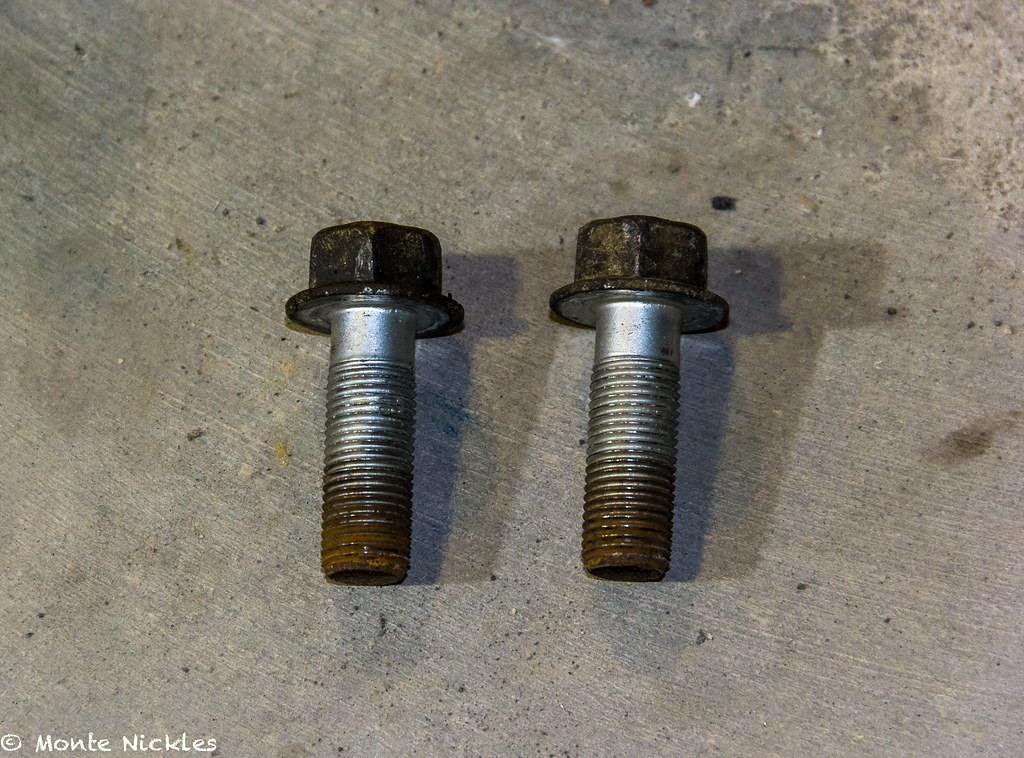 TundraBrakes-36.jpg
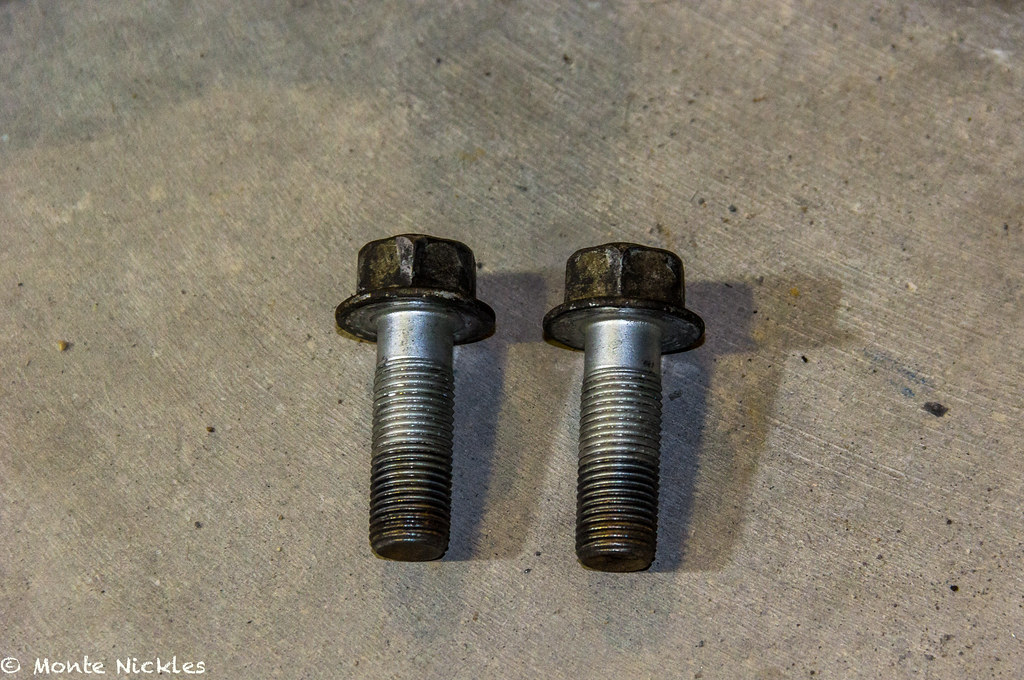 TundraBrakes-37.jpg
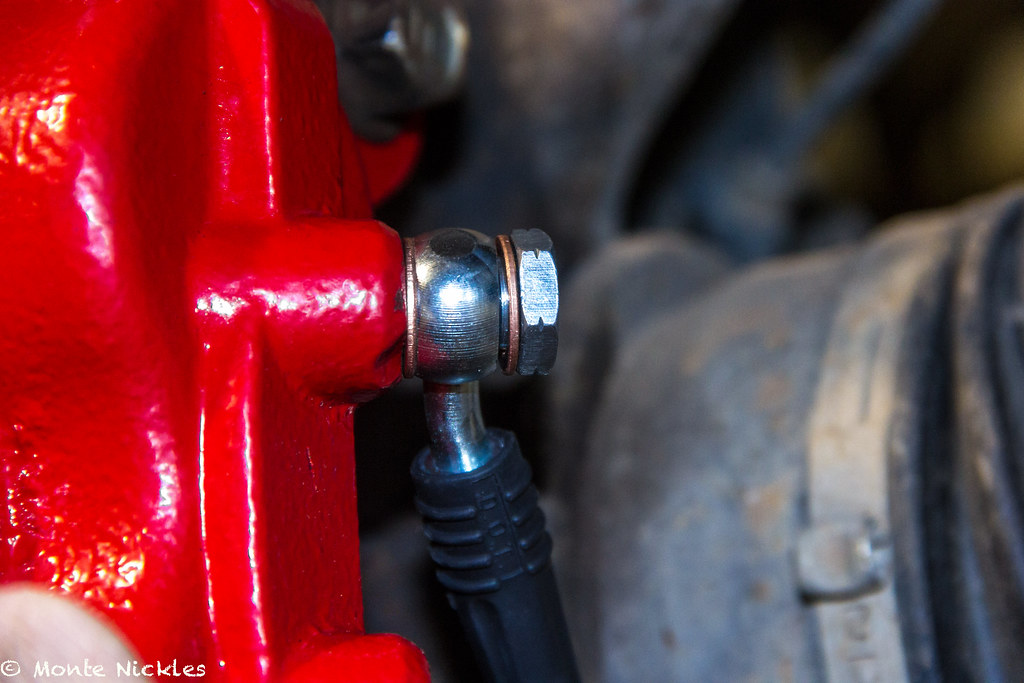 TundraBrakes-30.jpg
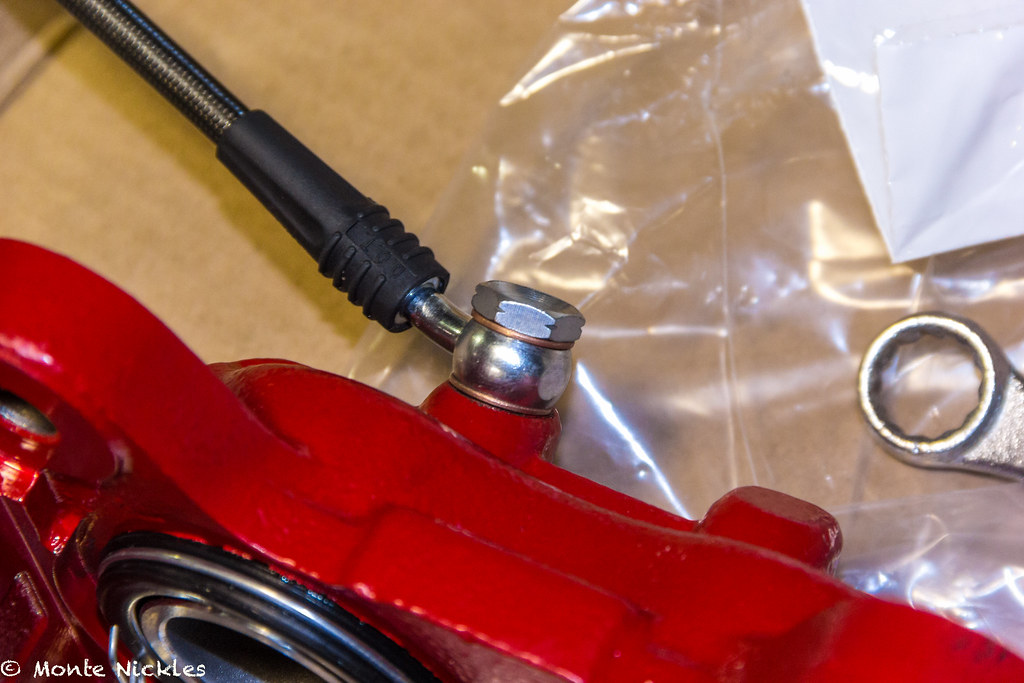 TundraBrakes-29.jpg
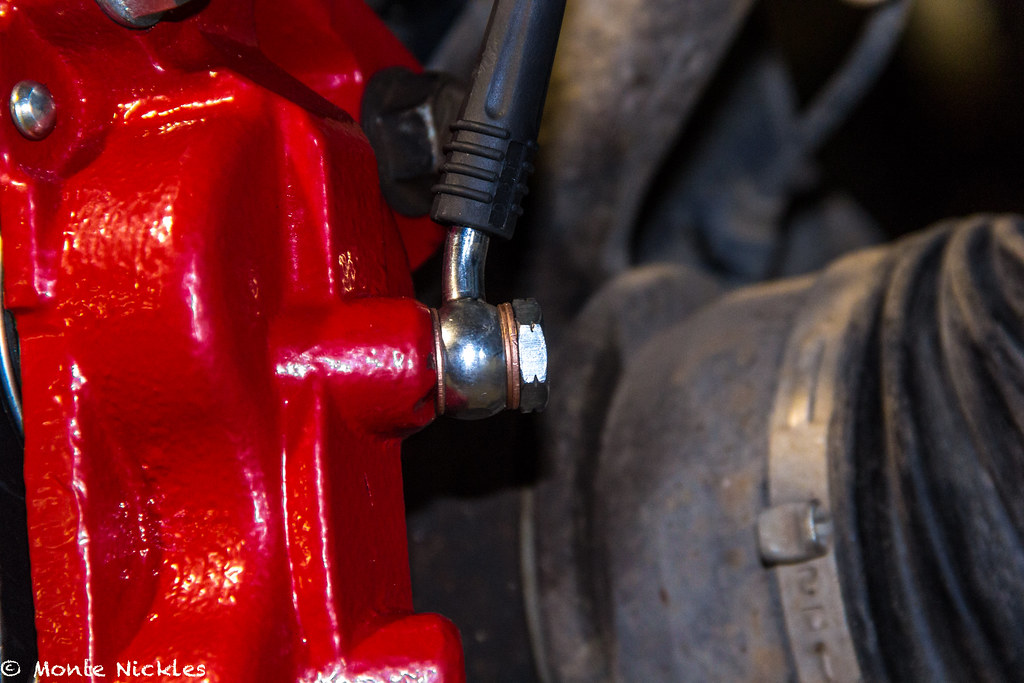 TundraBrakes-31.jpg
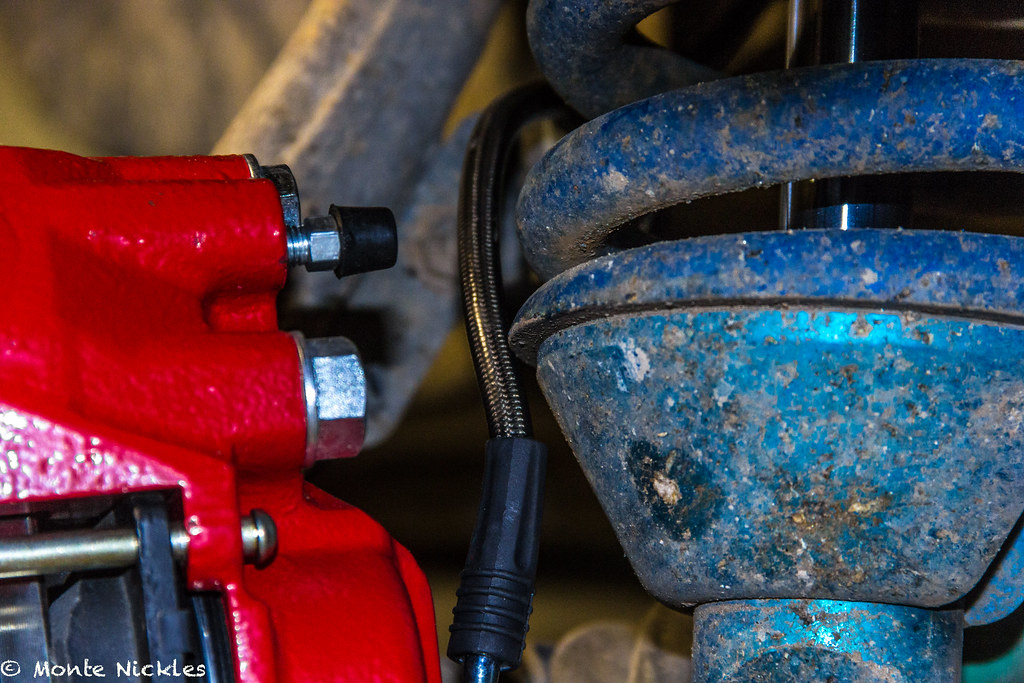 TundraBrakes-42.jpg
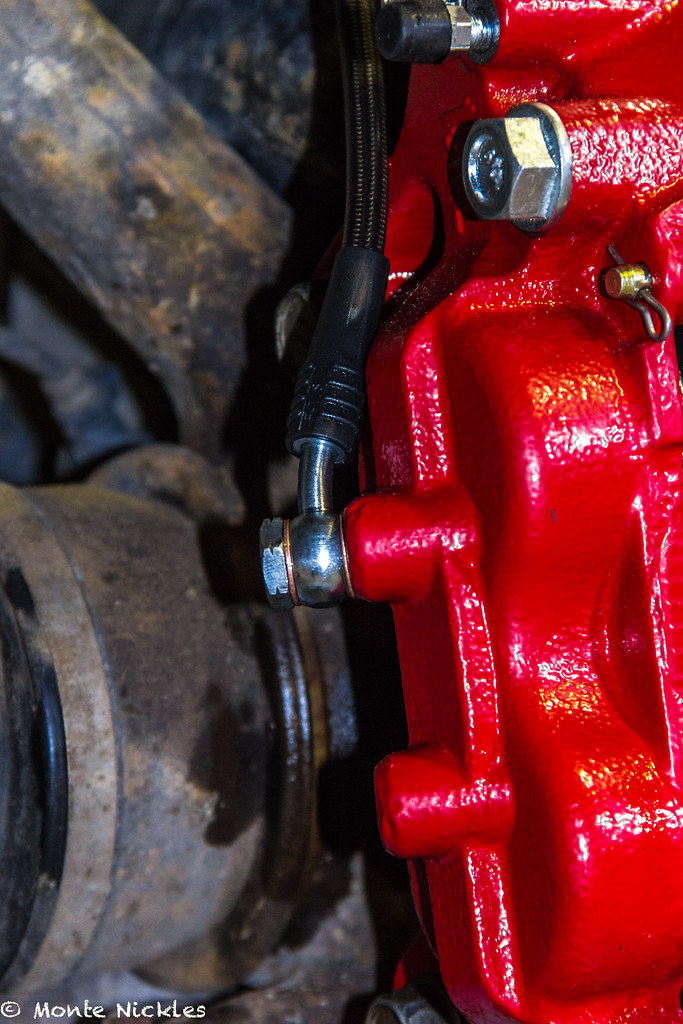 TundraBrakes-43.jpg
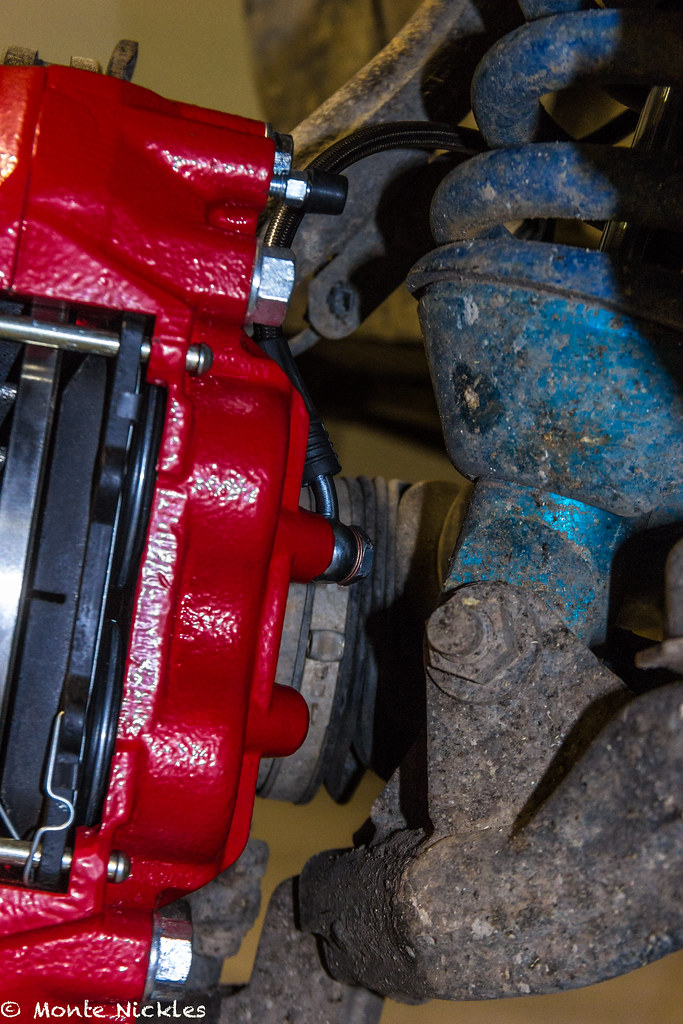 TundraBrakes-44.jpg
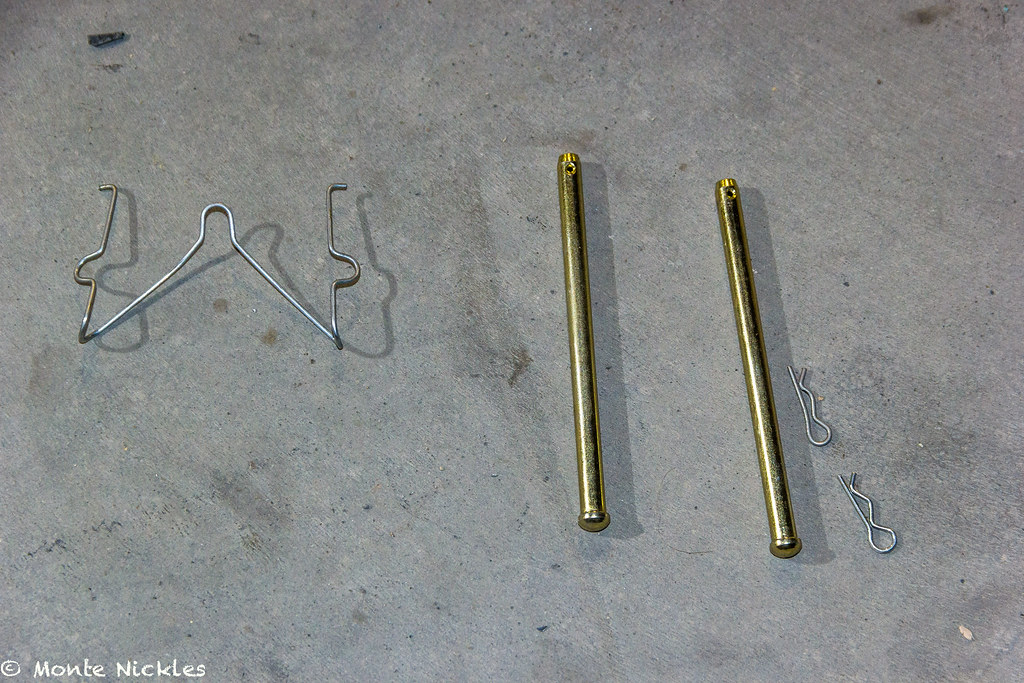 TundraBrakes-38.jpg
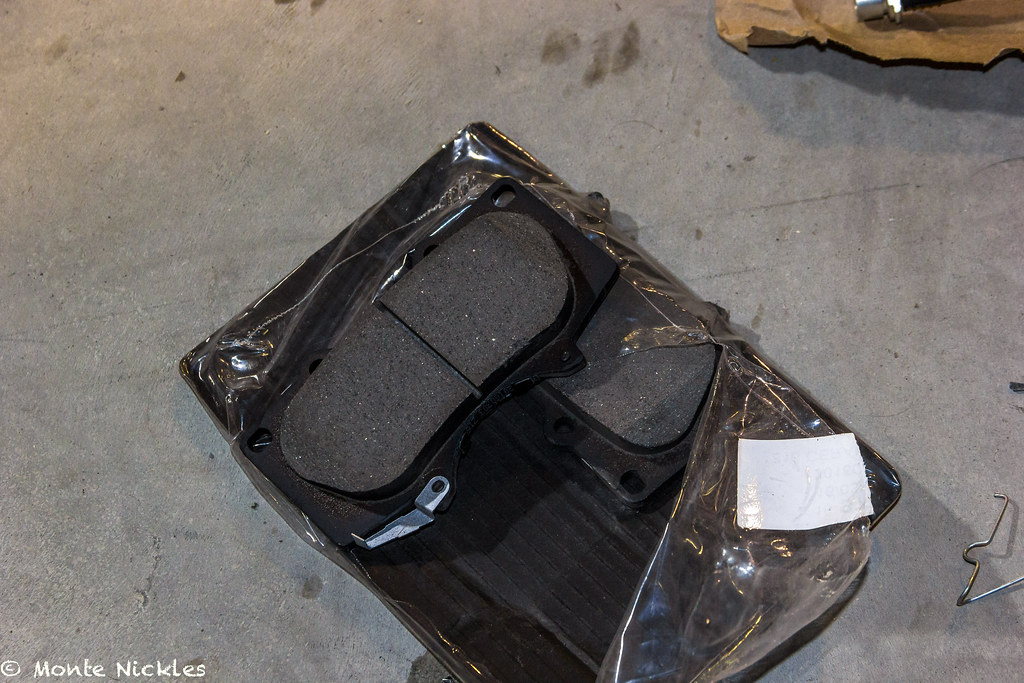 TundraBrakes-39.jpg
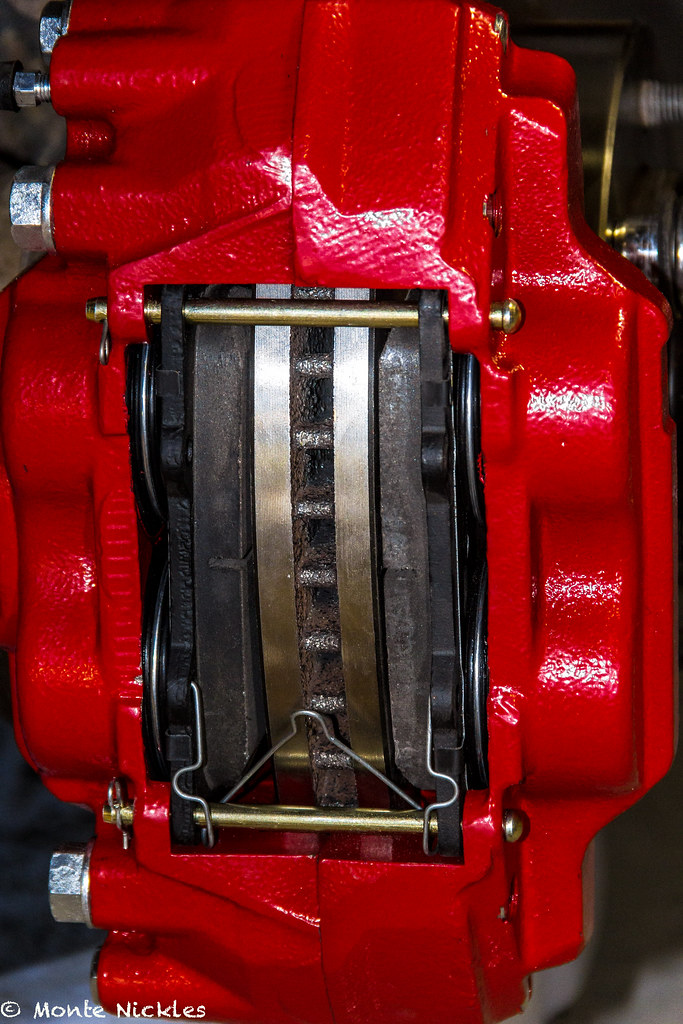 TundraBrakes.jpg
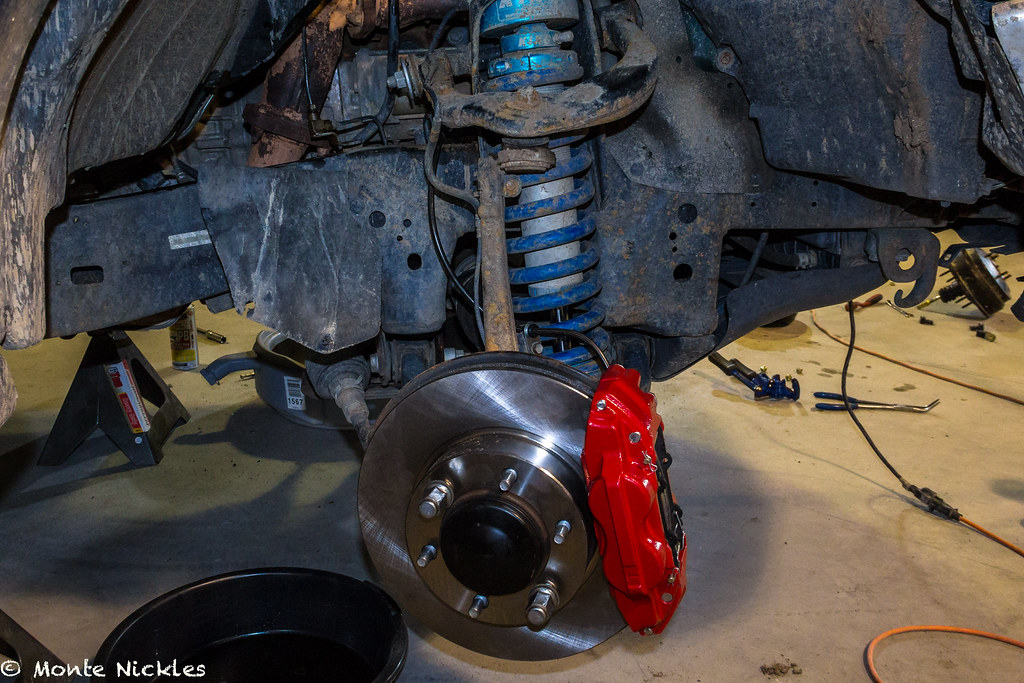 TundraBrakes-32.jpg
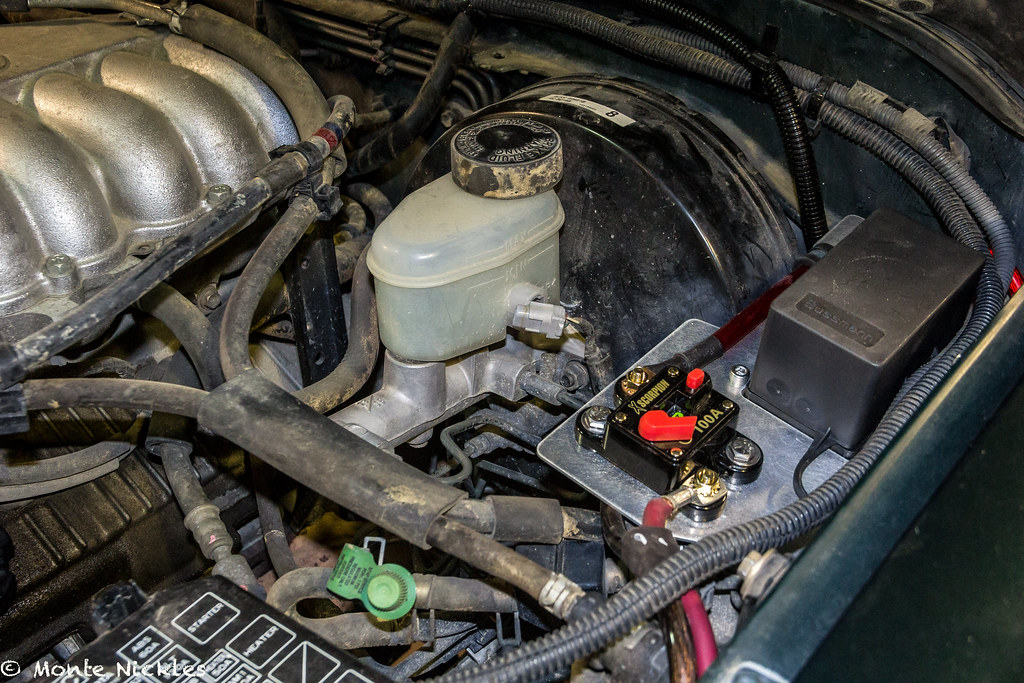 TundraBrakes-5.jpg
 TundraBrakes-6.jpg
 TundraBrakes-15.jpg
 TundraBrakes-3.jpg
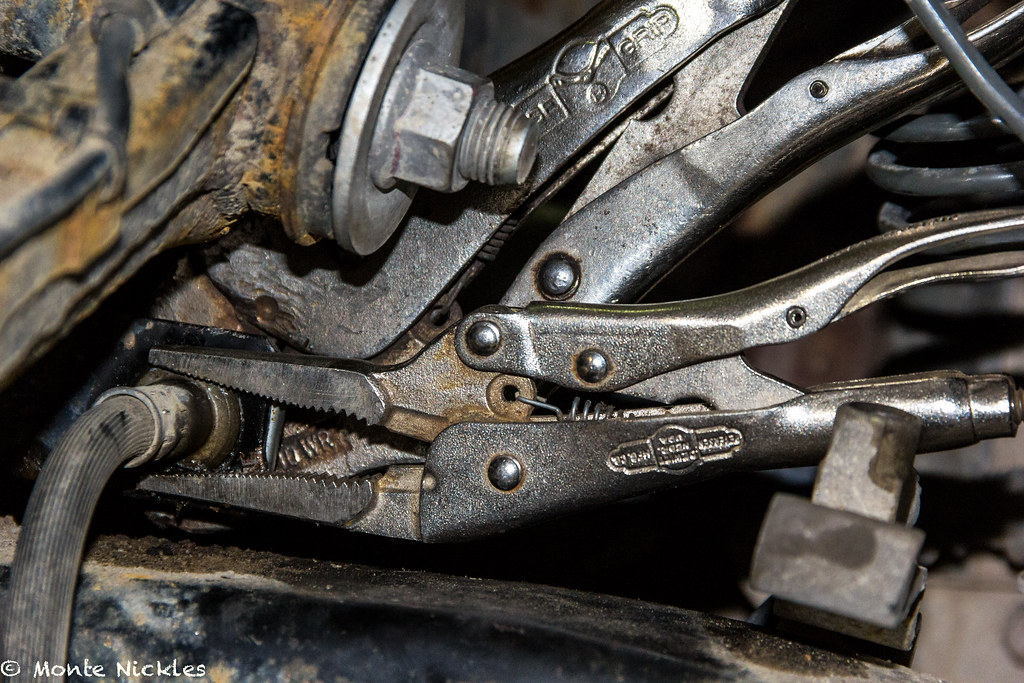 TundraBrakes-4.jpg
 TundraBrakes-16.jpg
 TundraBrakes-22.jpg
 TundraBrakes-23.jpg
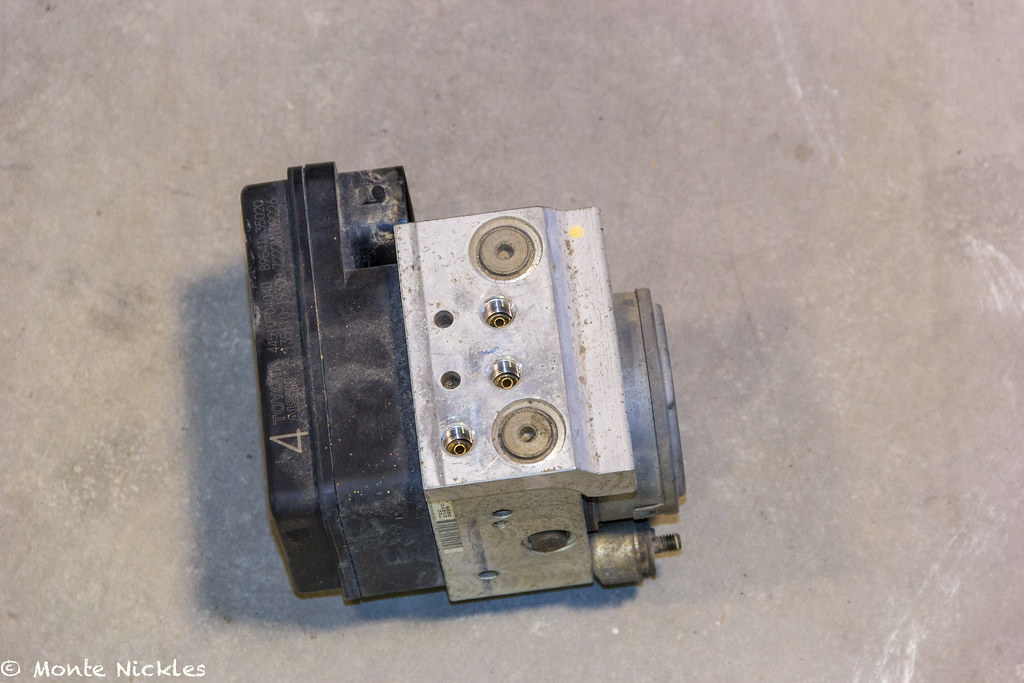 TundraBrakes-24.jpg
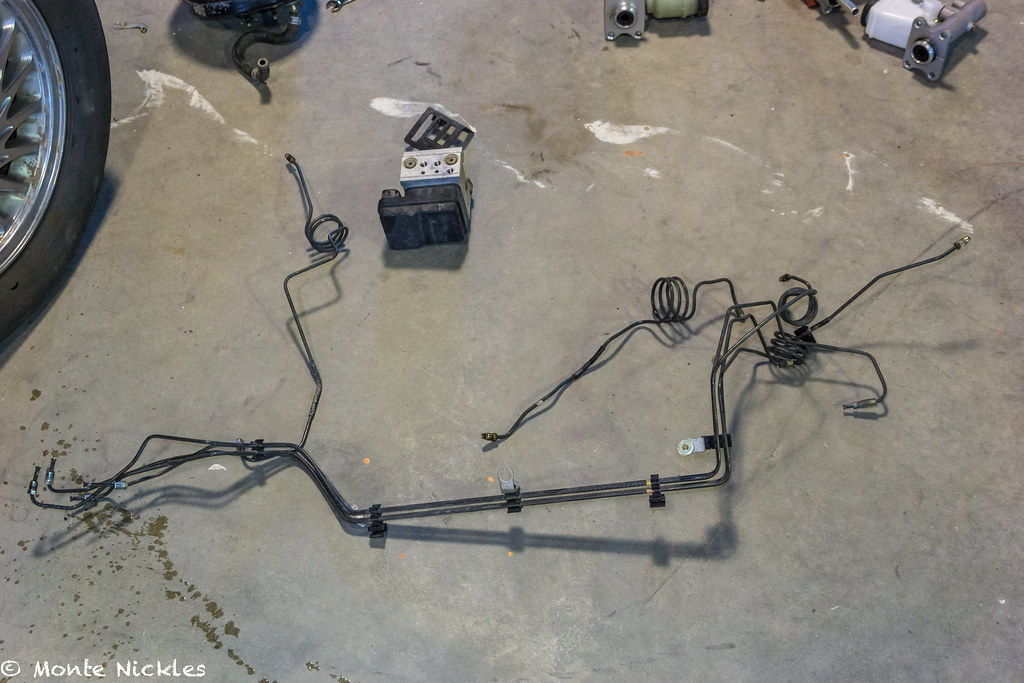 TundraBrakes-25.jpg
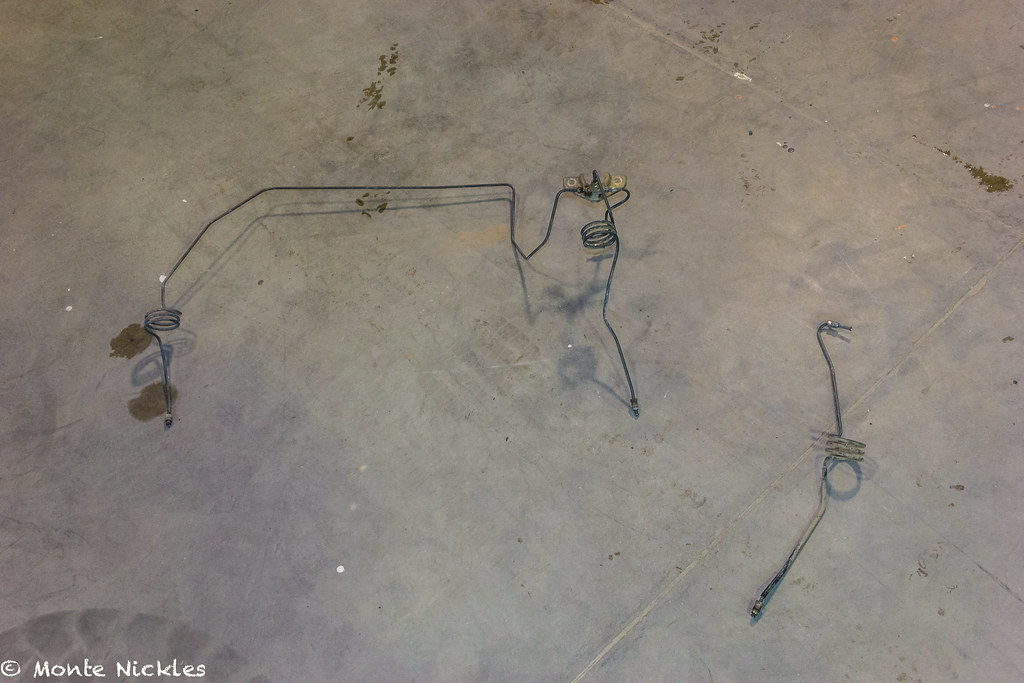 TundraBrakes-26.jpg
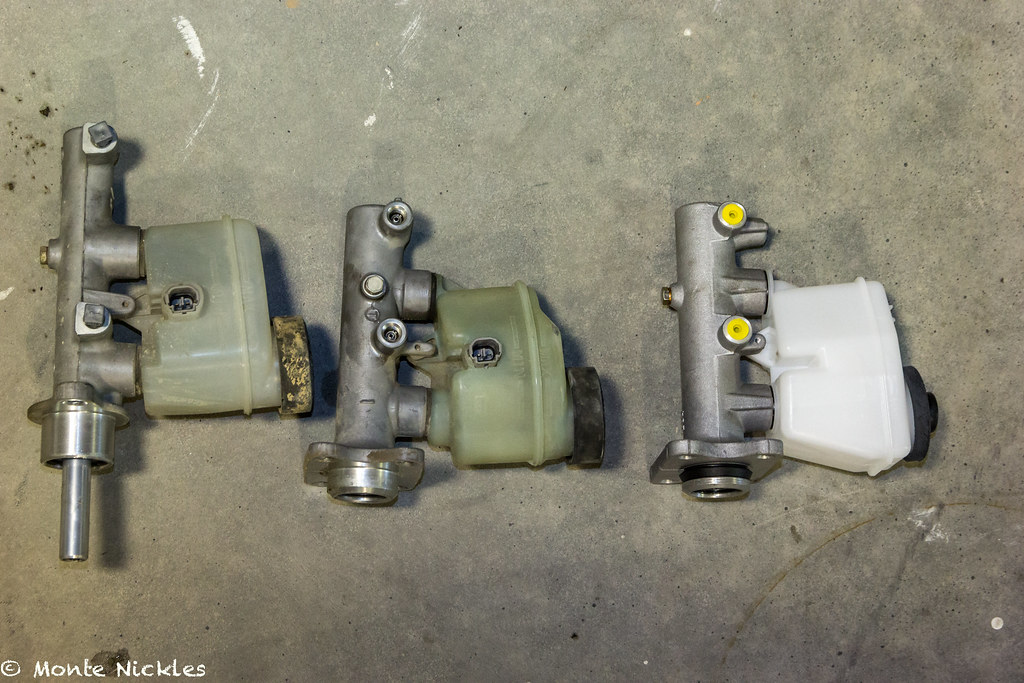 TundraBrakes-7.jpg
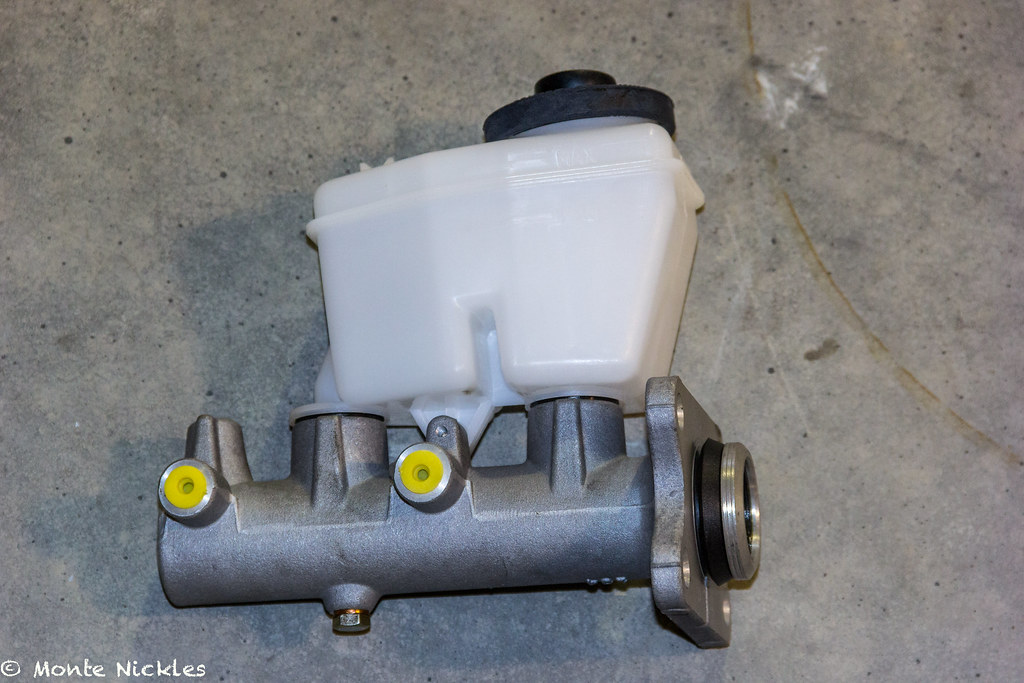 TundraBrakes-8.jpg
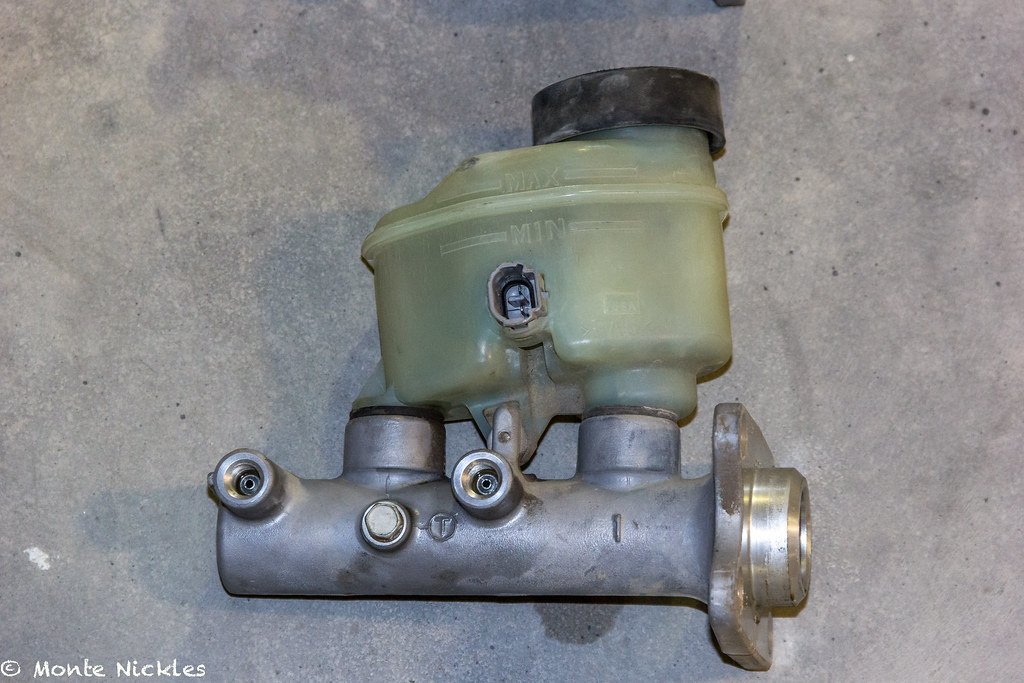 TundraBrakes-9.jpg
 TundraBrakes-10.jpg
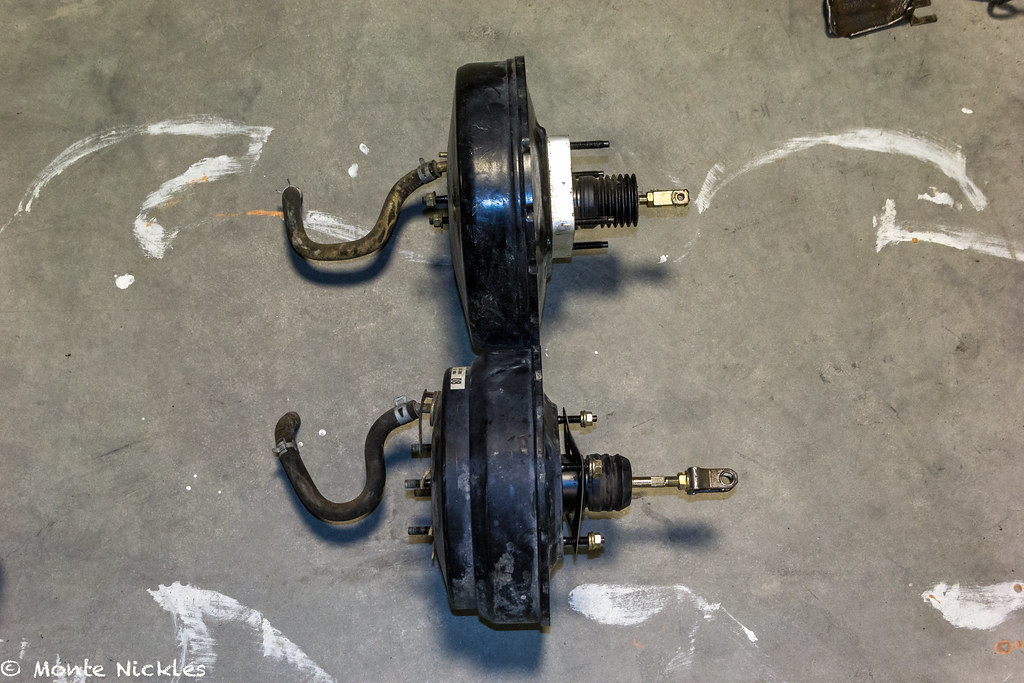 TundraBrakes-11.jpg
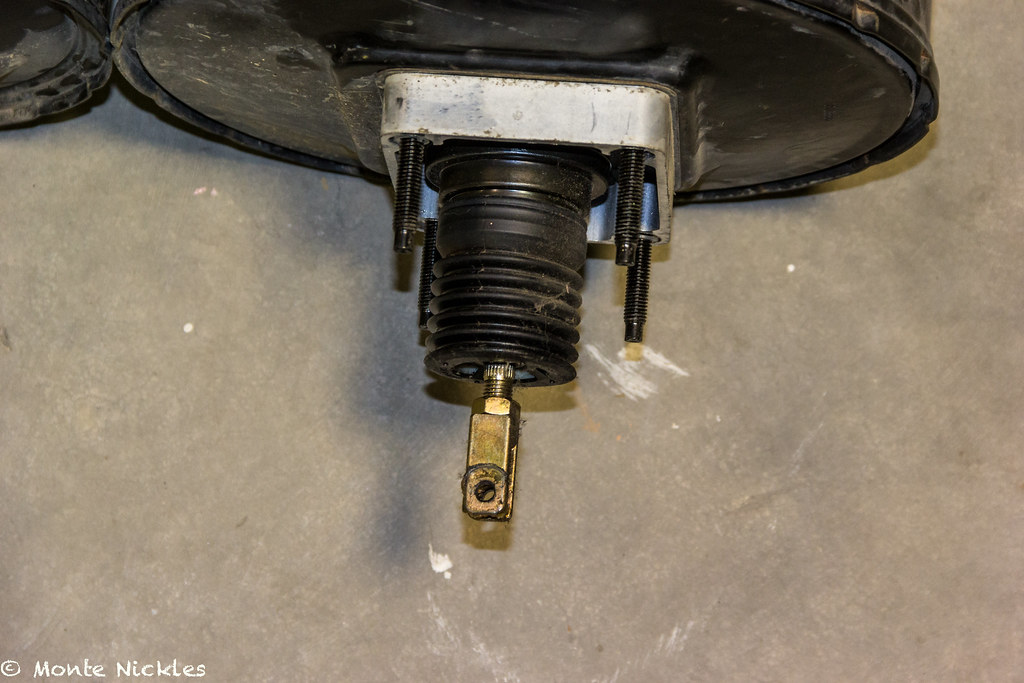 TundraBrakes-13.jpg
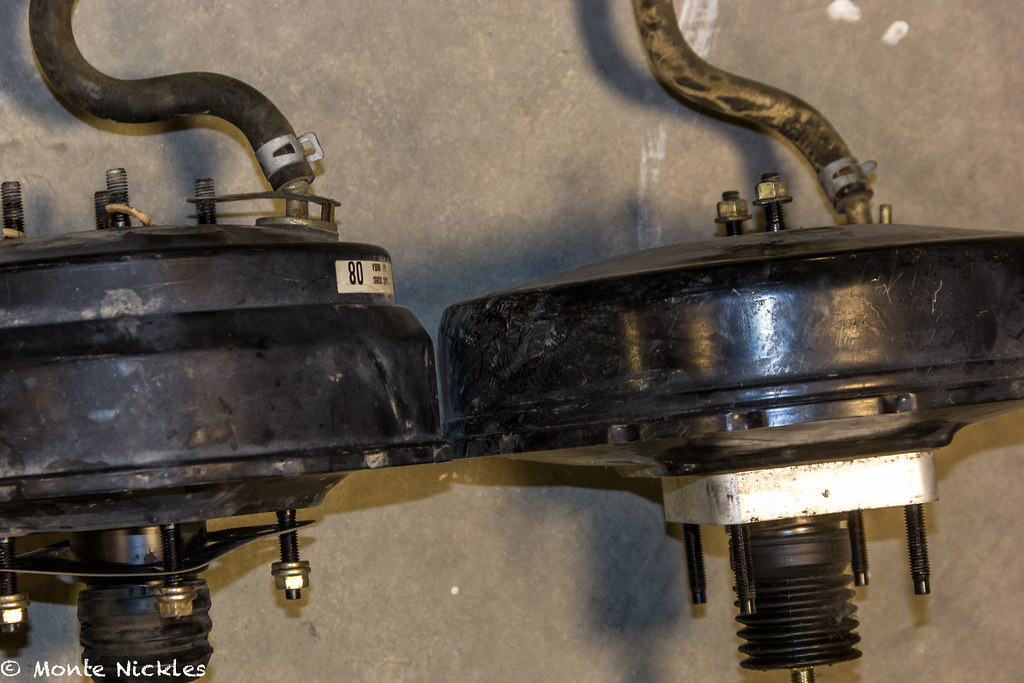 TundraBrakes-14.jpg
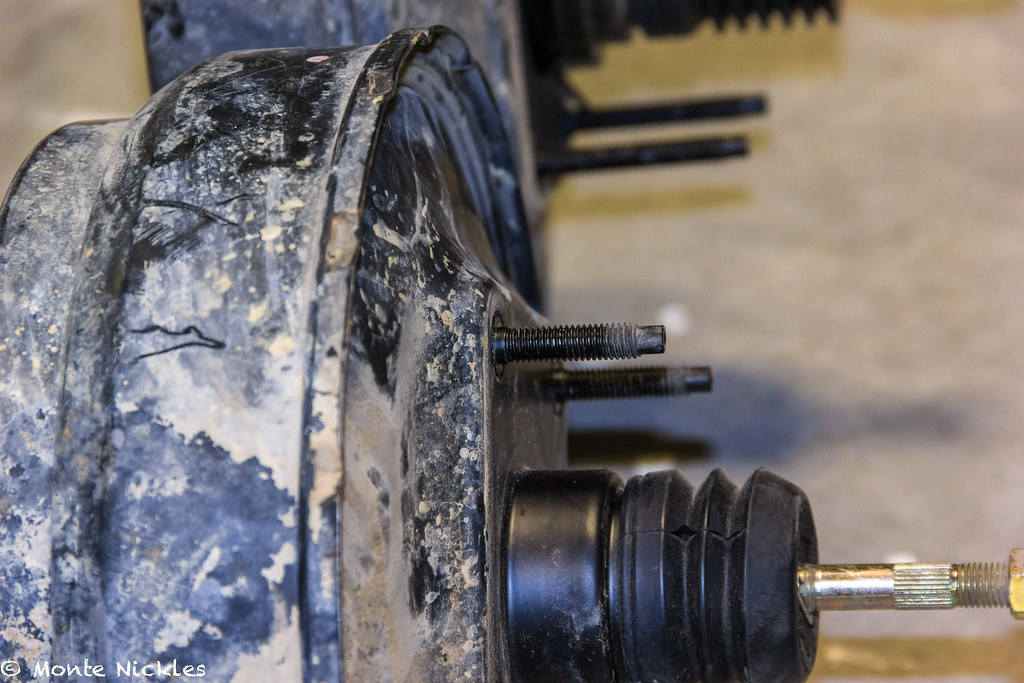 TundraBrakes-18.jpg
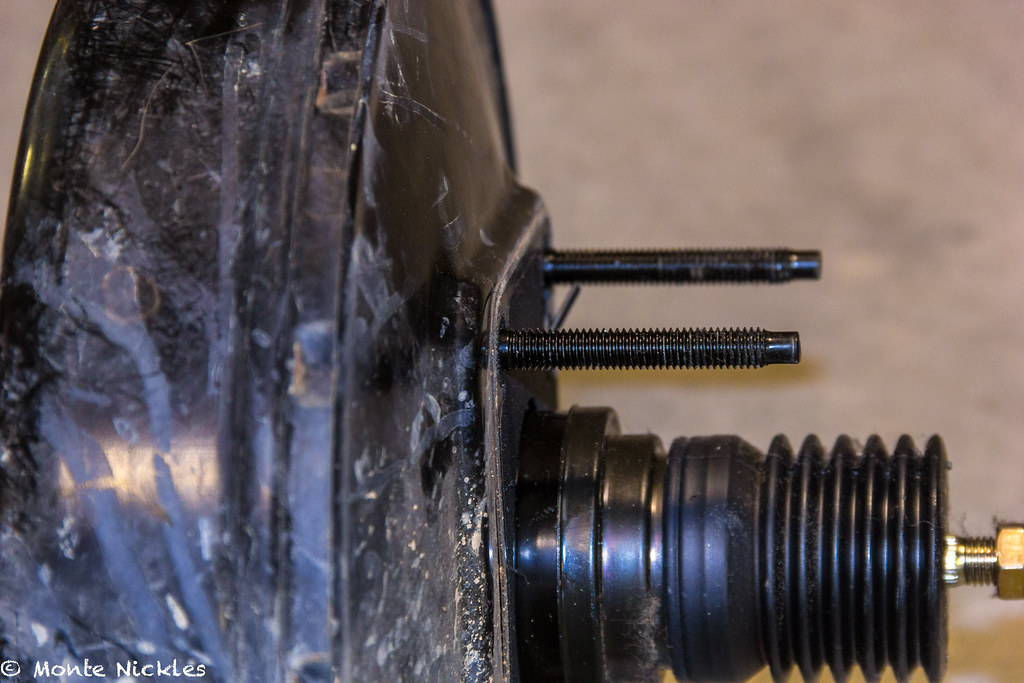 TundraBrakes-19.jpg
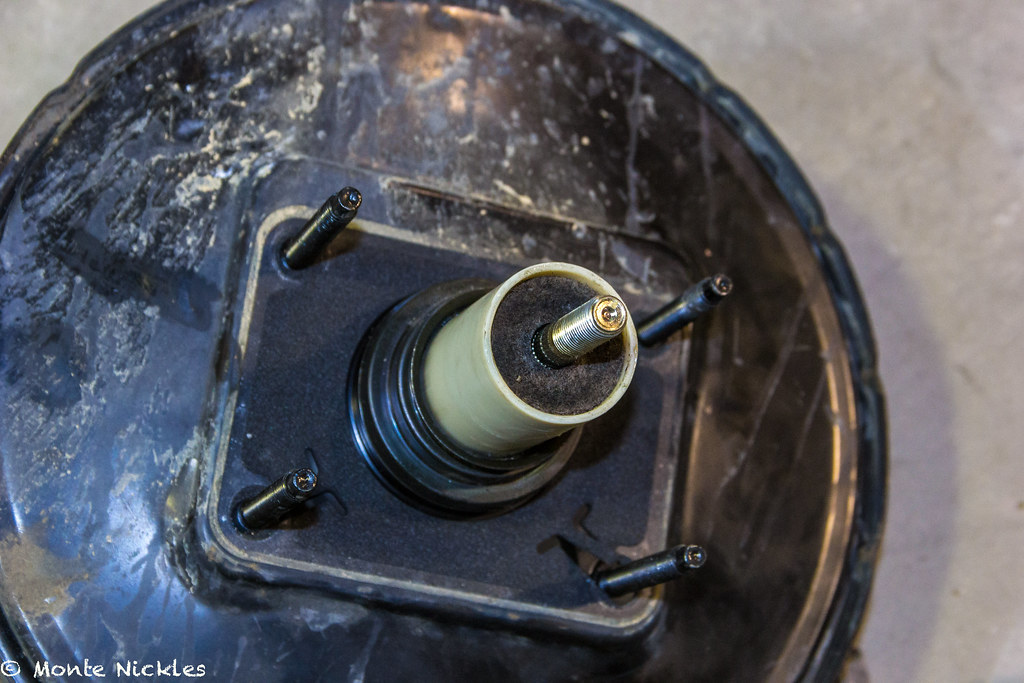 TundraBrakes-27.jpg
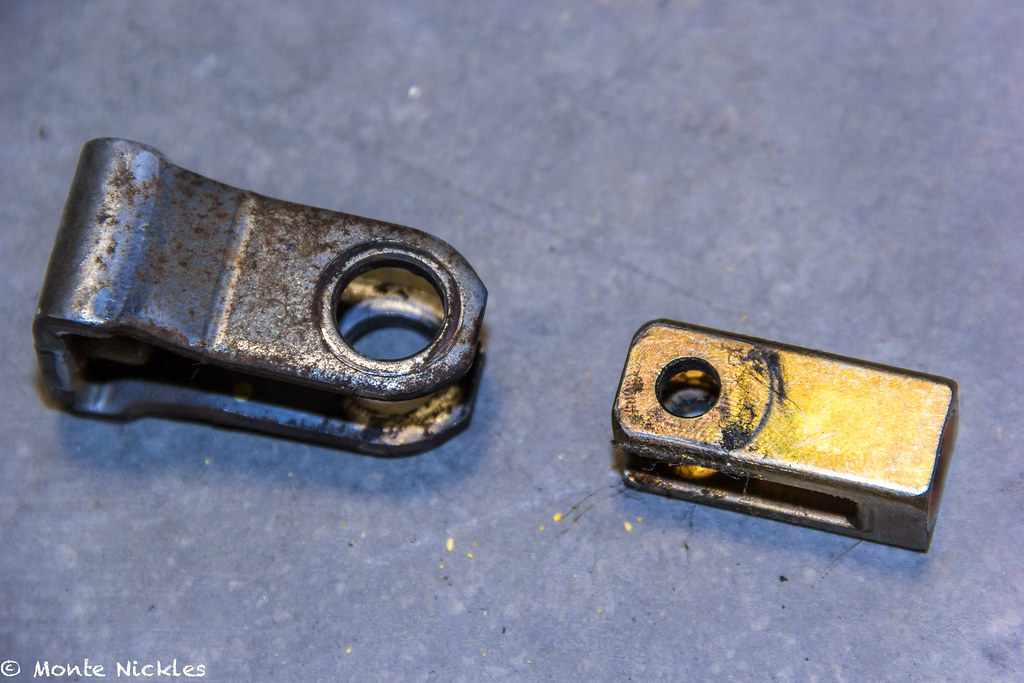 TundraBrakes-21.jpg
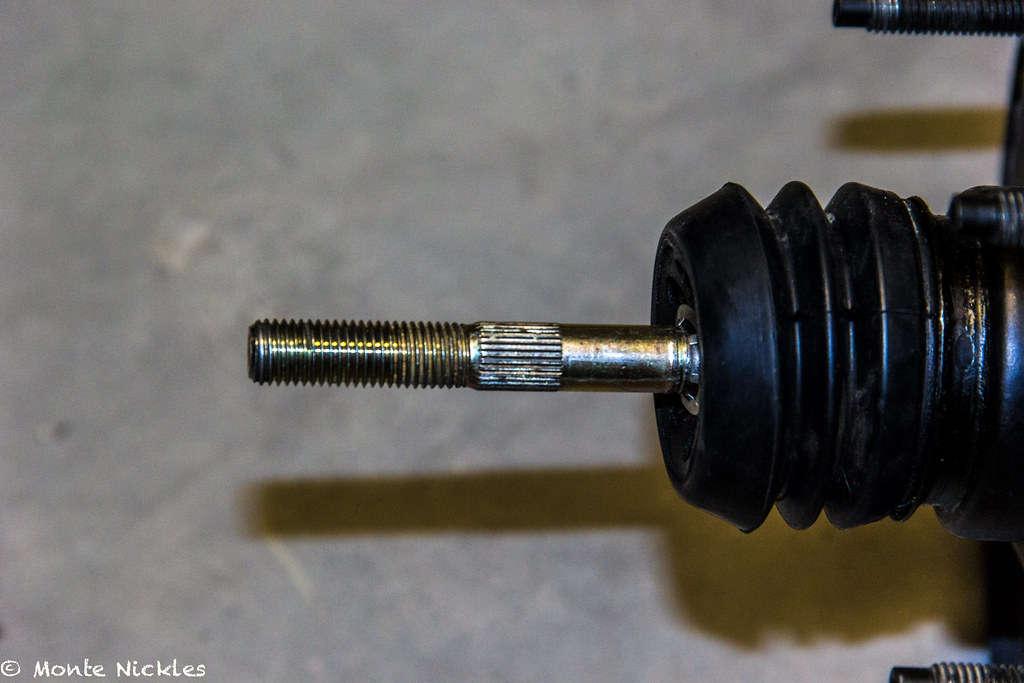 TundraBrakes-51.jpg
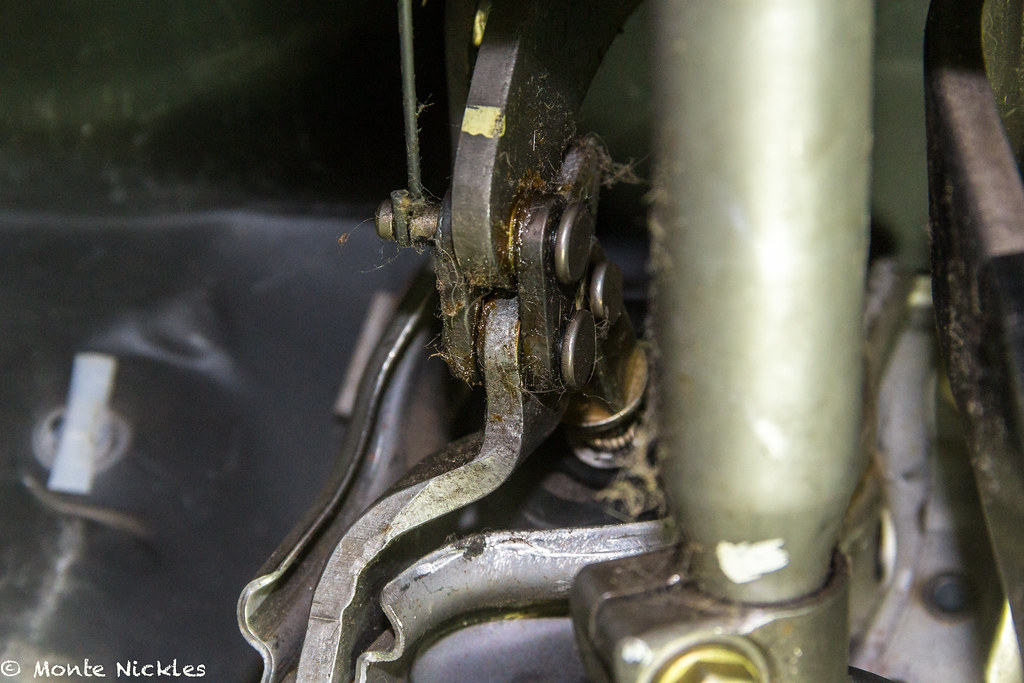 TundraBrakes-49.jpg
 TundraBrakes-50.jpg
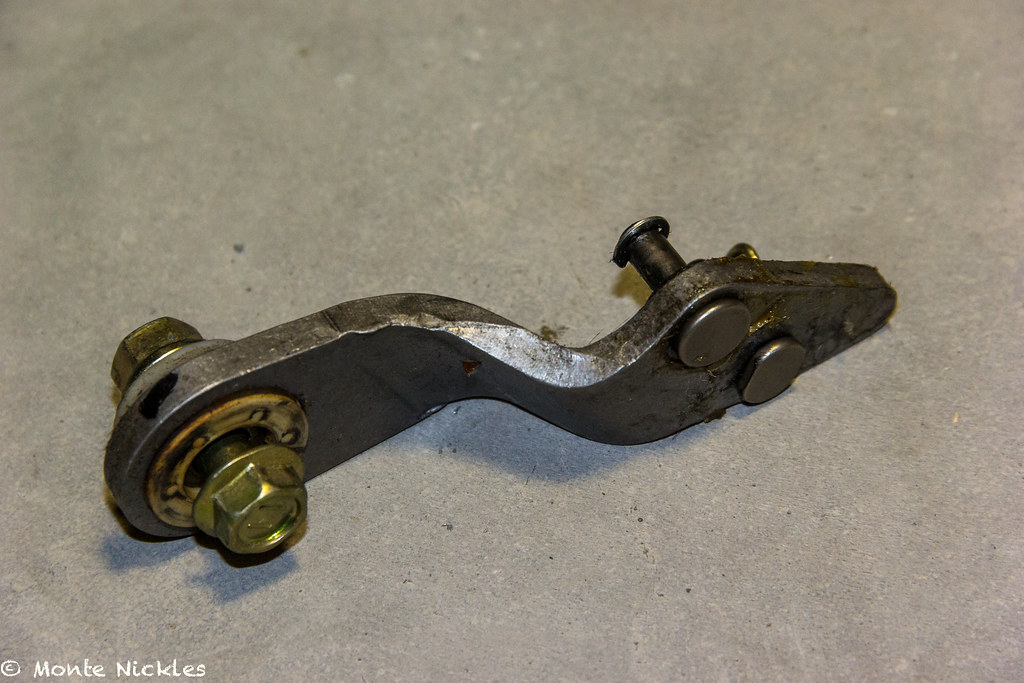 TundraBrakes-53.jpg
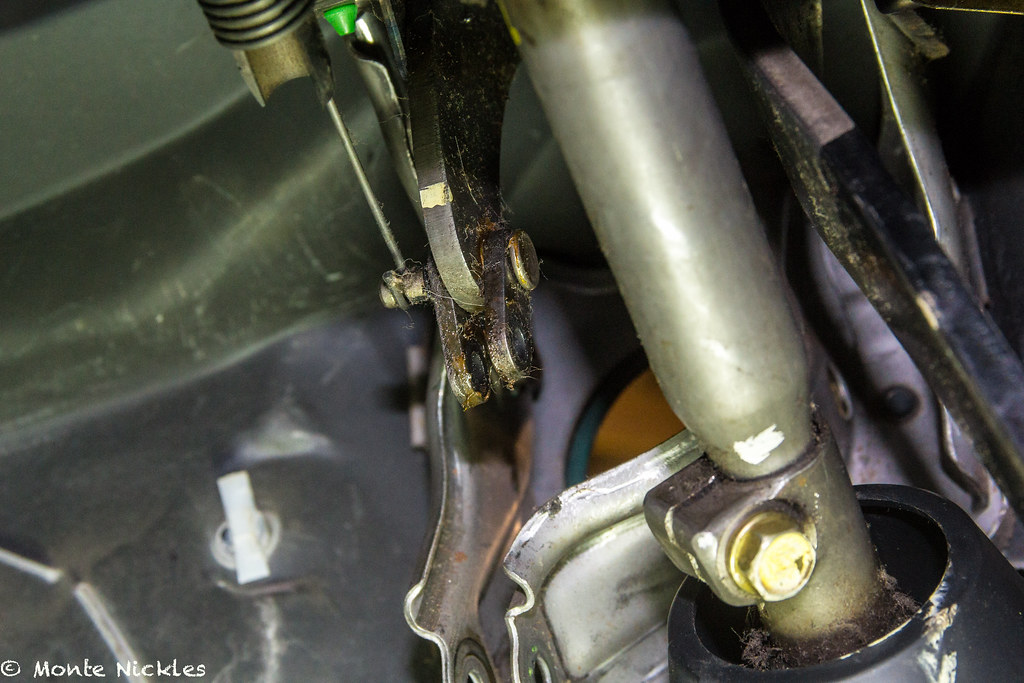 TundraBrakes-54.jpg
 TundraBrakes-55.jpg
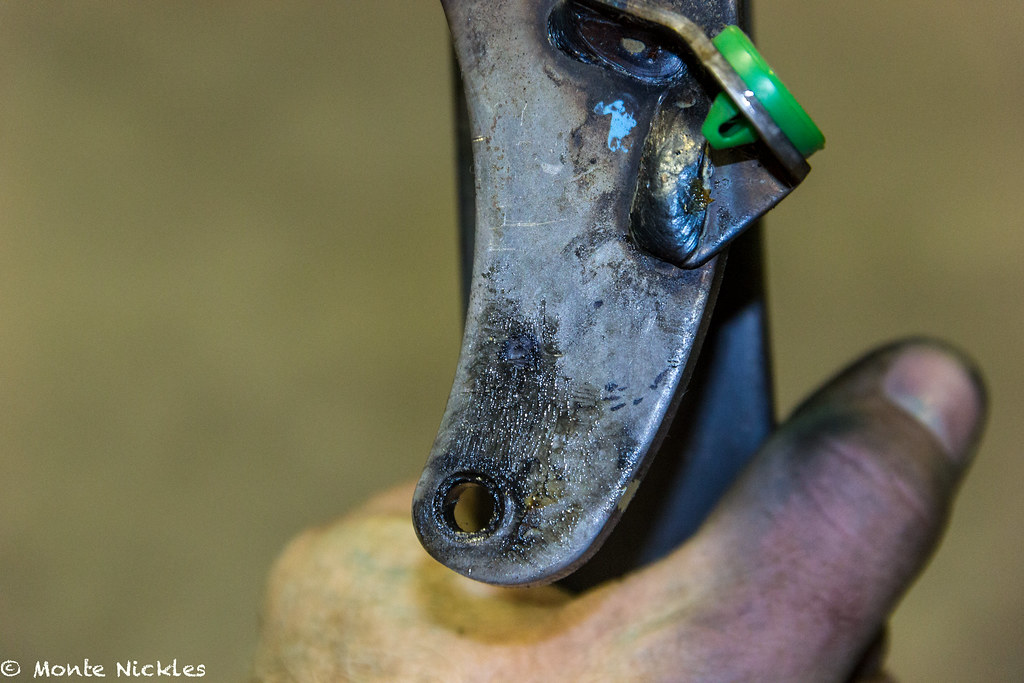 TundraBrakes-56.jpg
 TundraBrakes-57.jpg
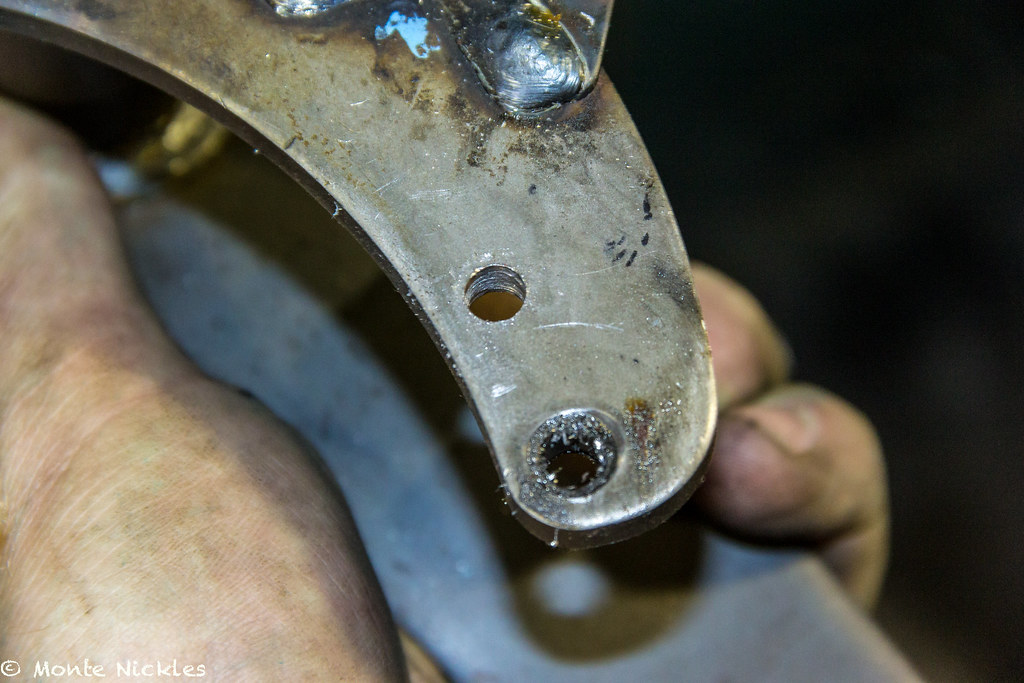 TundraBrakes-58.jpg
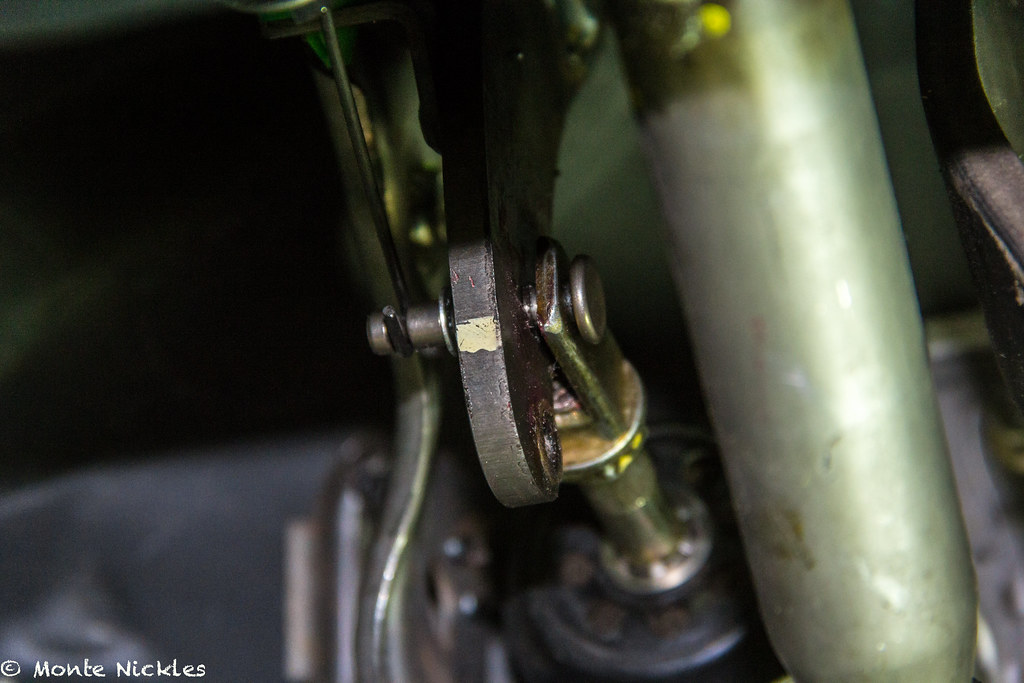 TundraBrakes-59.jpg
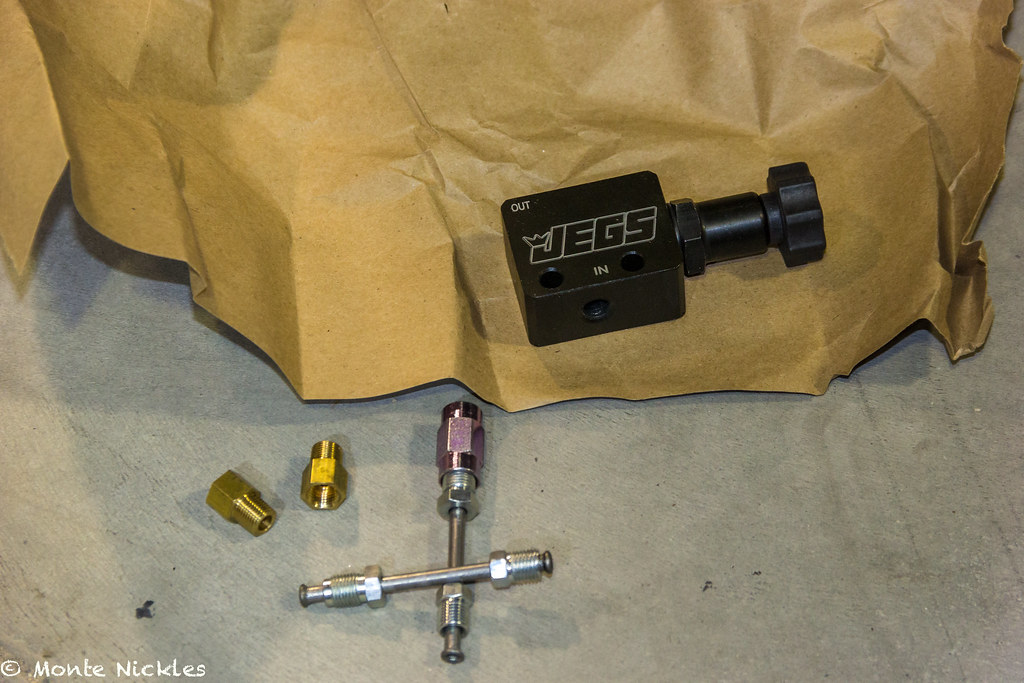 TundraBrakes-33.jpg
 TundraBrakes-34.jpg
 TundraBrakes-60.jpg
 TundraBrakes-46.jpg
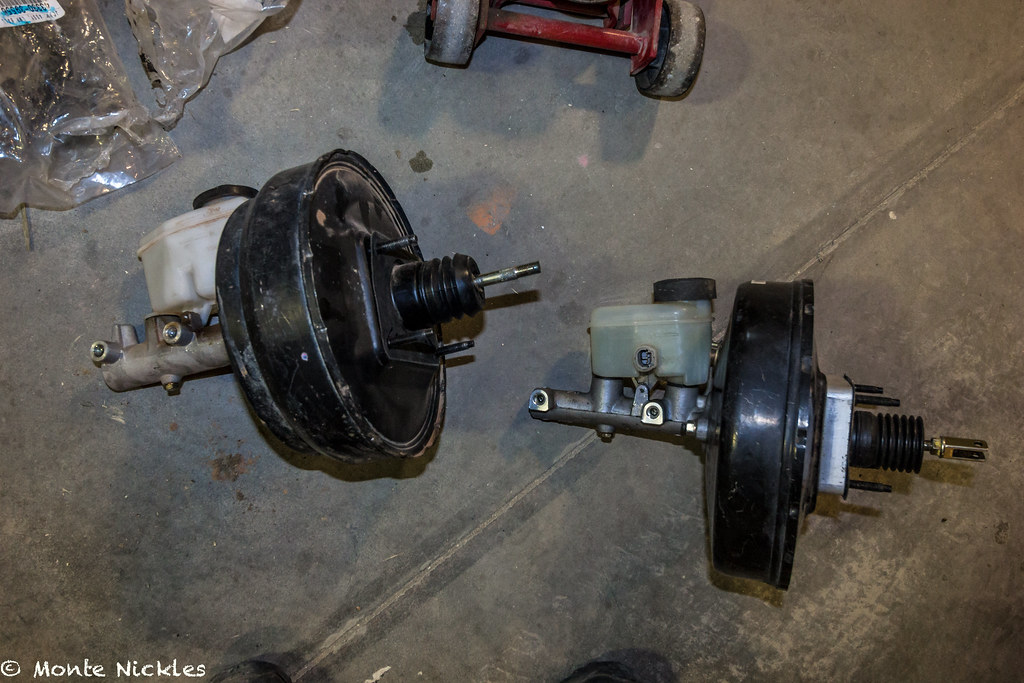 TundraBrakes-62.jpg
 TundraBrakes-63.jpg
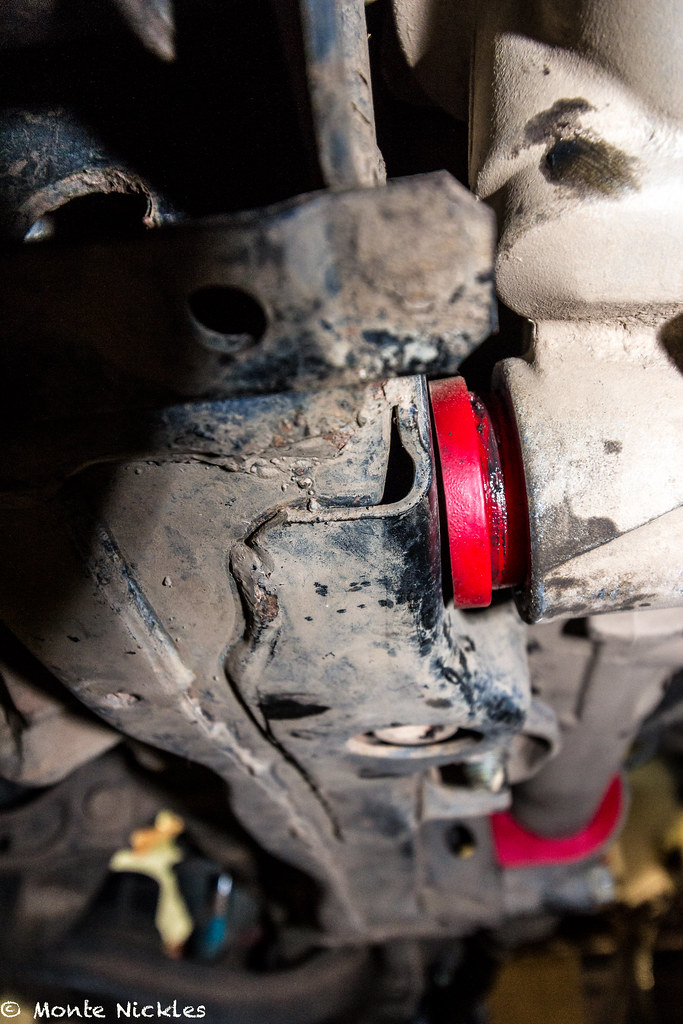 ManyMods-56.jpg
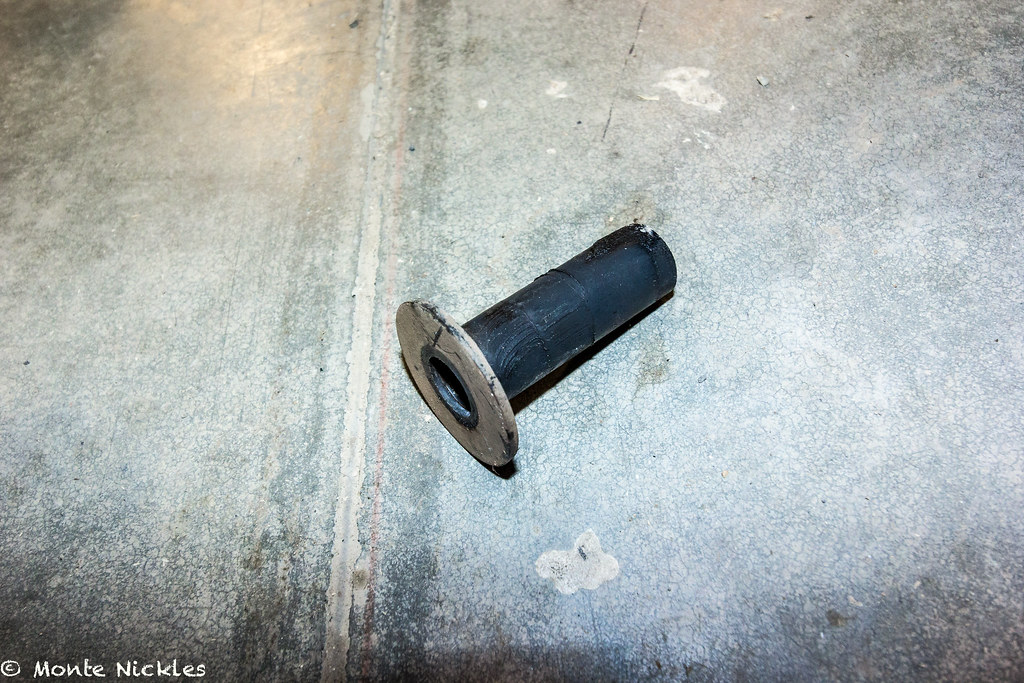 ManyMods-57.jpg
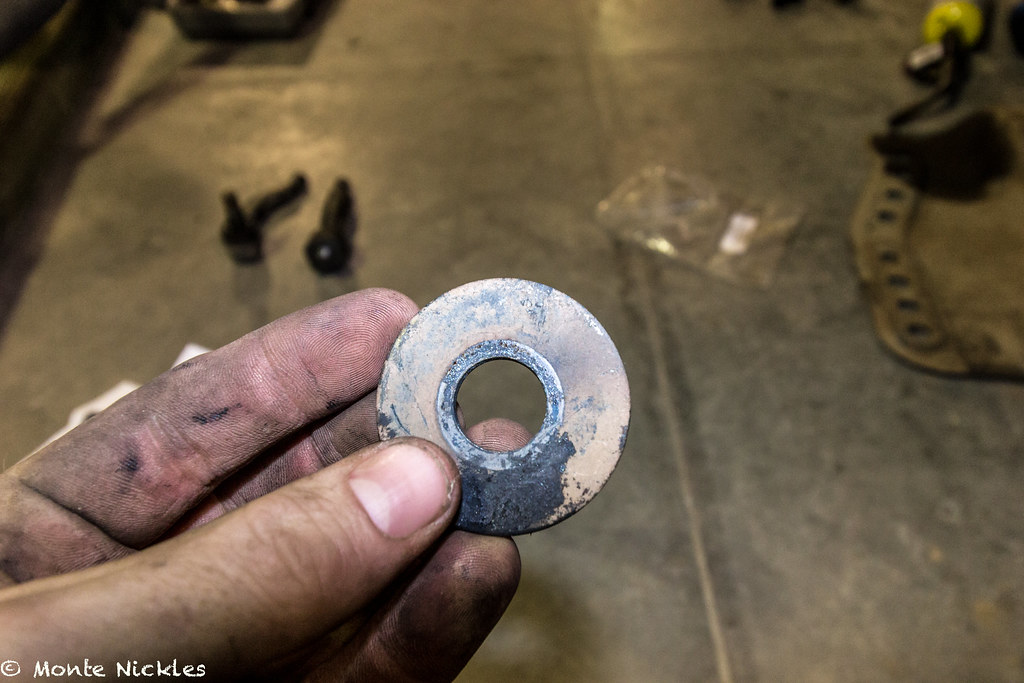 ManyMods-58.jpg
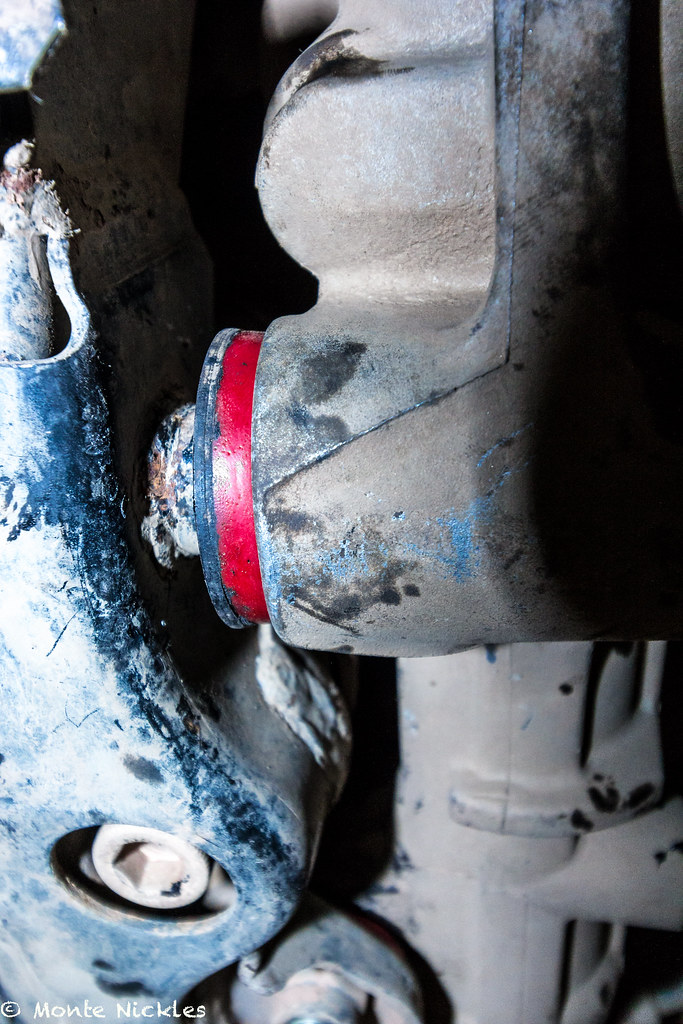 ManyMods-60.jpg
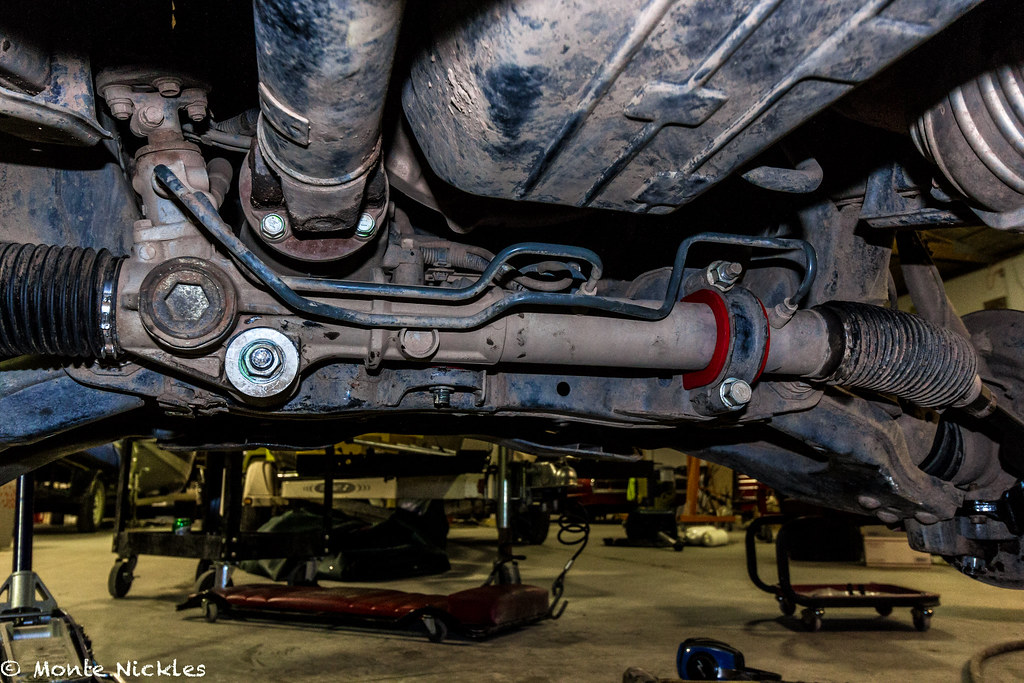 ManyMods-59.jpg
 ManyMods-22.jpg
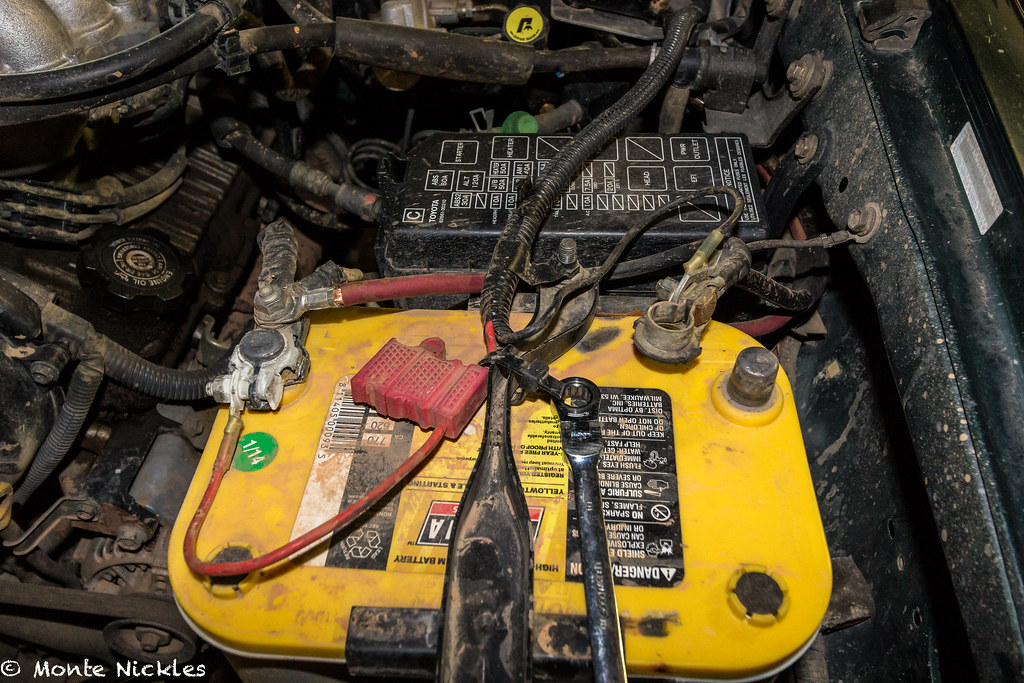 ManyMods-23.jpg
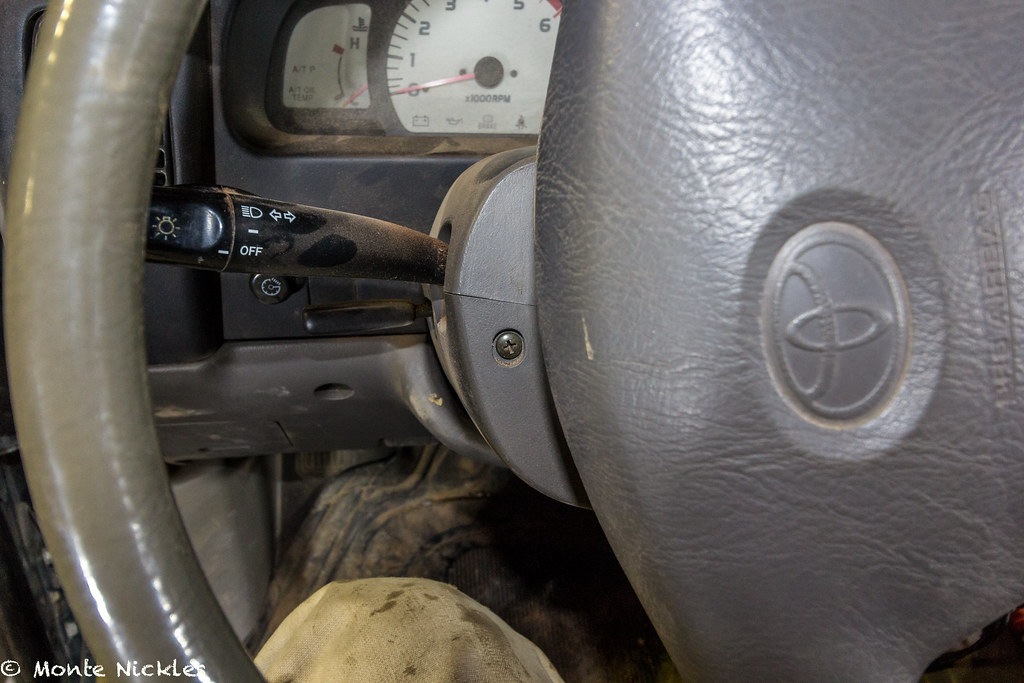 ManyMods-24.jpg
 ManyMods-25.jpg
 ManyMods-26.jpg
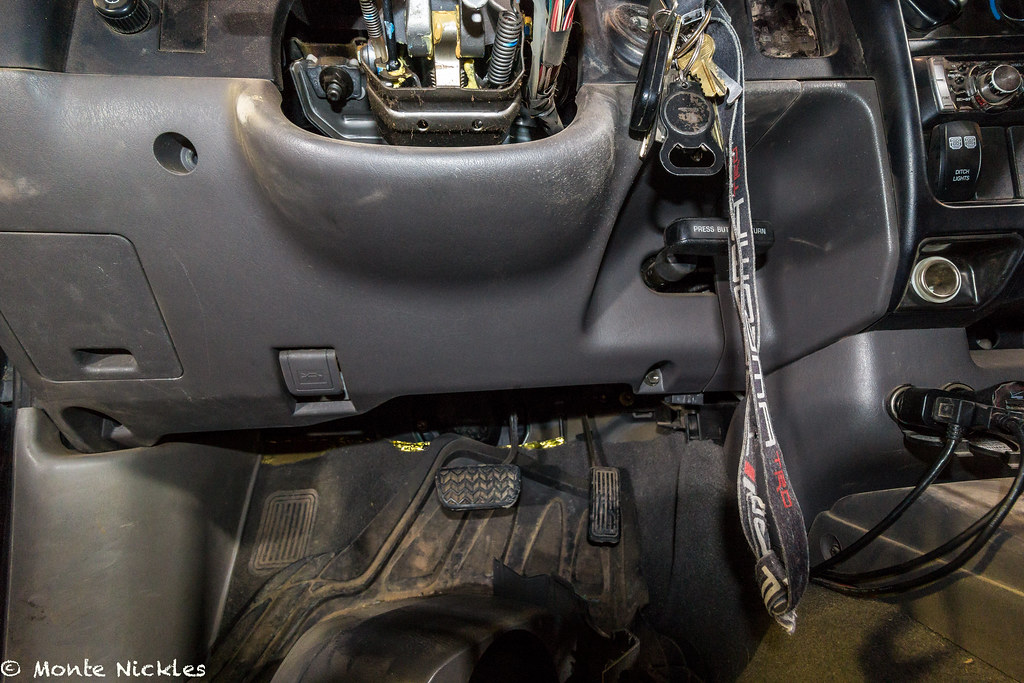 ManyMods-27.jpg
 ManyMods-28.jpg
 ManyMods-29.jpg
 ManyMods-31.jpg
 ManyMods-32.jpg
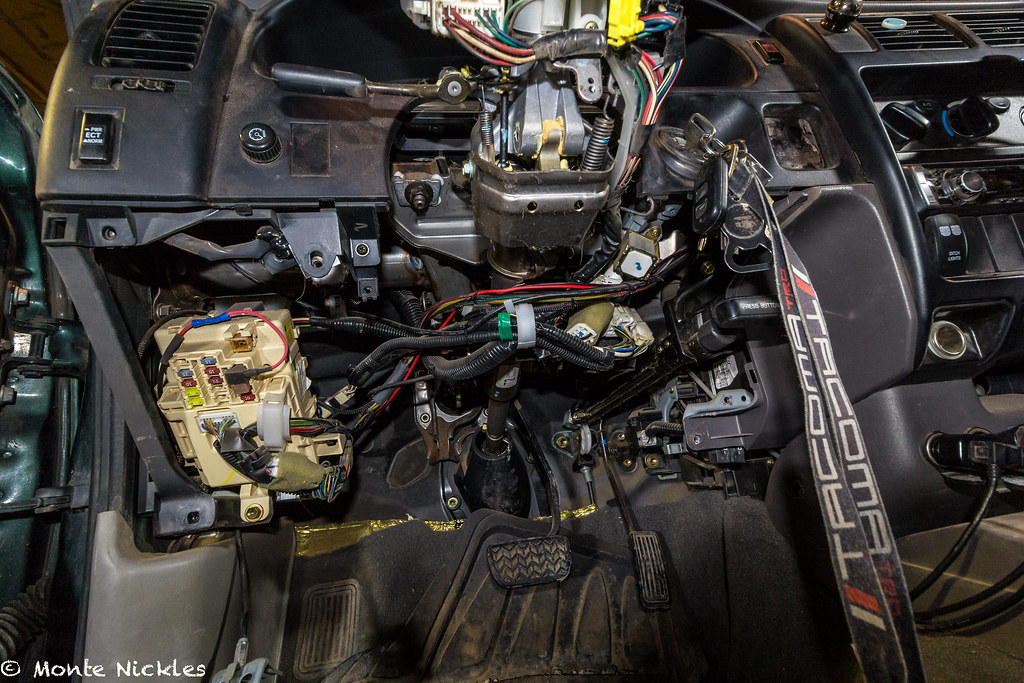 ManyMods-33.jpg
 ManyMods-34.jpg
 ManyMods-35.jpg
 ManyMods-36.jpg
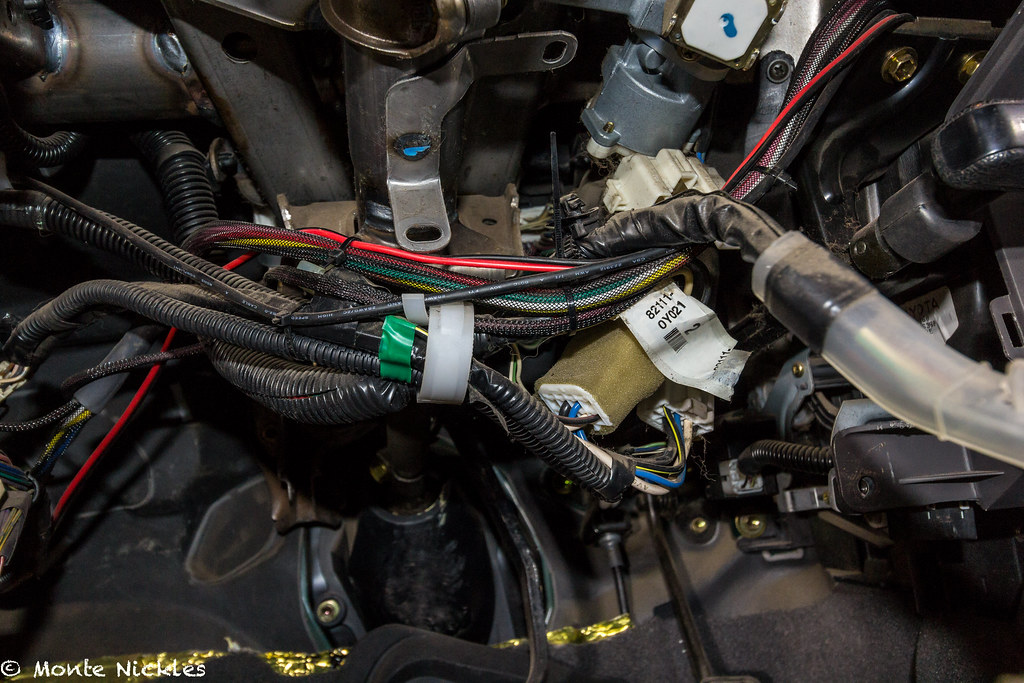 ManyMods-39.jpg
 ManyMods-37.jpg
 ManyMods-38.jpg
 ManyMods-30.jpg
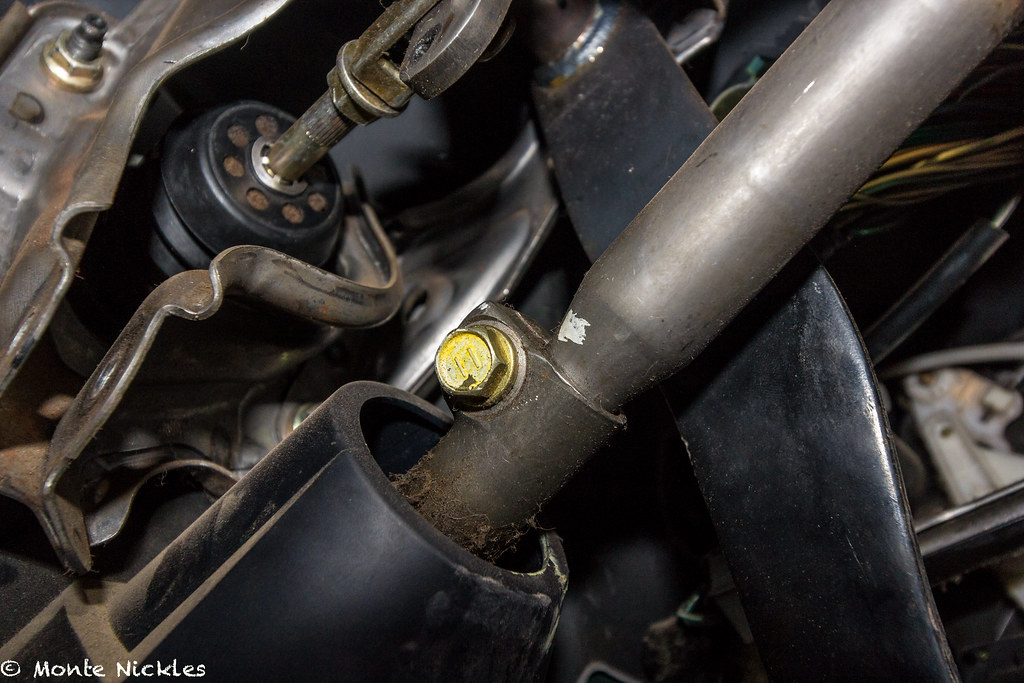 ManyMods-40.jpg
 ManyMods-41.jpg
 ManyMods-42.jpg
 ManyMods-43.jpg
 ManyMods-44.jpg
 ManyMods-45.jpg
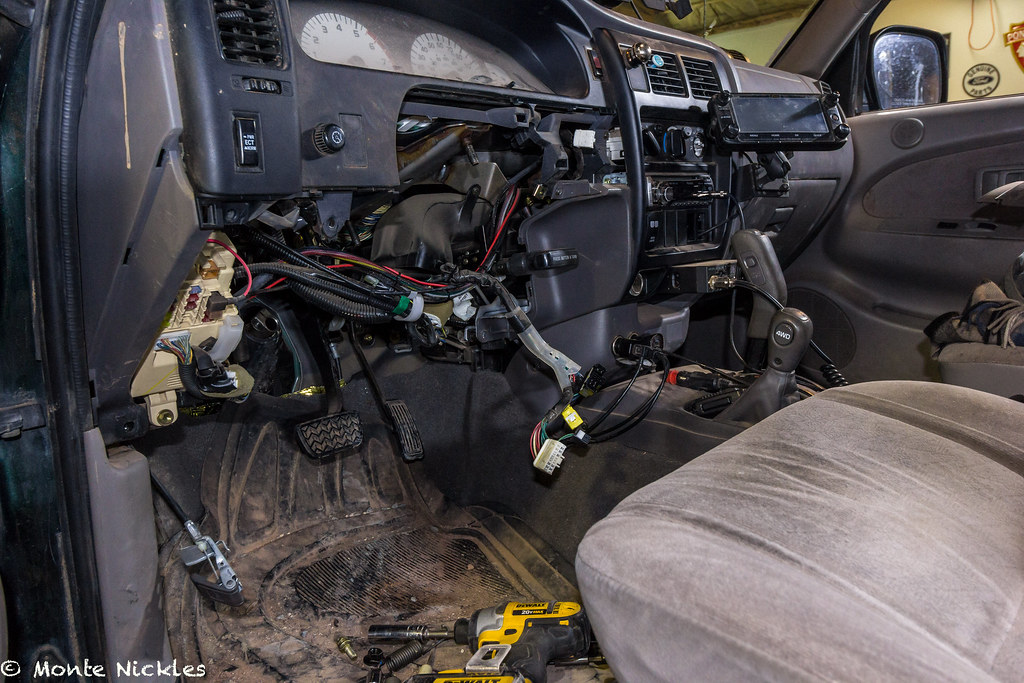 ManyMods-46.jpg
 ManyMods-47.jpg
 ManyMods-48.jpg
 ManyMods-49.jpg
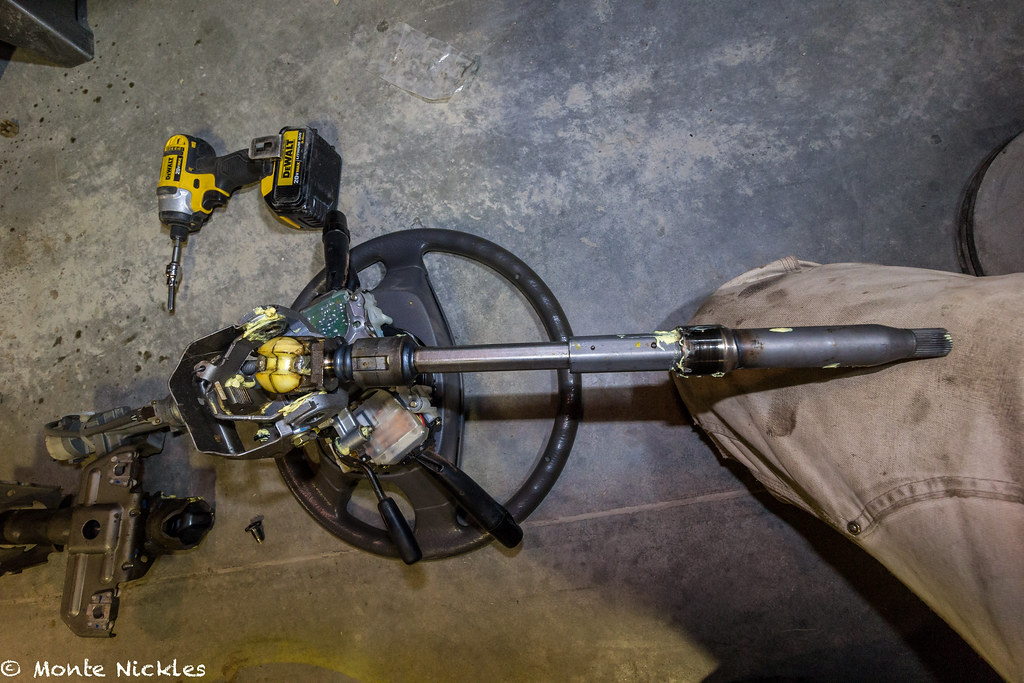 ManyMods-50.jpg
 ManyMods-51.jpg
 ManyMods-52.jpg
 ManyMods-61.jpg
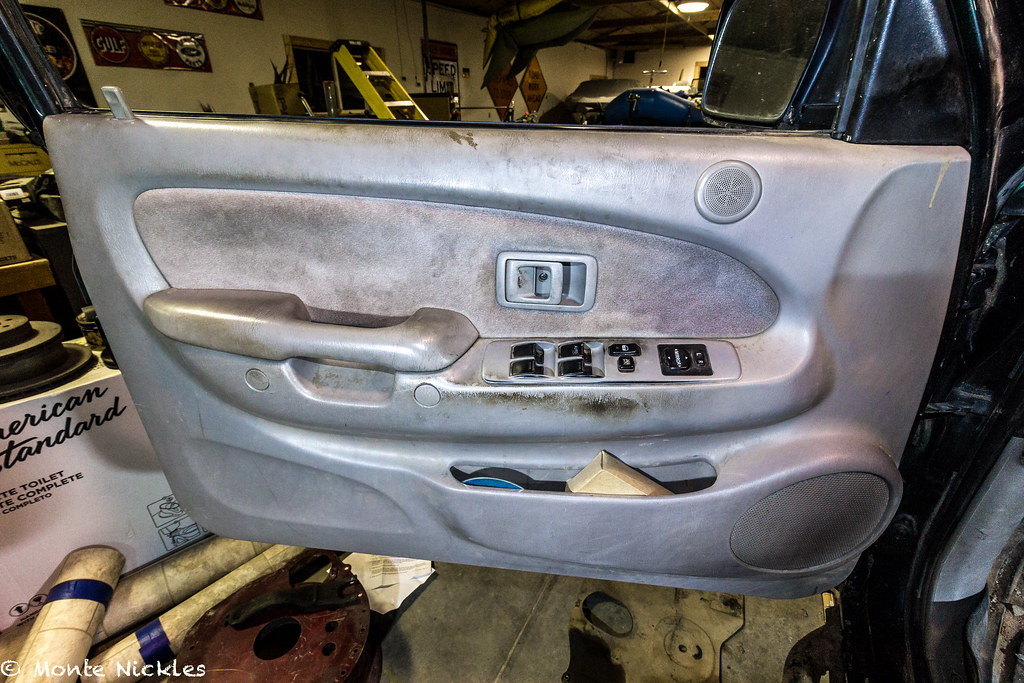 ManyMods-62.jpg
 ManyMods-63.jpg
 ManyMods-64.jpg
 ManyMods-66.jpg
 ManyMods-67.jpg
 ManyMods-68.jpg
 ManyMods-65.jpg
 ManyMods-69.jpg
 ManyMods-70.jpg
 ManyMods-71.jpg
 ManyMods-72.jpg
 ManyMods-73.jpg
 ManyMods-74.jpg
 ManyMods-75.jpg
 ManyMods-76.jpg
 ManyMods-77.jpg
 ManyMods-78.jpg
 ManyMods-79.jpg
 ManyMods-80.jpg
 ManyMods-81.jpg
 ManyMods-83.jpg
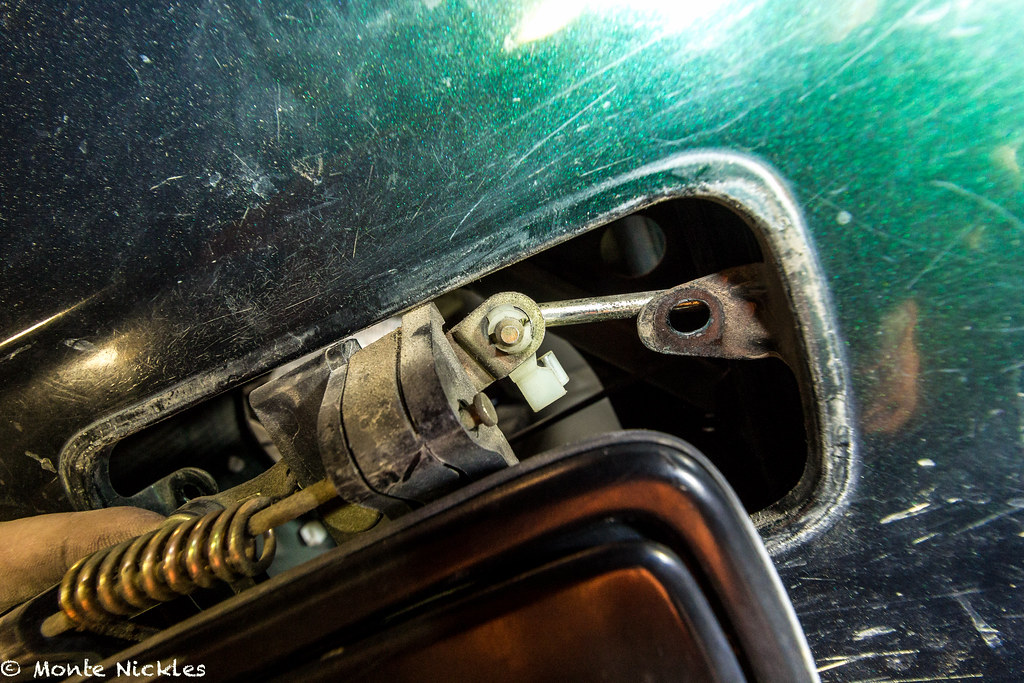 ManyMods-84.jpg
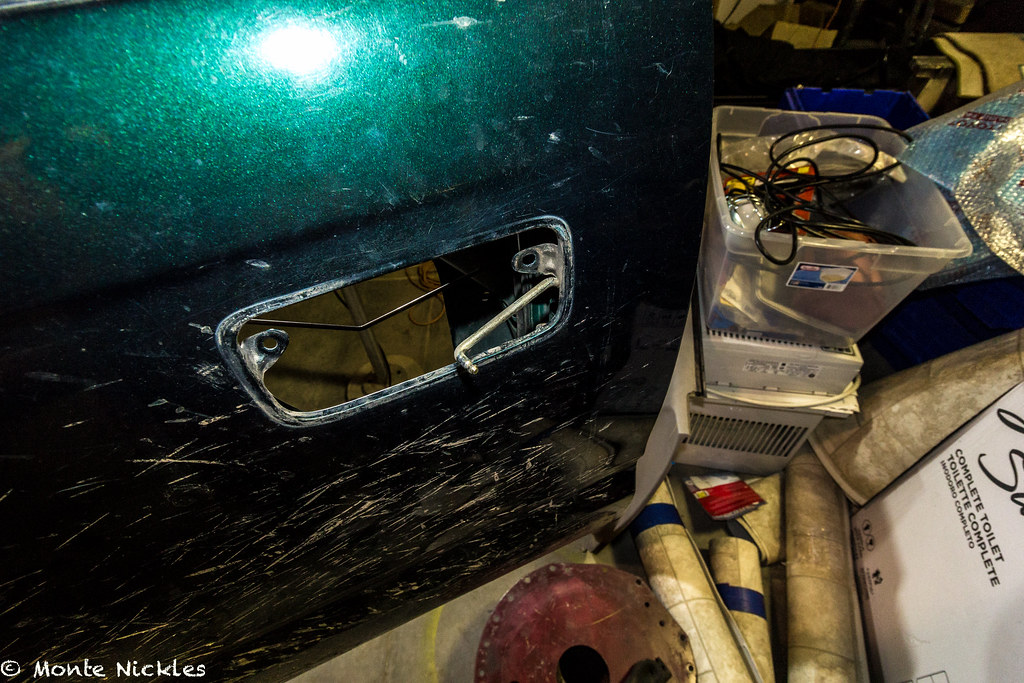 ManyMods-85.jpg
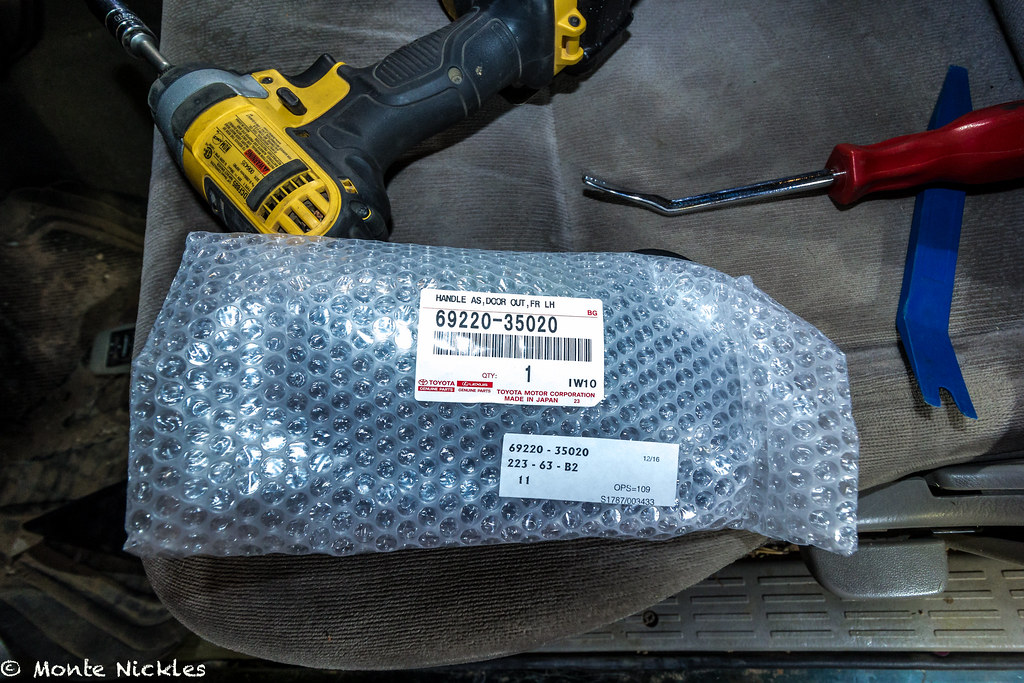 ManyMods-82.jpg
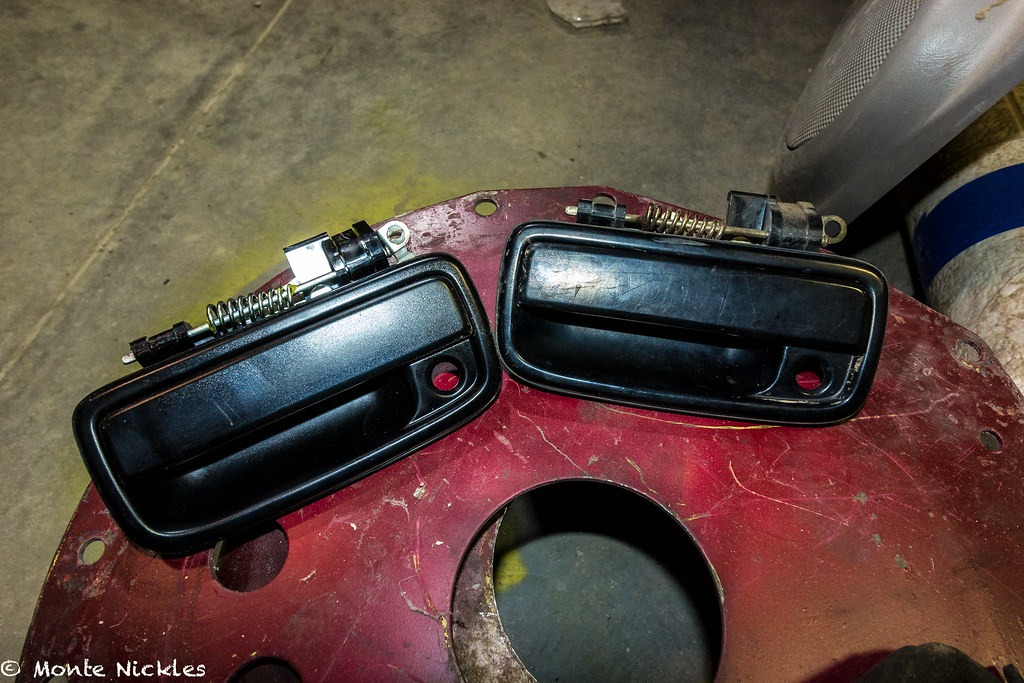 ManyMods-86.jpg
 ManyMods-87.jpg