The Fun Hog Build Thread: 2007 Chevy Express AWD

On Belay

Observer
Where'd you find the red/black anderson powerpole connectors on the front range? I've been to 3 hardware stores, a battery store, and a NAPA and nobody knows what I'm asking for.

I ordered from Amazon. No help with a local source sorry. They seem most popular with amateur radio guys, maybe try a specialty radio shop?
 

drsmonkey

Observer
Couple items I'm pondering and would love to have input on from the collective:

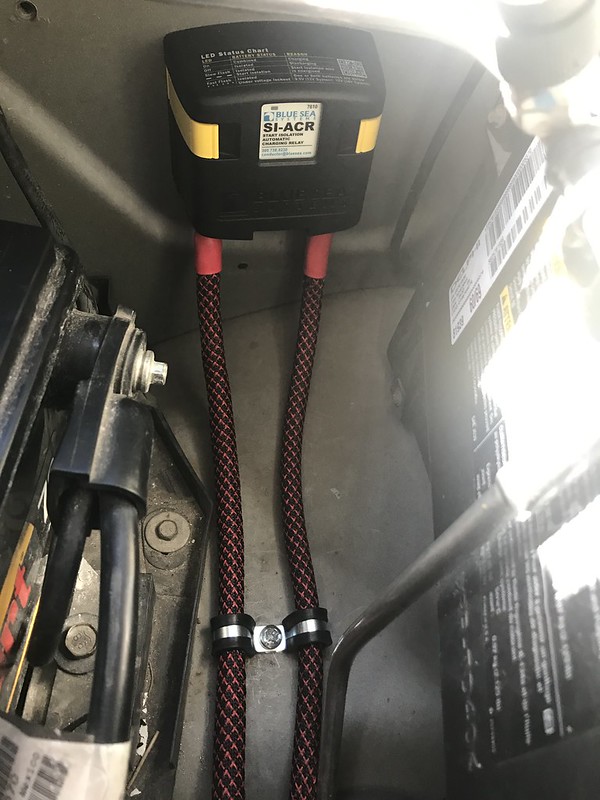
With the battery bank outside the van (in the spare tire location) I need someway of getting the power inside. I orginally contemplated running all of the cables all the way out to the battery bank through weatherproof bulkhead fittings. However we're talking a lot of holes in the floor (Inverter +/-, Solar +/-, Fuse Panel +/-, Battery Voltage Sensor, Battery Temp Sensor at a minimum (plus the water lines, propane etc. I'm thinking a remote mounted set of power posts (Link) is a better solution. My qustion/concern is whether the inverter circuit needs to be entirely isolated. Could I run a single set of 2 AWG +/- cables to the remote posts under the van then hook up inverter, solar, and main power to the posts inside? Or should I do a separate run of 2 AWG directly from the battery to inverter? How isolated does the inverter ciruit need to be?

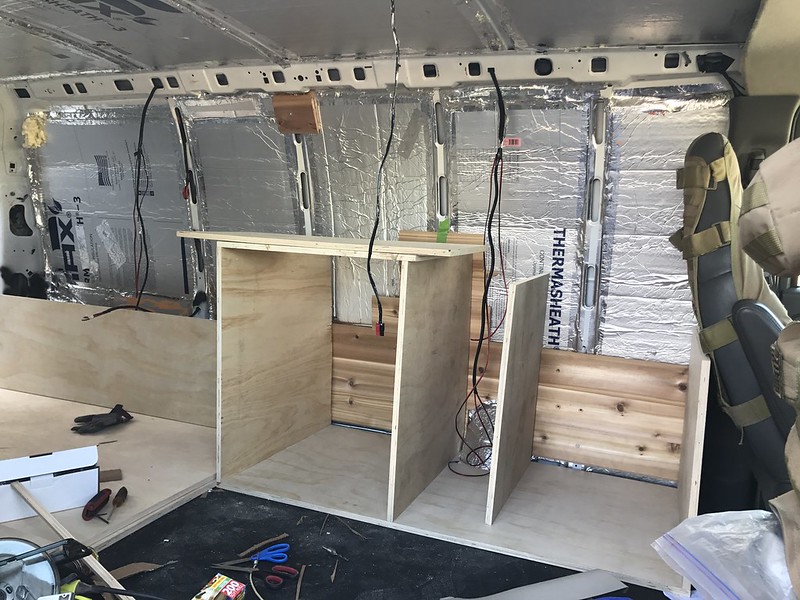
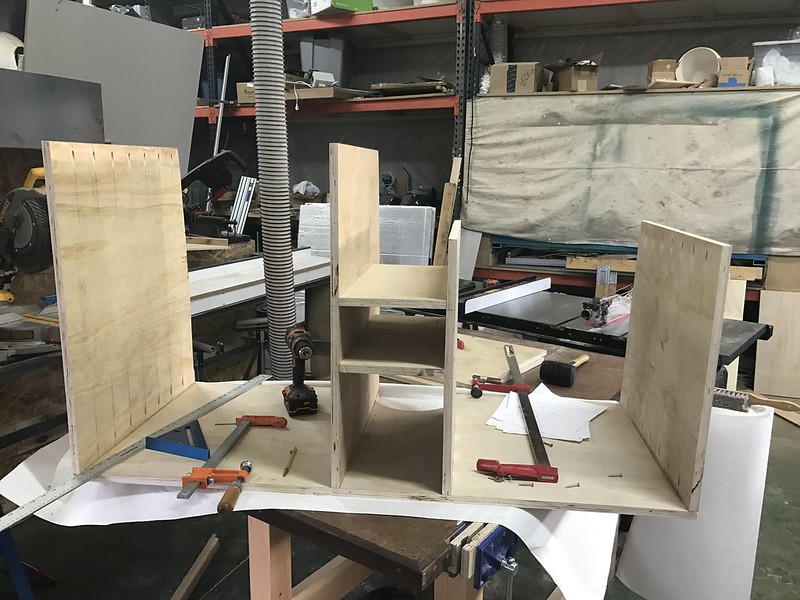
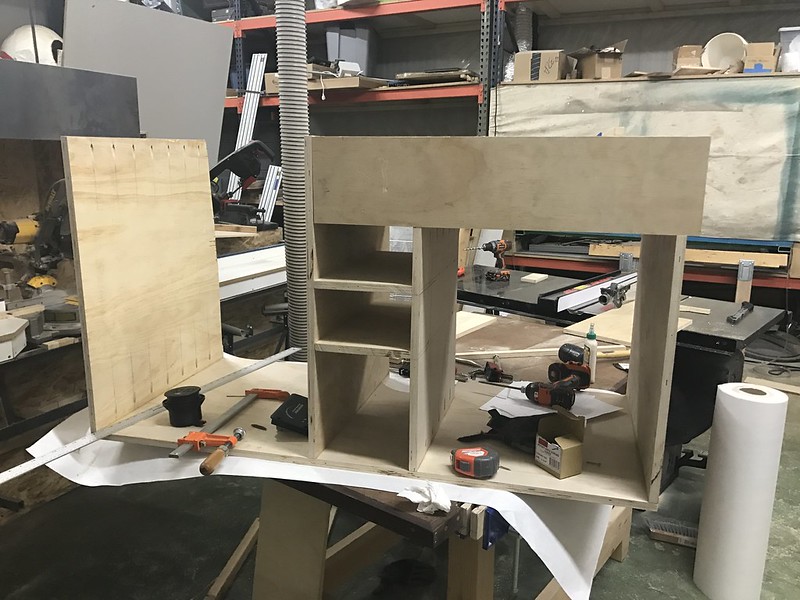
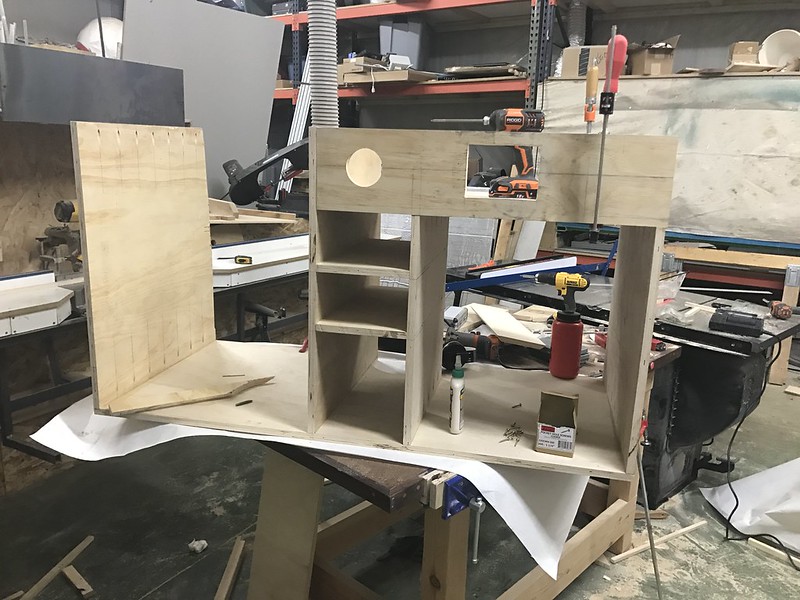
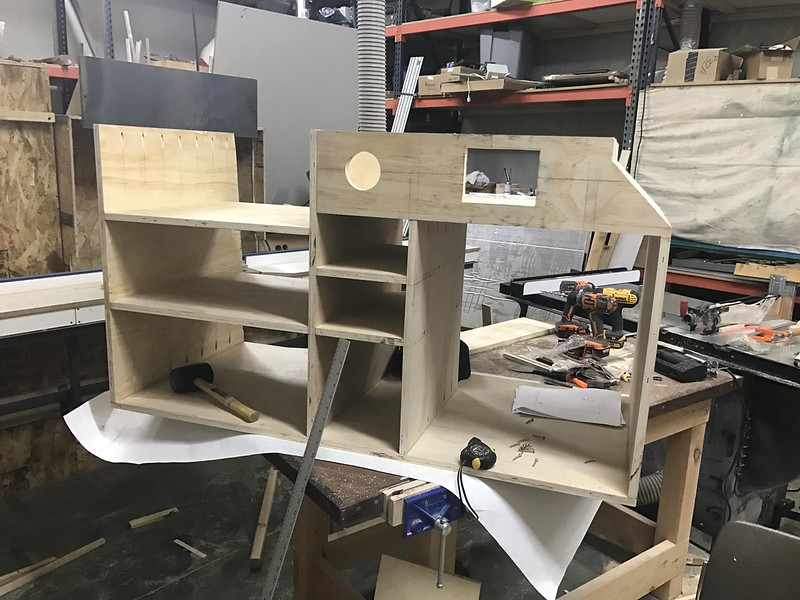
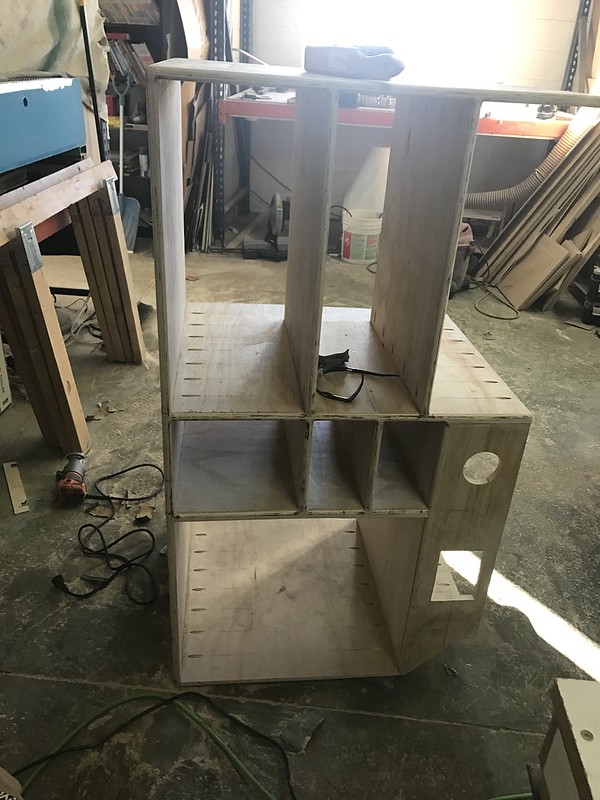
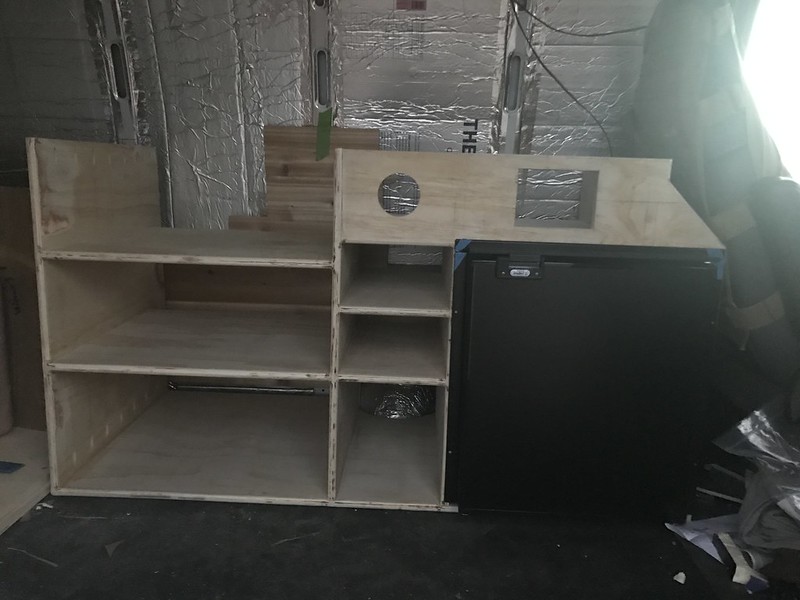
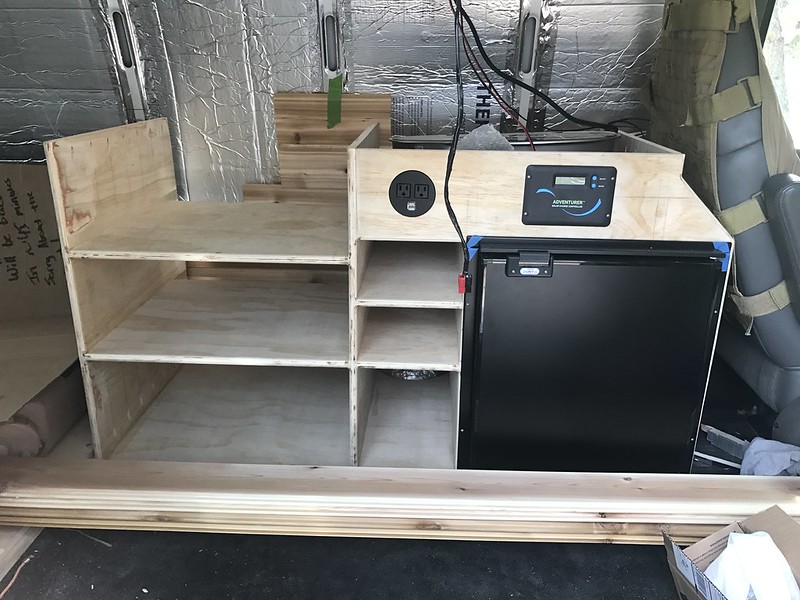
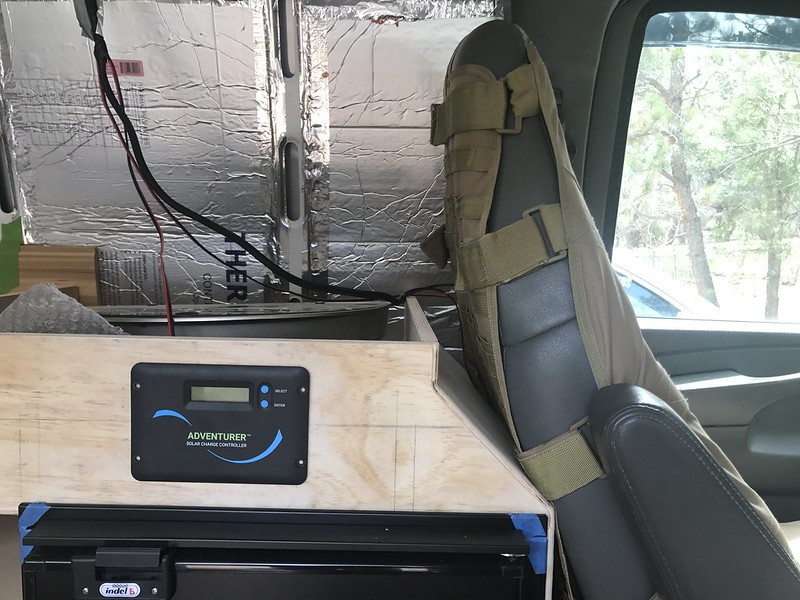
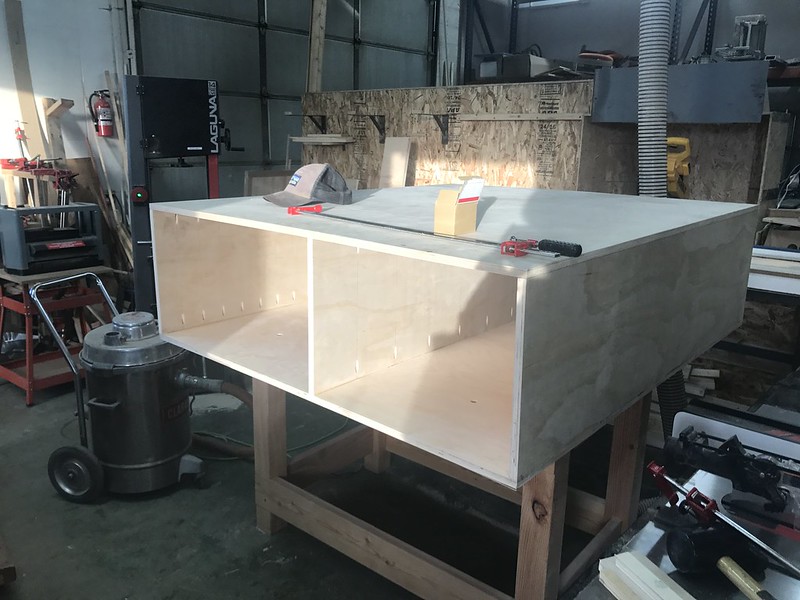
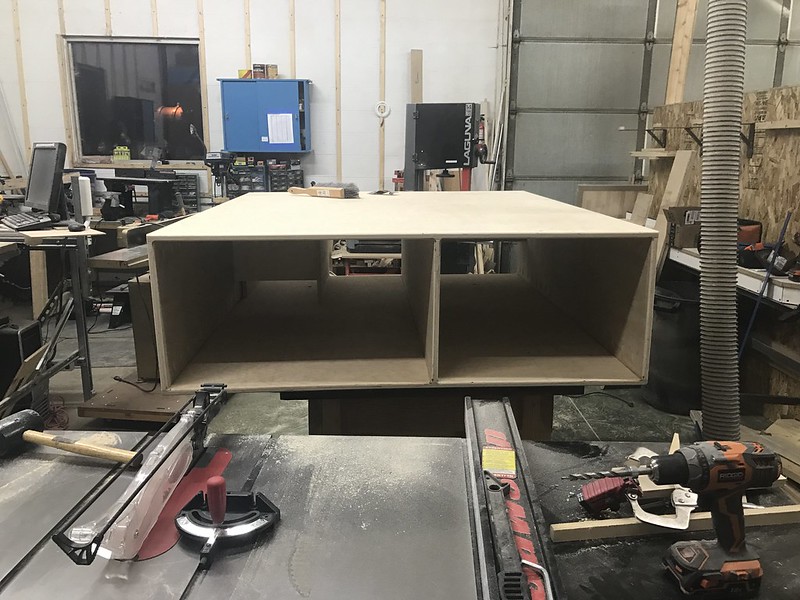
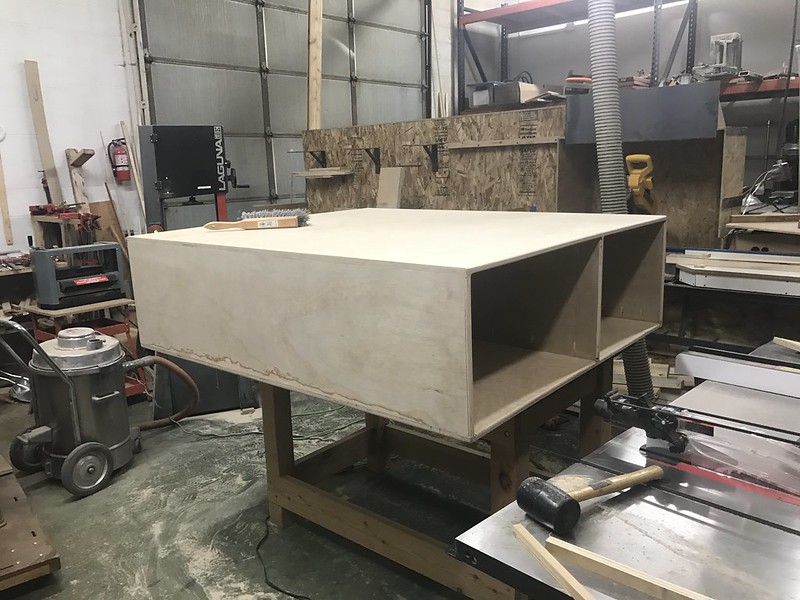
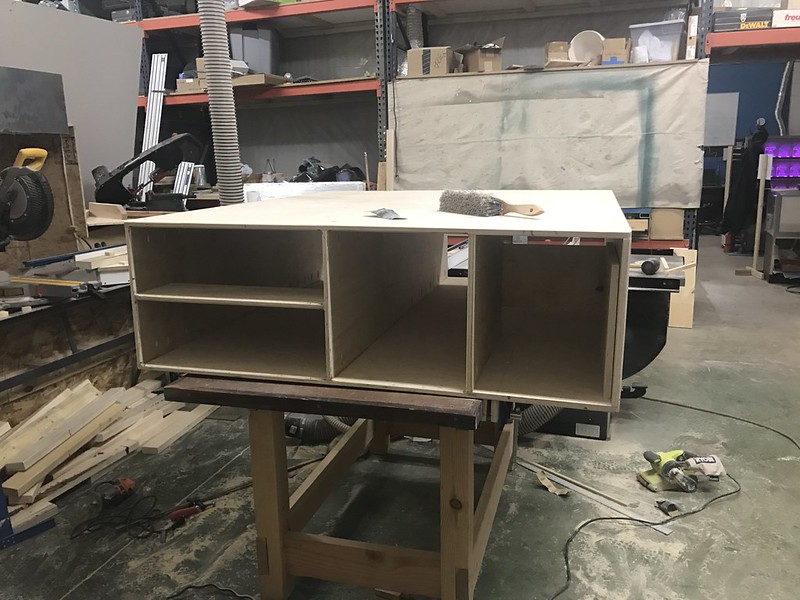
Also trying to fin creative uses of space is the name of the game. I'm looking for a good place to mount my solar charge controller. The sink/stove cabinet will have a 7" fixed panel covering the recess for the sink/stove unit. It would be an ideal spot for the controller, power grommet and some switches to mount unobtrusively and conveniently. However I'm a bit concerned about combining electric, propane, and water in the same compartment. Thoughts? I don't anticipate leaks but want to be safe. Would a plywood divider separating the eletcric from the sink/stove be enough? The shelf below will not be full length so water pooling wouldn't be an issue (there won't be a bottom below the sink). Is this a workable solution or should I right it off entirely and find a different spot?

Also any reccomenations on insulation materials for the inside of the various channels and doors. I'm hesistant to spray foam and permenantly seal in wiring and prevent future access. Not a big fan of fiberglass, though it's cheap, easy, and readily available due to compaction, water absorption and dust. I would love to find some recycled plastic bottle insulation, it seems very popular and radily available in the UK but I can't find a USA supplier. I've also considered hemp and wool, but moisture absorption and long term durability ar concerns. I've looked at ceramic batts and that may be an option, I don't need a lot so while pricey it may be a good choice. Just wondering if someone has found a great option I haven't considered yet (or knows a USA source for the recycled PET).

Also I remeber seeing an Express build on here a while back where someone used a marine deck fill behind the rear barn door for their water inlet but didn;t bookmark and cannot find the thread. IIRC they originally mounted the fill in the rear bumper. If anyone happens to recall the thread that would be wonderful. The common 3" flange deckfills seem slightly too large based on my measurements.

Do a search for 3m Thinsulate van insulation.

I bought mine off ebay from impactproducts. The seller is active on one the promaster and sprinter forums. Not the cheapest option, but seemed like the best thing going. Made a huge difference in how much my propex would run at a given temp. Also quieted the van down a lot.
 

On Belay

Observer
Roof Racks

I've spent a lot of time stressing over the roof racks and even designed a custom full-length rack. I'm fairly confident my design would have worked well but in the end I opted for the simplicity of a Yakima rack. The simplicity, bolt on utility, and time were the deciding fators. I went with two Skybox 12 cargo boxes which fit around either side of the vent fan perfectly.

39820670614_865b3dcf2b_c.jpg

38720812090_f78a1c302a_c.jpg


I am still doing a custom rack for the solar panel using 45 series quarter round 80/20 extruded aluminum for the crossbars, Gamviti gutter towers, and potentially a custom laser cut side piece. It all just fits in front of the vent fan. I'm also adding a cheap single row LED light bar.
40990710981_0a46963d9a_c.jpg
 

borison

Adventurer
The Yakima stuff is a good idea. If you ever decide you don't want it or want to reconfigure, used stuff is readily available and it holds its value well.
 

On Belay

Observer
I'm continuing to slowly chip away on wiring and electrical. Not my forte so it's been slow going. I'm utilizing a Blue Sea ACR to regulate charging between the main vehicle battery and house batteries. I routed the 2 AWG welding cable to the rear of the vehicle through the frame rail. Using Blue Sea Terminal fuse blocks to protect the wiring from power surges. The terminals of the batteries sit very close together on the skid plate and the cables to wire them in parallel would have been very short. I ended up making a set of custom sized aluminum shunts to accomplish this.

40488363972_531bbf44cc_c.jpg

26659977498_d7733793ba_c.jpg

39820670114_3ee6c3699e_c.jpg

40488365232_94e97bef75_c.jpg

26659978408_6a022dd340_c.jpg

27111301698_a8991a245c_c.jpg
 

86scotty

Cynic
I've used that same ACR on about 5 builds now. It will give you no problems at all. An added bonus is it is bidirectional. If you have shore power it will charge house and then keep your chassis battery hot too.
 

On Belay

Observer
I've used that same ACR on about 5 builds now. It will give you no problems at all. An added bonus is it is bidirectional. If you have shore power it will charge house and then keep your chassis battery hot too.

Glad to hear a positive review. From my research, it seems like a great option. I'll have 200 watts of Solar so it will be nice to top off the main battery on nice sunny days with the extra.

Biggest stressor for me currently with the electrical currently is the 2 AWG cable. My general approach to the electrical system has been to use an overkill approach and throw extra copper at everything for a built-in safety factor. I actually meant to get 2/0 AWG but order 2 AWG by mistake, totally my fault. As such my fuses are 150 Amp, I think I'll scale down to 100 Amp replacements to protect the wiring and hope I'm not blowing fuses everytime the alternator kicks on or inverter runs. If it ends up being an issue I'll have to swap out the cable, which will be an annoyance but such is the price of learning.
 

86scotty

Cynic
I think 2 gauge is fine. You'll get enough juice to the house battery from the main while you drive even if you used 6 or 8 gauge. If you think about how travel trailers have a super long run of charge wire all the way through the vehicles chassis and then back to the trailer and they use very small gauge wire. Most of us go WAY overkill on our rigs.
 

On Belay

Observer
I've fallen a bit behind on thread updates again but have been logging a substantial number of hours on the van. My lease ends this month so it's the home stretch of the project. I've been working on my cabinetry and interior build out. I tried out a bunch of designs on Sketchup but ultimately just went old school with paper drawings and measuring everything to fit exactly. This allowed me to maximize the effective use of space. This project has certainly made me appreciate right angles, flat surfaces, and standard dimensions. Everything in the interior of the van is curved and has to be contoured to match. That said I'm quite happy with how things are progressing.

Salvaging plywood from the old floors...

40273042594_74bdd402c1_c.jpg

40273041874_7e8474960e_c.jpg

26111175317_40697cbc2c_c.jpg


Preliminary test fit of the kitchen cabinet design:

40088981565_bded81bf2a_c.jpg


Kitchen cabinet uprights contoured to match the curve of the van walls:

40981950841_57f7013504_c.jpg


All of the components for the kitchen cabinet:

https://farm5.staticflickr.com/4782/40981951741_93218a4de8_c.jpg[/img]

Drillings and abundance of pocket screws:

27111301228_b99371539d_c.jpg


39173365640_cff8b14ea5_c.jpg


40940505482_c77a8931f1_c.jpg


40940505872_96707c6ab8_c.jpg


Assembly:

40981951661_ac15a2f28f_c.jpg


40940505662_e2cf75fe42_c.jpg


40940505572_828bf0caab_c.jpg


26111191877_9031de53f2_c.jpg


40273042604_7bd3d766c4_c.jpg


Rounding over the edges with a router:

40273042084_c28f5f2ba3_c.jpg


Test fit:

26111175157_f5d501dffb_c.jpg


26111174787_bbf6dc06a0_c.jpg


Propex should tuck in neatly behind the fridge:

27119592228_eccdaa95bf_c.jpg


26119757977_f8f4c6f66a_c.jpg


Seat can still recline:

40281162934_4303e95a66_c.jpg
 

On Belay

Observer
Continued...

Starting Assembly of the bed cabinet:

40294320735_039678cf17_c.jpg


40409493594_38dabeef17_c.jpg


The portion of the bed cabinet that is overlapped by the kitchen cabinet will house a 15 gallon water tank:

40225337985_f23323bc9a_c.jpg


40225337985_f23323bc9a_c.jpg


26248838167_d03a7fefd8_c.jpg


27247297458_f268dba462_c.jpg


40294321375_3e7e2e6840_c.jpg


40476913254_69c4199cbe_c.jpg


Starting to cut material for all of the drawers:

41145341202_373d36c2a4_c.jpg


All of the drawer components cut the little pile in the lower left is the only excess from 3+ sheets of half-inch plywood:

26365825277_fab003fe4c_c.jpg


When you need to keep 10 partial sheets of plywood straight while pulling an all-nighter... Name them after the members of the Wu-Tang Clan... ;)

40343358045_396f84c04b_c.jpg


From a materials perspective, I was able to salvage most of the 3/4 inch plywood for the carcasses from my previous plywood floor after I switched over to VanTred rubber floor for additional padding on the knees and sound deadening. I did by two 5x5 sheets of Baltic Birch for the bed cabinet and one additional 4x8 sheet. The drawers took 3 4x8 sheets of 1/2 inch plywood plus a 4x2 sheet. I used an abundance of pocket screws and the cabinets are massively over-engineered but I shouldn't have to worry about durability...
 

On Belay

Observer
Built all 11 drawers this weekend. Drawers are entirely 1/2" plywood. Rabbets on all four sides of the bottoms and dados in the faces, backs, and sides. Titebond 3 and pocket screws.

40631818404_191b50272a_c.jpg

26474177777_f3dbab7f81_c.jpg

27473650658_fda4b21d9e_c.jpg

41302663572_096f9b728b_c.jpg

41345477951_93c2bfbc7f_c.jpg

27473650858_126d8541fd_c.jpg
 

Mat Mobile

Adventurer
Great work On Belay! Very sturdy I'm sure. Would you mind sharing where you got the latch from? I'm assuming Amazon but just to be sure.
26474177777_f3dbab7f81_c.jpg
 

On Belay

Observer
Great work On Belay! Very sturdy I'm sure. Would you mind sharing where you got the latch from? I'm assuming Amazon but just to be sure.
26474177777_f3dbab7f81_c.jpg
I purchased on eBay. They're a SouthCo knockoff made by Amarine. One heads up the listed panel thickness range is way off for the hardware provided. I'm ordering some shorter bolts (M5 x 12mm) to work with the 1/2 inch plywood.
 

Forum statistics

Threads
185,783
Messages
2,878,184
Members
225,329
Latest member
FranklinDufresne
Top