Raptor Lining the Van: Part 3
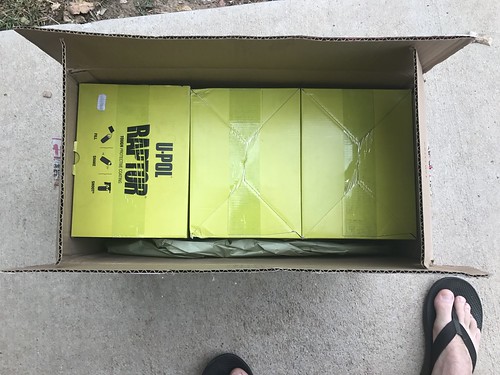
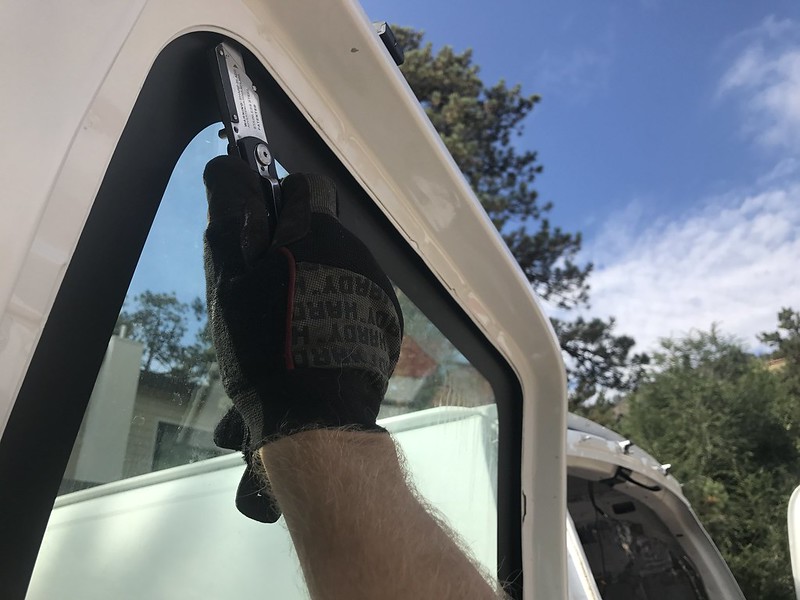
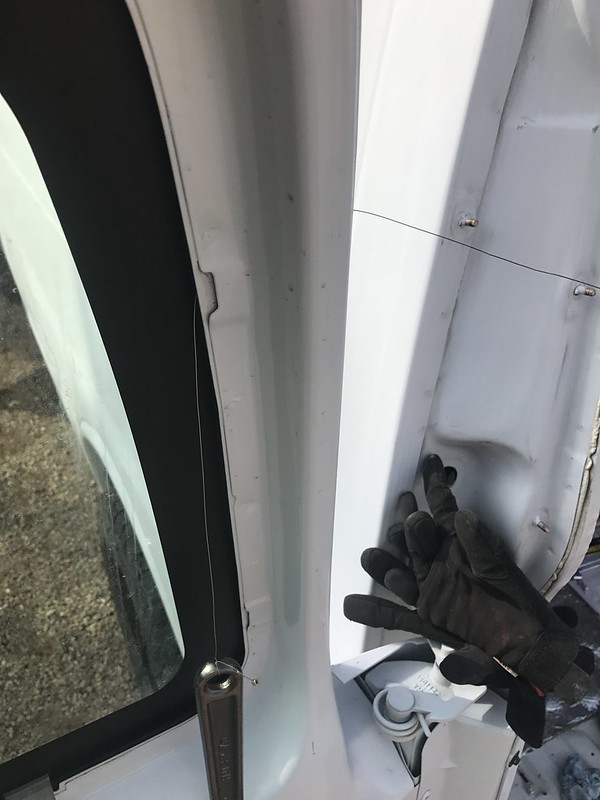
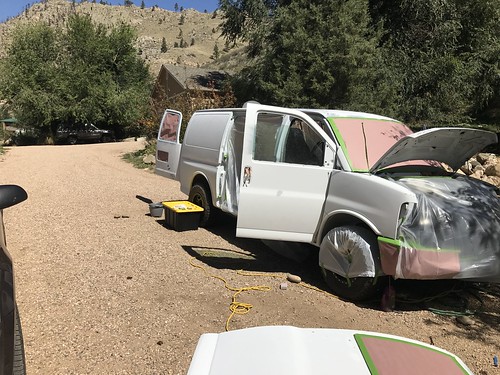
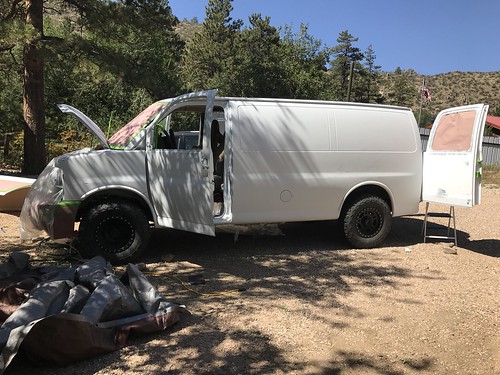
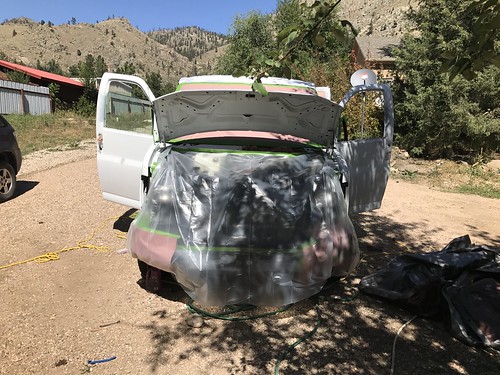
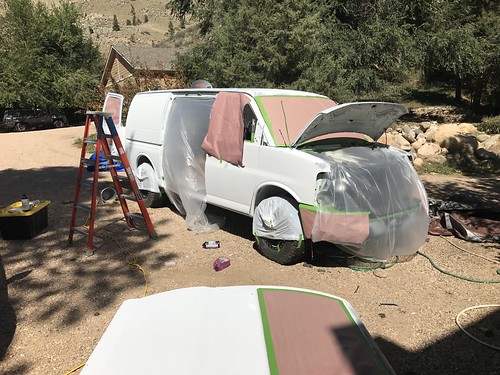
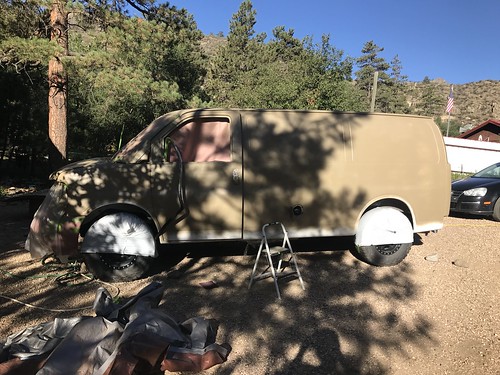
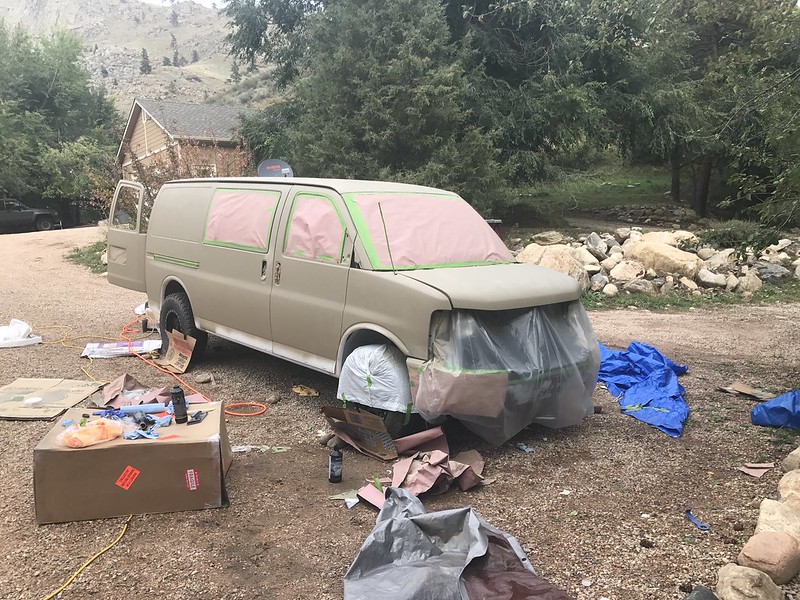
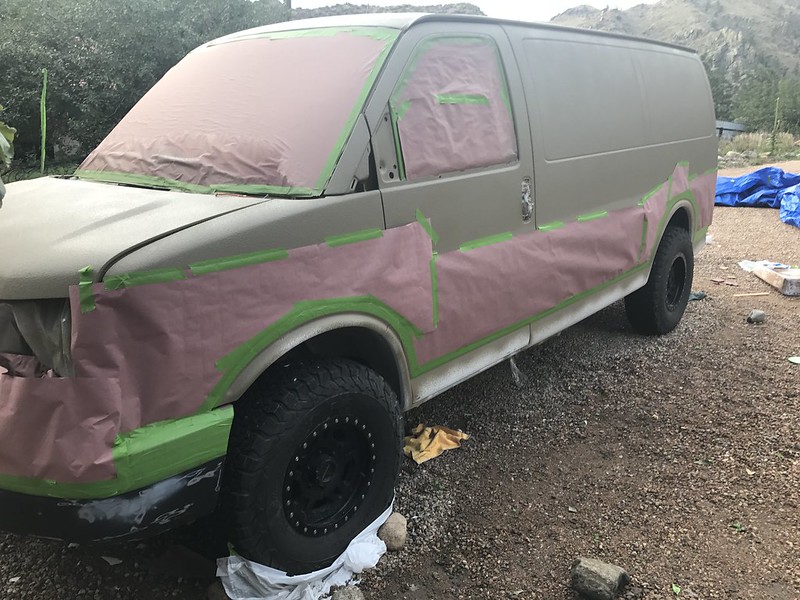
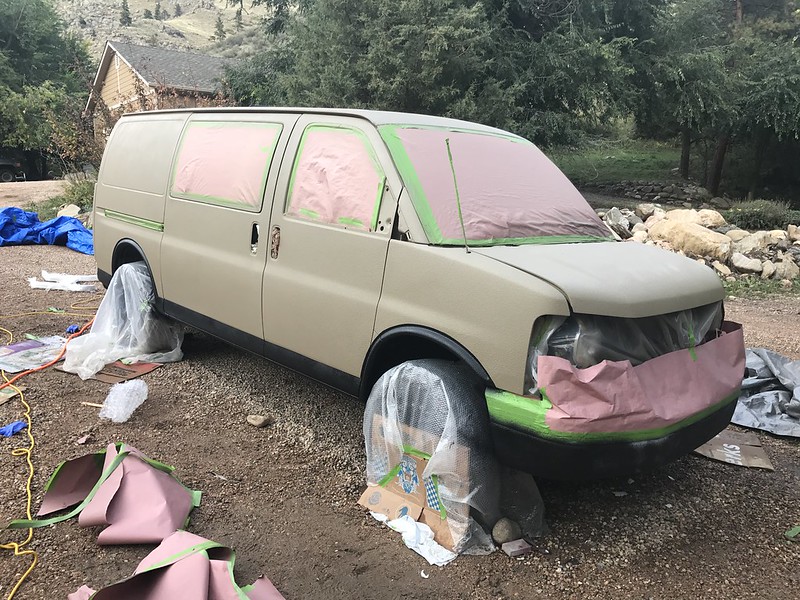
My replacement kits of tintable Raptor arrived on Monday! I ordered 3 kits (4 Liters each) of tintable Raptor and 1 kit of black Raptor for this project. I spent Tuesday finishing up the prep work, removing the last of the weather stripping, and masking the van. On Wednesday I sprayed the color coats.
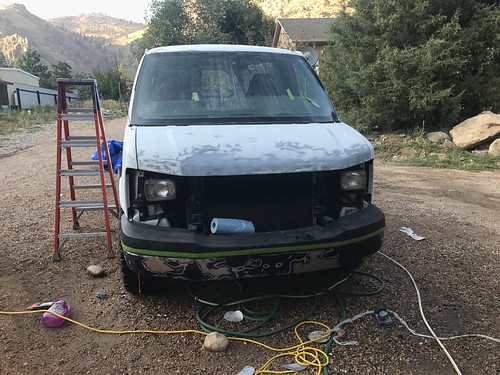
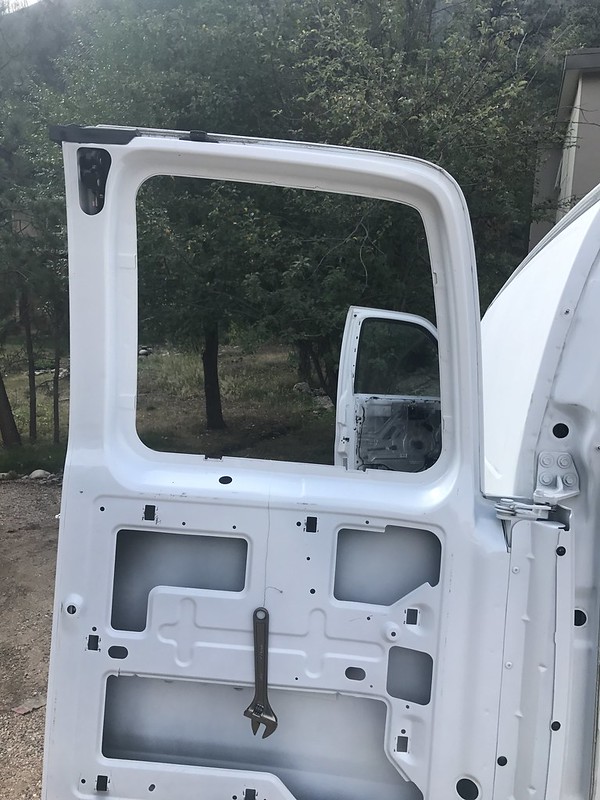
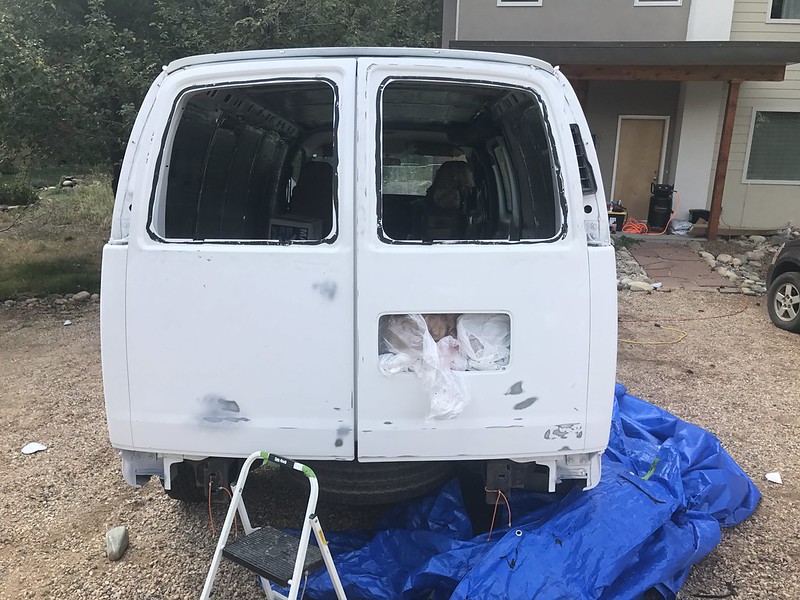
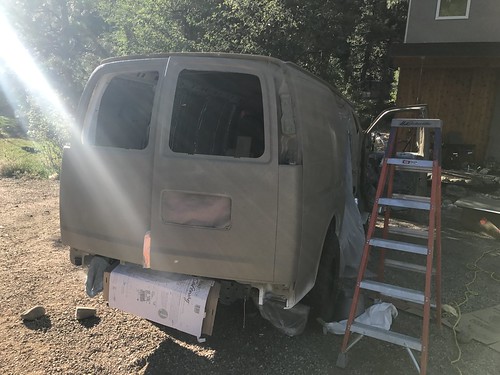
Prep and Masking:
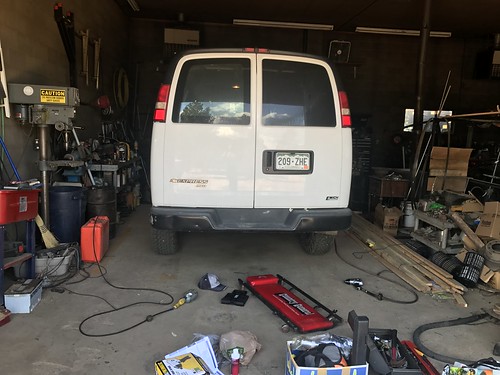
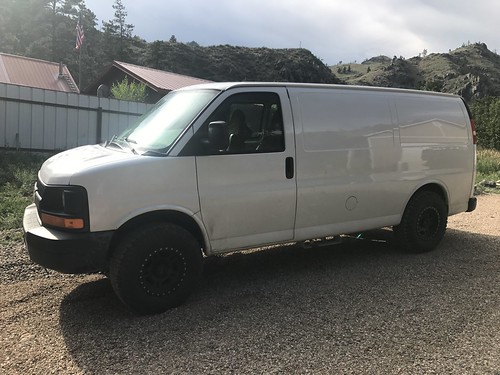
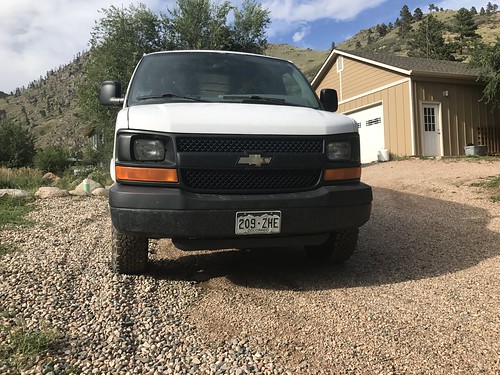
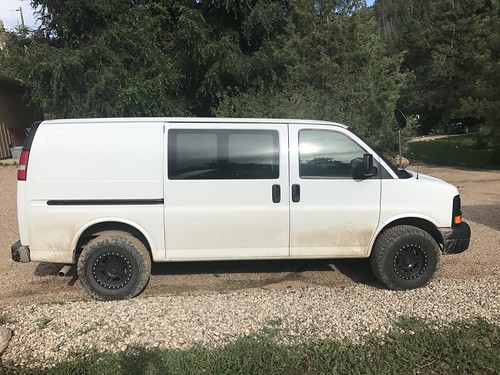
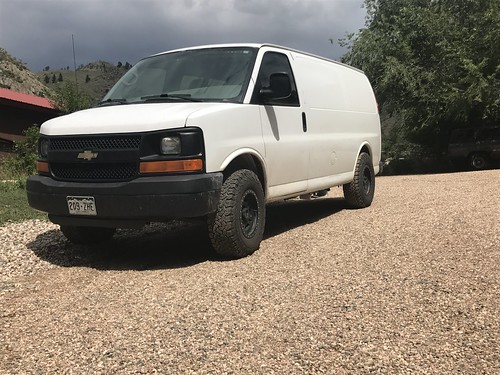
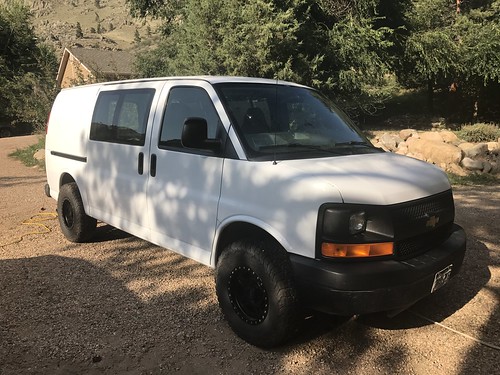
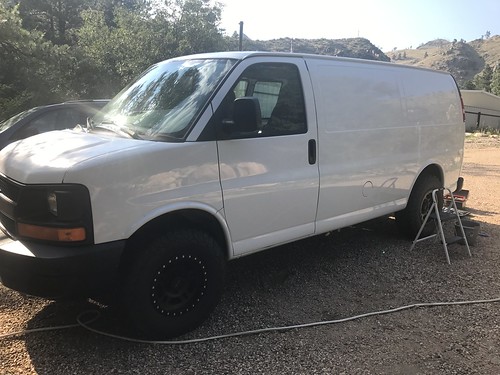
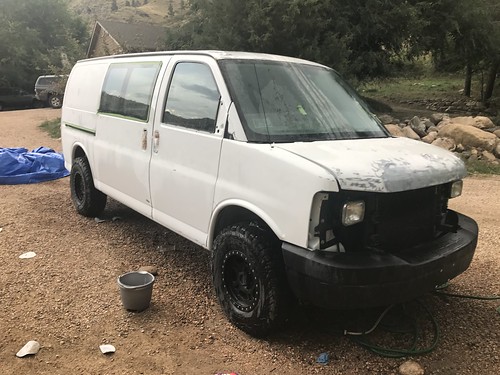
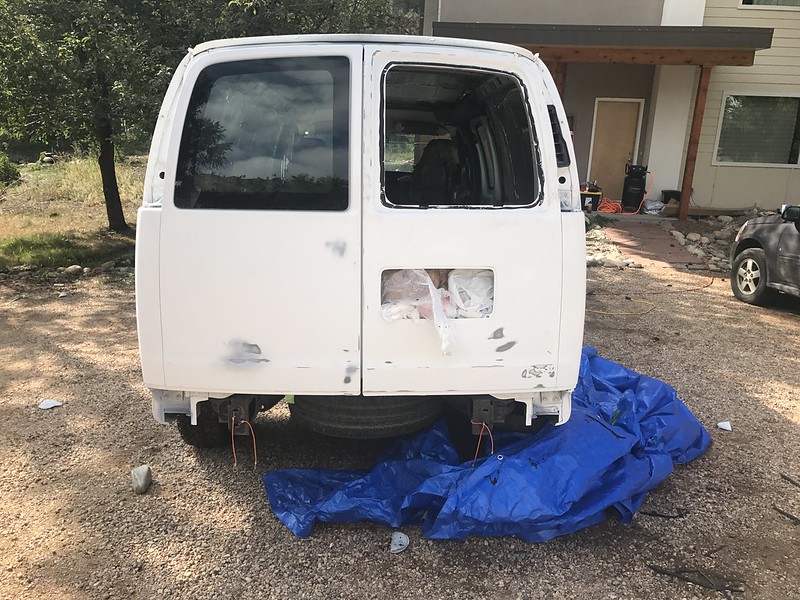
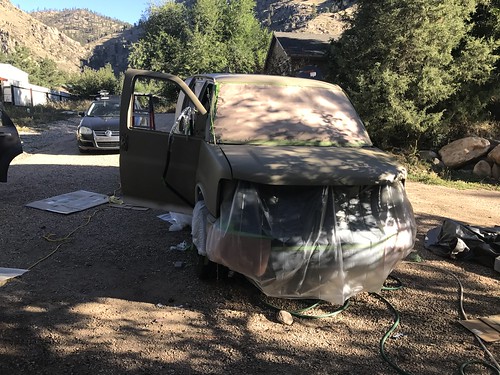
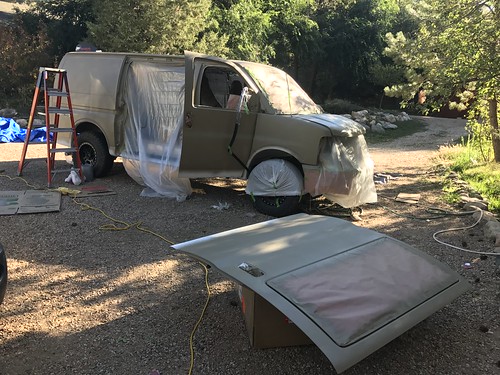
How it sits now:
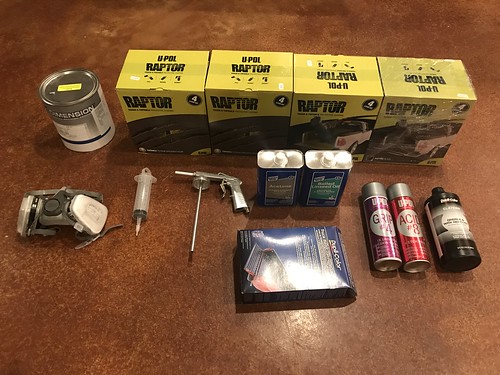
Here's what I used for the project:
Supply List:
1 x UPOL #8 Acid Etch Primer - Used on any bare metal from sanding.
1 x UPOL #4 Adhesion Promoter - I used this on any odd angles that were difficult to sand and high wear areas like the gutter rails or behind the window glass on the slider. I still tried to sand and scotchbrite these areas as best I could.
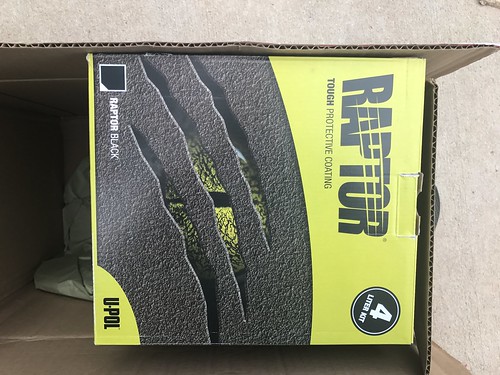
4 x UPOL 4L Tintable Raptor - Ended up having to order a 4th kit...
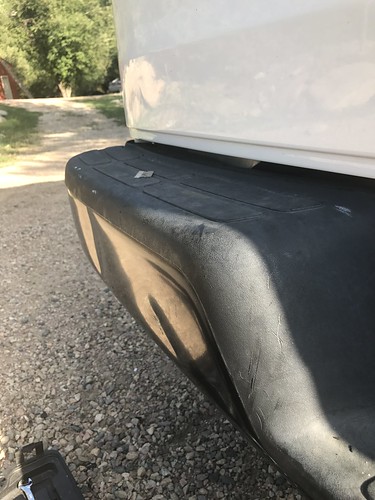
1 x UPOL 4L Black Raptor - For rockers, bumpers, and propane bash guard.
1 x UPOL Schutz Gun - For spraying. I also attached a quick release fitting for my air compressor hose.
4 Quarts - Sherwin Williams auto paint without the binders for tint. You still pay full price for the paint they just leave out the binders. Keep in mind this yields only about half the quantity you order. I bought 4 quarts but really got 2 quarts. I had mine mixed to match the Toyota color Quicksand.
2 x Grease and Wax Remover - I used this to wipe everything down before spraying and between coats.
1 x 100 ml Syringe - This was clutch for quickly and accurately measuring the tint.
1 x Acetone - Clean gun/brushes.
1 X 3M Respirator - Get a respirator. I sprayed outside and even then when removing the respirator briefly the fumes were bad.
Not Shown: Nitrile gloves, a large bristled paint brush (not a house paint brush an art one - this was essential for hard to reach places in the door jams etc.), and prep materials (random orbit air sainder, 120 grit sanding discs, 120 grit foam blocks, 120 grit sandpaper, red Scotch Brite pads, air angle grinder with flap discs, etc.)
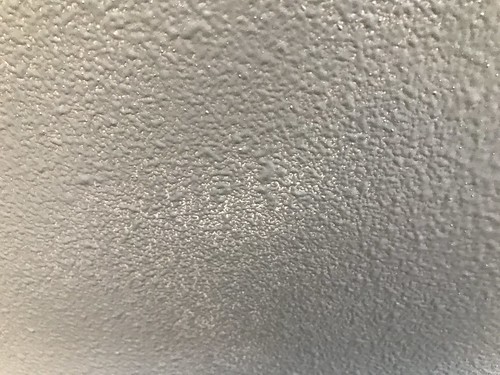
UPOL recommends between 5% and 10% tint, I used 8% (80 milliliters of tint for every 1-liter Raptor bottle). The nice thing about 80 millimeters is that the Raptor, Hardener, and Tint all just fit into the bottle. The key is to shake the Raptor first. I initially started out mixing outside the container (Raptor says no more than 5% will fit in the container). It sucked. Then I discovered 80 milliliters will fit with just enough room for the schutz gun. With a regular plastic kitchen measuring cup (with pour spout) and the syringe mixing the Raptor was pretty quick and painless. Having someone to help mix would have been nice, but it was doable alone. I was pretty proud of the syringe idea, it's not something I've seen elsewhere and the $5 was more than worth it for the added consistency in tint quantity. Having someone to help mix would have been nice. I sprayed at 50 PSI.
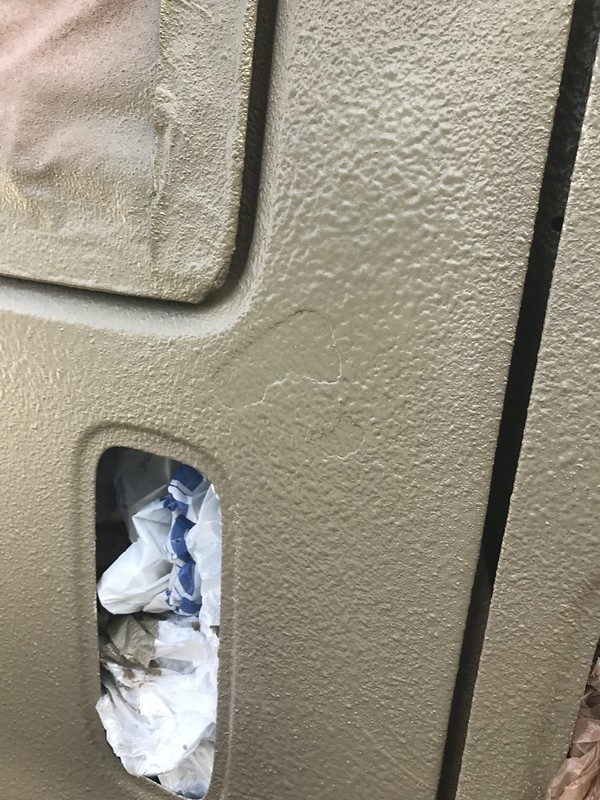
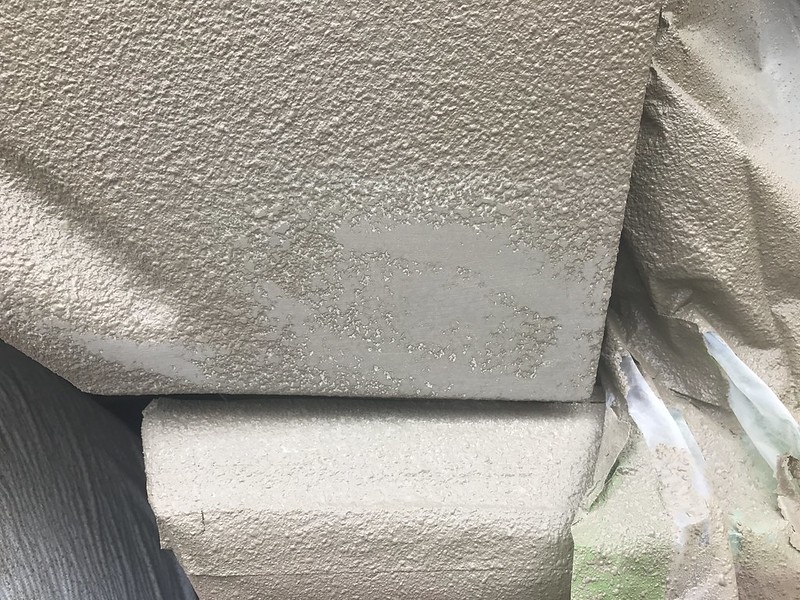
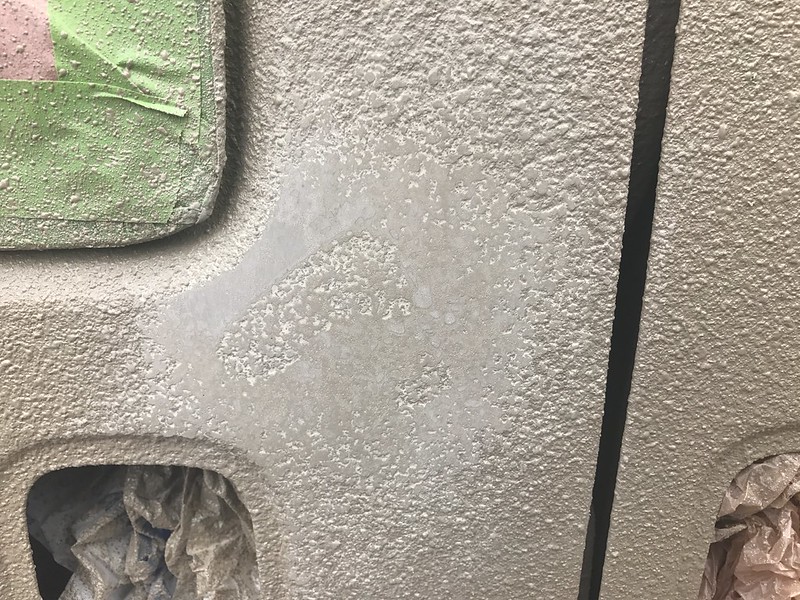
I ordered 3 kits for the color coats. There was a guy on Youtube who claimed to have done an Express with 2 kits and had just barely enough, I ordered a 3rd kit to be safe. I'm also painting all of the door jams, interior door frames, underhood, etc whereas most just shoot the exterior it seems. 3 kits was enough to do the whole van, however, there are some places where the coat is thin enough that some of the white shows through - it's not really noticeable but bothered me and ultimately I ordered a 4th kit to do a second coat and ensure full coverage (should be here Thursday).
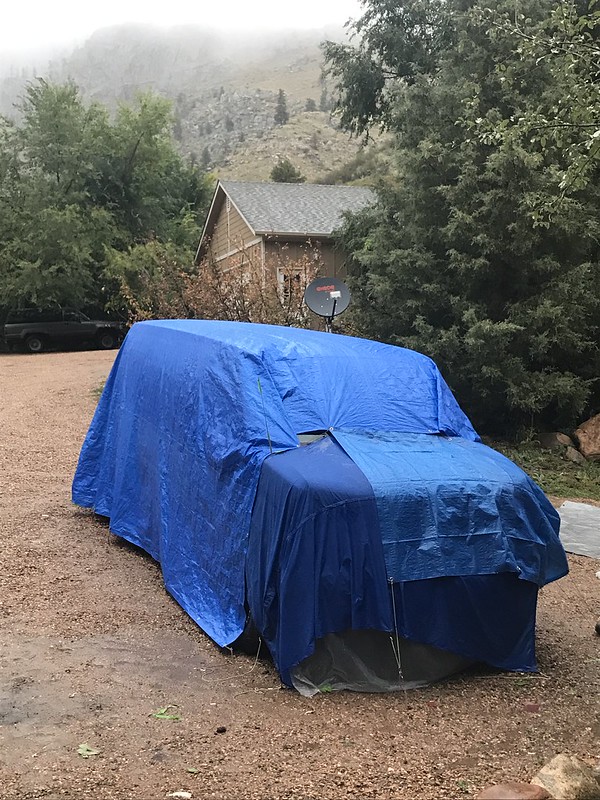
At this point I'm just waiting on the extra kit to arrive. I sprayed the door jams and interior panels fully so I can start putting weather stripping back on. We're projected to get a fair bit of rain this weekend so the van will spend most of the time under tarps.
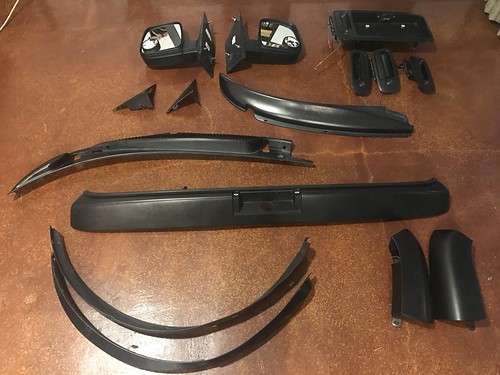
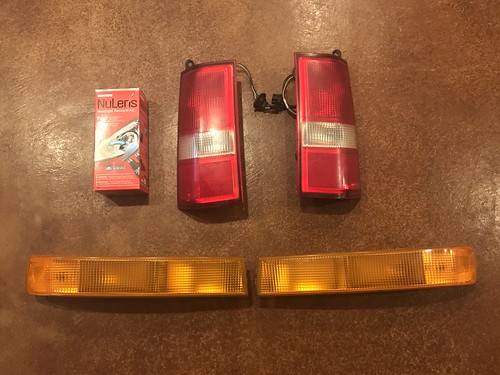
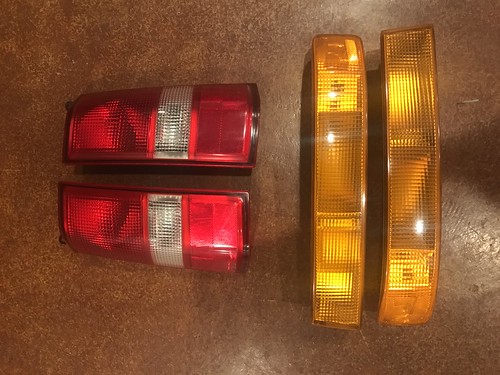
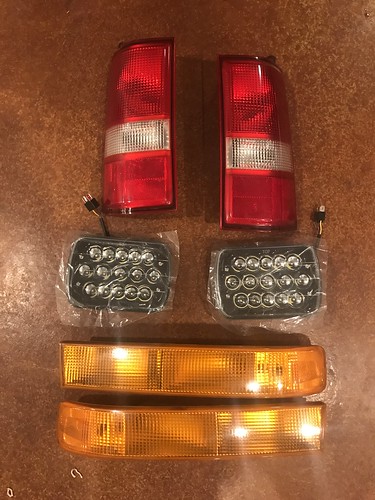
In the meantime I can clean the plastic pieces and rub down with boiled linseed oil. I've also got a Mother's lens restoration kit for the tail lights and indicators (which were pretty hazy). Headlights are going to be replaced with new LED units.
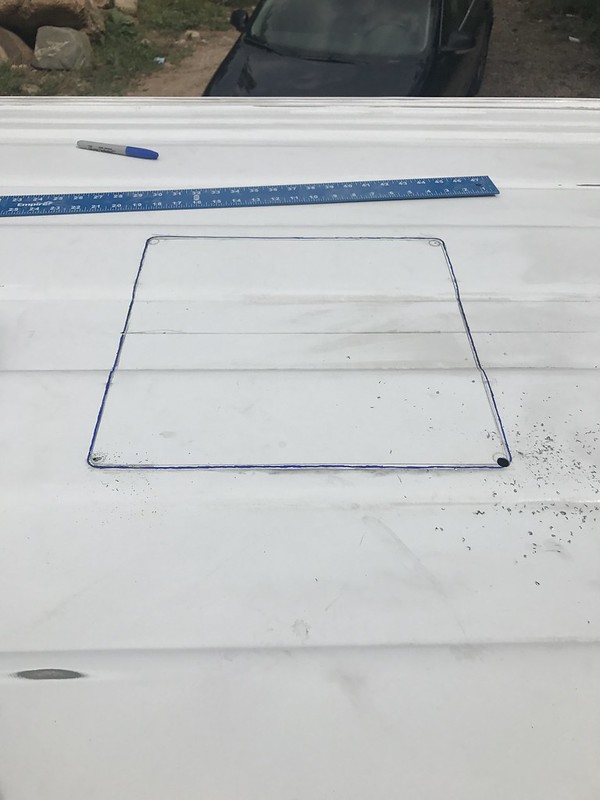
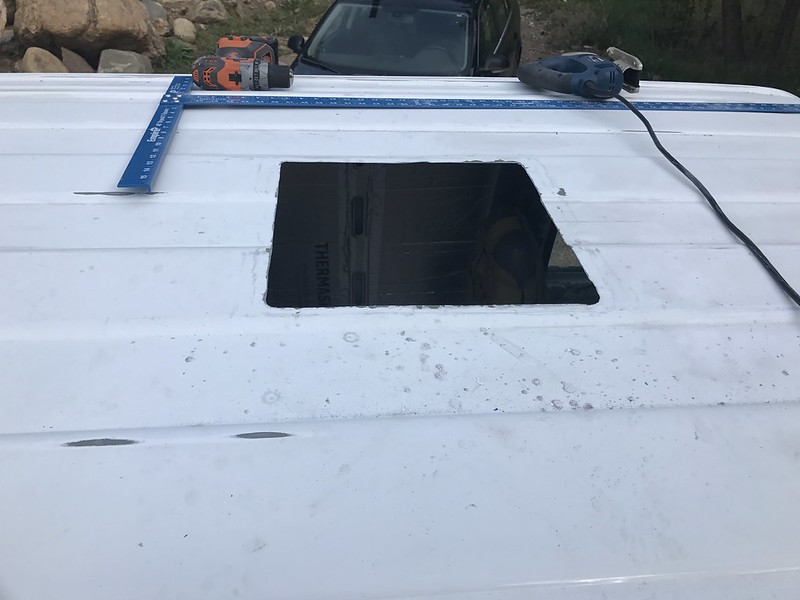
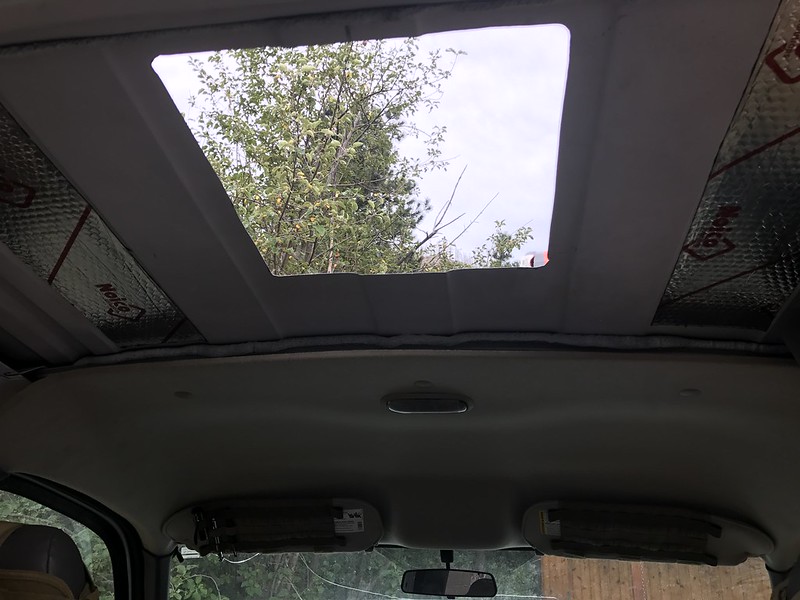
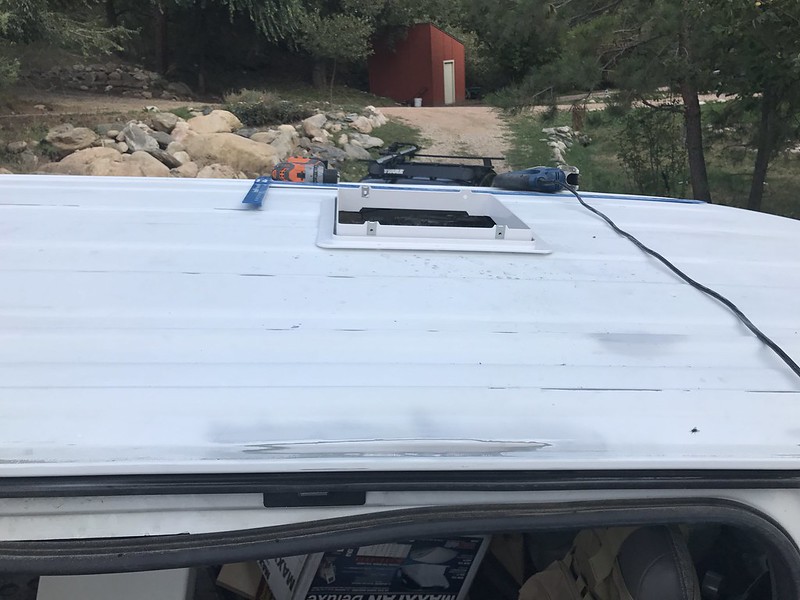
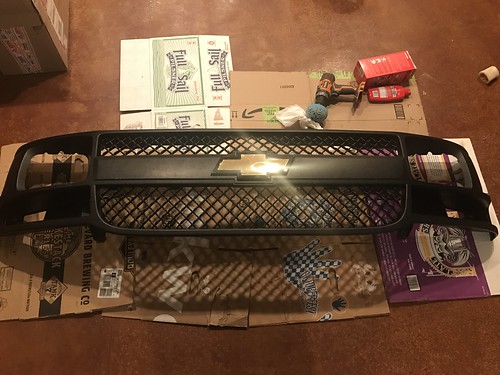
From there I just need to spray the black then start reassembly. I also have a few goodies to install namely a Maxxfan 7500k, popout rear windows, and this bad boy from Auminess...
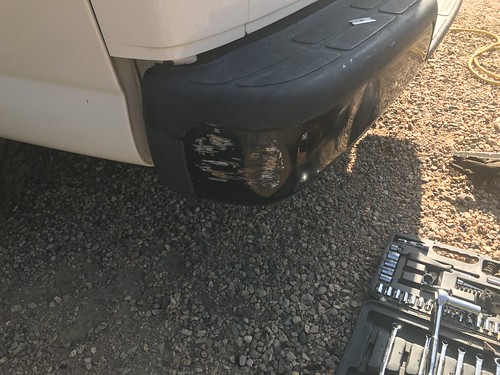
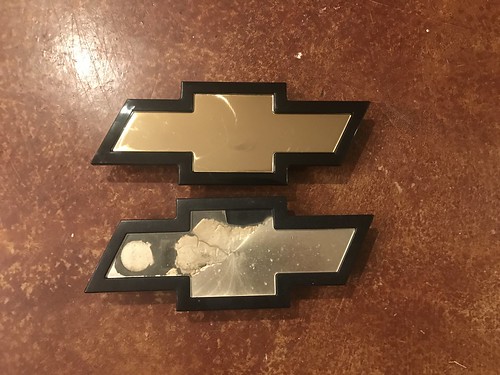
Which Fedex was kind enough to scratch in transit (a bummer after spending $800 on a tire carrier). Thanks Fedex.