One of the more thought provoking parts of this project was figuring out how to cleanly get the wiring into the vehicle. I had almost no interest in drilling through the roof, nor removing the headliner for access to anything, so I moved on to Plan B. Utilizing the placement of the OEM roof mounting rails, I removed the factory rail and plastic trim pieces from the top of the Grand Cherokee and laid the Black Oak wire loom out along the length of the roof. By snaking their proprietary water-tight connection through the end of the roof rail trim piece, I was able to fit it down the length of the roof rail itself, right up to the point where the Rhino Rack cross bar bracket fastens down.
This will be easier to show with photos than to describe with words:
 WK2 Roof Rail Removal
 by
2180miles
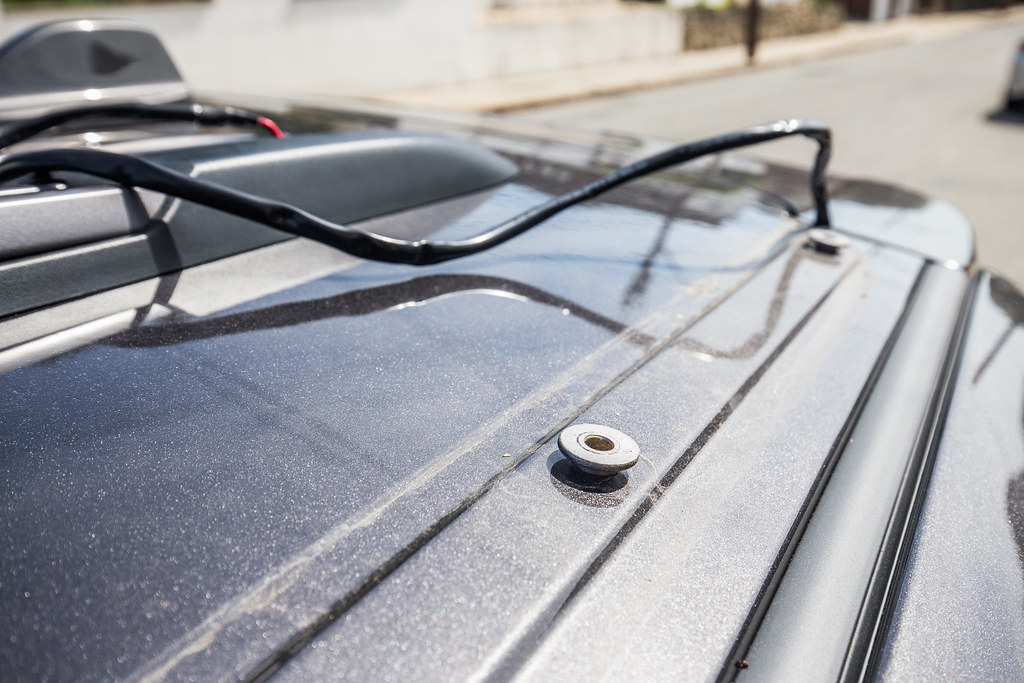 Black Oak Wire Harness Routing
 by
2180miles
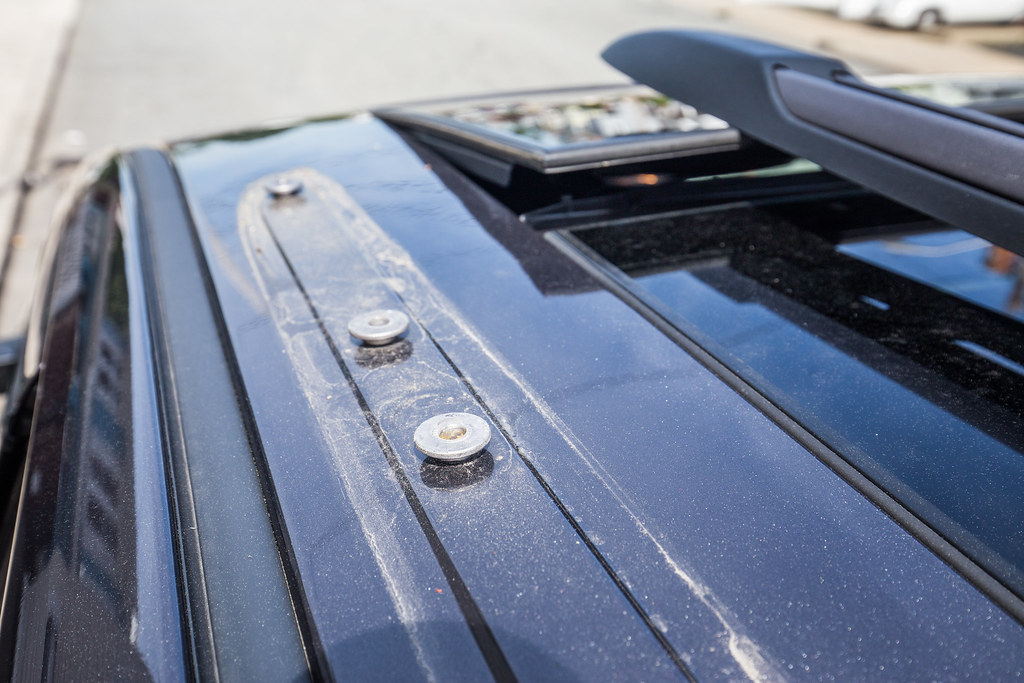
Taking my trusty Dremel with a circular sanding bit at the end, I wallowed out a hole at the tailgate end of the plastic roof rail trim piece, just enough to let the 14-2 wire loom through without giving it too much room to play. I re-fastened the roof rail and trim pieces back to the driver's side (I had decided early on that I wanted all the wiring on that side as that's where the control box was living… less wire to run, less work to do, happier me)… By running it down the OEM metal roof rail piece, I was able to tuck it in there and secure it with the roof rack hardware pieces, eliminating any need for additional fasteners. It tucked away perfectly, and left me with the wire harness clip to live just behind the front of cross bar mounting bracket, right about where the light would drop it's connection point.
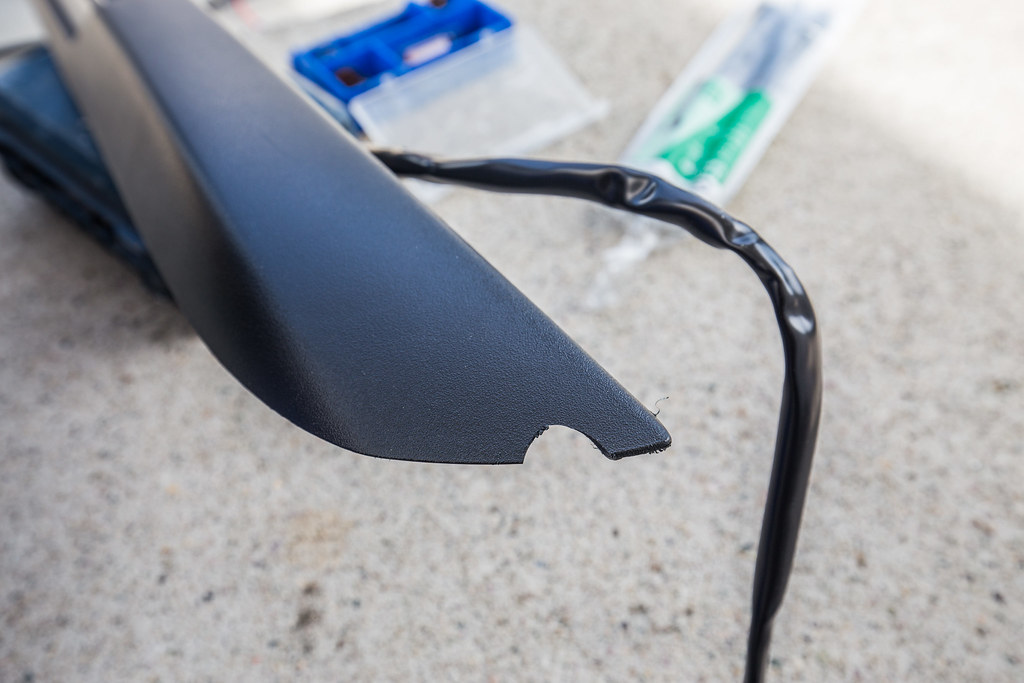 Roof Rail Trimmed
 by
2180miles
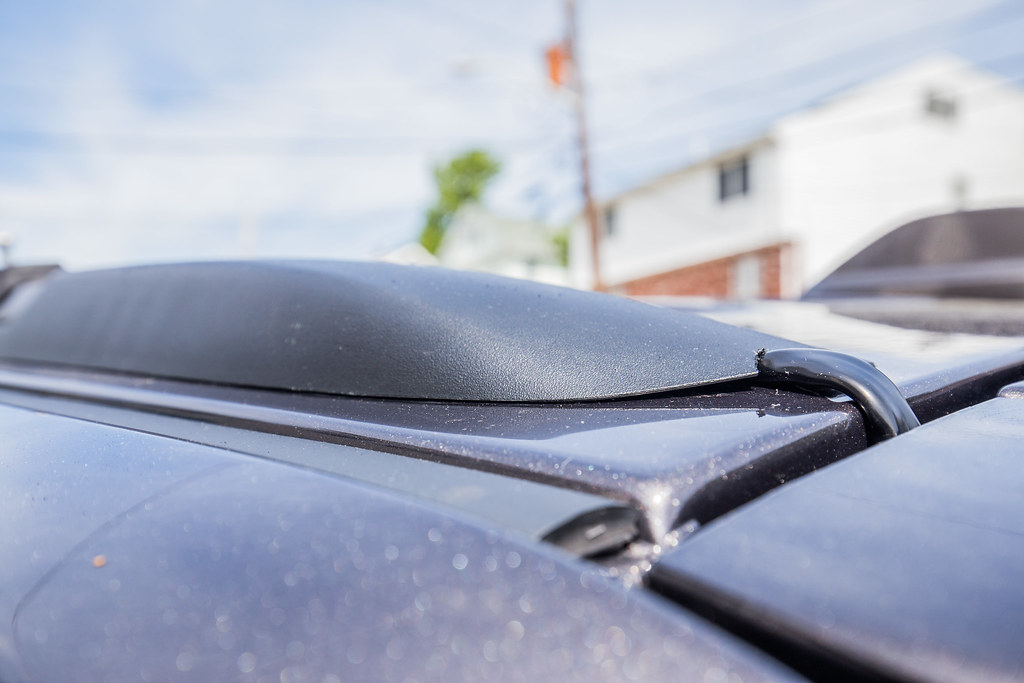 Roof Rail Installation
 by
2180miles
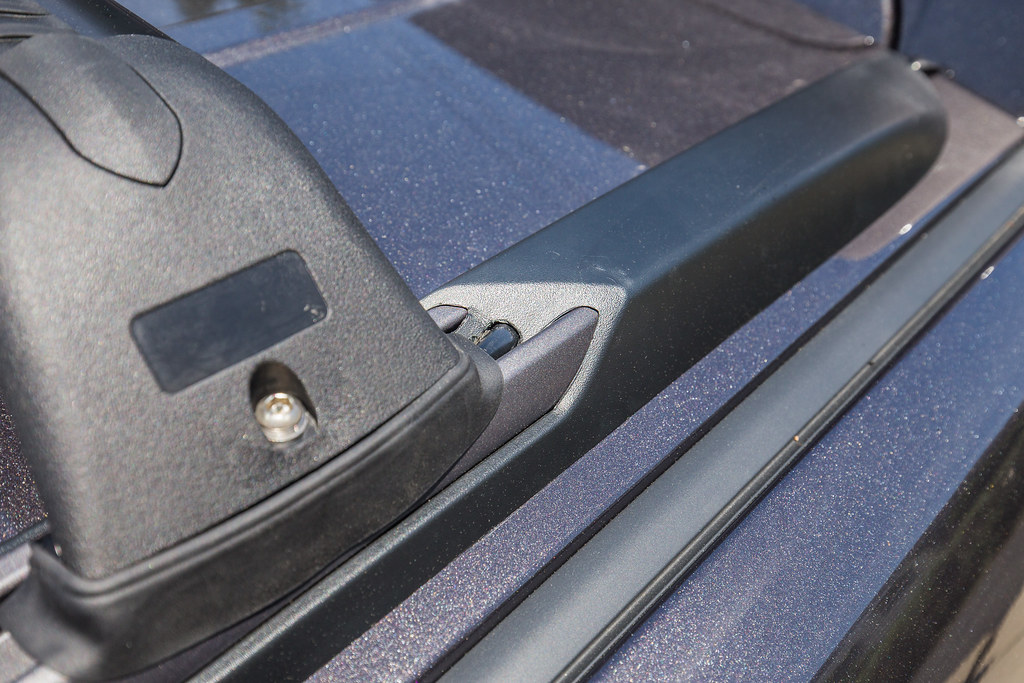 WK2 Wire Harness Routing
 by
2180miles
 Wire Harness Routing
 by
2180miles
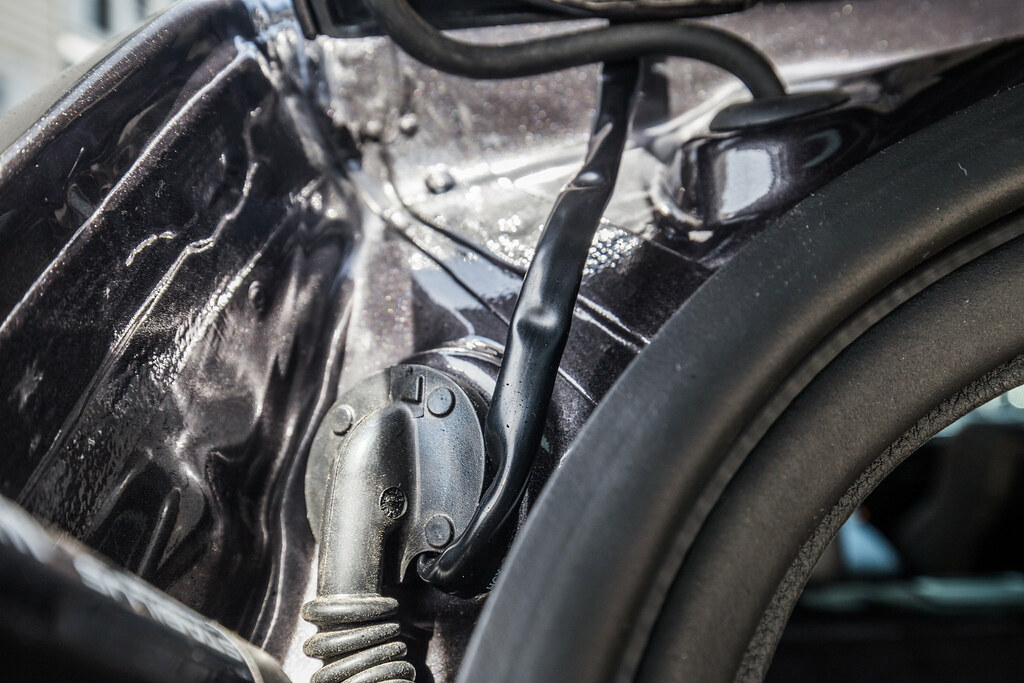
Once the wire was run through the new exit point from the trim piece, I began removing the rear upper trim pieces from the inside of the Grand Cherokee. I have to come to <i> very much </i> dislike removing trim pieces, but it's the only way to do things cleanly and have myself feel like I've done a professional install job, which has become important to me while modifying this vehicle. I toyed with how to get it into the cabin, and ultimately decided to pull out the gasket that houses the controls for the hydraulic tailgate piston. It's a gigantic gasket, and upon removal I saw that there was plenty of room to sneak the shrink-wrapped Black Oak harness inside of there.
I took the same dremel sanding bit and carefully trimmed back just enough of the gasket's outer edge (lower edge, ideally to alleviate excess water from getting near it) and fed the wire harness through to the inside of the d-pillar. It's important to note as you look at the photo below, that I went back later with clear silicone sealant and liberally applied it around the gasket to seal up whatever tiny openings may have arisen from my adjustment to the OEM seal. From there I ran the wire down the d-pillar to the bottom of the tailgate, unscrewing the factor internal cargo hook and running the wiring under the trim pieces and along the length of the spare tire trunk trim piece towards the middle bench.
You can see in the photo below that I highlighted the wiring harnesses external stretch in red, then the pink portion shows where it's being run inside the vehicle.
 Black Oak Wire Harness Routing
 by
2180miles
 WK2 Roof Light Bar Wire Routing
 by
2180miles
The final bit here was tying the Black Oak harness into the control box I had just built and installed a week or so prior. FYI, for anyone trying this, I ordered one of the Black Oak 8' extensions for the wiring harness, which I was VERY happy to have for this installation. Once the grounds and +12v leads were connected to the appropriate ground bus and relay, I tied the light bar into the waterproof connection point on the roof and tested the dashboard installed switch panel to activate the light.
HOLY BRIGHT.
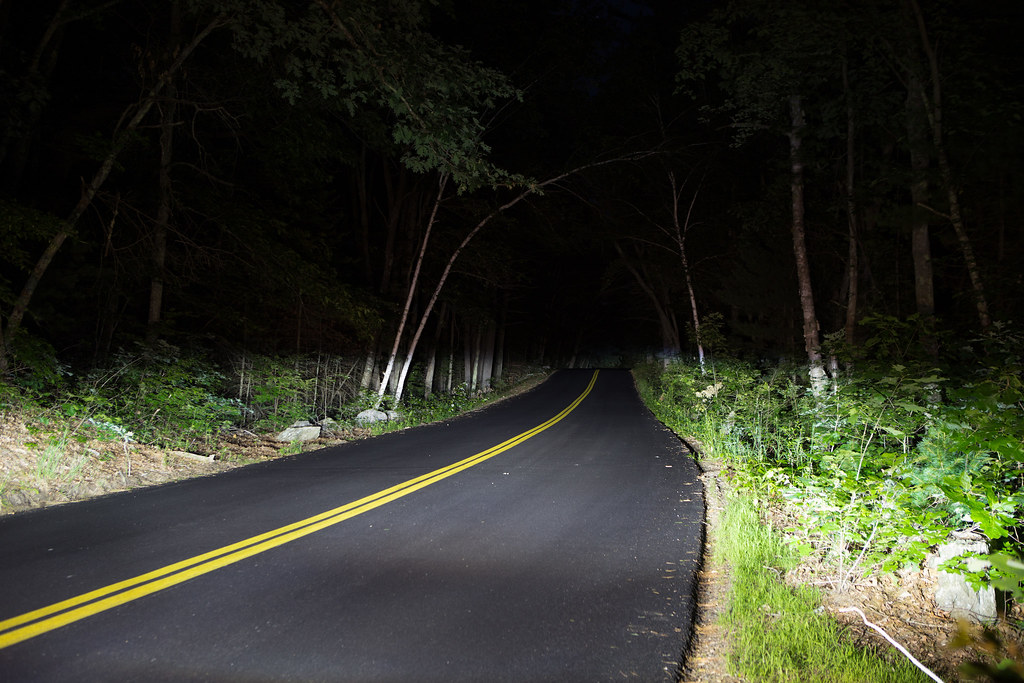
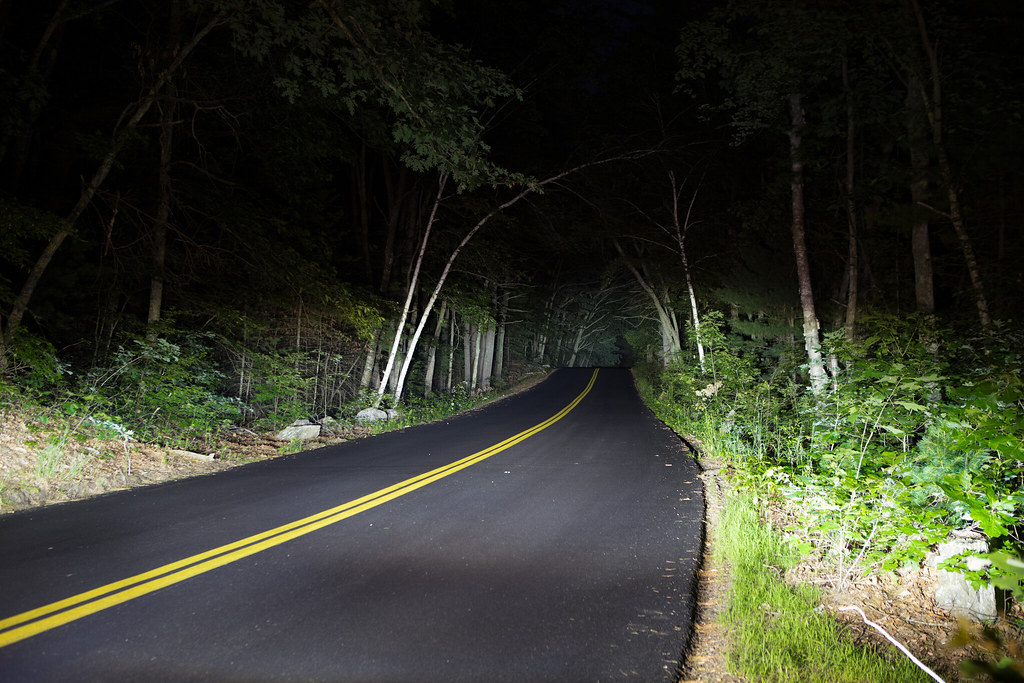
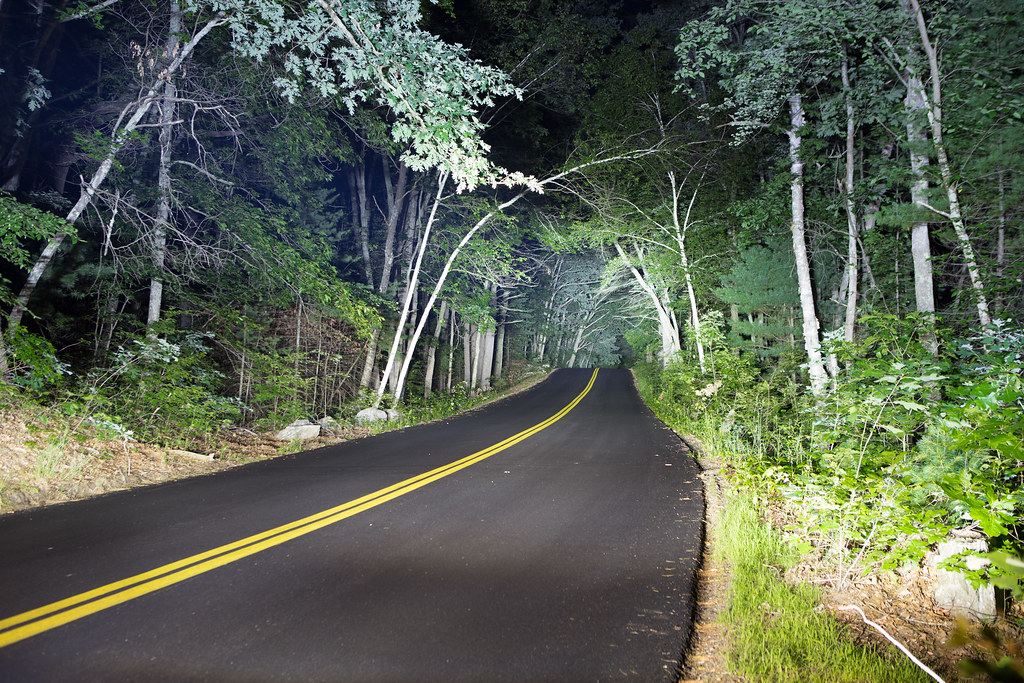
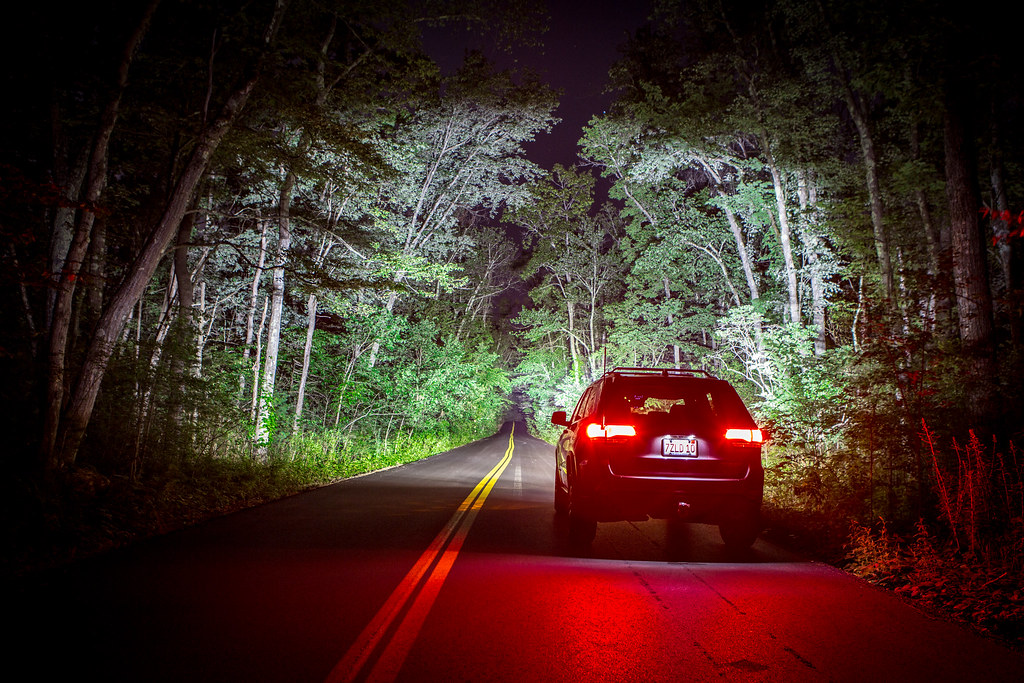
That's about all I can say. The specs on this 30” bar using the available 5w CREE LED's is roughly 16,500 lumens. Let me tell you, even in broad daylight, this thing is blinding. I'll be taking it out next week for a nighttime photo shoot to really show it off, but for now let me report that this thing is one of the brightest light fixtures I've ever seen… and that's as someone who works in the concert production industry with some serious lighting systems. I'm exceptionally impressed with the build quality, customer service, and actual power of this light bar, and look forward to ordering more products from Black Oak in the future.
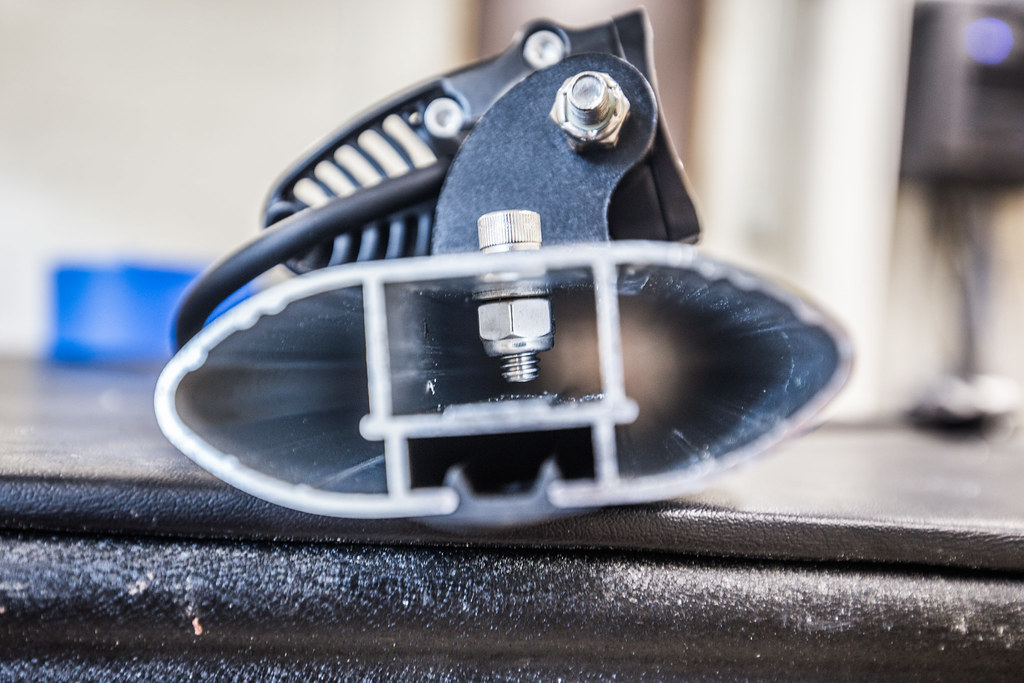
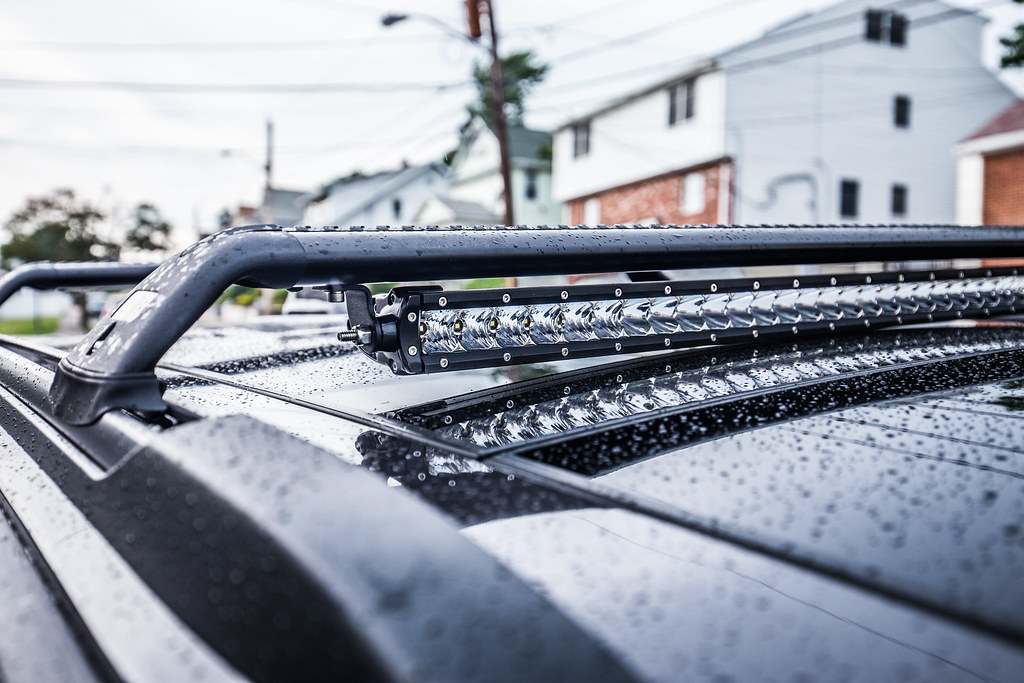
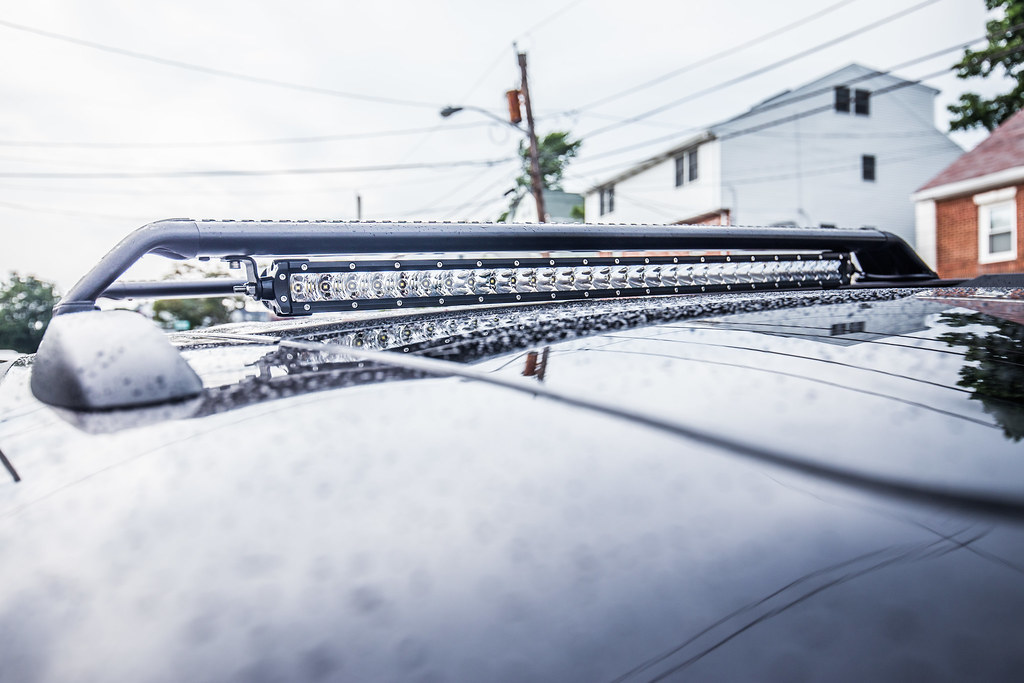
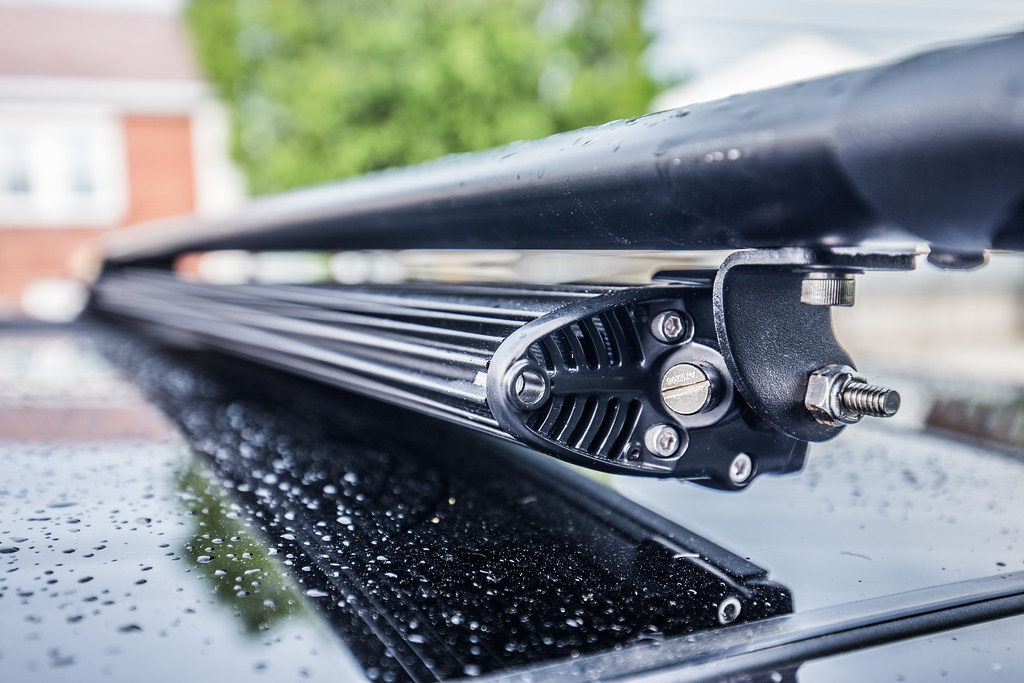
Here are the final close-up installation photos... more to come to show off the actual power this thing packs into such a small form factor. In the end, it wasn't a huge pain to get this installed in what I truly believe is a very clean form, barely noticeable unless you're really looking for it up there. Thankfully there's a few millimeters of space under the light above the glass, and also enough room between the light and the cross bar to fit a mounting bracket for a RTT in the future if my path goes that way

That's all for now – talk soon about some other neat stuff.
 Mounted on WK2
 by
2180miles
 Black Oak 30” Single Row Wide
 by
2180miles
 Black Oak 30” Single Row - Rear
 by
2180miles
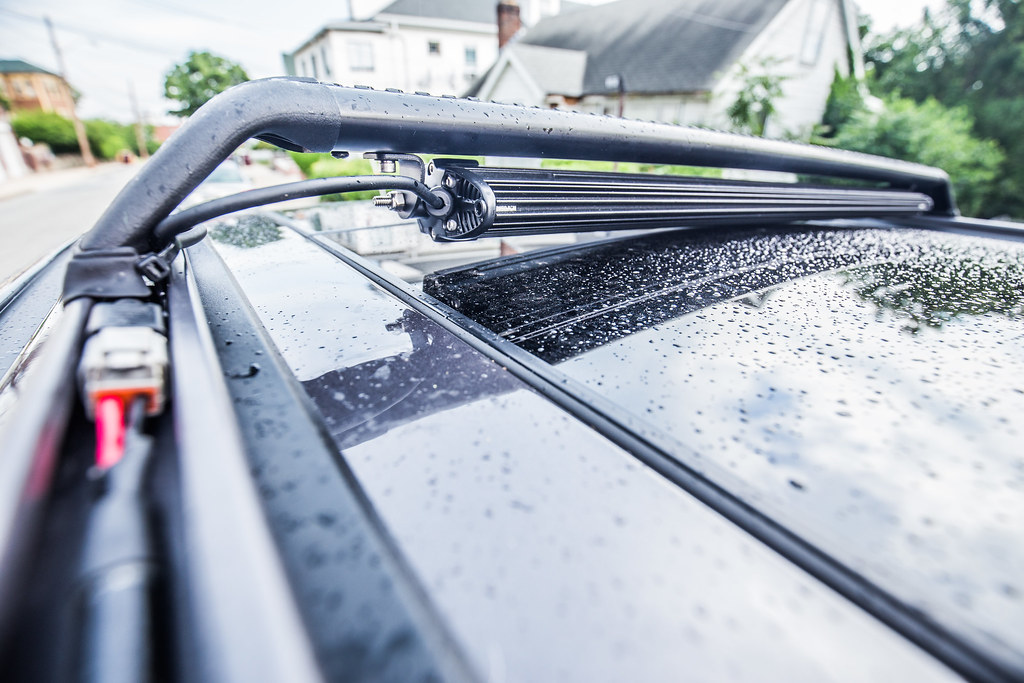 Black Oak 30” Single Row - Rear Wide
 by
2180miles
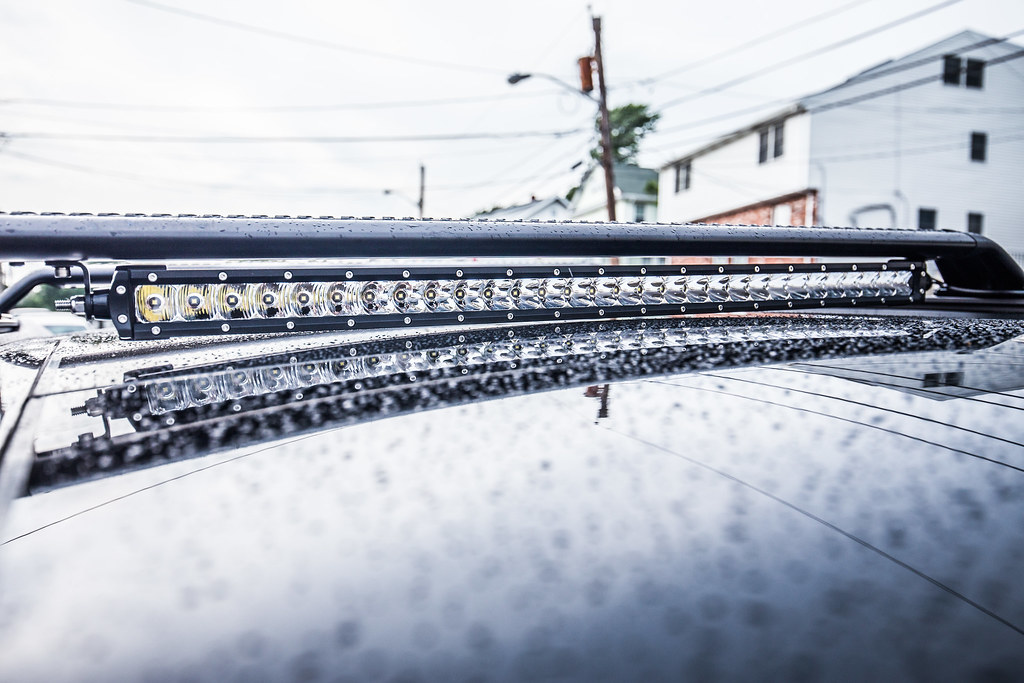 Black Oak 30” Single Row
 by
2180miles
