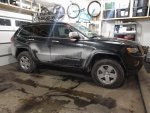
Diamond K400NMO Mount & NR72B Antenna Installation
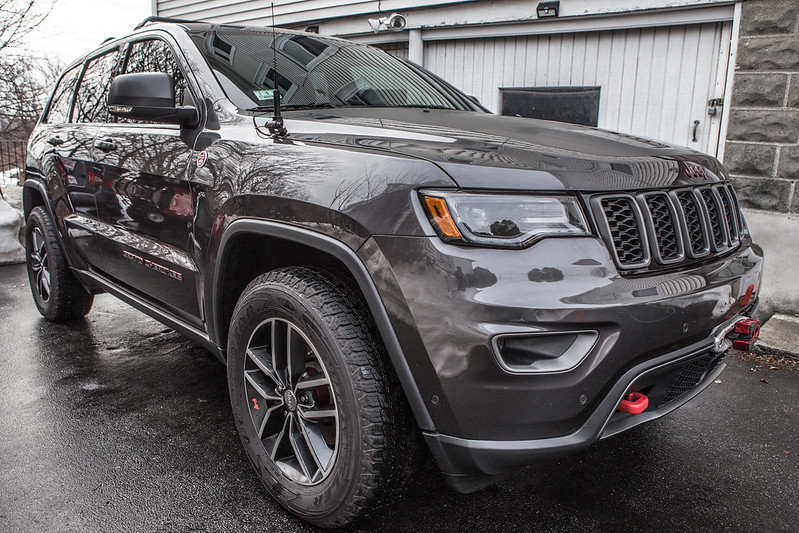
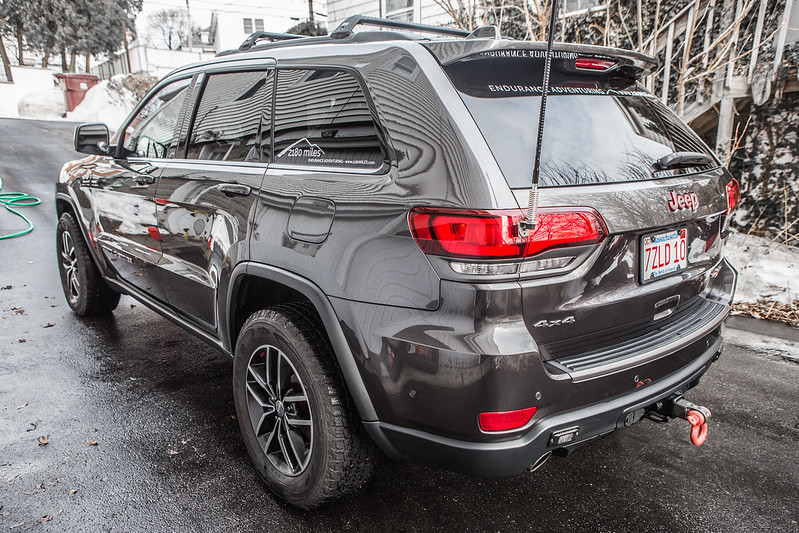
The weather in Boston has been pretty freakin' cold lately, but I finally got a break from the single digit/sub-zero temps and began the installation of my Diamond K400 mount and NR72B antenna in the WK2.
Full disclosure, the photos were taken on two different days: first when the Jeep was a mess from the blizzard that had just passed, and the other after a few hours of interior and exterior detailing. Please forgive the dirty ones.
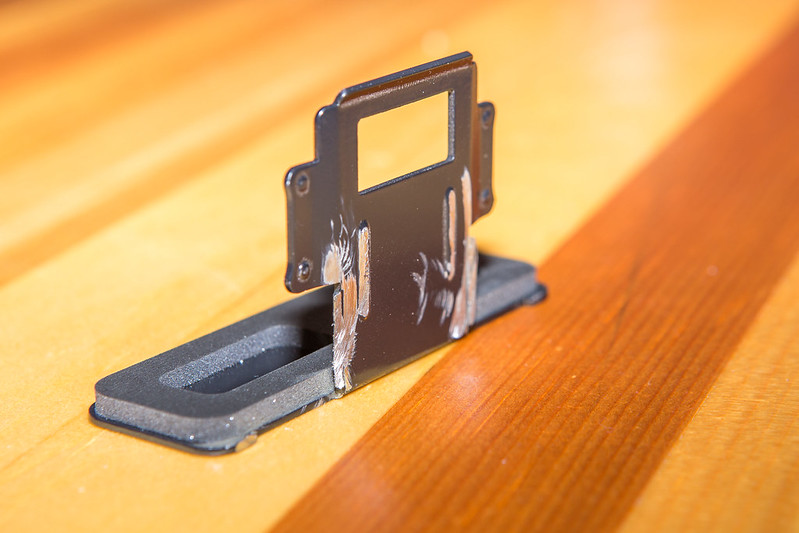
I chose the K400 mount for a hood installation as I'm not quite ready to drill into the roof, and I'm also hoping to get a RTT up there for this year, which would probably negate the ability to have a roof mounted antenna anyway. The hood may not be the single most optimal position for the antenna as far as gain and interference go, but it's clean and will be functional nonetheless. The K400 mount was recommended by a friend and allows for an unobtrusive installation wherever there's a crease in the body panels of a vehicle. It has two adjustable axis which allow to get the antenna vertical regardless of the mounting plane you put it on.
The mount comes with the necessary tools for installation, and is padded on the bottom to protect your vehicle's paint. With four simple allen key'd set-screws underneath that press a stainless steel metal bar against the underside of the mounting location, the bracket becomes secured in place. It took me a few test fittings to get the antenna perfectly vertical from all planes, but once it was aligned correctly I tightened down the adjustable axis allen heads and mounted the Diamond NR72B antenna. Standing only 14" tall, it's sleek on the hood and isn't overly obnoxious for my field of view while driving. This will be perfect for everyday use, and I'll test it on overland trips with the group... It has crossed my mind to maybe get a full 36" antenna as well for long haul trips, much in the same way I have a 3' and 5' CB on my Wrangler for when we're on trips that might separate us more. (There's no mobile dual-band radio in the TJ, just handheld)
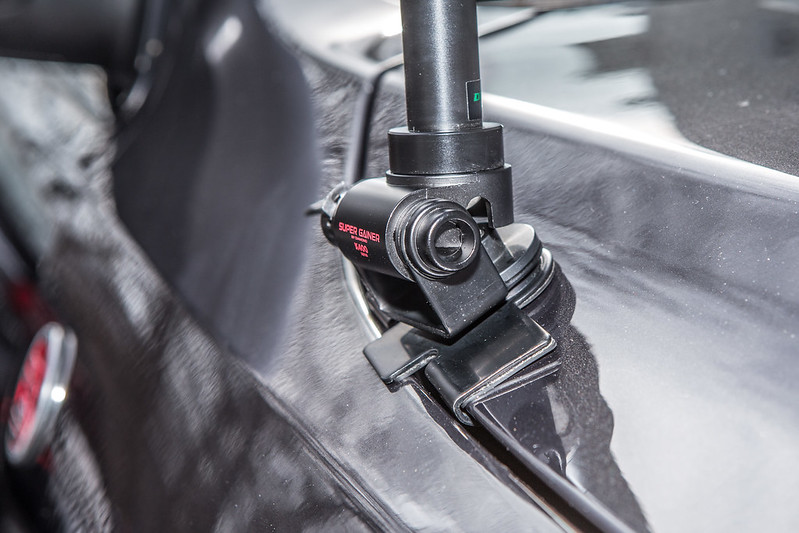 K400 NMO Mount
 by
2180miles
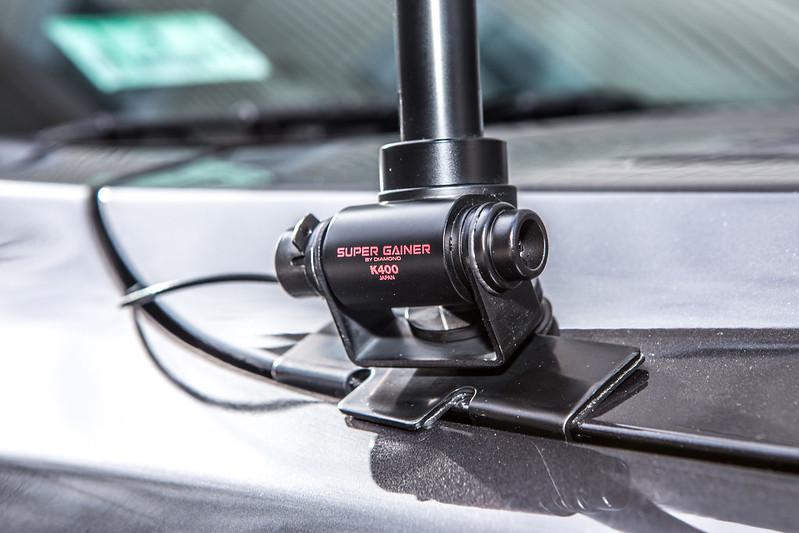 K400 NMO Mount
 by
2180miles
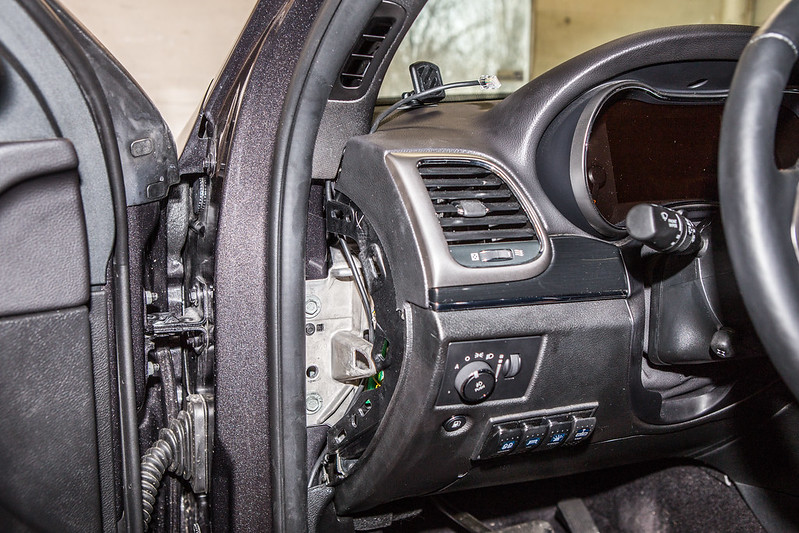
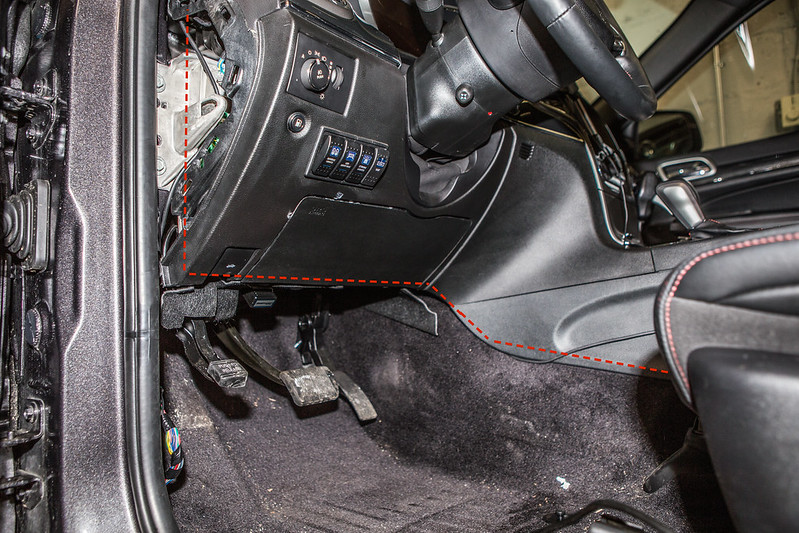
Once the antenna was mounted, I moved on to routing the supplied 13-foot coax line that came with the K400 bracket. Being spoiled by the Warn Zeon Platinum's Wi-Fi remote, I've never actually had to run cable through the firewall of the Trailhawk, so this was going to be a new adventure for me. I did some Google research and read about grommets above the gas and brake pedals, but wasn't able to locate them on this specific model. My hope was for passenger side installation, so I continued digging until I found an article referencing a grommet on the A-Pillar, passenger side of the vehicle. I pulled the necessary internal trim pieces, door sill and the kick plate on the right side of the foot-well, and located the grommet the forum was talking about. I began snaking the tiny coax through the engine bay, down behind the passenger front strut tower, through the wheel well trim, and down into the rocker panel trim piece. I then fed it up a tiny gap in the rocker trim up by the fender flare, and pulled the remaining slack through. This was no easy process, and I was constantly wishing for warmer weather, and to not be lying on the snow covered ground on my back running the cable underneath.
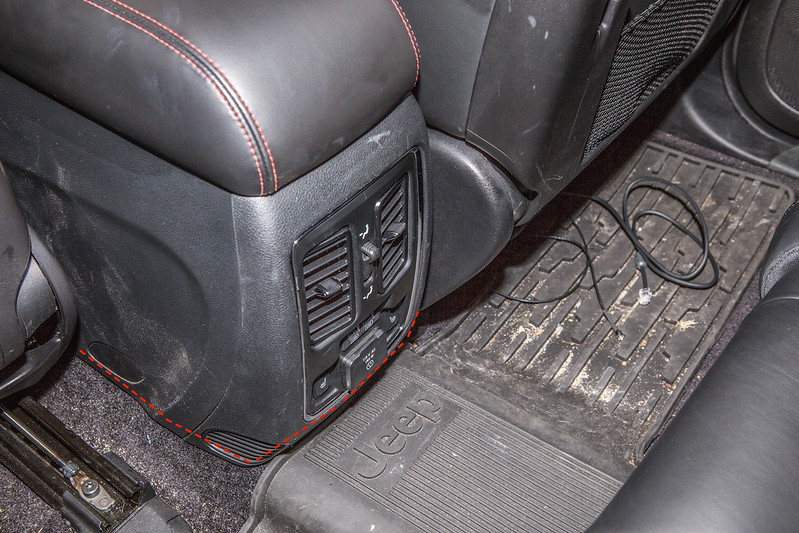
Once the cable was ready, I popped the A-Pillar grommet out of its position and drilled a small hole in it, solely large enough for the cable to get through, which required some good pressure on the tiny SMA adapter at the end to get it through the hole. Once the cable was passed through the grommet I used a coat hanger to puncture a small hole in the vehicle's insulation that was stuffed in the A-Pillar, then taped the SMA adapter to the coat hanger and pulled it back through into the cabin. I ran the coax underneath the door sill trim piece and then under the passenger seat mounting bracket, arriving at the same spot at the CB coax, directly above the battery compartment.
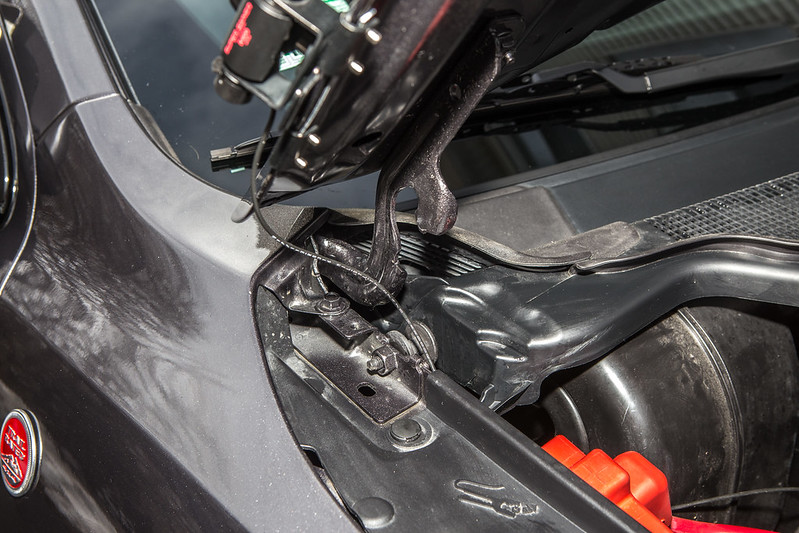 Engine Bay Routing
 by
2180miles
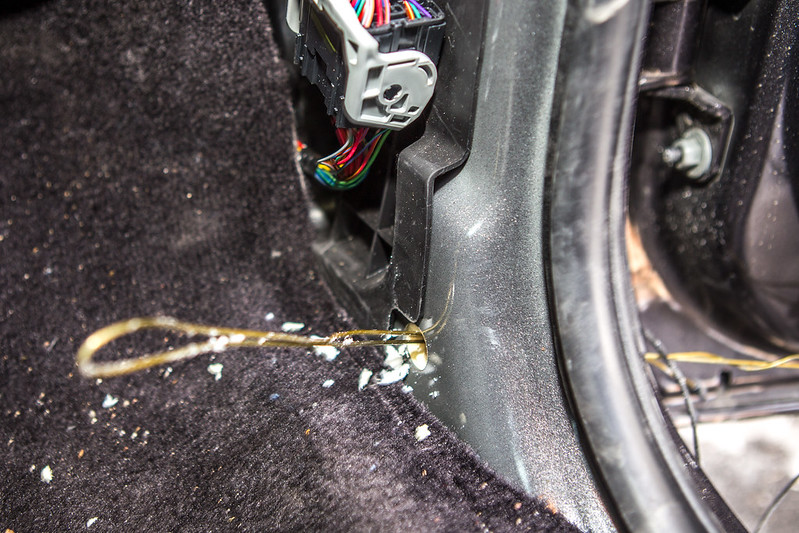 Routing Through Insulation
 by
2180miles
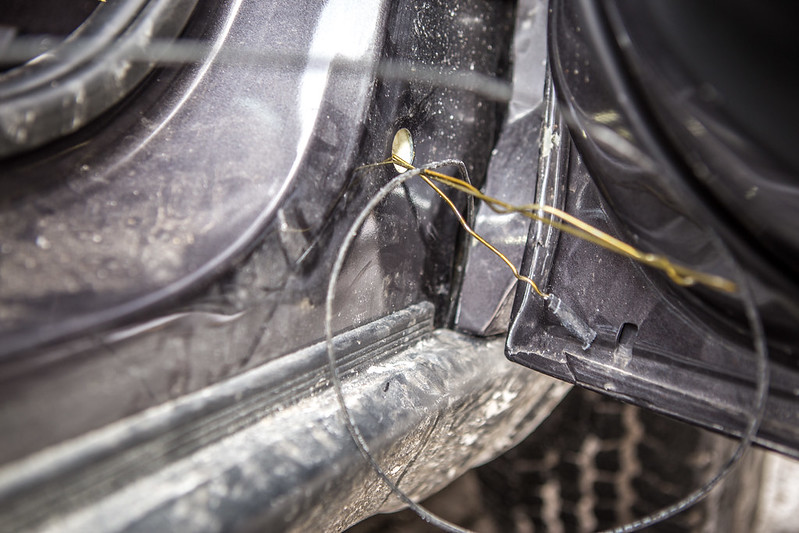 Pulling Coax
 by
2180miles
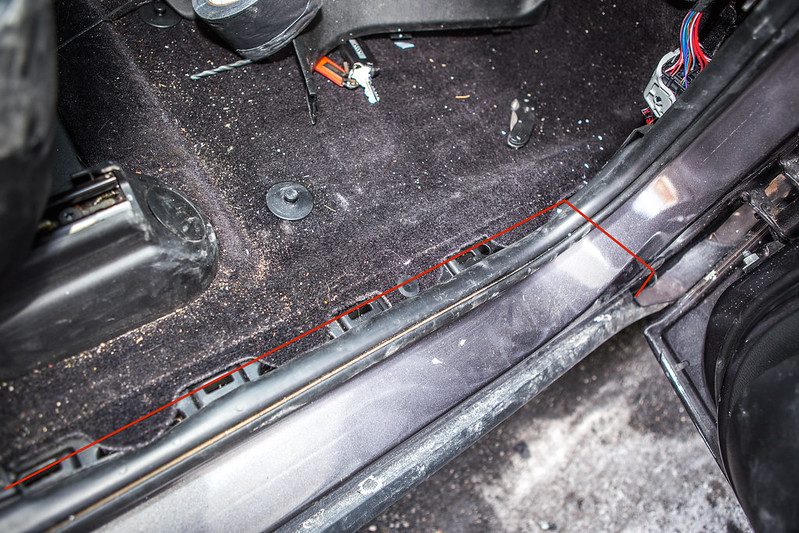 Door Sill Routing
 by
2180miles
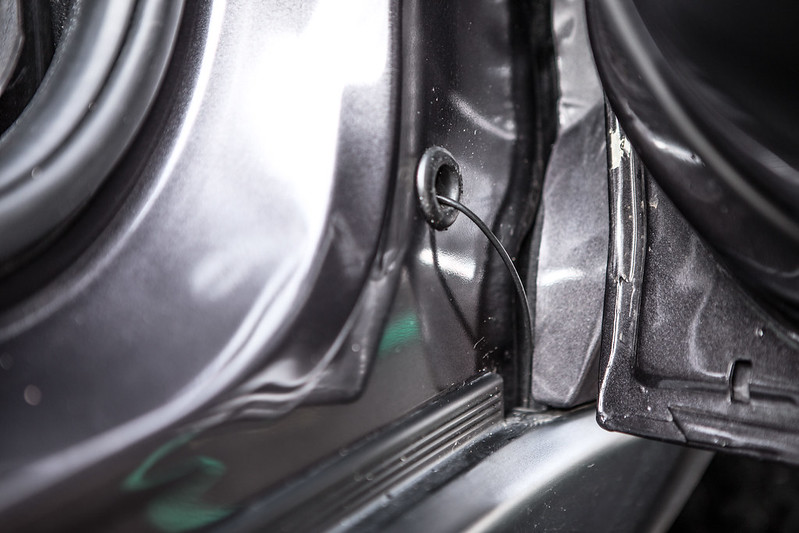 Exterior Grommet Re-Installed
 by
2180miles
 A-Pillar Grommet
 by
2180miles
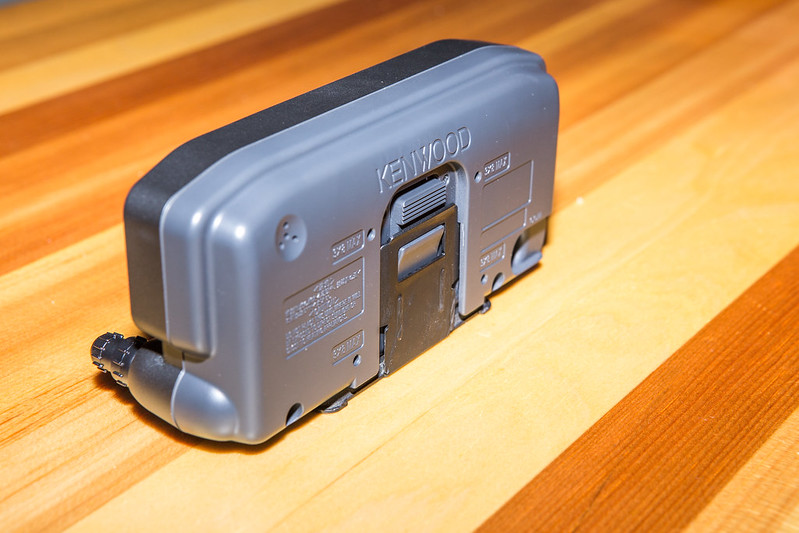
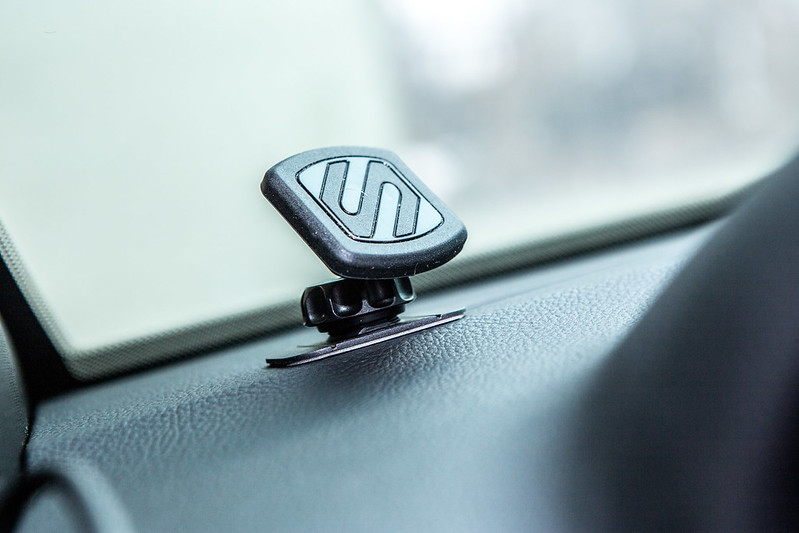
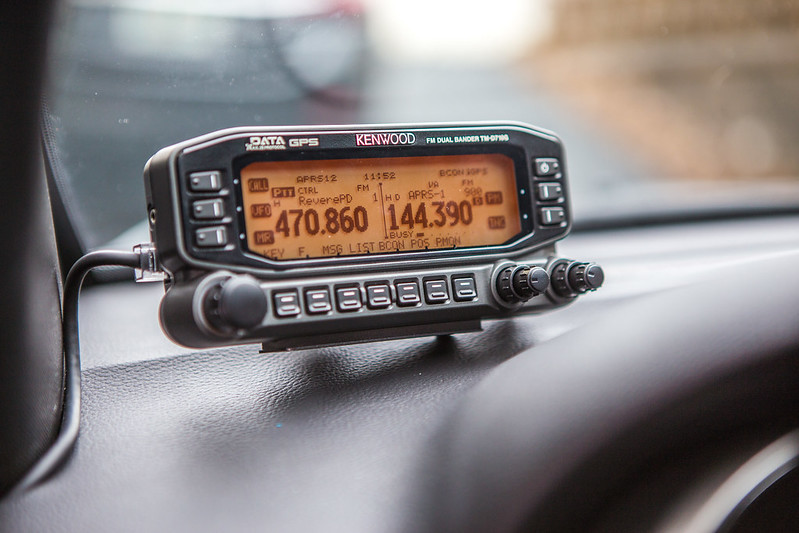
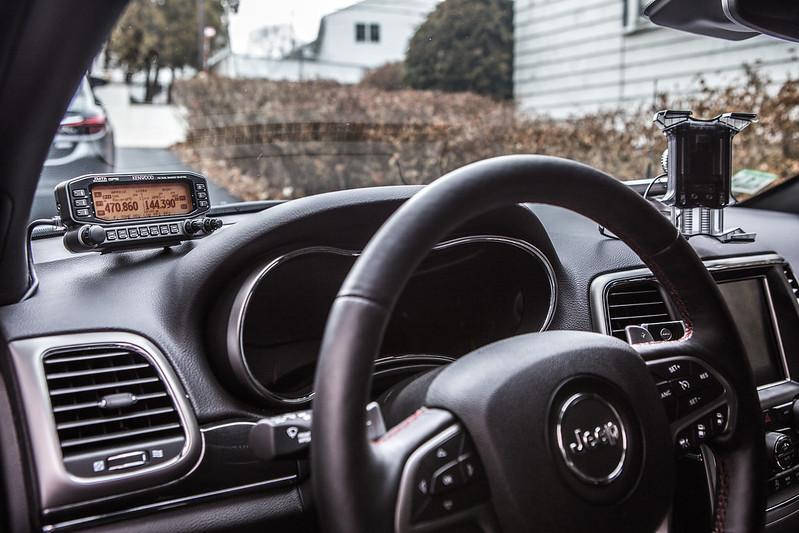
I put all the trim pieces back together, ensuring the coax was not pinched or stressed as the hood opened and closed, and set to work with moving around the comms system in the cabin. While I don't love the idea of having two transceiver mics in such a small amount of space, I'll be retaining the CB for when we do our local Jeep club runs, and the dual-band for overland trips with my more tight-knit group. I used 3M's "super heavy duty could probably hold up an elephant in an earthquake" double stick tape, and mounted a black plastic mic holder to the dashboard not far from the original mounting position. the Kenwood mic then fit into the original mic mount I made for the CB almost a year ago. It looks okay. It's fine. Dani said there's no loss to the passenger legroom, so we'll run it like this for now until I come up with something better.
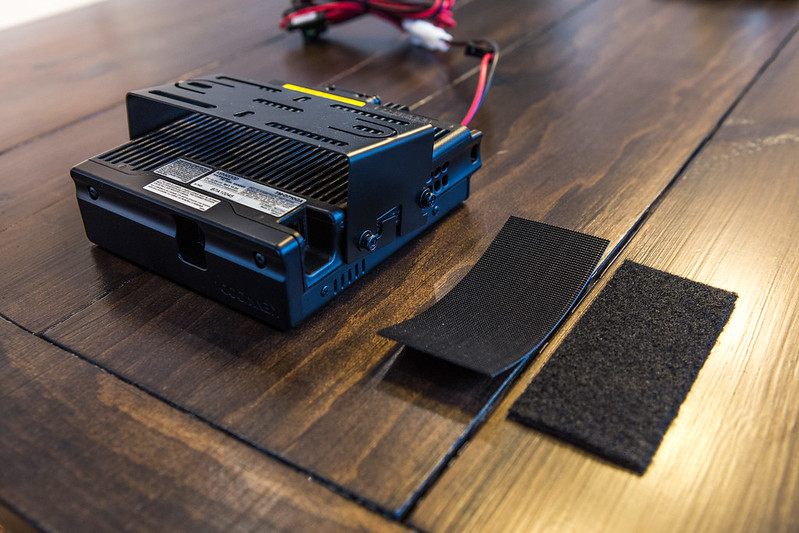
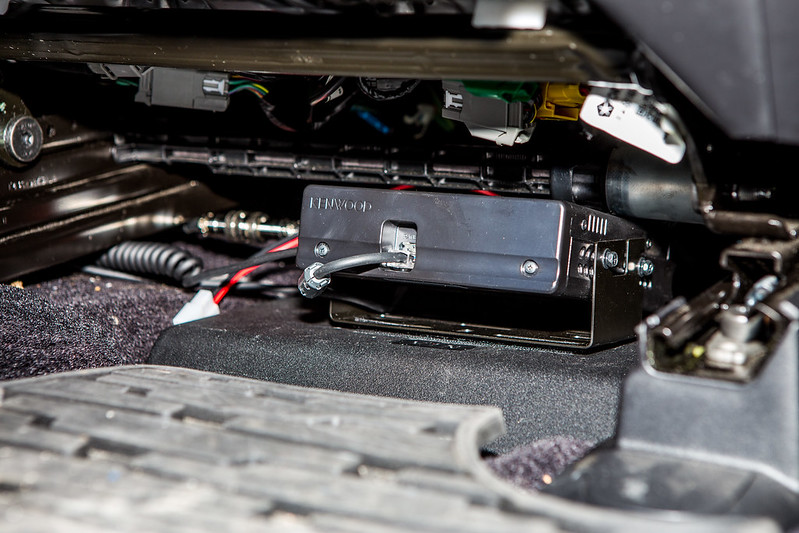
In the next few days I'll get the base unit of the Kenwood installed, and then will finalize all the interior routing of cable. For now I used the 50 degree temps to detail the car and put her back in the garage to take a little vacation time.
 Diamond K400/NR72B Installation
 by
2180miles
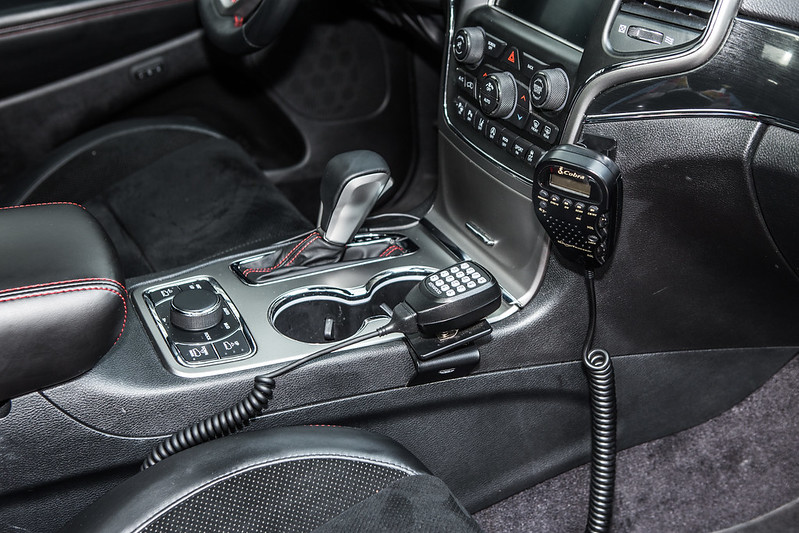 Dual-Band & CB Radios
 by
2180miles
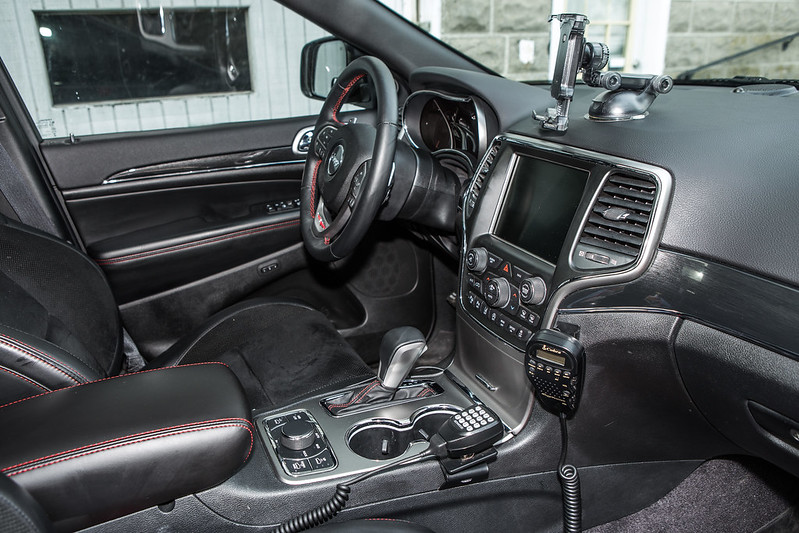 Cabin Comms & Navigation
 by
2180miles


