Imnosaint
Adventurer
The Last Rack. Promise.

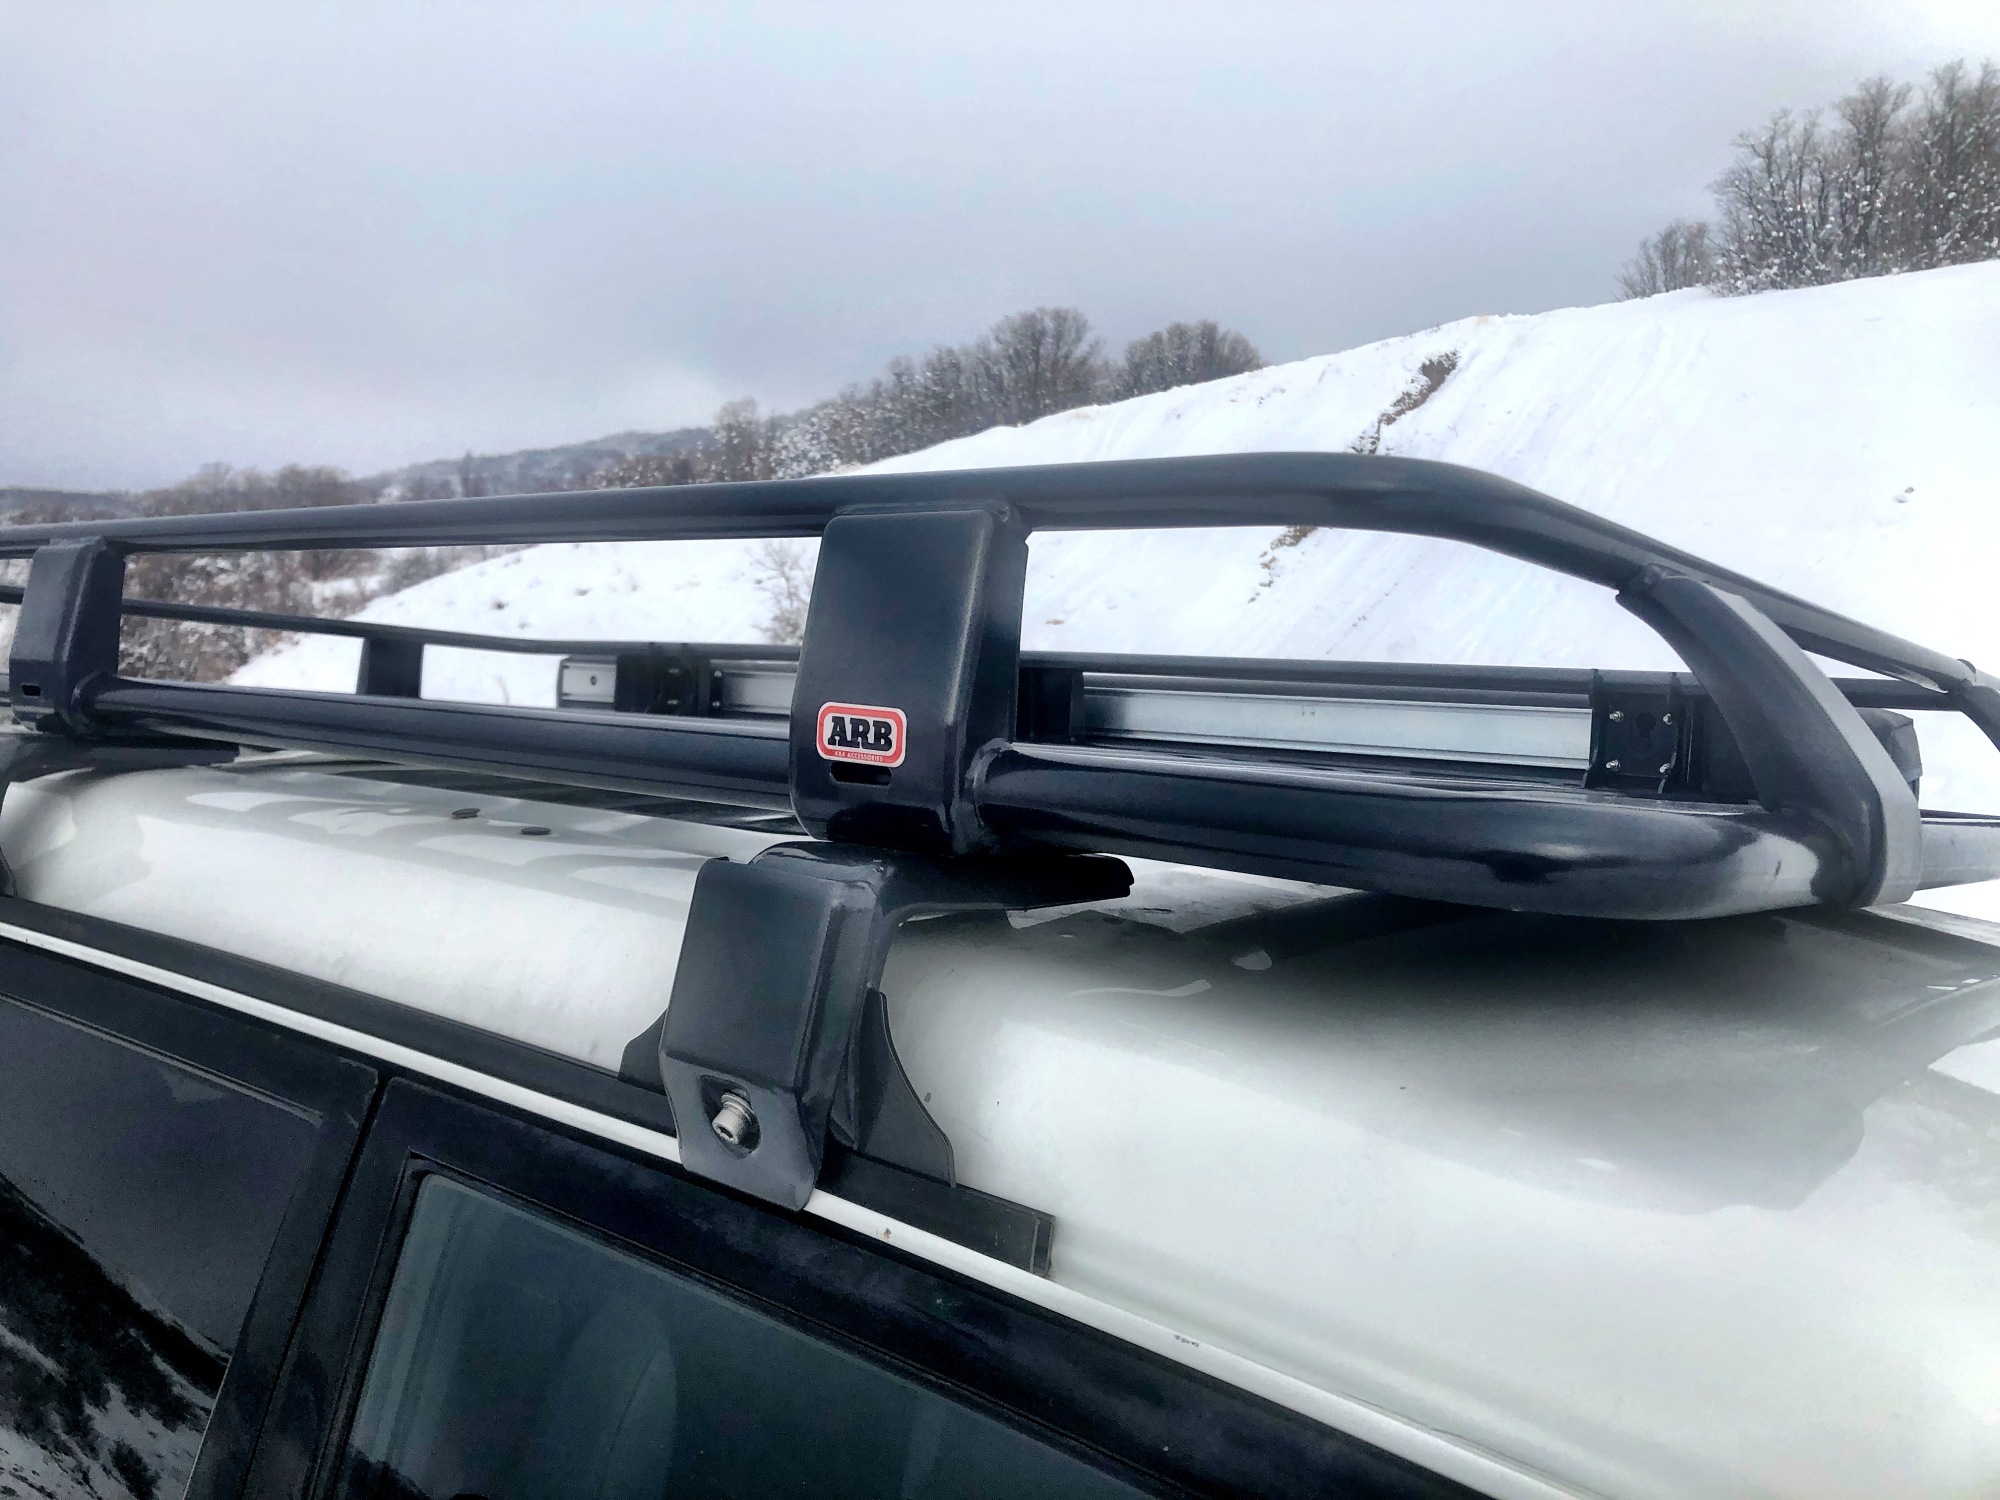
While this thread has its share of rack builds, I finally caved in on what I’ve wanted all along but couldn’t quite swing up until now, an ARB gutter-mounted roof rack (ARB 3800040 Steel Roof Rack Basket). This was no small feat, not so much in acquisition – there was a time when ARB shipped directly from the Land Downunder – but in figuring out which model best suited the roofline of a Mk2 Montero since there’s little info on ARB’s site dealing with the brand (surprise) and not much support elsewhere.
I went with the rack made for the Range Rover (87X49) after measuring the Nomad’s rooftop real estate. You won’t find a better rack for the money ($794US), though it may seem less of a bargain once you factor in the gutter mount kit, which you won’t find on the ARB website, you’ll have to search around – I found one on 4Wheel Parts for $323US (ARB Roof Rack Mounting Kit – 3700050). ARB’s site is easy to interpret that the rack comes with the mounts.
It doesn’t. It does come with the gutter runners, both sides. Go figure.
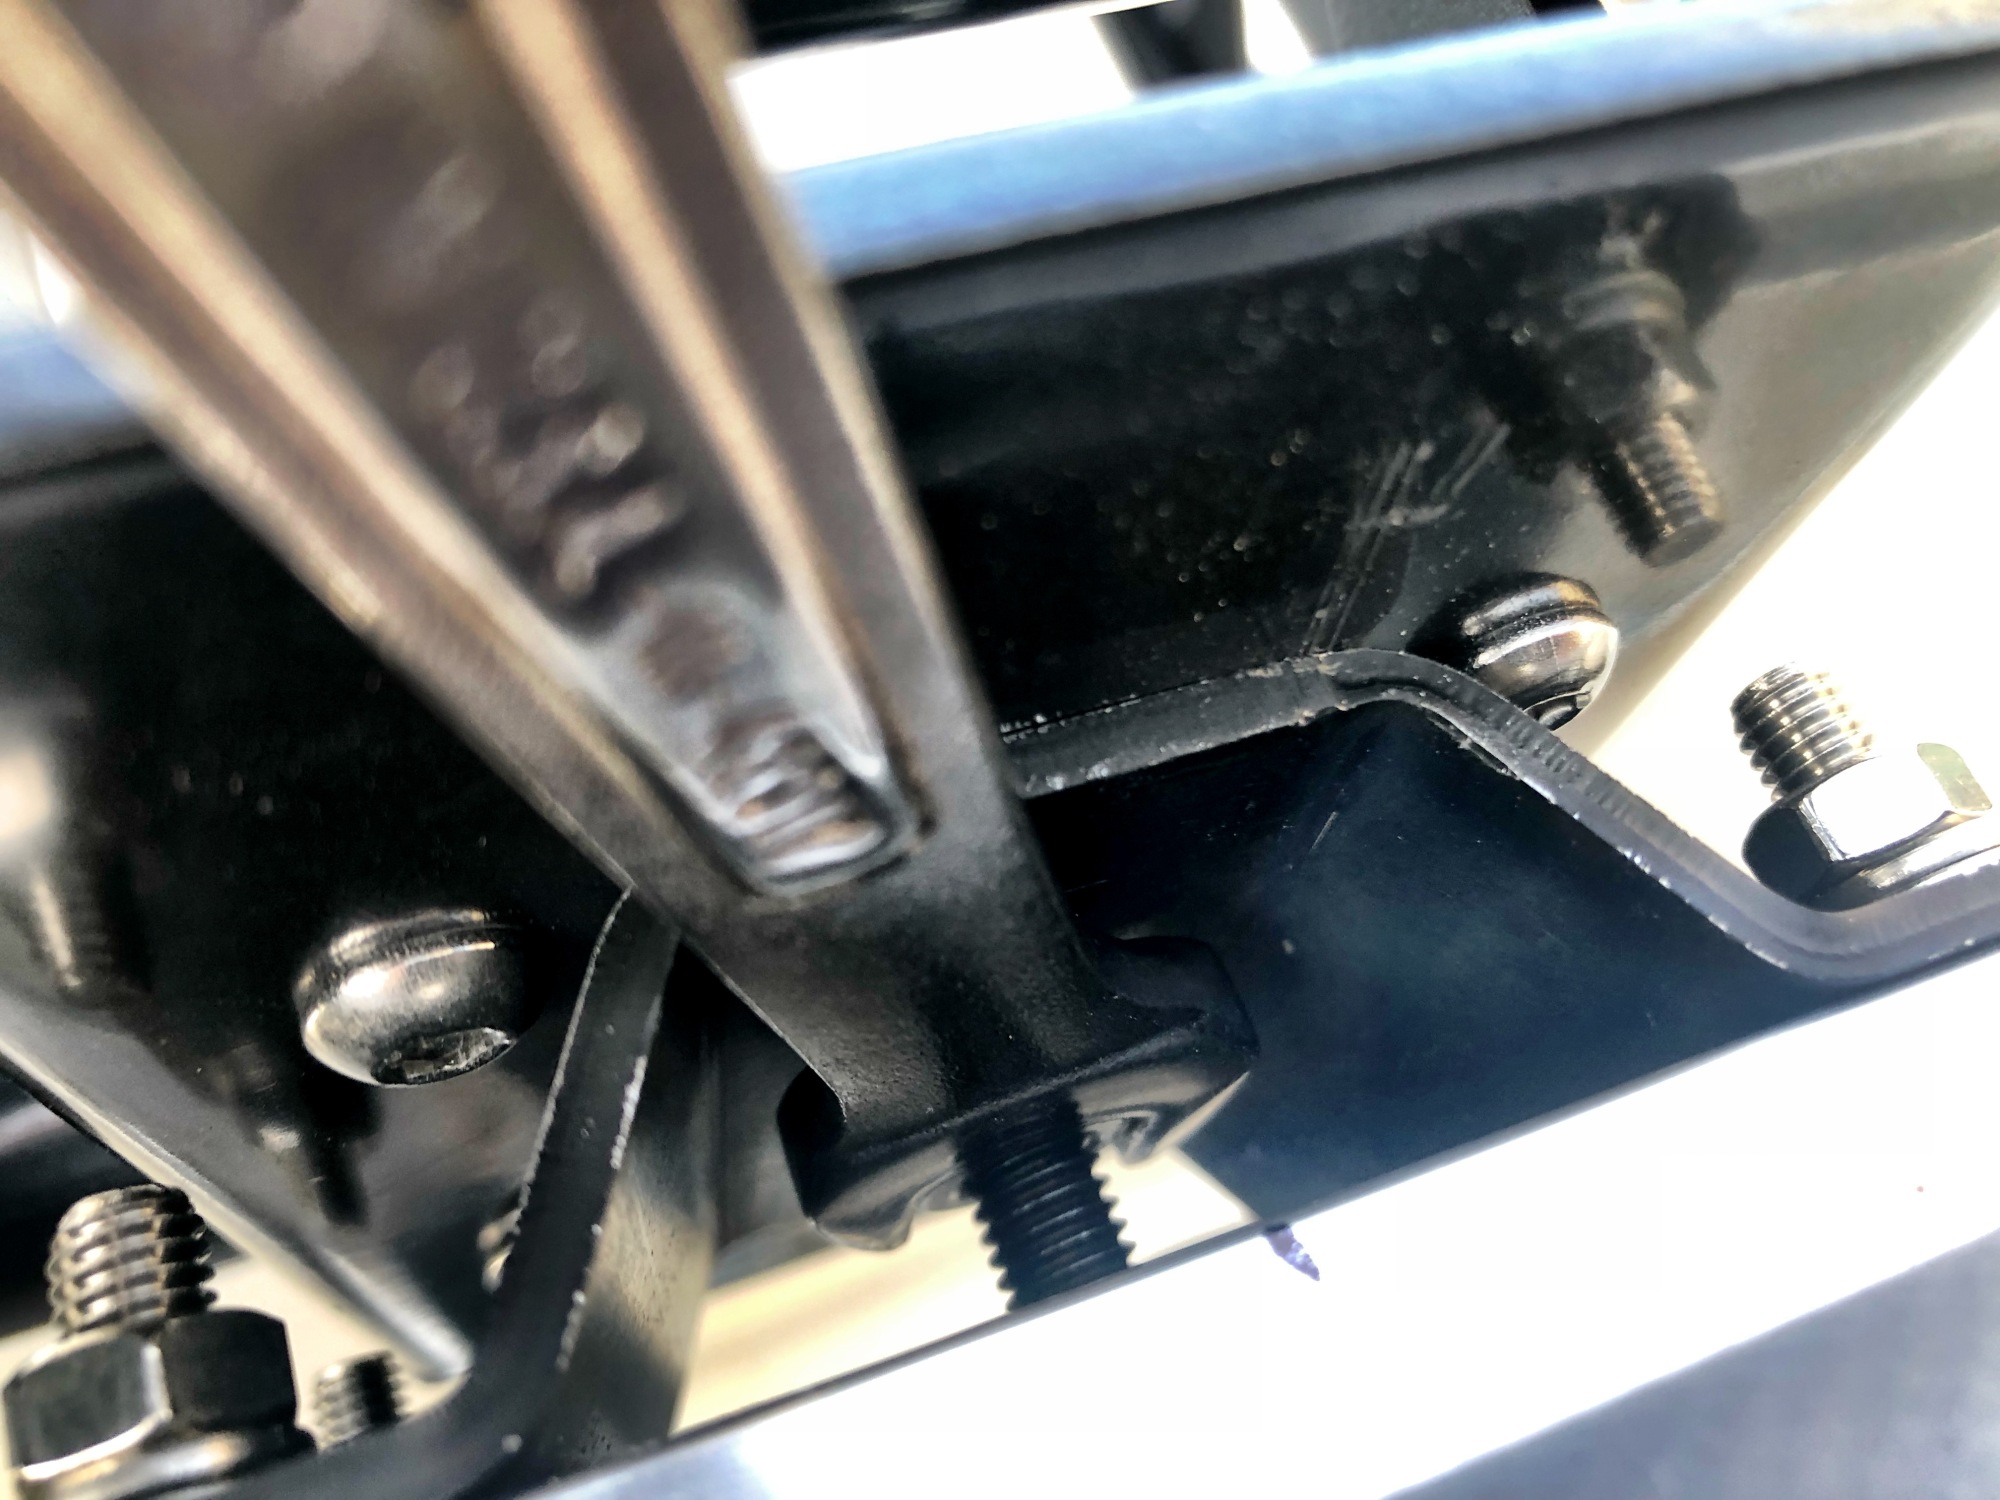
The rack arrived in a heavily damaged box with scratches and divots in the steel, but I didn’t have the patience to box it all up and ship it back. Once the mounting hardware arrived I removed my DIY rack and pre-built the ARB on a jig I created that matched the footprint of the old one. With all the feet mounted but still loose for adjustment, it took four of us to lift it into position on top of the Nomad, weighing in at 132 pounds. Once in place I used wood shims all around to prop it into place and bolt down the feet into the gutters. It’s a bit of a trick to do since the roofline arcs at the passenger door line, requiring more space fore and aft than in the middle. But it fit. Phew. I rolled the dice on this one. With everything in place with height and width dialed in, I torqued down the hardware.
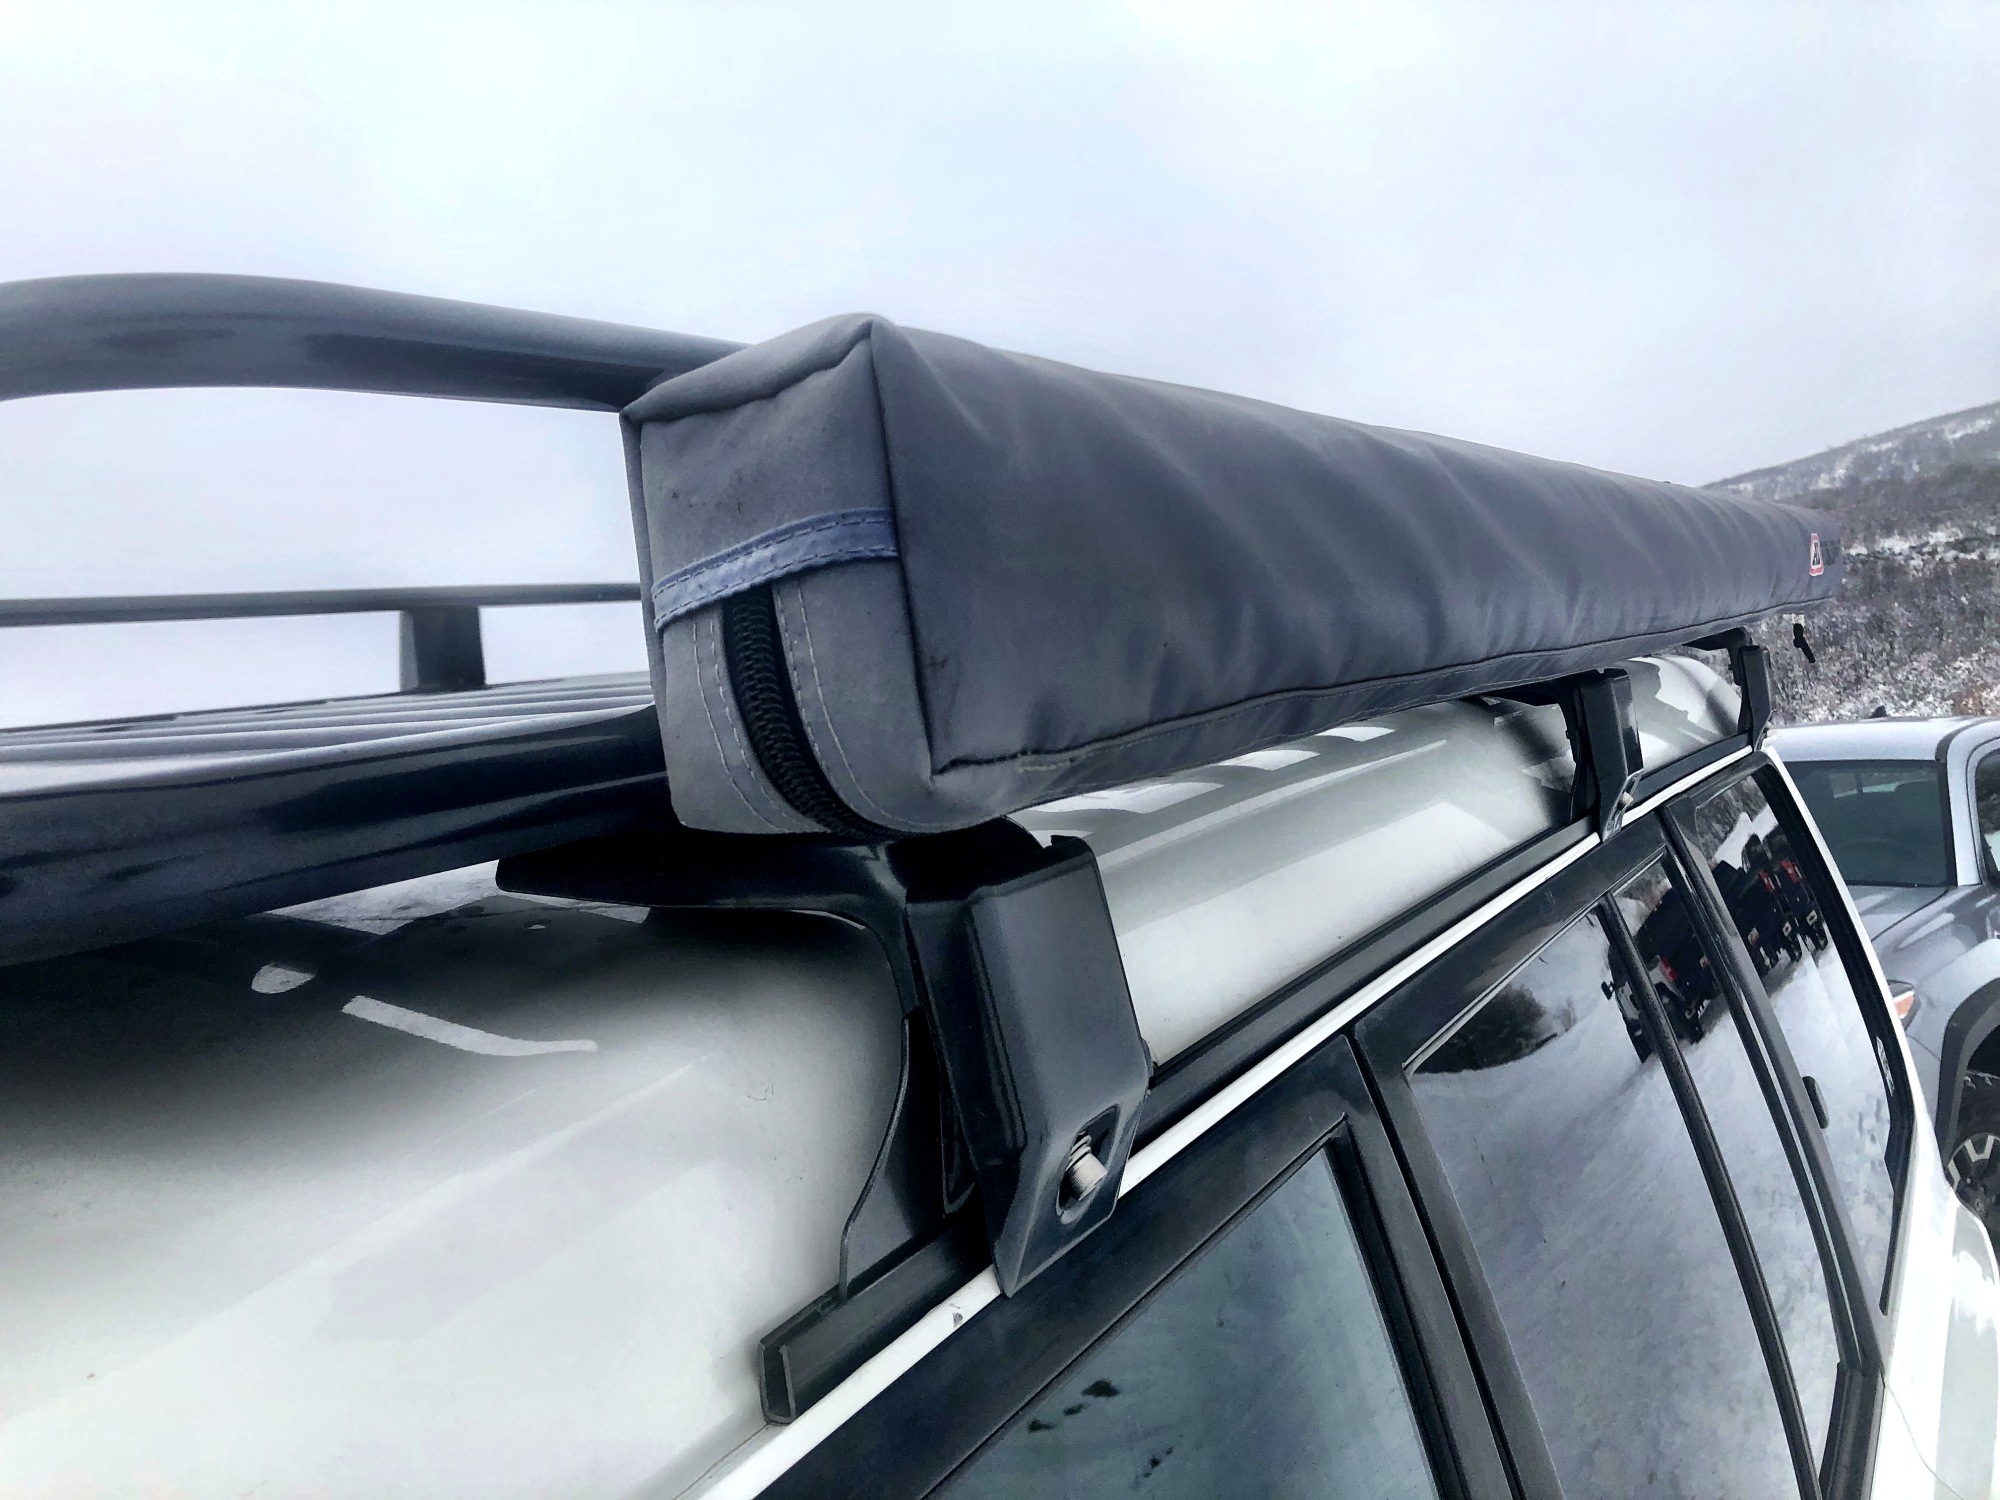
One of the reasons I wanted the ARB rack was its quick-release system for awnings. Both ARB awnings were permanently mounted on the previous rack and I wanted a way to easily remove the awnings when they weren’t being used – keep them better protected rather than have them in the elements when they weren’t being used.
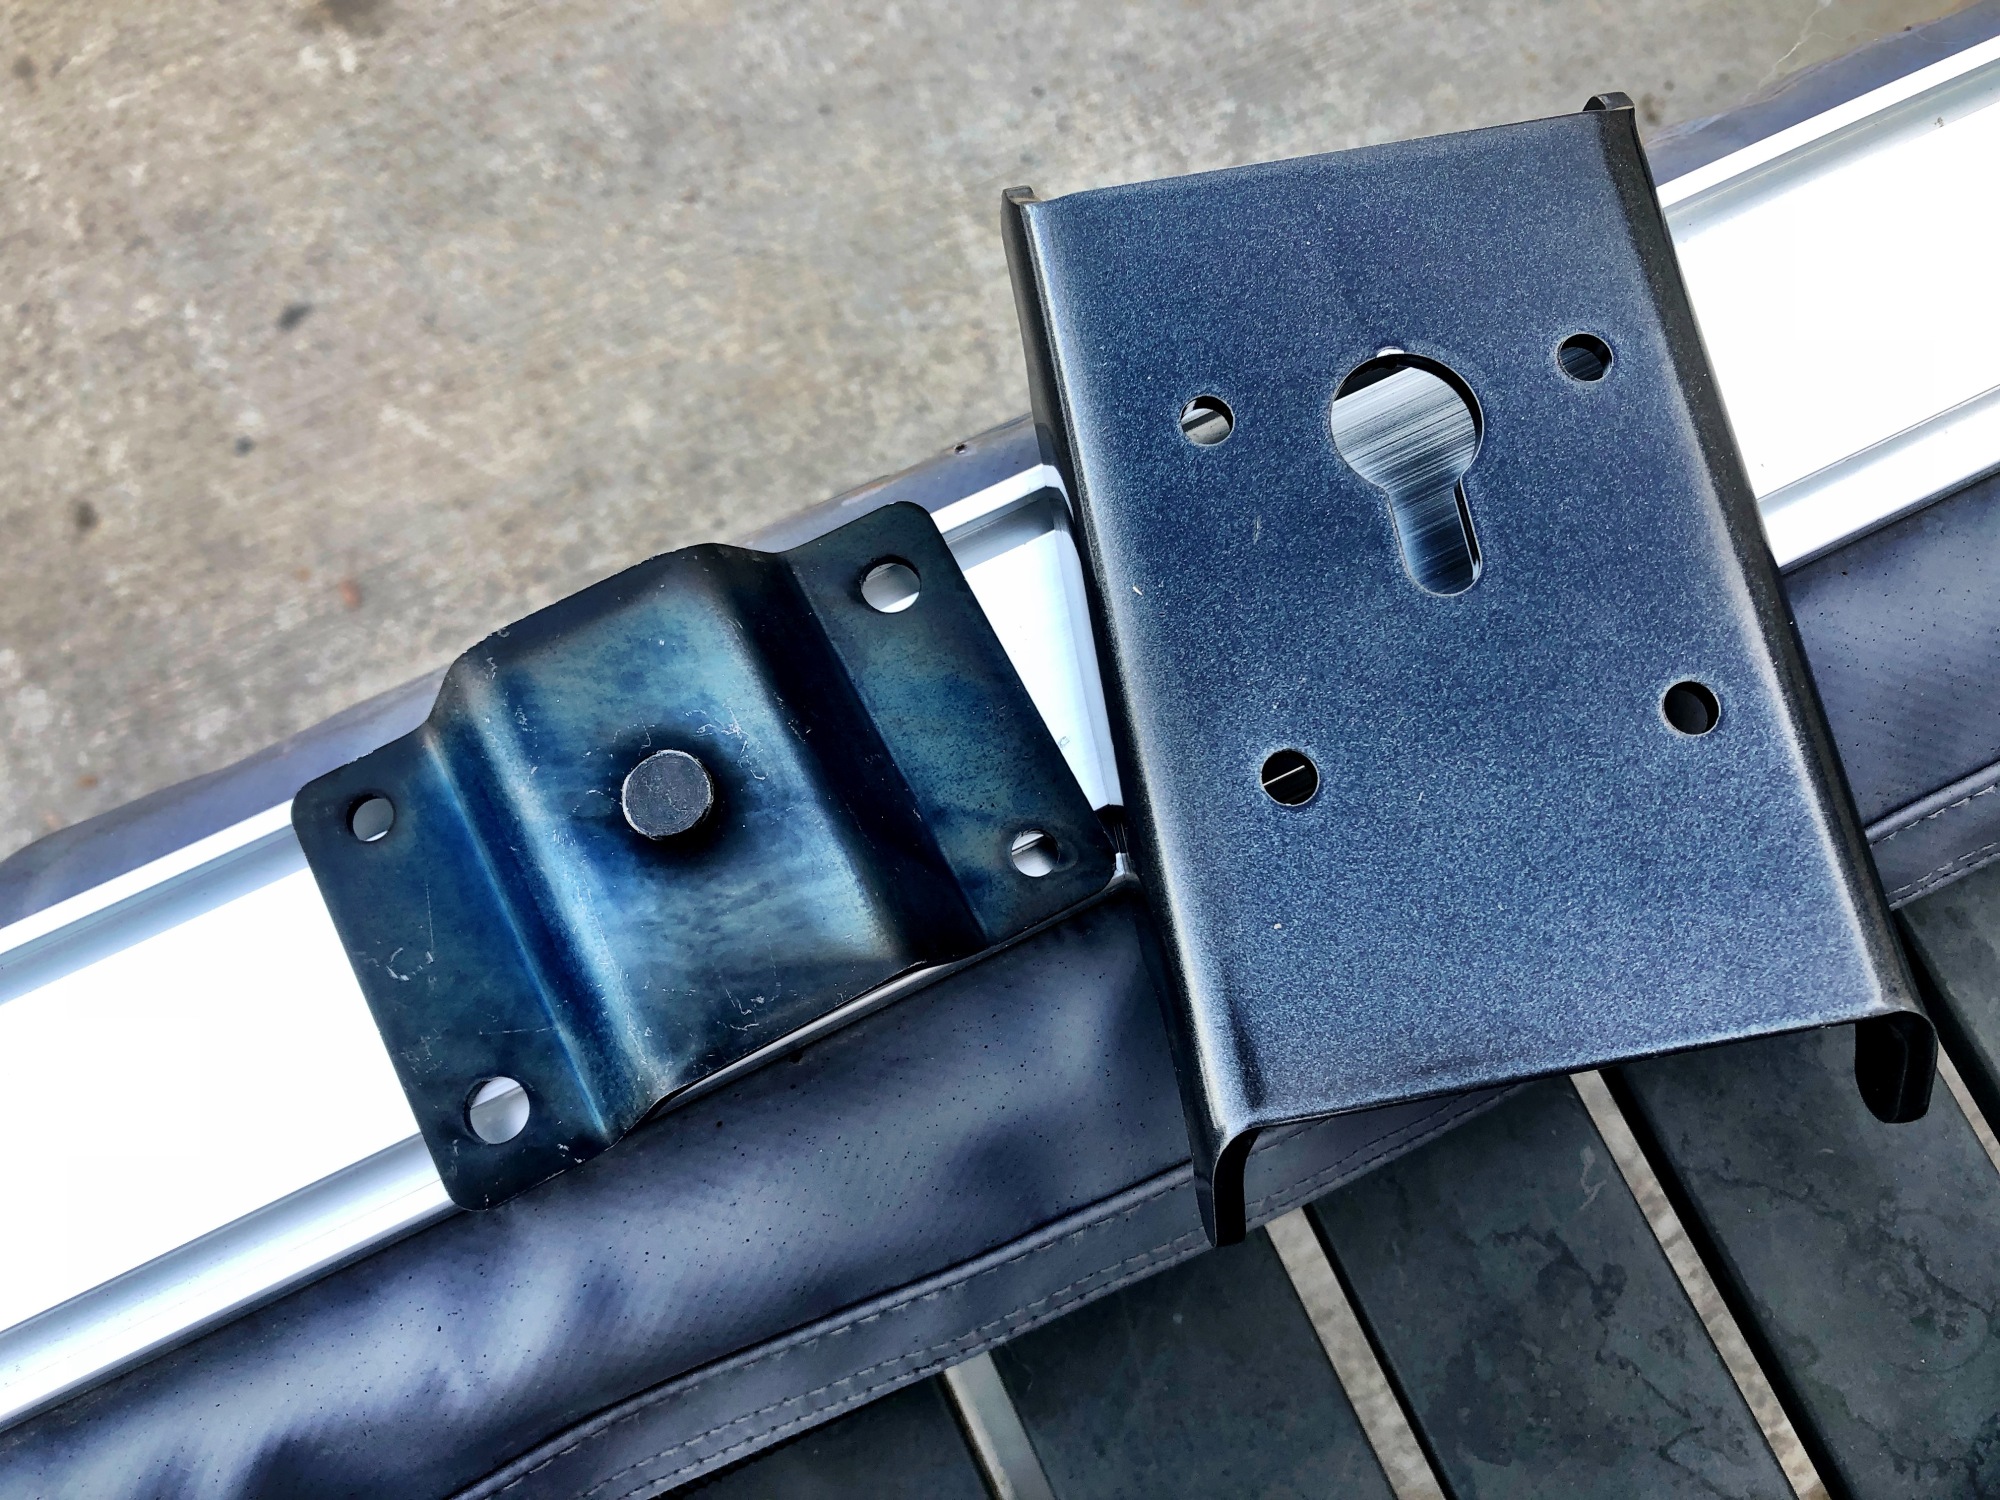
The quick-release rack mounts are clamp plates that bolt on vertically. They can be placed anywhere along the rack rails. The outer plate is cut with a keyhole where the stud mounted on the awning fits in and slides into place.
Once the awning is in place, the nut on the stud is tightened to secure it from coming loose. Not sure I’d call it quick-release, but it’s a helluva lot faster than the old DIY method I rigged up on the previous rack.
While this thread has its share of rack builds, I finally caved in on what I’ve wanted all along but couldn’t quite swing up until now, an ARB gutter-mounted roof rack (ARB 3800040 Steel Roof Rack Basket). This was no small feat, not so much in acquisition – there was a time when ARB shipped directly from the Land Downunder – but in figuring out which model best suited the roofline of a Mk2 Montero since there’s little info on ARB’s site dealing with the brand (surprise) and not much support elsewhere.
I went with the rack made for the Range Rover (87X49) after measuring the Nomad’s rooftop real estate. You won’t find a better rack for the money ($794US), though it may seem less of a bargain once you factor in the gutter mount kit, which you won’t find on the ARB website, you’ll have to search around – I found one on 4Wheel Parts for $323US (ARB Roof Rack Mounting Kit – 3700050). ARB’s site is easy to interpret that the rack comes with the mounts.
It doesn’t. It does come with the gutter runners, both sides. Go figure.
The rack arrived in a heavily damaged box with scratches and divots in the steel, but I didn’t have the patience to box it all up and ship it back. Once the mounting hardware arrived I removed my DIY rack and pre-built the ARB on a jig I created that matched the footprint of the old one. With all the feet mounted but still loose for adjustment, it took four of us to lift it into position on top of the Nomad, weighing in at 132 pounds. Once in place I used wood shims all around to prop it into place and bolt down the feet into the gutters. It’s a bit of a trick to do since the roofline arcs at the passenger door line, requiring more space fore and aft than in the middle. But it fit. Phew. I rolled the dice on this one. With everything in place with height and width dialed in, I torqued down the hardware.
One of the reasons I wanted the ARB rack was its quick-release system for awnings. Both ARB awnings were permanently mounted on the previous rack and I wanted a way to easily remove the awnings when they weren’t being used – keep them better protected rather than have them in the elements when they weren’t being used.
The quick-release rack mounts are clamp plates that bolt on vertically. They can be placed anywhere along the rack rails. The outer plate is cut with a keyhole where the stud mounted on the awning fits in and slides into place.
Once the awning is in place, the nut on the stud is tightened to secure it from coming loose. Not sure I’d call it quick-release, but it’s a helluva lot faster than the old DIY method I rigged up on the previous rack.