Meili
Adventurer
Second try!
Attachments
-
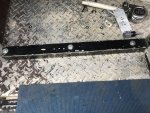
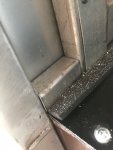
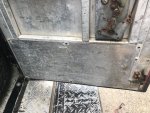
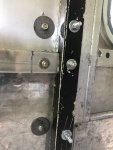
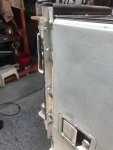
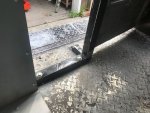
 s10 ute 54.JPG118.2 KB · Views: 22
 -
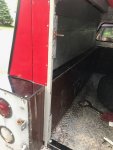
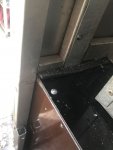
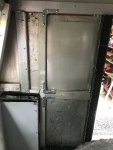
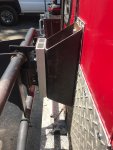
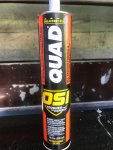
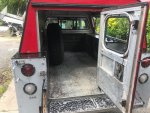
 s10 ute 55.JPG61 KB · Views: 21
 -
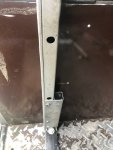
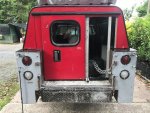
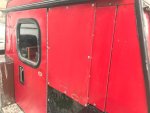
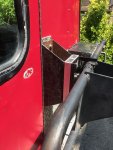
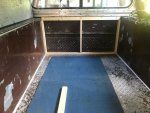
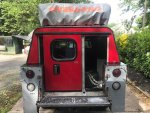
 s10 ute 56.JPG70.7 KB · Views: 24
 -
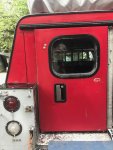
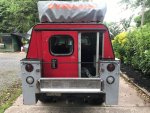
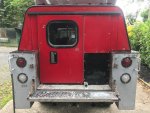
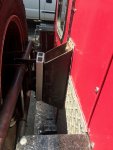
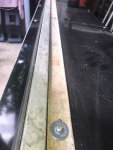
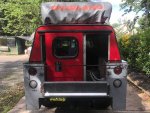
 s10 ute 57.JPG82.8 KB · Views: 25
 -
 s10 ute 58.JPG109.8 KB · Views: 24
 -
 s10 ute 59.JPG89.4 KB · Views: 24
 -
 s10 ute 60.JPG110.6 KB · Views: 24
 -
 s10 ute 61.JPG118.5 KB · Views: 24
 -
 s10 ute 62.JPG106.1 KB · Views: 22
")