After a lot of reading and and stealing ideas, I’ve started on my own build.
Two of the companies that make trailers with simple shapes are Rover Trailers and Hiker Trailer.


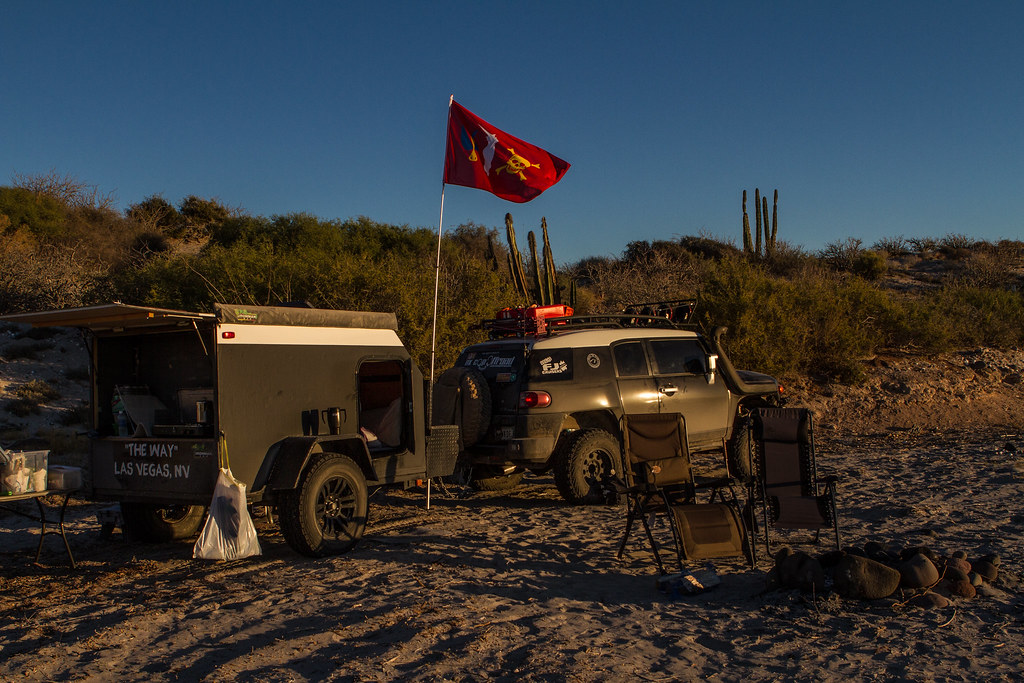
I’m making this trailer as a rolling, waterproof tent with a more comfortable mattress. I plan to use this trailer for camping primarily when it’s not nice enough outside to be backpacking and sleeping in a regular tent. This isn’t intended to be a micro RV with a flatscreen TV for watching DVDs in a crowded campground and I’m not going to try to pretend it’s luxurious. It’s a small, portable, and rustic basecamp when it’s too cold and too rainy for backpacking.
Trailer Frame:
I wanted something substantial to build on and I am less concerned about weight than I am with strength and off-road capability. Is this overkill? Probably.

Design Decisions:
My design decisions are driven more by function than aesthetics so instead of the smooth, flowing lines of a traditional teardrop shape, my build is based on the following personal preferences:

Other considerations:
Building Process:
By avoiding the flowing curves of a conventional teardrop, I hope to simplify the build. I’m also hoping I can use thicker materials in my roof because I wont have to arch or flex my panels as much.
I am also planning to build my trailer sides in sections and then use carriage bolts to bolt the walls to each other and also to bolt the walls—straight through the floor—onto the frame. It sounds good in theory anyway. How am I going to do this?
By waiting to install the outer skin and insulation, I can have a finished floor and my interior finished walls in place relatively quickly and easily. I can then run my electrical wiring to each appropriate location before installing the wall insulation or the outer plywood walls.
Two of the companies that make trailers with simple shapes are Rover Trailers and Hiker Trailer.
I’m making this trailer as a rolling, waterproof tent with a more comfortable mattress. I plan to use this trailer for camping primarily when it’s not nice enough outside to be backpacking and sleeping in a regular tent. This isn’t intended to be a micro RV with a flatscreen TV for watching DVDs in a crowded campground and I’m not going to try to pretend it’s luxurious. It’s a small, portable, and rustic basecamp when it’s too cold and too rainy for backpacking.
Trailer Frame:
I wanted something substantial to build on and I am less concerned about weight than I am with strength and off-road capability. Is this overkill? Probably.
- 2x3 steel tubular frame, ¼”-thick walls.
- 3500# Dexter axle with idler hubs
- 16” wheels
- 5’ x 8’ platform for a (nearly) queen size mattress
Design Decisions:
My design decisions are driven more by function than aesthetics so instead of the smooth, flowing lines of a traditional teardrop shape, my build is based on the following personal preferences:
- I don’t like the idea of needing to reach forward (or bang my shins) to use the galley. I want the counter height to be taller than my kitchen counter at home and flush with the rear edge of the trailer.
- Because I live in the rainy Northwest, I want access to the galley for food without exiting the trailer. This means there needs to be an open floorplan.
- I want to maintain as much headroom as possible using a standard 4x8 sheet of plywood for the walls. This means my plywood won’t cover the trailer frame but will sit on top of it.
- I would prefer to have a simple rear hatch, even if it means I have a boring rear profile.
Other considerations:
- I want large doors to make entry and exit as simple as possible.
- I want a lot of windows for light and airflow.
- I will have a stove for cooking but it may not be permanently attached to the trailer.
- I will run wiring for LED lighting and electrical outlets for charging phones/laptops but I’m less concerned about finishing all those details right now. I may just stick with headlamps for now and charge the electronics in the tow-vehicle while we’re driving.
- My primary goal is to get this thing waterproof and operational (safe to camp in) by August because we have a trip planned. I’ll work on more details like maybe a solar panel (next winter).
- I will be using an outer aluminum skin with aluminum angles at the edges to keep it water-tight.
Building Process:
By avoiding the flowing curves of a conventional teardrop, I hope to simplify the build. I’m also hoping I can use thicker materials in my roof because I wont have to arch or flex my panels as much.
I am also planning to build my trailer sides in sections and then use carriage bolts to bolt the walls to each other and also to bolt the walls—straight through the floor—onto the frame. It sounds good in theory anyway. How am I going to do this?
- Build the wood floor and epoxy it to the metal frame (for now).
- Install the interior flooring material on my plywood floor.
- Build wall frames for the front, rear, and sides and attach those to the inner wall skins.
- Bolt the four walls together using carriage bolts in each corner.
- Bolt the four walls through the floor (and through my flooring material) straight through the metal of the trailer frame.
By waiting to install the outer skin and insulation, I can have a finished floor and my interior finished walls in place relatively quickly and easily. I can then run my electrical wiring to each appropriate location before installing the wall insulation or the outer plywood walls.