You are using an out of date browser. It may not display this or other websites correctly.
You should upgrade or use an alternative browser.
You should upgrade or use an alternative browser.
The Camp 4x4 Bus - 1973 Suburban 8.1 Swap & Build
- Thread starter camp4x4
- Start date
snowblind
Adventurer
Actually it was both…. they changed the crank sensor to a more duarable design first. Then the cam sensor and reluctor changed a few times over the years. What Larry Hofer at RayLar has on his website related to the cam sensor and gears is good info.
The Crank Sensor is what caused a lot of heartache and forced GM into a Product Safety recall (06083), not the cam sensors. Also, the story from GM Powertrain back in the day was the cam sensor and cam gears changed to better precisely control ignition timing. The cam sensor and gear changes had nothing to do with durability
Great info. I remember now that my crank sensor was replaced under a recall.
I also remember now that the Cam Position Sensor and timing gear in 04 has twice the resolution of the earlier ones.
Matt
camp4x4
Adventurer
Sorry guys, kind of disappeared there for a bit. But I'm back at it again this week. A buddy is lending a hand to really move things along. Last night we pulled all the A/C bits (I'm putting in new everything), the brake MC and booster (going hydro), the rear drive shaft, all the exhaust and the last of the stuff that has to come off the 8.1L. Didn't take any pics since nothing much appears to have changed, other than the junk pile getting bigger!
Should be able to pull the transfer case, engine and trans tonight, so I'll definitely take some pics then.
I appreciate that! I'm sure it won't take much to get sorted out.
The clearance on the ram lines is actually pretty good now. I got a full set of field serviceable lines and they're trimmed to just about the right length. They may look like they go straight up to the engine bay, but in reality they go up and bend along the frame rail. They have some good flex to them for articulation and don't seem to be rubbing anywhere. I may tweak the length down a little bit when I swap the axle over to the '73, but for now they're great.
Should be able to pull the transfer case, engine and trans tonight, so I'll definitely take some pics then.
Aaron, to bad you weren't closer. I have a mill and lathe.
Would changing the angle on those ram lines help with clearance?
I appreciate that! I'm sure it won't take much to get sorted out.
The clearance on the ram lines is actually pretty good now. I got a full set of field serviceable lines and they're trimmed to just about the right length. They may look like they go straight up to the engine bay, but in reality they go up and bend along the frame rail. They have some good flex to them for articulation and don't seem to be rubbing anywhere. I may tweak the length down a little bit when I swap the axle over to the '73, but for now they're great.
camp4x4
Adventurer
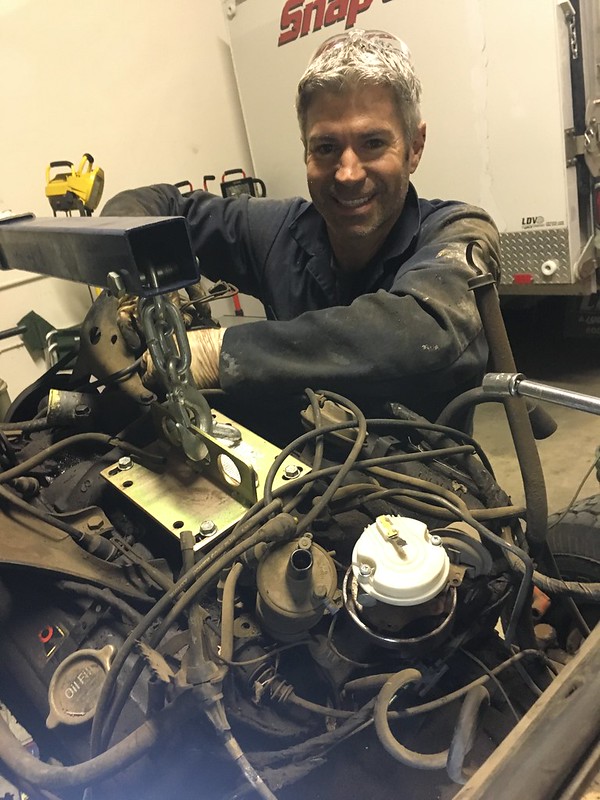
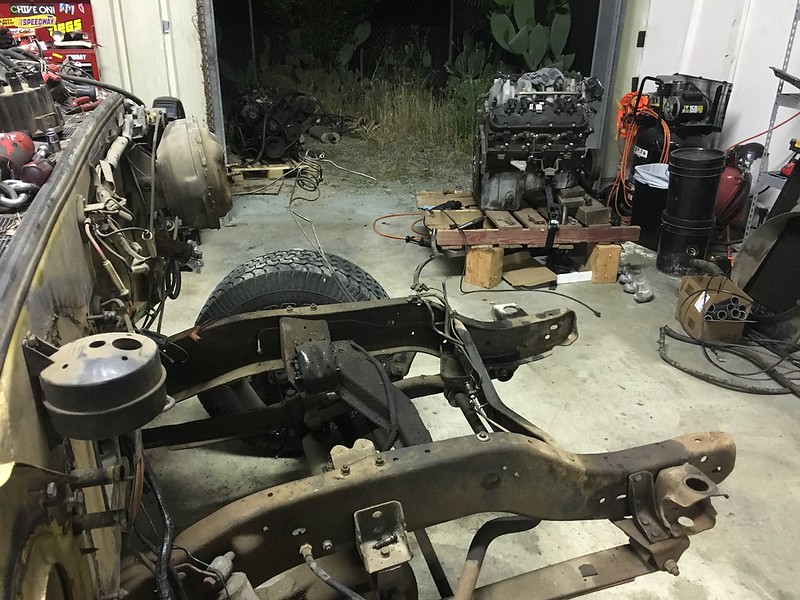
Engine Removed
Well, as promised the engine was removed last night! Having my buddy Rodney around to help out has been invaluable. I don't think I'd be half as far without him. The transmission mount gave us some trouble just because of how much of a hassle a few of the bolts are to get to, but we got them all eventually. After scraping away a good inch of road sludge from the transfer case bolts I was surprised that both the transmission and transfer case fluid was darn near new! Nice job Don.
Also had some trouble with a few of the front driveshaft bolts. Vice grip got all but one, so gonna have a go at it now that it's out.
Other than that the removal was pretty simple. Used a plate on the intake in place of the carb to hook to, removed the distributor cap and all went smoothly... lift a little, pull back, remove something you missed, repeat...
Taking a break tonight to run the Offroad & Overland Amateur Radio Net but tomorrow night we'll probably be getting after pulling the axles and suspension, cutting out the engine crossmember and maybe starting to put new parts in!
Rodney Gettin' Dirty
Disconnecting the last bits
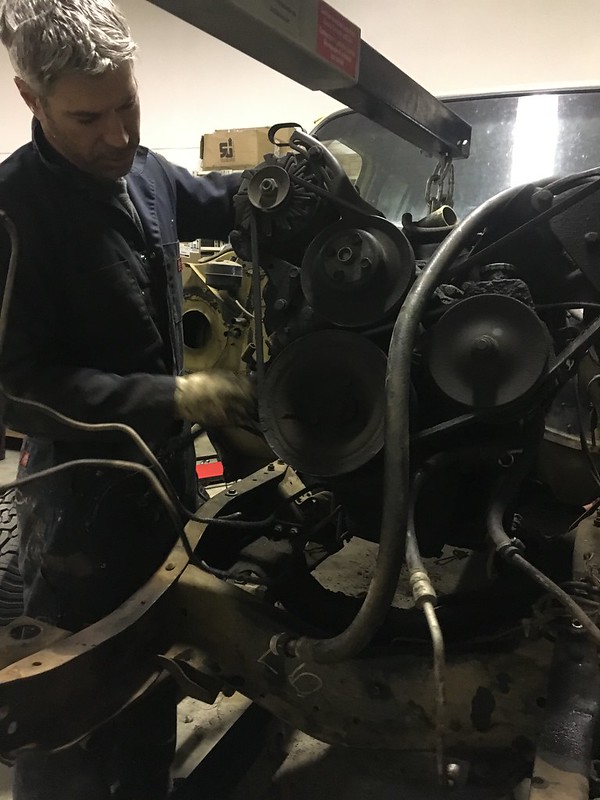
Almost out
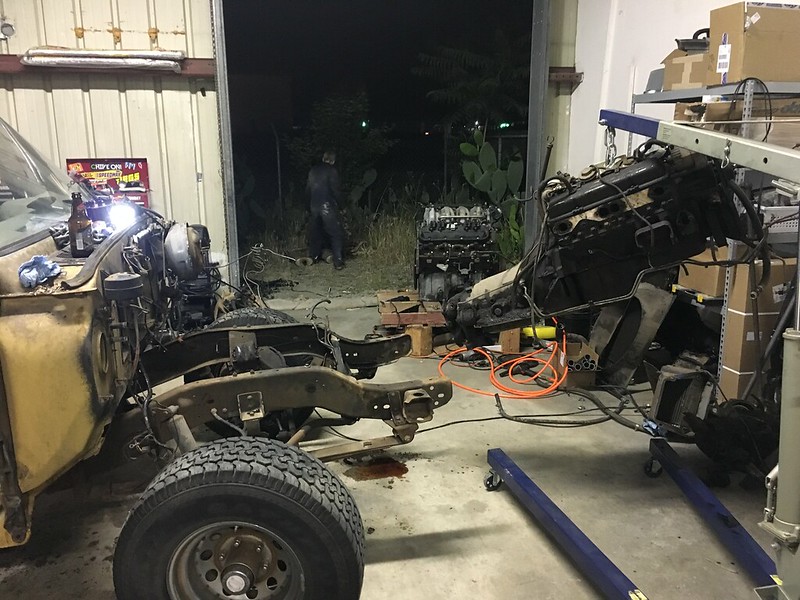
It's free!
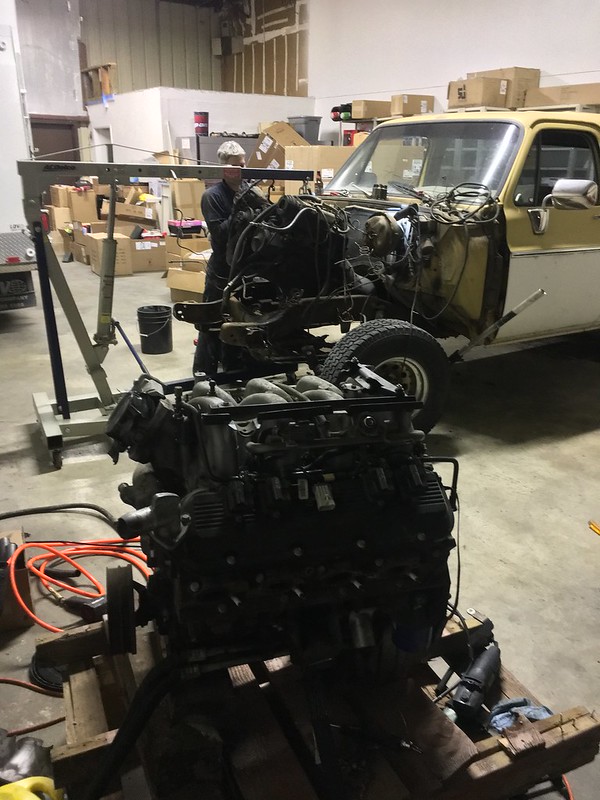
Chevy 350 and TH350
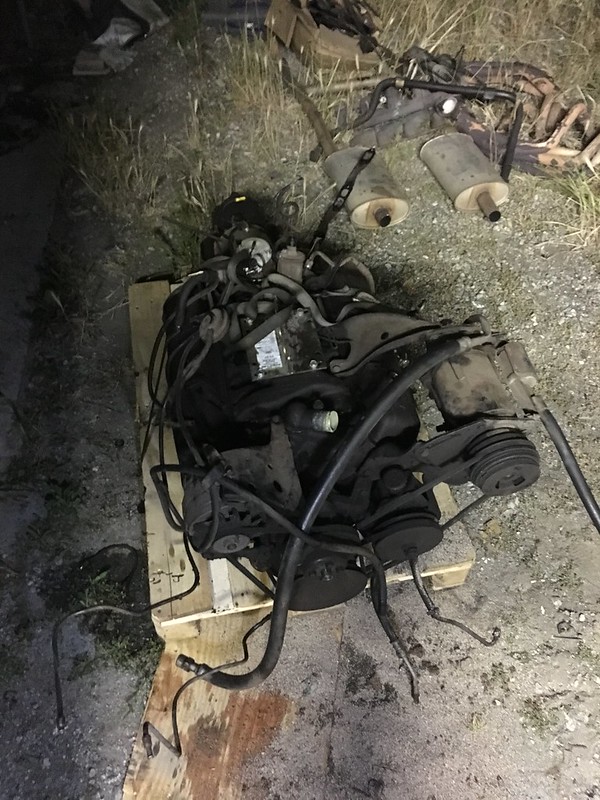
Soon....
Well, as promised the engine was removed last night! Having my buddy Rodney around to help out has been invaluable. I don't think I'd be half as far without him. The transmission mount gave us some trouble just because of how much of a hassle a few of the bolts are to get to, but we got them all eventually. After scraping away a good inch of road sludge from the transfer case bolts I was surprised that both the transmission and transfer case fluid was darn near new! Nice job Don.
Also had some trouble with a few of the front driveshaft bolts. Vice grip got all but one, so gonna have a go at it now that it's out.
Other than that the removal was pretty simple. Used a plate on the intake in place of the carb to hook to, removed the distributor cap and all went smoothly... lift a little, pull back, remove something you missed, repeat...
Taking a break tonight to run the Offroad & Overland Amateur Radio Net but tomorrow night we'll probably be getting after pulling the axles and suspension, cutting out the engine crossmember and maybe starting to put new parts in!
Rodney Gettin' Dirty
Disconnecting the last bits
Almost out
It's free!
Chevy 350 and TH350
Soon....
Anak
Stranger
It's free!
Izzat Rodney finishing off his beer rental?
camp4x4
Adventurer
Izzat Rodney finishing off his beer rental?
LOL, "beer rental." Nice. No, he's moving the junk pile from inside to outside so we could get the cherry picker out the door.
superbuickguy
Explorer
Izzat Rodney finishing off his beer rental?
my thought too. I love the perspective of the picture (minus the tree waterer)
camp4x4
Adventurer
Well, the more I get this thing taken apart the more I feel like I'm doing a frame-off resto here... I'm already planning on replacing the body mount bushings, so I'm at least gonna have to have the body disconnected at some point... So now I'm thinking why not just put the body on rack, roll the frame out to the yard and simonize the whole thing... I picked up some tractor paint on Larry's recommendation, and really the best thing to do would be split the frame and body, clean 'em both up real good and give the frame a full paint, and the underbody a full paint... donesville... ugh that's a whole bunch of extra work though... But I'm kind of in the "do it right once" mindset here so....... we'll see.
Anyone have a good and cheap method of splitting and holding a body from its frame without a lift?
Anyone have a good and cheap method of splitting and holding a body from its frame without a lift?
superbuickguy
Explorer
"why don't you just?"
welcome to the club, I was president of it last year. I hear there is a vacancy so you're welcome to it")
welcome to the club, I was president of it last year. I hear there is a vacancy so you're welcome to it
camp4x4
Adventurer
"why don't you just?"
welcome to the club, I was president of it last year. I hear there is a vacancy so you're welcome to it
Every little step takes you closer to the next one making sense...
FBJR
Adventurer
Since the nose is off, just jack it up a little and run 4x4 across some jack stands or blocks. Darn thing is pretty flat under there unlike the trucks.
If your doing it inside would the ceiling support it? Then you could use ratchet tie downs to lift it. Stock rollers might help with both of those.
Thinking of doing the same once I get working on my motor swap (cummins). Plus you get to undercoat the body fully without working around stuff.
If your doing it inside would the ceiling support it? Then you could use ratchet tie downs to lift it. Stock rollers might help with both of those.
Thinking of doing the same once I get working on my motor swap (cummins). Plus you get to undercoat the body fully without working around stuff.
camp4x4
Adventurer
Oh, something else "fun" dawned on me while removing things connected to the engine as we pulled it: my oil gauge is the old tube to the back of the cluster type... Doesn't look like the electric model will swap straight over so I gotta figure out the cheap(est) way to square that away... I'm thinking of pick-n-pulling a post-77 cluster... hmmmm
camp4x4
Adventurer
My 77 had the line, just check.
Check for....?
Forum statistics
Members online
- bernardocolorado
- WU7X
- Todd n Natalie
- Jonnyo
- Bamagirlaz
- kfricke87
- gwittman
- bluehash
- gildigger
- k9Cali
- cj-10
- Kiwibru
- Rockymountainhunter
- TexasSixSeven
- tkj23qe1387
- Pacific Northwest yetti
- BigSkySerf
- AJRelph
- mistermustard
- montechie
- rgallant
- ramzizaz
- deserteagle56
- konagold
- trabs00
- ckaloper
- YukonMontanaTannerTrapper
- JReed
- bigsam
- jd1zzle
- parabolD
- losinator501
- Delsh
- Photomike
- coguzzi
- Burley
- NomadQ
- dizzydom
- 86scotty
- Delta_0157
- Jasalvas
- velonut
- DirtWhiskey
- lanceatm
- autarkus
- Ozarkrambler
- mike morrison
- jarekben
- mark5280
- Jpcarm
Total: 1,042 (members: 63, guests: 979)