I got a sPOD HD, and I've been struggling to figure out a place to mount the control panel. Wasn't totally sure on what was going to be the best method for getting it done. I had come up with three different places that i thought would work. One was in the dash were the 110 outlet and mostly useless little slot cubby is, the second was the storage tray at the top of the dash where the radio is (i considered ordering the AEV rocker panel piece to mount this control module to and possibly wiring in some additional high amp USB outlets) or my third option, which was in the headliner on the backside of the overhead console bump. I dont have a sunroof so it its in a good spot with easy access.
the center stack option on top would be the easiest and least invasive, the headliner would be the best looking but at the highest cost because the entire headliner would need to be replaced in the event of reversal or i didn't like its placement, and lastly - the 110v outlet/cubby location is in a great spot for use, but was going to be the hardest to make work. The plastic knockout is also super cheap in the event that i wanted to redo it or reverse it for some reason.
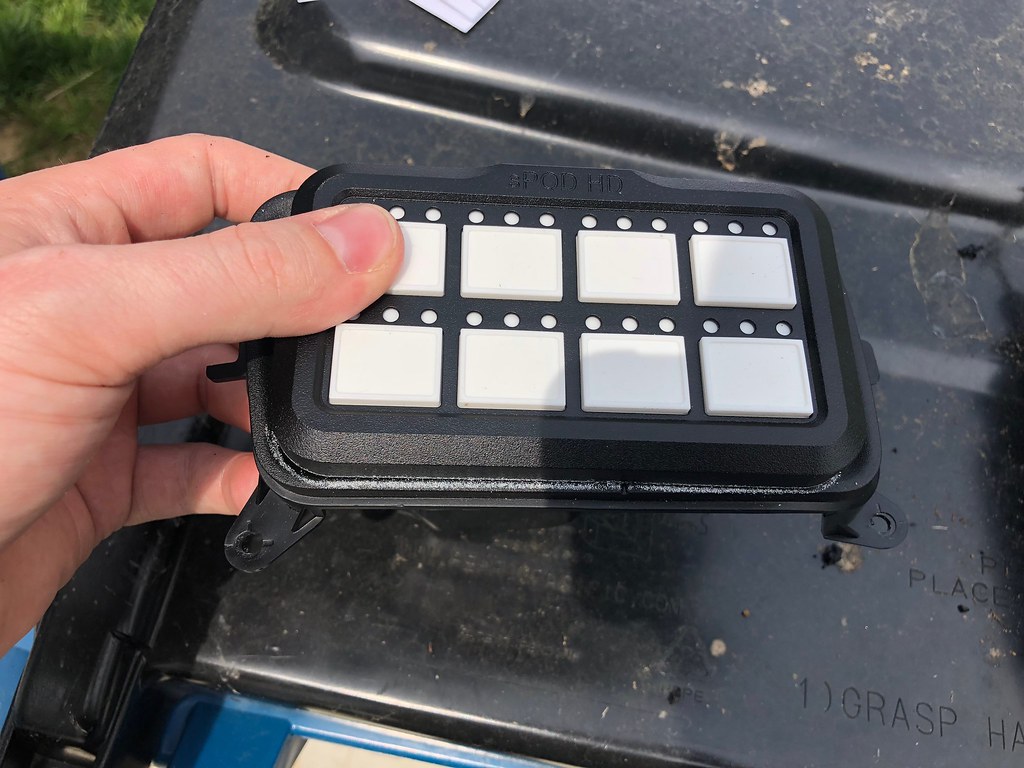
Ultimately i decided to go with the cubby location. First off was to place the control module on the piece of plastic and trace out with my daughters white colored pencil that i stole
 Untitled
 by
Will Marshal, on Flickr
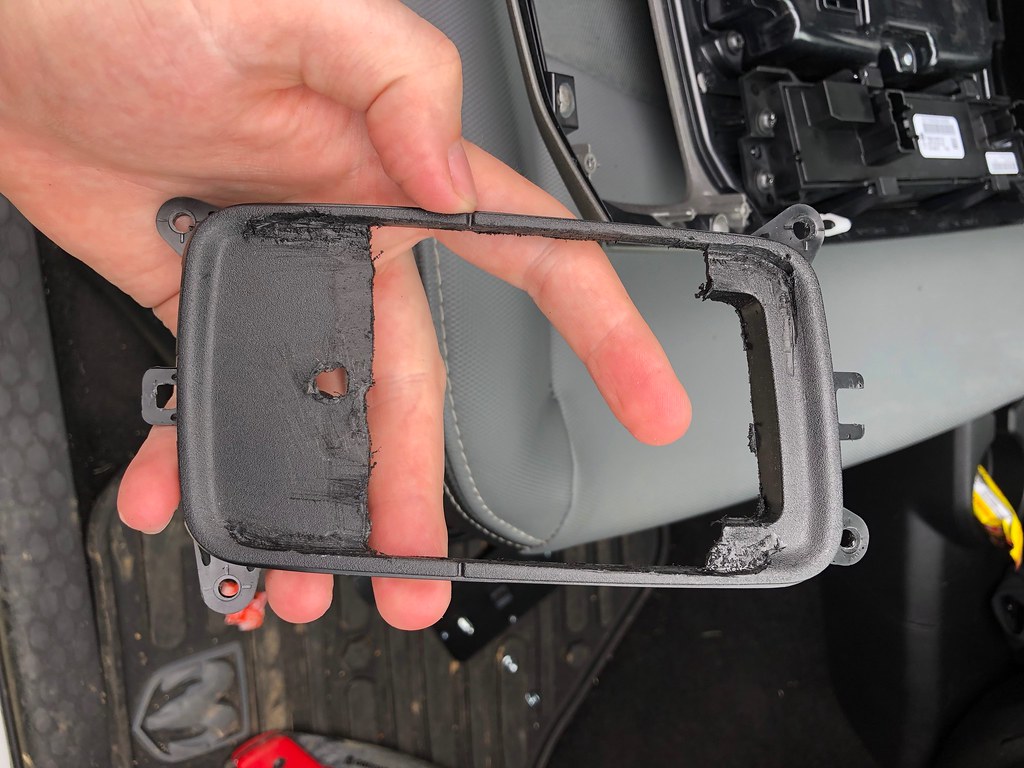
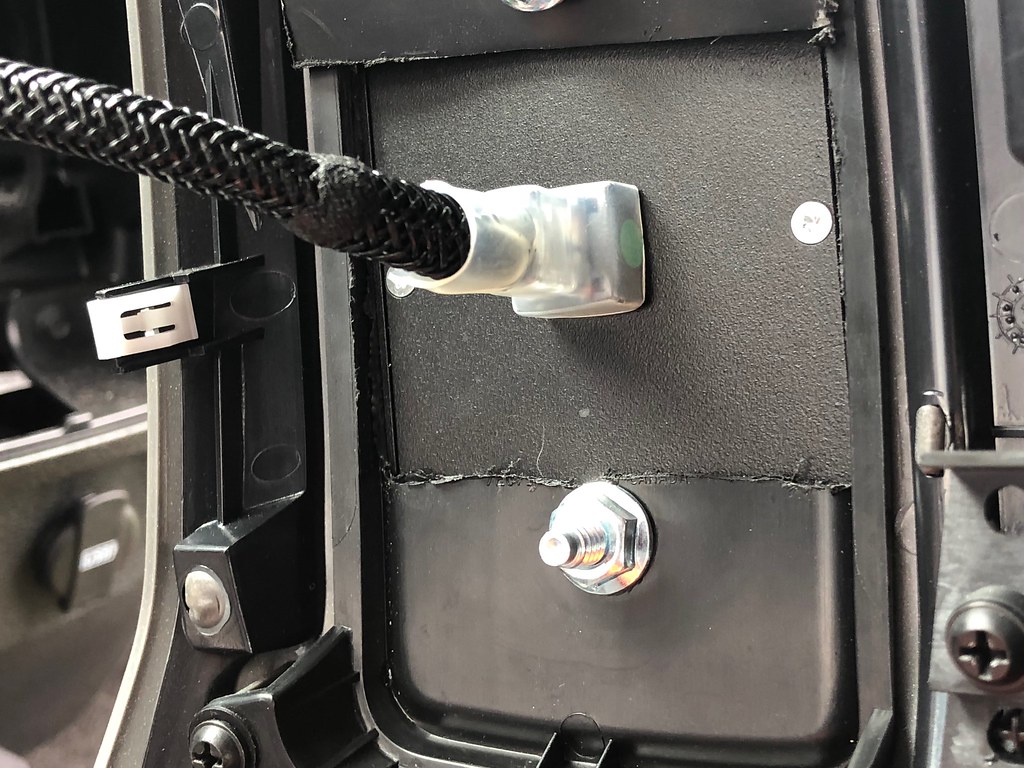
then i went to town hacking this thing up. i started carving out the edges to make it sit flush, but realized after getting into it that i would need to remove most of the plastic because of the slight arc that was in the dash piece so that it could sit flush in there. which meant i would need to come up with a solution to secure the top bolt
 Untitled
 by
Will Marshal, on Flickr
which i did with some scrap plastic
 Untitled
 by
Will Marshal, on Flickr
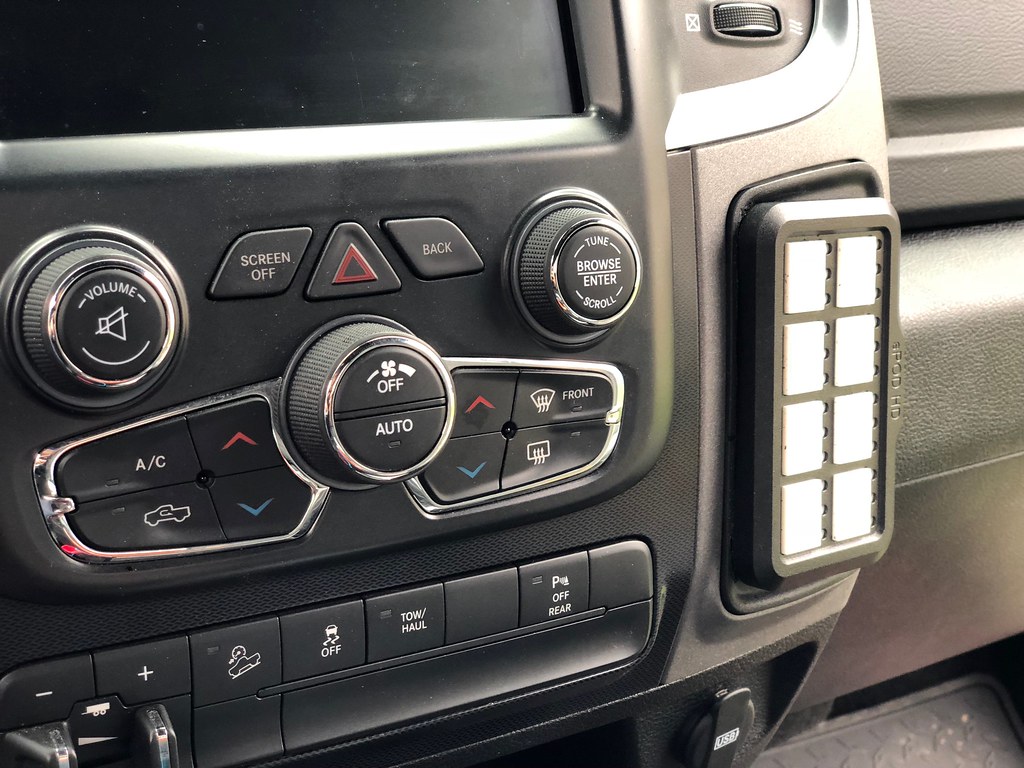
I really like the sPOD HD because it uses a CAT5 ethernet cable for the control box, which means its waaaaaay more compact than previous versions and the ability to control stuff is way better. Previously, the systems just used carling rocker switches which just gave you an on/off ability. The new HD setup uses the digital control panel which lets you do stuff like dim LED's to any percentage, or strobe them, or link multiple switches as a gate such as front and rear locker switches won't engage until the compressor switch is turned on as well, or any other combination you can come up with. You can even set switches up to not be available to be turned on until the ignition switch is activated.
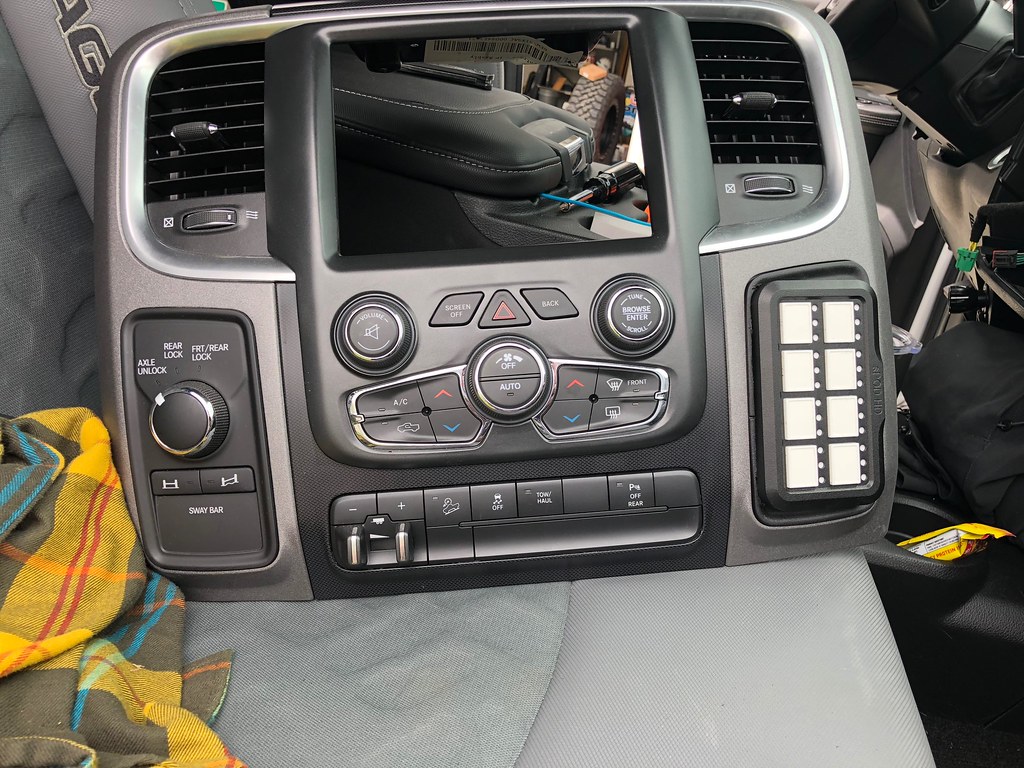
anyway - here is what it looks like
 Untitled
 by
Will Marshal, on Flickr
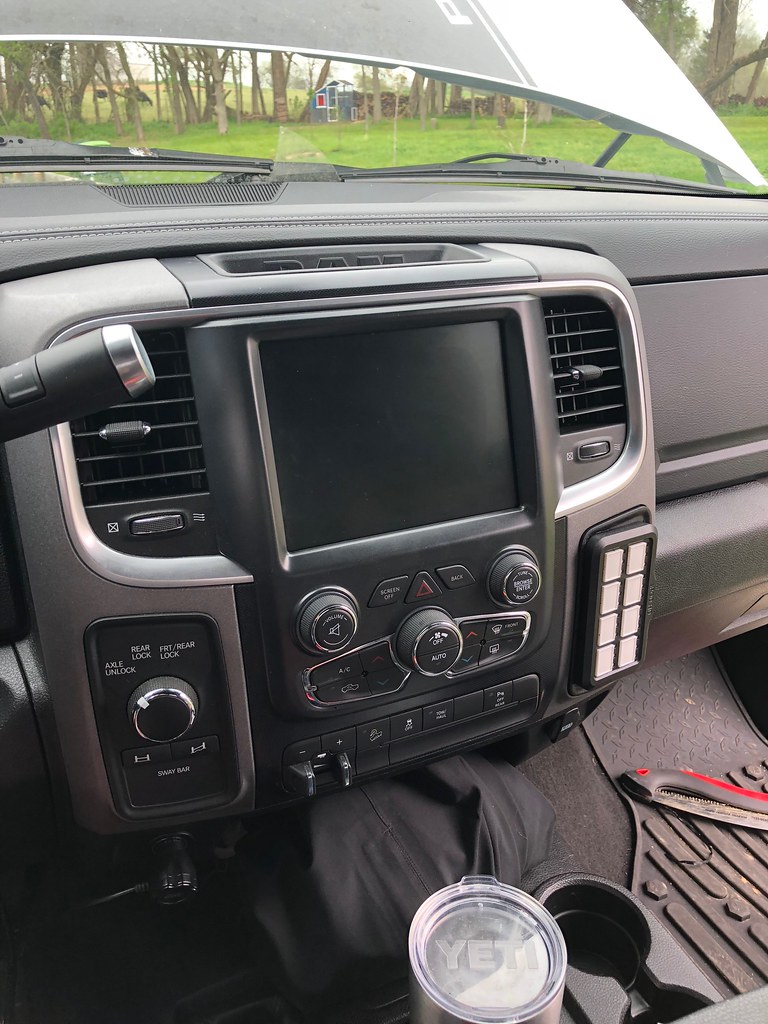
then i popped it back into the dash. Really pleased with the outcome. i need to get the legends applied and the rest of the wiring finished and we'll be good to go
 Untitled
 by
Will Marshal, on Flickr
 Untitled
 by
Will Marshal, on Flickr


 Untitled
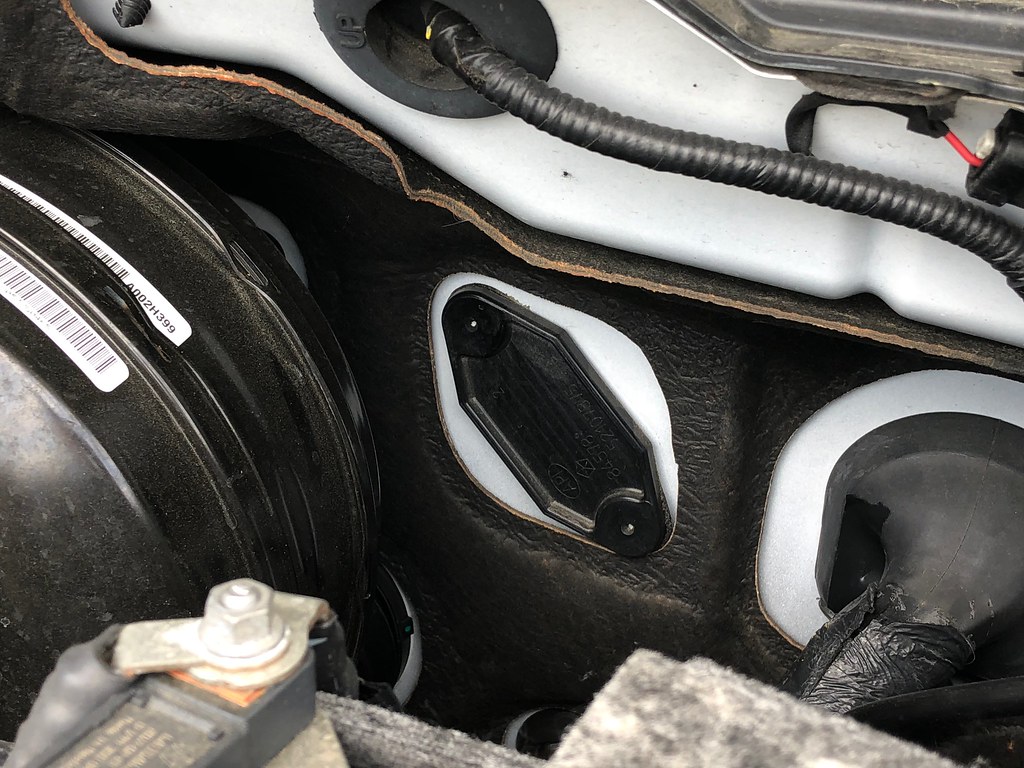 Untitled
 Untitled
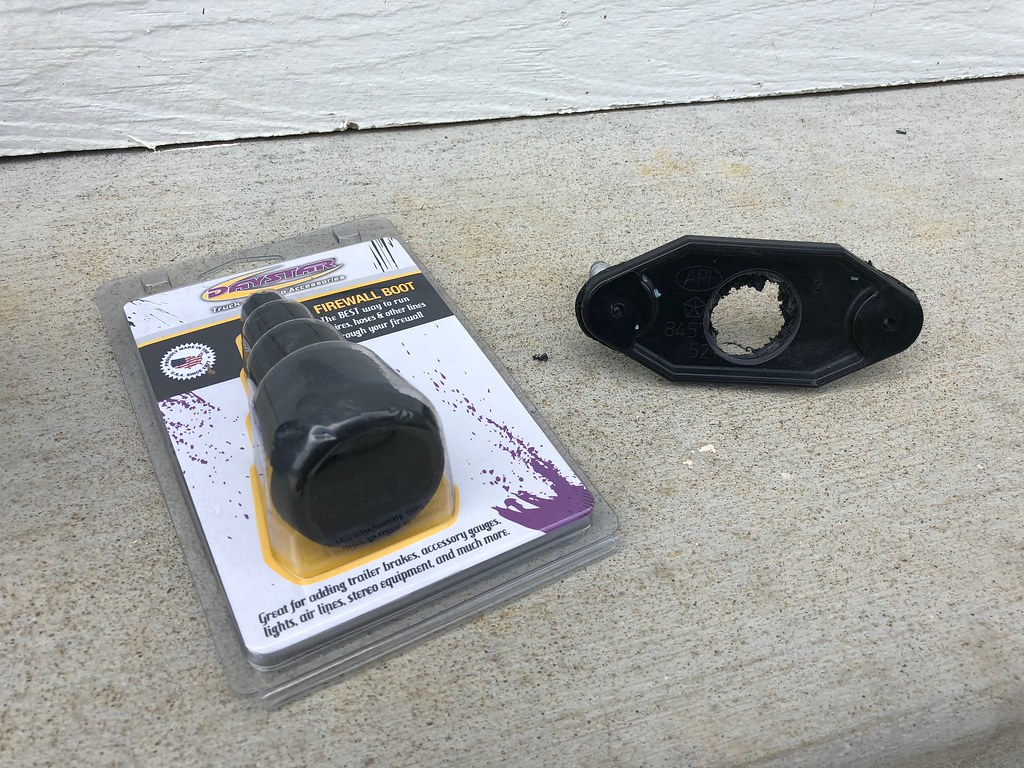 Untitled
 Untitled
 Untitled
 Untitled
 Untitled
 Untitled
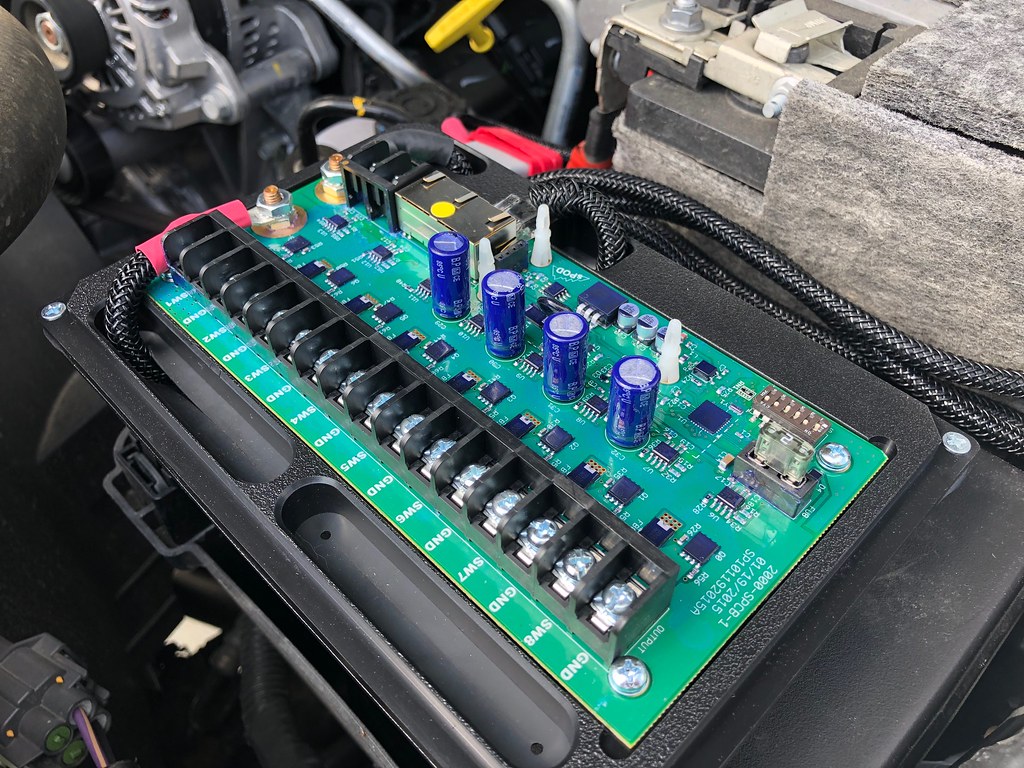 Untitled
 Untitled
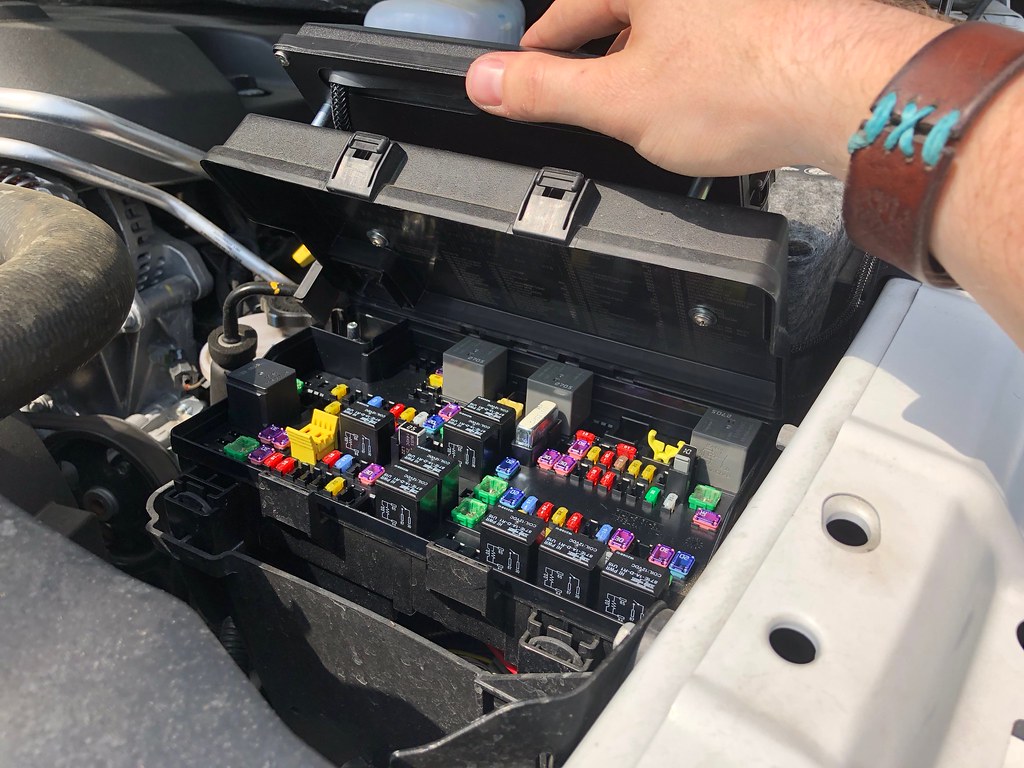 Untitled
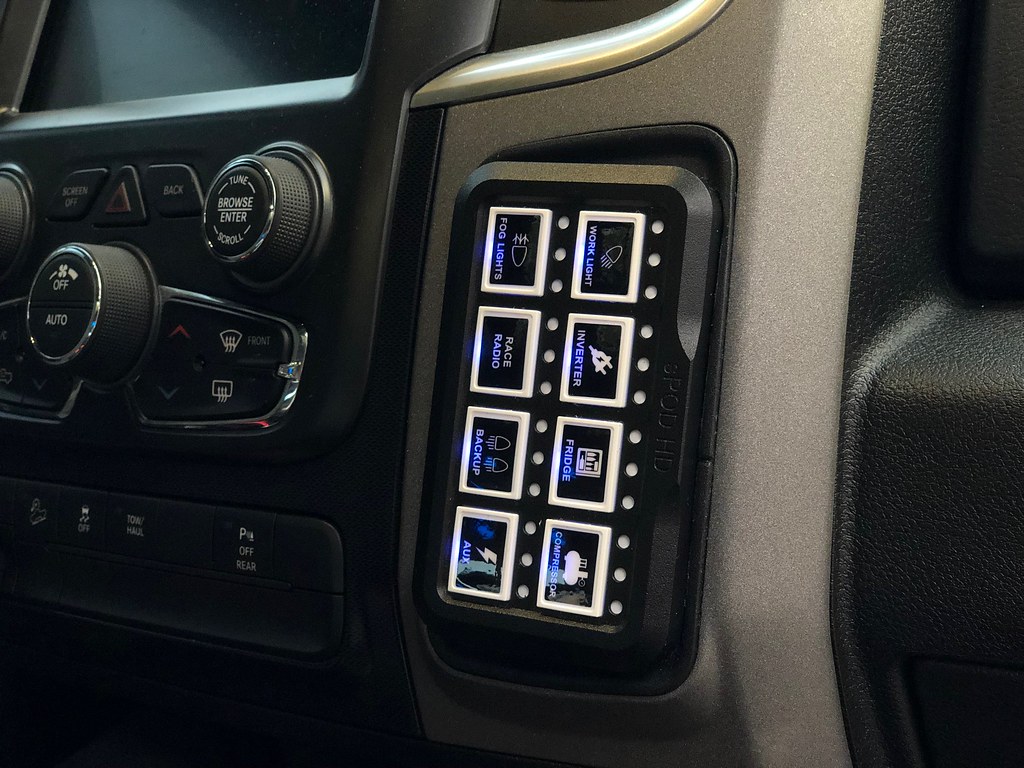 Untitled
 Untitled
 Untitled
 Untitled
 Untitled
 Untitled