freshlikesushi
Free Candy
Need to work on your welding skills too.
Why? It holds. I'm not in a beauty contest
Thanks tho!
Need to work on your welding skills too.
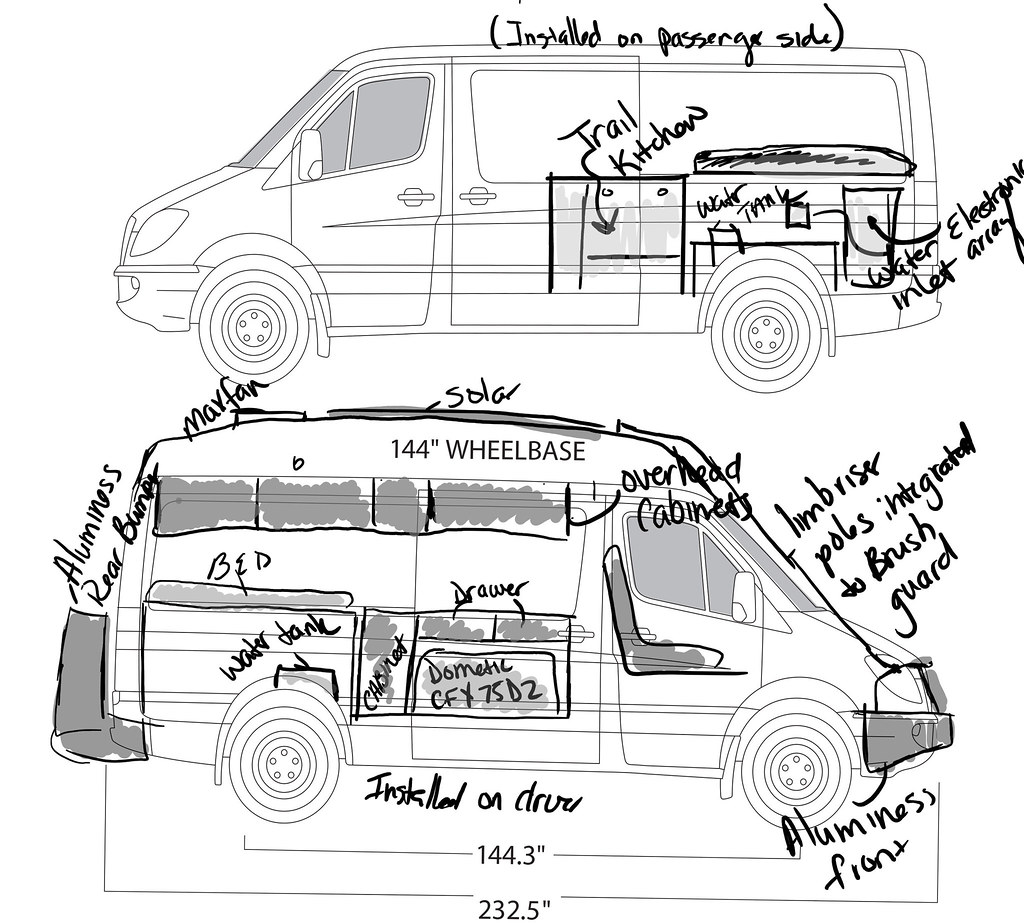 SprinterData144SideView by Grant Wilson, on Flickr
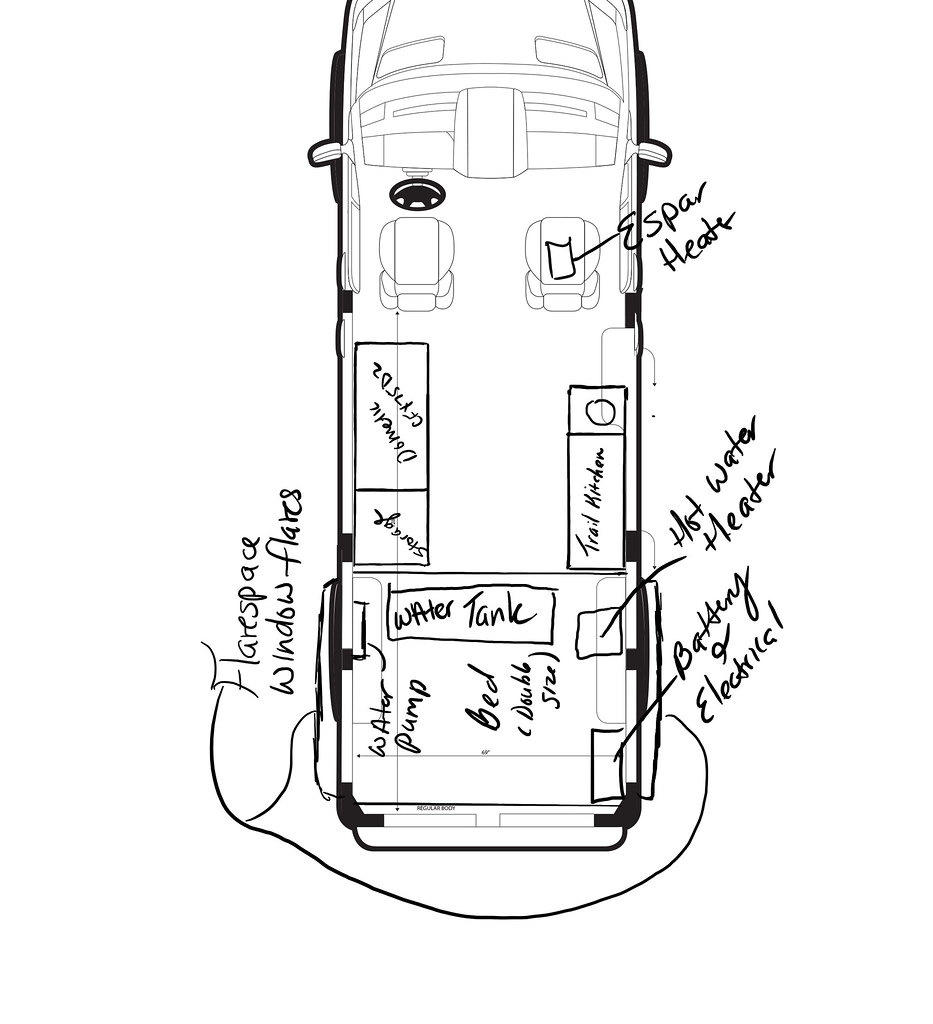 OV_144_OVERHEAD_DRAWING_F by Grant Wilson, on Flickr
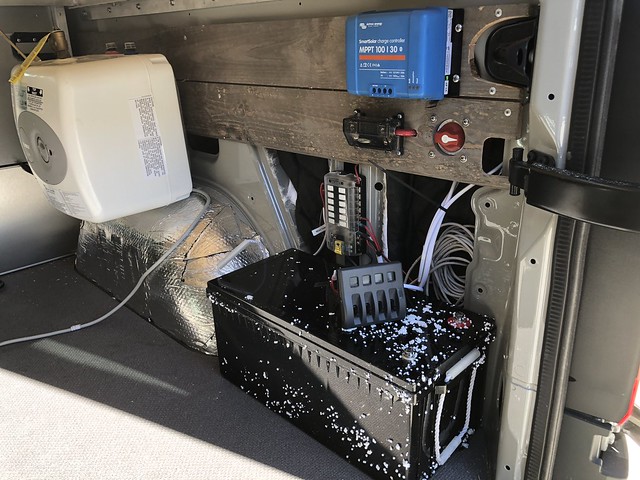 Untitled by Grant Wilson, on Flickr
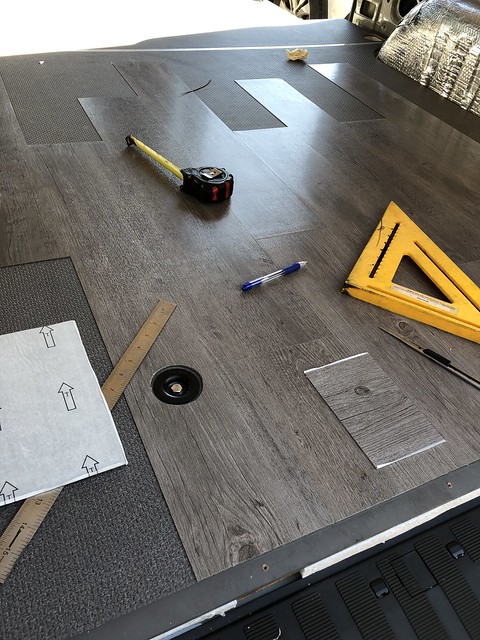 Untitled by Grant Wilson, on Flickr
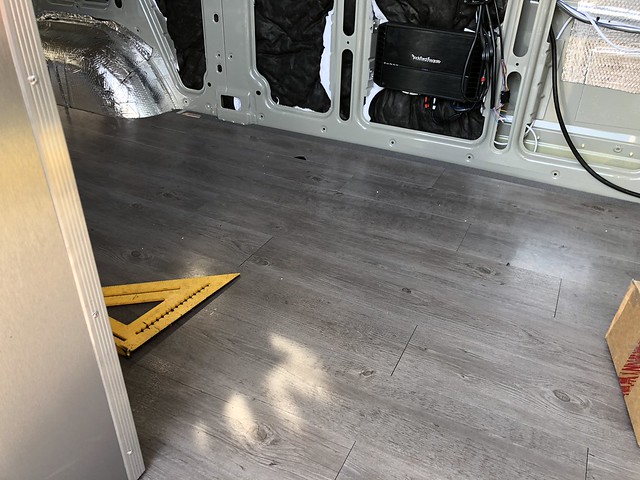 Untitled by Grant Wilson, on Flickr
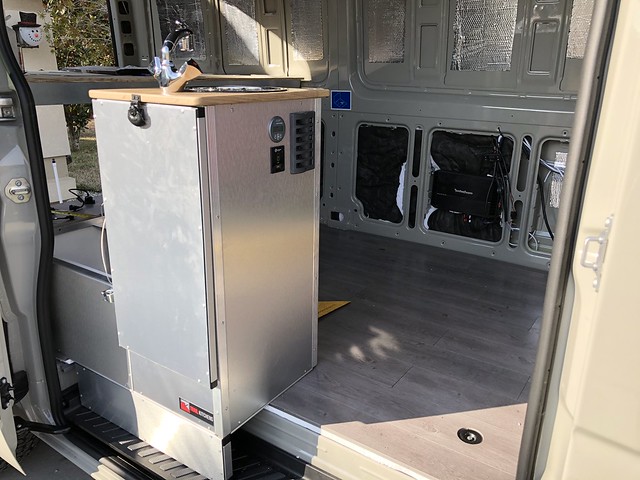 Untitled by Grant Wilson, on Flickr
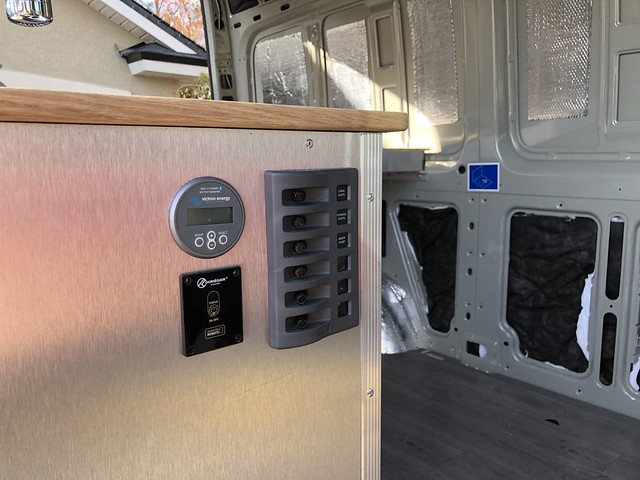 Untitled by Grant Wilson, on Flickr
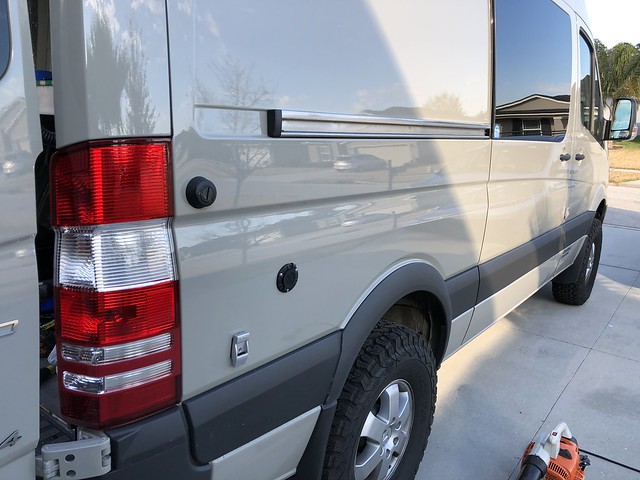 Untitled by Grant Wilson, on Flickr
 Untitled by Grant Wilson, on Flickr
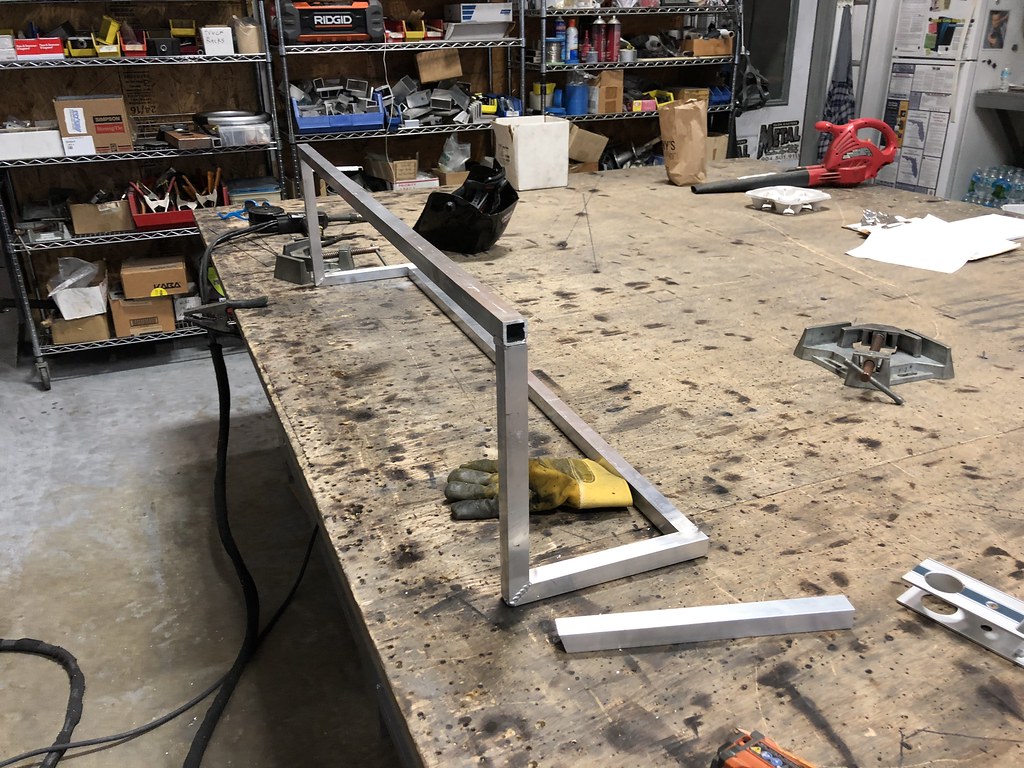 Untitled by Grant Wilson, on Flickr
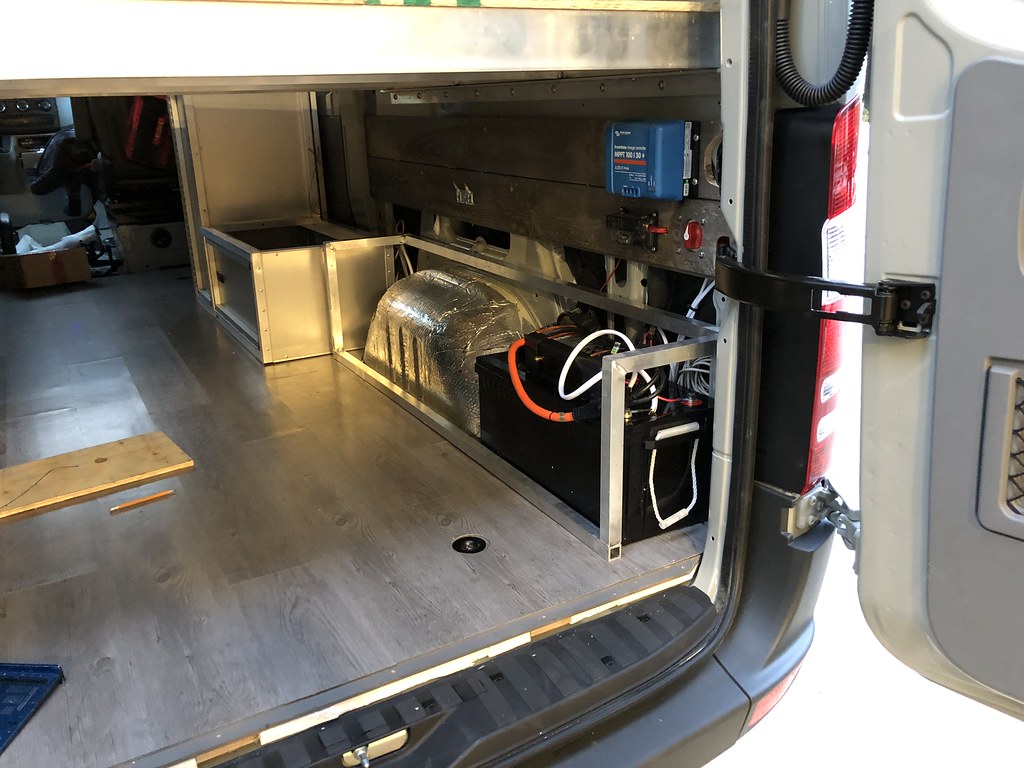 Untitled by Grant Wilson, on Flickr
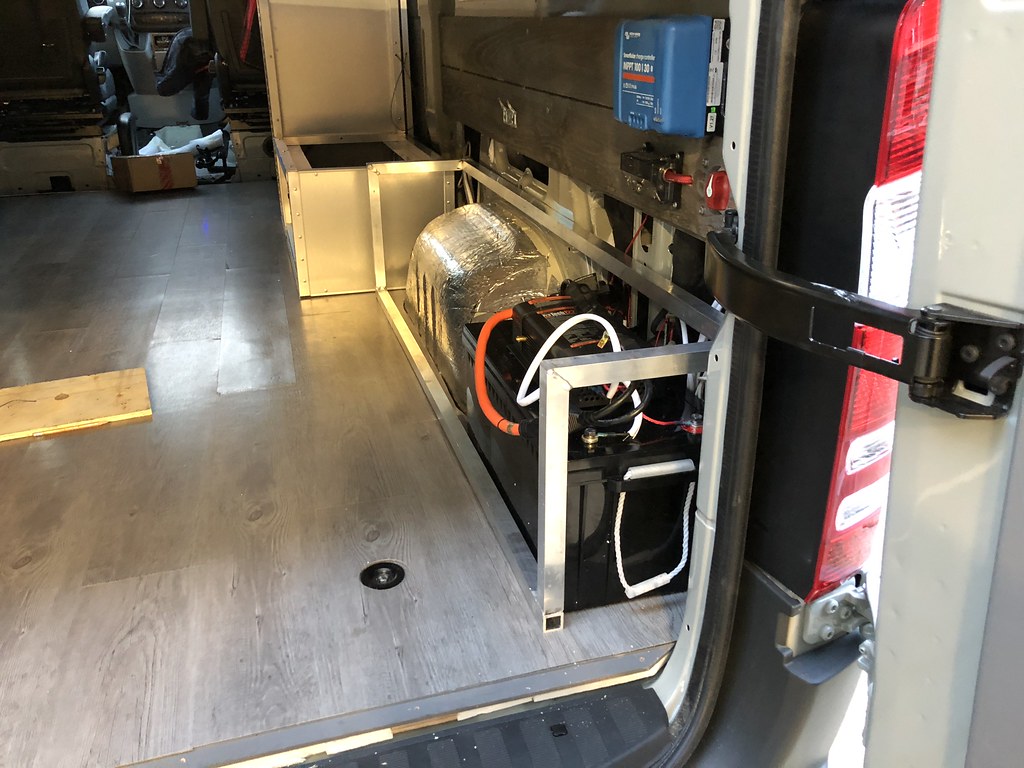 Untitled by Grant Wilson, on Flickr
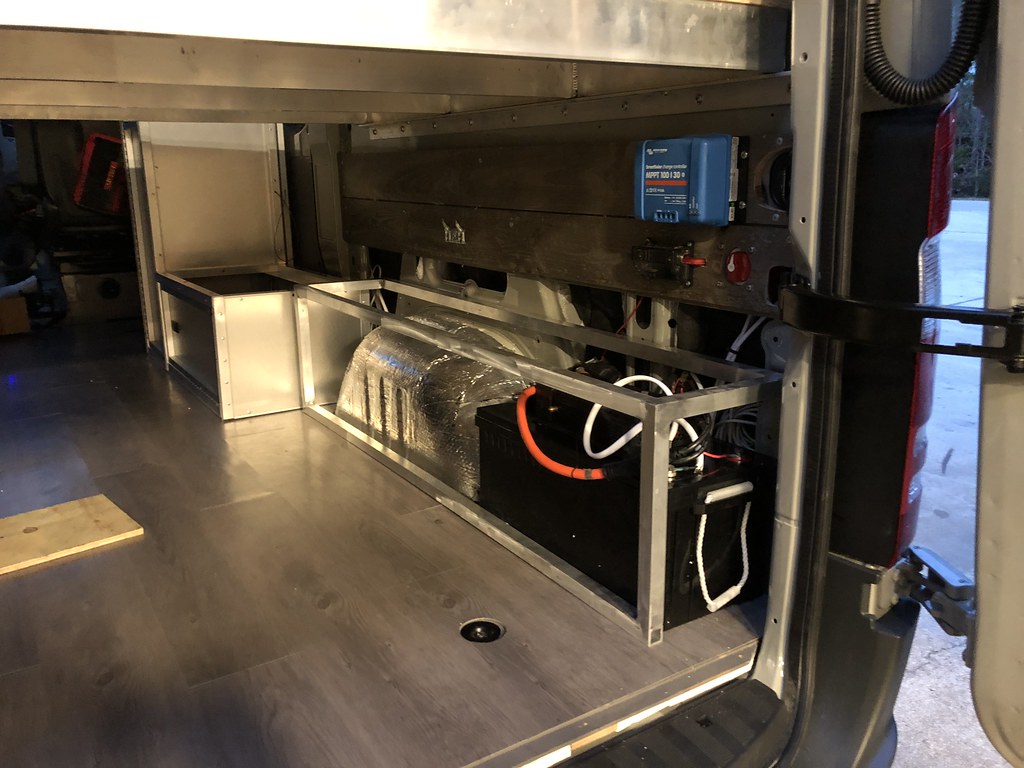 Untitled by Grant Wilson, on Flickr
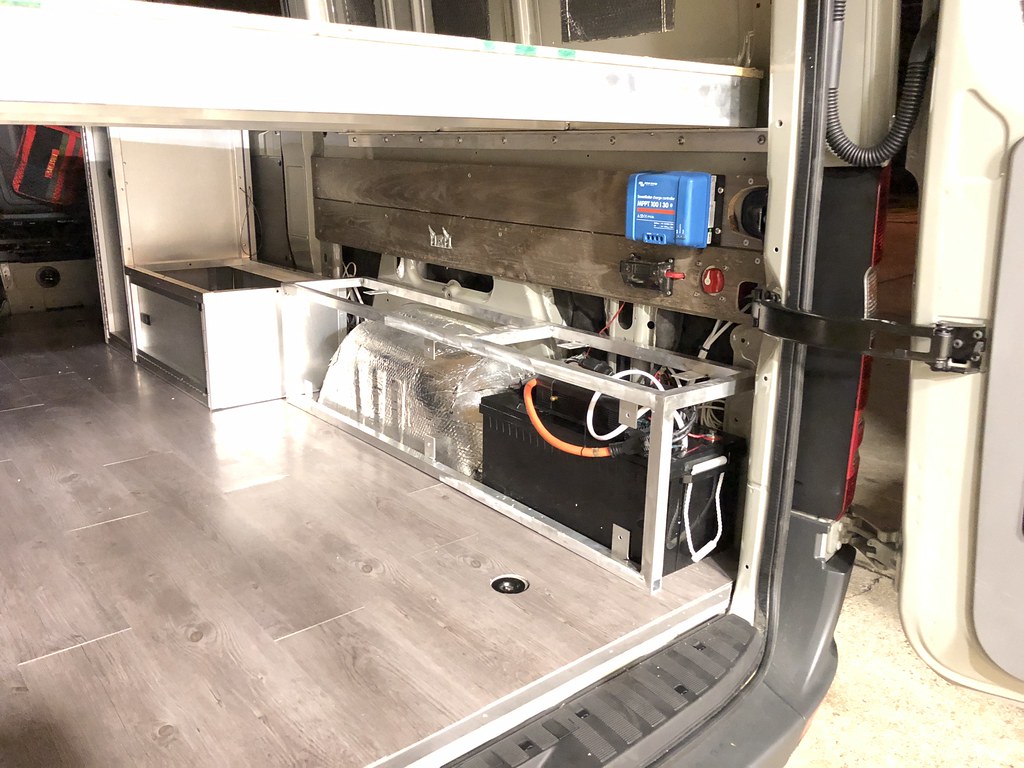 Untitled by Grant Wilson, on Flickr
 Untitled by Grant Wilson, on Flickr
 Untitled by Grant Wilson, on Flickr
 Untitled by Grant Wilson, on Flickr
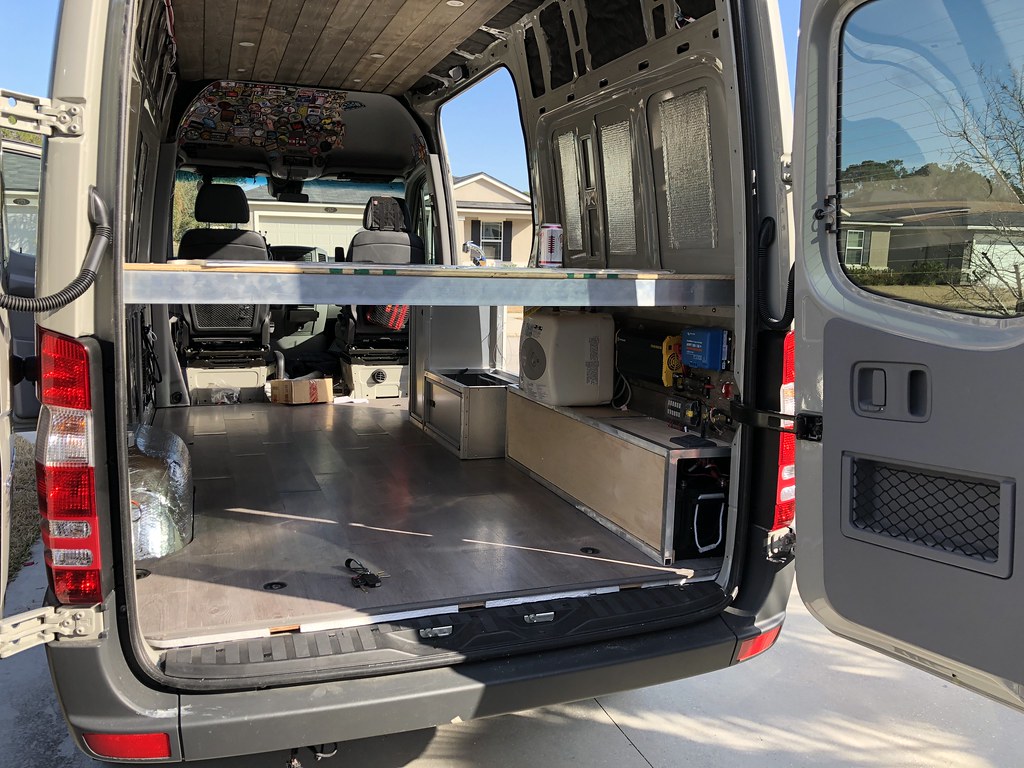 Untitled by Grant Wilson, on Flickr
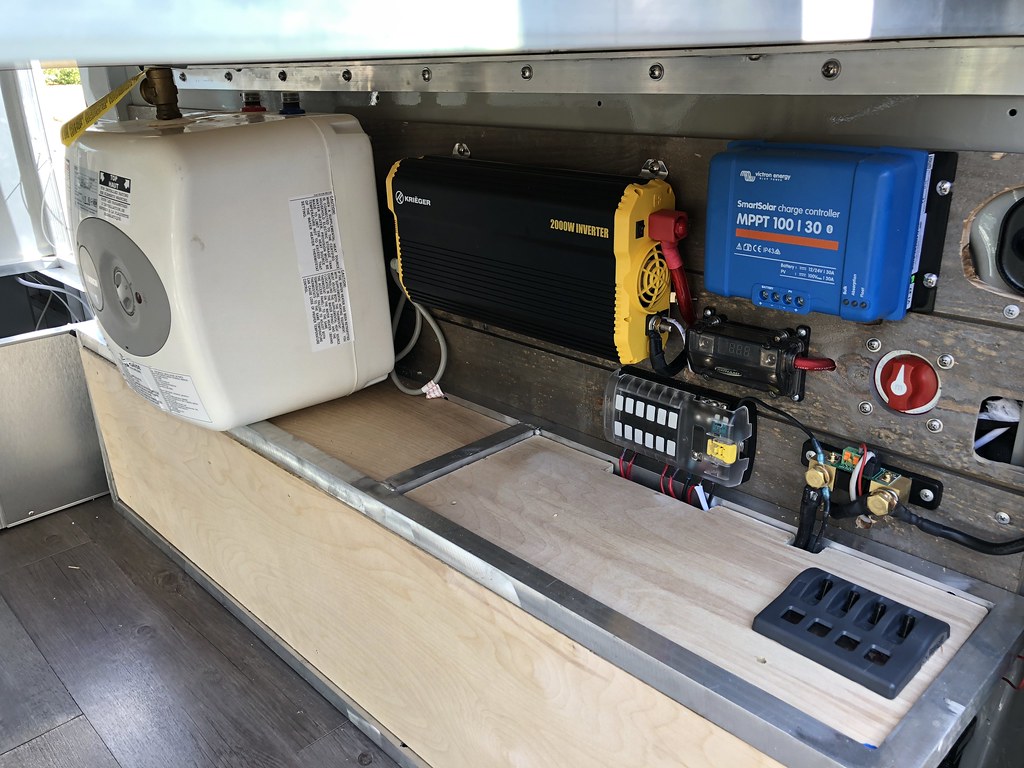 Untitled by Grant Wilson, on Flickr
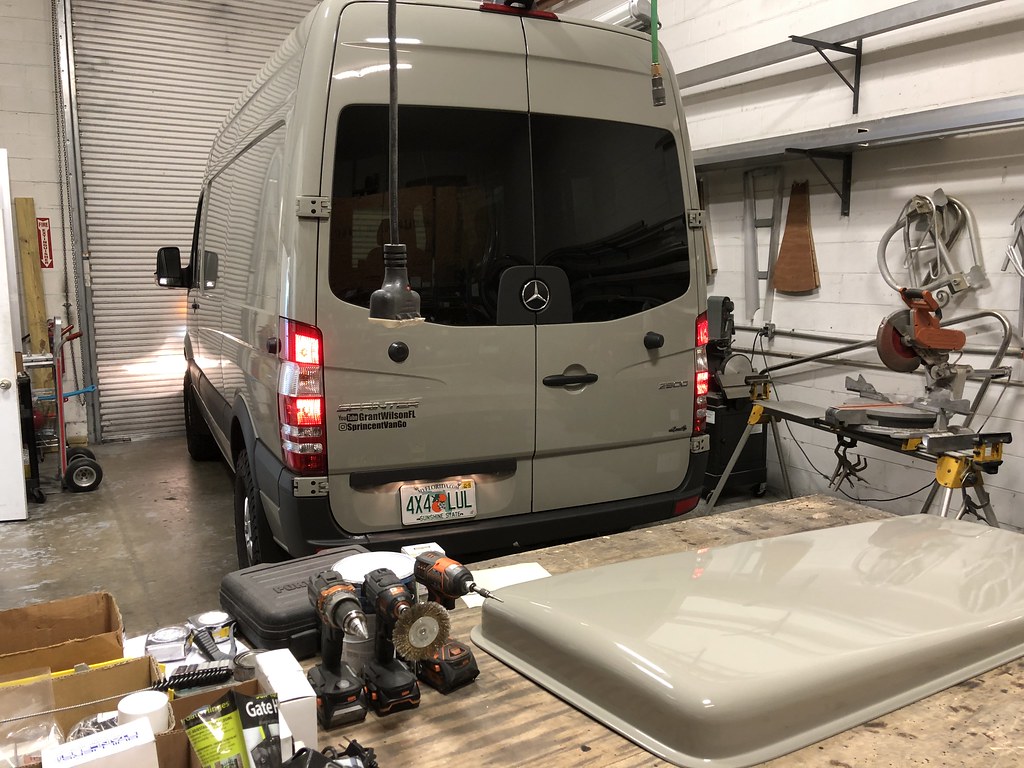 Untitled by Grant Wilson, on Flickr
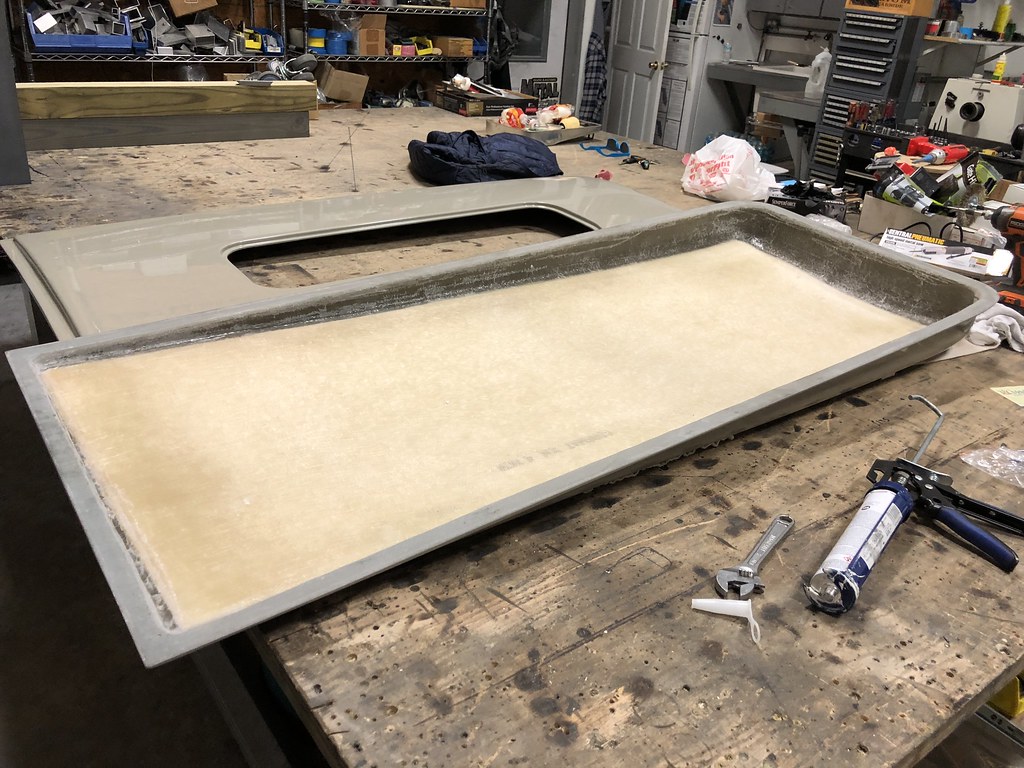 Untitled by Grant Wilson, on Flickr
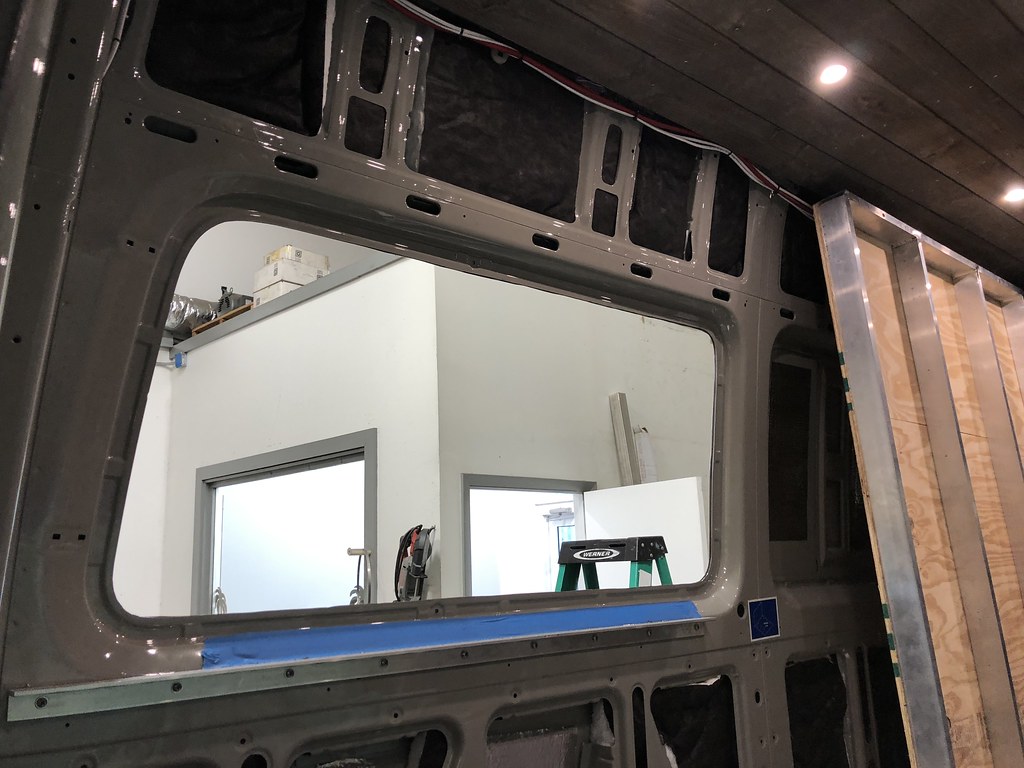 Untitled by Grant Wilson, on Flickr
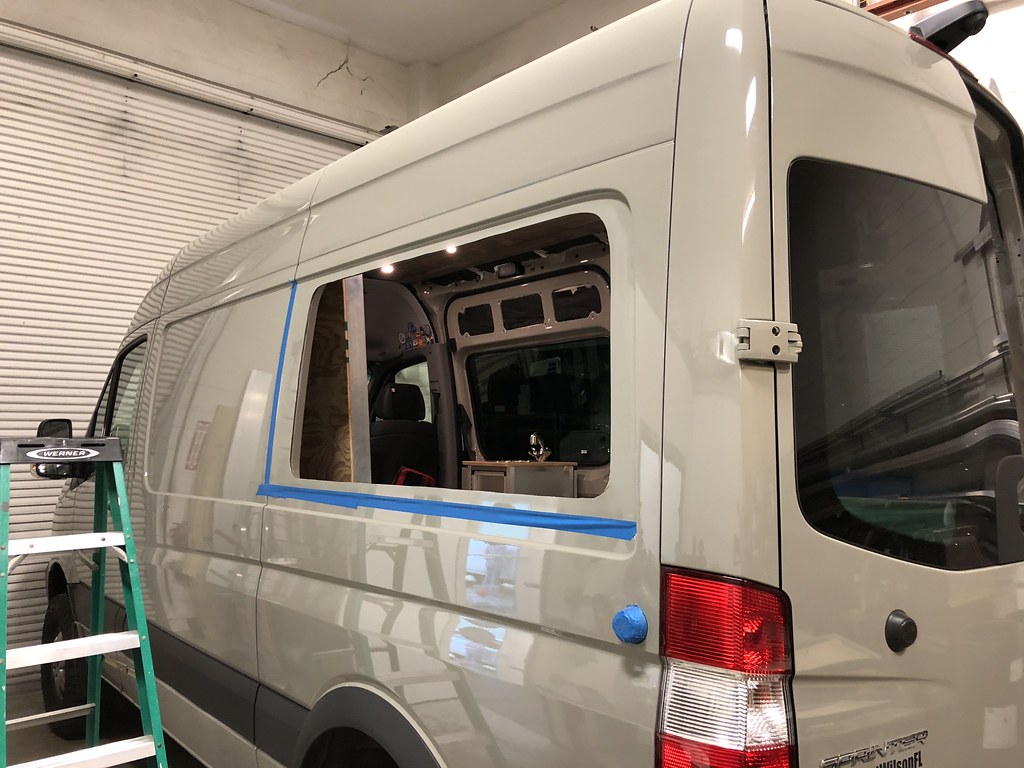 Untitled by Grant Wilson, on Flickr
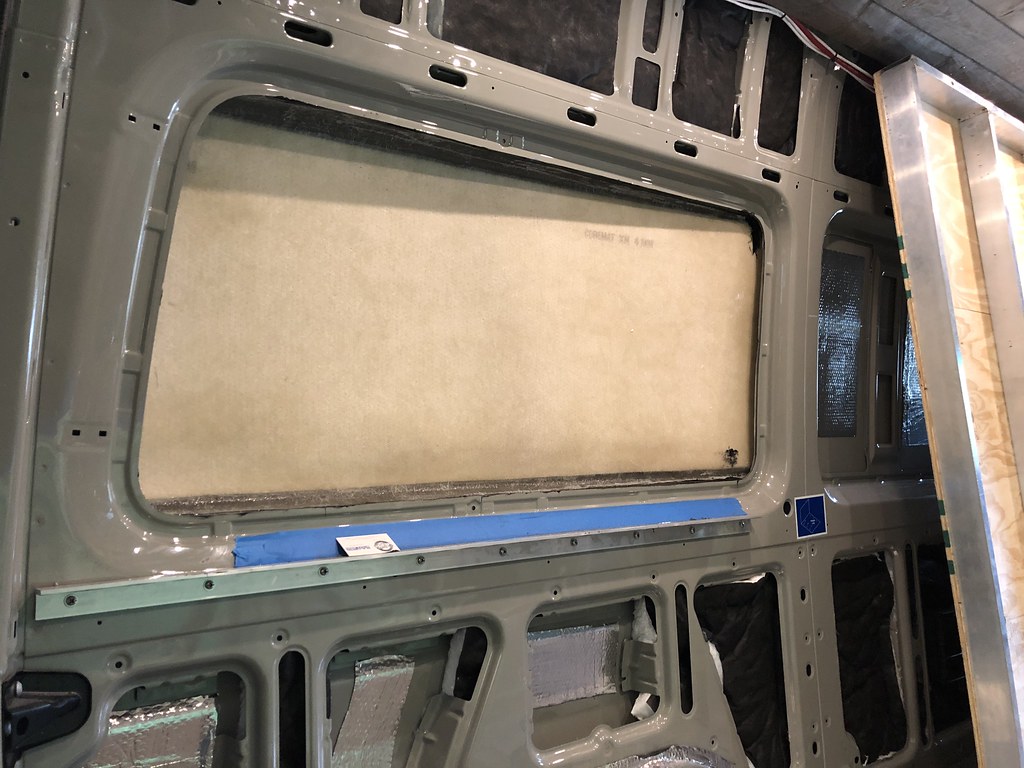 Untitled by Grant Wilson, on Flickr
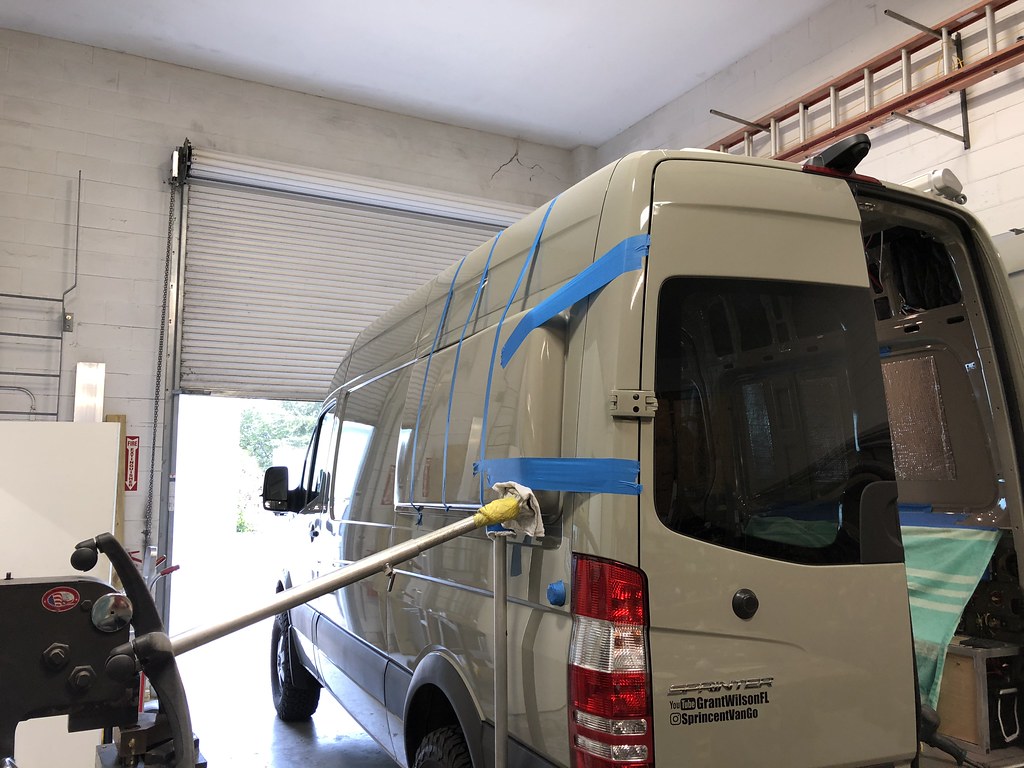 Untitled by Grant Wilson, on Flickr
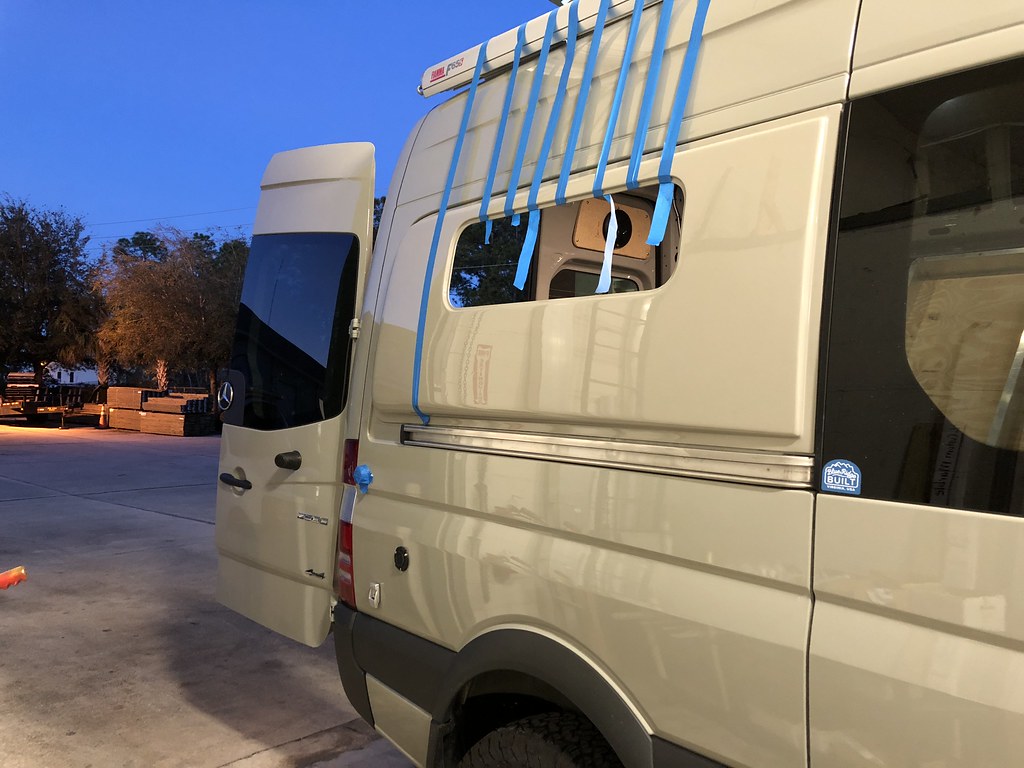 Untitled by Grant Wilson, on Flickr
 Untitled by Grant Wilson, on Flickr
 Untitled by Grant Wilson, on Flickr
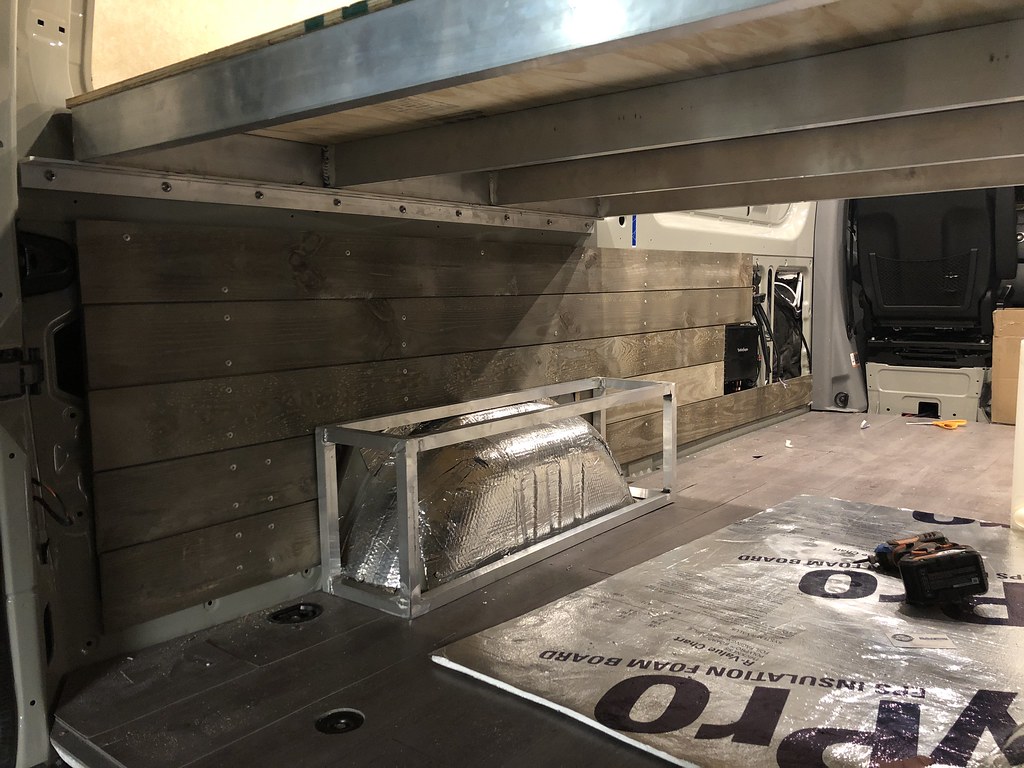 Untitled by Grant Wilson, on Flickr
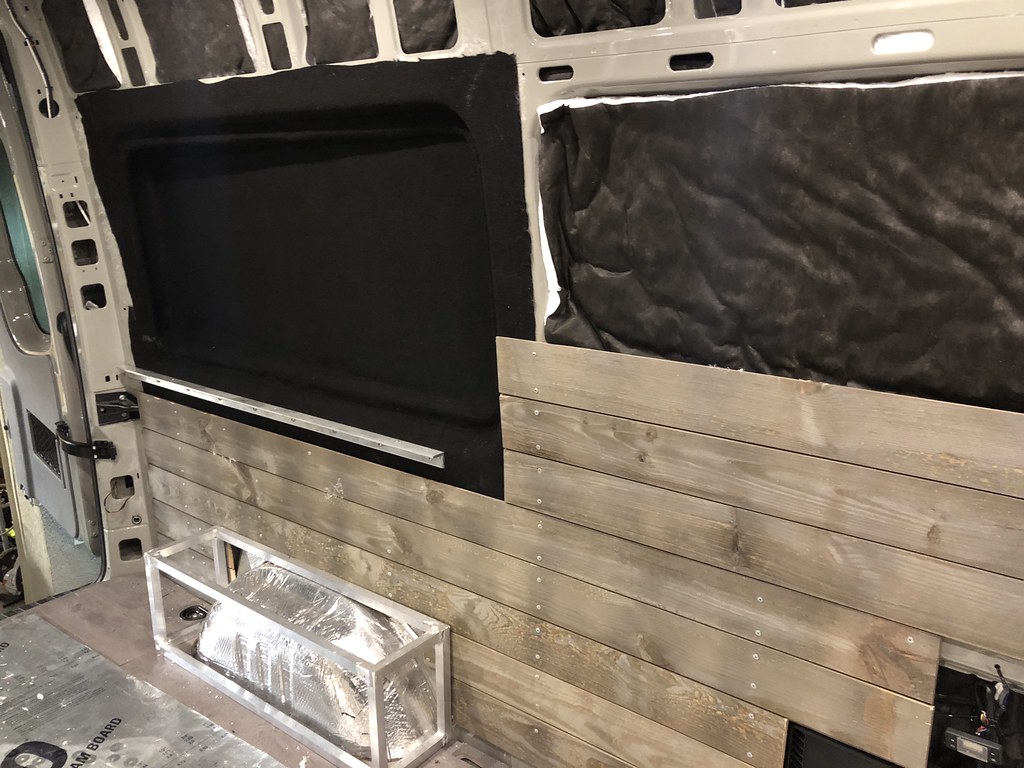 Untitled by Grant Wilson, on Flickr
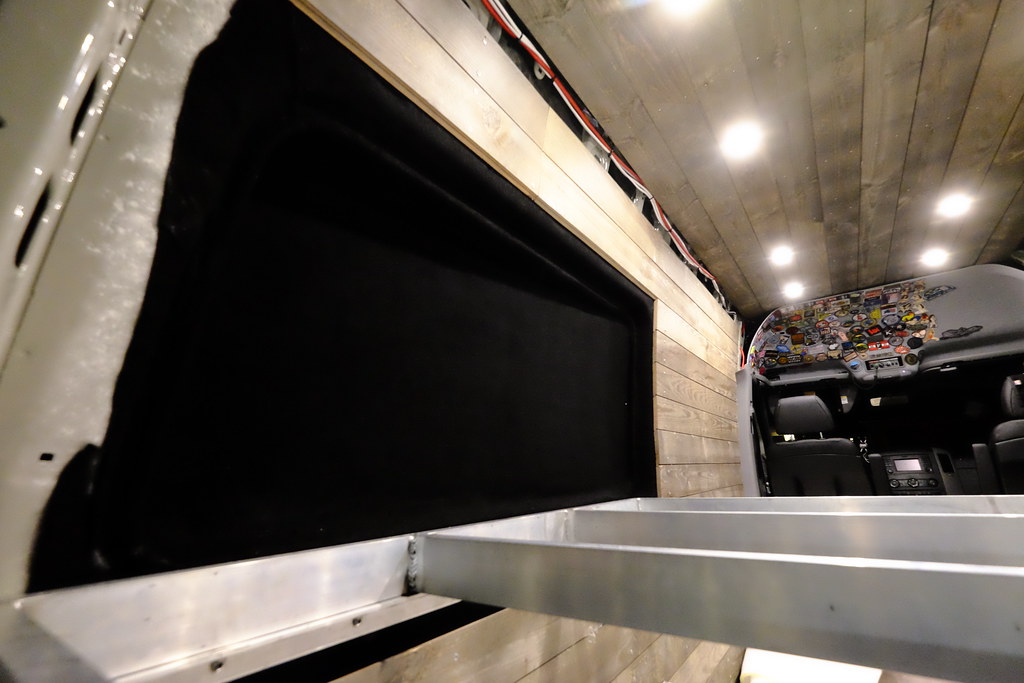 Untitled by Grant Wilson, on Flickr
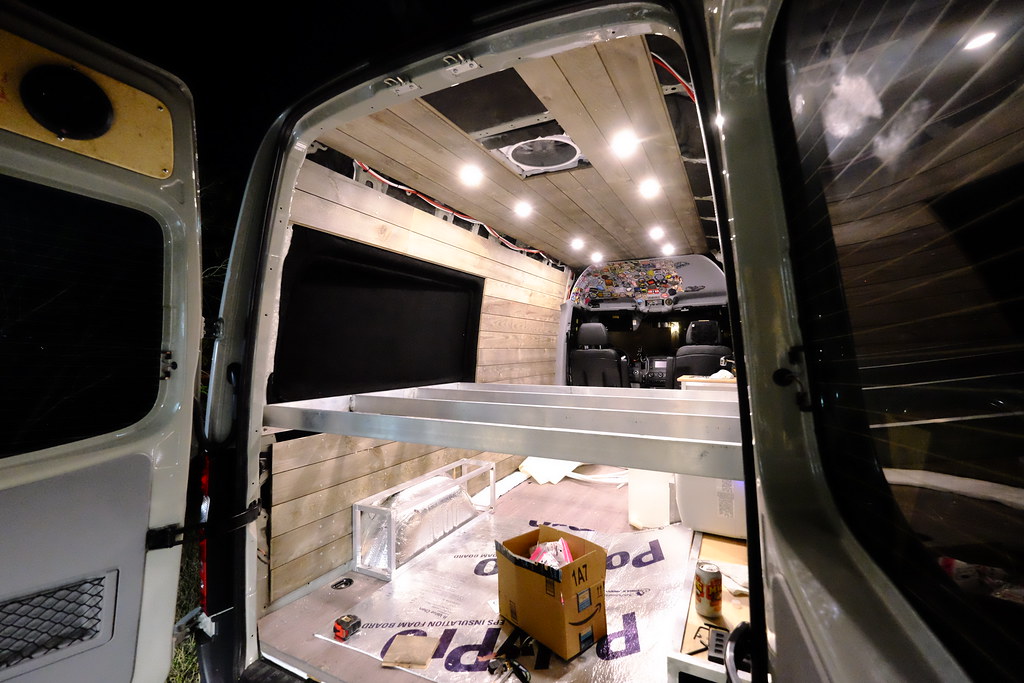 Untitled by Grant Wilson, on Flickr
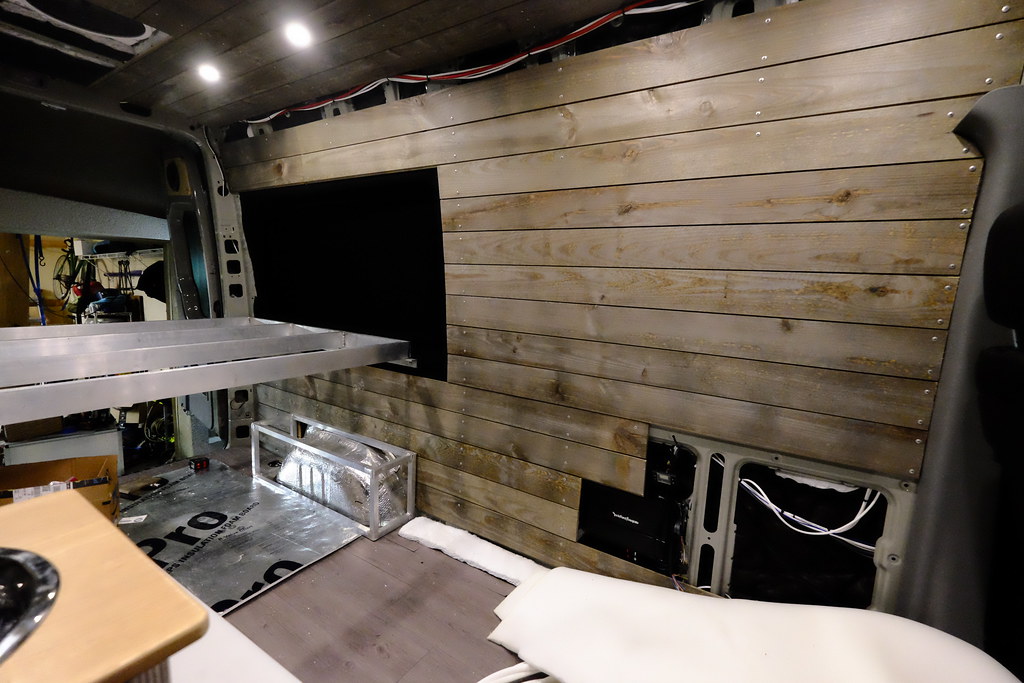 Untitled by Grant Wilson, on Flickr
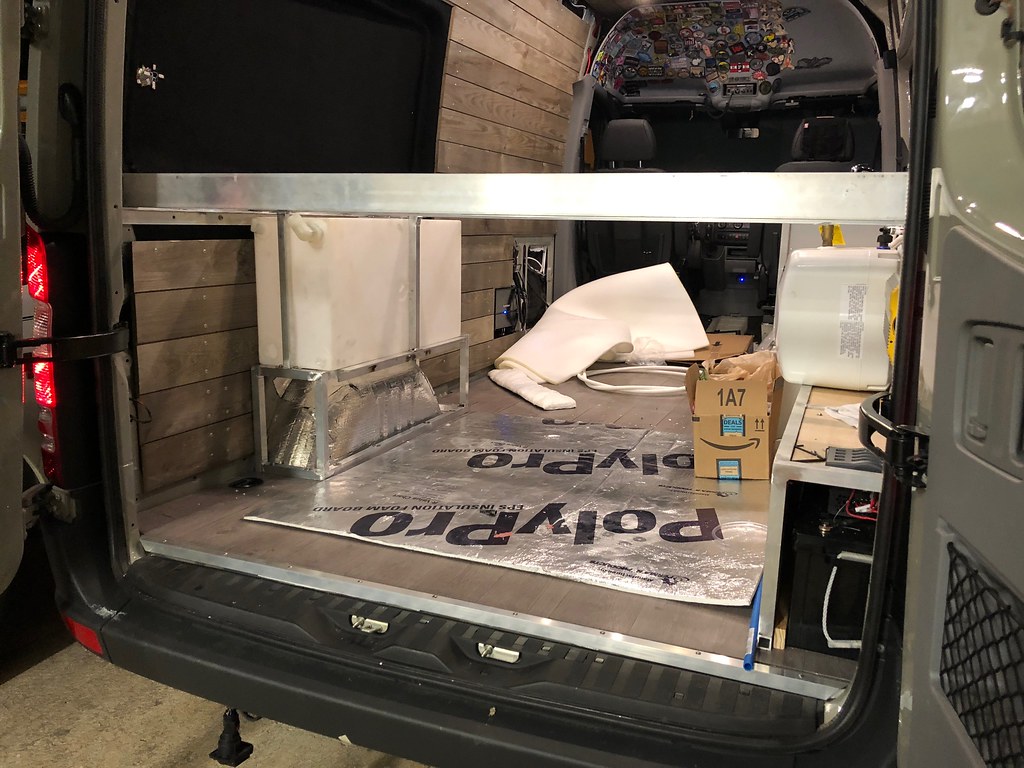 Untitled by Grant Wilson, on Flickr
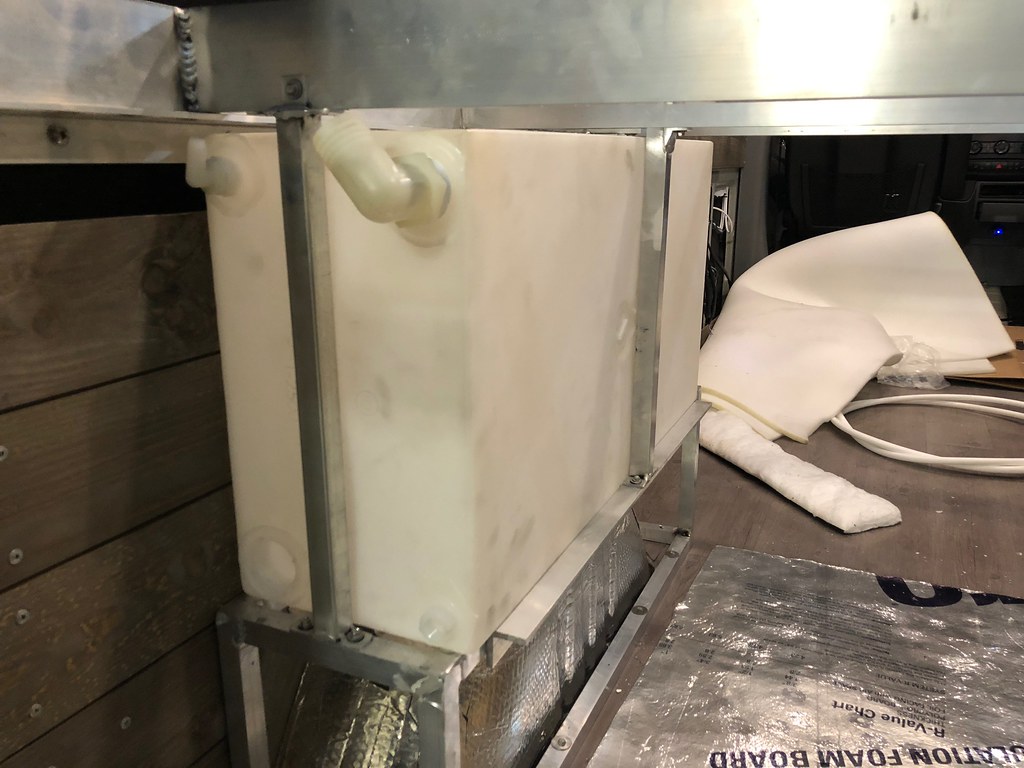 Untitled by Grant Wilson, on Flickr
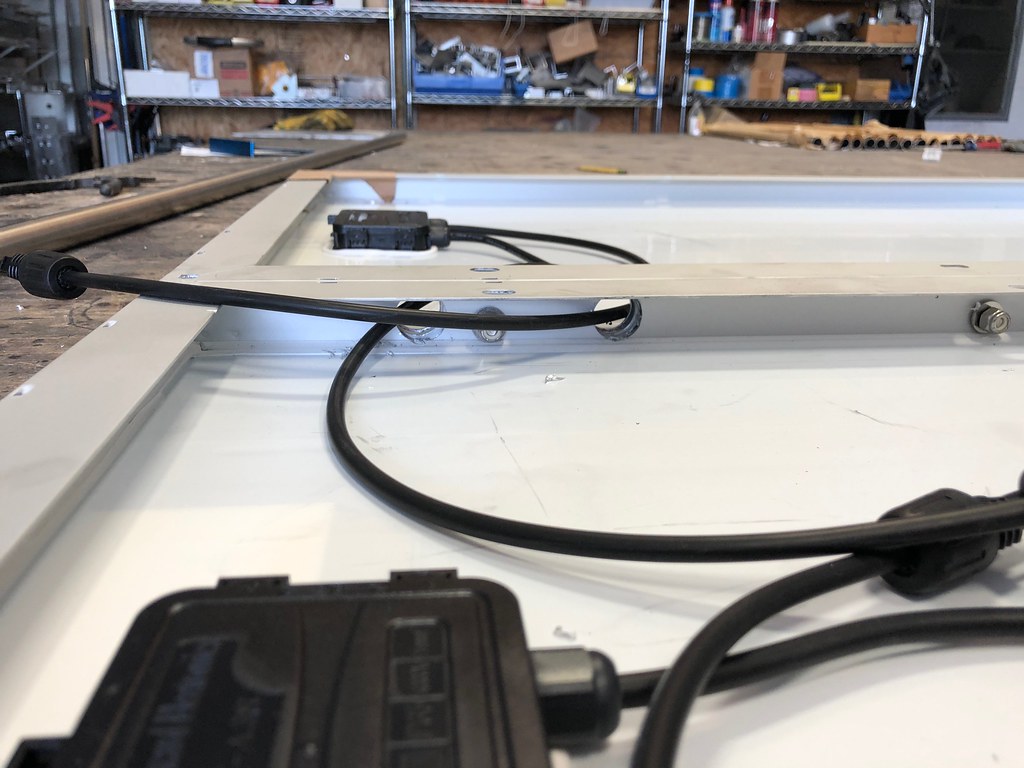 Untitled by Grant Wilson, on Flickr
 Untitled by Grant Wilson, on Flickr
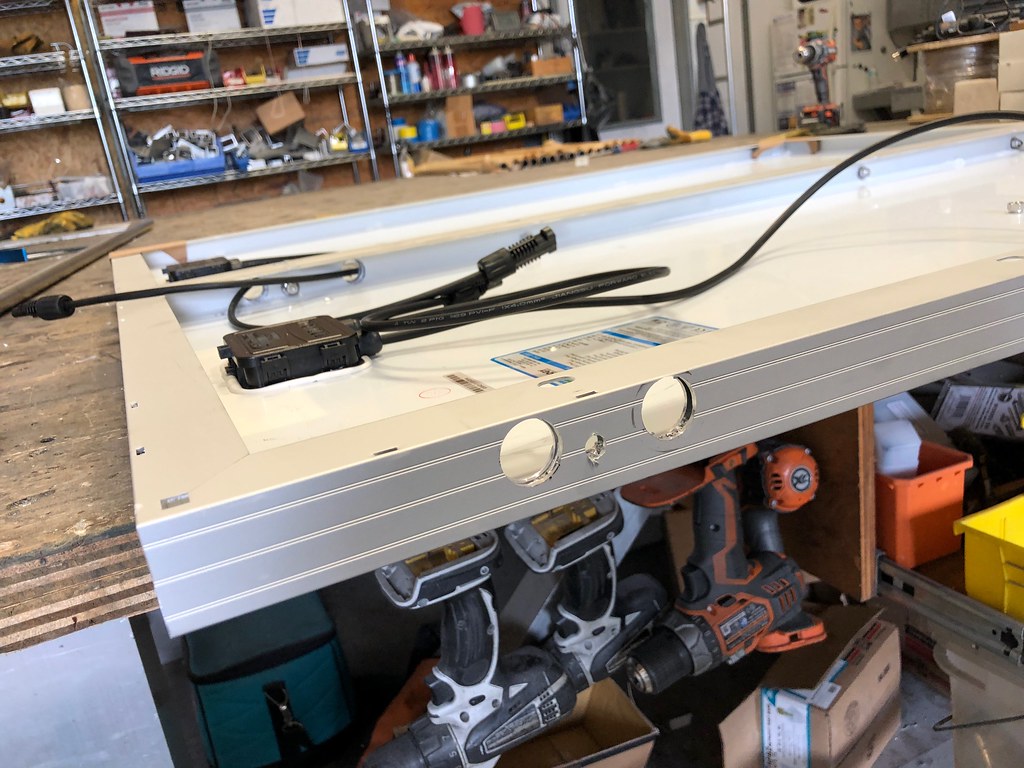 Untitled by Grant Wilson, on Flickr
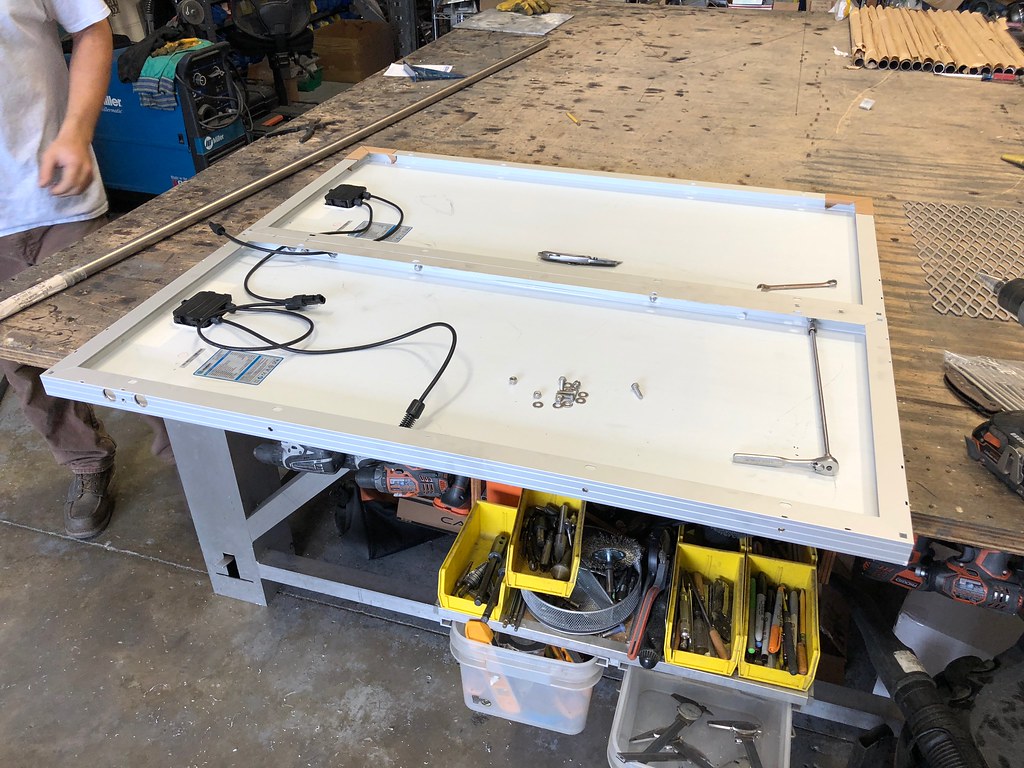 Untitled by Grant Wilson, on Flickr
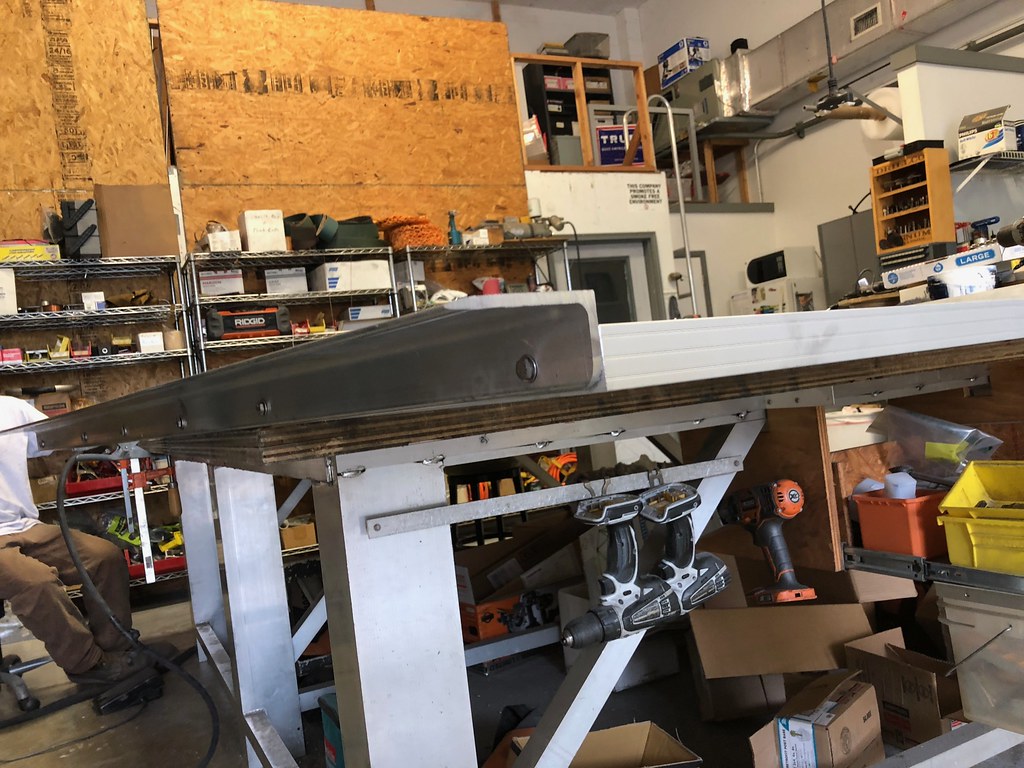 Untitled by Grant Wilson, on Flickr
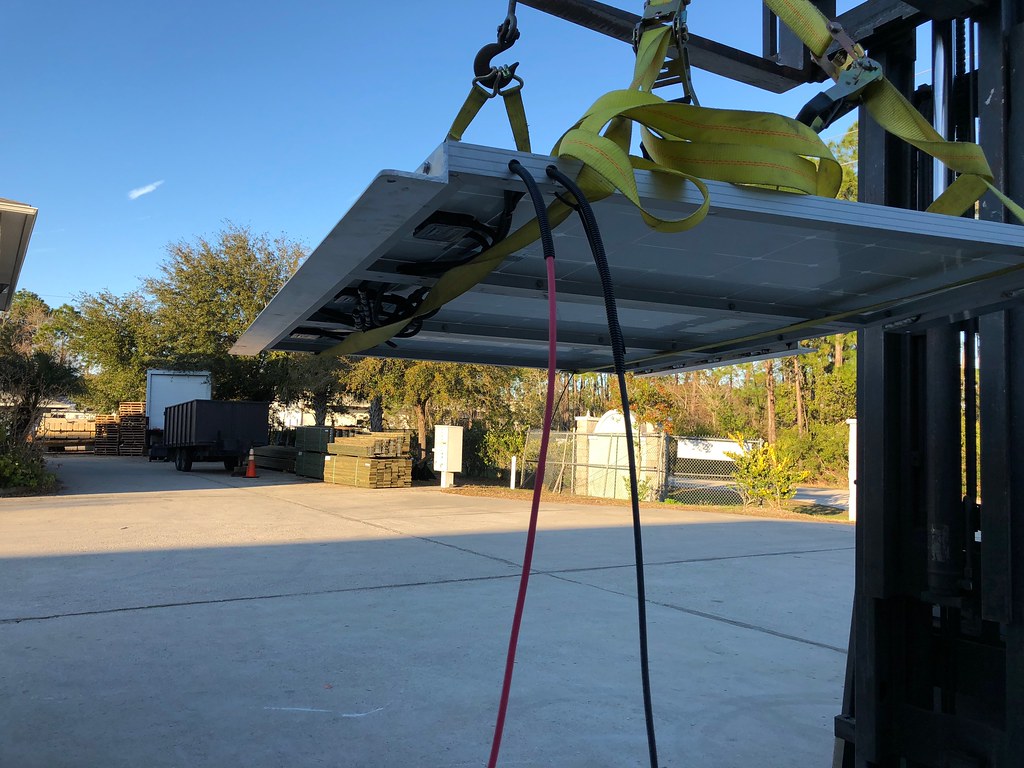 Untitled by Grant Wilson, on Flickr
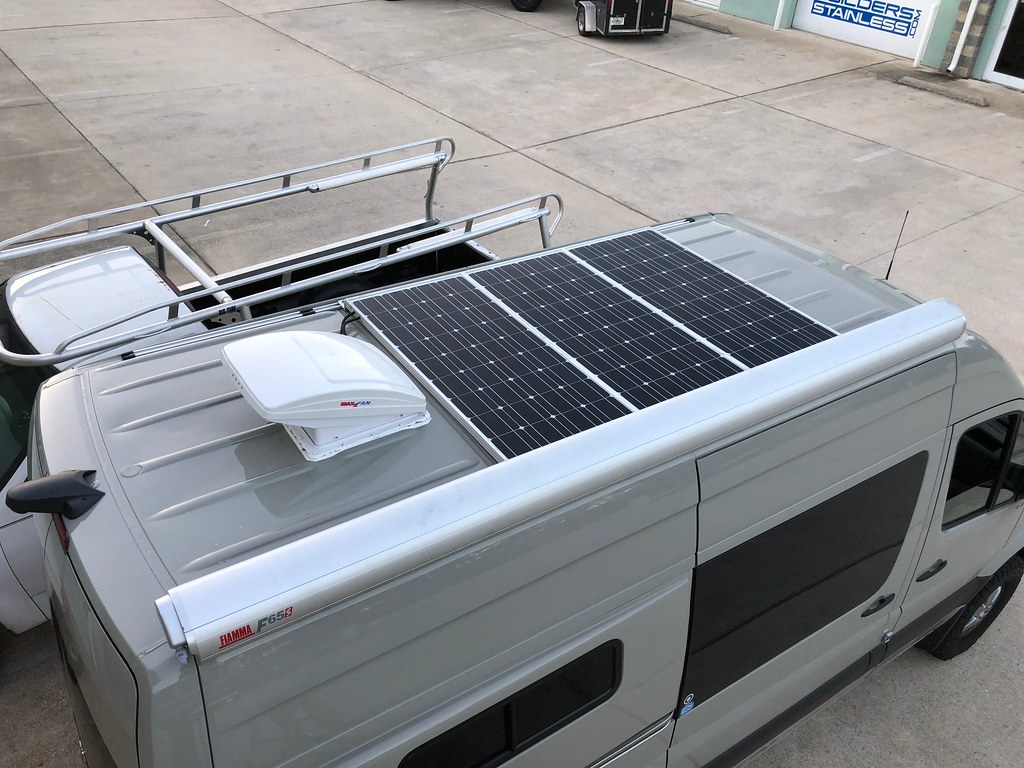 Untitled by Grant Wilson, on Flickr
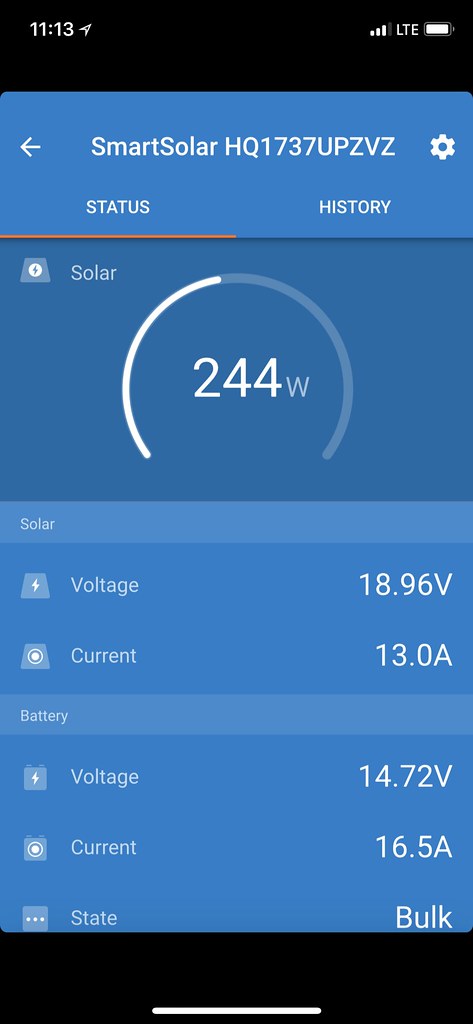 Untitled by Grant Wilson, on Flickr
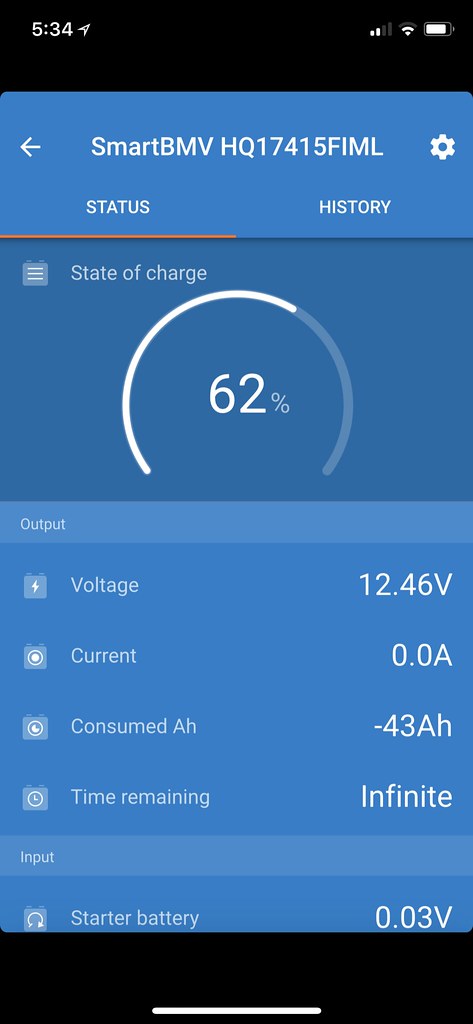 Untitled by Grant Wilson, on Flickr