Nullifier
Expedition Leader
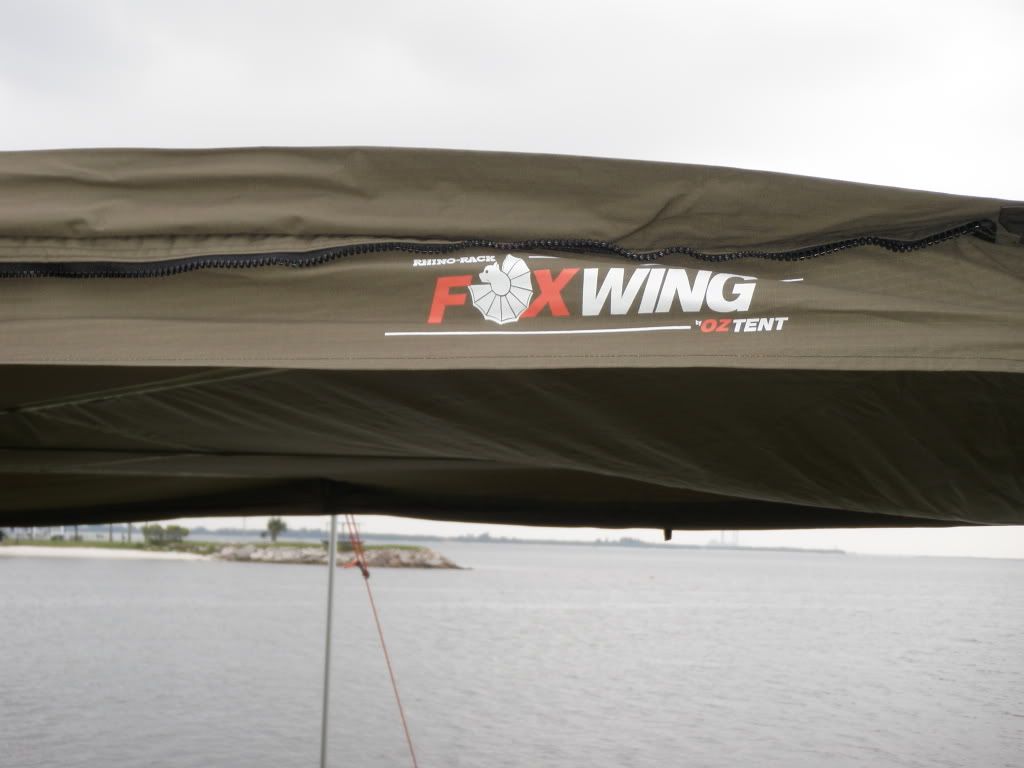
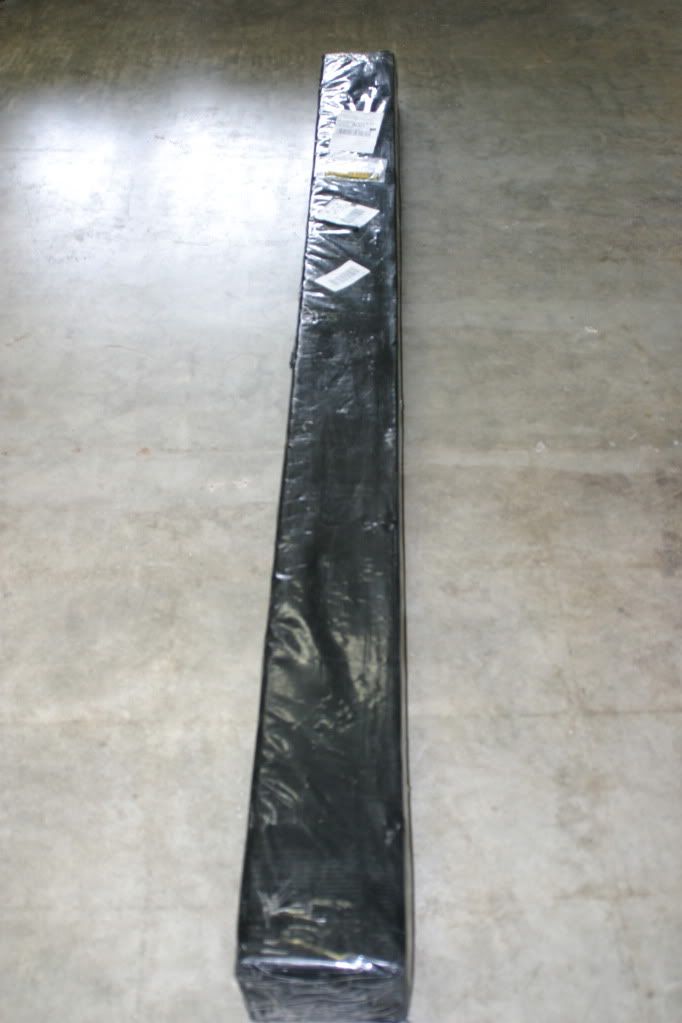
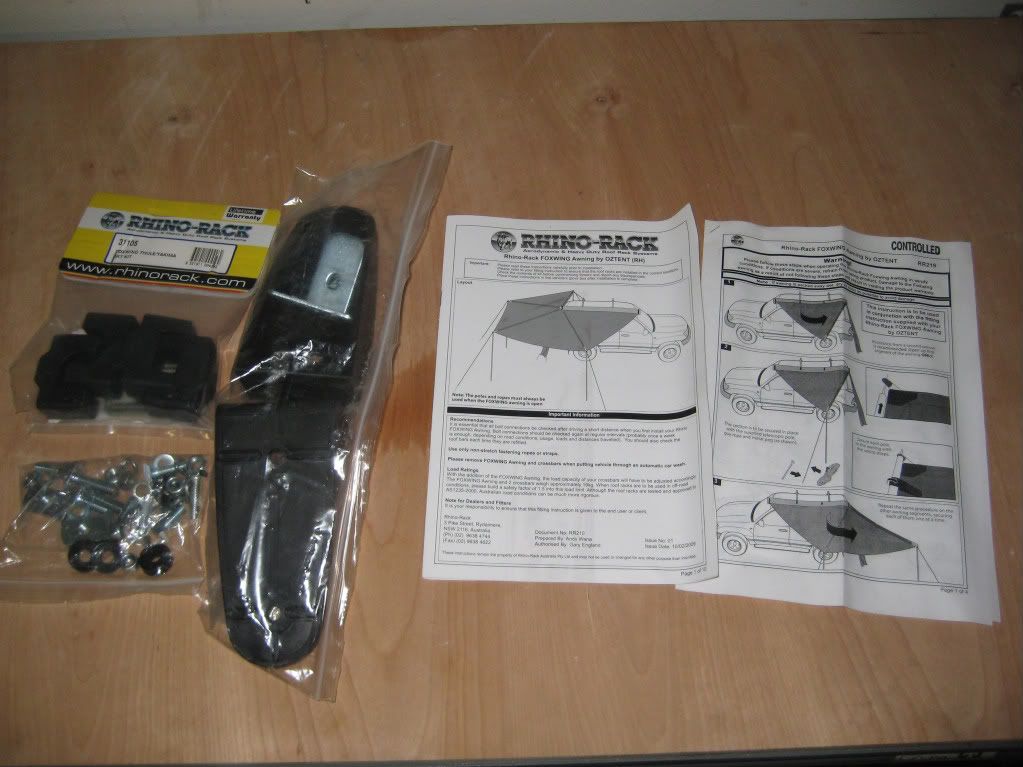
Well I finally join the ranks of awning owners. A new Foxwing awning was delivered by Oztent U.S.A.. I spoke with Randy who is nice guy, and has a lot of camping experience. He dropped my Foxwing in the mail to me a day or so later, and this is what I got.
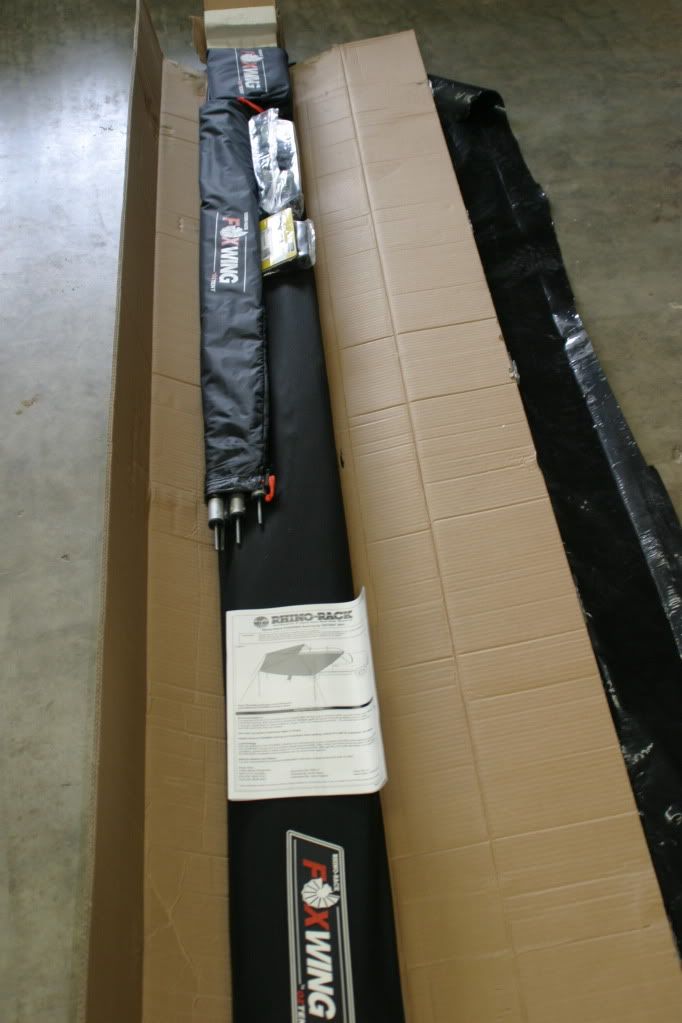
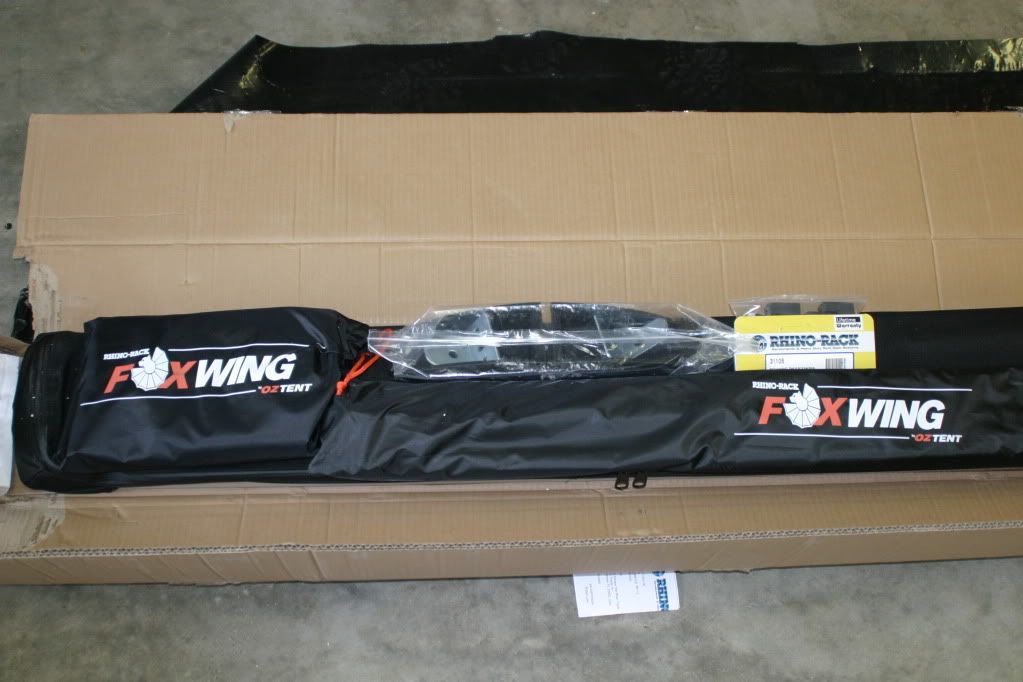
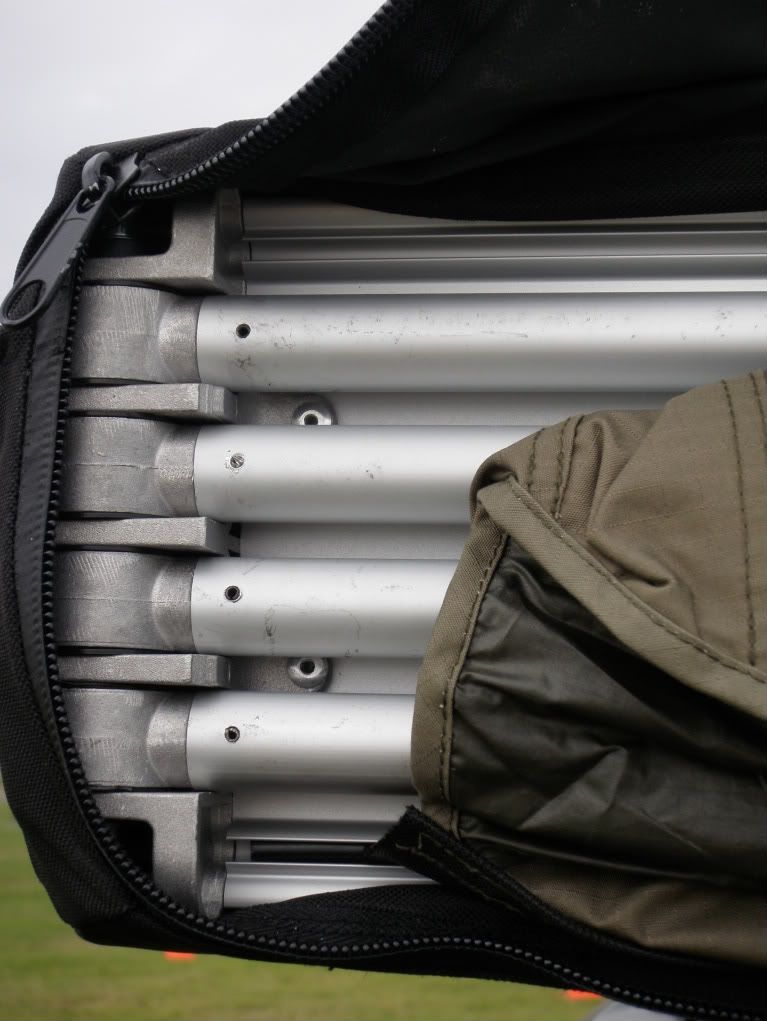
Peeling back the packaging revealed a lot of quality components. To say the least I was impressed right off the bat. I tend to look at most products with a close but no cigar award mentality. Since I wasn't ready to hand one out at this point like I usually am, we were off to a good start. Separating the components out made me discover quickly that who ever designed this unit was really into the details. I new right away that I was looking at only 5 minutes of assembly to get the Foxwing ready for the rack install.
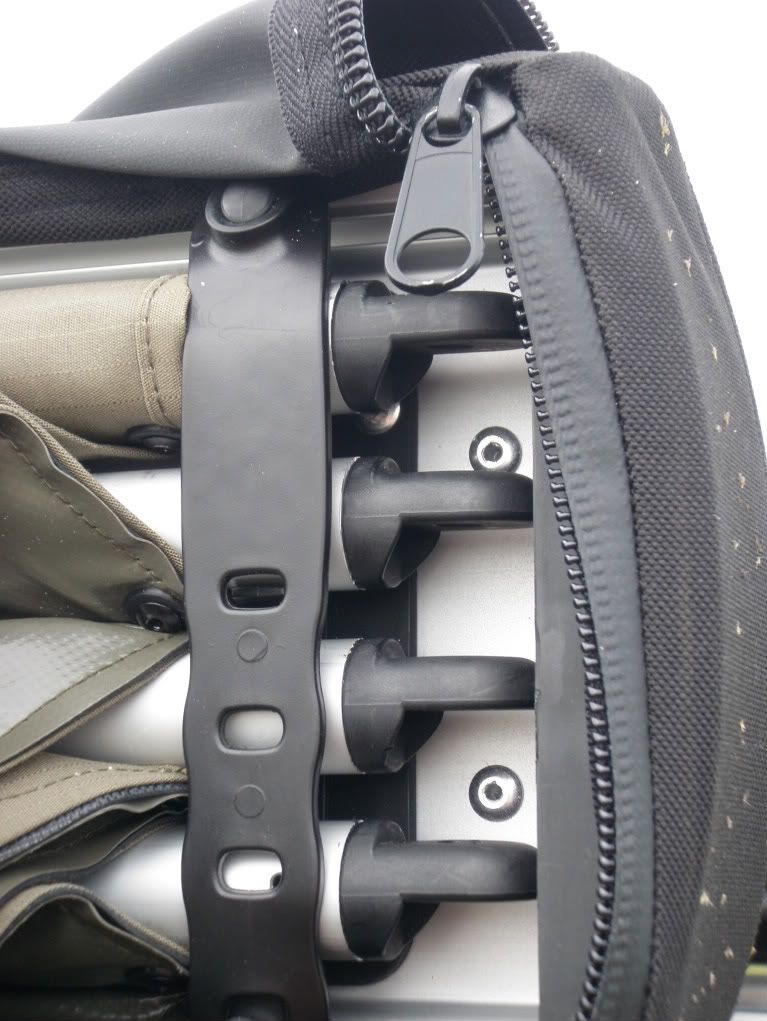
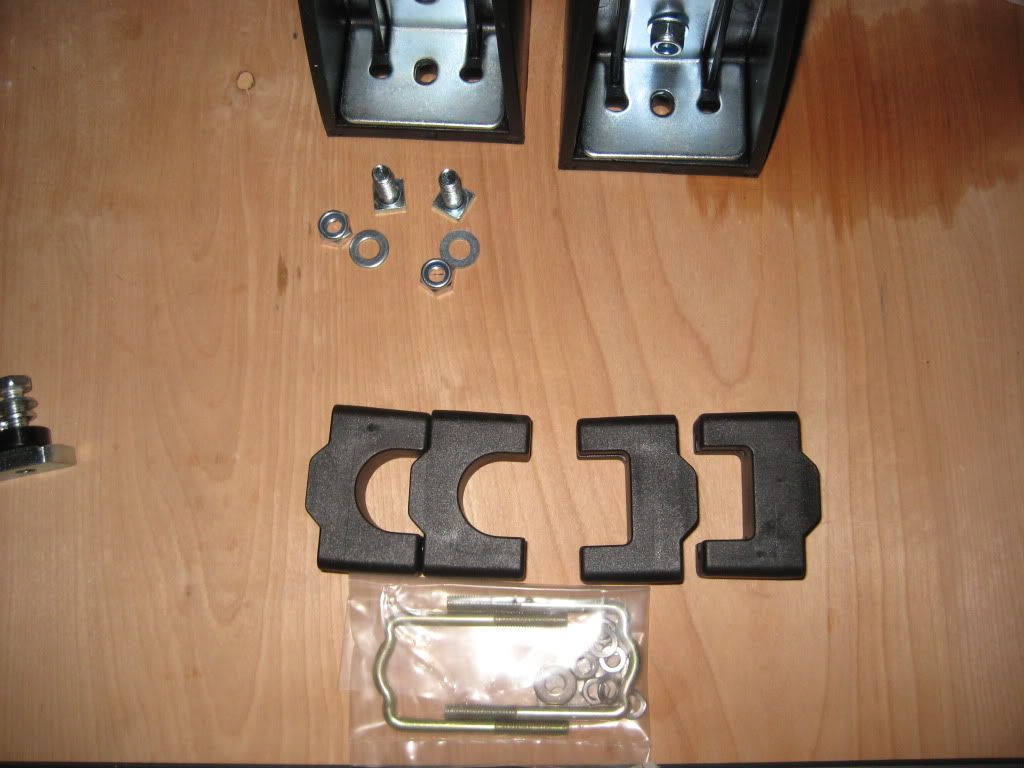
The standard mounting bracket is a really robust injection molded piece. The base of the bracket is roughly 10mm thick, with the main vertical support 5 mm thick. This is substantially thicker then any Yakima or Thule tower and it is supporting minimal weight. The standard unit fits crossbars like Trac-rack, Thule Xsporter or Rhino Rack. Randy asked me what type of rack I was mounting it to, then I was informed Oztent U.S.A. offered an optional kit to fit standard Yakima or Thule crossbars. If you are mounting it to these racks make sure to get that kit.
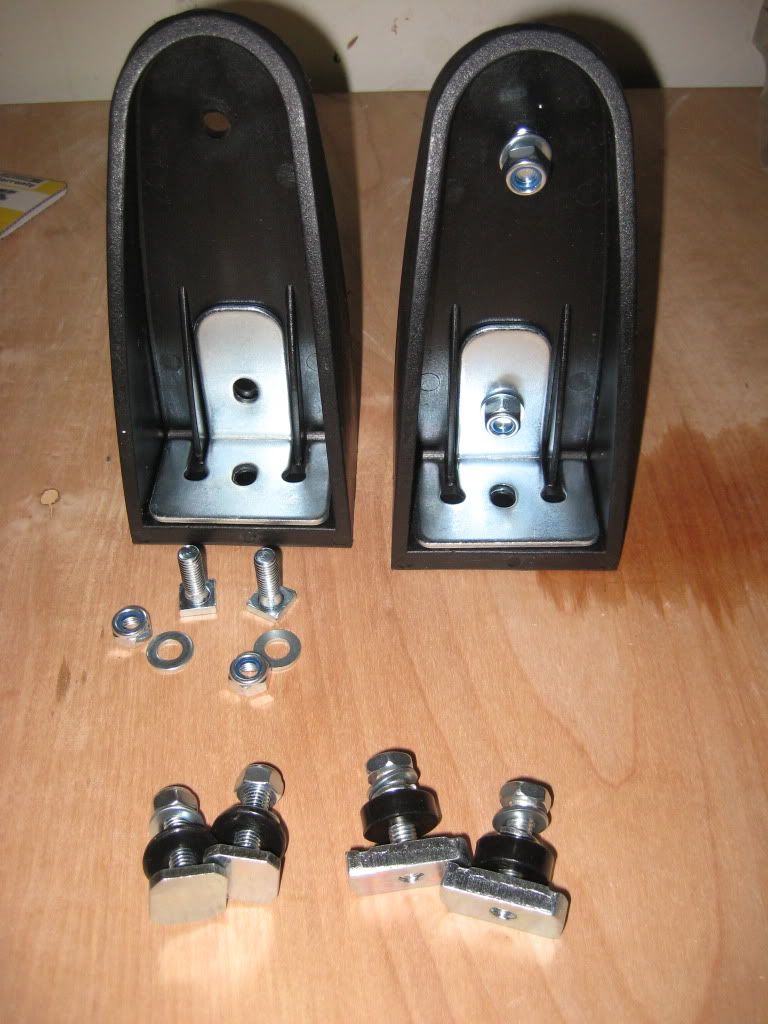
Now mounting the main bracket to the awning is simple. Just peel back one end of the canvas cover and drop the 4 square head bolts into the awning tracks. Then put the brackets on the bolts and tighten with a 14mm socket. Leave them loose enough to slide the brackets, and you are now ready to put the Foxwing on the roof rack!
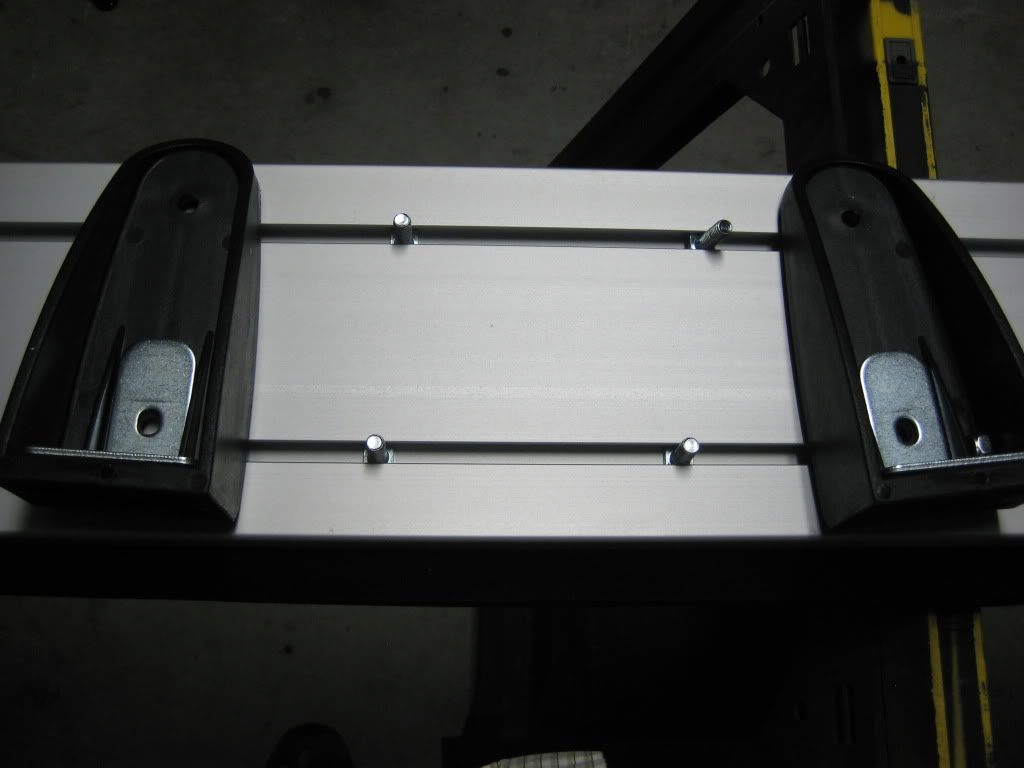
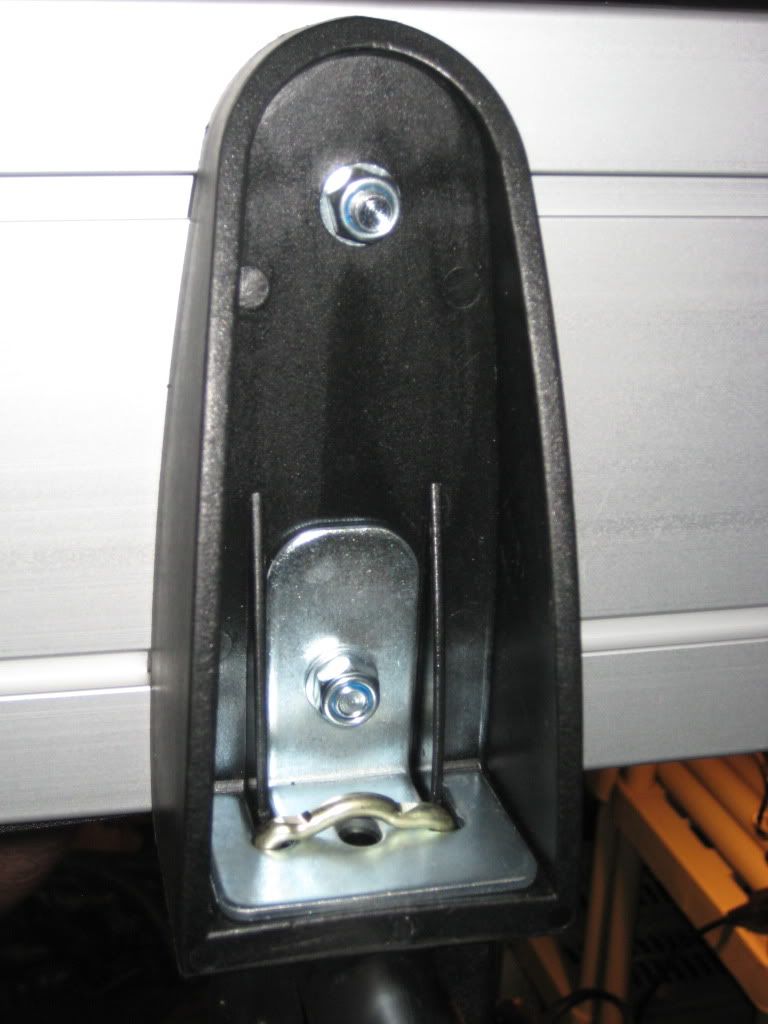
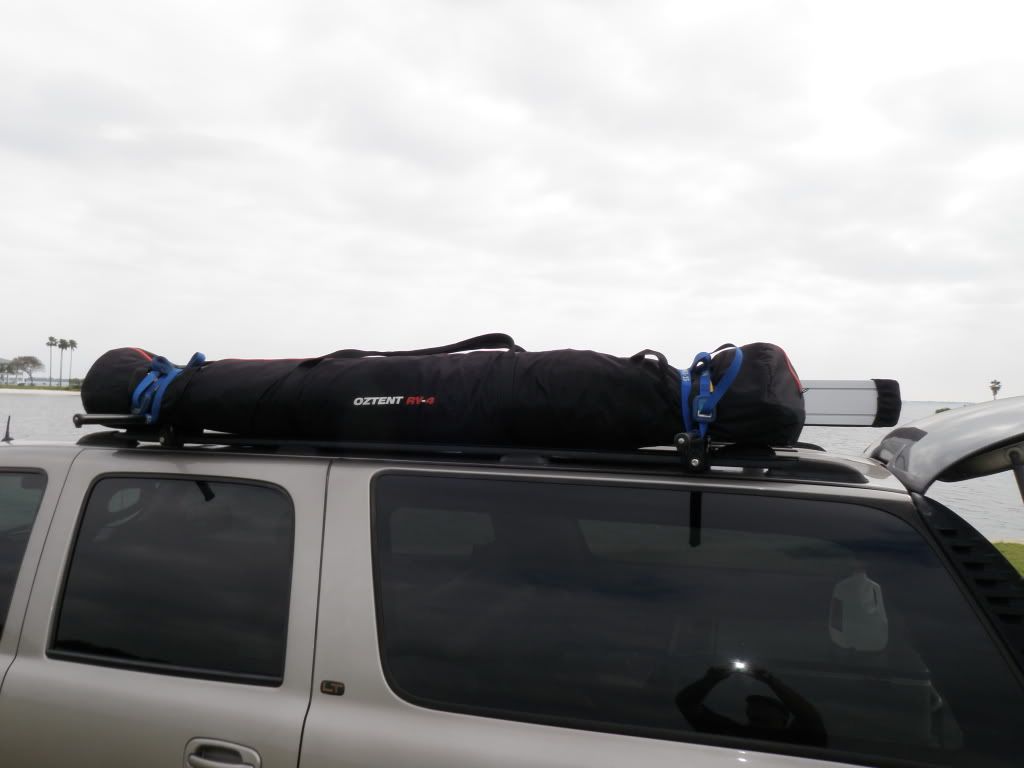
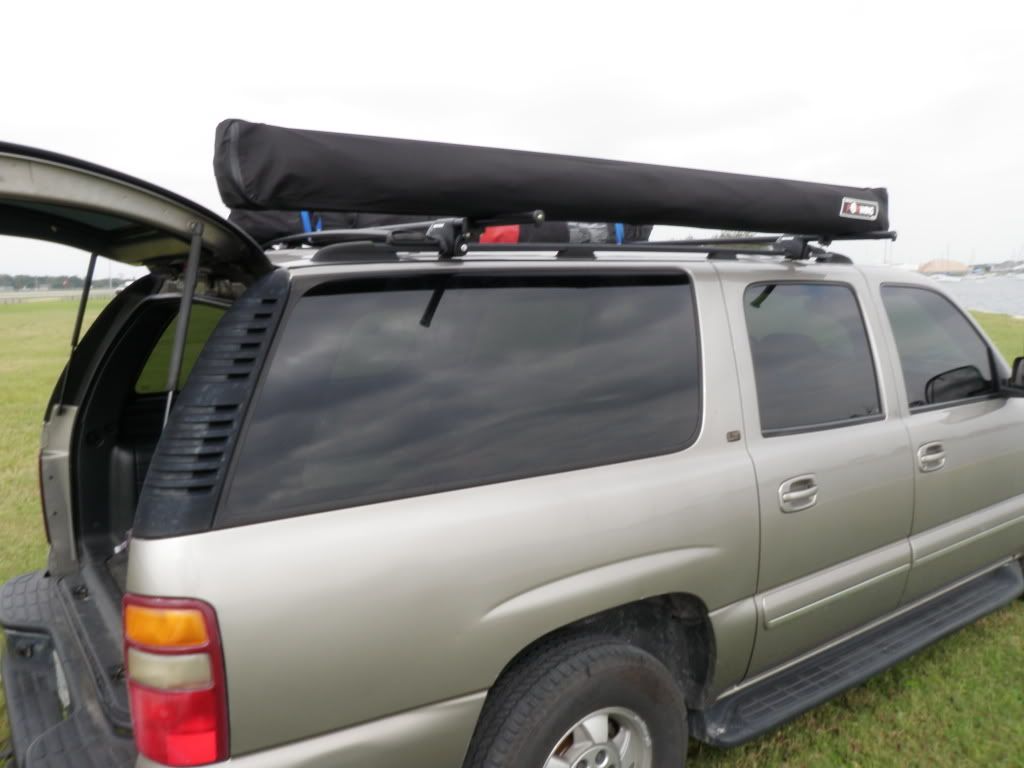
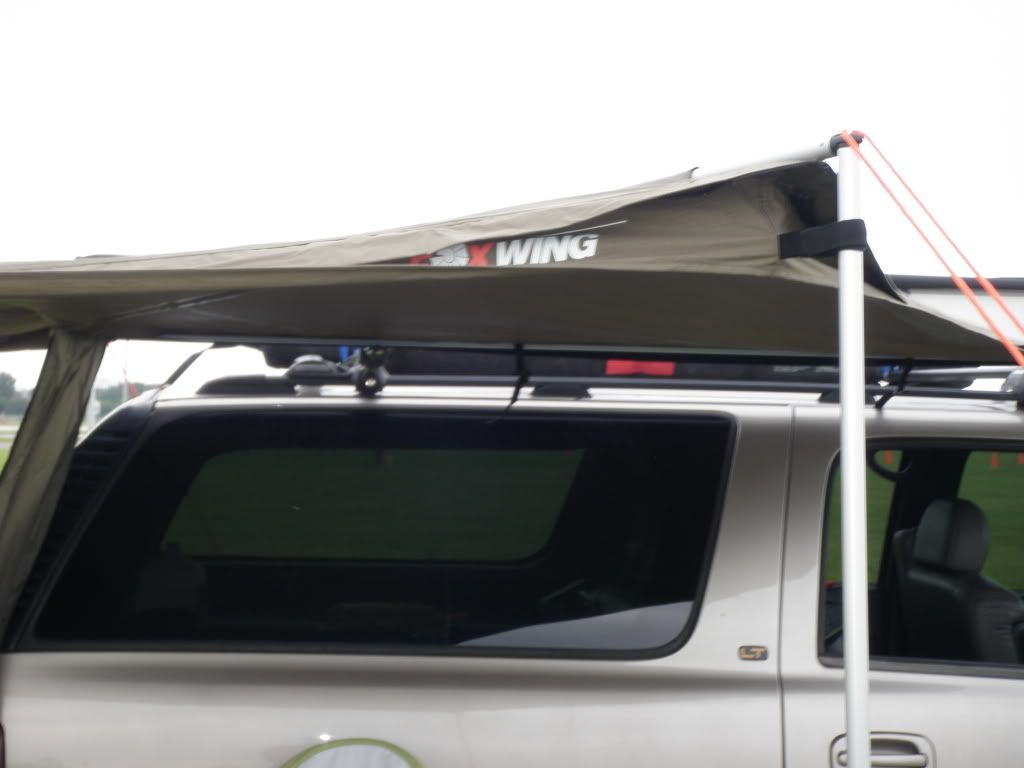
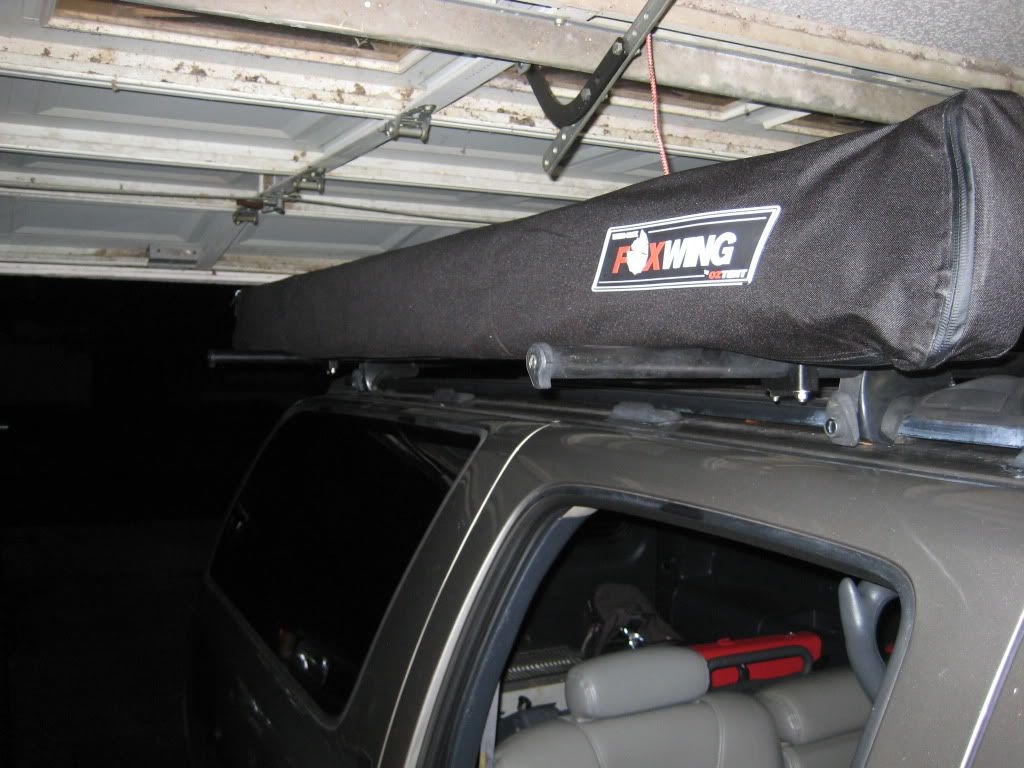
With the awning sitting on the rack, I left the rear door of my Suburban open to see how far back the awning could go. I then installed it to the Yakima crossbars with the supplied adapter kit. A u-bolt through a beefy injection plastic bracket was all it took to put the Foxwing on the roof. Once tightened with a 10mm socket I was ready to tighten down the main brackets. It was so easy a caveman could do it. Total install time for me was 15 minutes.

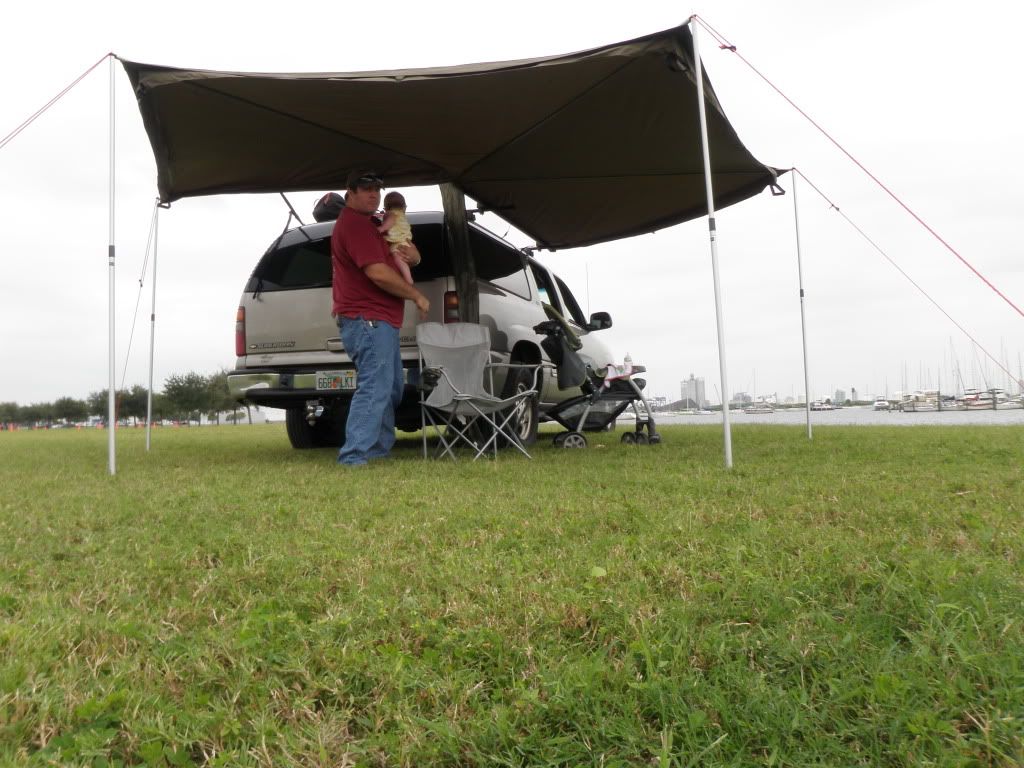
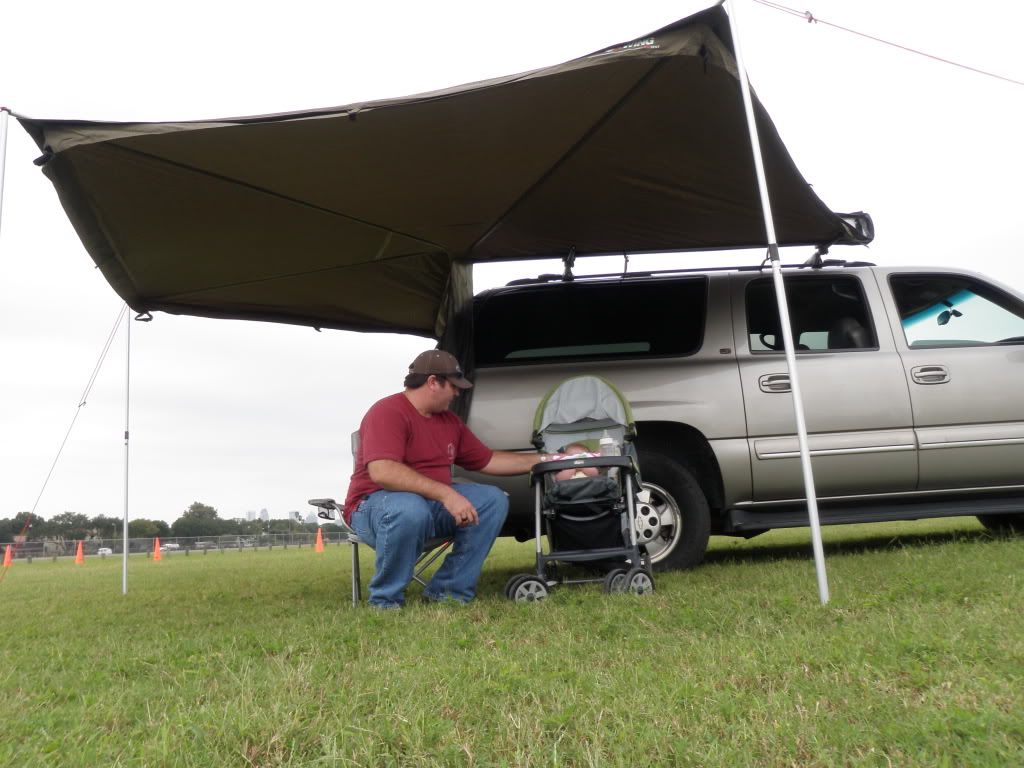
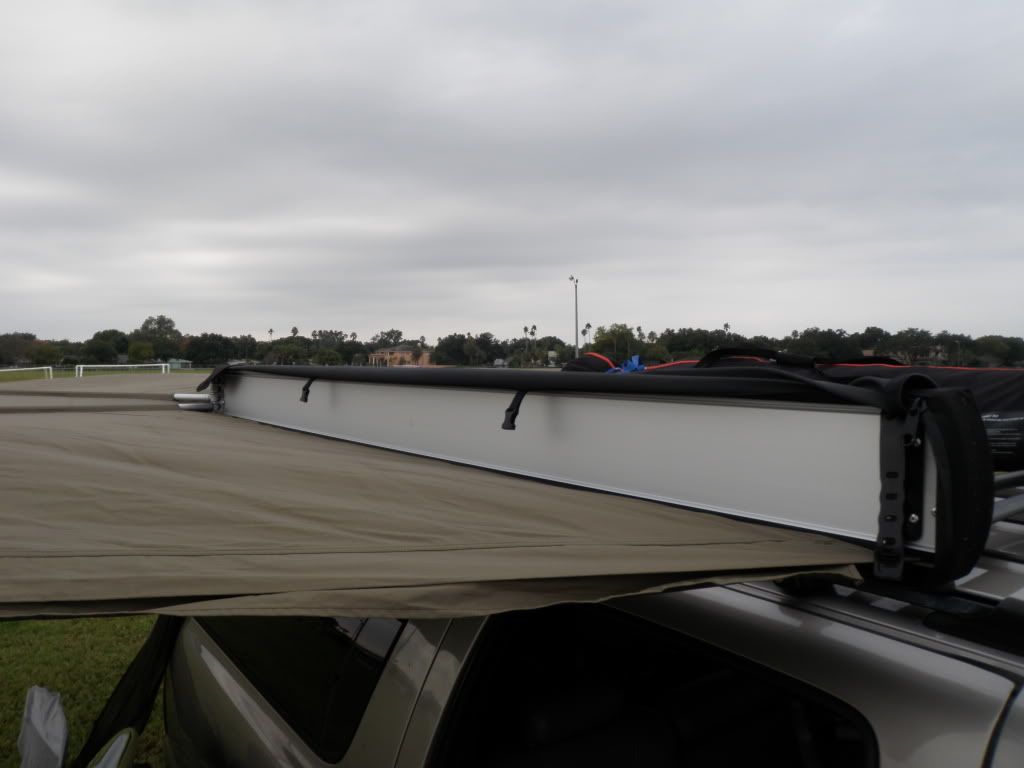
Here you can see the Foxwing awning mounted to the rack on my Suburban, and yes I just made it in the garage with 2” of clearance. So a stock truck can make it into a standard 84” tall garage no problem.
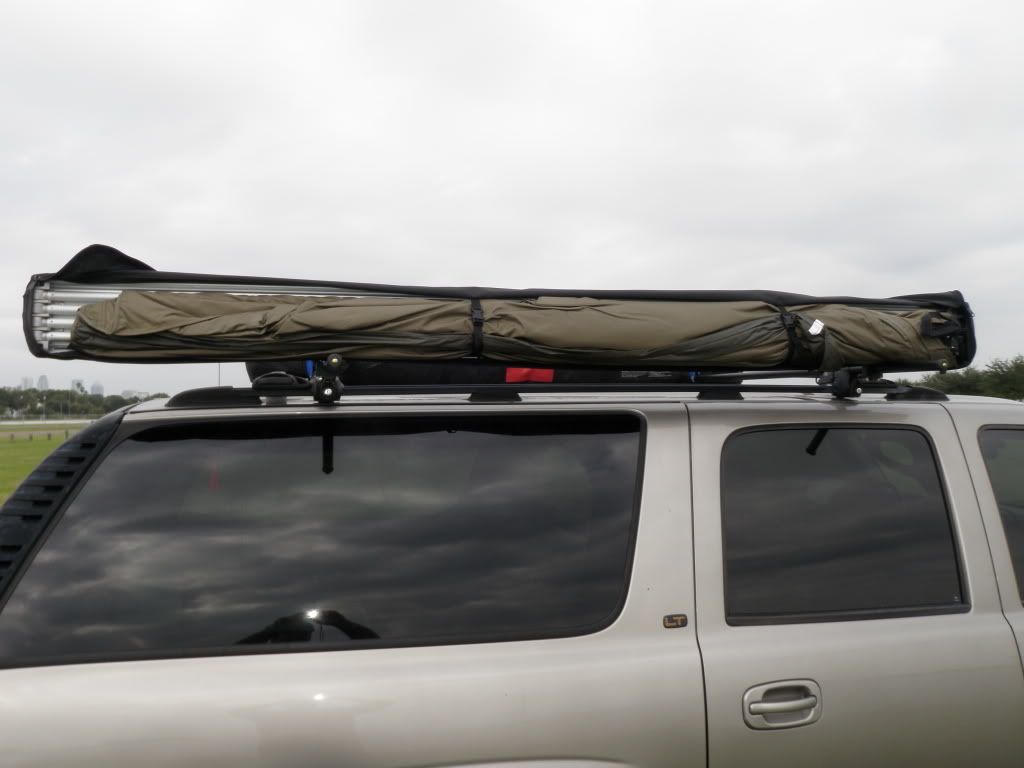
Here are some additional stats on the foxwing based on my actual measurements.
O.A.L.: 8' 2.5"
Hieght: 6 7/8"
depth : 3.5"
Weight of awning and mountig hardware per digital postage scale: 35.25 lbs
Weight of the total unit including pole bag and stake out kit: 42.2 lbs
Most owners will be in the 35 lb catagory with what will be going on the roof.
Now before some of you say that is heavy, keep in mind the Foxwing is like haveing 3 traditional awning on your rig.
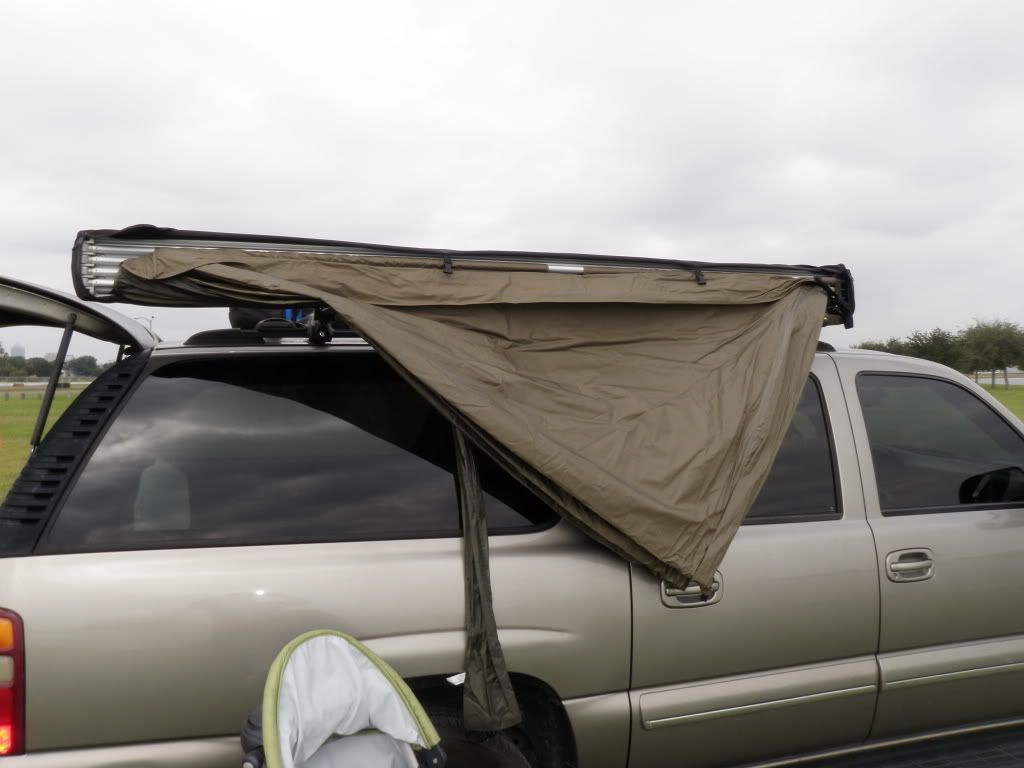
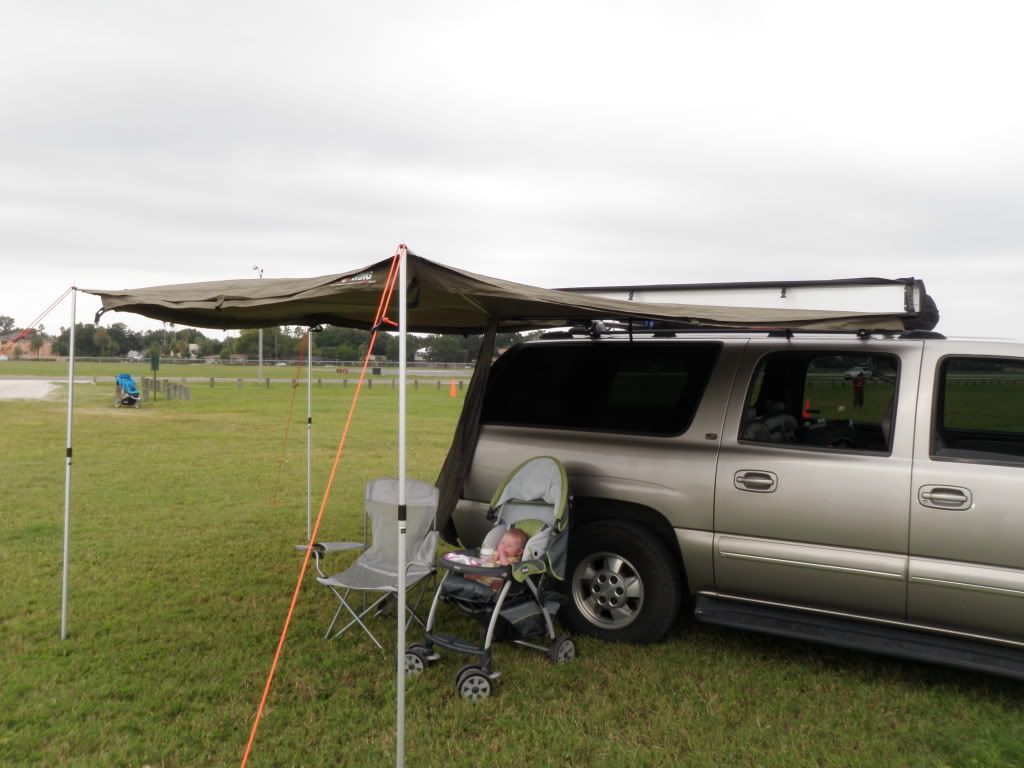
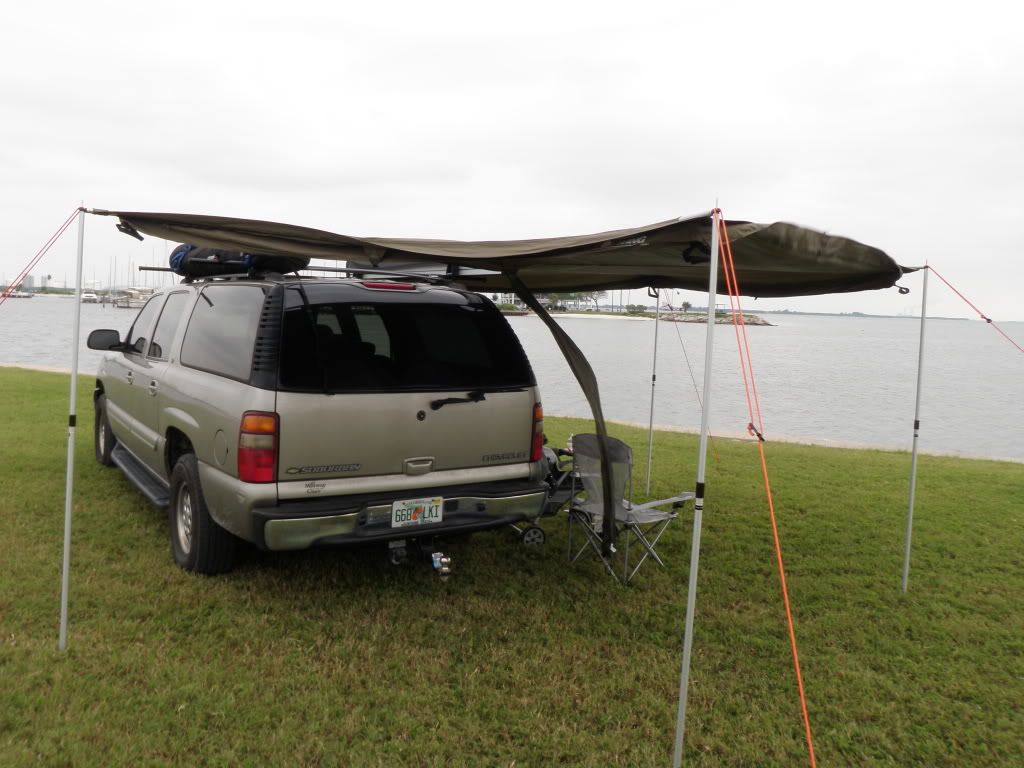
So far I have only had enough time to get it mounted. I am planning tomorrow to go out and get it deployed. We will try and interface our OZTENT RV-4 with it to see how versatile the Foxwing really is. I just want to say thanks to Randy at Oztent USA for making this an easy transaction! So far I am really happy with what I have seen from it.
Peeling back the packaging revealed a lot of quality components. To say the least I was impressed right off the bat. I tend to look at most products with a close but no cigar award mentality. Since I wasn't ready to hand one out at this point like I usually am, we were off to a good start. Separating the components out made me discover quickly that who ever designed this unit was really into the details. I new right away that I was looking at only 5 minutes of assembly to get the Foxwing ready for the rack install.
The standard mounting bracket is a really robust injection molded piece. The base of the bracket is roughly 10mm thick, with the main vertical support 5 mm thick. This is substantially thicker then any Yakima or Thule tower and it is supporting minimal weight. The standard unit fits crossbars like Trac-rack, Thule Xsporter or Rhino Rack. Randy asked me what type of rack I was mounting it to, then I was informed Oztent U.S.A. offered an optional kit to fit standard Yakima or Thule crossbars. If you are mounting it to these racks make sure to get that kit.
Now mounting the main bracket to the awning is simple. Just peel back one end of the canvas cover and drop the 4 square head bolts into the awning tracks. Then put the brackets on the bolts and tighten with a 14mm socket. Leave them loose enough to slide the brackets, and you are now ready to put the Foxwing on the roof rack!
With the awning sitting on the rack, I left the rear door of my Suburban open to see how far back the awning could go. I then installed it to the Yakima crossbars with the supplied adapter kit. A u-bolt through a beefy injection plastic bracket was all it took to put the Foxwing on the roof. Once tightened with a 10mm socket I was ready to tighten down the main brackets. It was so easy a caveman could do it. Total install time for me was 15 minutes.
Here you can see the Foxwing awning mounted to the rack on my Suburban, and yes I just made it in the garage with 2” of clearance. So a stock truck can make it into a standard 84” tall garage no problem.
Here are some additional stats on the foxwing based on my actual measurements.
O.A.L.: 8' 2.5"
Hieght: 6 7/8"
depth : 3.5"
Weight of awning and mountig hardware per digital postage scale: 35.25 lbs
Weight of the total unit including pole bag and stake out kit: 42.2 lbs
Most owners will be in the 35 lb catagory with what will be going on the roof.
Now before some of you say that is heavy, keep in mind the Foxwing is like haveing 3 traditional awning on your rig.
So far I have only had enough time to get it mounted. I am planning tomorrow to go out and get it deployed. We will try and interface our OZTENT RV-4 with it to see how versatile the Foxwing really is. I just want to say thanks to Randy at Oztent USA for making this an easy transaction! So far I am really happy with what I have seen from it.
Last edited: