Photog
Explorer
check out my build for the solution I have to this problem...:sombrero:
in this forum...in this section....under my name...:sombrero:
Found it.
check out my build for the solution I have to this problem...:sombrero:
in this forum...in this section....under my name...:sombrero:

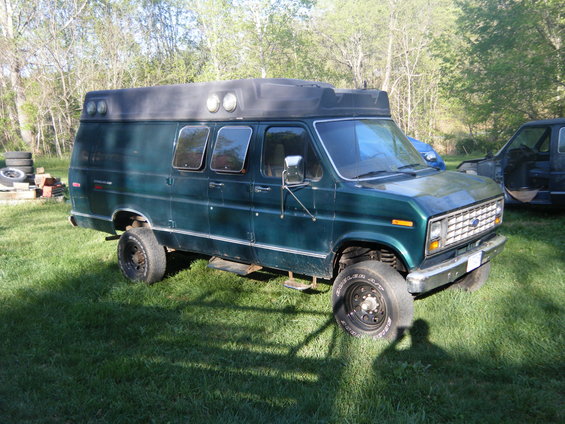
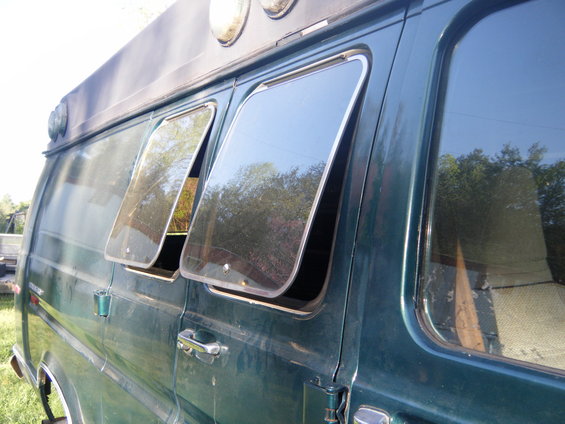
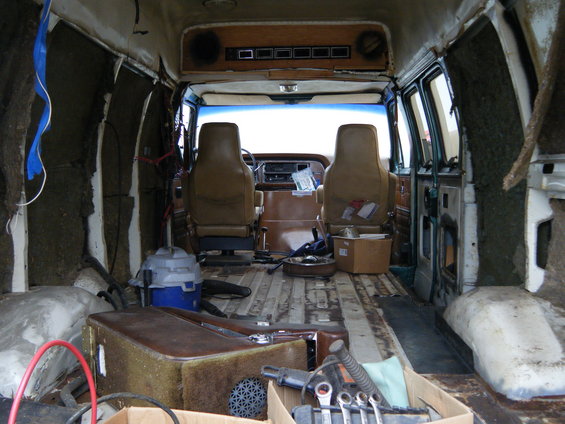
Very nice van!
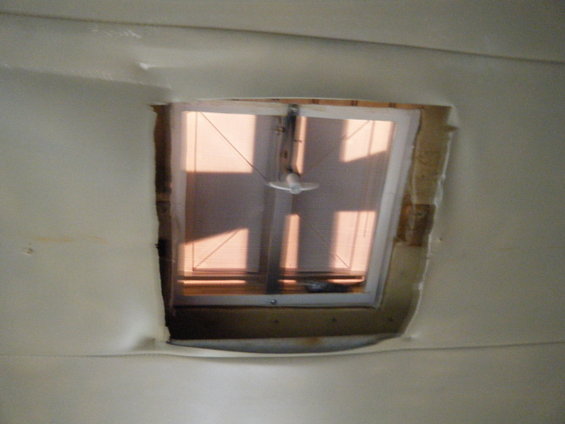
I had an old Ford van and since you added the "flip out windows"...just some recollections:
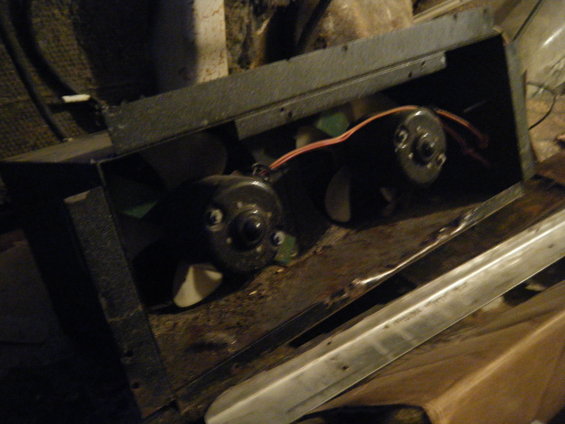
Window screens; Once you try the fantastic fan without the screens...you'll really like this idea...just use plastic type screening and sew velcro around the perimeter with a backing ribbon. Use contact cement to glue the soft side of the velcro to the inner window perimeter. With that fantastic fan purring...it will be nice and cool. When you don't need em, just peel off and roll up.
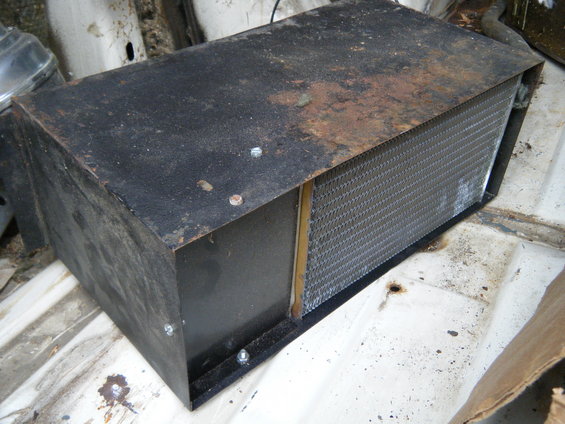
AC: At times (like Galveston TX or Key West in August), I set up my rear AC unit; bought a very small window AC. Got a spare "flip out window frame" knocked the glass out and installed 1/4 inch marine plywood. Painted all to match van. Backed up with furring strips, I cut out and mounted the AC to this frame. Undo bottom latch, slide the frame out, slide the AC frame in...plug in cord to shore power....nice! Don't need it, switch out the window frame back to the glass panel.